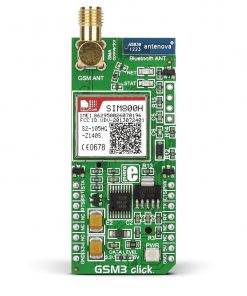
ZigBee Click
R1,500.00 ex. VAT
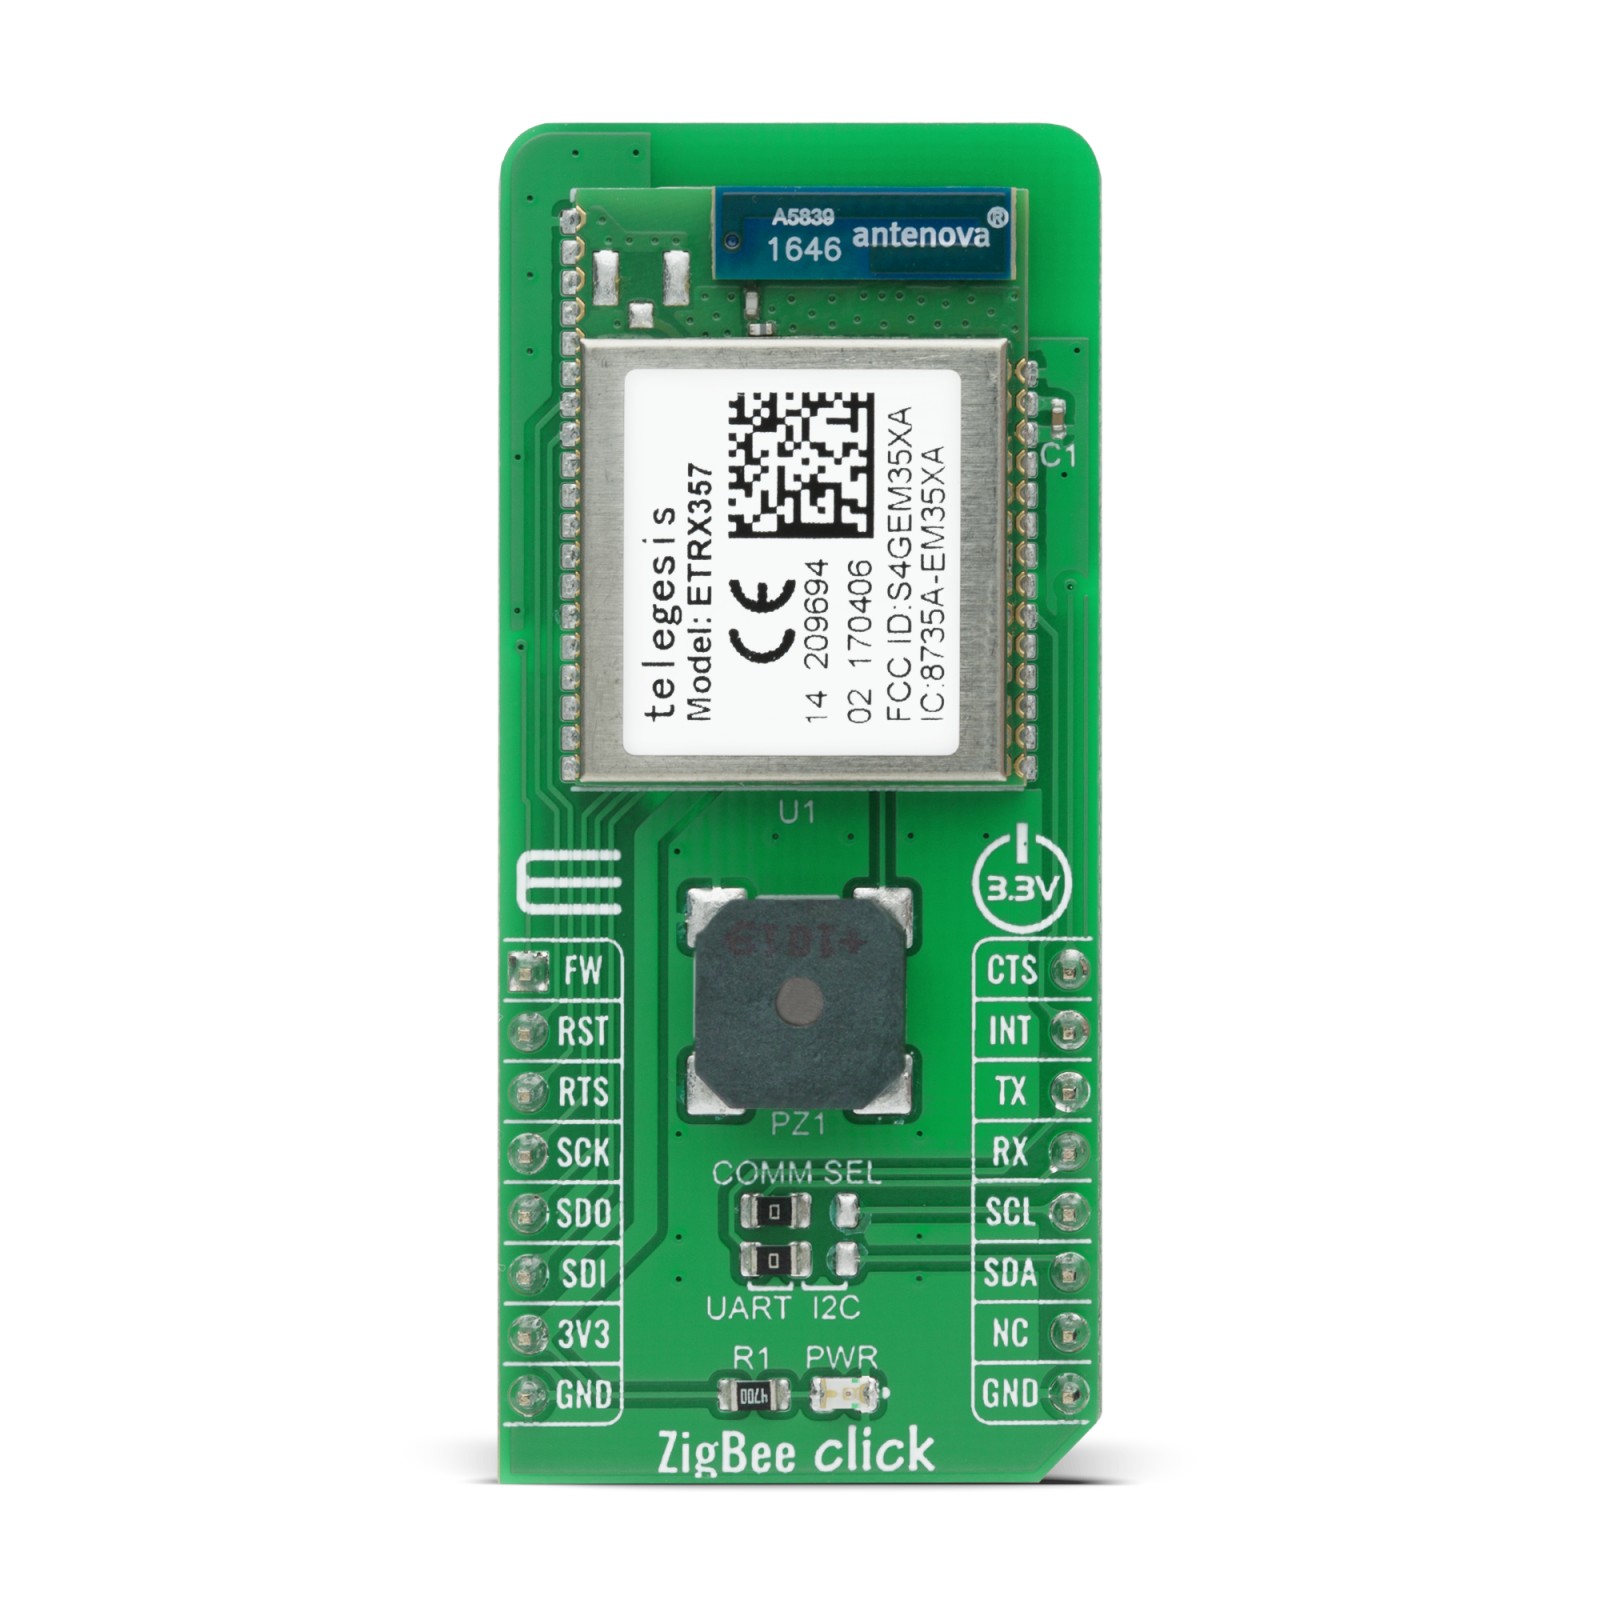
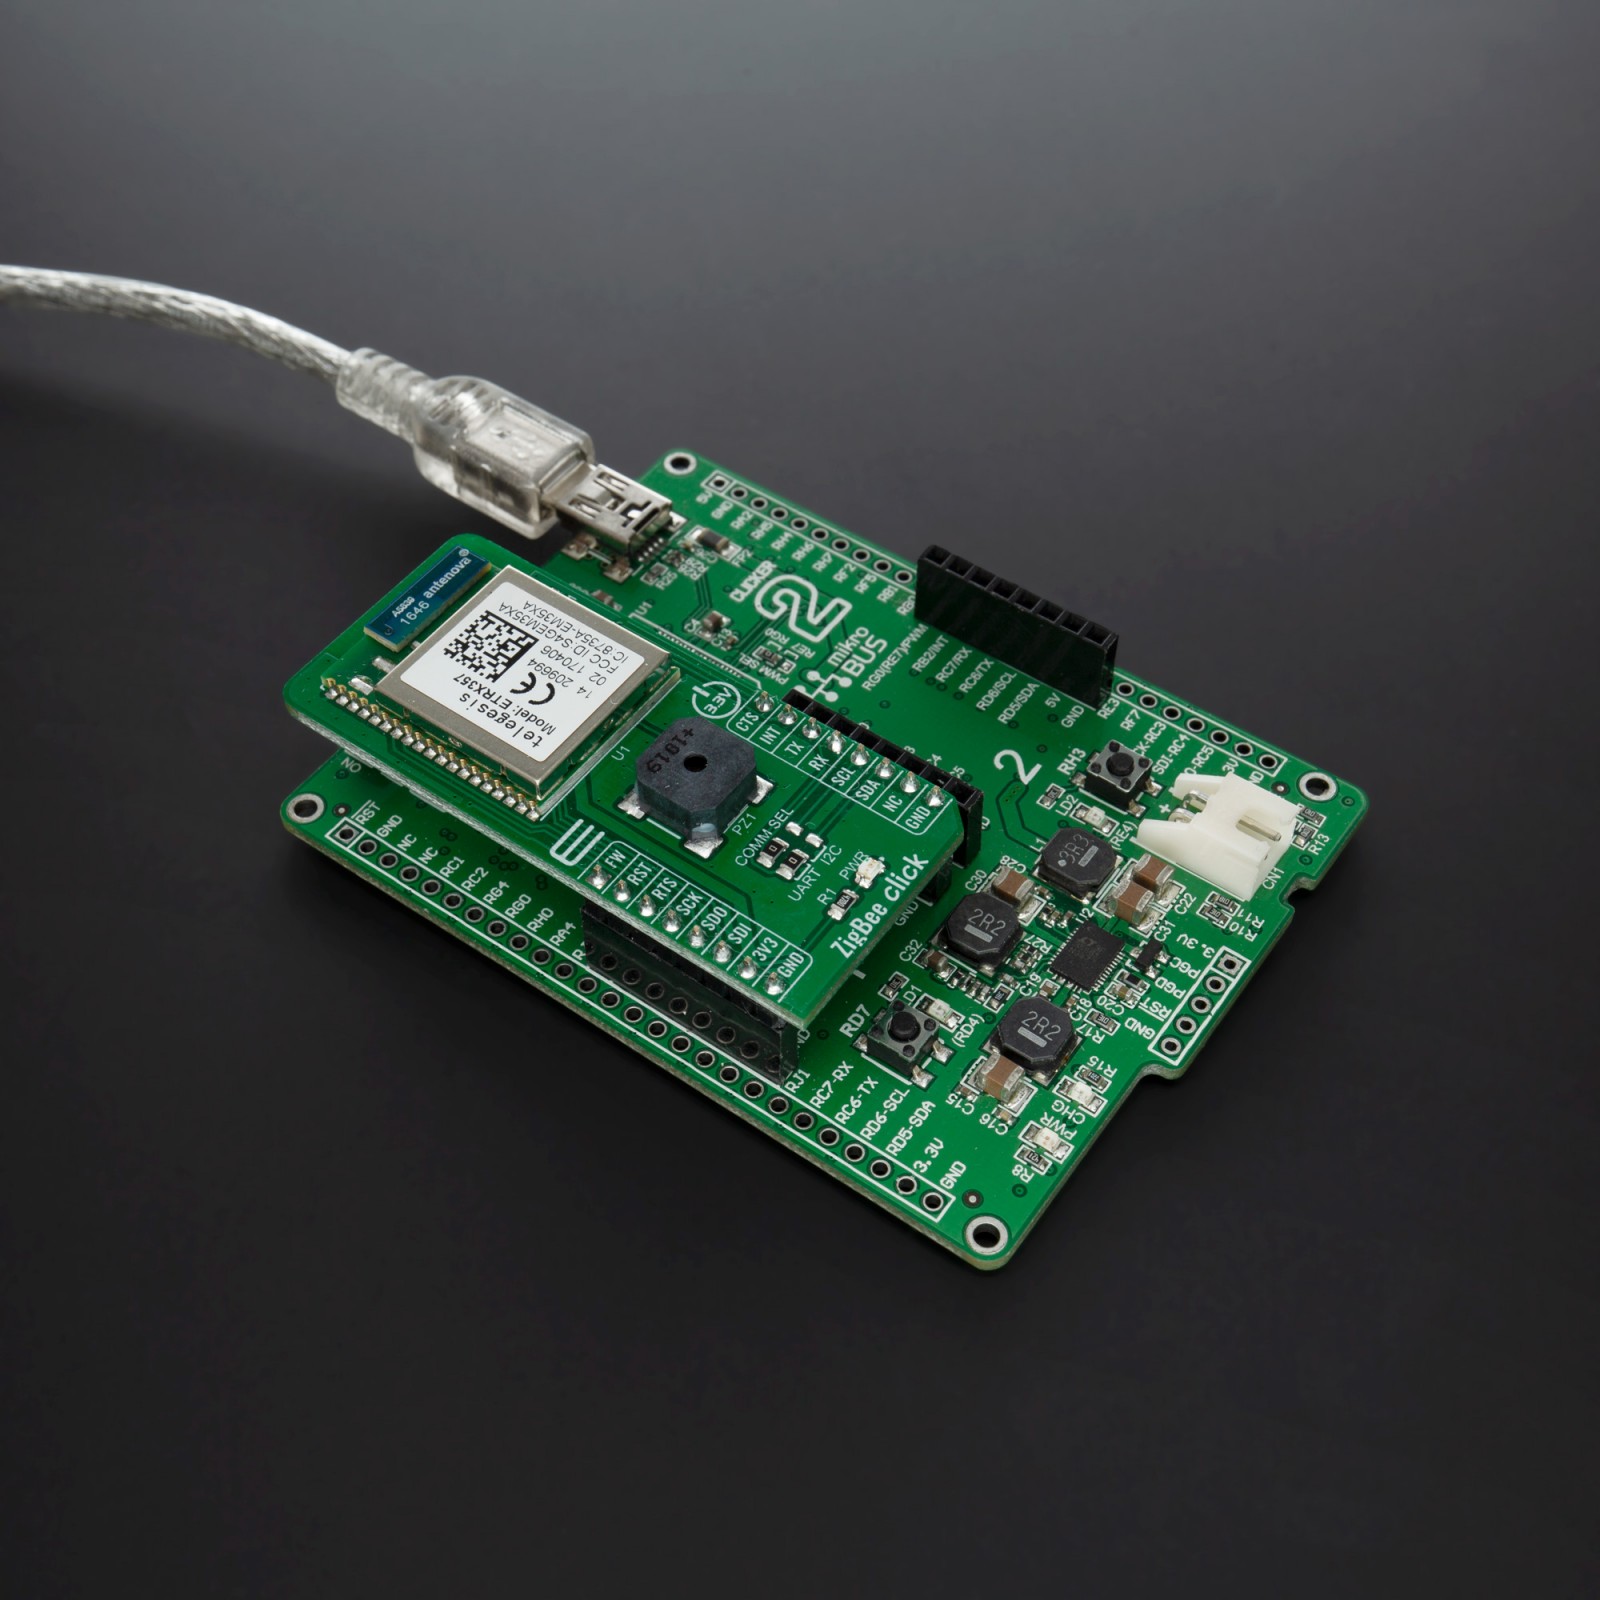
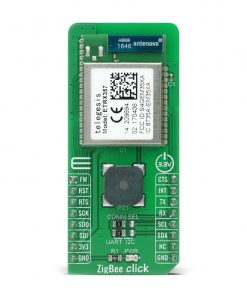
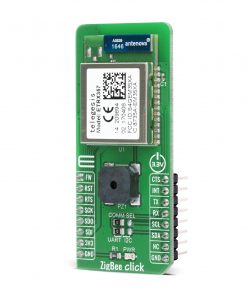
ZigBee Click is a compact add-on board that contains a fully integrated Zigbee transceiver with a 32-bit ARM® Cortex M3TM microprocessor, Flash and RAM memory, and peripherals. This board features the ETRX357, 2.4 GHz Zigbee Radio module from Silicon Labs, which has been designed to be easily integrated and to provide a fast, simple, and low-cost wireless mesh networking interface. It communicates with the MCU over the UART interface using the unique AT-style command line interface which allows users to quickly integrate Zigbee technology without complex software development. This Click board™ is fitting for ZigBee smart energy applications, wireless alarms and security, remote monitoring, and other electronic applications that need wireless communication.
ZigBee Click is supported by a mikroSDK compliant library, which includes functions that simplify software development. This Click board™ comes as a fully tested product, ready to be used on a system equipped with the mikroBUS™ socket.
Stock: Lead-time applicable.
| 5+ | R1,425.00 |
| 10+ | R1,350.00 |
| 15+ | R1,275.00 |
| 20+ | R1,227.00 |
How does it work?
ZigBee Click is based on the ETRX357, a low power Zigbee Radio module integrating a 2.4 GHz compliant transceiver with many advanced peripherals from Silicon Labs. The ZigBee protocol is a set of standards for wireless connectivity for usage between any devices over short to medium distances. It uses the IEEE 802.15.4 radio specification running on the 2.4GHz band, plus three additional layers for networking, security, and applications. What makes this module unique is its use of a mesh network architecture which, in bucket chain style, passes data from one node to the next until it lands at its destination.

The ETRX357 module is pre-loaded with a standalone bootloader that supports over-the-air bootloading as well as serial bootloading of the new firmware, using the FW pin on the ZigBee Click. The module is controlled using the default firmware consisting of simple AT commands. Parameters that define the functionality of the module and also allow standalone functionality are saved in non-volatile memory organized in so-called S-Registers. The commands and responses pass through the serial port of the ETRX357 as ASCII text, so a simple terminal application will usually suffice.
The industry-standard serial wire, JTAG programming, and debugging interfaces together with the standard ARM system debug components help to streamline any custom software development. In addition to this, several MAC functions are also implemented in hardware to help to maintain the strict timing requirements imposed by the ZigBee and IEEE802.15.4 standards. The module is also able to act as a coordinator and Trust Centre through external host control. The AT-style command line supplies all the tools required to set up and manage a Zigbee network by allowing easy access to the low-level functionality of the stack.
ZigBee Click communicates with MCU using the UART interface as its default communication protocol, but it is also left the option for the user to use other interfaces such as SPI and I2C if he wants to configure the module and write the library by himself. The selection between UART and I2C can be done by positioning SMD jumpers labeled as COMM SEL to an appropriate position. Note that all the jumpers must be placed to the same side, or else the Click board™ may become unresponsive.
Additional functionality such as reset and interrupt are provided and routed at RST and INT pins of the mikroBUSTM, as well as serial UART connections CTS and RTS, routed on the CS and PWM mikroBUSTM pins. To simplify deployment, the Click boardTM features the CMT-8540S-SMT magnetic buzzer controlled by the ZigBee module used for audible signalization and notification. You can create different sound patterns using the Sound library supported in our compilers. Signal frequency determines the sound pitch, and the duty cycle determines the amplitude (sound volume).
This Click Board™ is designed to be operated only with a 3.3V logic level. A proper logic voltage level conversion should be performed before the Click board™ is used with MCUs with different logic levels.
Specifications
Type
ZigBee
Applications
Can be used for ZigBee smart energy applications, wireless alarms and security, remote monitoring, and other electronic applications that need wireless communication.
On-board modules
ZigBee Click is based on the ETRX357, a low power Zigbee Radio module integrating a 2.4 GHz compliant transceiver with many advanced peripherals from Silicon Labs.
Key Features
Low power consumption, can act as an end device, router or coordinator, password protected, 2.4 GHz ISM band, RF data rate up to 250 Kbps, and more.
Interface
GPIO,I2C,SPI,UART
Feature
No ClickID
Compatibility
mikroBUS™
Click board size
L (57.15 x 25.4 mm)
Input Voltage
3.3V
Pinout diagram
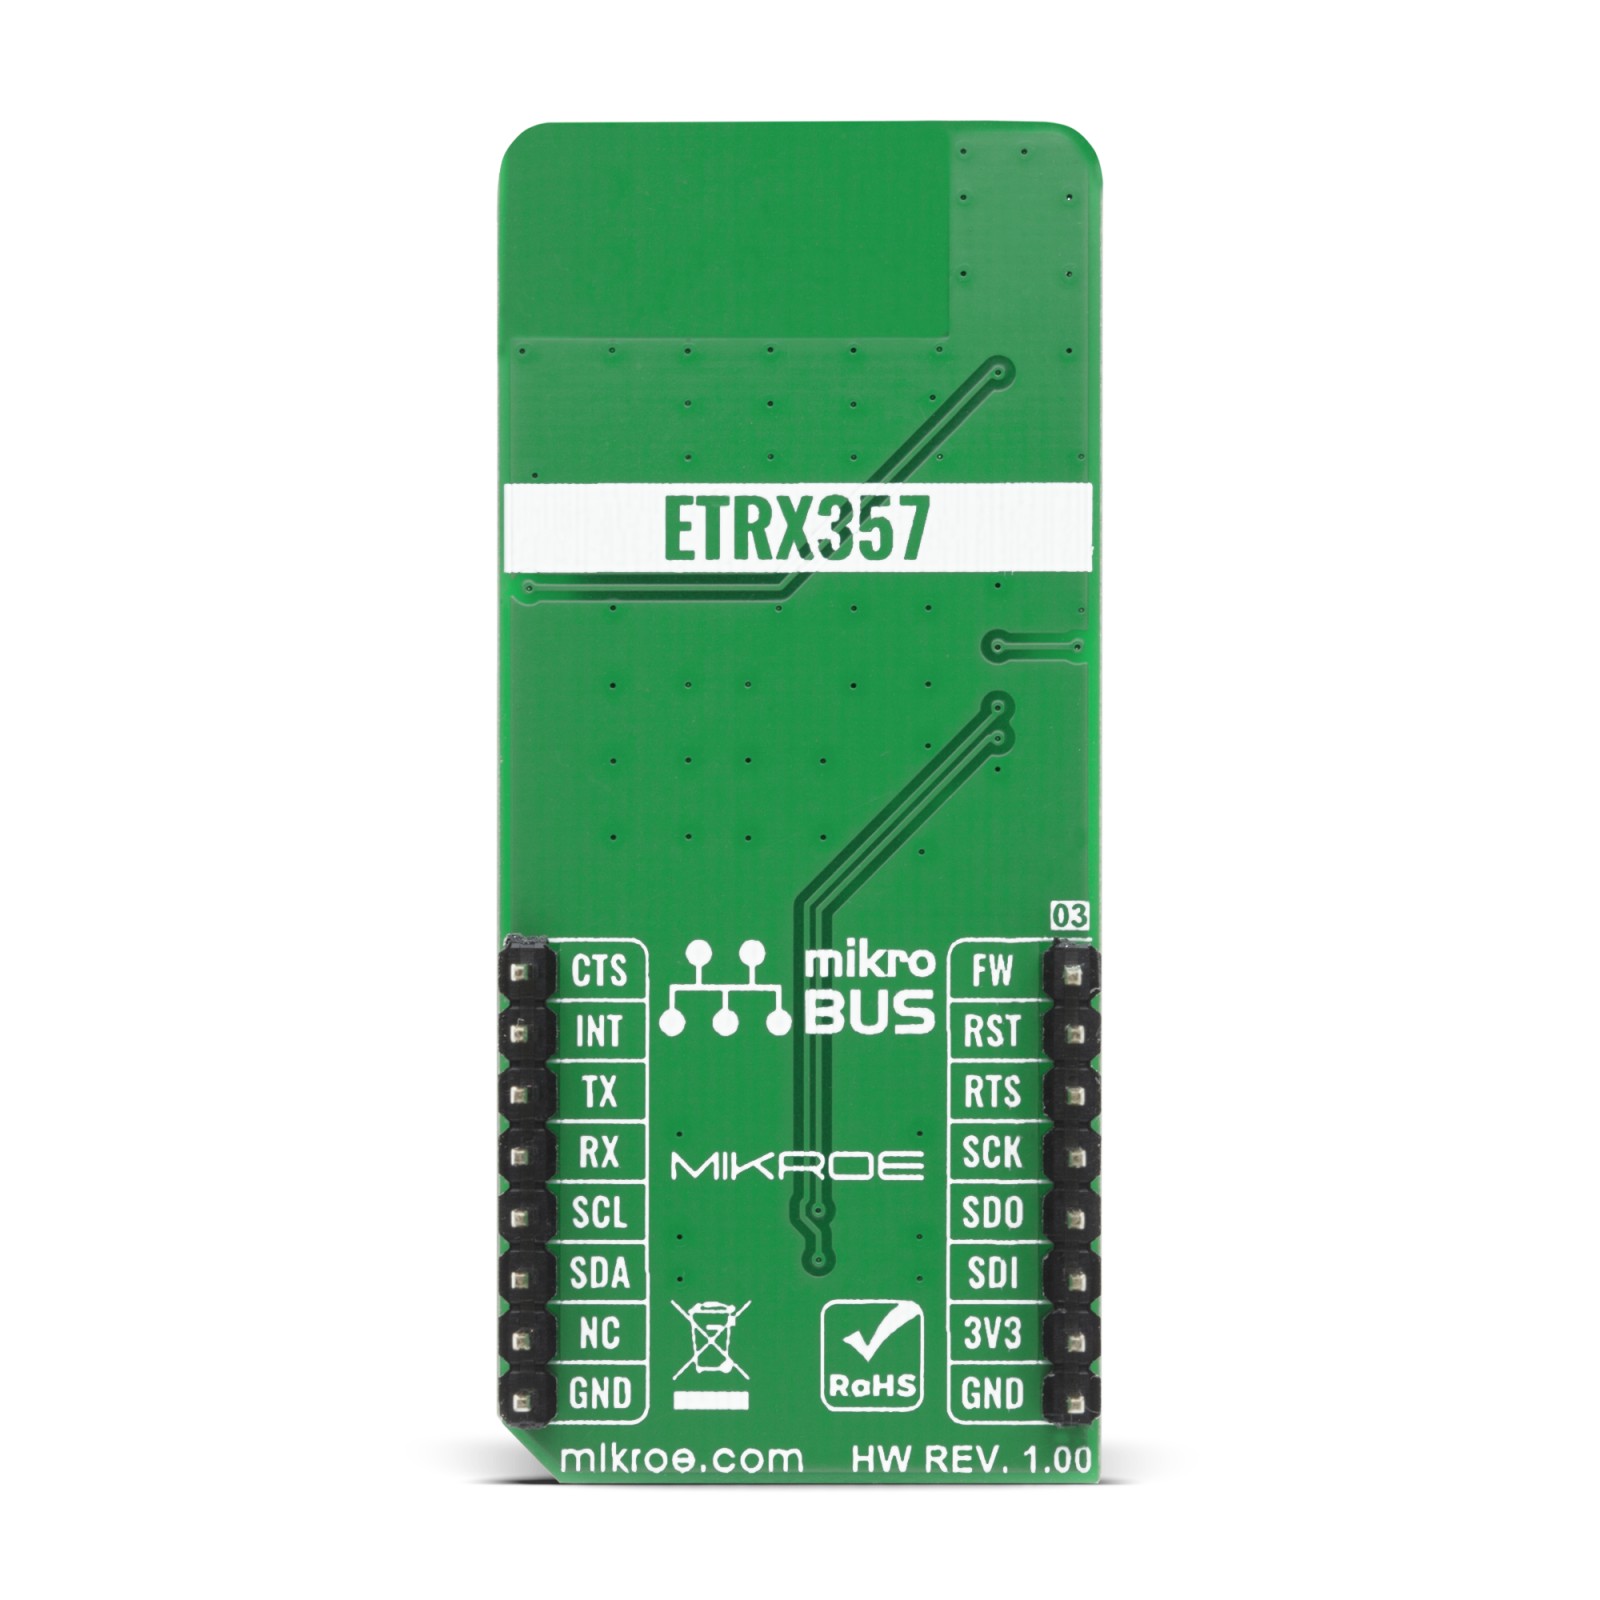
This table shows how the pinout on ZigBee Click corresponds to the pinout on the mikroBUS™ socket (the latter shown in the two middle columns).
Onboard settings and indicators
| Label | Name | Default | Description |
|---|---|---|---|
| LD1 | PWR | – | Power LED Indicator |
| J1-J2 | COMM SEL | Left | Communication Interface Selection: Left position UART, Right position I2C |
| PZ1 | BUZZER | – | Magnetic Buzzer Transducer |
ZigBee Click electrical specifications
| Description | Min | Typ | Max | Unit |
|---|---|---|---|---|
| Supply Voltage | -0.3 | 3.3 | 3.6 | V |
| Total Output Current | – | – | 40 | mA |
| RF Input Frequency | 2405 | – | 2480 | MHz |
| RF Input Power | – | – | 0 | dBm |
| Operating Temperature Range | -40 | – | +85 | °C |
Software Support
We provide a library for the ZigBee Click on our LibStock page, as well as a demo application (example), developed using MikroElektronika compilers. The demo can run on all the main MikroElektronika development boards.
Library Description
Library provides functions and macros for complete control over device. Library has one buffer that collects data with zigbee_process function. You can clear it and write it with library functions, you can also check if there is new data in buffer with zigbee_resp. There is generic function for sending one string of data, and one additional function for concating two string so you can use predefined AT commands from library.
Key functions:
void zigbee_send_cmd ( uint8_t *cmd_buf )– Sends string to devicevoid zigbee_process ( uint8_t process_b )– Collects data to library bufferuint8_t zigbee_resp ( void )– Checks if there is new data in library buffer
Examples description
The application is composed of three sections :
- System Initialization – Initialization of UART module and additional pins
- Application Initialization – Initialization of driver, UART ISR and then configures device. Depending on previous selected device mode it creates new PAN network or joins to one.
- Application Task – * Host mode: Broadcasts message ‘MikroE’ every 3 seconds. * User mode: Cheks if something is received.
void application_task ( )
{
    if ( DEV_HOST == dev_mode )
    {
        //Broadcasts message 'MikroE' over it's PAN network
        zigbee_send_at( ZIGBEE_AT_BCAST, &AT_BCAST_MSG[ 0 ] );
        resp_wait(  );
        Delay_ms( 3000 );
    }
    else if ( DEV_USER == dev_mode )
    {
        //Checks if there is something received
        resp_wait(  );
    }
}
Additional Functions :
- void logger_function ( uint8_t *demo_txt, uint8_t write_macro ) – Wrapper function
- void resp_wait ( ) – Function for waiting for complete response
The full application code, and ready to use projects can be found on our LibStock page.
Other mikroE Libraries used in the example:
- UART
- C_String
Additional notes and informations
Depending on the development board you are using, you may need USB UART click, USB UART 2 click or RS232 click to connect to your PC, for development systems with no UART to USB interface available on the board. The terminal available in all MikroElektronika compilers, or any other terminal application of your choice, can be used to read the message.
mikroSDK
This Click board™ is supported with mikroSDK – MikroElektronika Software Development Kit. To ensure proper operation of mikroSDK compliant Click board™ demo applications, mikroSDK should be downloaded from the LibStock and installed for the compiler you are using.
For more information about mikroSDK, visit the official page.
Resources
Downloads
| Weight | 20 g |
|---|---|
| Brand | MikroElektronika |

