UWB Click
R1,400.00 ex. VAT
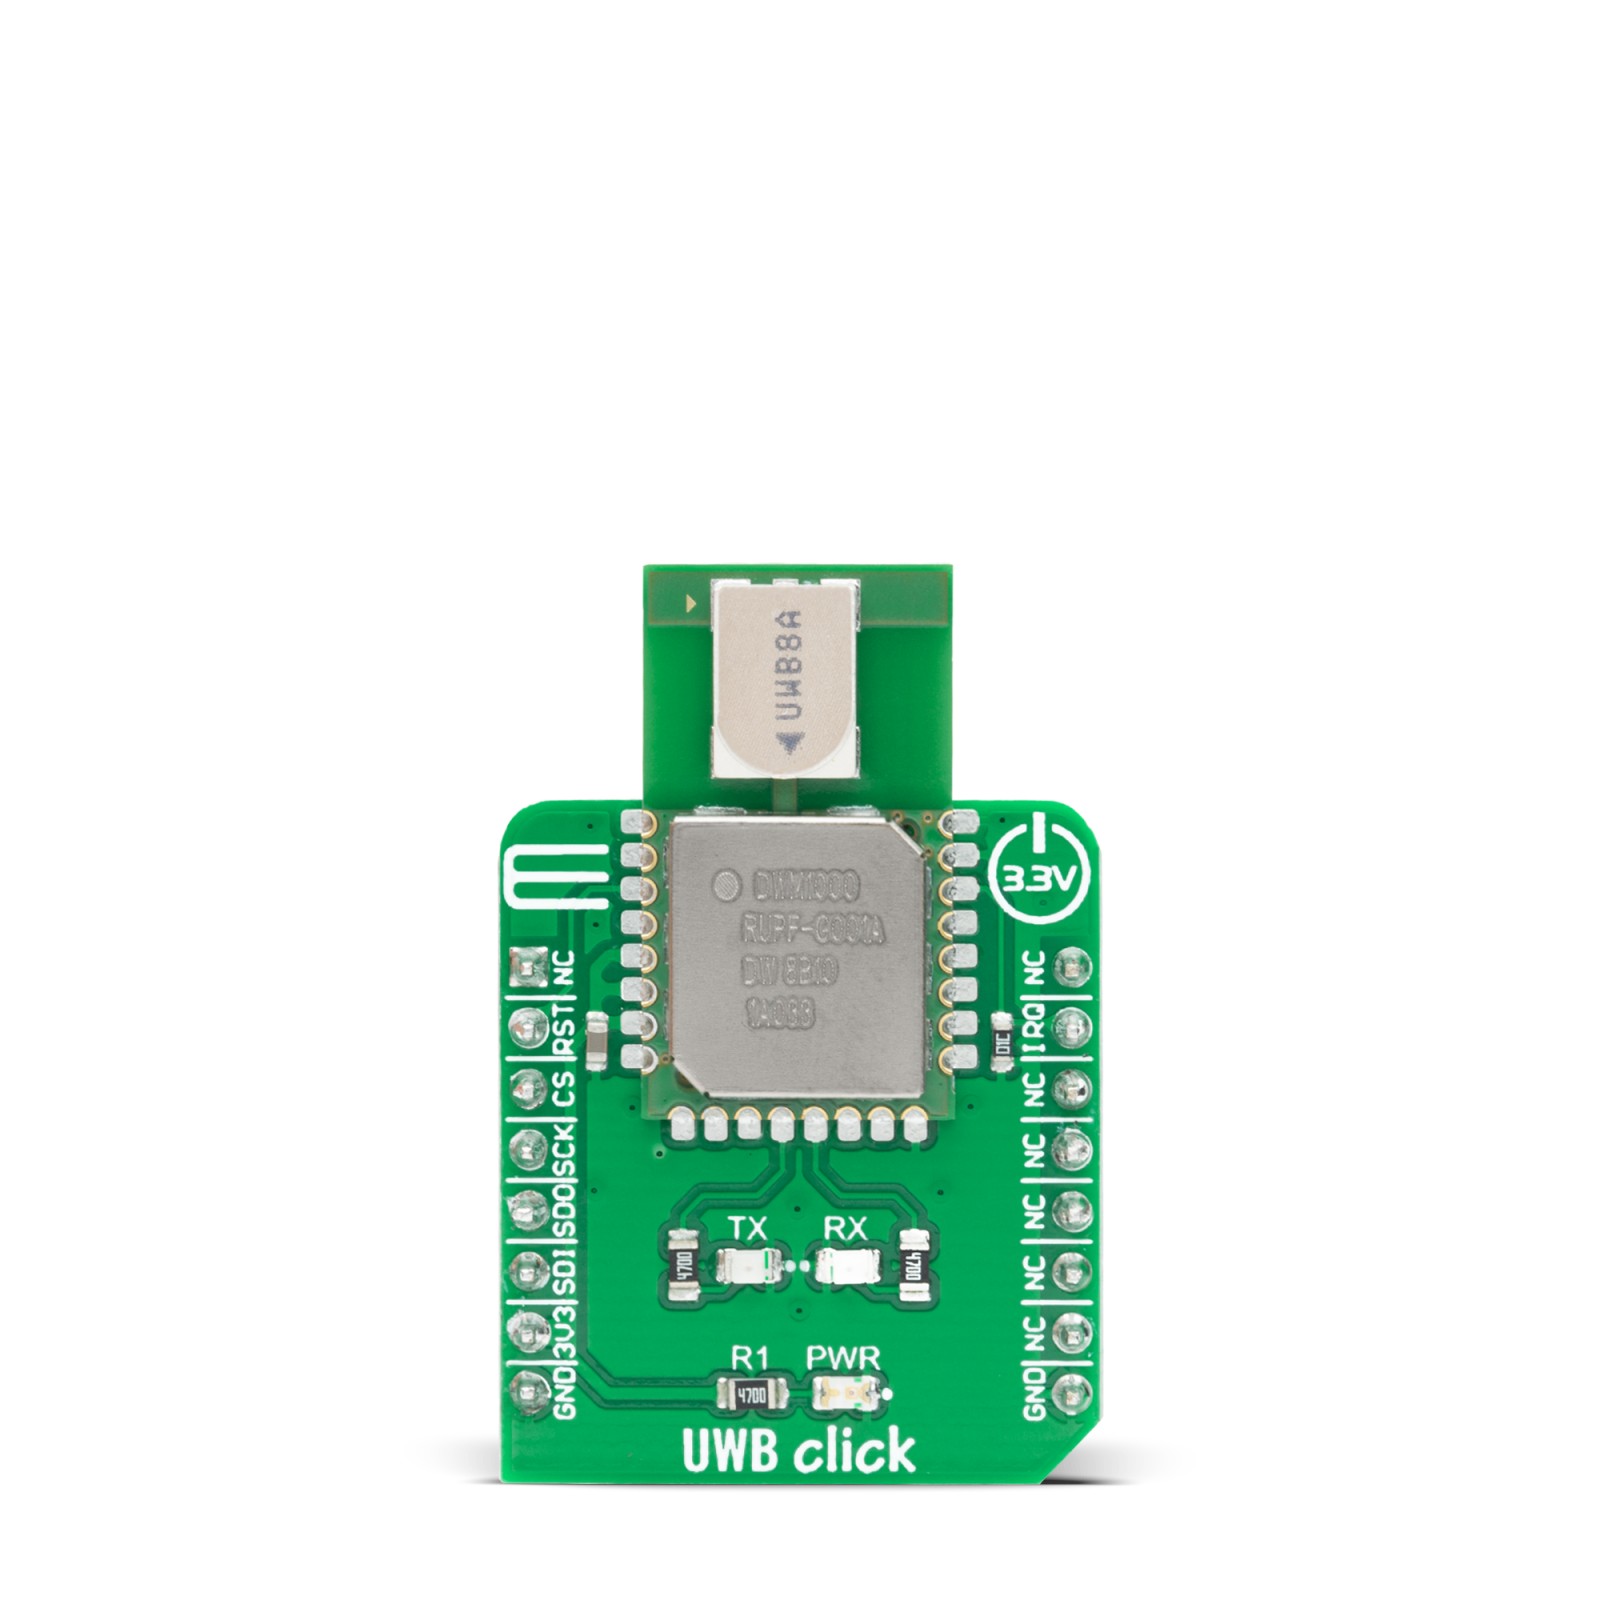
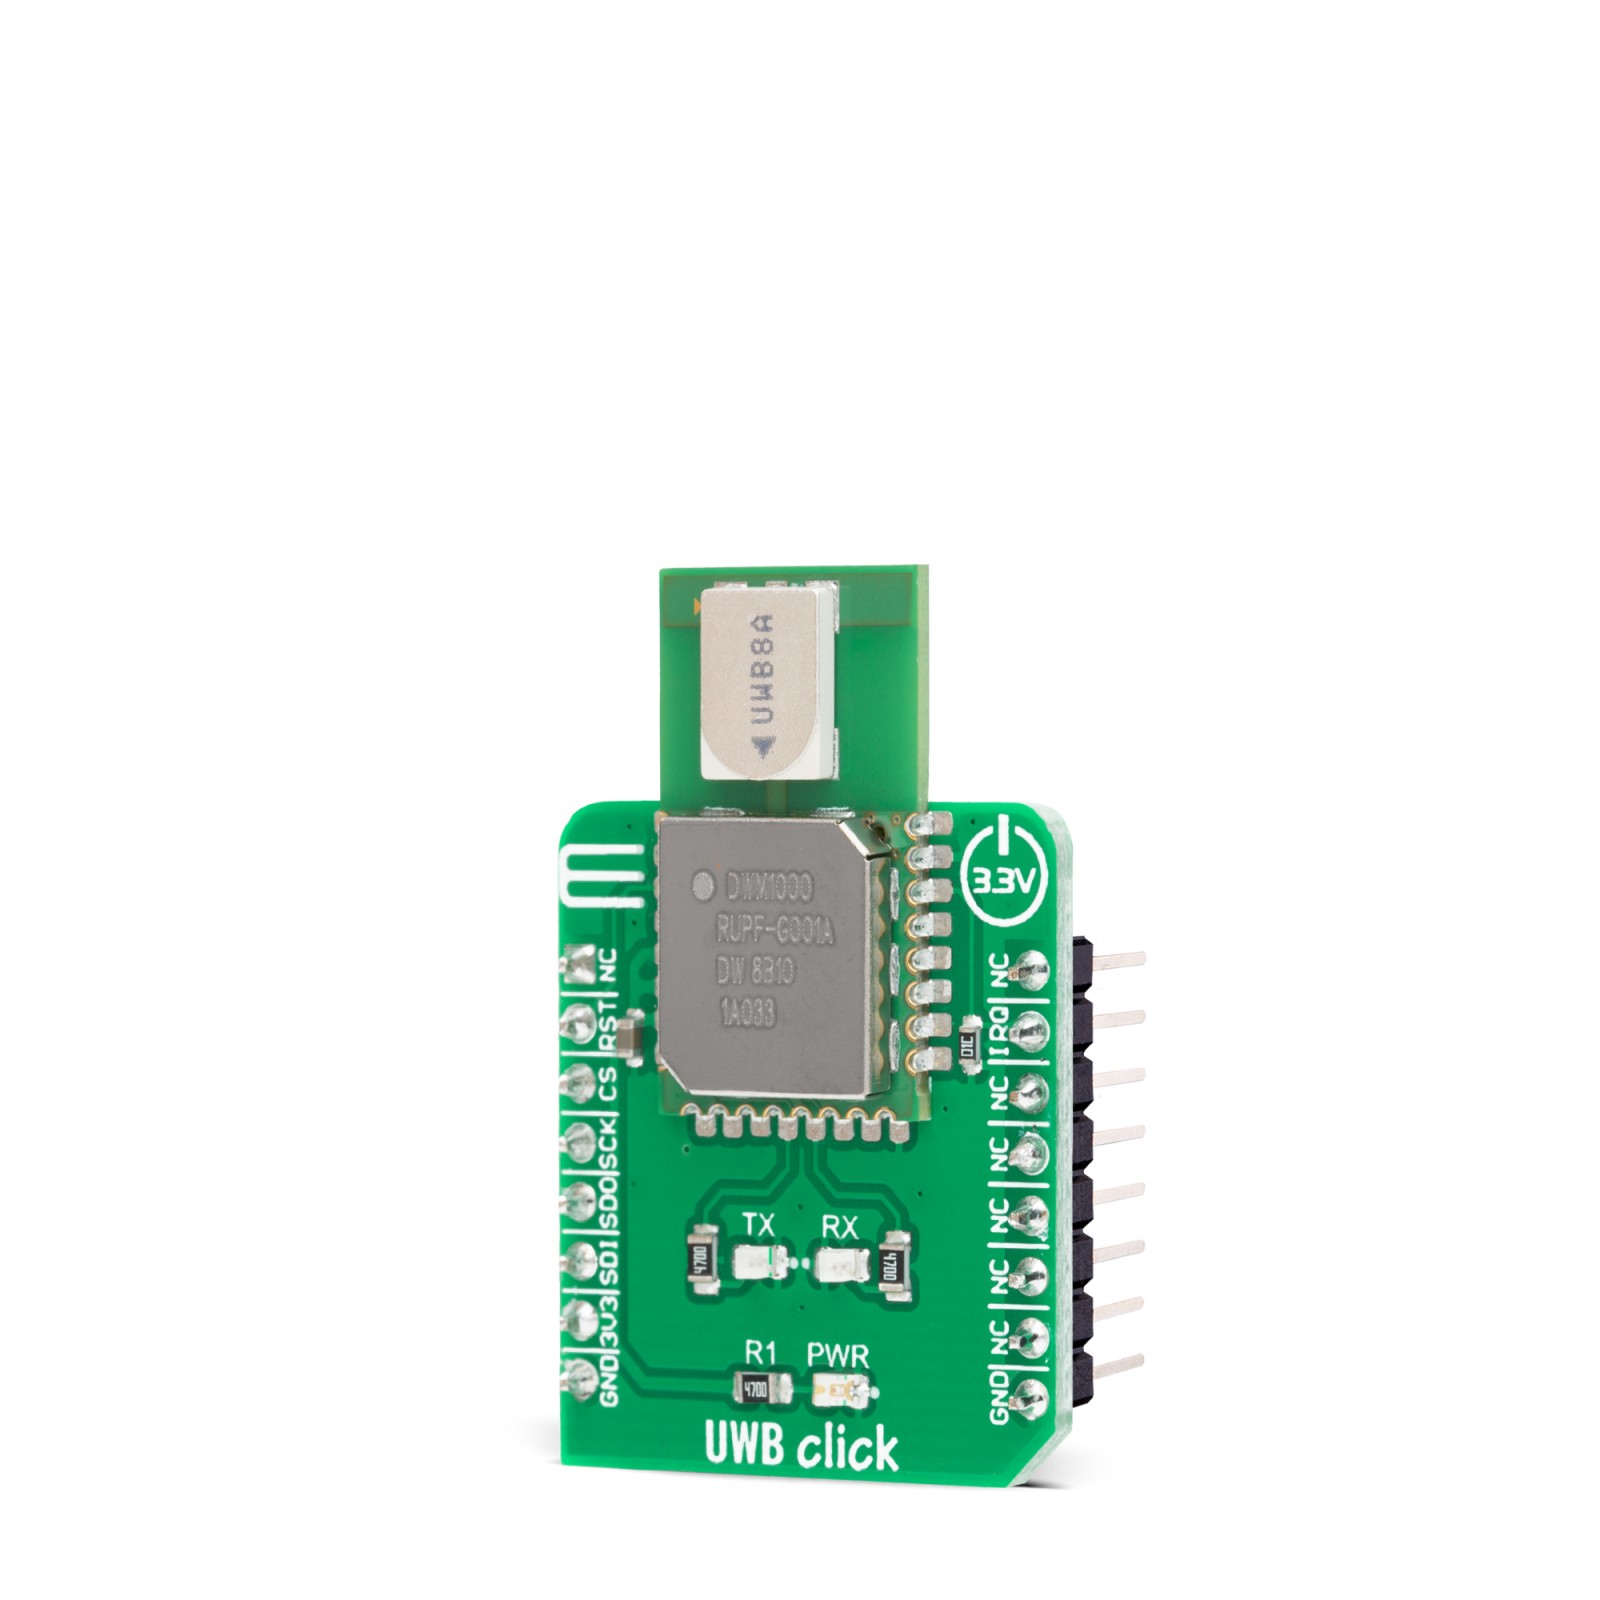
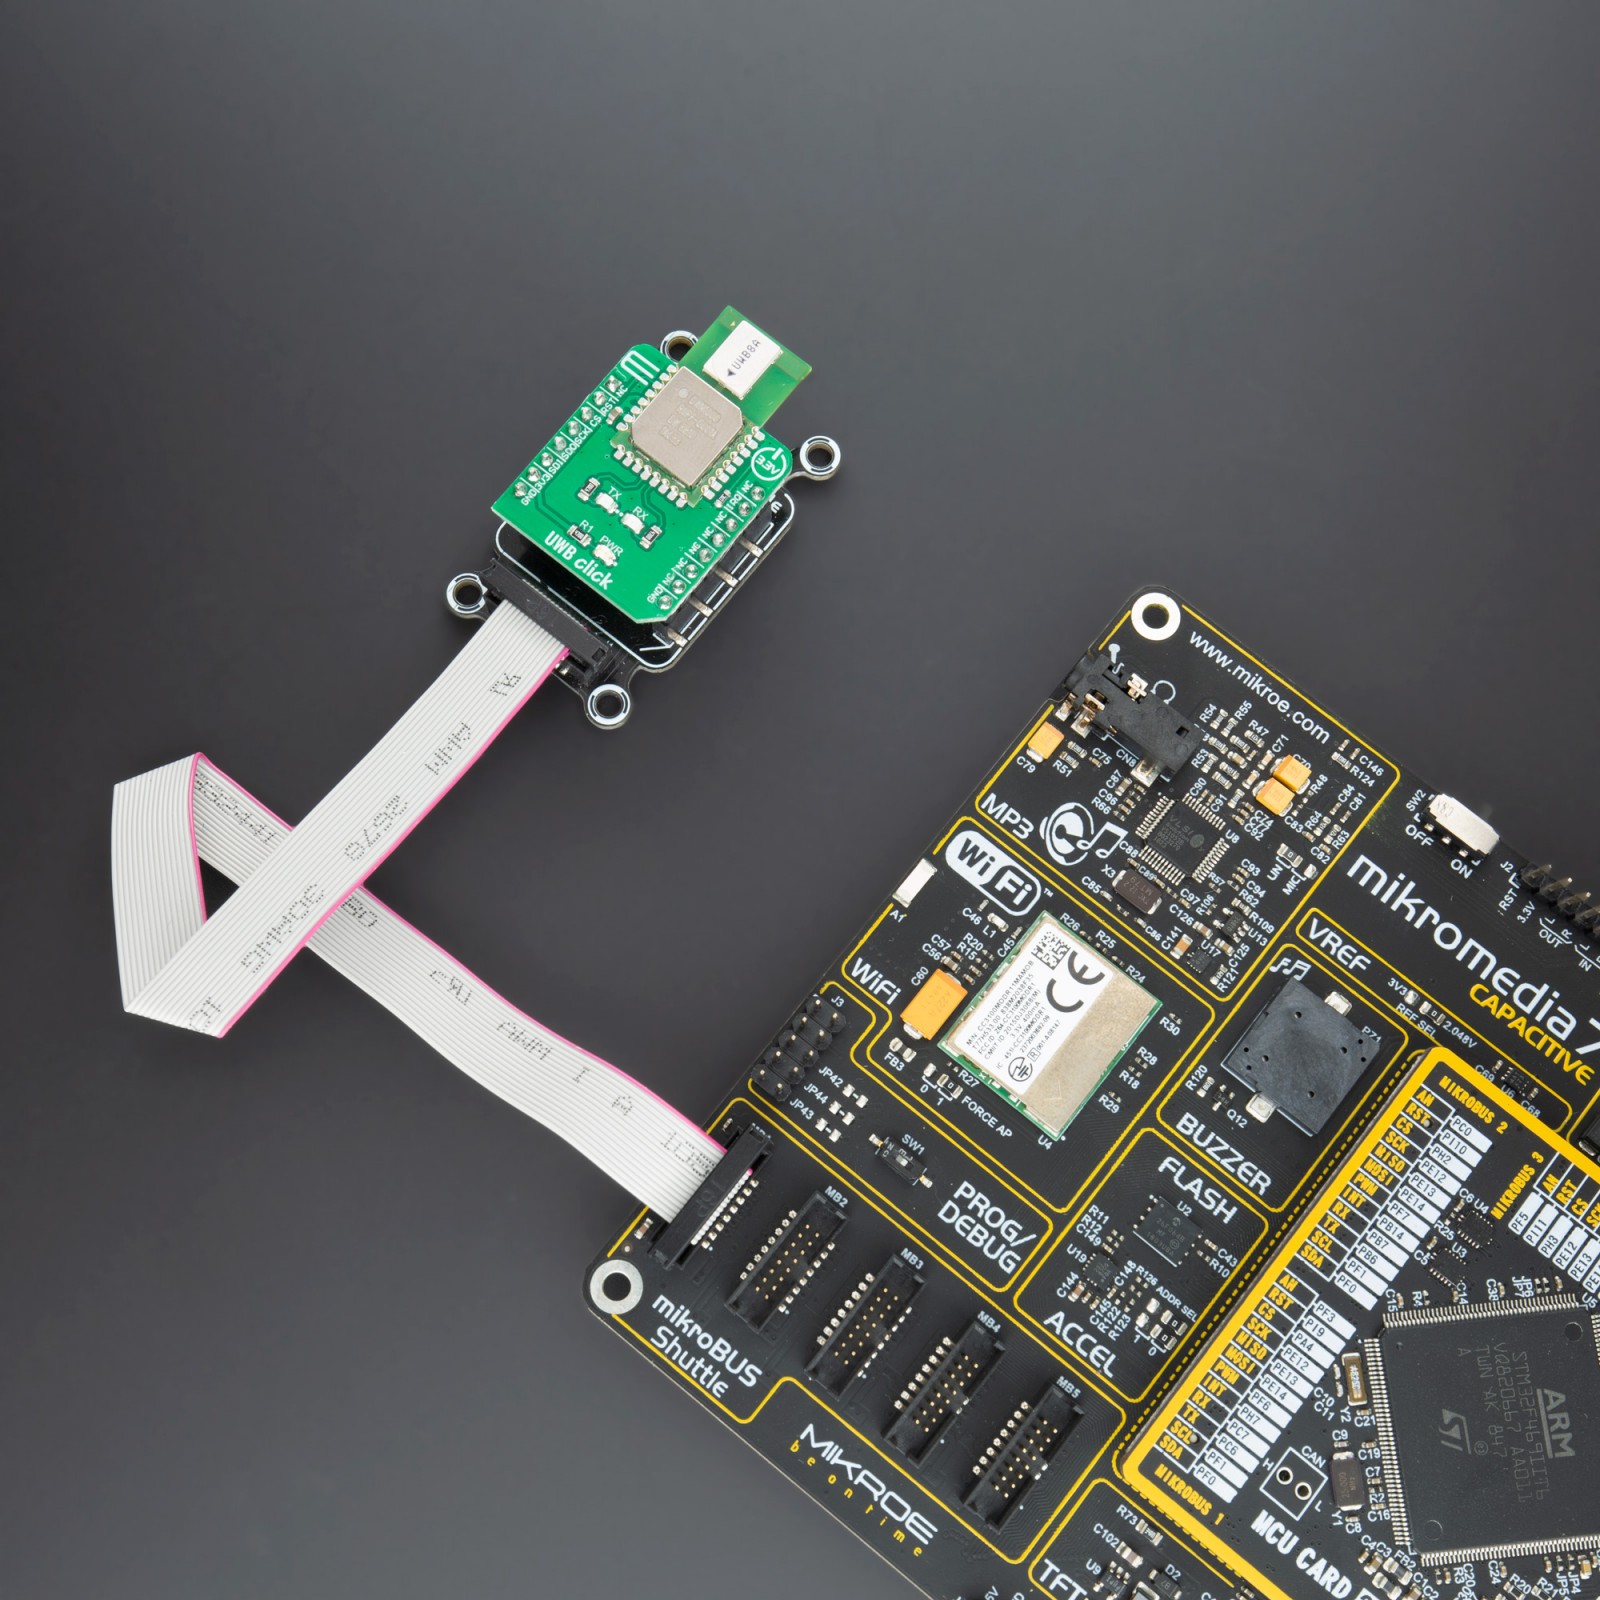
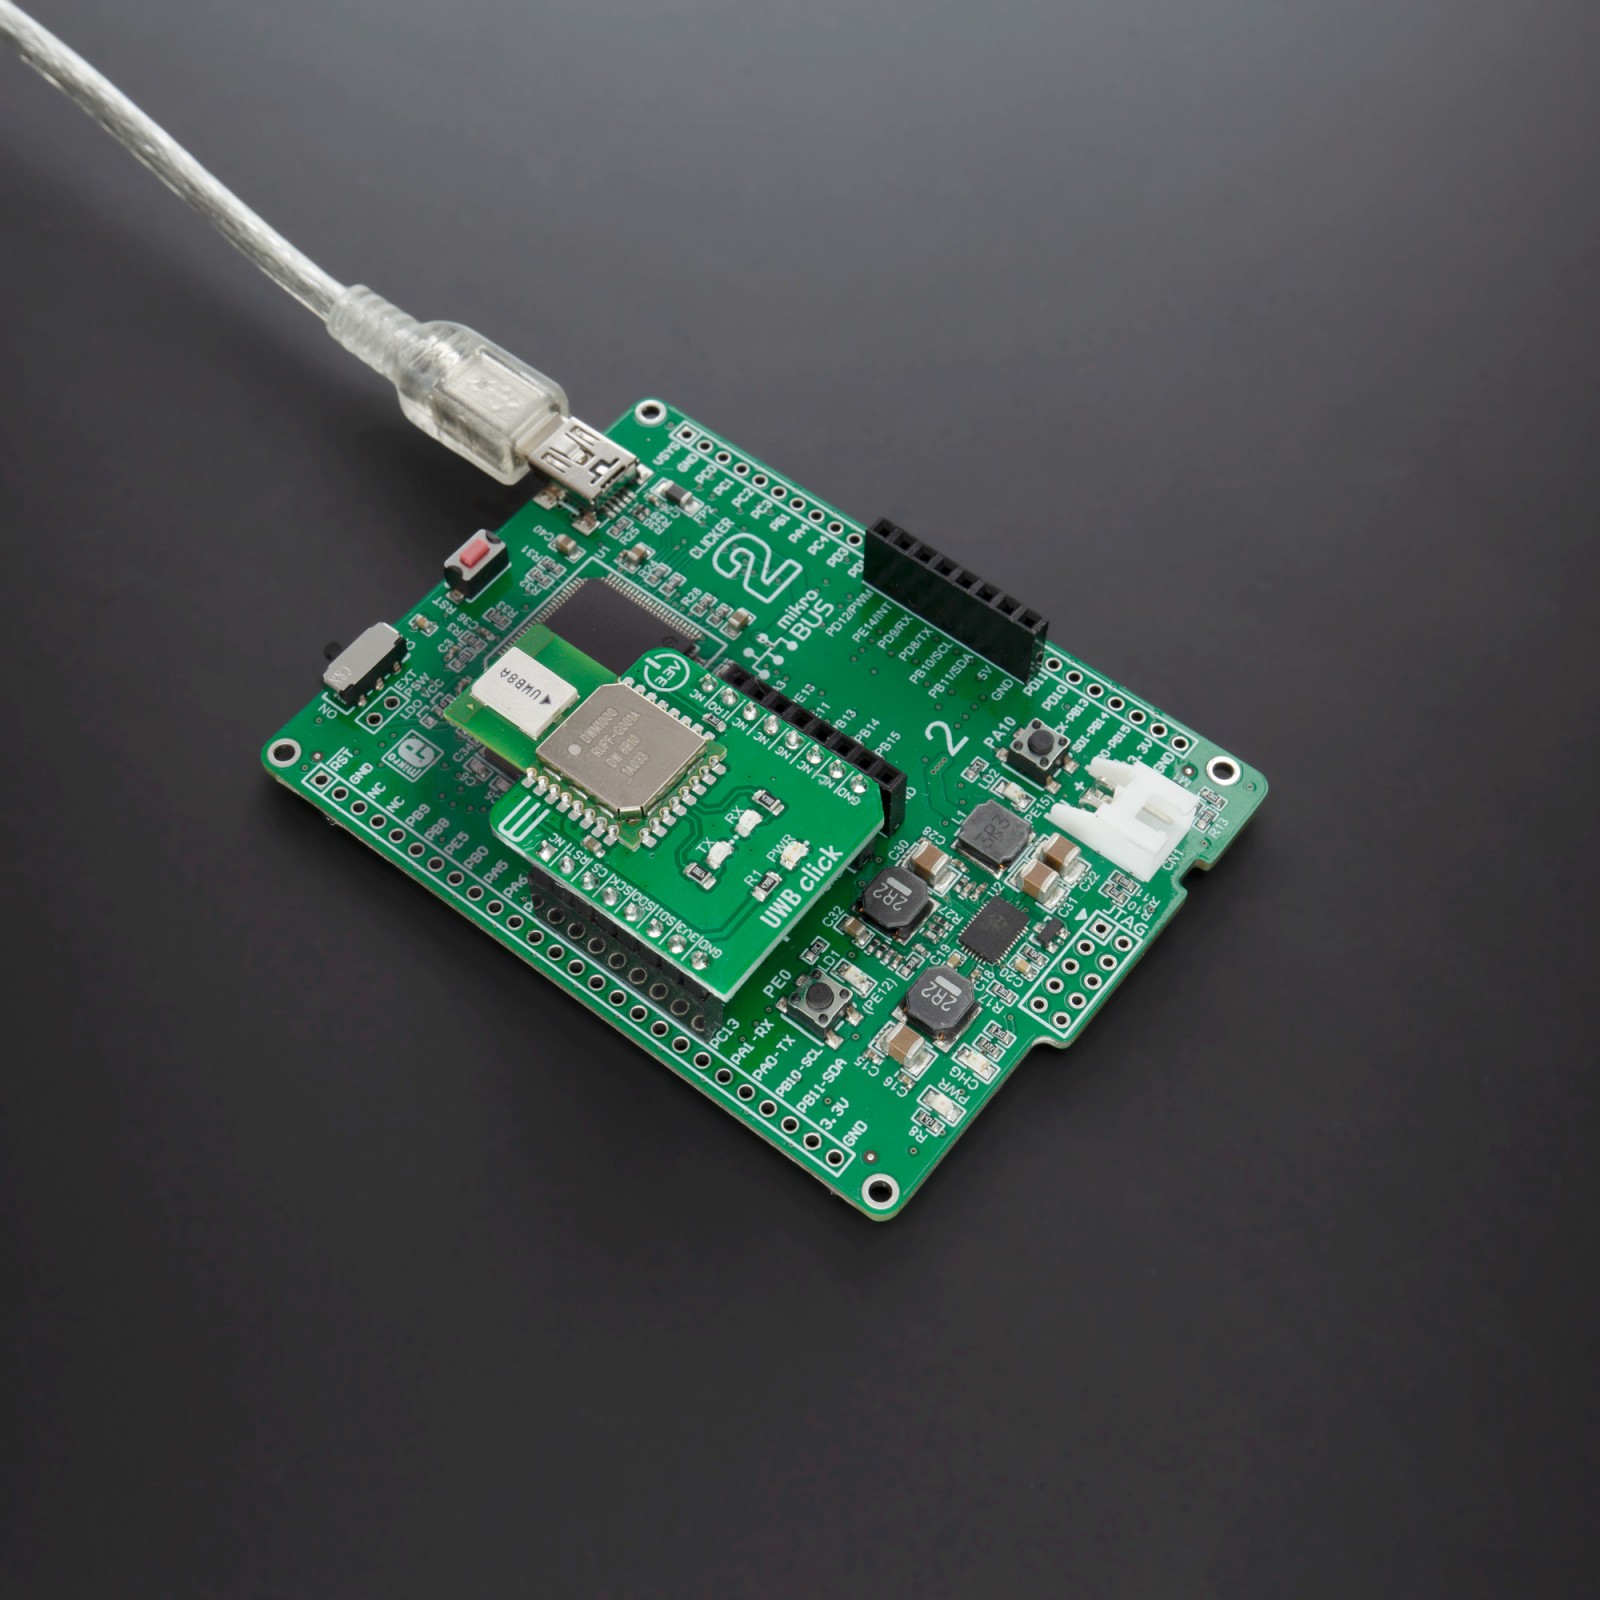
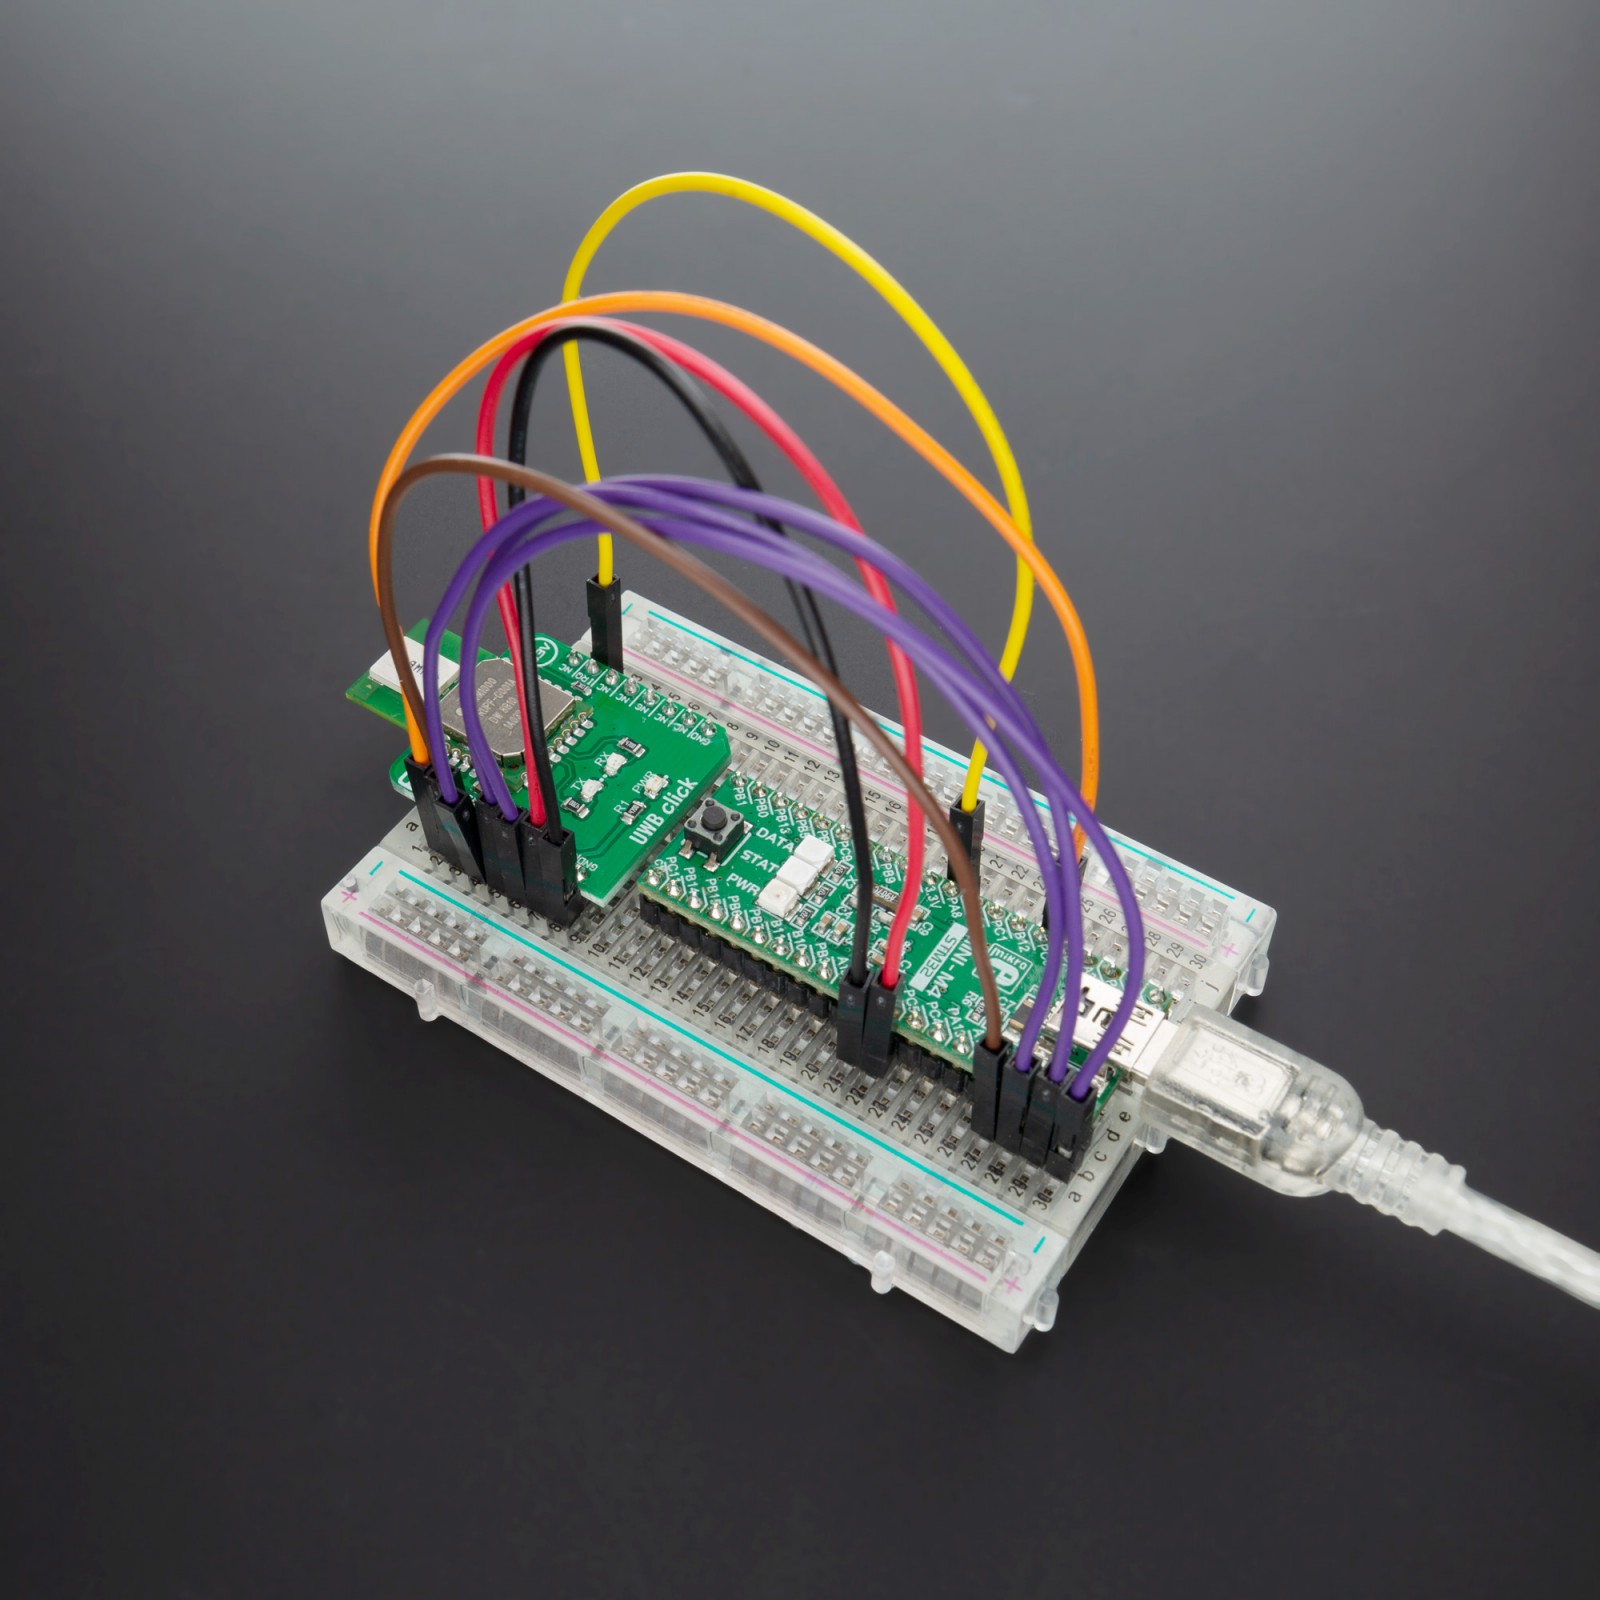
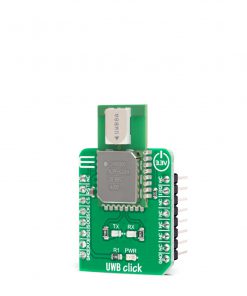
UWB Click is an Ultra-Wideband transceiver Click board™ that can be used in 2-way ranging or TDOA location systems to locate assets to a precision of 10 cm and supports data rates of up to 6.8 Mbps. This Click board™ features the DWM1000 module based on Qorvo’s DW1000 Ultra-Wideband (UWB) transceiver from Qorvo . It features a frequency range from 3.5GHz to 6.5GHz, a very precise location of tagged objects, up to 6.8Mbps data rates, low power consumption, and more while the communication with the MCU is accomplished through a standard SPI serial interface. This Click board™ is optimized for applications in real-time location systems and wireless sensor networks across a variety of markets including agriculture, building control and automation, factory automation, healthcare, safety & security, warehousing & logistics, and a range of others.
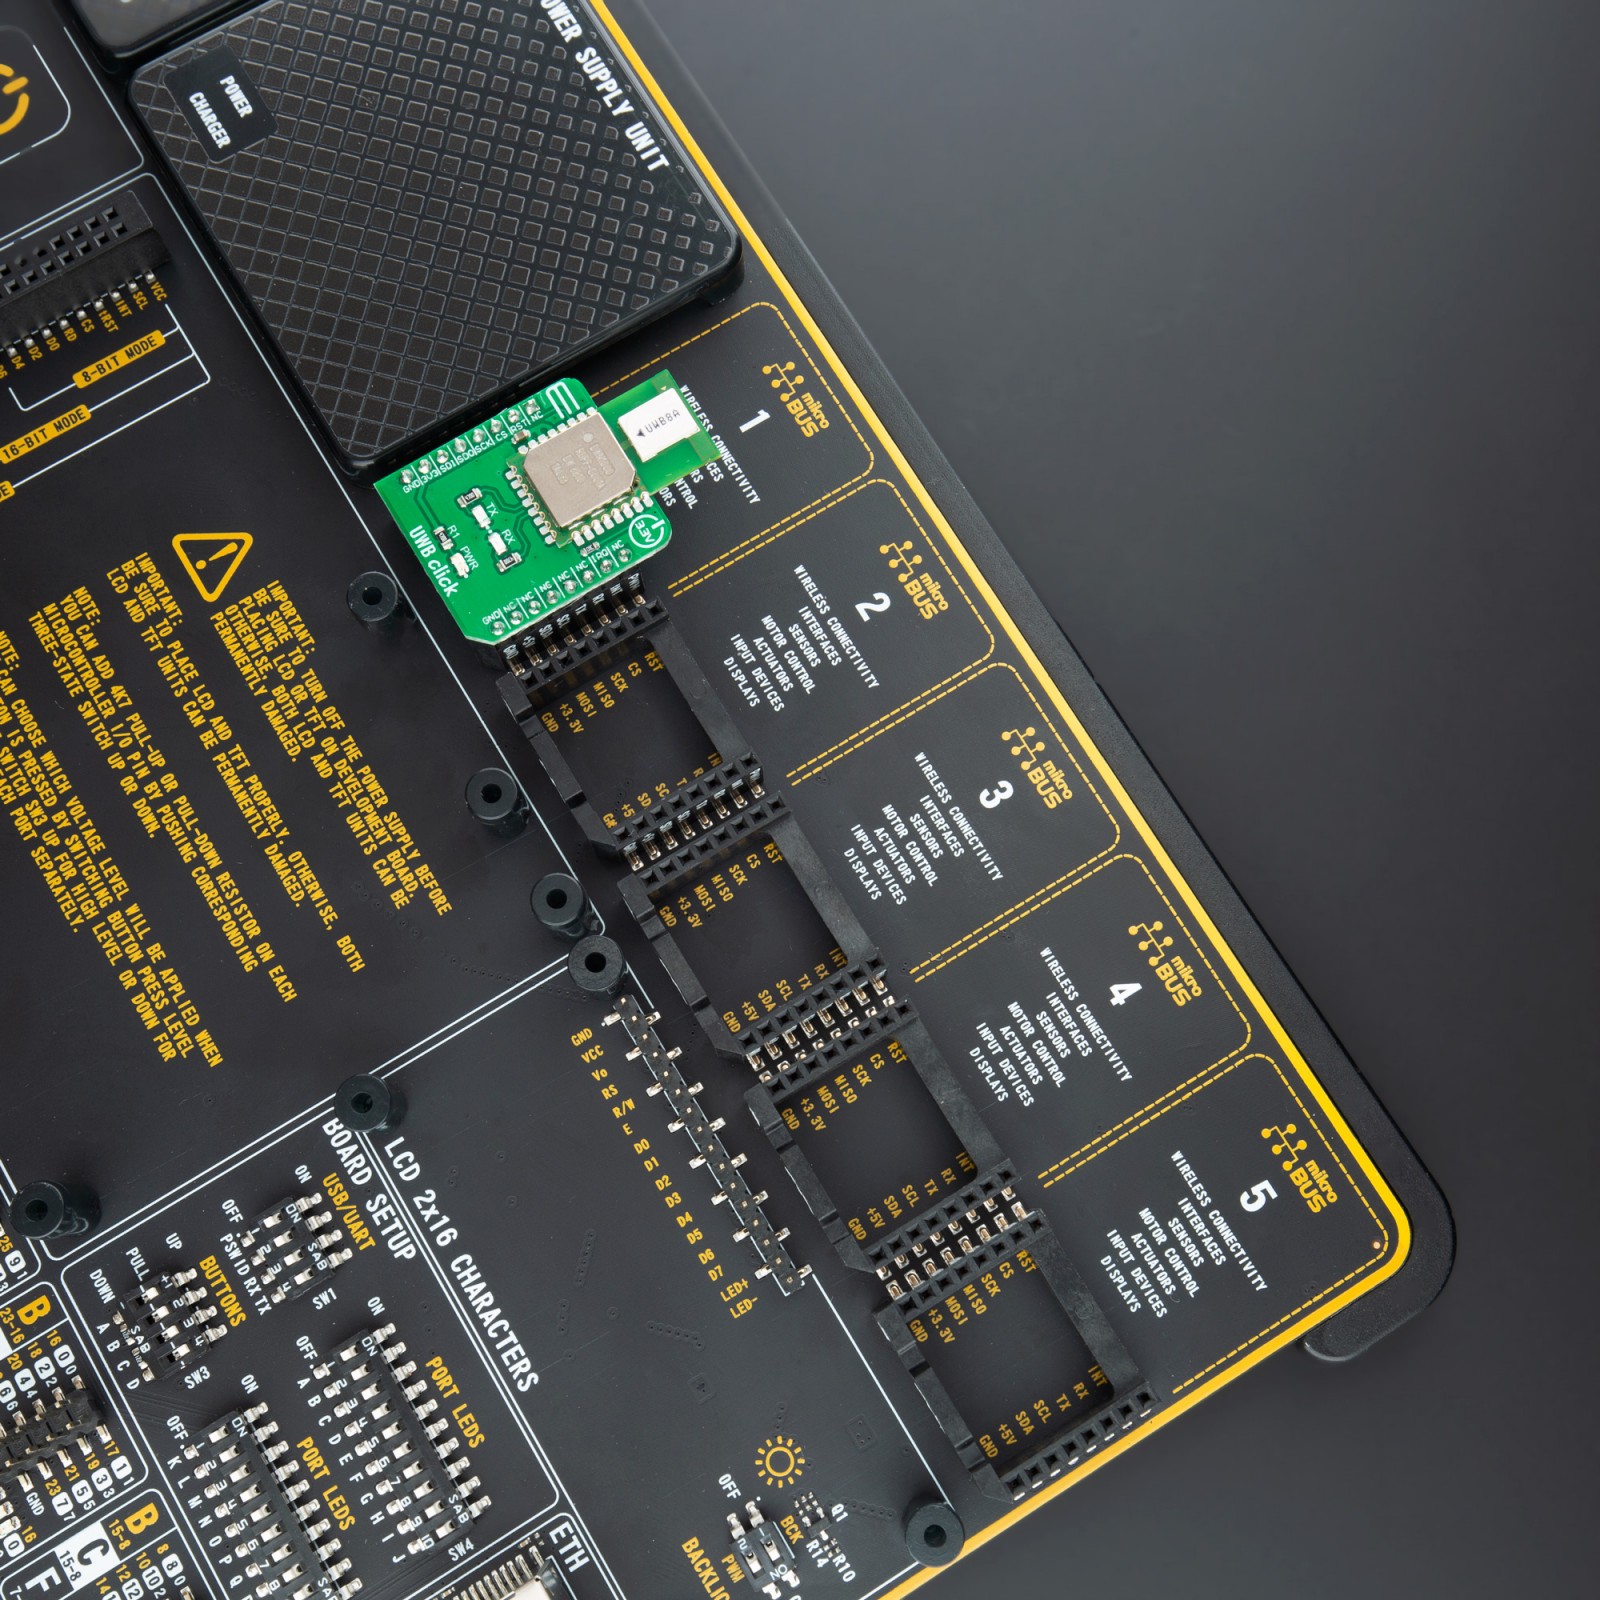
UWB Click is supported by a mikroSDK compliant library, which includes functions that simplify software development. This Click board™ comes as a fully tested product, ready to be used on a system equipped with the mikroBUS™ socket.
Stock: Lead-time applicable.
| 5+ | R1,330.00 |
| 10+ | R1,260.00 |
| 15+ | R1,190.00 |
| 20+ | R1,145.20 |
How does it work?
UWB Click is based on Qorvo’s DWM1000, UWB compliant wireless transceiver module from Qorvo Limited. RF components, Qorvo UWB transceiver, and other components reside on-module. DWM1000 enables cost-effective and reduced complexity integration of UWB communications and ranging features, greatly accelerating design implementation. This module enables the location of objects in real-time location systems (RTLS) to a precision of 10cm indoors, high data rate communications up to 6.8 Mbps, and excellent communications range of up to 300m thanks to coherent receiver techniques. The module contains an on-board 38.4 MHz reference crystal, which has been trimmed in production to reduce the initial frequency error to approximately 2 ppm, using the transceiver’s internal on-chip crystal trimming circuit.

The DWM1000 module communicates with MCU using the standard SPI serial interface with a maximum SPI frequency of 20 MHz. This module also has several GPIO pins, while in this case two of them are used to drive LED indicators that notify the user which configuration of the transceiver is used (TX or RX). Also, it possesses Reset and Interrupt pins routed to the INT and RST pin of the mikroBUS™. When power is applied to the DWM1000, the RST pin is driven low by internal circuitry as part of its power-up sequence. RST remains low until the on-module crystal oscillator has powered up and its output is suitable for use by the rest of the device, at which time RST is stated high. RST pin may also be used as an output to reset external circuitry as part of system bring-up as power is applied.
Always-On (AON) memory can be used to retain DWM1000 configuration data during the lowest power operational states when the on-chip voltage regulators are disabled. Depending on the end-use applications and the system design, DWM1000 settings may need to be tuned. To help with this tuning several built-in functions such as continuous wave TX and continuous packet transmission can be enabled. To maximize range, DWM1000 transmit power spectral density (PSD) should be set to the maximum allowable for the geographic region in which it will be used. As the module contains an integrated antenna, the transmit power can only be measured over the air. The DWM1000 provides the facility to adjust the transmit power, and these adjustments can be used to maximize transmit power whilst meeting the regulatory spectral mask.
This Click Board™ uses the SPI communication interface. It is designed to be operated only with 3.3V logic levels. A proper logic voltage level conversion should be performed before the Click board™ is used with MCUs with logic levels of 5V. More information about the DWM1000’s functionality, electrical specifications, and typical performance can be found in the attached datasheet. However, the Click board™ comes equipped with a library that contains easy to use functions and a usage example that may be used as a reference for the development.
Specifications
Type
UWB
Applications
Can be used for applications in real time location systems and wireless sensor networks across a variety of markets including agriculture, building control and automation, factory automation, healthcare, safety & security, warehousing & logistics and a range of others.
On-board modules
UWB Click is based on Decawave’s DWM1000, UWB compliant wireless transceiver module from Decawave Limited.
Key Features
Low power consumption, high precission…
Interface
GPIO,SPI
Feature
No ClickID
Compatibility
mikroBUS™
Click board size
S (28.6 x 25.4 mm)
Input Voltage
3.3V
Pinout diagram
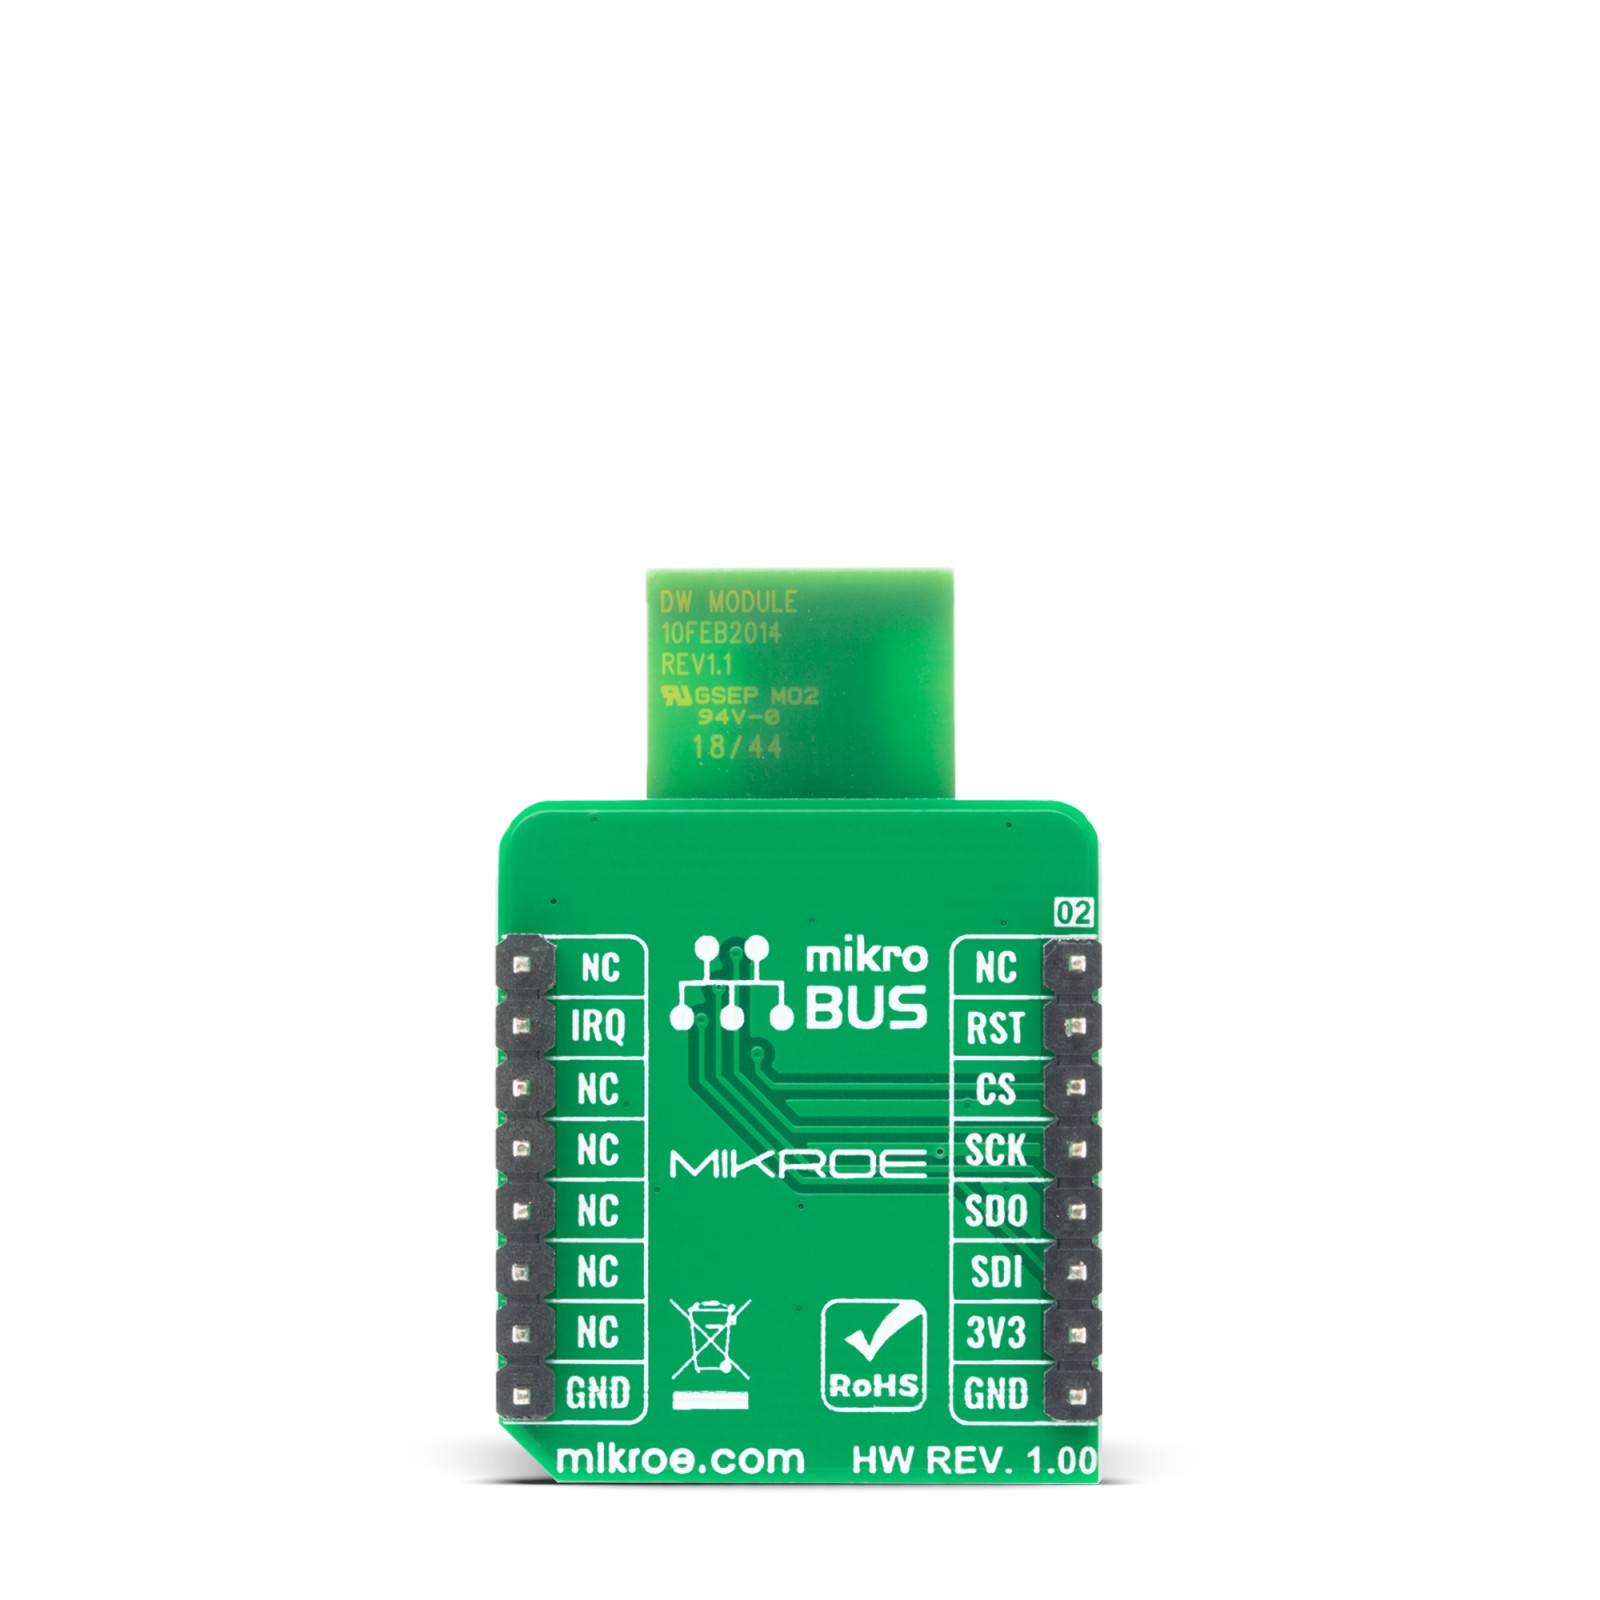
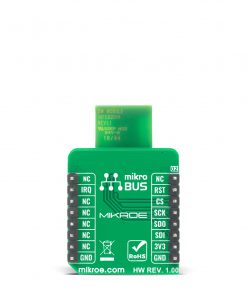
This table shows how the pinout on UWB Click corresponds to the pinout on the mikroBUS™ socket (the latter shown in the two middle columns).
Onboard settings and indicators
| Label | Name | Default | Description |
|---|---|---|---|
| LD1 | PWR | – | Power LED Indicator |
| LD2 | TX_LED | – | TX LED Indicator |
| LD3 | RX_LED | – | RX LED Indicator |
UWB Click electrical specifications
| Description | Min | Typ | Max | Unit |
|---|---|---|---|---|
| Supply Voltage | -0.3 | 3.3 | 4.0 | V |
| Digital Output Drive Current | – | 10 | – | mA |
| Frequency Range | 3244 | – | 6999 | MHz |
| Receiver Power | – | – | 0 | dBm |
| Operating Temperature Range | -40 | – | +85 | °C |
Software Support
We provide a library for the UWB Click on our LibStock page, as well as a demo application (example), developed using MikroElektronika compilers. The demo can run on all the main MikroElektronika development boards.
Library Description
Library provides complete control of device. You have communication functions for controlling device, writing, reading functions, controlling pins state. There are functions for configurating every aspect of communication, after you set every mode, channel, frequency… With function uwb_tune_config library will set some additional setting relative to previous set configuration. You can set and check communication stage with eather interrupt mask or status register. For communication you have few function like uwb_get_transmit( gets received data ), uwb_get_transmit_len( gets received data length ), uwb_set_transmit( set data to trasnimt ), and uwb_start_transceiver( starts receiving or transmiting data relative to mode set by configuration ).
Key functions:
void uwb_generic_write ( uint8_t reg_adr, uint16_t offset, uint8_t *tx_buf, uint16_t buf_len )– Writing data to devicevoid uwb_generic_read ( uint8_t reg_adr, uint16_t offset, uint8_t *rx_buf, uint16_t buf_len )– Reading data from devicevoid uwb_set_mode ( uint8_t mode )– Setting device in one working modevoid uwb_get_transmit ( uint8_t *rx_buf, uint16_t len_buf )– Get received datavoid uwb_set_transmit ( uint8_t *tx_buf, uint16_t len_buf )– Set data to transmitvoid uwb_start_transceiver ( void )– Start receiving or transmitig data
Examples description
The application is composed of three sections :
- System Initialization – Initialization of SPI module and additional pins
- Application Initialization – Mapping GPIO and SPI module, setting device working mode setting device ID and default configuration for selected mode.
- Application Task – Checks if interrupt occured for previous set mode. * TX mode: Transmit data and then set delay for 2 seconds. * RX mode: Receive data and logs it.
void application_task ( )
{
    dev_status = uwb_get_qint_pin_status(  );

    if ( UWB_MODE_RX == dev_mode )
    {
        if ( dev_status )
        {
            //Reading transtimed data logs it and reseting to receive mode
            uwb_set_mode( UWB_MODE_IDLE );
            uwb_clear_status(  );
            temp_len = uwb_get_transmit_len(  );
            uwb_get_transmit( &transmit_data[ 0 ], temp_len );
            mikrobus_logWrite( "Received data:", _LOG_TEXT );
            mikrobus_logWrite( transmit_data, _LOG_LINE );
            mikrobus_logWrite( " - Receive done - ", _LOG_LINE );
            uwb_set_mode( UWB_MODE_RX );
            uwb_start_transceiver(  );
        }
    }
    else if ( UWB_MODE_TX == dev_mode )
    {
        if ( dev_status )
        {
            //Transmits data reseting to transmit mode and setts 2sec delay
            mikrobus_logWrite( " - Transmit done - ", _LOG_LINE );
            uwb_set_mode( UWB_MODE_IDLE );
            uwb_clear_status(  );
            uwb_set_transmit( &data_tx[ 0 ], 6 );
            uwb_set_mode( UWB_MODE_TX );
            uwb_start_transceiver(  );
            Delay_ms( 2000 );
        }
    }
}
The full application code, and ready to use projects can be found on our LibStock page.
Other mikroE Libraries used in the example:
- SPI
- UART
- Conversions
Additional notes and informations
Depending on the development board you are using, you may need USB UART click, USB UART 2 click or RS232 click to connect to your PC, for development systems with no UART to USB interface available on the board. The terminal available in all MikroElektronika compilers, or any other terminal application of your choice, can be used to read the message.
mikroSDK
This Click board™ is supported with mikroSDK – MikroElektronika Software Development Kit. To ensure proper operation of mikroSDK compliant Click board™ demo applications, mikroSDK should be downloaded from the LibStock and installed for the compiler you are using.
For more information about mikroSDK, visit the official page.
Resources
Downloads
| Weight | 20 g |
|---|---|
| Brand | MikroElektronika |

