USB-C Source Click
R670.00 ex. VAT
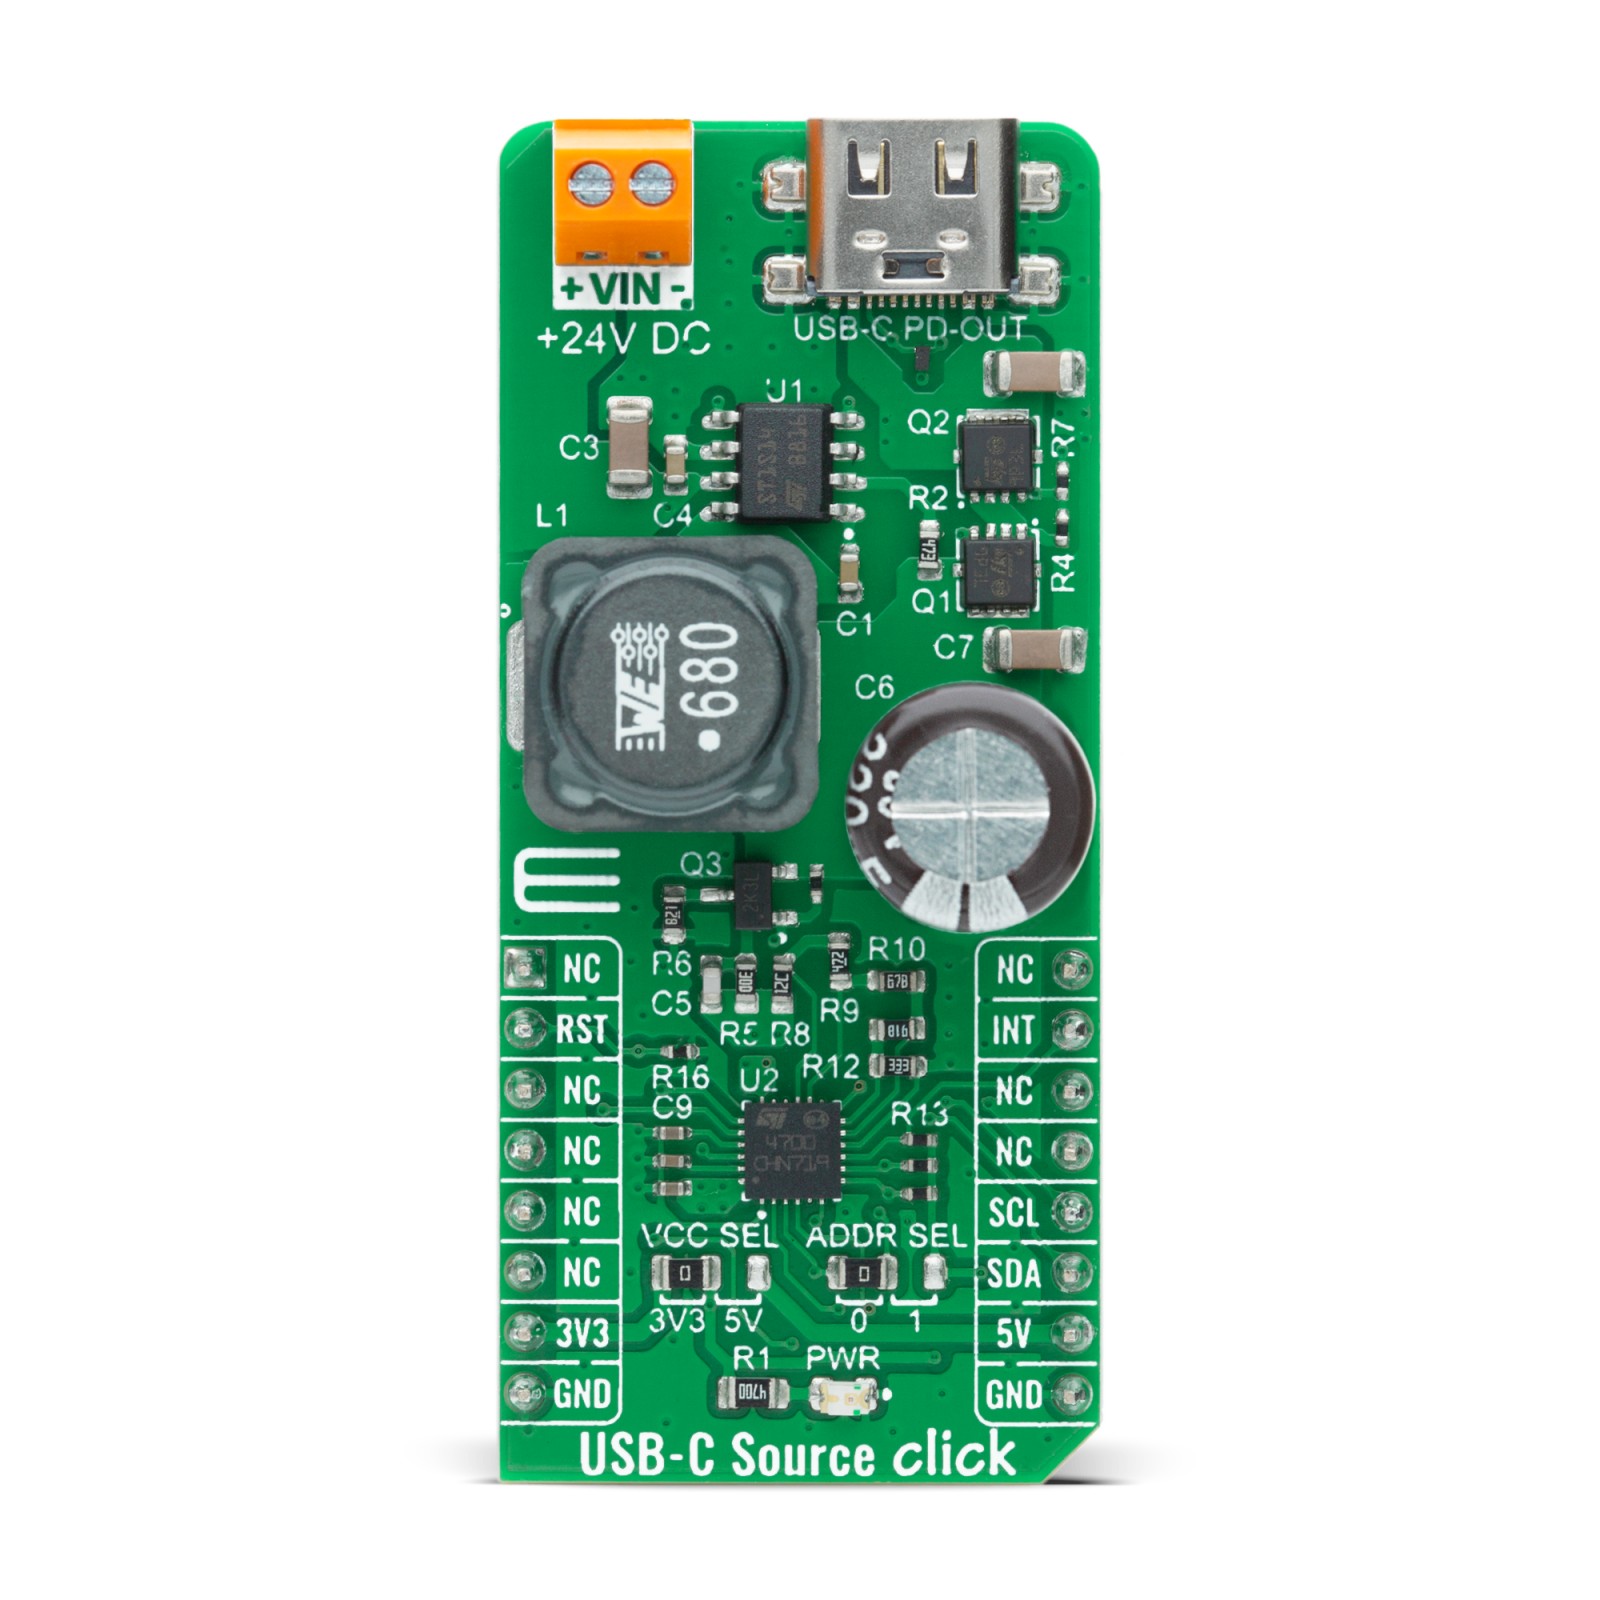
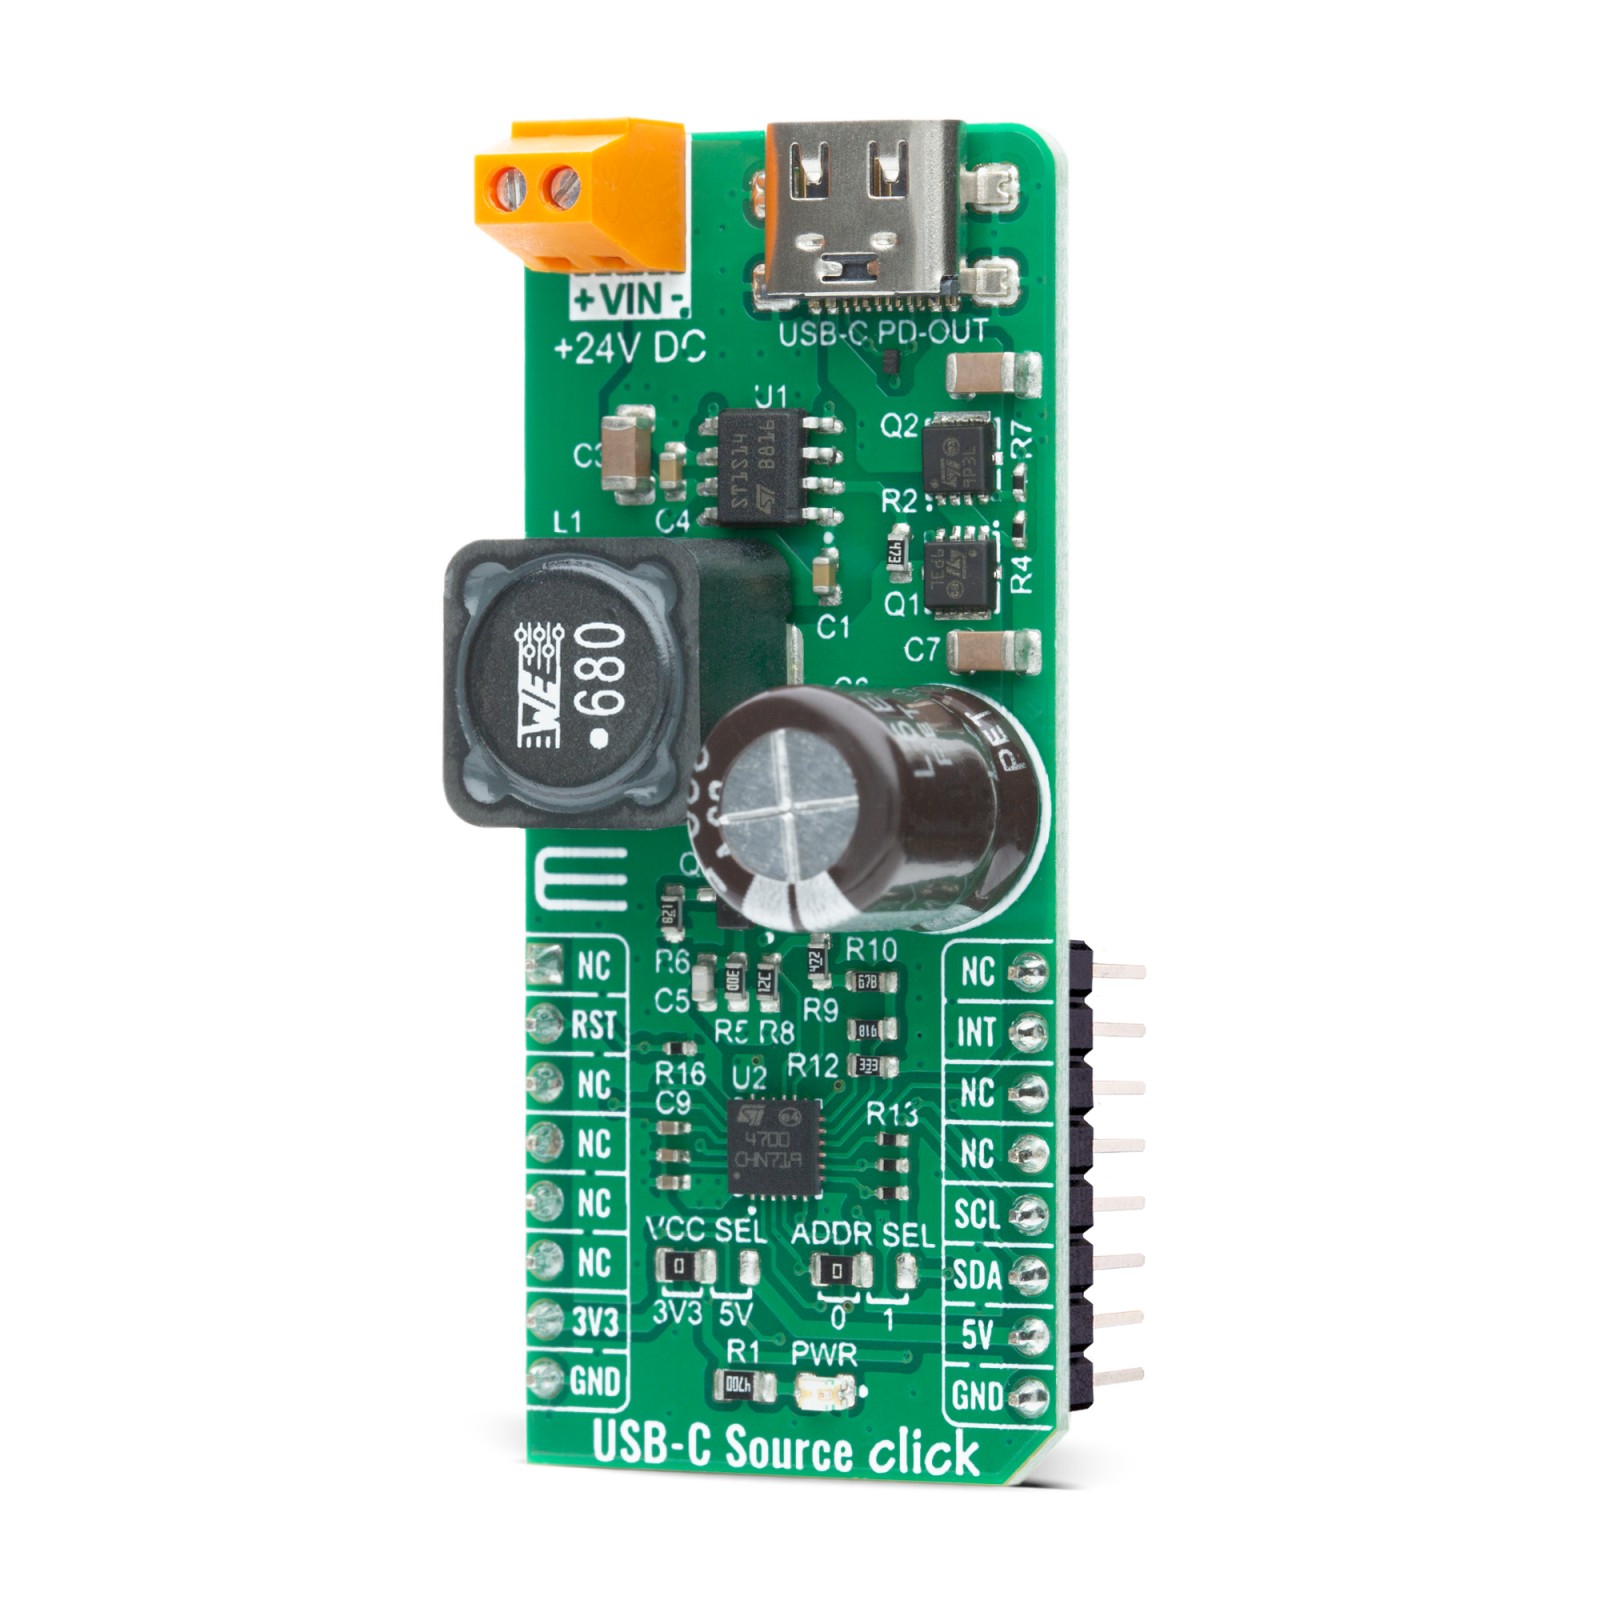
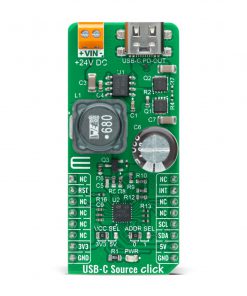
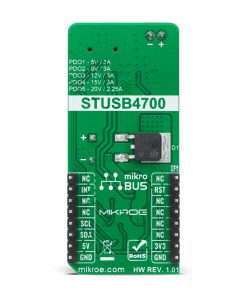
USB-C Source Click is a compact add-on board that contains a standalone autonomous USB power delivery controller. This board features the STUSB4700, an independent USB power delivery controller optimized as a provider to negotiate a given amount of power to be sourced to an inquiring consumer device from STMicroelectronics. The main functions of the STUSB4700 are discovery, configuration, and monitoring of the VBUS: Type-C low, medium, or high current mode. Additionally, it offers 5 customizable power data objects (PDOs), several GPIOs, an integrated discharge path, and is natively robust to high voltage peaks. This Click board™ is suitable for any type-C source device, AC adapters, and power supplies for computer, consumer or portable consumer applications, and more.
USB-C Source Click is supported by a mikroSDK compliant library, which includes functions that simplify software development. This Click board™ comes as a fully tested product, ready to be used on a system equipped with the mikroBUS™ socket.
Stock: Lead-time applicable.
| 5+ | R636.50 |
| 10+ | R603.00 |
| 15+ | R569.50 |
| 20+ | R548.06 |
How does it work?
USB-C Source Click is based on the STUSB4700, a standalone autonomous USB power delivery controller optimized as a provider to negotiate a given amount of power to be sourced to an inquiring consumer device from STMicroelectronics. Combining high-voltage capability with low power consumption, the STUSB4700 can be safely used in systems that handle high voltage on the VBUS power path. The device integrates an internal circuitry on the CC pins that tolerate high voltage and ensures protection up to 22 V in case of unexpected short circuit with VBUS or in case of connection to a device supplying high voltage on VBUS.

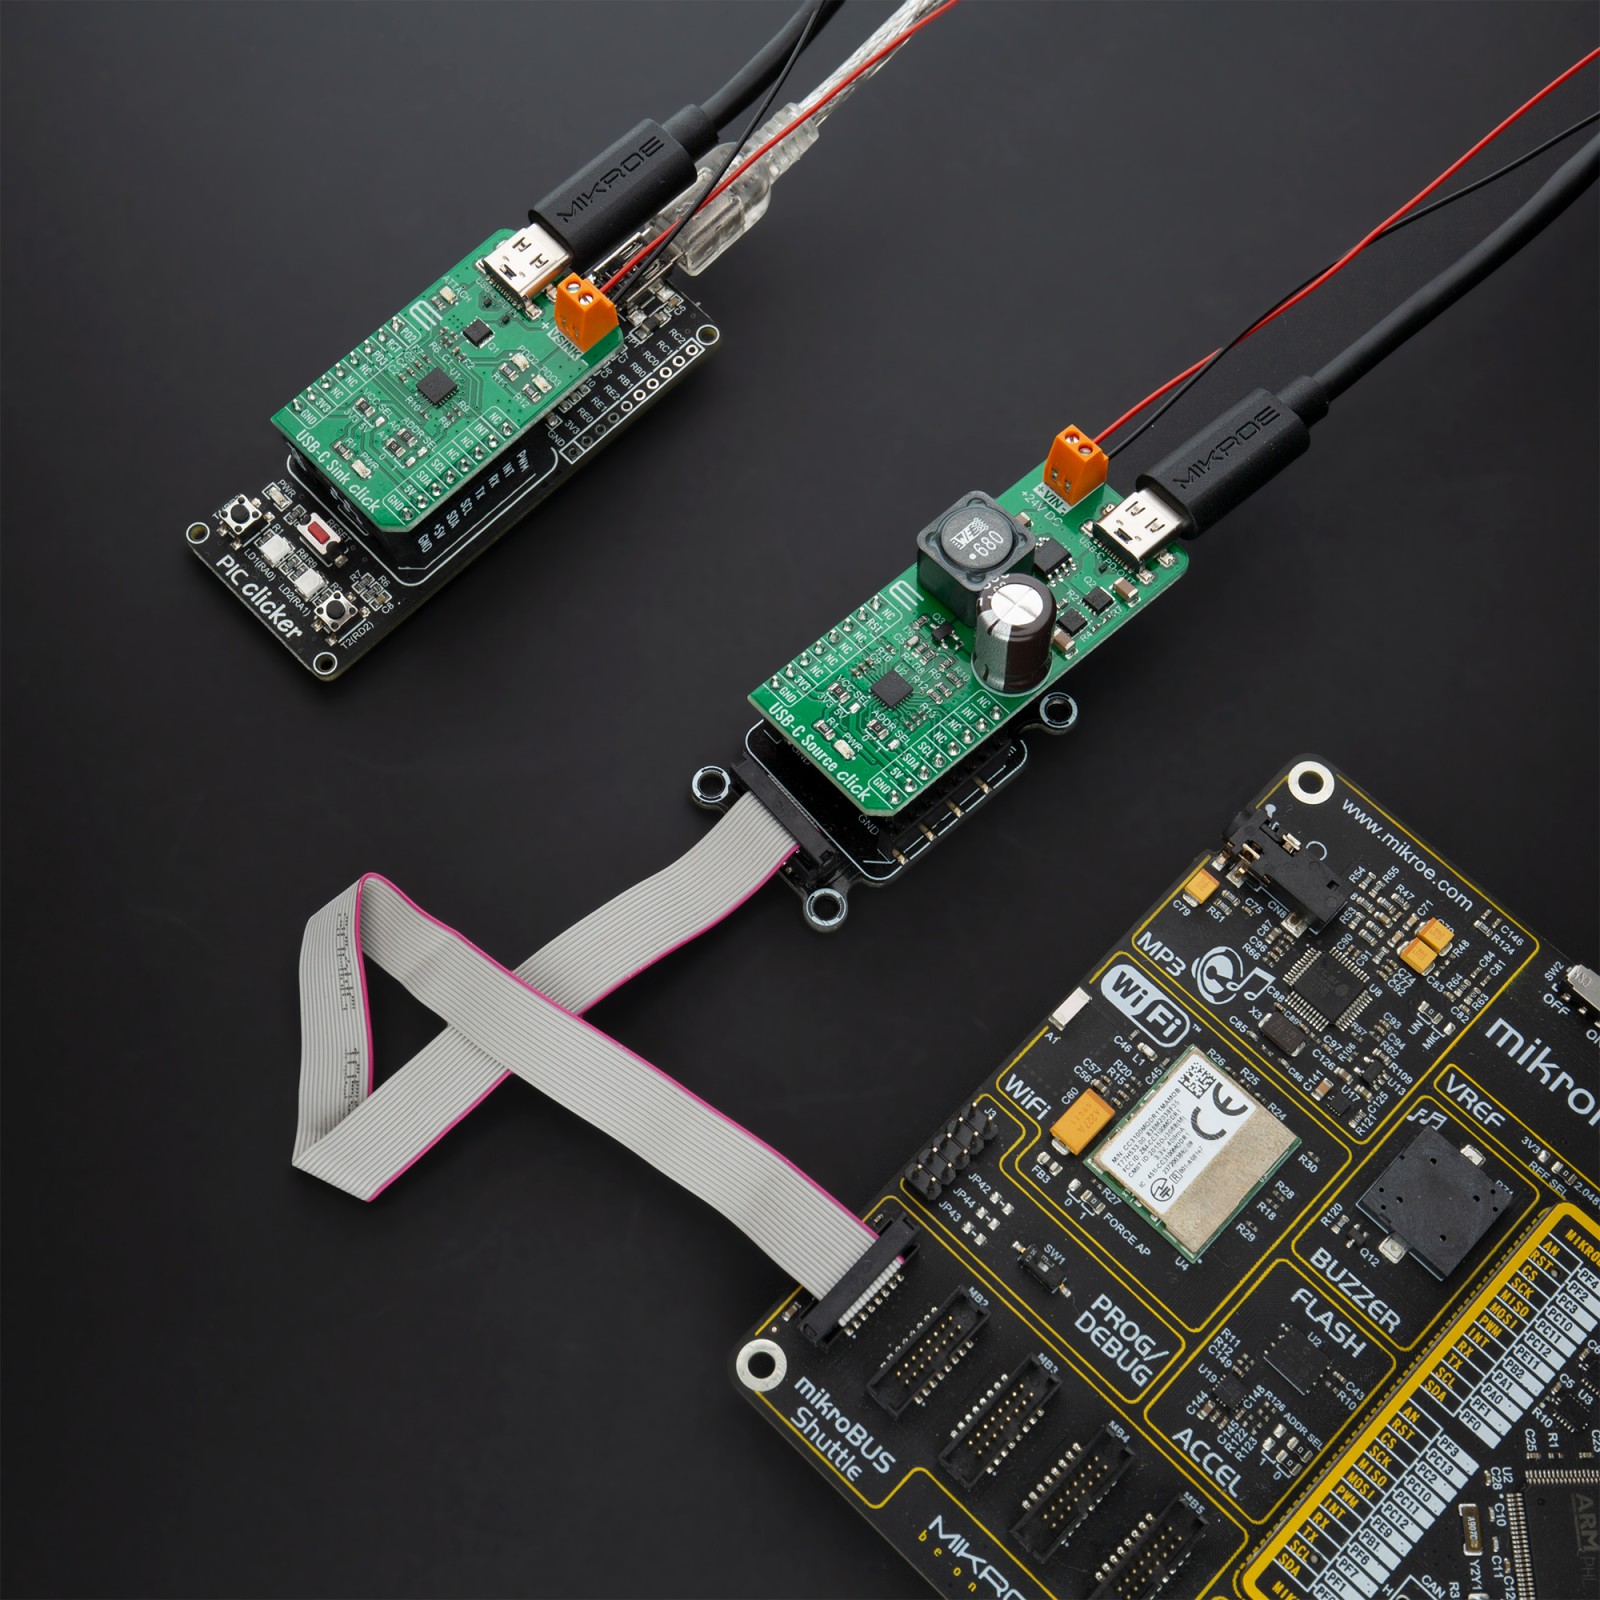
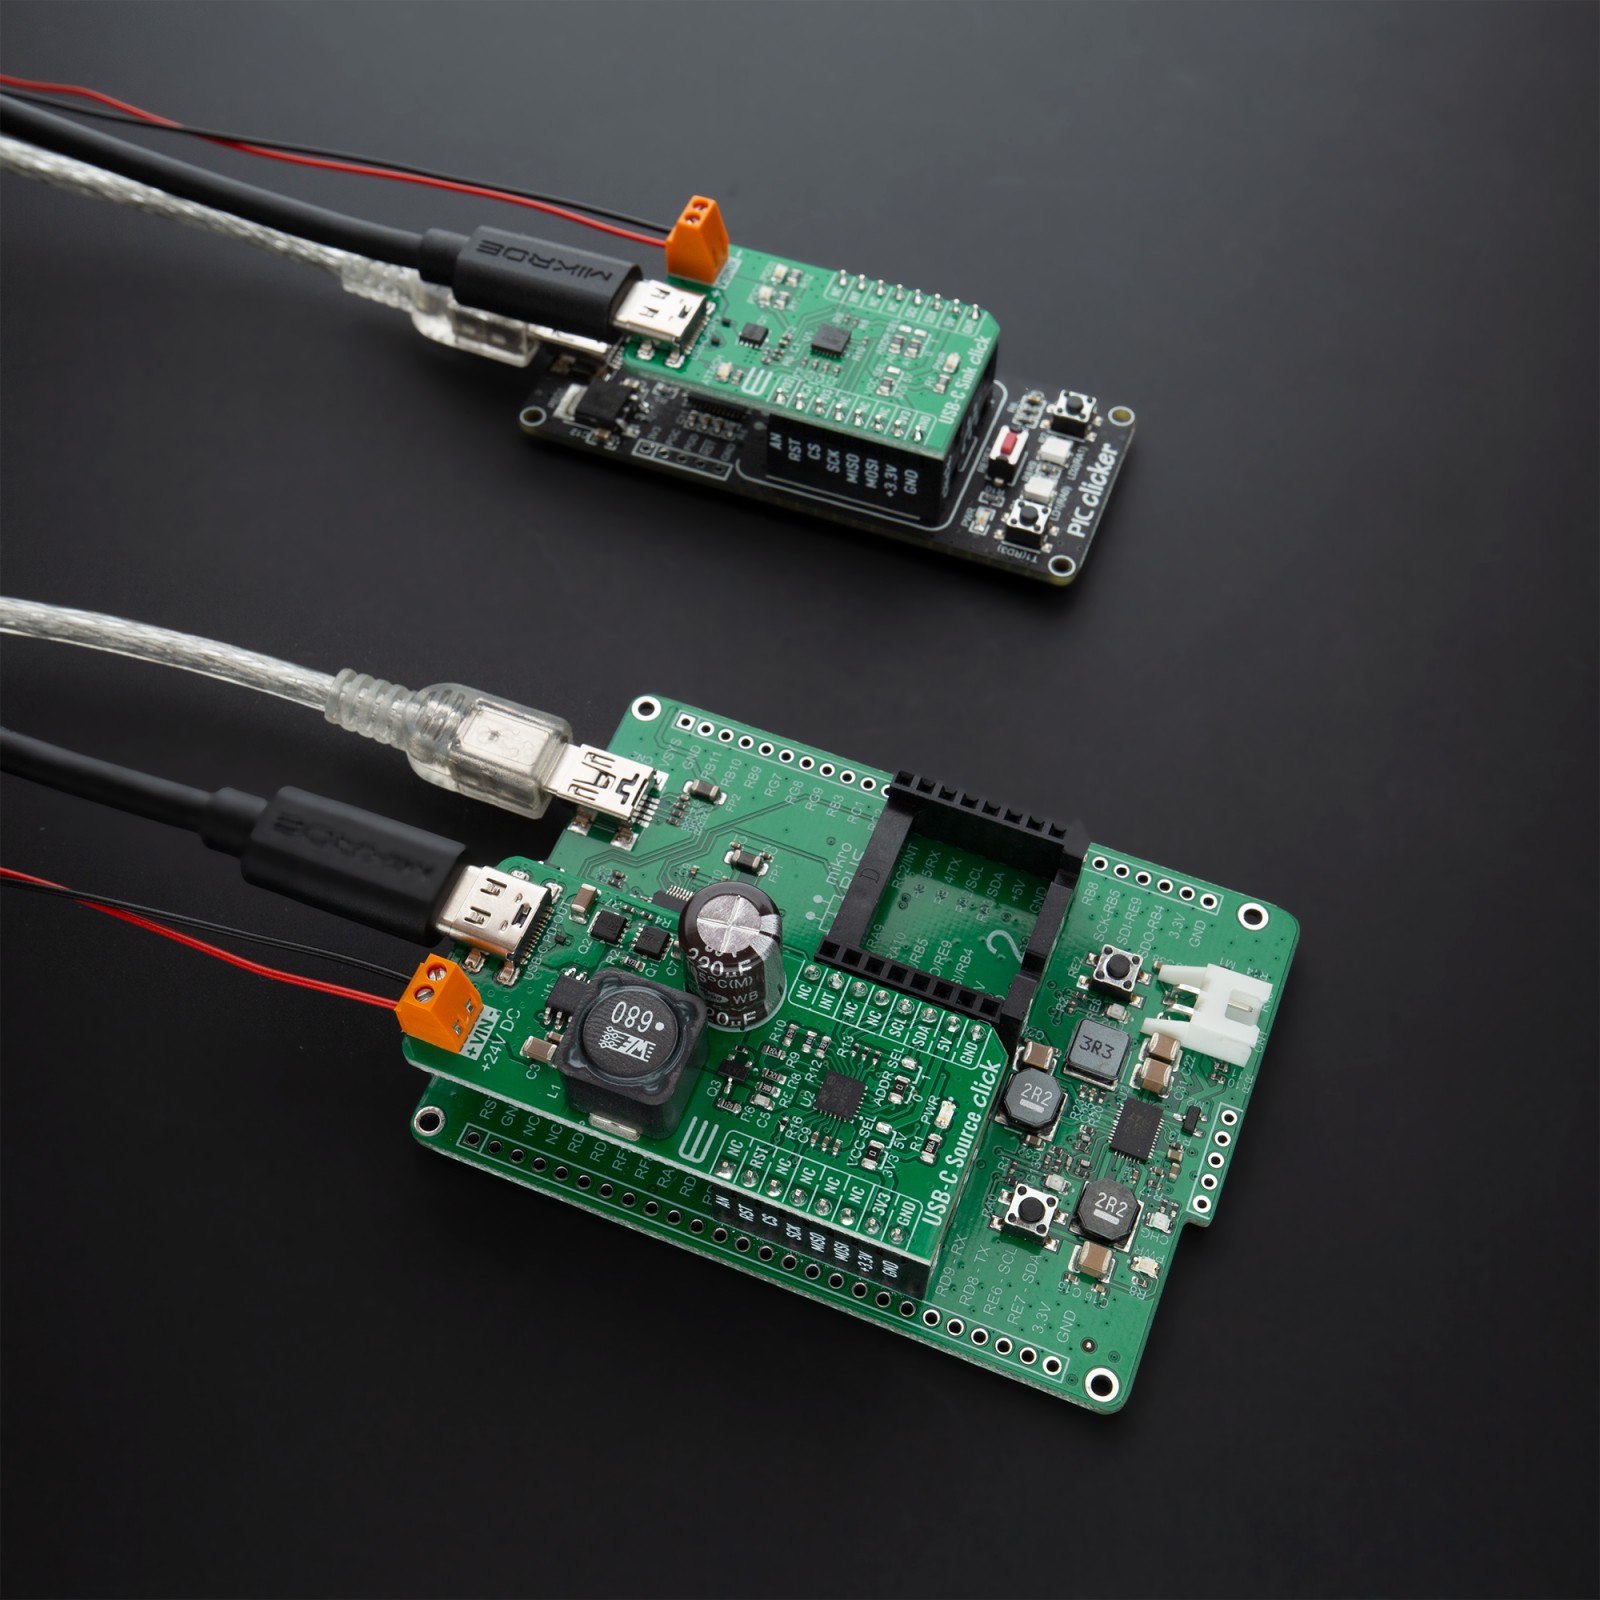
This Click board™ is powered from an external power supply voltage terminal to which a fixed voltage value of 24V is applied. After that, an input supply voltage goes through the ST1S14, a step-down monolithic power switching regulator able to deliver up to 3A DC current to the load depending on the application conditions also from STMicroelectronics. This Buck regulator establishes communication with another Sink device via a USB connector that represents a Power Delivery Output Connector.
In the source power role, the STUSB4700’s VBUS_EN_SRC pin allows the enabling of the outgoing VBUS power when the connection to a sink is established and VBUS is in the valid operating range. The open-drain output allows a PMOS transistor to be driven directly. It also has the VBUS_SENSE pin used to sense VBUS presence, monitor VBUS voltage, and discharge VBUS on the USB Type-C receptacle side.
The STUSB4700 communicates with MCU using the standard I2C 2-wire interface that supports transfers up to 400 Kbit/s (Fast Mode) used to configure, control, and read the status of the device. It also has the possibility of the USB Power Delivery communication over CC1 and CC2 configuration channel pins used for connection and attachment detection, plug orientation determination, and system configuration management across USB Type-C cable. Two addresses are available by default (0x28 and 0x29) depending on the setting of the address pin ADDR0 of the STUSB4700 programmed by the user, which determines the LSB of the slave address, and it can be selected by onboard SMD jumper labeled as ADDR SEL allowing selection of the slave address LSB.
Additional functionality, such as Reset and ‘Alert’ interrupt is provided and routed at RST and INT pins of the mikroBUS™ socket. The RST pin resets all analog signals, states machine, and reloads configuration, while an interrupt output labeled as INT represents alarm output.
This Click board™ is designed to be operated with both 3.3V and 5V logic voltage levels that can be selected via VCC SEL jumper. This allows for both 3.3V and 5V capable MCUs to use the I2C communication lines properly. However, the Click board™ comes equipped with a library that contains easy to use functions and an example code that can be used as a reference for further development.
Specifications
Type
USB-C PD
Applications
Can be used for any type-C source device, AC adapters, and power supplies for computer, consumer or portable consumer applications, and more.
On-board modules
USB-C Source Click is based on the STUSB4700, a standalone autonomous USB power delivery controller optimized as a provider to negotiate a given amount of power to be sourced to an inquiring consumer device from STMicroelectronics.
Key Features
Low power consumption, high-voltage capability, support full USB PD negotiation for Source applications, built-in over-voltage protection, and more.
Interface
I2C
Feature
No ClickID
Compatibility
mikroBUS™
Click board size
L (57.15 x 25.4 mm)
Input Voltage
3.3V or 5V
Pinout diagram
This table shows how the pinout on USB-C Source Click corresponds to the pinout on the mikroBUS™ socket (the latter shown in the two middle columns).
Onboard settings and indicators
| Label | Name | Default | Description |
|---|---|---|---|
| LD1 | PWR | – | Power LED Indicator |
| JP1 | VCC SEL | Left | Power Supply Voltage Selection 3V3/5V: Left position 3V3, Right position 5V |
| JP2 | ADDR SEL | Left | I2C Address Selection: Left position 0, Right position 1 |
USB-C Source Click electrical specifications
| Description | Min | Typ | Max | Unit |
|---|---|---|---|---|
| Supply Voltage | – | 24 | – | V |
| Supply Voltage on CC pins | -0.3 | – | 3.5 | V |
| Operating Supply Current | – | 188 | – | μA |
| Operating Temperature Range | -40 | – | +105 | °C |
Software Support
We provide a library for the USB-C Source Click on our LibStock page, as well as a demo application (example), developed using MikroElektronika compilers. The demo can run on all the main MikroElektronika development boards.
Library Description
The library covers all the necessary functions to control USB-C Source Click board™. A library performs the communication with the device via I2C interface.
Key functions:
void usbcsource_default_config ( void )– Default configuration function.uint8_t usbcsource_get_pdo_config ( uint8_t pdo_numb, pdo_config_t *pdo_cfg_data )– Get PDO configuration function.void usbcsource_get_port_status ( port_status_t *port_status_data )– Get port status function.
Examples description
The application is composed of three sections :
- System Initialization – Initializes I2C and start to write log.
- Application Initialization – Initialization driver enables – I2C, set hardware reset and default configuration and display configuration of the five PDOs, also write log.
- Application Task – (code snippet) This is an example that demonstrates the use of the USB-C Source Click board™. In this example, we show port status, monitoring, and connections. All data logs write on USB uart changes every 5 sec.
void application_task ( )
{
    usbcsource_get_port_status( &port_status );
    display_port_status( );
    Delay_ms( 100 );
    mikrobus_logWrite( "- - - - - - - - - - - - - -", _LOG_TEXT );
    mikrobus_logWrite( "- - - - - - - - - - - - - -", _LOG_LINE );

    usbcsource_get_monitoring_status( &monitor_status );
    display_monitoring_status( );
    Delay_ms( 100 );
    mikrobus_logWrite( "- - - - - - - - - - - - - -", _LOG_TEXT );
    mikrobus_logWrite( "- - - - - - - - - - - - - -", _LOG_LINE );

    usbcsource_get_connection_status( &conn_status );
    display_connection_status( );
    Delay_ms( 100 );
    mikrobus_logWrite( "---------------------------", _LOG_TEXT );
    mikrobus_logWrite( "---------------------------", _LOG_LINE );
    Delay_ms( 5000 );
}
Additional Functions :
void display_port_status ( )– Display port status info.void display_monitoring_status ( )– Display monitoring status info.void display_connection_status ( )– Display connection status info.
The full application code, and ready to use projects can be found on our LibStock page.
Other mikroE Libraries used in the example:
- I2C
- UART
- Conversions
Additional notes and informations
Depending on the development board you are using, you may need USB UART click, USB UART 2 click or RS232 click to connect to your PC, for development systems with no UART to USB interface available on the board. The terminal available in all MikroElektronika compilers, or any other terminal application of your choice, can be used to read the message.
mikroSDK
This Click board™ is supported with mikroSDK – MikroElektronika Software Development Kit. To ensure proper operation of mikroSDK compliant Click board™ demo applications, mikroSDK should be downloaded from the LibStock and installed for the compiler you are using.
For more information about mikroSDK, visit the official page.
Resources
Downloads
| Weight | 28 g |
|---|---|
| Brand | MikroElektronika |

