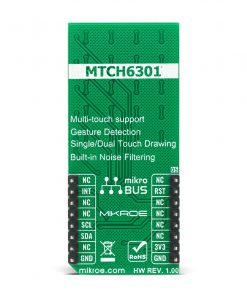
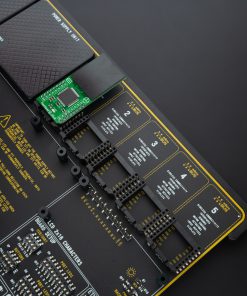
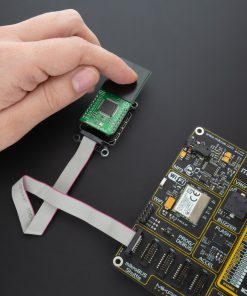
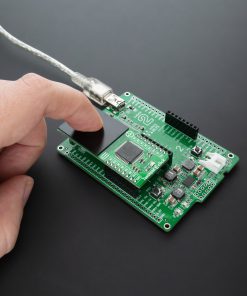
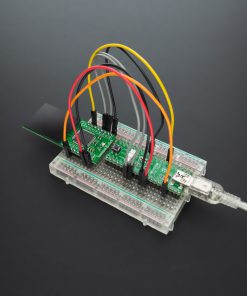
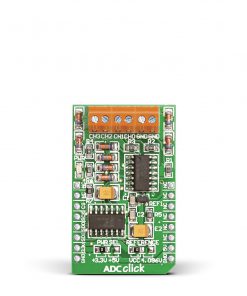
Touchpad 3 Click
R235.00 ex. VAT
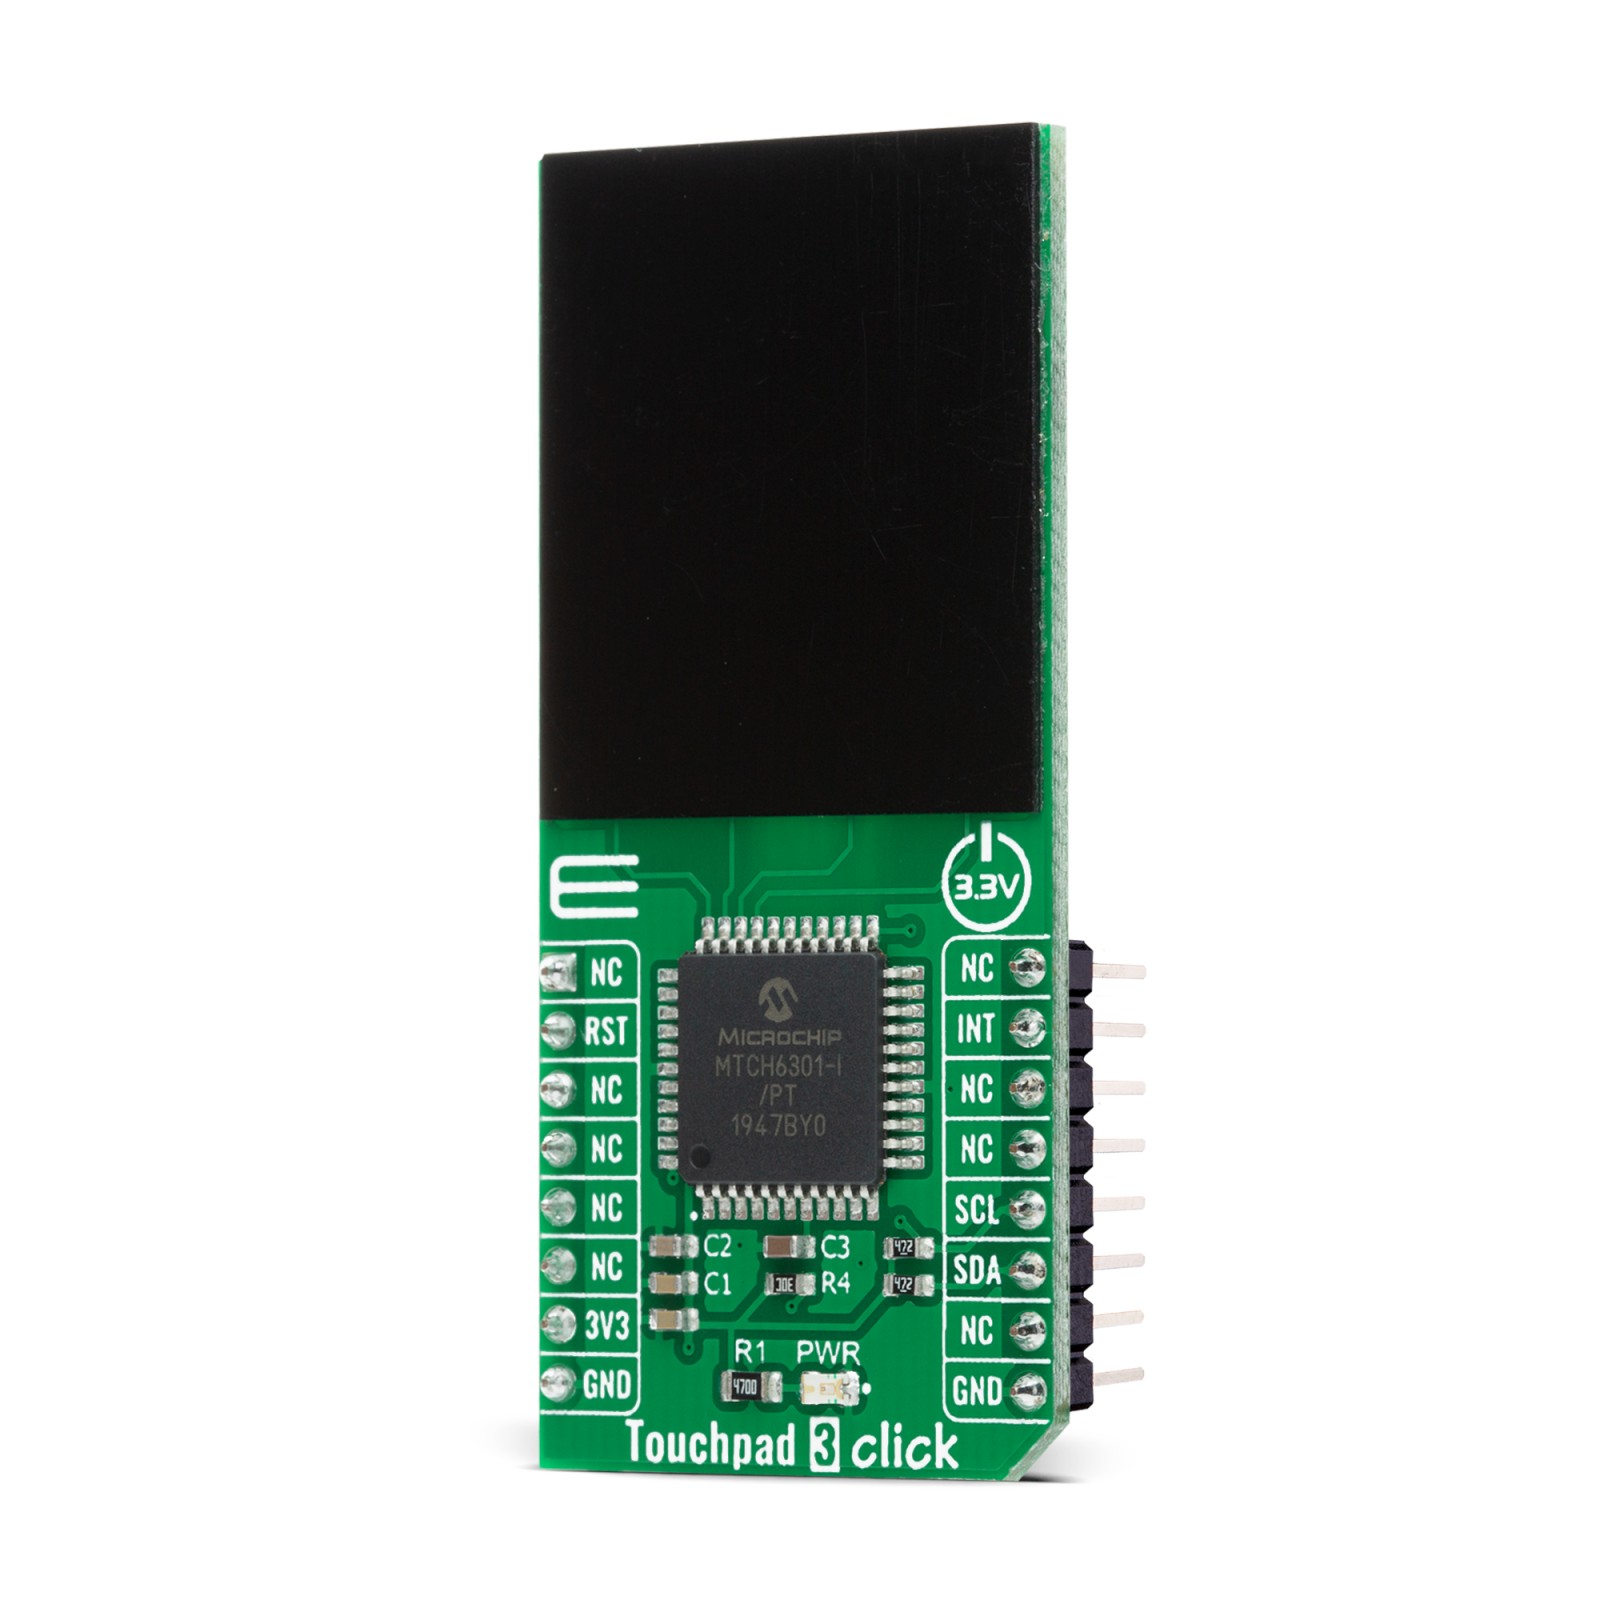
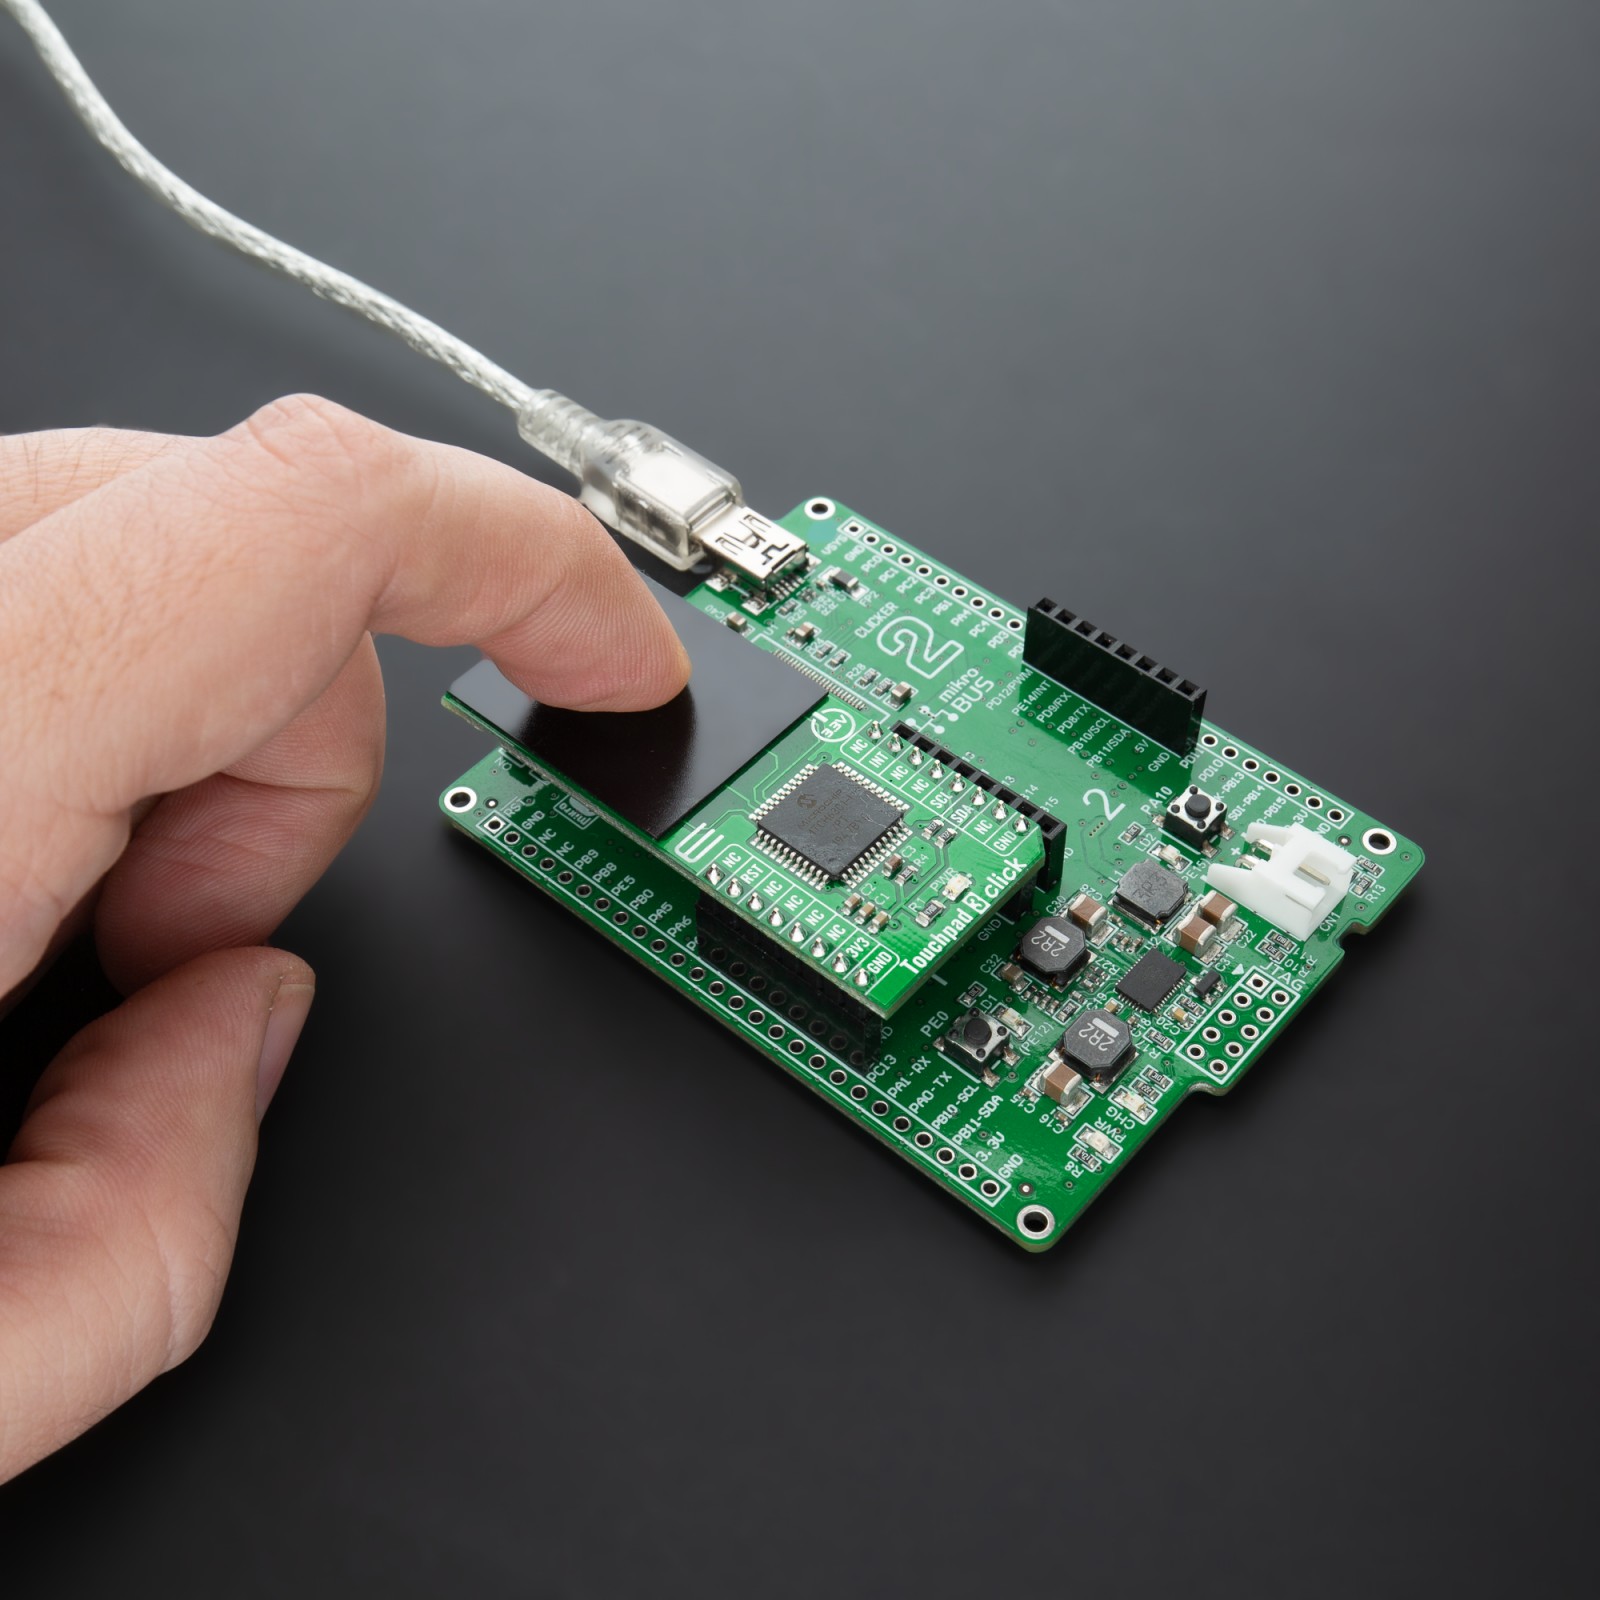
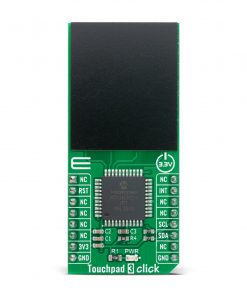
Touchpad 3 Click is a compact add-on board that allows users to easily integrate projected capacitive touch into their applications. This board features the MTCH6301, a turnkey capacitive touch controller that makes it easy for users to use popular multitouch and gesture interfaces from Microchip. This controller’s sophisticated combination of Self and Mutual capacitive scanning for XY touchscreens and touchpads enables several features, including single and dual-touch drawing, the reporting of 11 single-finger gestures, and the detection of up to 10 touches. This Click board™ is suitable for human-machine interfaces, keypad or scrolling functions, single-finger gesture-based interfaces, and more.
Touchpad 3 Click is supported by a mikroSDK compliant library, which includes functions that simplify software development. This Click board™ comes as a fully tested product, ready to be used on a system equipped with the mikroBUS™ socket.
Stock: Lead-time applicable.
| 5+ | R223.25 |
| 10+ | R211.50 |
| 15+ | R199.75 |
| 20+ | R192.23 |
How does it work?
Touchpad 3 Click is based on the MTCH6301, a turnkey capacitive touch controller that allows users to quickly and easily integrate projected capacitive touch into their applications from Microchip. The MTCH6301 is characterized by a multitouch function that allows up to 10 pad touches, gesture detection and reporting, single and dual touch drawing, self or mutual signal acquisition, as well as built-in noise detection and filtering. Single finger gestures are a fast and intuitive way to navigate a feature-rich human-machine interface. It supports 11 single finger gestures natively, without requiring interaction from the master processor.

On the front side of the Touchpad 3 Click, there is a clearly defined field that represents a touchpad area. This area is a matrix of conductive electrodes on the PCB, electrically isolated from each other, arranged as rows and columns of X and Y. An electrode consists of multiple diamond-shaped elements, each connected to the next with a conductive neck.
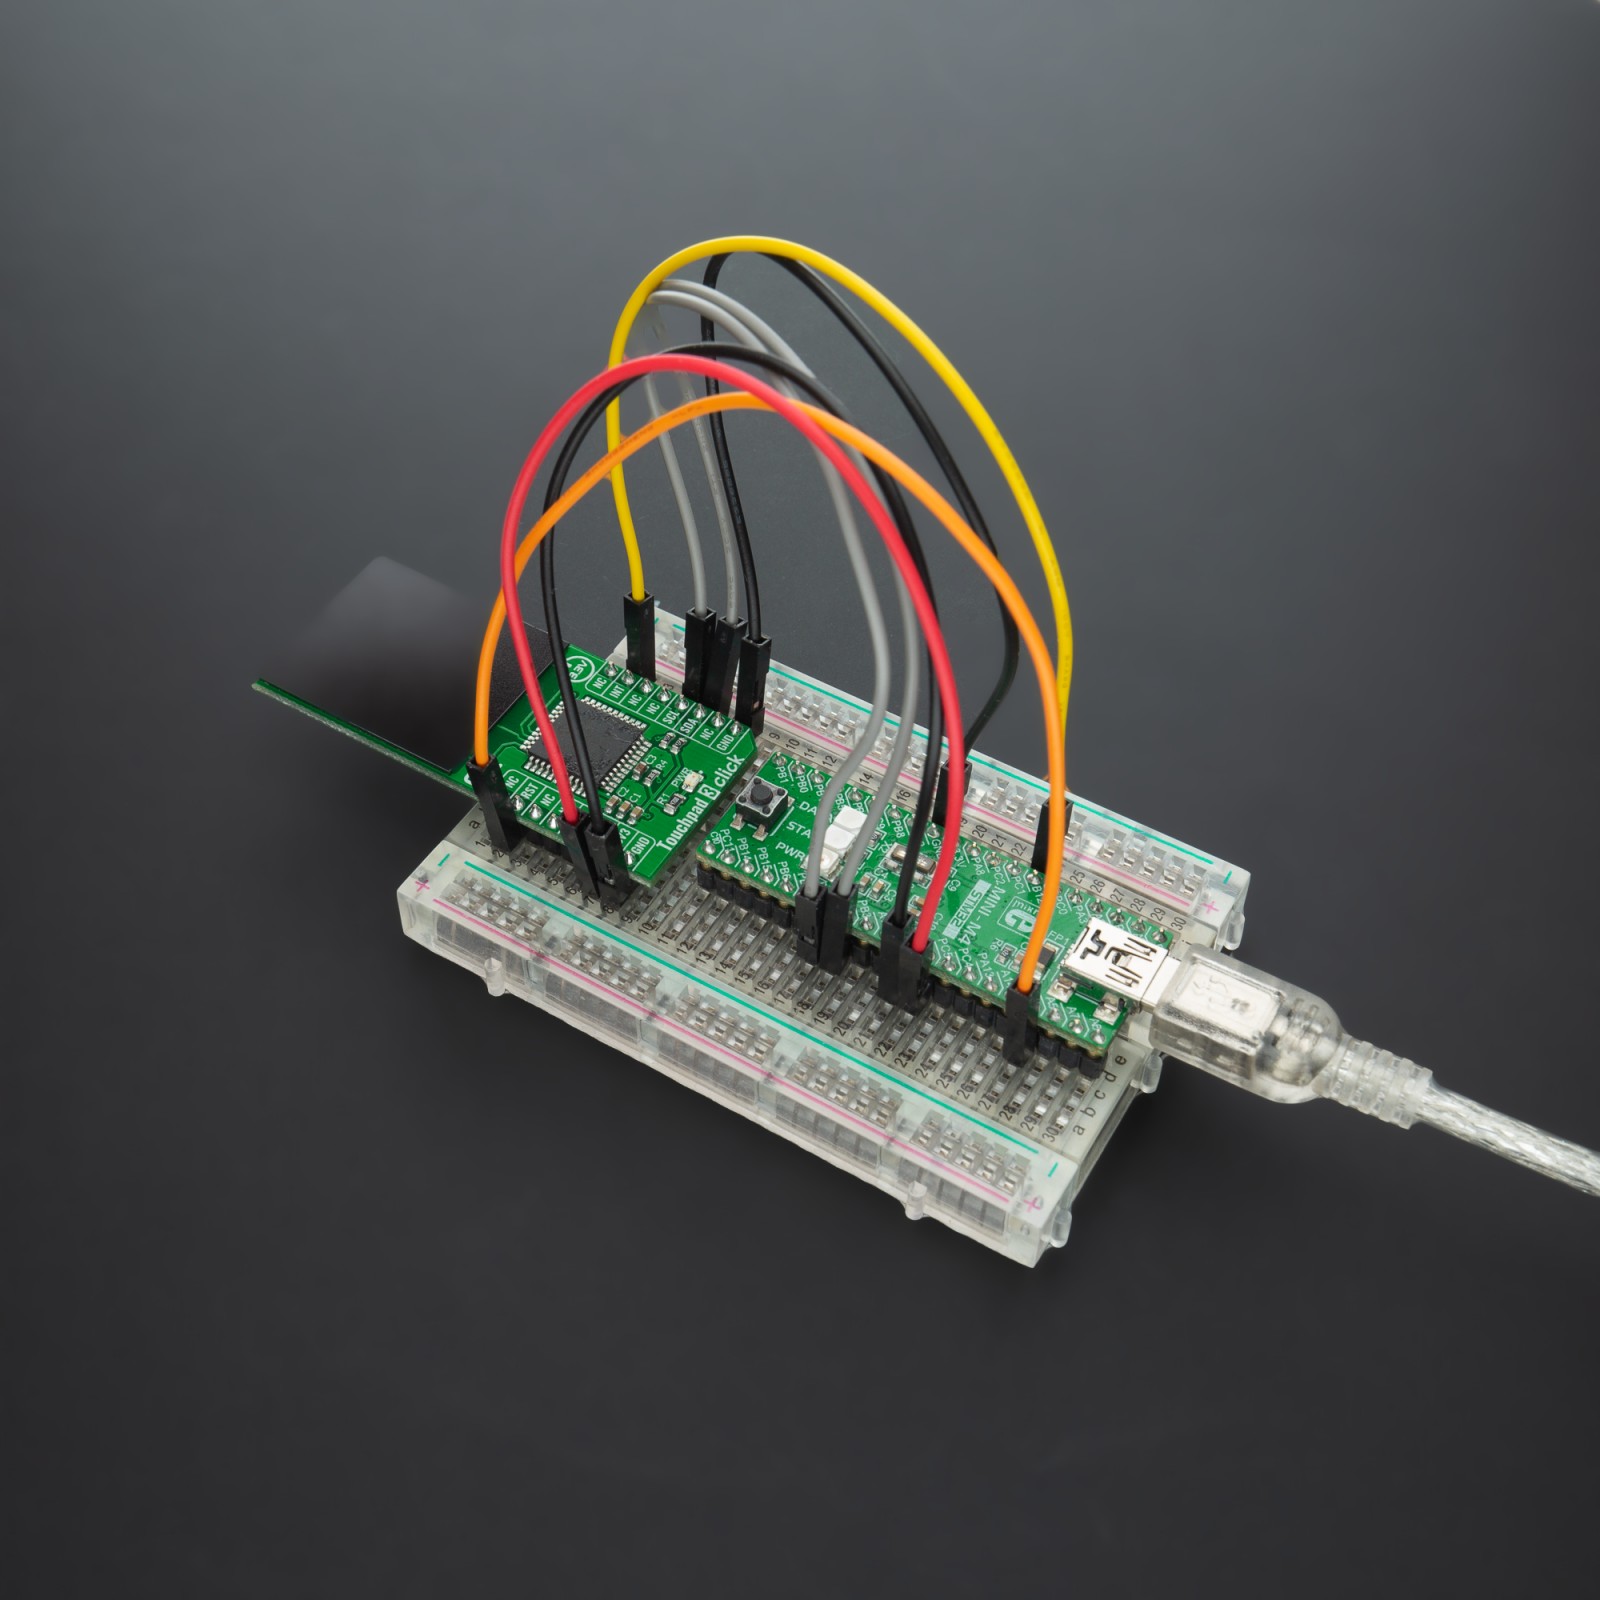
Touchpad 3 Click communicates with MCU using the standard I2C 2-Wire interface that can operate at a maximum speed of 400kbps. The MTCH6301 I2C protocol follows a serial streaming format, not a register-based protocol. For successfully accomplished I2C protocol, the device will assert the active-high INT pin, which is held low during all other activities, whenever a new packet of data is ready to be transmitted to the host. This event can happen under two conditions, when a command has been sent to the controller and when the new touch or gesture data is available, or when the response to this command is ready.
The INT pin, as mentioned before, routed on the INT pin of the mikroBUS™ socket, is utilized by MTCH6301 to signal when the data is available and that the master controller should invoke a master read. Alongside this feature, this Click board™ also has a Reset function routed on the RST pin of the mikroBUS™ socket that will reset the MTCH6301 by driving the RST pin low. When released, the device will assert the INT pin until it has finished initialization routines. For ease of use, the MTCH6301 has the recommended Start-Up sequence that can also be found in the example code that Mikroe offers to its users.
NOTE: Initiating a read from the device when INT is in a low logic state will result in an unpredictable response. Also, if the device is not read within 25ms of asserting the INT pin, a timeout will occur, and data will no longer be available.
This Click board™ is designed to be operated only with a 3.3V logic voltage level. A proper logic voltage level conversion should be performed before the Click board™ is used with MCUs with different logic levels. However, the Click board™ comes equipped with a library that contains easy to use functions and an example code that can be used as a reference for further development.
Specifications
Type
Capacitive
Applications
Can be used for human-machine interfaces, keypad or scrolling functions, single-finger gesture-based interfaces, and more.
On-board modules
Touchpad 3 Click is based on the MTCH6301, a turnkey capacitive touch controller that allows users to quickly and easily integrate projected capacitive touch into their applications from Microchip.
Key Features
Multi-touch feature, gesture detection and reporting, single and dual touch drawing, self and mutual signal acquisition, and more.
Interface
I2C
Feature
No ClickID
Compatibility
mikroBUS™
Click board size
L (57.15 x 25.4 mm)
Input Voltage
3.3V
Pinout diagram
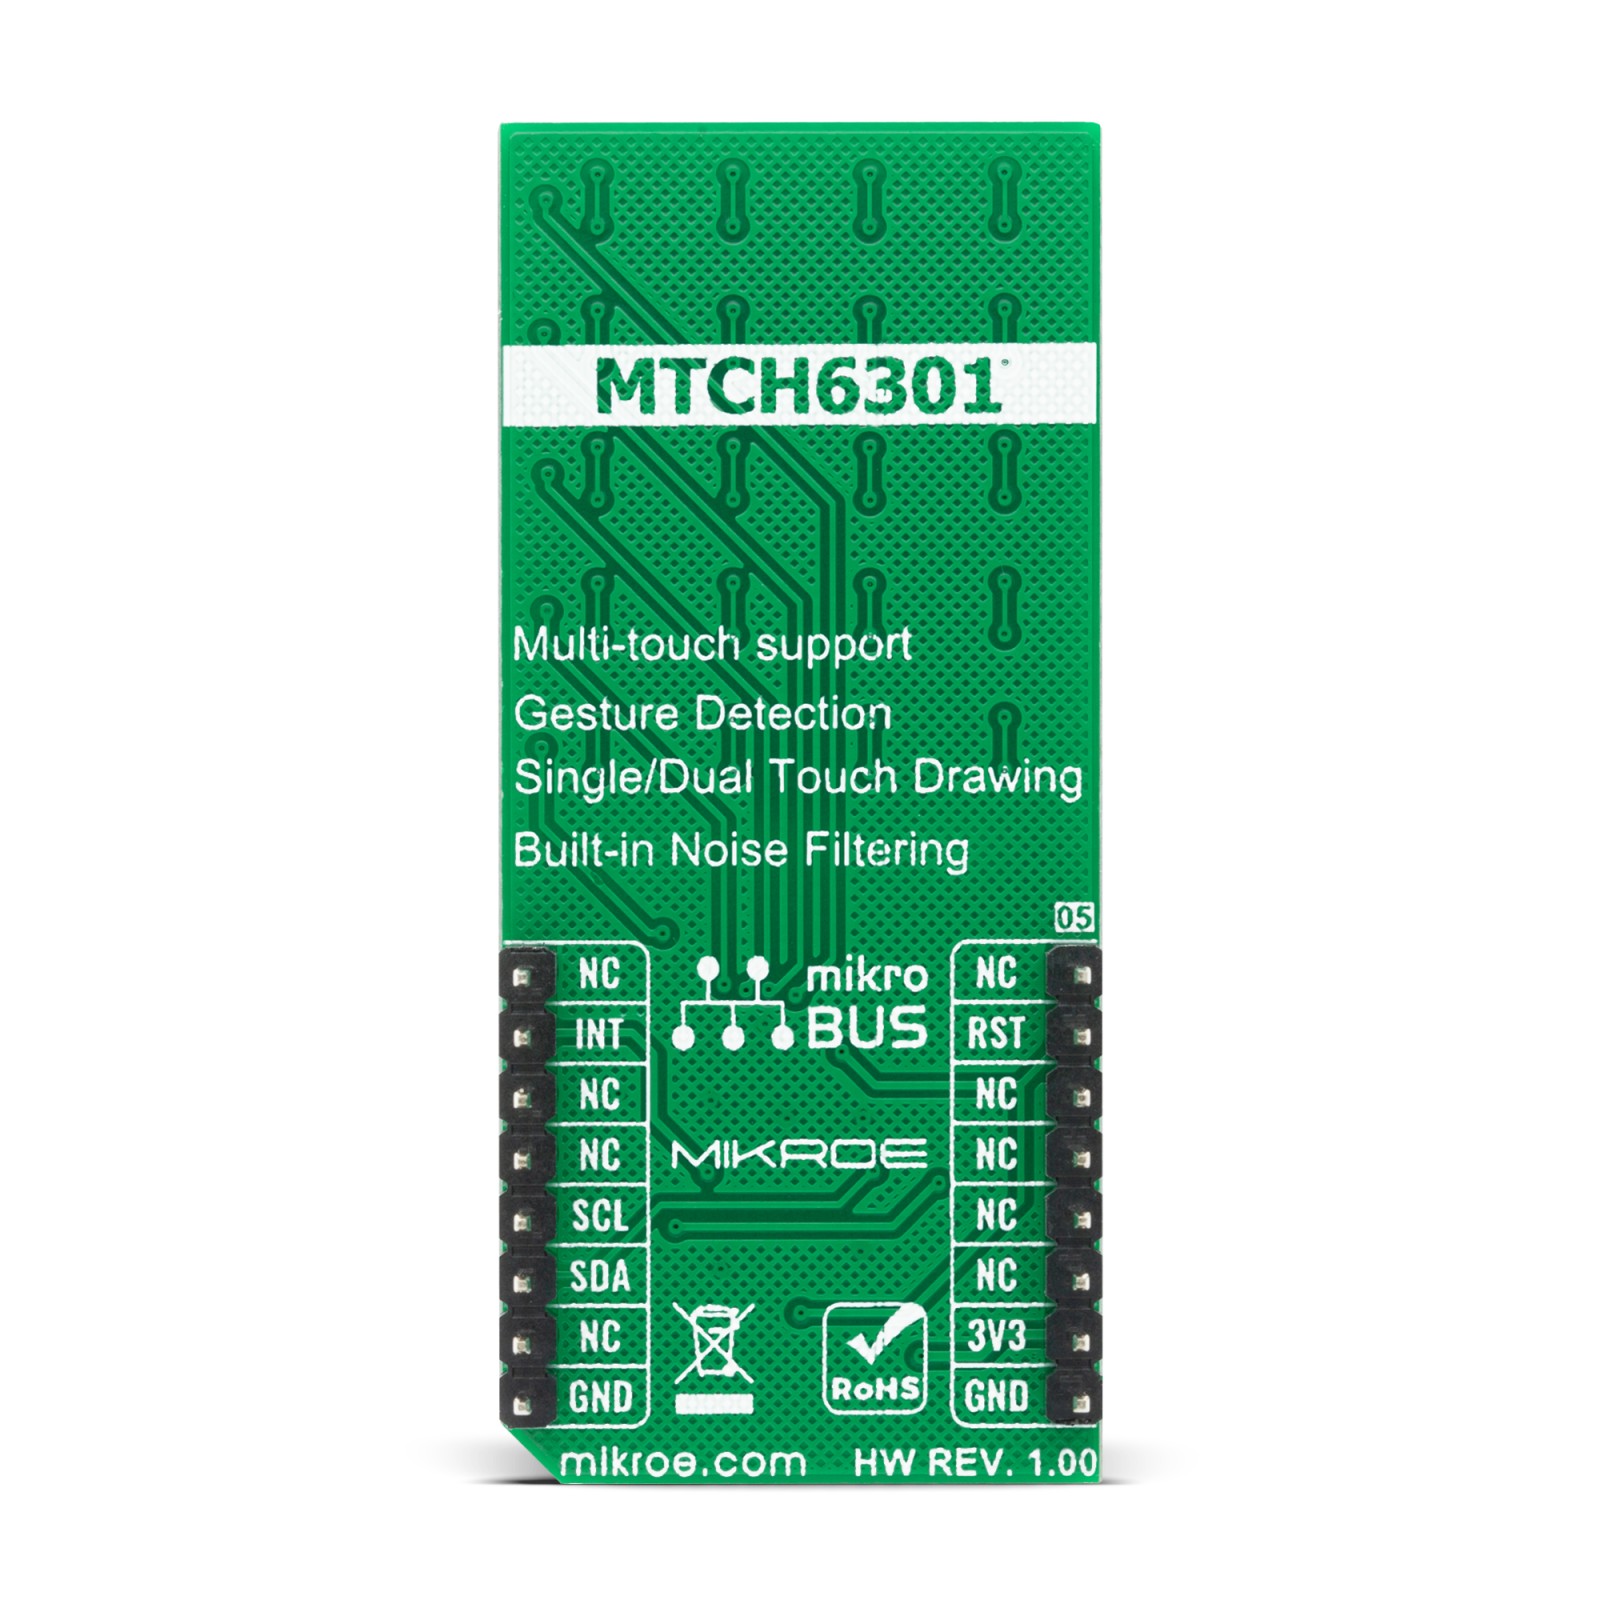
This table shows how the pinout on Touchpad 3 Click corresponds to the pinout on the mikroBUS™ socket (the latter shown in the two middle columns).
Onboard settings and indicators
| Label | Name | Default | Description |
|---|---|---|---|
| LD1 | PWR | – | Power LED Indicator |
Touchpad 3 Click electrical specifications
| Description | Min | Typ | Max | Unit |
|---|---|---|---|---|
| Supply Voltage | -0.3 | 3.3 | 4 | V |
| Maximum Output Current | – | – | 15 | mA |
| Transmission rate | – | – | 400 | kbps |
| Resolution | – | 12 | – | bit |
| Operating Temperature Range | -40 | – | +85 | °C |
Software Support
We provide a library for the Touchpad 3 Click on our LibStock page, as well as a demo application (example), developed using MikroElektronika compilers. The demo can run on all the main MikroElektronika development boards.
Library Description
The library covers all the necessary functions to control Touchpad 3 Click board™. Library performs a standard I2C interface communication.
Key functions:
uint16_t *x_axis, uint16_t *y_axis– Get touch data function.uint8_t offset_loc, uint8_t tx_data, uint8_t *p_response– Write register data function.uint8_t offset_loc, uint8_t *read_data, uint8_t *p_response– Read register data function.
Examples description
The application is composed of three sections :
- System Initialization – Initializes I2C, set RST pin as an output, set INT pin as input and start to write log.
- Application Initialization – Initialization driver enables – I2C, perform a hardware reset, configuration (general, decoding, sensor mapping), get device ID and enable the touch, also write log.
- Application Task – (code snippet) This is an example that demonstrates the use of the Touchpad 3 Click board™. Touchpad 3 Click board™ uses USB UART log to display X and Y coordinates of the touch, depending on the selected Touch ID. All data logs write on USB UART for every change.
void application_task ( )
{
    if ( touchpad3_get_int( ) == TOUCHPAD3_INT_STATUS_HIGH )
    {
       touchpad3_get_touch( &touch_data, &x_axis, &y_axis );
       Delay_ms( 100 );

        if ( ( touch_data.tch_state == TOUCHPAD3_STATE_TCH ) &&
             ( touch_data.touch_id == touch_id_state ) )
        {
            WordToStr( x_axis, log_text );
            mikrobus_logWrite( "  X Coordinate : ", _LOG_TEXT );
            mikrobus_logWrite( log_text, _LOG_LINE );

            WordToStr( y_axis, log_text );
            mikrobus_logWrite( "  Y Coordinate : ", _LOG_TEXT );
            mikrobus_logWrite( log_text, _LOG_LINE );
            mikrobus_logWrite( "------------------------------", _LOG_LINE );

            Delay_ms( 100 );
        }
    }
}
The full application code, and ready to use projects can be found on our LibStock page.
Additional Functions :
- void display_status ( )- Display status.
Other mikroE Libraries used in the example:
- I2C
- UART
- Conversions
Additional notes and informations
Depending on the development board you are using, you may need USB UART click, USB UART 2 click or RS232 click to connect to your PC, for development systems with no UART to USB interface available on the board. The terminal available in all MikroElektronika compilers, or any other terminal application of your choice, can be used to read the message.
mikroSDK
This Click board™ is supported with mikroSDK – MikroElektronika Software Development Kit. To ensure proper operation of mikroSDK compliant Click board™ demo applications, mikroSDK should be downloaded from the LibStock and installed for the compiler you are using.
For more information about mikroSDK, visit the official page.
Resources
Downloads
| Weight | 20 g |
|---|---|
| Brand | MikroElektronika |


