How does it work?
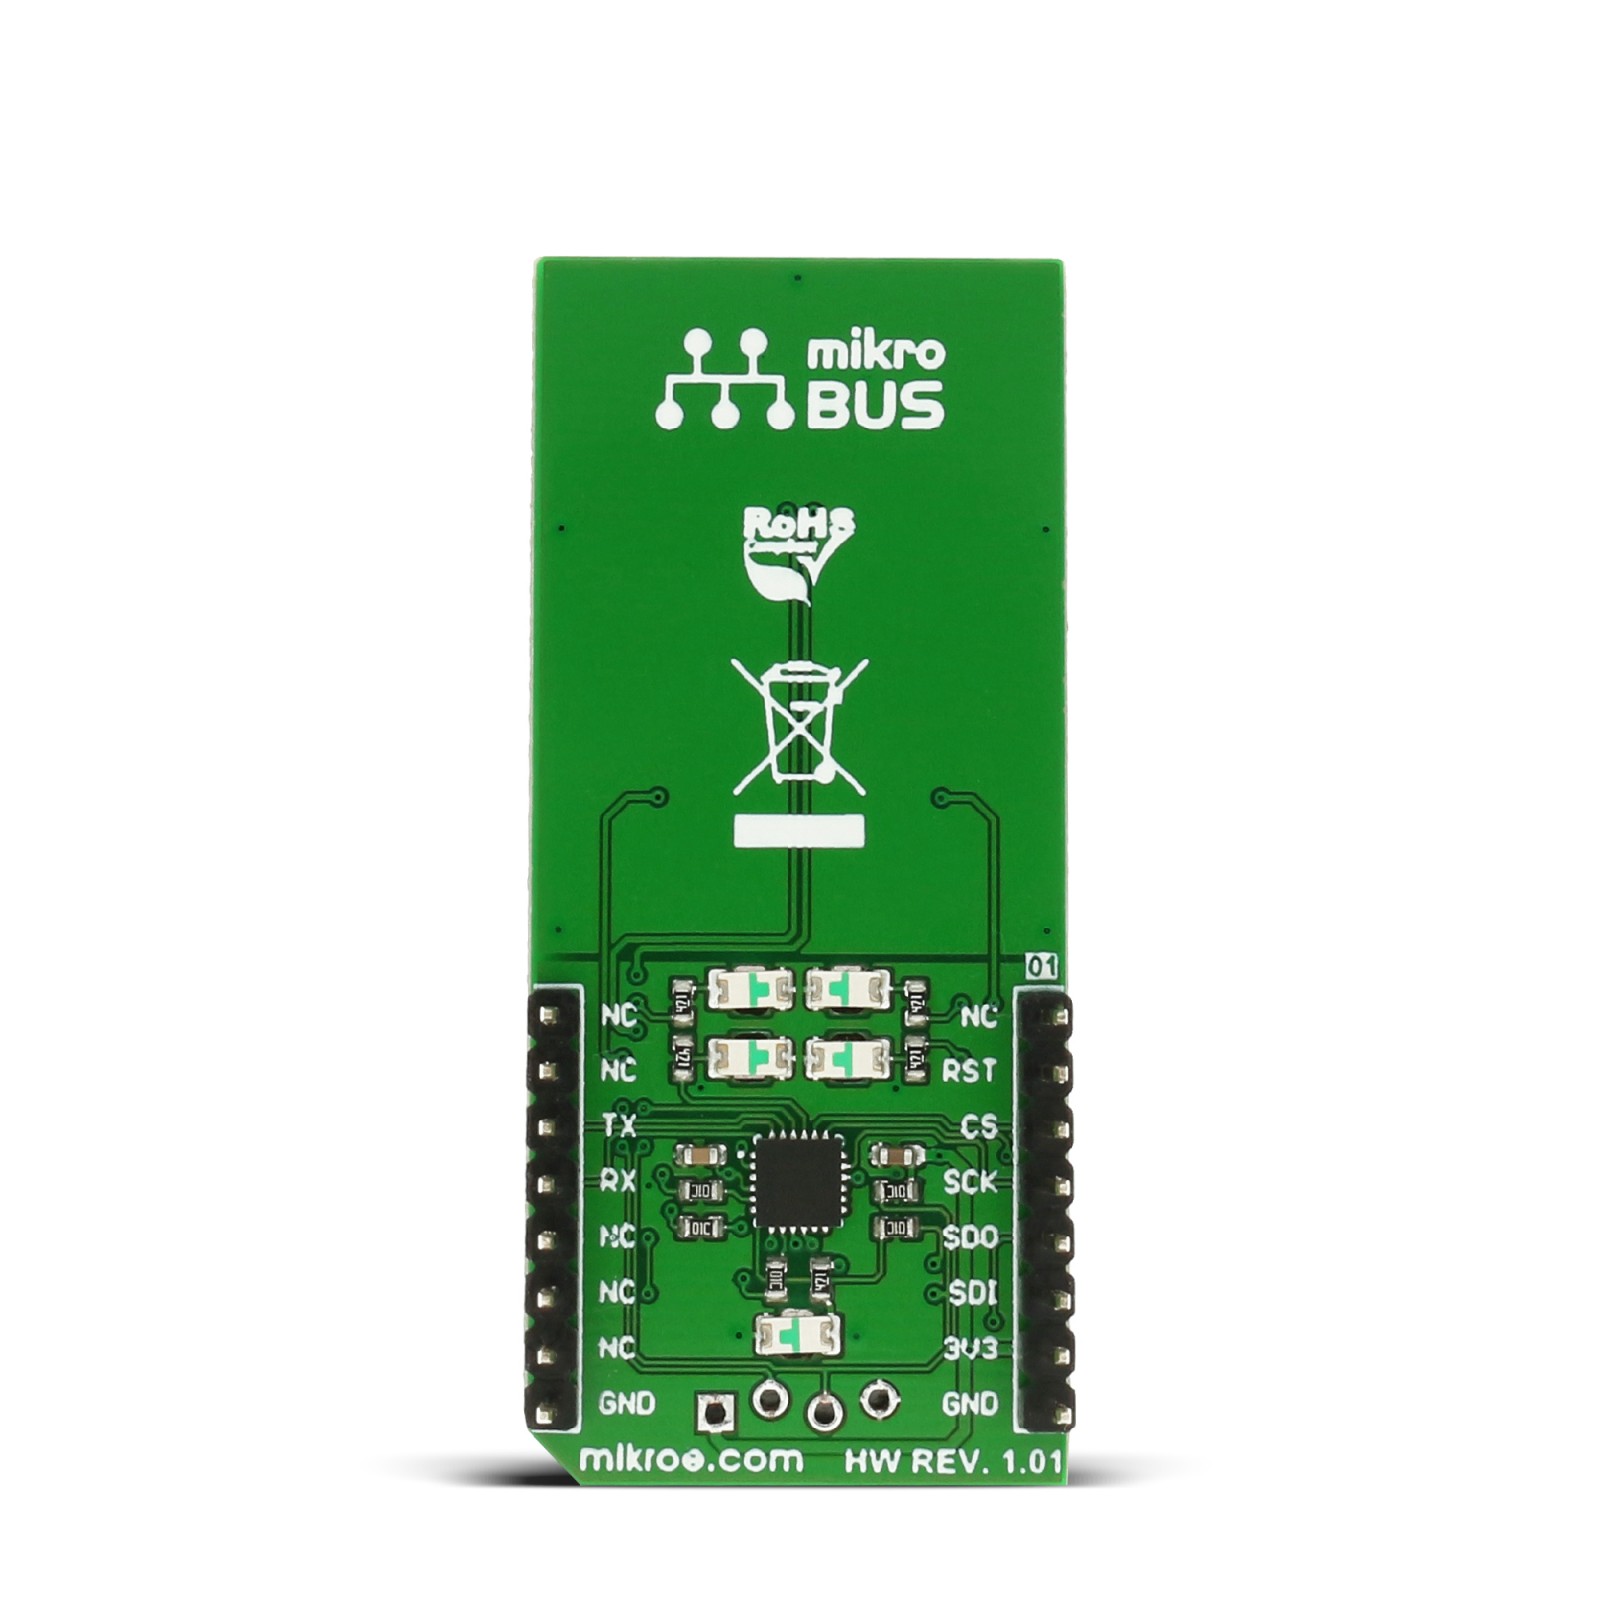
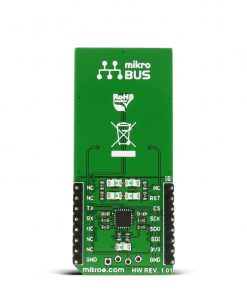
TouchKey 2 Click is based on the ATtiny817, an 8-bit AVR microcontroller from Microchip. This MCU works at a maximum frequency of 20MHz and is equipped with 512B of SRAM, .8KB of Flash, and 128B of EEPROM. ATtiny817 uses the latest technologies from Microchip with a flexible and low-power architecture, including Event System and SleepWalking, accurate analog features, and advanced peripherals. Capacitive touch interfaces with proximity sensing and a driven shield are supported with the integrated QTouch® peripheral touch controller. The module supports wake-up on touch from power-save sleep mode.
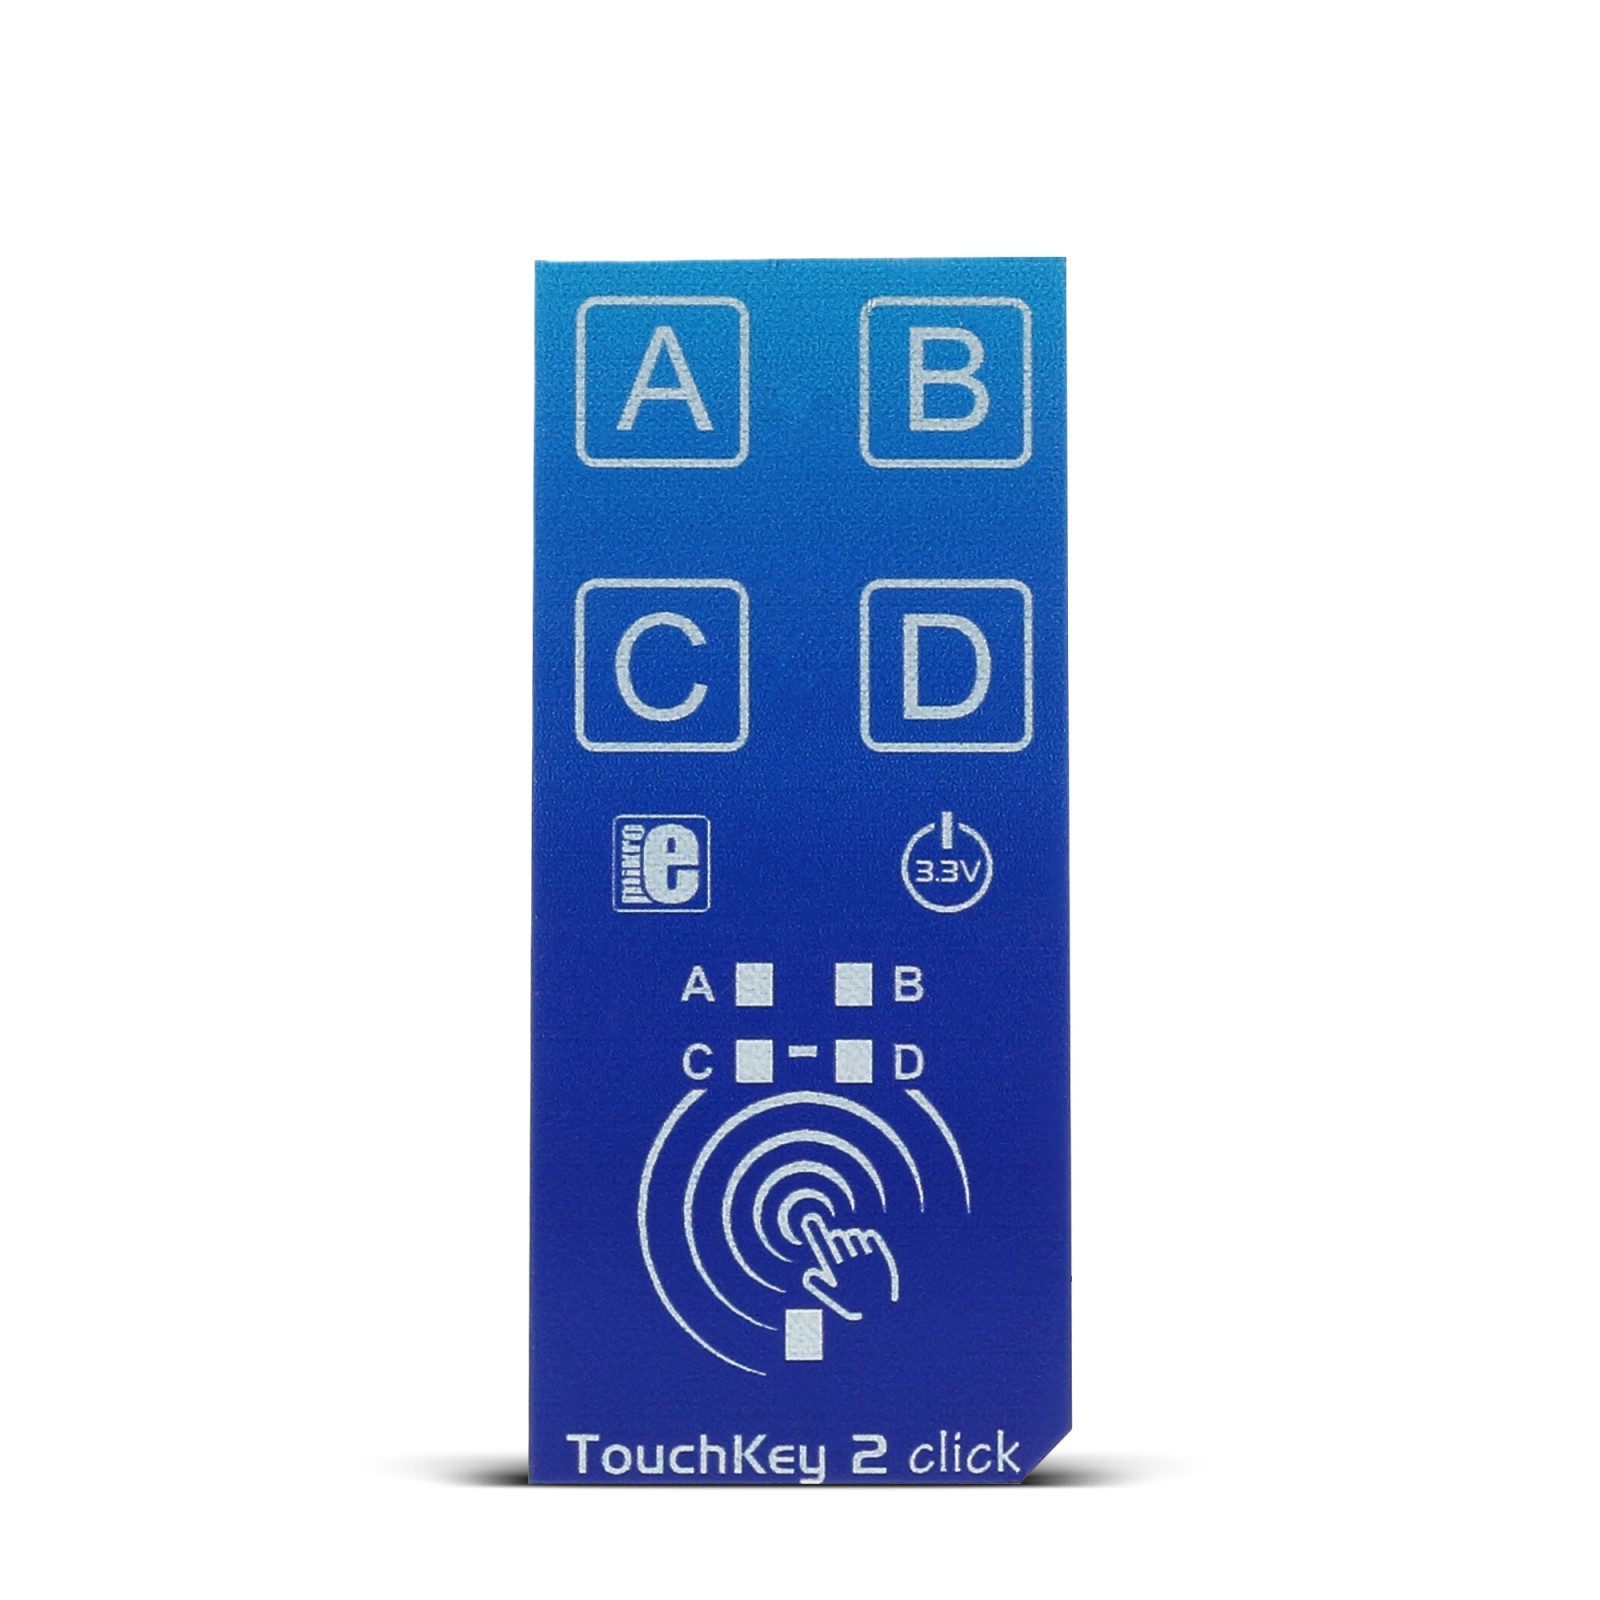
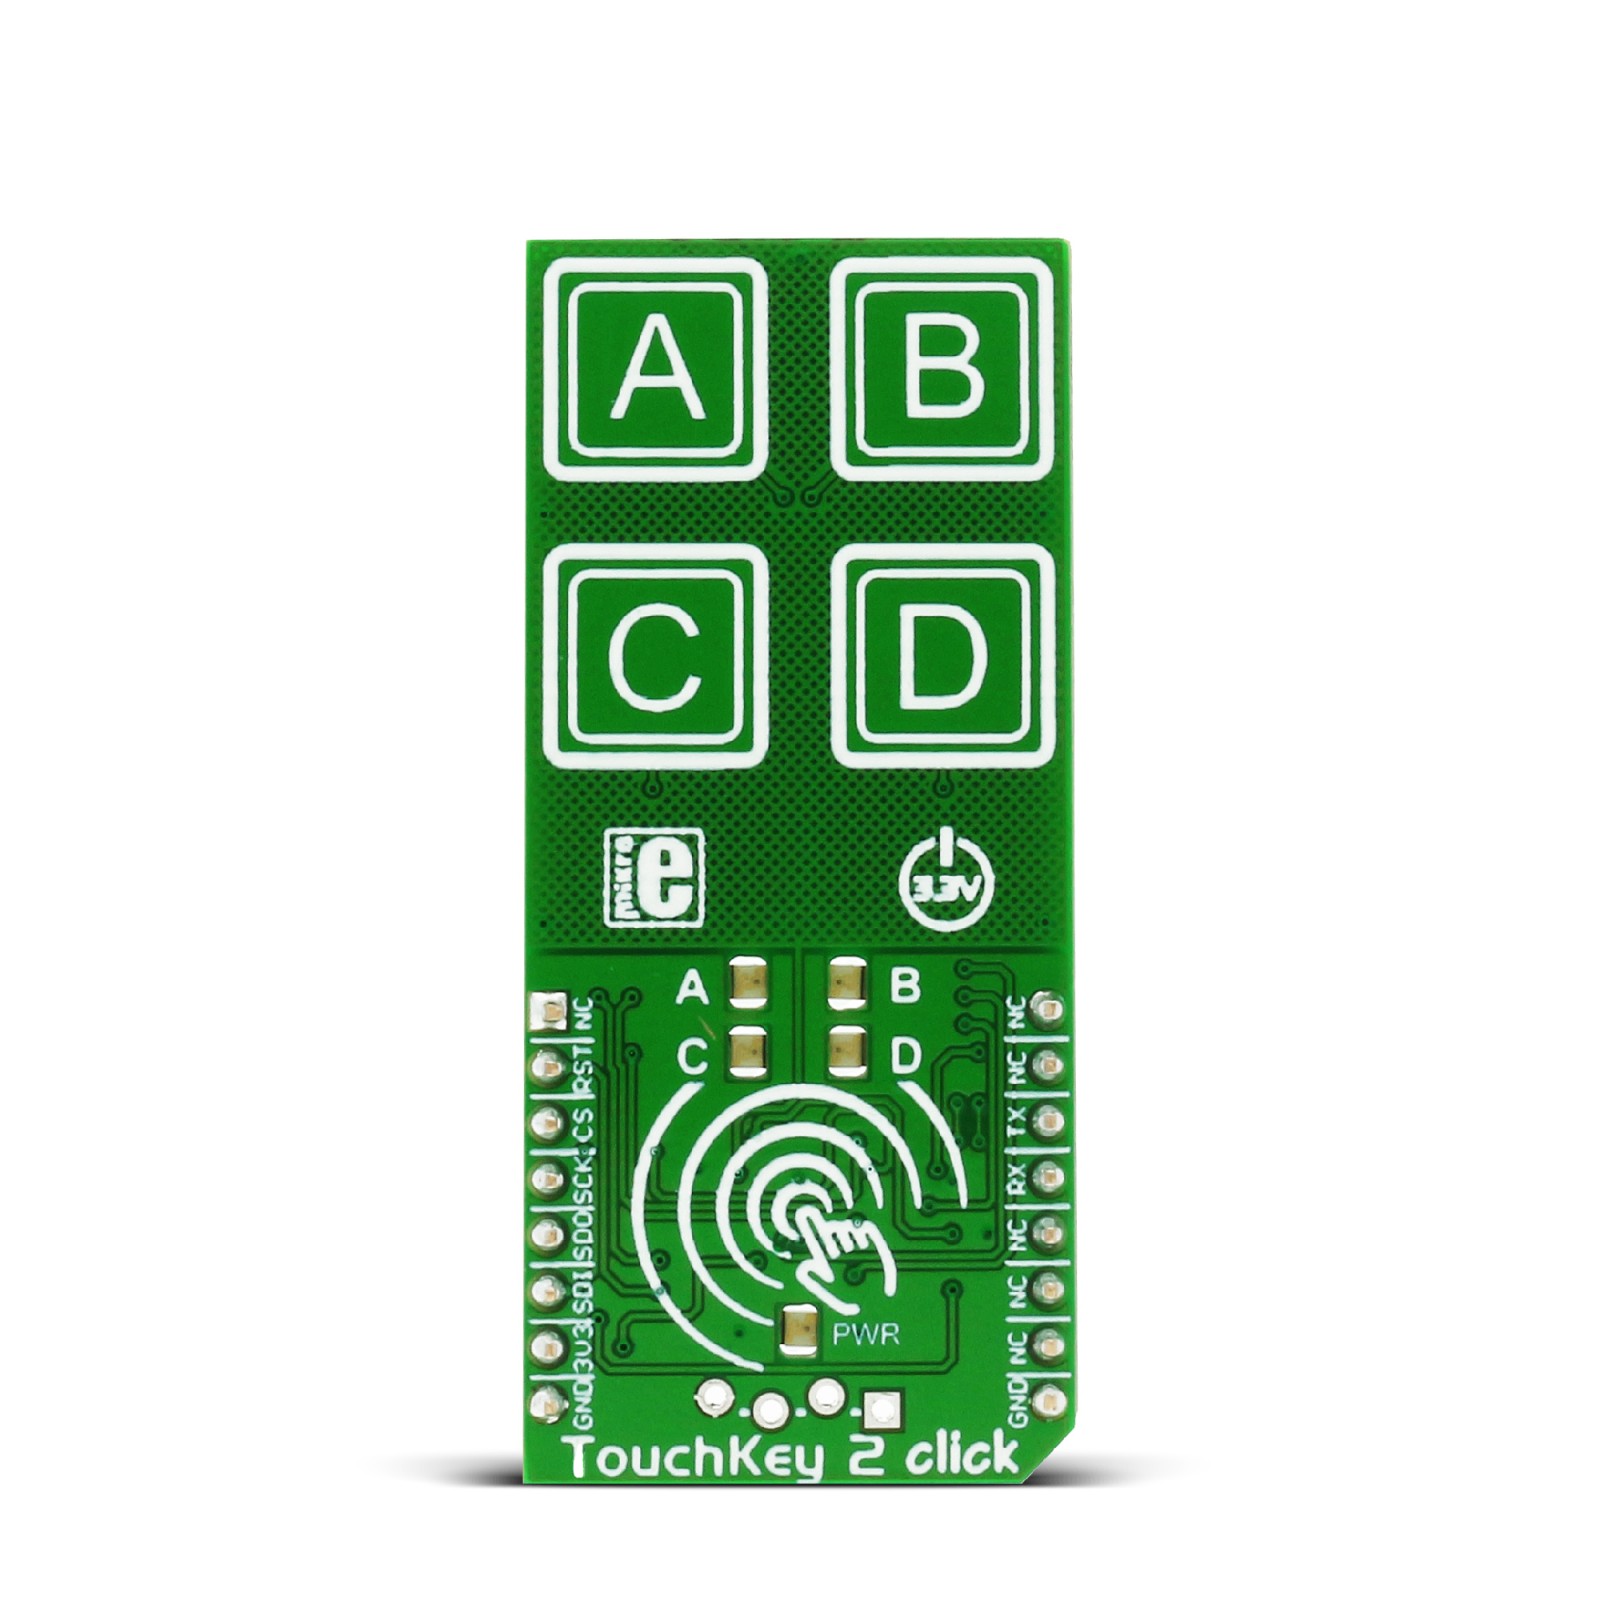
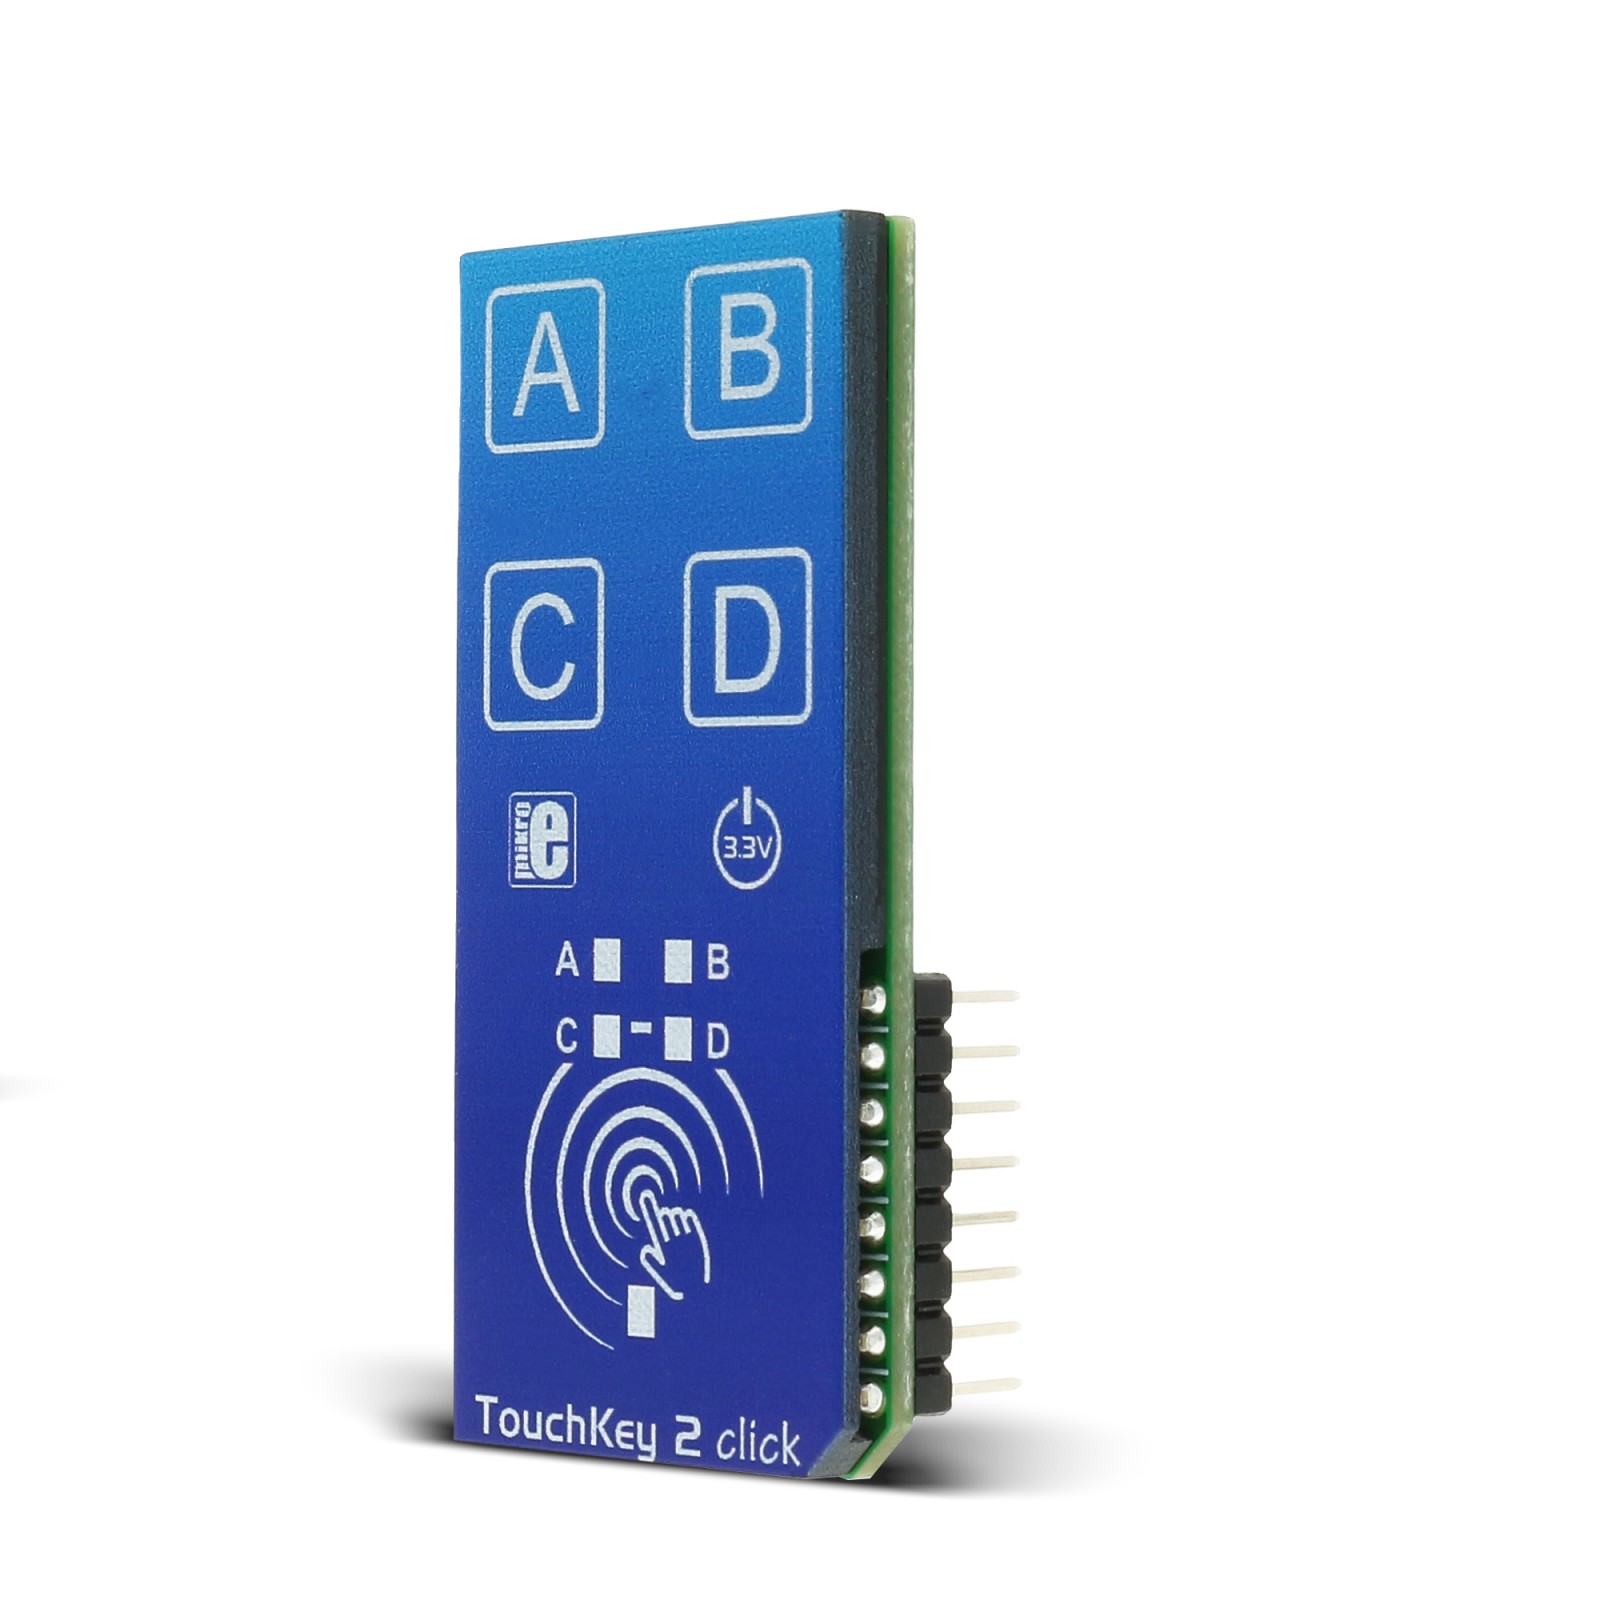
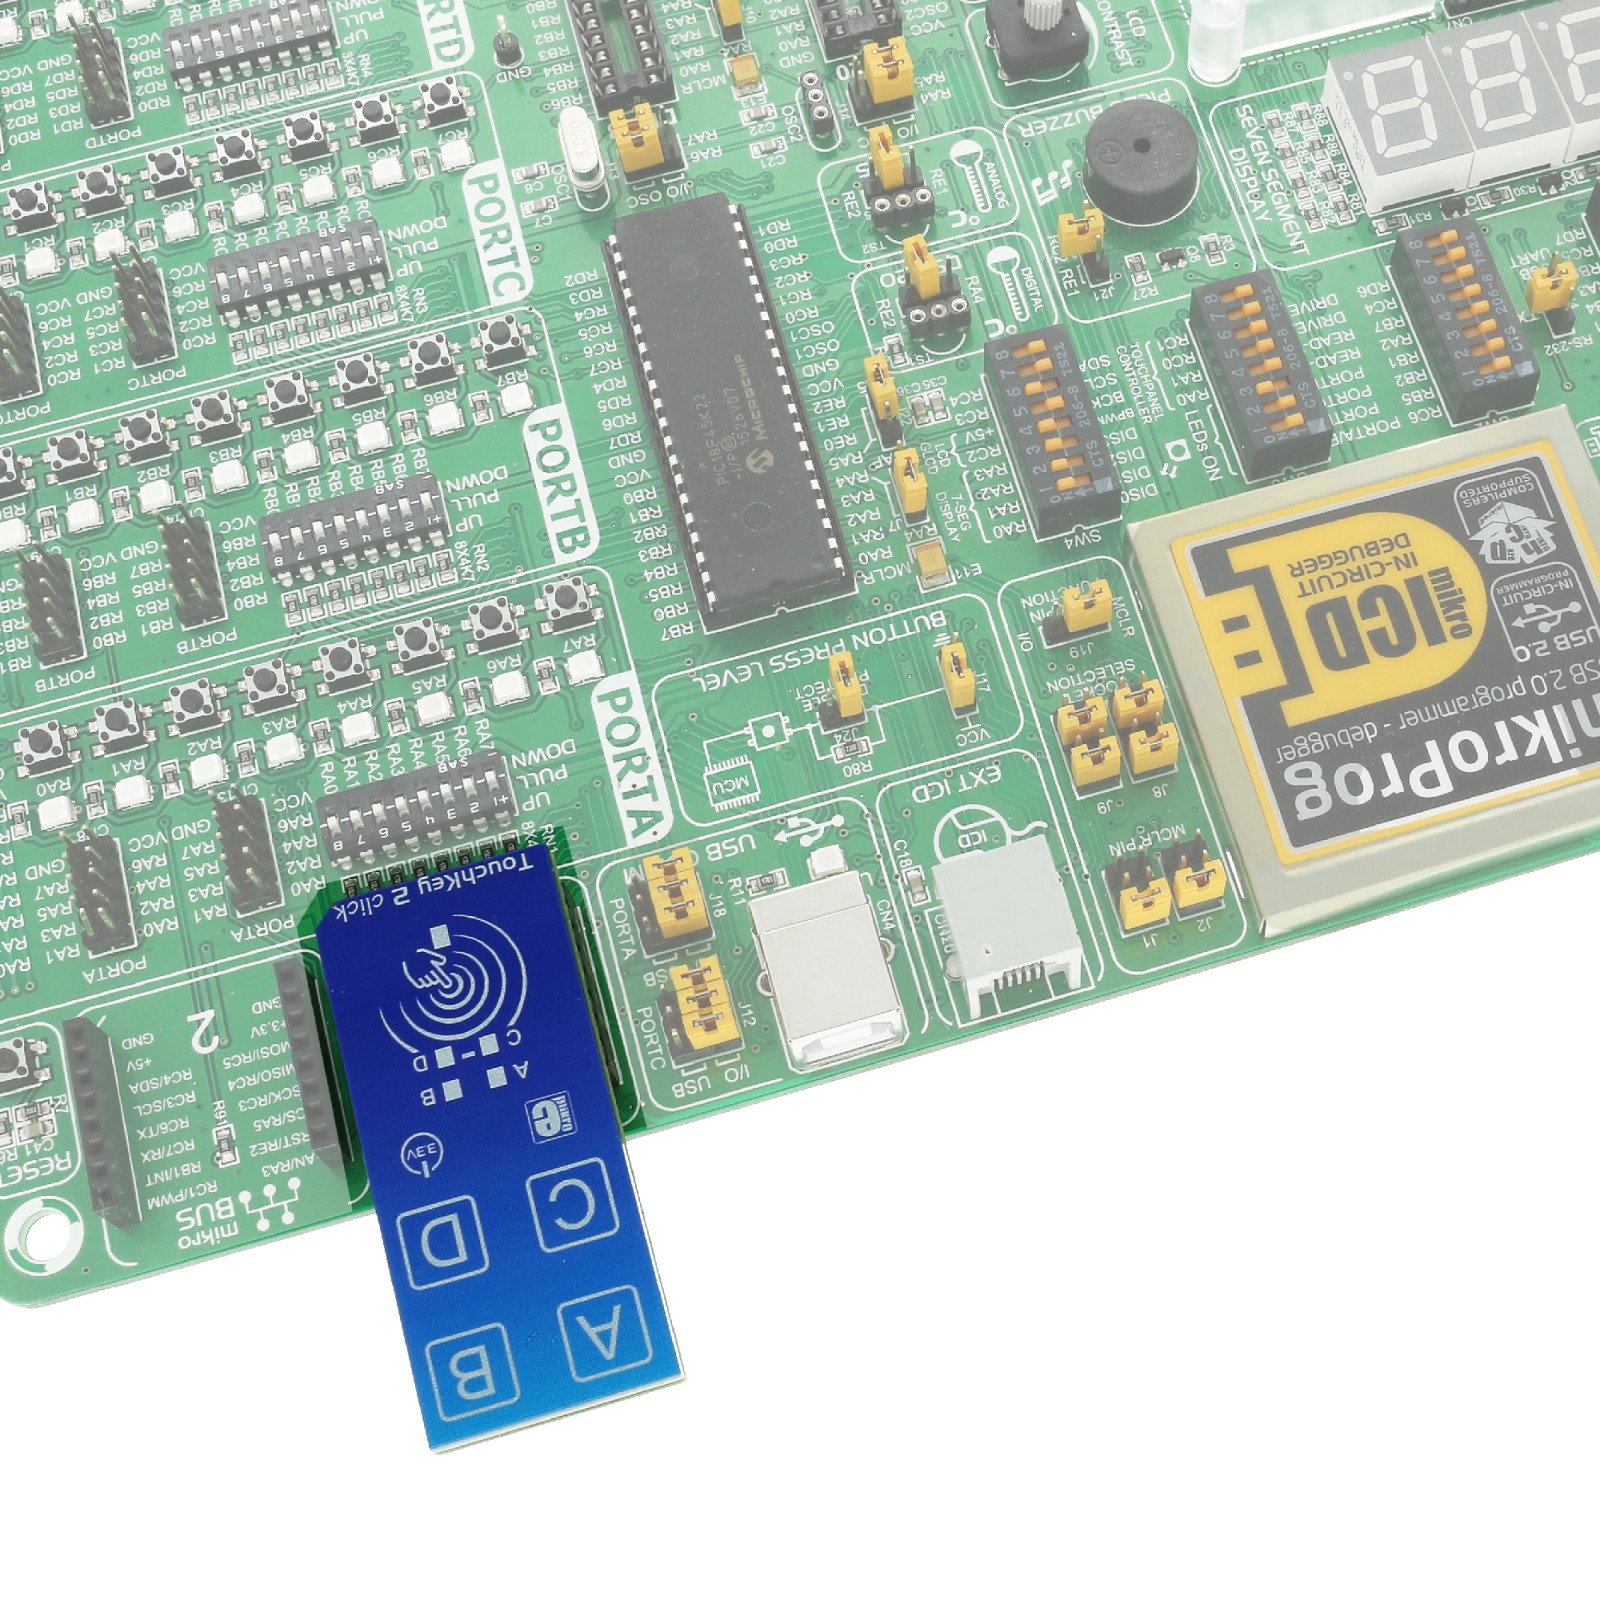
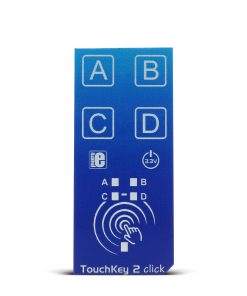
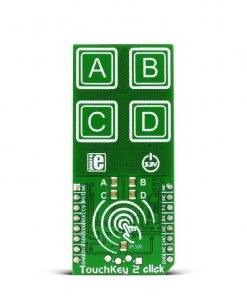
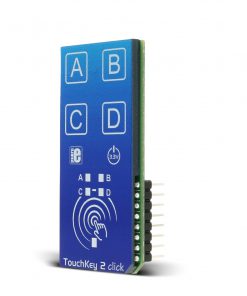
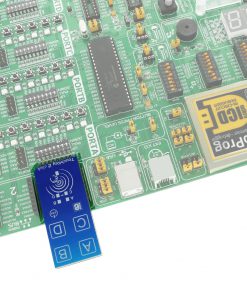
The TouchKey 2 Click uses PTC in a self-capacitance configuration, where every touchpad is connected to a single pin of the Attiny817. The additional PTC pin is used for a driven shield, which ensures the best performance and touch sensitivity. The plastic overlay of this Click board™ protects it from moisture. You can use TouchKey 2 Click in all conditions without fearing something will happen to it due to moisture and water droplets falling on it. In addition to the overlay that comes with the TouchKey 2 Click, capacitive buttons can be toggled even when placed under a layer of glass or paper. There are four LEDs for four touch keys. If key A is pressed, LED A is ON, and more.
TouchKey 2 Click uses a UART interface to communicate with the host MCU, with commonly used UART RX and TX pins. Current firmware sends data packets only via UART. The standard 4-Wire SPI serial communication is possible with firmware modifications. For that purpose, there is a 4-pin header for upgrading the firmware of the Attiny817 MCU. The RST pin can be used to reset the Attiny817 MCU.
This Click board™ can be operated only with a 3.3V logic voltage level. The board must perform appropriate logic voltage level conversion before using MCUs with different logic levels. However, the Click board™ comes equipped with a library containing functions and an example code that can be used as a reference for further development.
Specifications
Type
Capacitive
Applications
Can be used for the development of touch-activated lighting controls, touch-activated control panels, and other applications that need a switch or a button to power or reset the device
On-board modules
ATtiny817 – 8-bit AVR microcontroller from Microchip
Key Features
Four capacitive touch pads, protective plastic overlay, shield for improved moisture and noise handling performance, AVR MCU, UART, and optional SPI communication with the host MCU, and more
Interface
GPIO,SPI,UART
Feature
No ClickID
Compatibility
mikroBUS™
Click board size
L (57.15 x 25.4 mm)
Input Voltage
3.3V
Pinout diagram
This table shows how the pinout on TouchKey 2 Click corresponds to the pinout on the mikroBUS™ socket (the latter shown in the two middle columns).
Onboard settings and indicators
Label | Name | Default | Description |
---|---|---|---|
– | PWR | – | Power LED Indicator |
LD1 | A | – | Key A Press Indicator |
LD2 | B | – | Key B Press Indicator |
LD3 | C | – | Key C Press Indicator |
LD4 | D | – | Key D Press Indicator |
TouchKey 2 Click electrical specifications
Description | Min | Typ | Max | Unit |
---|---|---|---|---|
Supply Voltage | – | 3.3 | – | V |
Software Support
We provide a library for the Touchkey 2 Click as well as a demo application (example), developed using MIKROE compilers. The demo can run on all the main MIKROE development boards.
Package can be downloaded/installed directly from NECTO Studio Package Manager(recommended), downloaded from our LibStock™ or found on Mikroe github account.
Library Description
This library contains API for Touchkey 2 Click driver.
Key functions
-
Set reset pin function.
-
Clear reset pin function.
-
Reset function.
Example Description
This application is touch controller.
void application_task ( void )
{
char tmp;
tmp = touchkey2_generic_single_read( &touchkey2 );
if( tmp == 0x00 )
{
log_printf( &logger, " Key released %crn" );
log_printf( &logger, "------------------- rn" );
}
else if( tmp == 0x01 )
{
log_printf( &logger, " Key A pressed %crn" );
log_printf( &logger, "------------------- rn" );
}
else if( tmp == 0x02 )
{
log_printf( &logger, " Key B pressed %crn" );
log_printf( &logger, "------------------- rn" );
}
else if( tmp == 0x04 )
{
log_printf( &logger, " Key C pressed %crn" );
log_printf( &logger, "------------------- rn" );
}
else if( tmp == 0x08 )
{
log_printf( &logger, " Key D pressed rn" );
log_printf( &logger, "------------------- rn" );
}
else
{
log_printf( &logger, " Error!!! " );
touchkey2_target_reset( &touchkey2 );
}
}
The full application code, and ready to use projects can be installed directly from NECTO Studio Package Manager(recommended), downloaded from our LibStock™ or found on Mikroe github account.
Other Mikroe Libraries used in the example:
- MikroSDK.Board
- MikroSDK.Log
- Click.Touchkey2
Additional notes and informations
Depending on the development board you are using, you may need USB UART click, USB UART 2 Click or RS232 Click to connect to your PC, for development systems with no UART to USB interface available on the board. UART terminal is available in all MIKROE compilers.
mikroSDK
This Click board™ is supported with mikroSDK – MIKROE Software Development Kit. To ensure proper operation of mikroSDK compliant Click board™ demo applications, mikroSDK should be downloaded from the LibStock and installed for the compiler you are using.
For more information about mikroSDK, visit the official page.