How does it work?
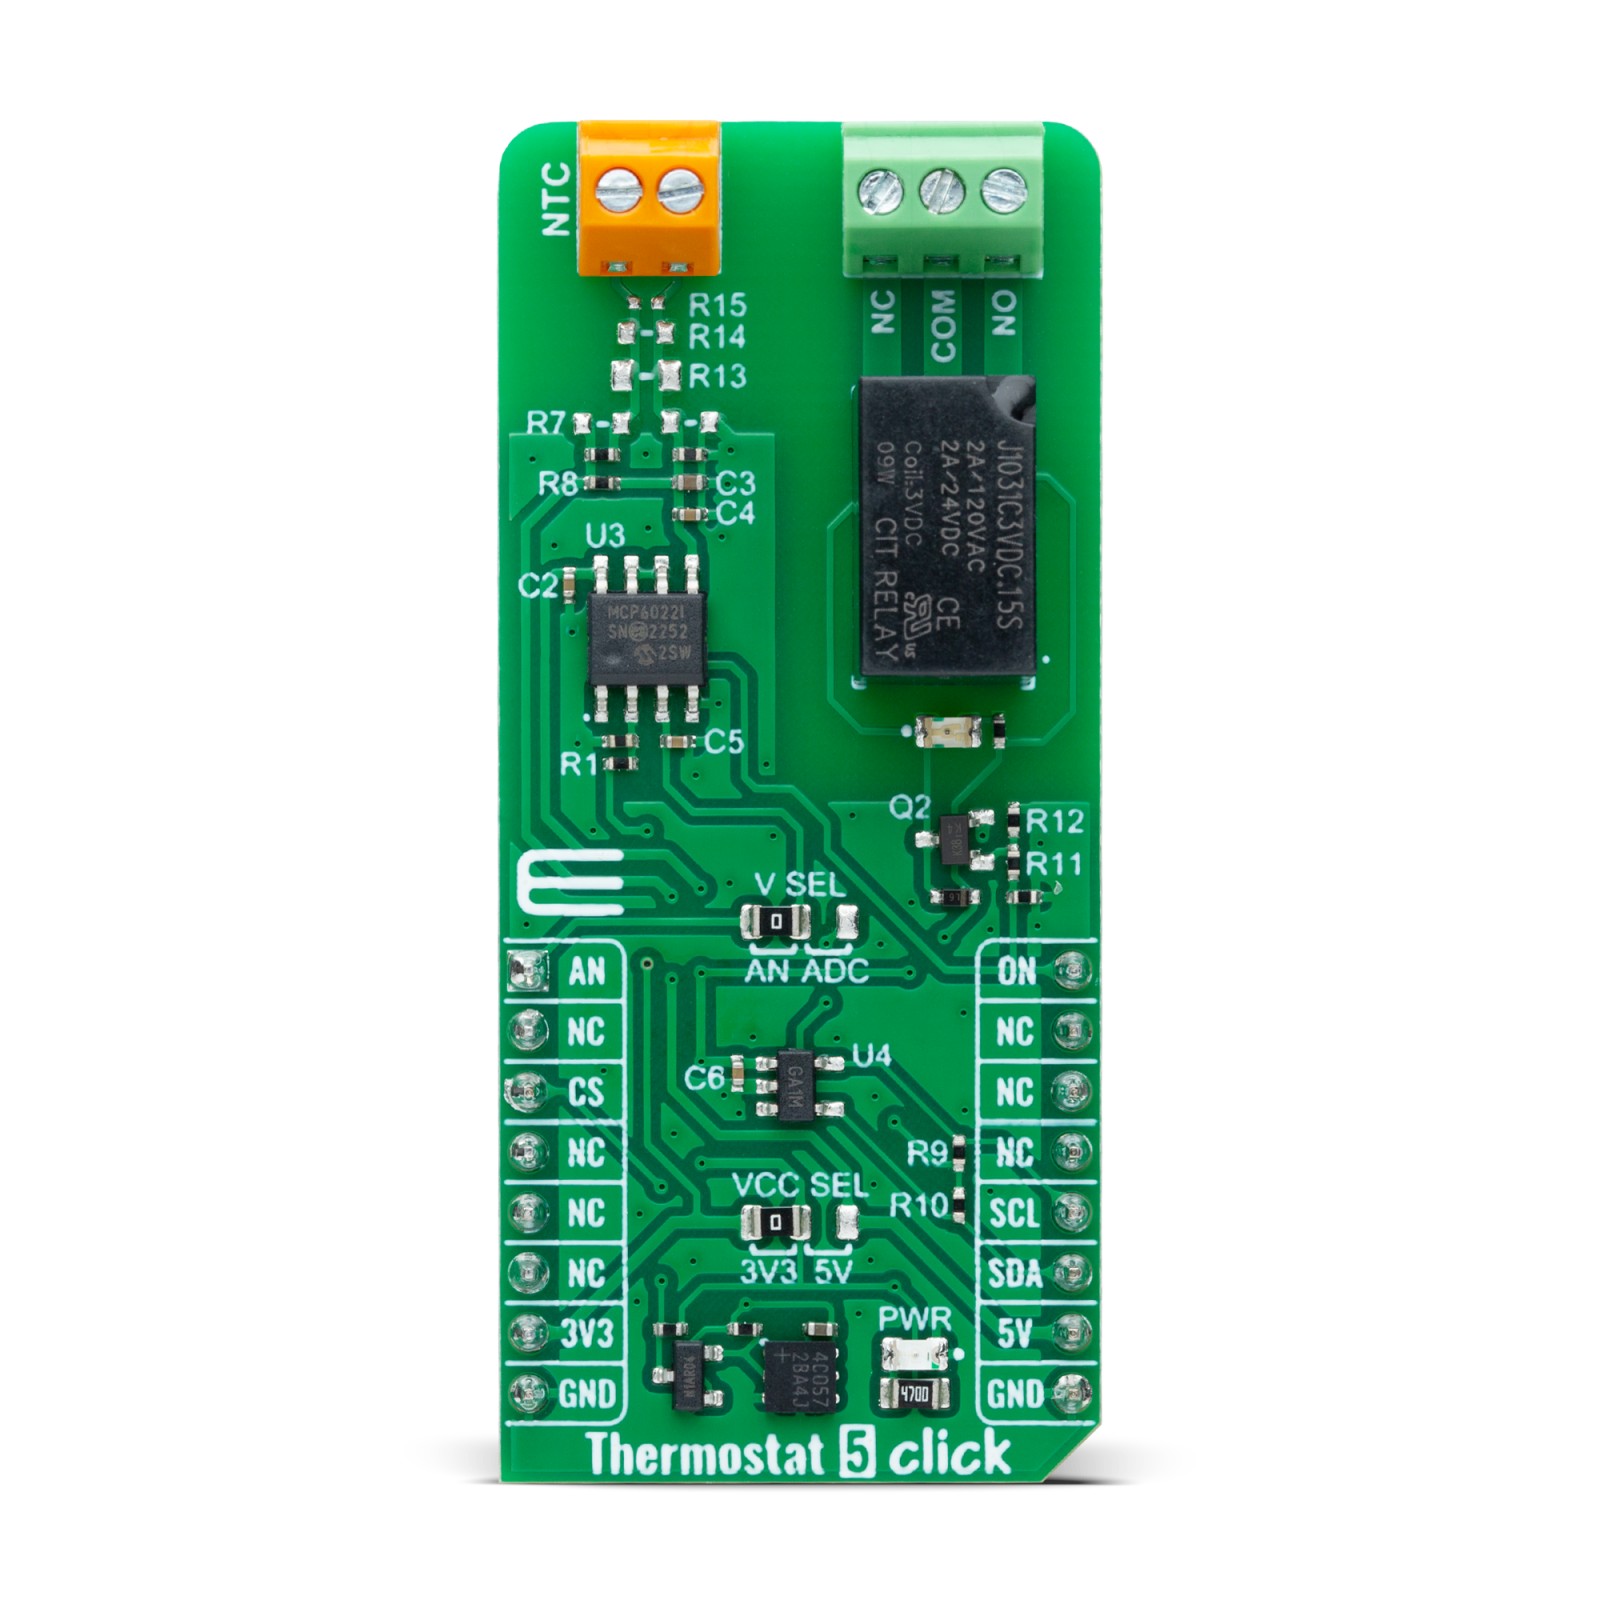
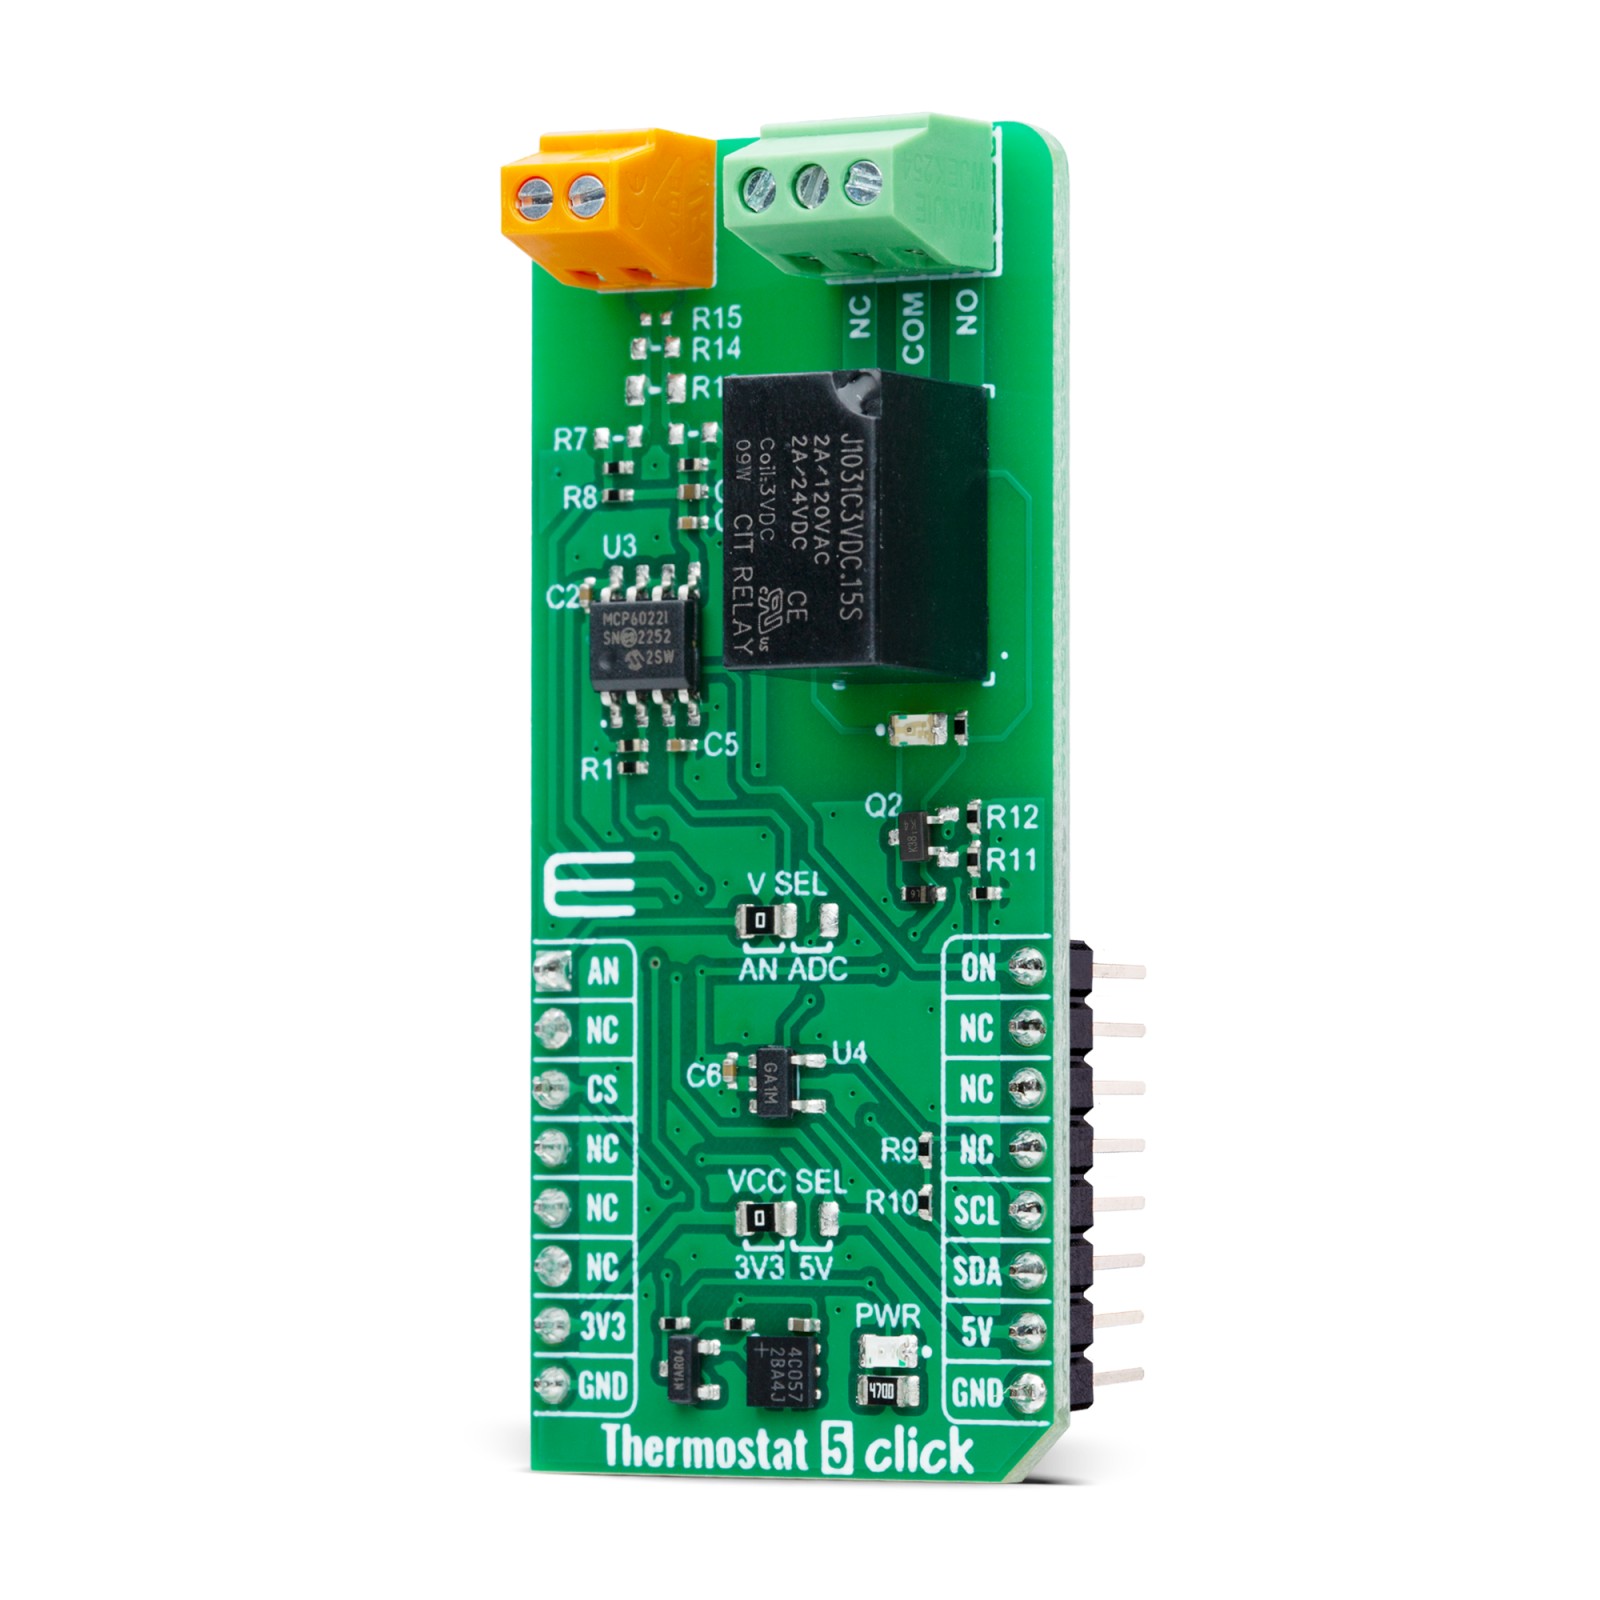
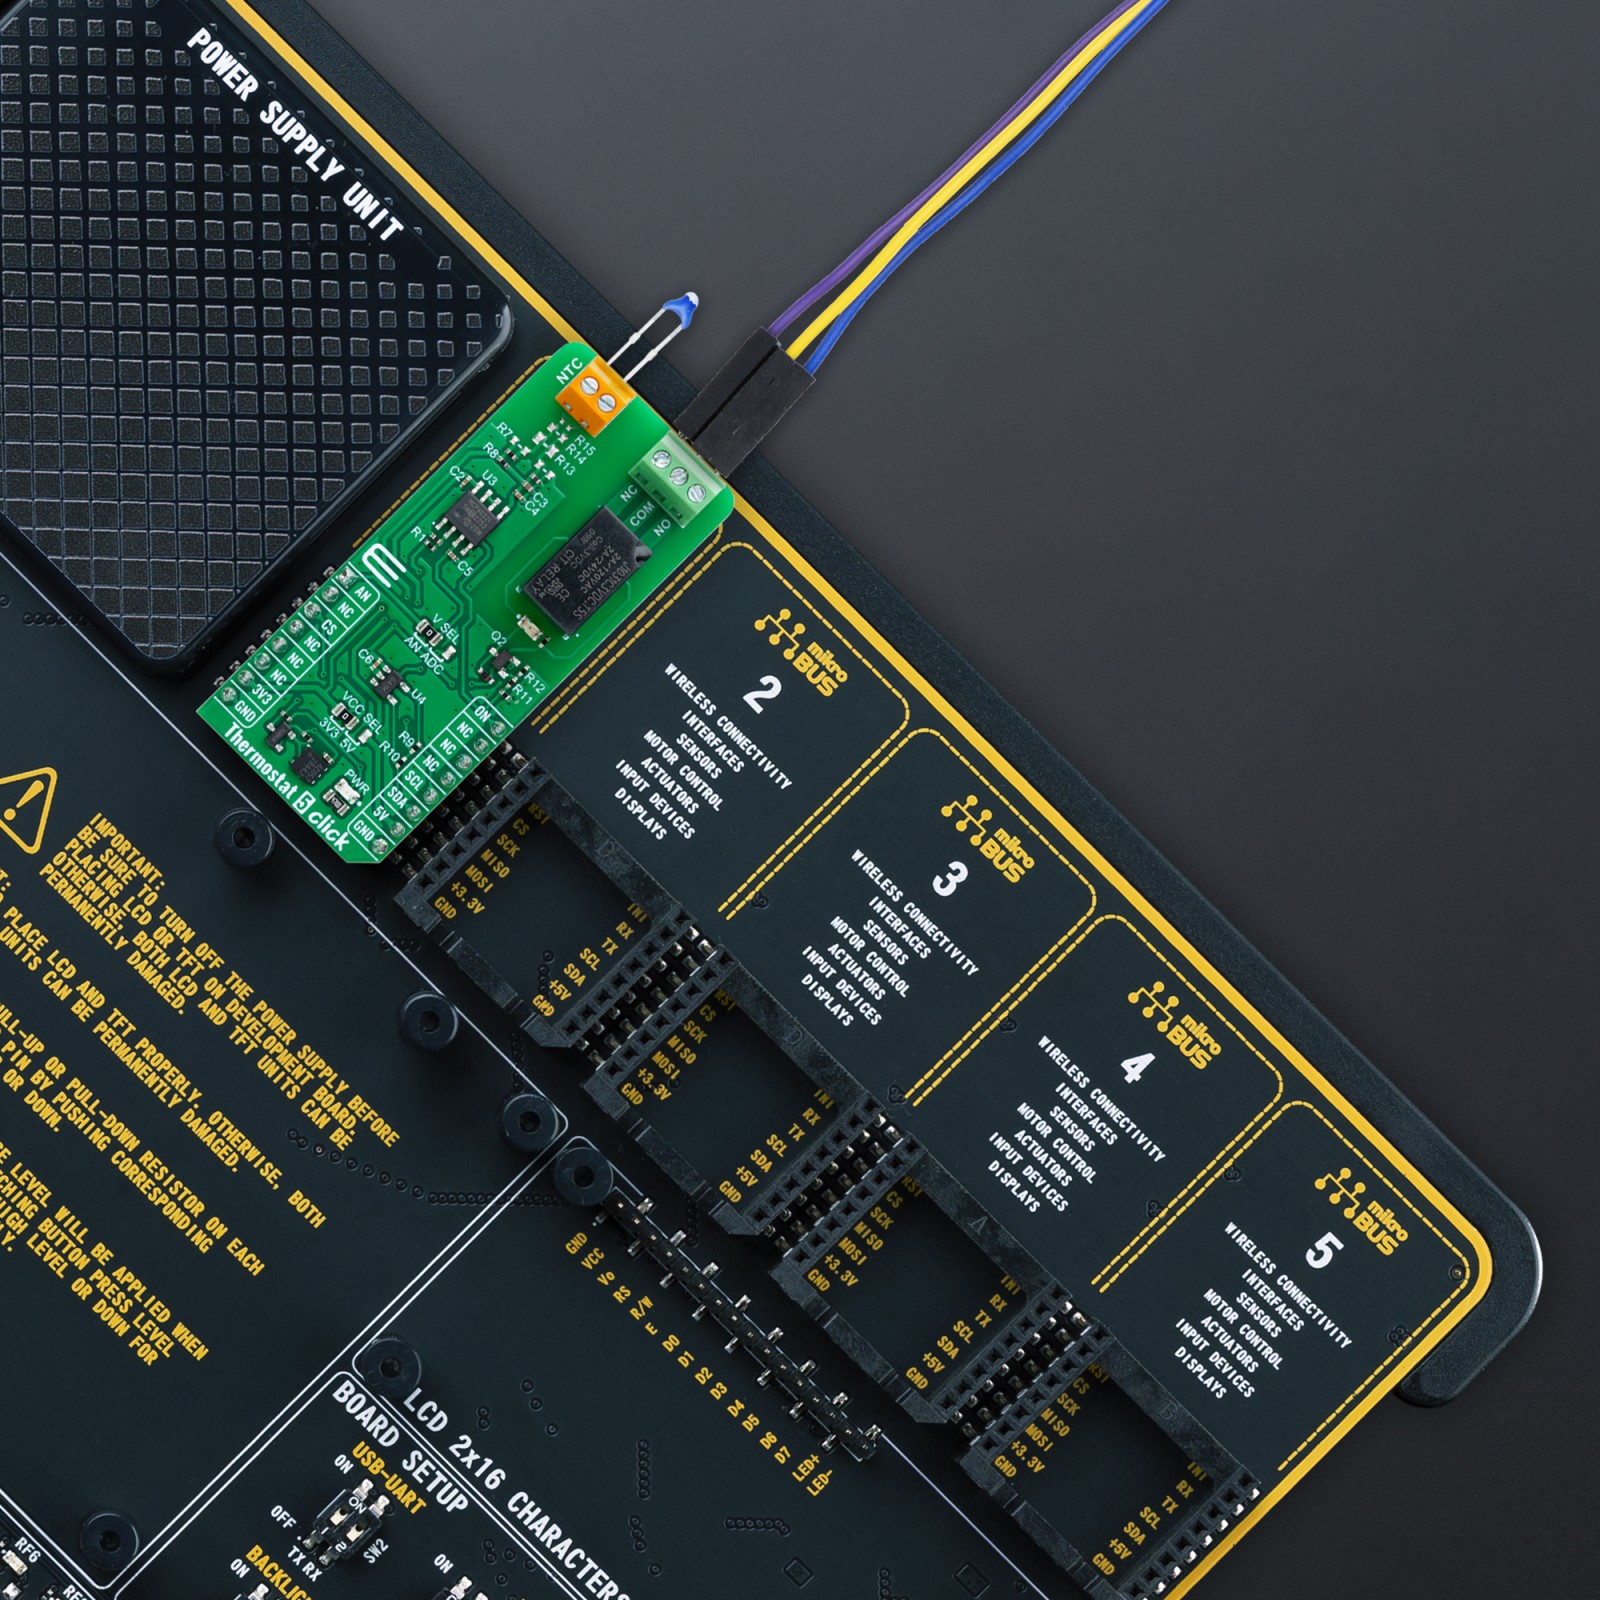
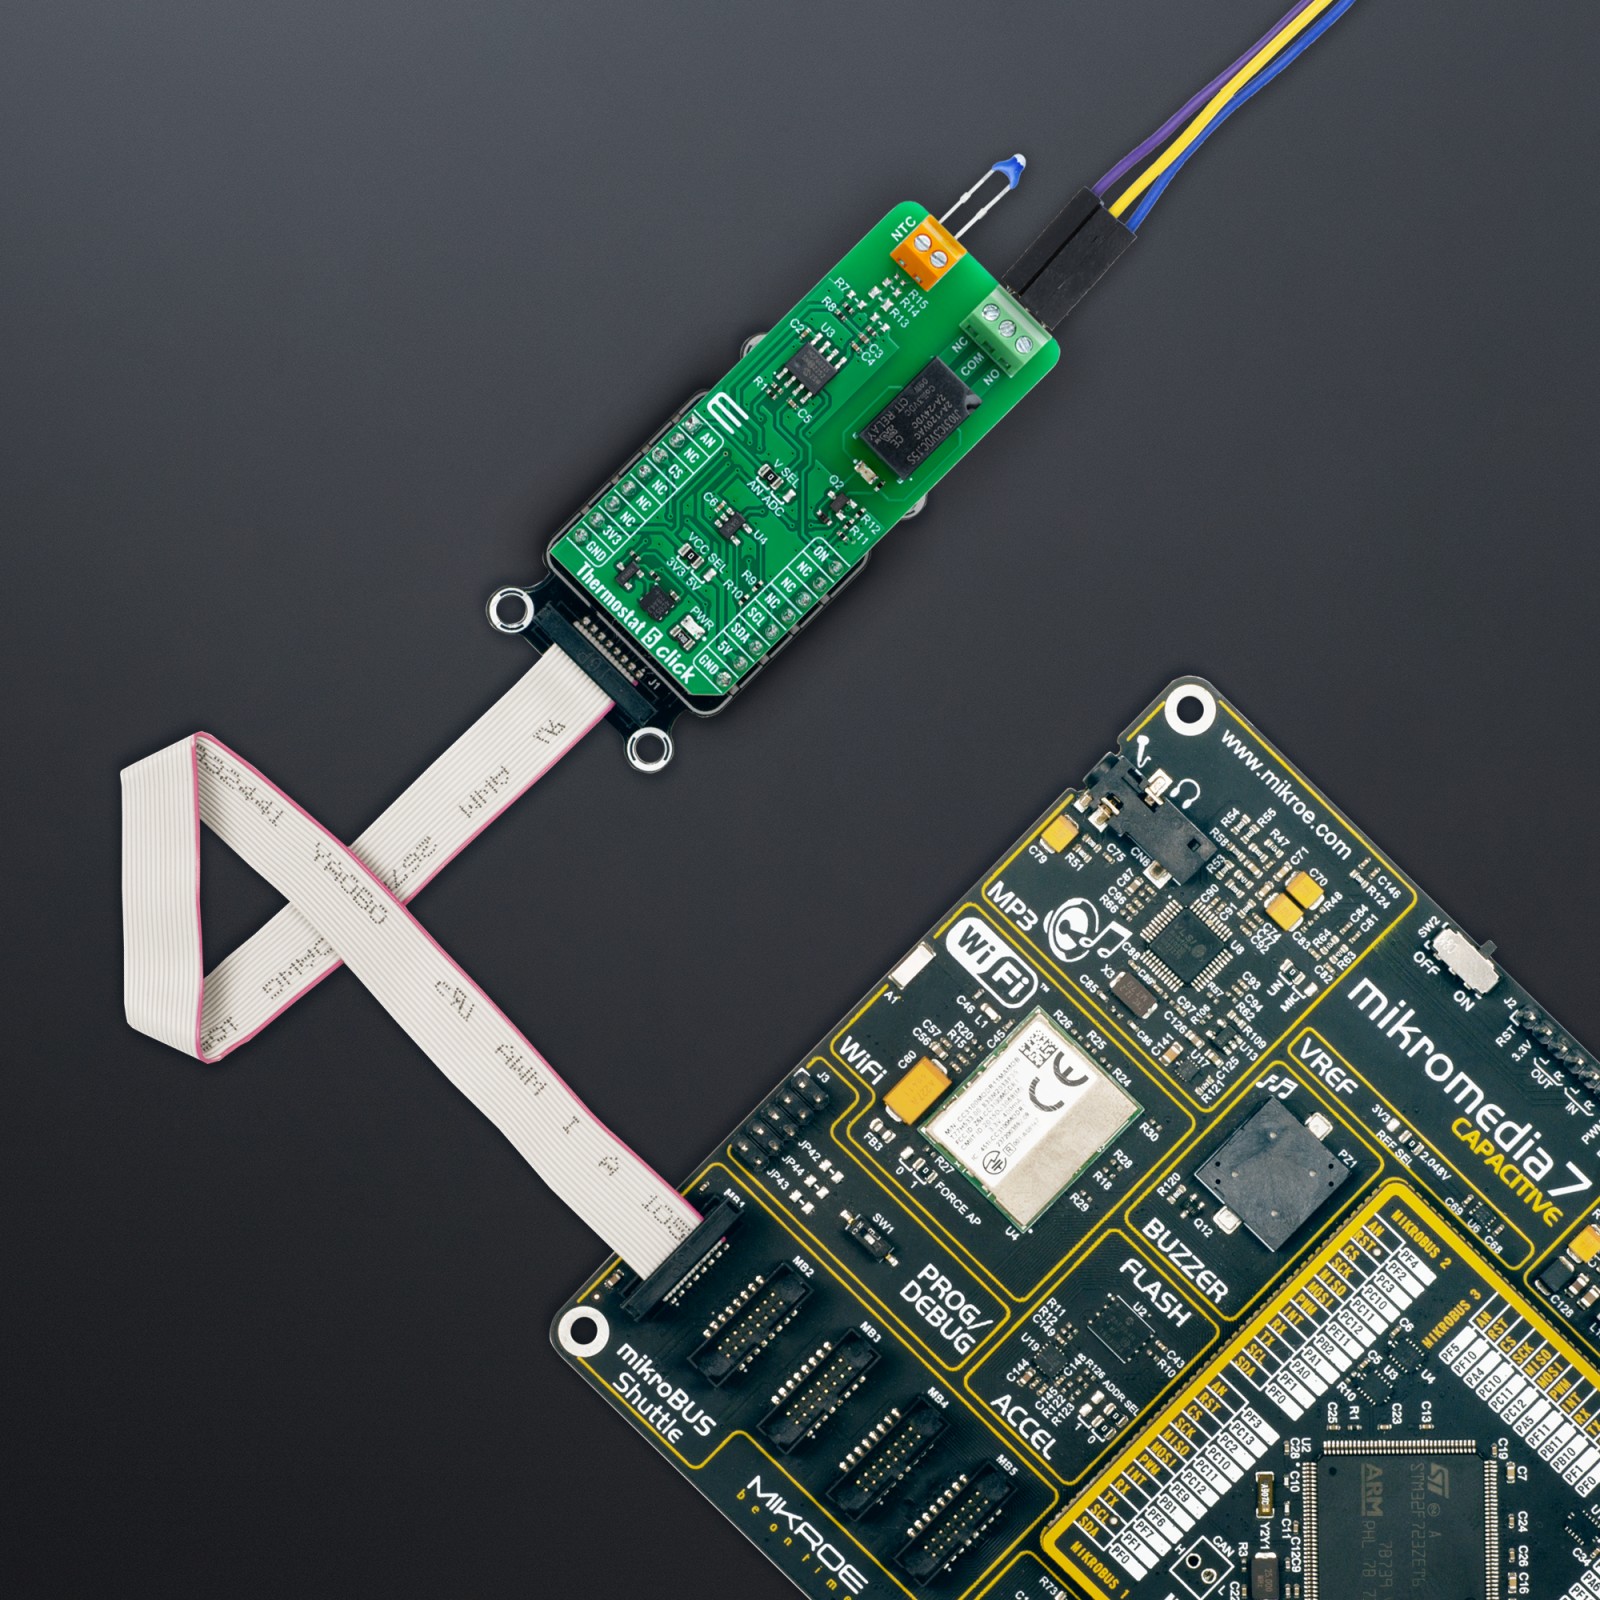
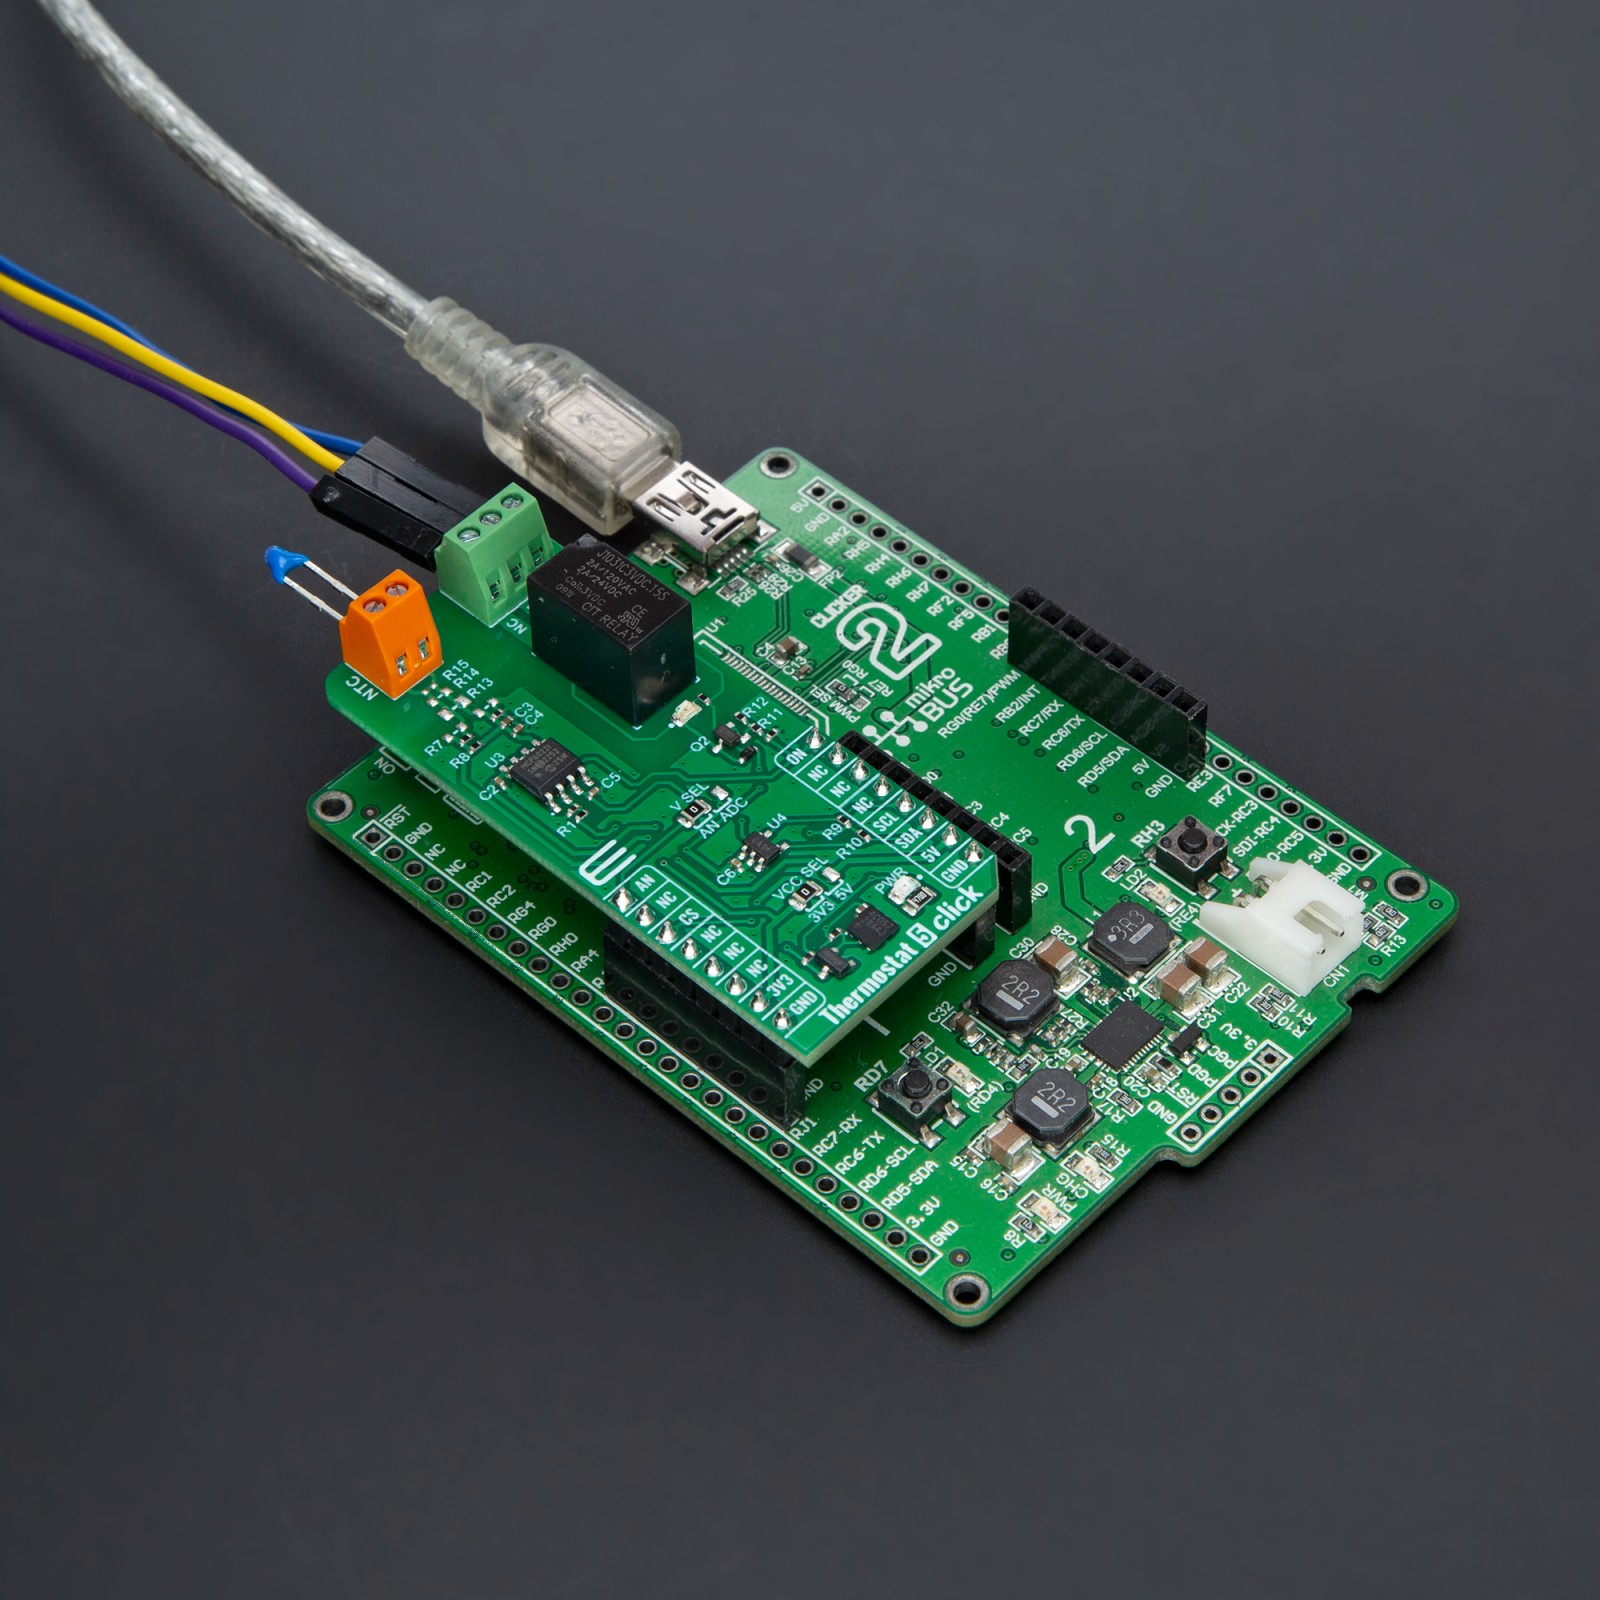
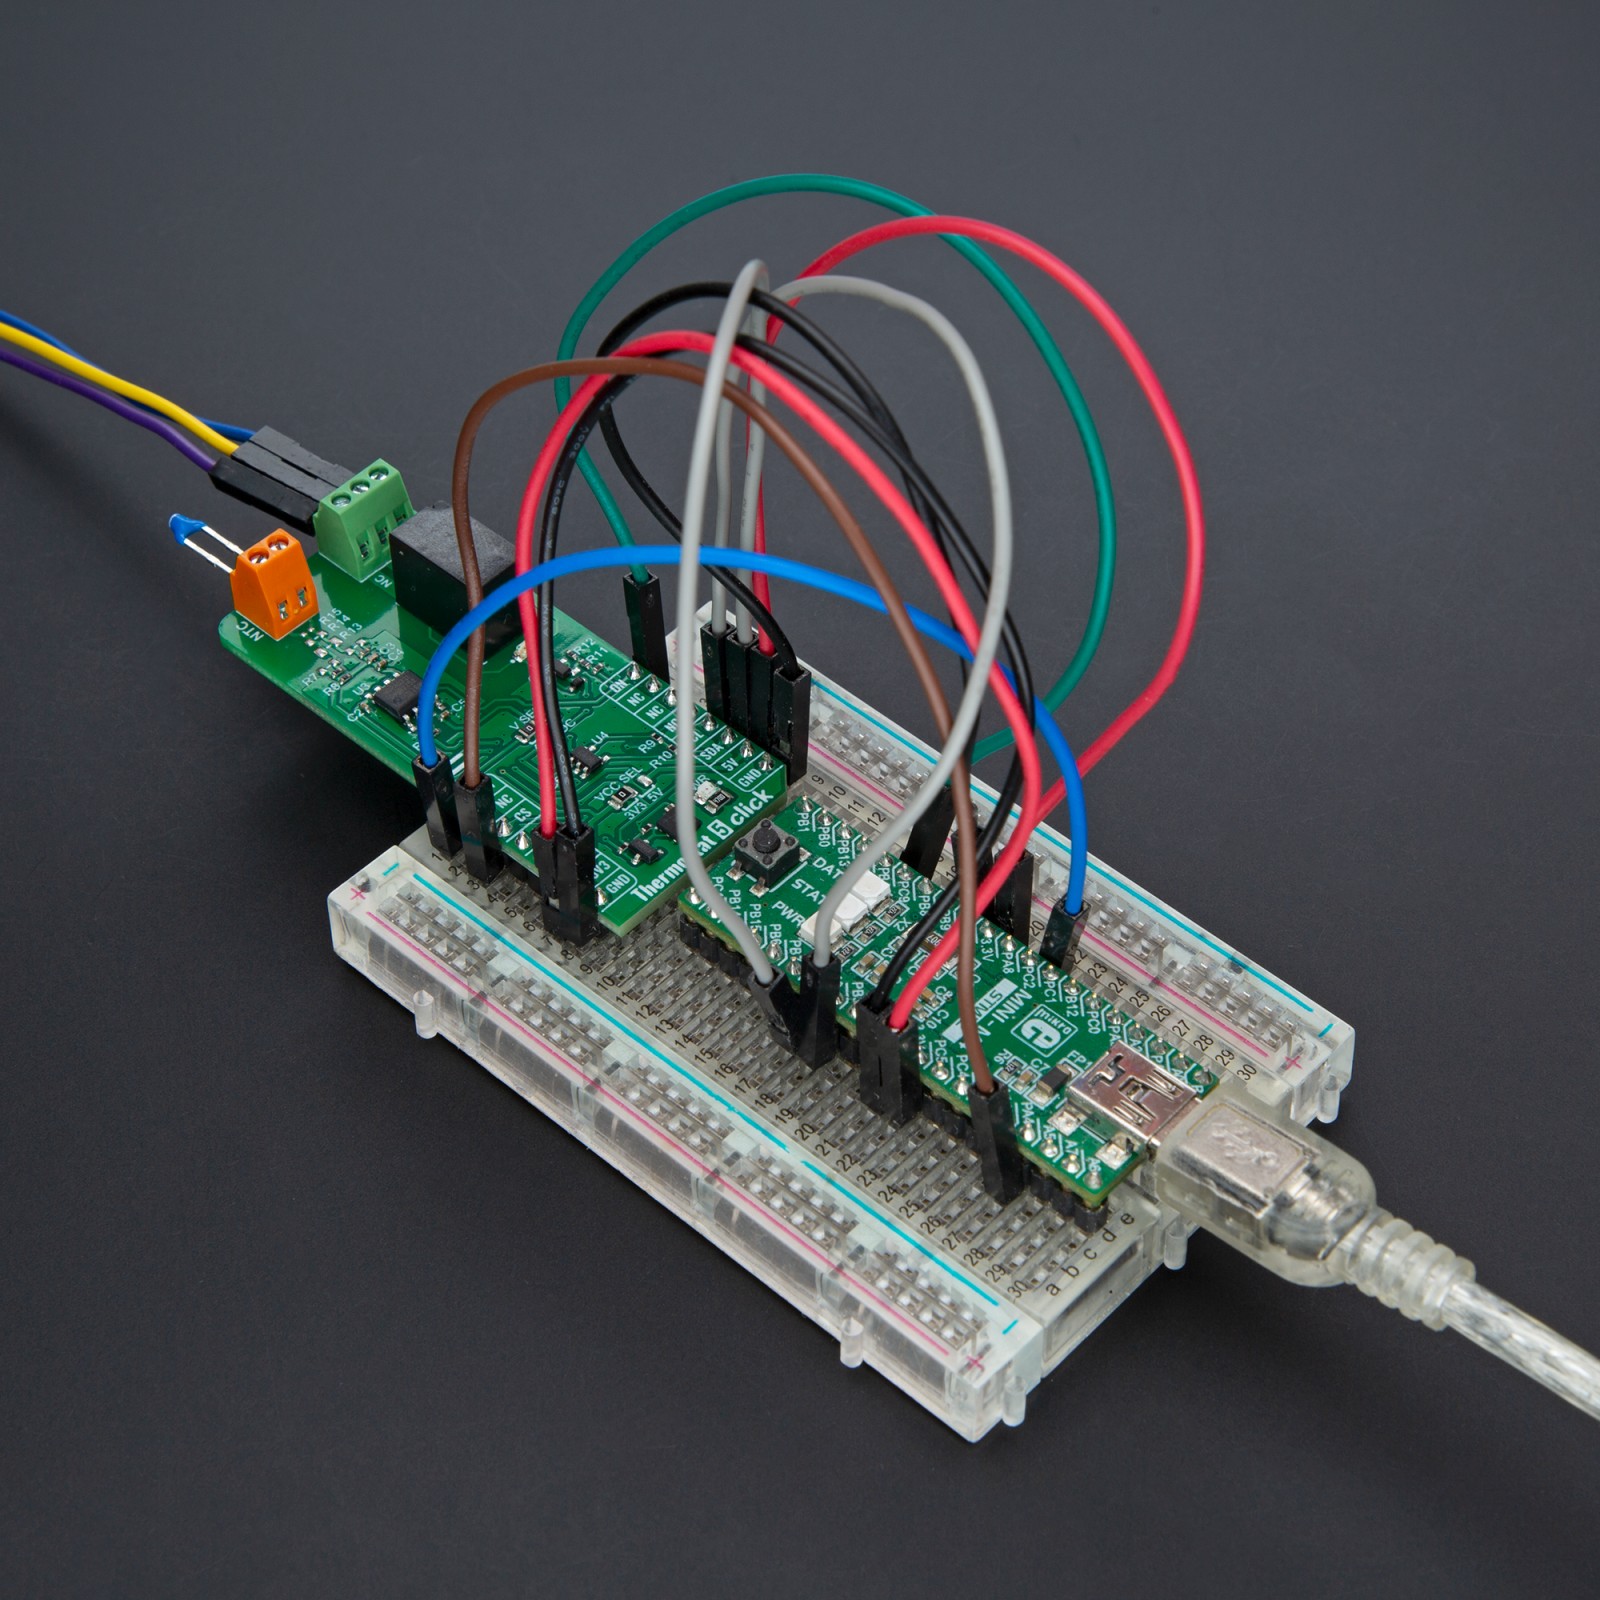
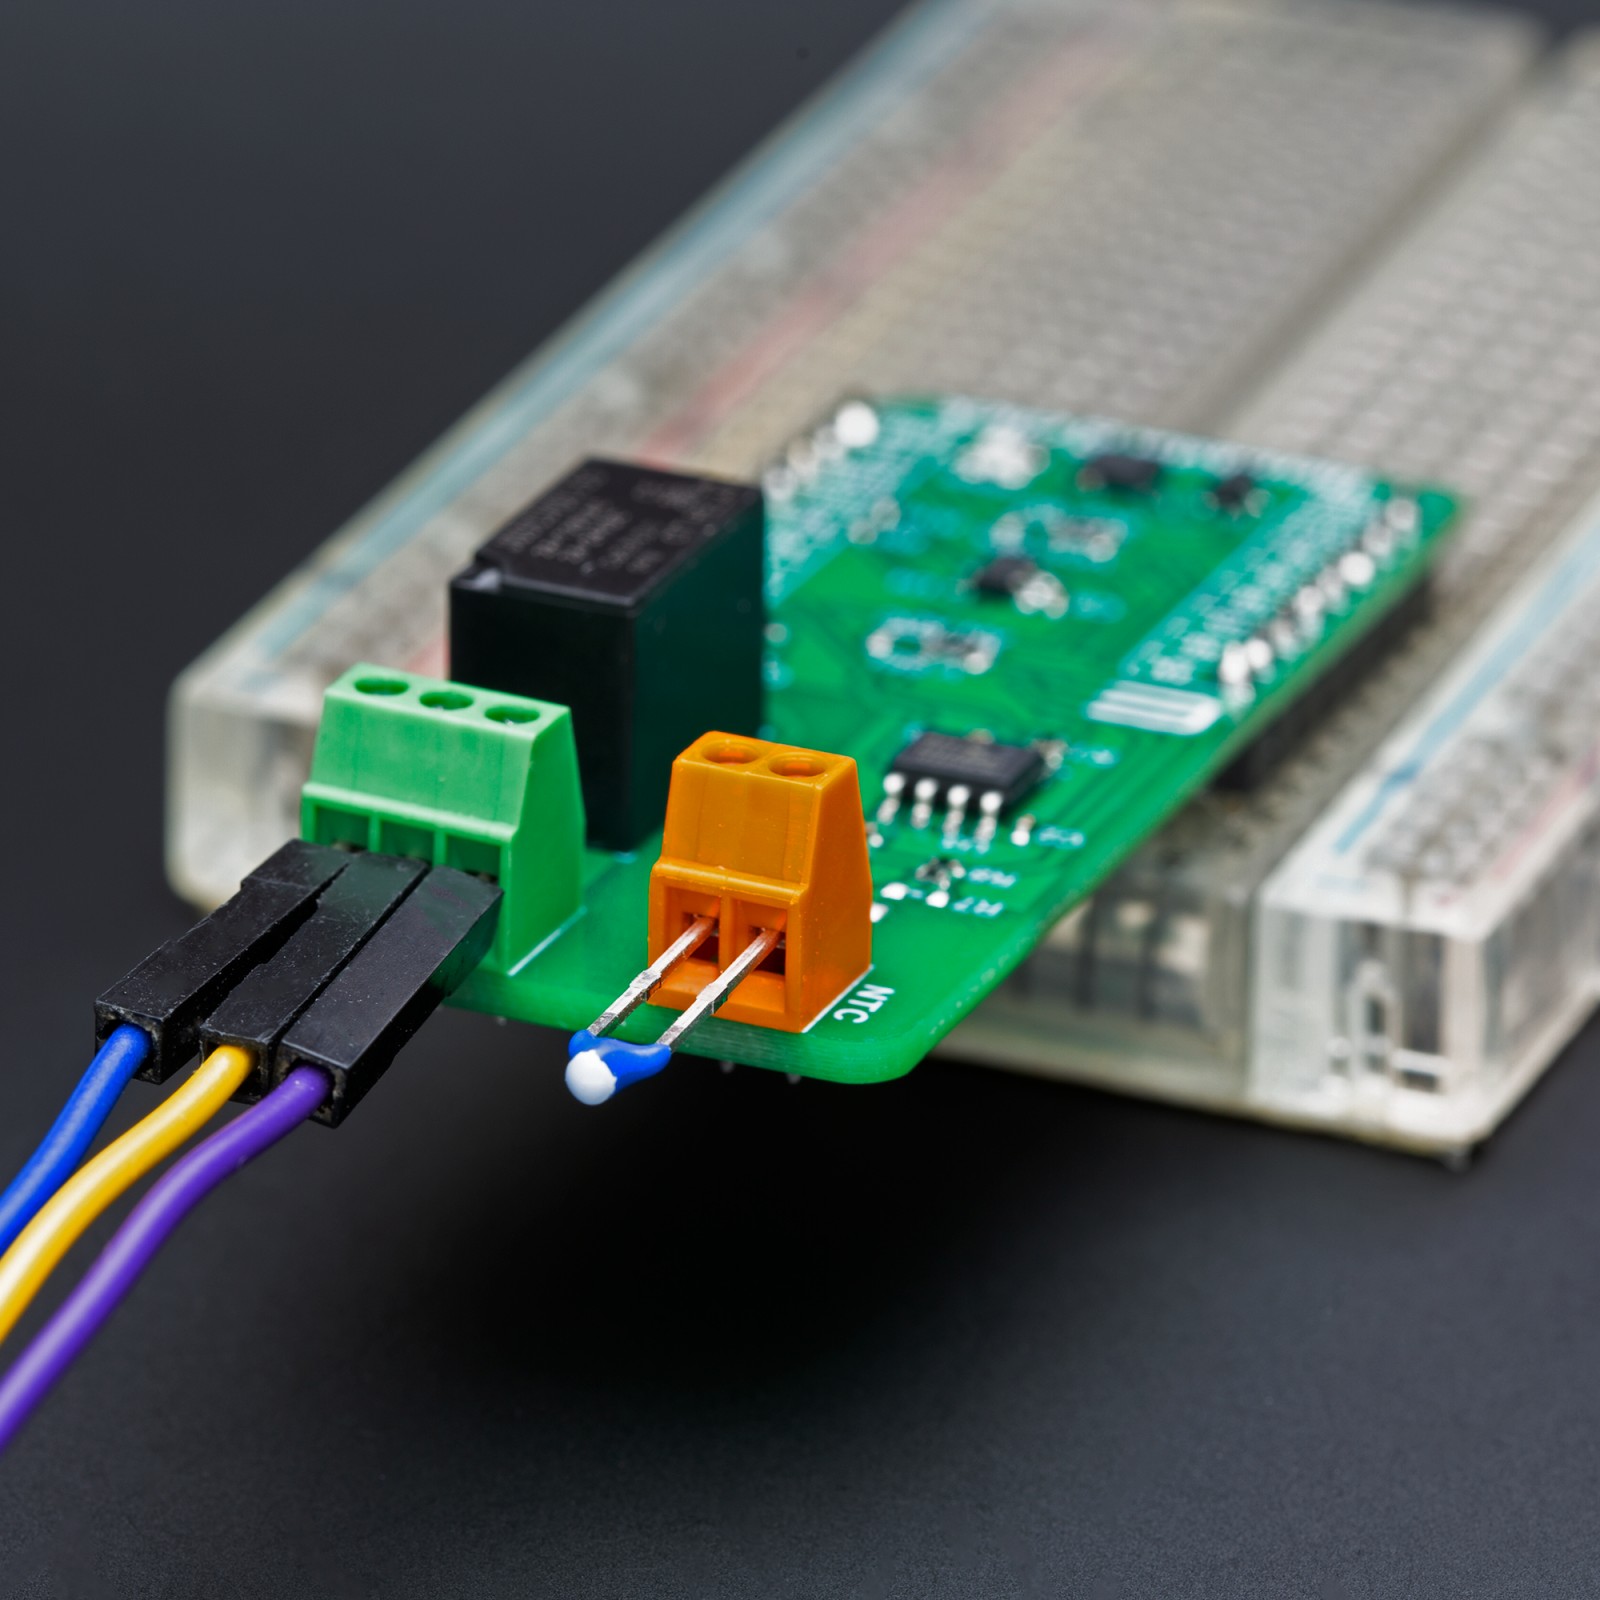
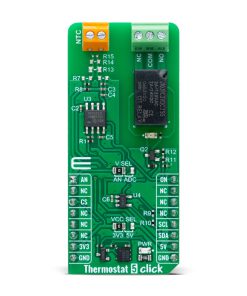
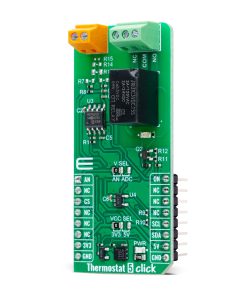
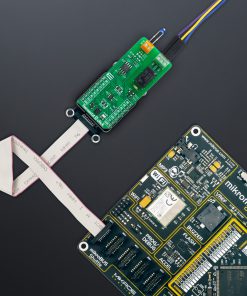
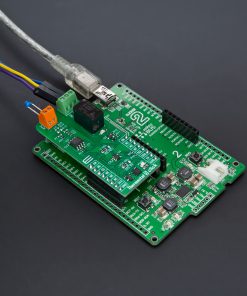
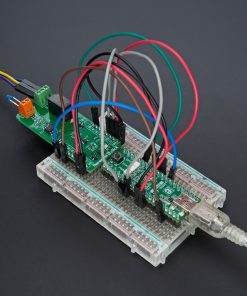
Thermostat 5 Click is an add-on board designed to monitor temperature and control external devices efficiently. At its core, it features an NTC connector, enabling the integration of an NTC thermistor to measure temperature variations. The signal generated by the thermistor is first processed by the MCP6022, a rail-to-rail input/output operational amplifier from Microchip that amplifies the thermistor’s signal, ensuring high precision and reliability in temperature monitoring. Depending on the selected processing mode, the amplified signal is then directed to the host MCU for further analysis. Thermostat 5 Click is an ideal choice for applications that require precise temperature monitoring and responsive control of external devices. Whether used in industrial automation, HVAC systems, or any other temperature-sensitive environments, this board offers reliable performance and versatile integration options.
As mentioned, one of the key features of Thermostat 5 Click is its dual signal processing capability, giving users the flexibility to choose between analog and digital output. This selection is made using the onboard V SEL jumper, which determines whether the signal will be processed in analog or digital form. When the jumper is set to the AN position, the amplified signal is routed to the AN pin of the mikroBUS™ socket, allowing the host MCU to process it as an analog input. On the other hand, when the jumper is set to ADC, the signal is digitized by the MCP3221 A/D converter. This 12-bit resolution converter from Microchip provides accurate digital output, which is transmitted to the host MCU via an I2C-compatible interface.
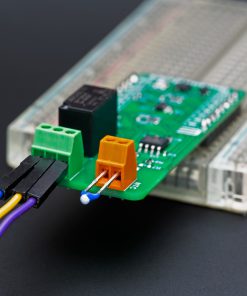
The board also includes a reliable and durable relay for controlling external resistive loads based on the detected temperature. The J1031C3VDC.15S SPDT relay from CIT Relay and Switch can handle loads of up to 2A and is highly sensitive, ensuring efficient switching with minimal power consumption. The relay’s SPDT configuration allows it to switch between normally open (NO) and normally closed (NC) positions, providing flexibility in controlling connected devices. The activation of the relay is controlled via the ON pin of the mikroBUS™ socket, and its status is visually indicated by an orange LED on the board. This design ensures clear feedback and easy monitoring of the relay’s operational state.
This Click board™ can operate with either 3.3V or 5V logic voltage levels selected via the VCC SEL jumper. This way, both 3.3V and 5V capable MCUs can use the communication lines properly. Also, this Click board™ comes equipped with a library containing easy-to-use functions and an example code that can be used as a reference for further development.
Specifications
Type
Temperature & humidity
Applications
Ideal for industrial automation, HVAC systems, and other temperature-sensitive applications
On-board modules
MCP6022 – rail-to-rail operational amplifier from Microchip
Key Features
Easy integration of an NTC thermistor, rail-to-rail input/output amplifier for signal amplification, dual signal processing, high-current relay for controlling external loads, orange LED for easy monitoring of relay activation state, and more
Interface
Analog,I2C
Feature
ClickID
Compatibility
mikroBUS™
Click board size
L (57.15 x 25.4 mm)
Input Voltage
3.3V or 5V
Pinout diagram
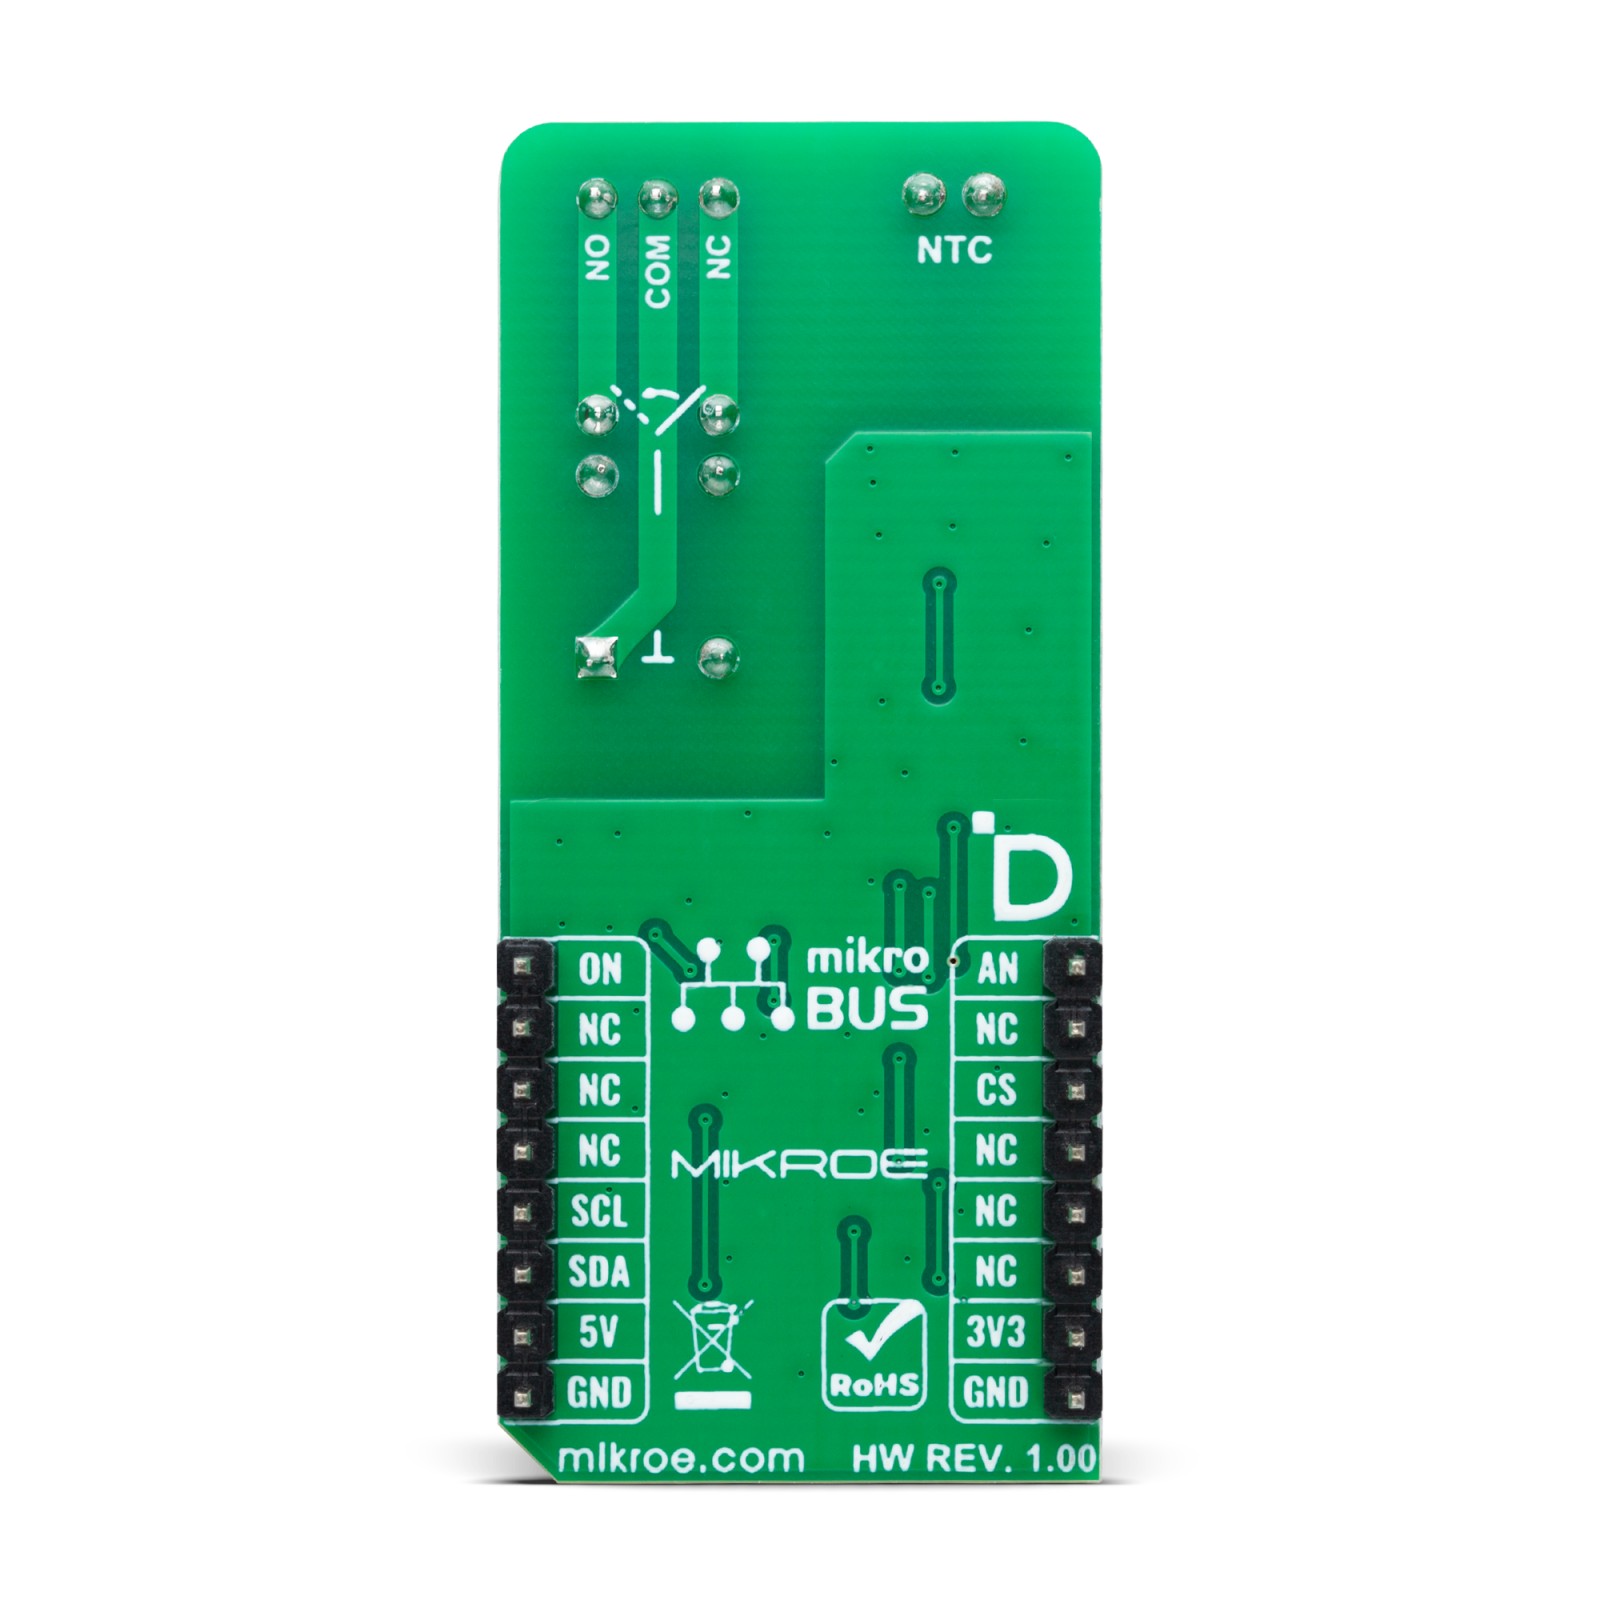
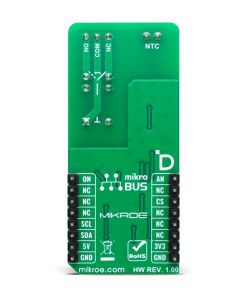
This table shows how the pinout on Thermostat 5 Click corresponds to the pinout on the mikroBUS™ socket (the latter shown in the two middle columns).
Onboard settings and indicators
Label | Name | Default | Description |
---|---|---|---|
LD1 | PWR | – | Power LED Indicator |
LD1 | – | – | Active Relay Status LED Indicator |
JP1 | VCC SEL | Left | Power Voltage Level Selection 3V3/5V: Left position 3V3, Right position 5V |
JP2 | V SEL | Left | Output Voltage A/D Selection AN/ADC: Left position AN, Right position ADC |
Thermostat 5 Click electrical specifications
Description | Min | Typ | Max | Unit |
---|---|---|---|---|
Supply Voltage | 3.3 | – | 5 | V |
Relay Current Rating | – | – | 2 | A |
Software Support
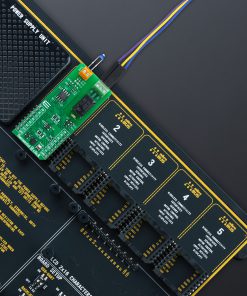
We provide a library for the Thermostat 5 Click as well as a demo application (example), developed using MIKROE compilers. The demo can run on all the main MIKROE development boards.
Package can be downloaded/installed directly from NECTO Studio Package Manager (recommended), downloaded from our LibStock™ or found on MIKROE github account.
Library Description
This library contains API for Thermostat 5 Click driver.
Key functions
-
thermostat5_set_relay
This function controls the relay by setting the state of the ON (PWM) pin. -
thermostat5_get_temperature
This function reads and calculates temperature in degrees Celsius [degC] using NTC thermistors. -
thermostat5_read_voltage
This function sets the voltage reference for Thermostat 5 click driver.
Example Description
This library contains API for the Thermostat 5 Click driver for temperature measurement and relay control.
void application_task ( void )
{
float temperature = 0;
if ( THERMOSTAT5_OK == thermostat5_get_temperature( &thermostat5, &temperature ) )
{
log_printf( &logger, " Temperatur : %.2f [degC]rn", temperature );
if ( THERMOSTAT5_TEMPERATURE_LIMIT < temperature )
{
thermostat5_set_relay( &thermostat5, THERMOSTAT5_RELAY_ON );
log_printf( &logger, " Relay: ONrn" );
}
else
{
thermostat5_set_relay( &thermostat5, THERMOSTAT5_RELAY_OFF );
log_printf( &logger, " Relay: OFFrn" );
}
Delay_ms( 1000 );
}
}
The full application code, and ready to use projects can be installed directly from NECTO Studio Package Manager (recommended), downloaded from our LibStock™ or found on MIKROE github account.
Other MIKROE Libraries used in the example:
- MikroSDK.Board
- MikroSDK.Log
- Click.Thermostat5
Additional notes and informations
Depending on the development board you are using, you may need USB UART click, USB UART 2 Click or RS232 Click to connect to your PC, for development systems with no UART to USB interface available on the board. UART terminal is available in all MIKROE compilers.
mikroSDK
This Click board™ is supported with mikroSDK – MIKROE Software Development Kit. To ensure proper operation of mikroSDK compliant Click board™ demo applications, mikroSDK should be downloaded from the LibStock and installed for the compiler you are using.
For more information about mikroSDK, visit the official page.