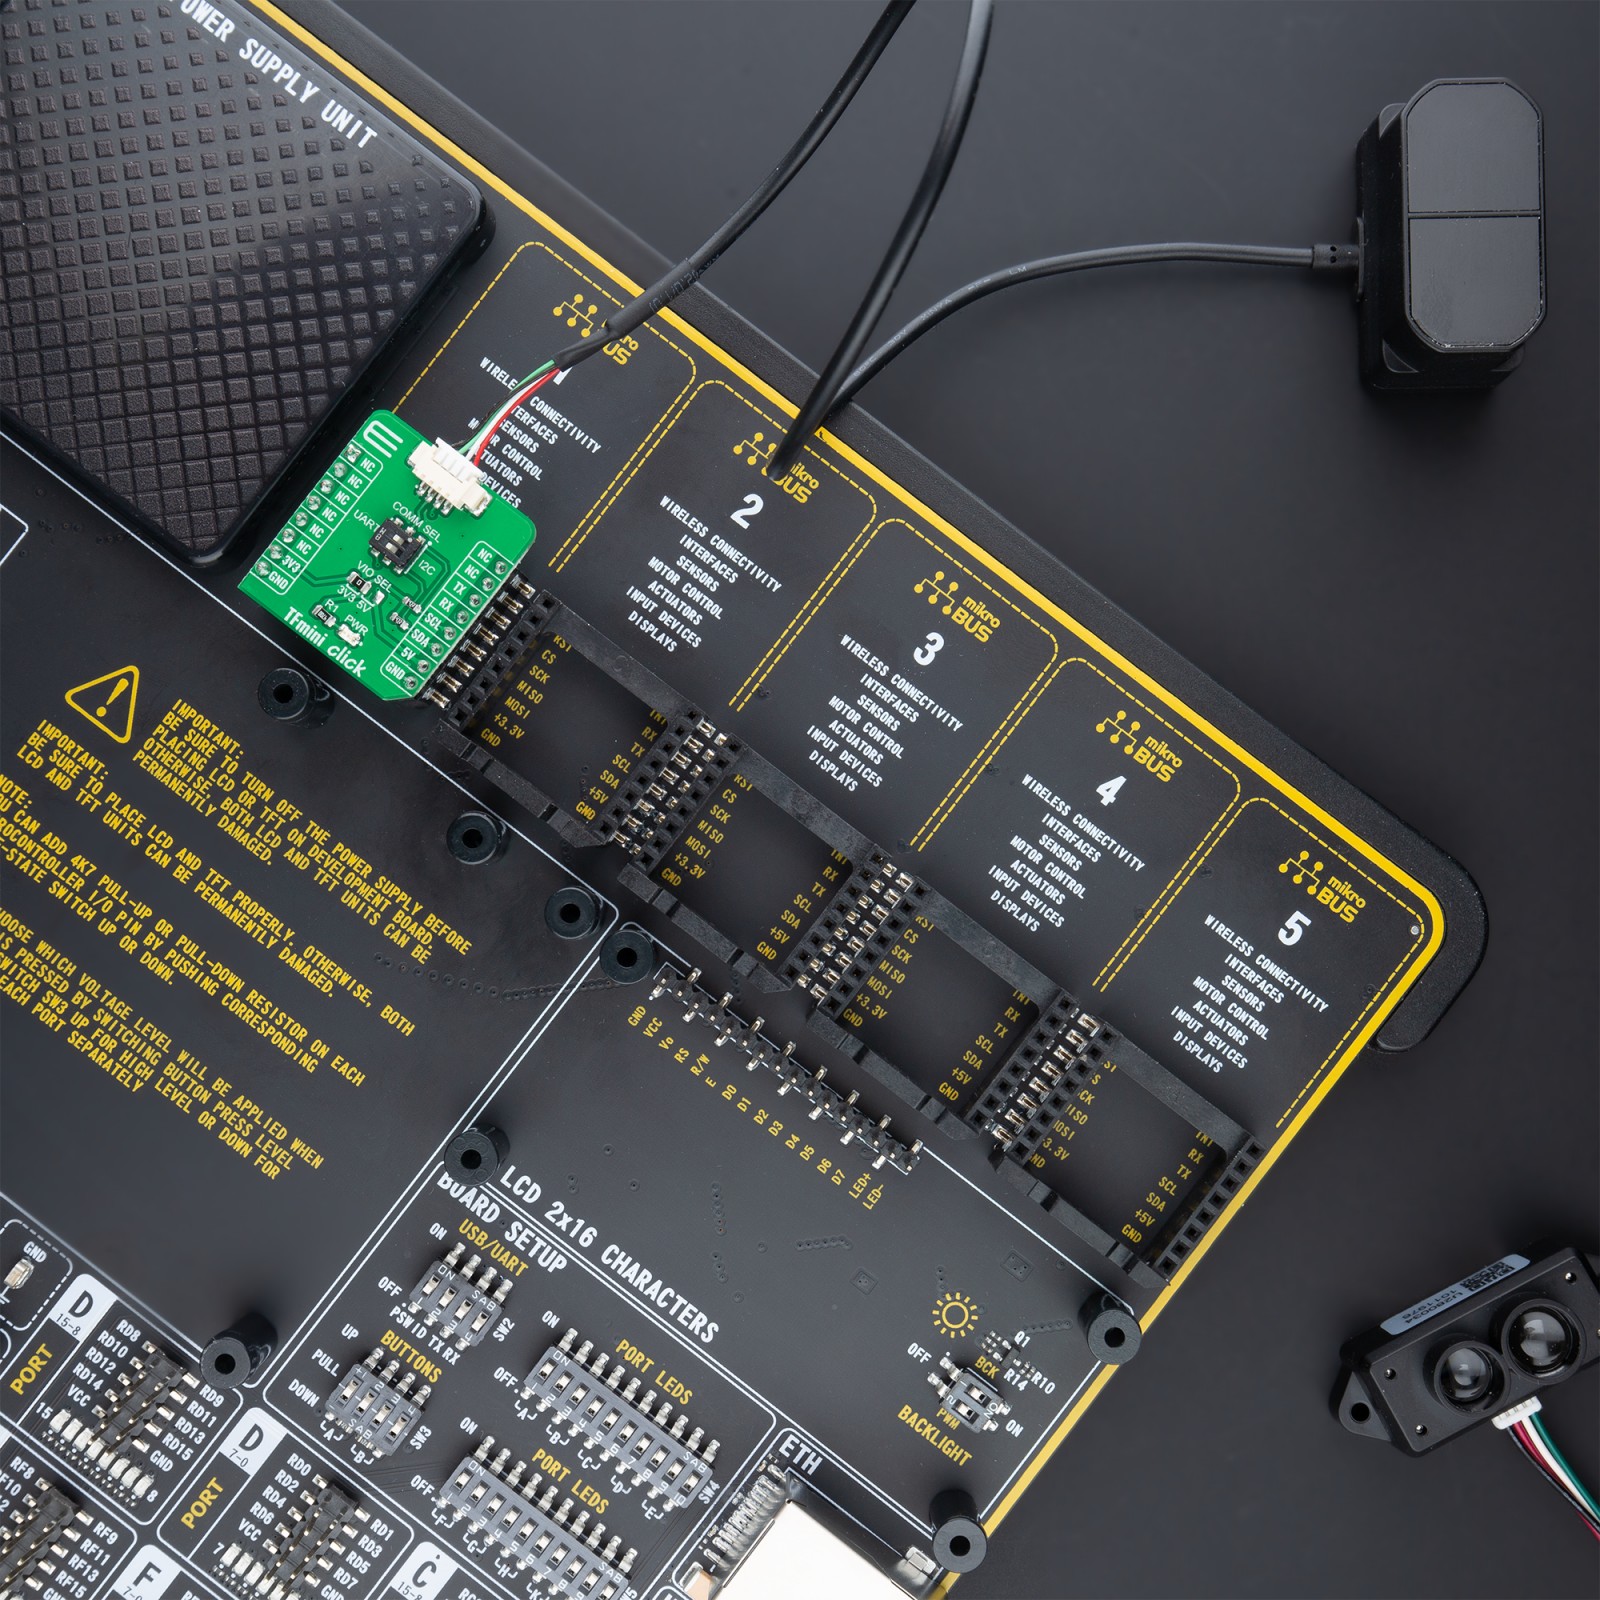
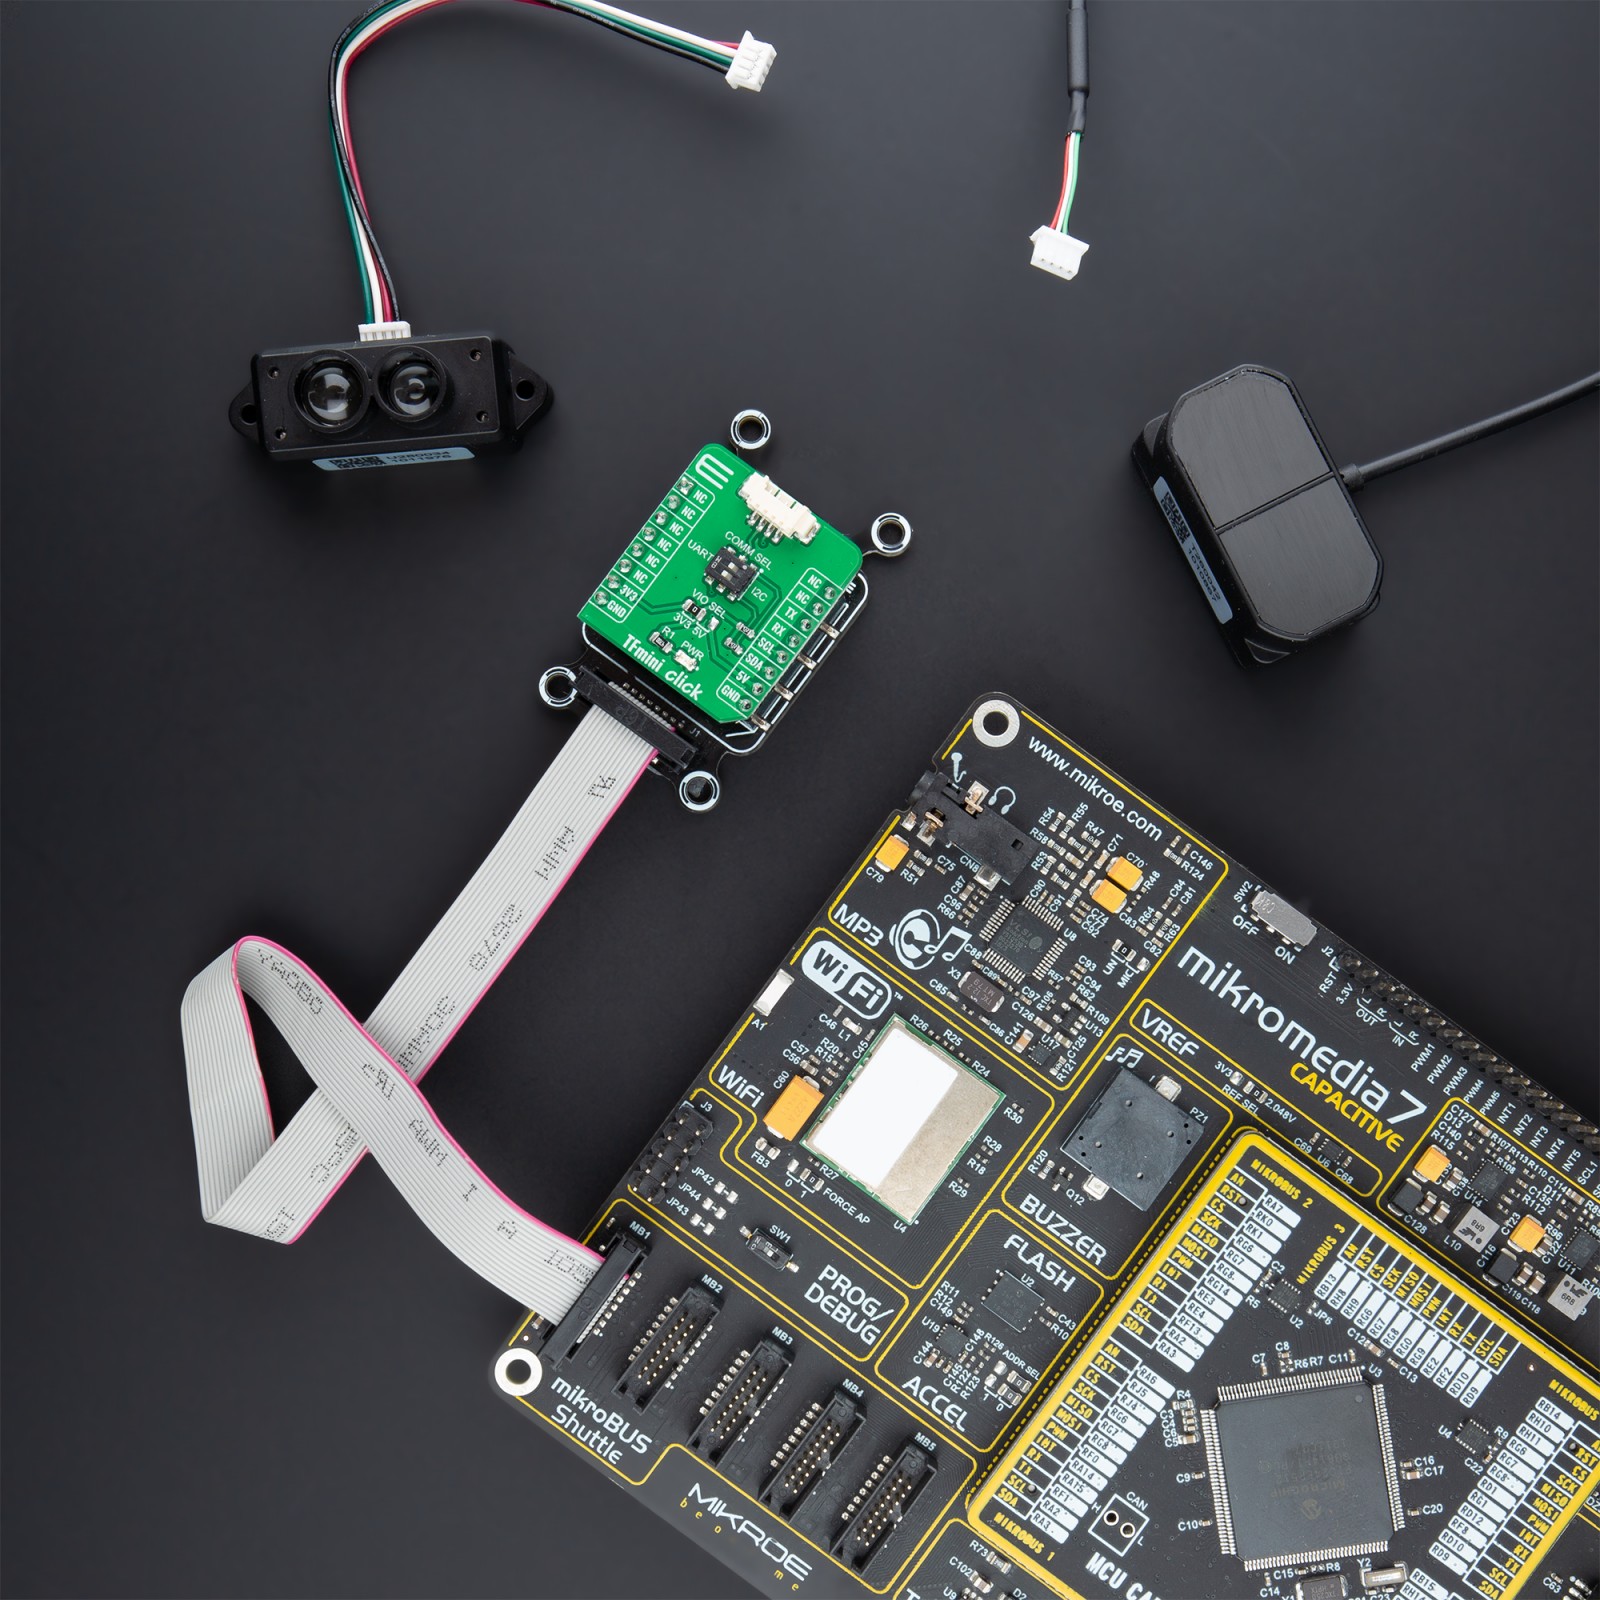
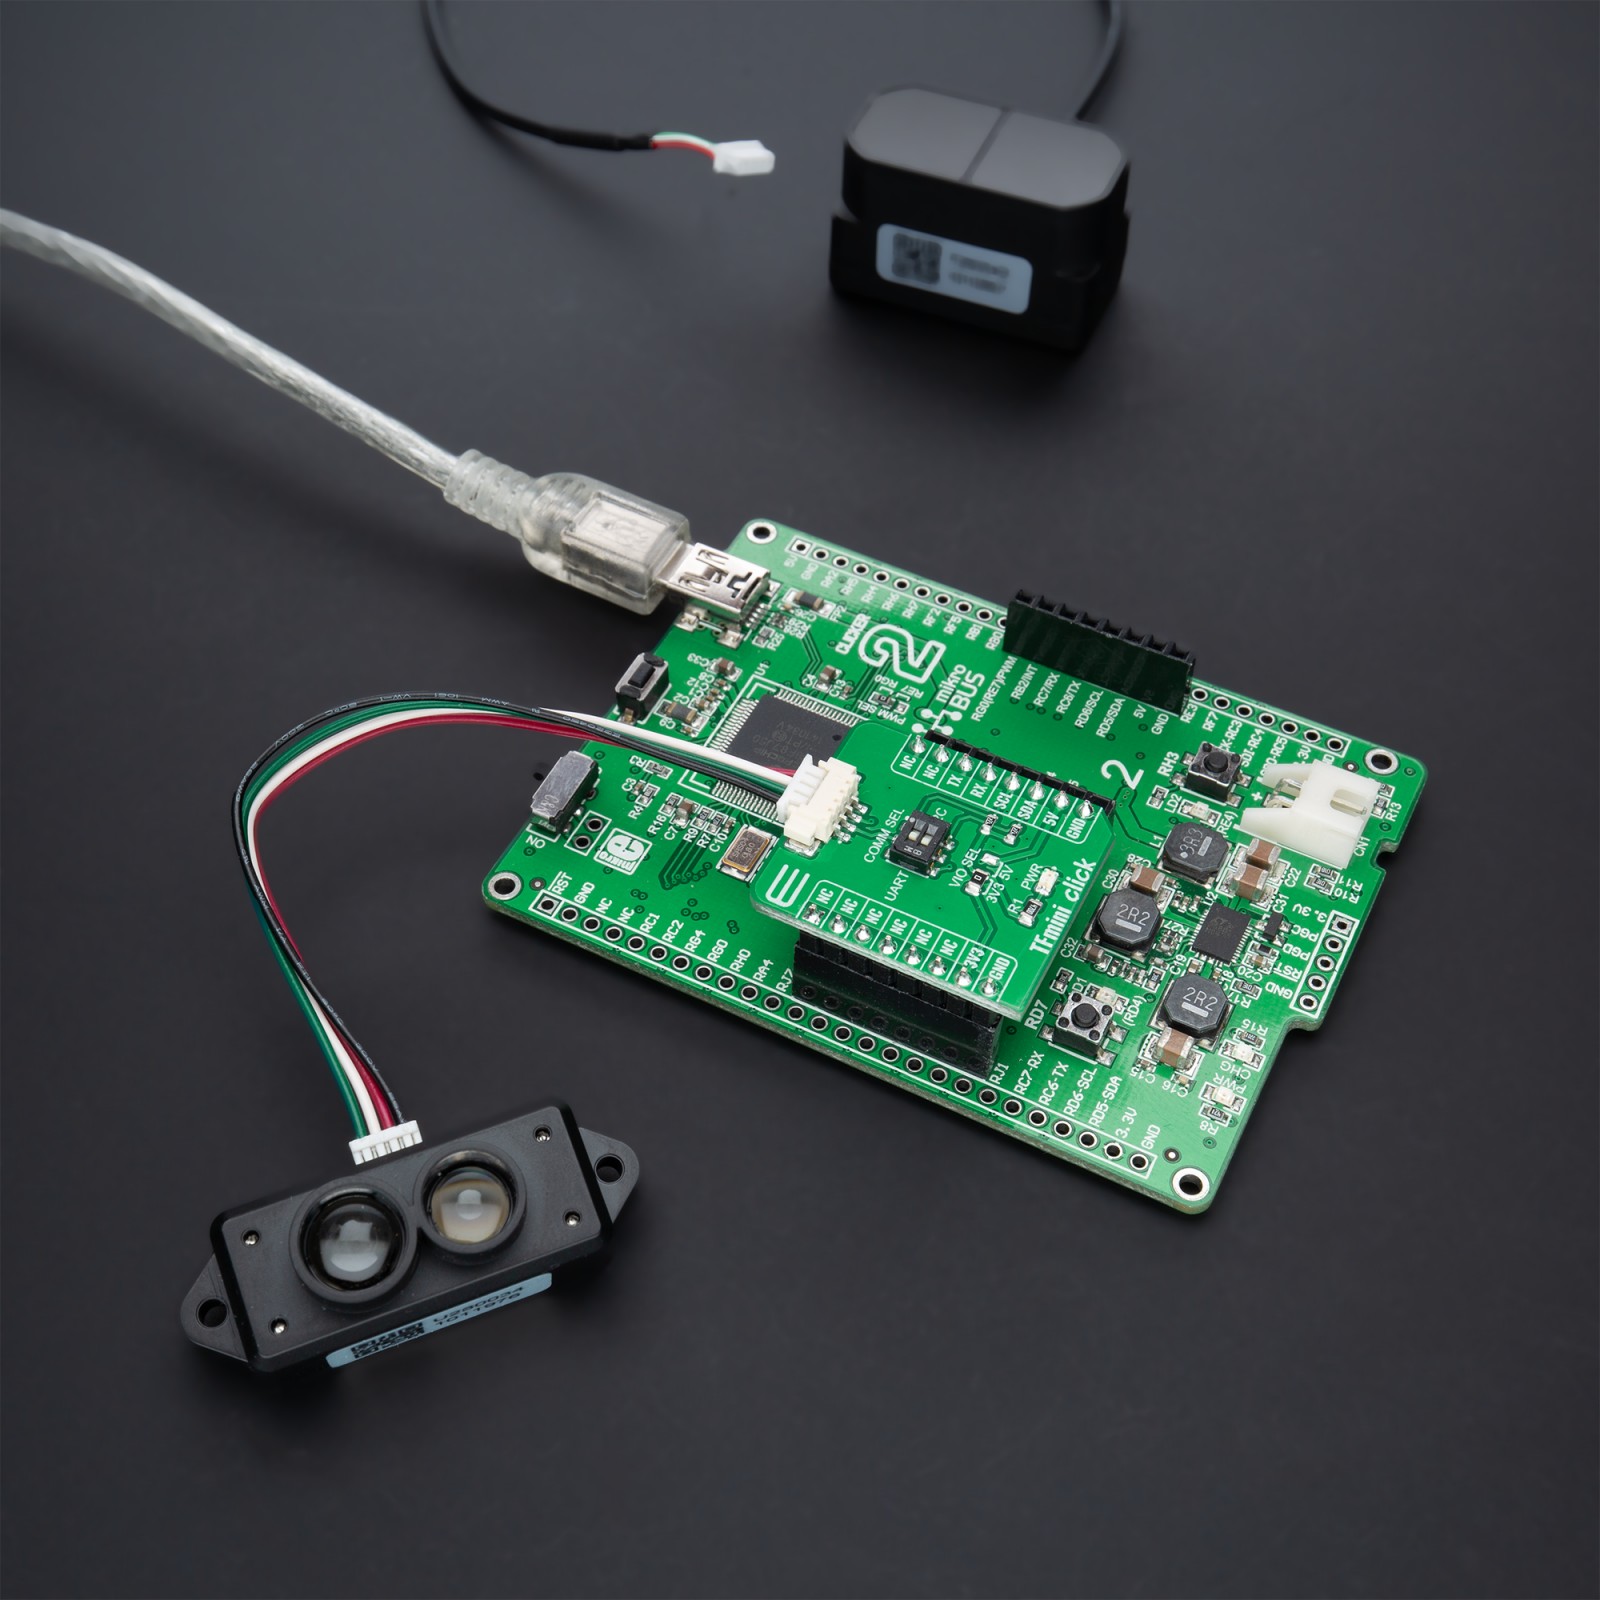
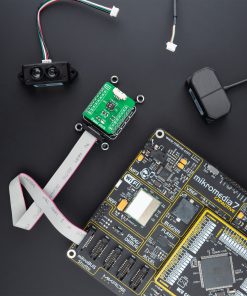
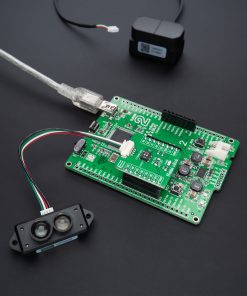
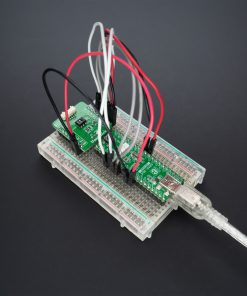
NOTE: The ToF (Time of Flight) LiDAR sensors do not come in the same package with this Click board™. Please visit the TFmini Plus Click Bundle or TFmini S Click Bundle page if you want the complete package.
How does it work?
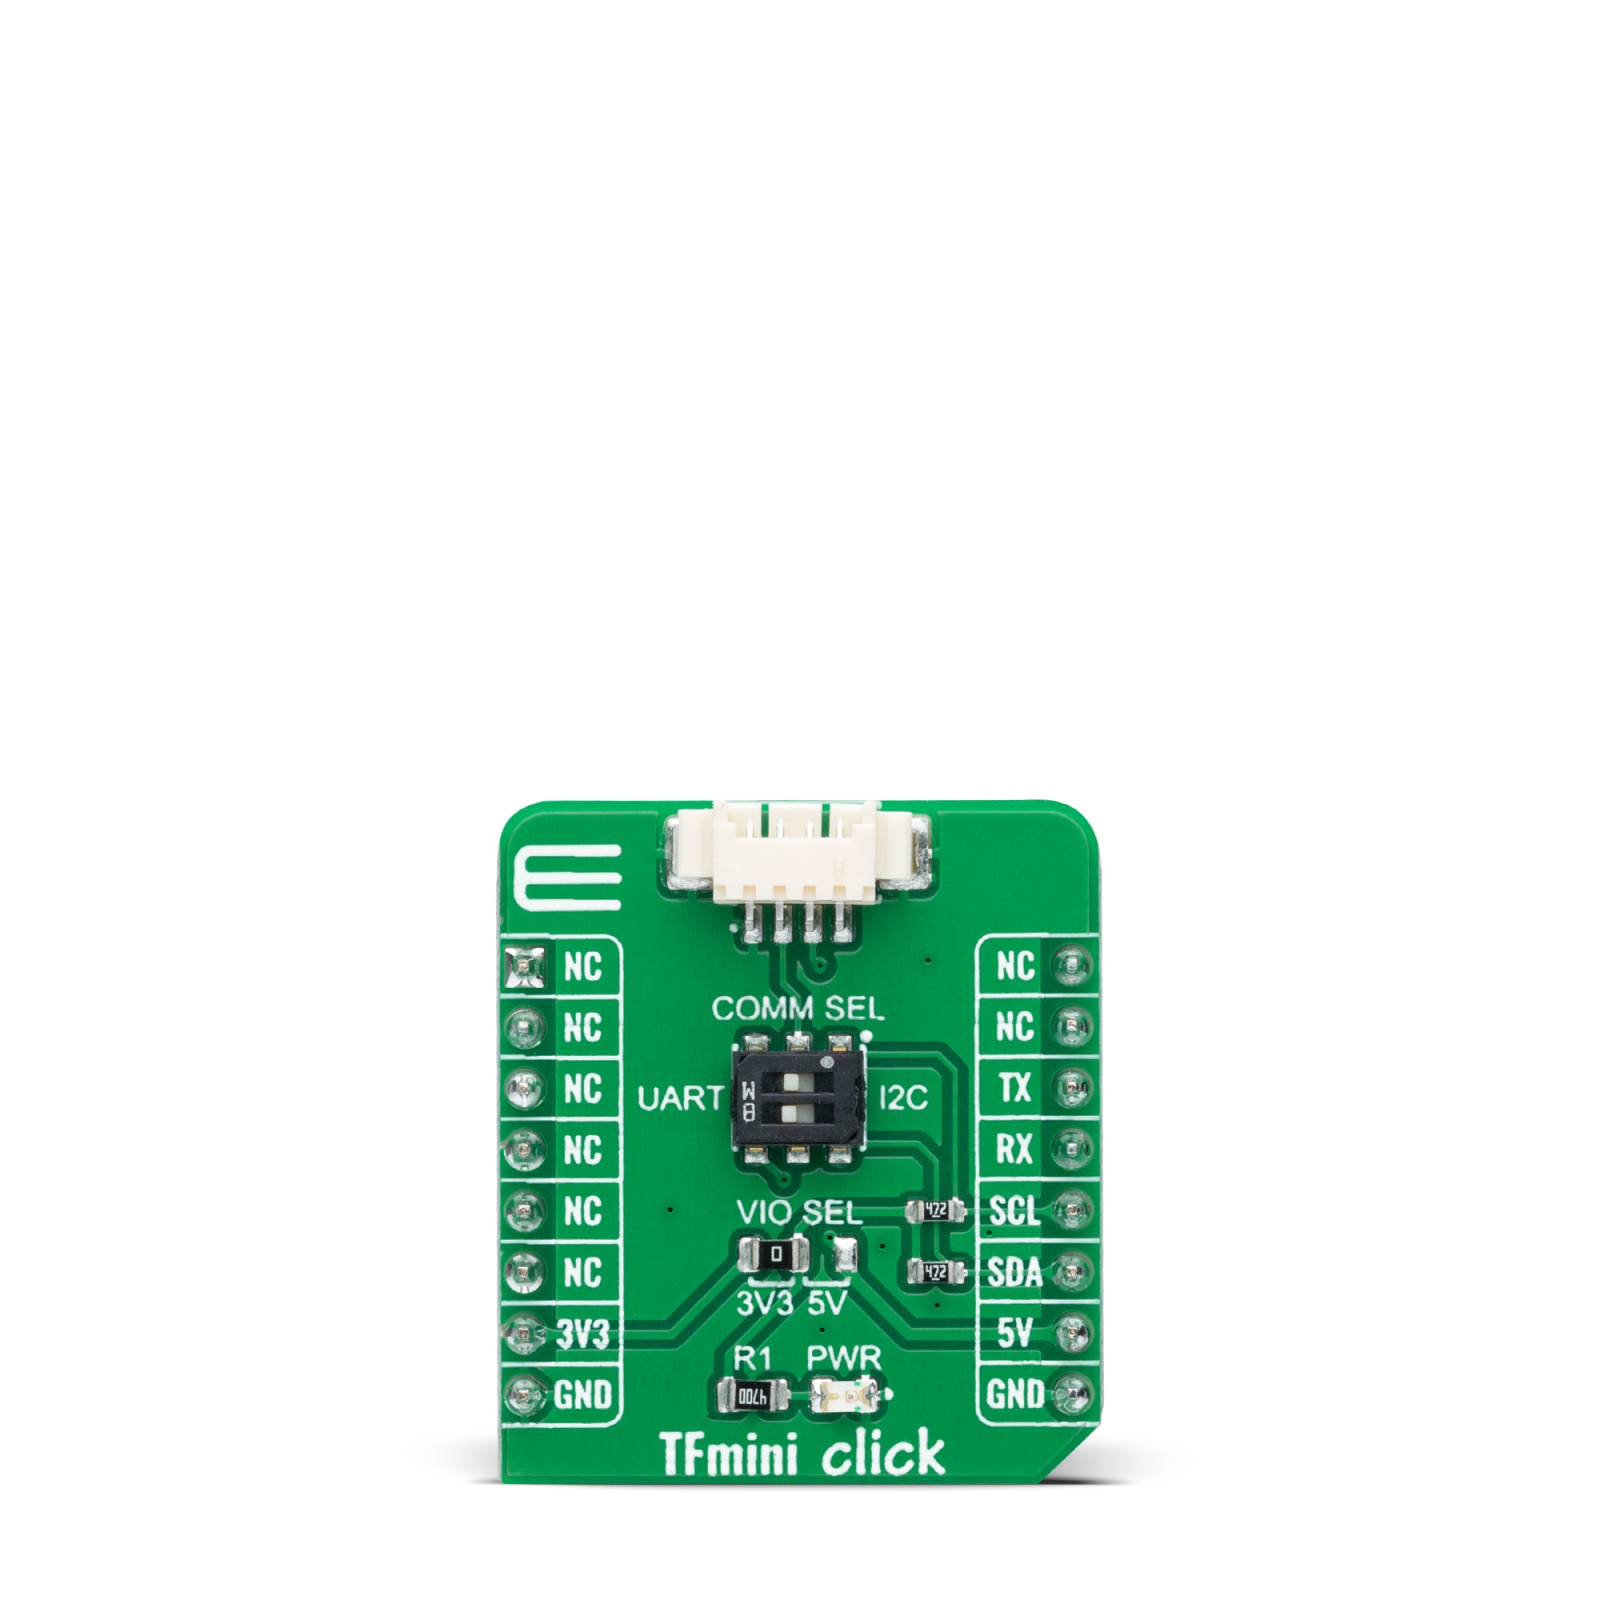
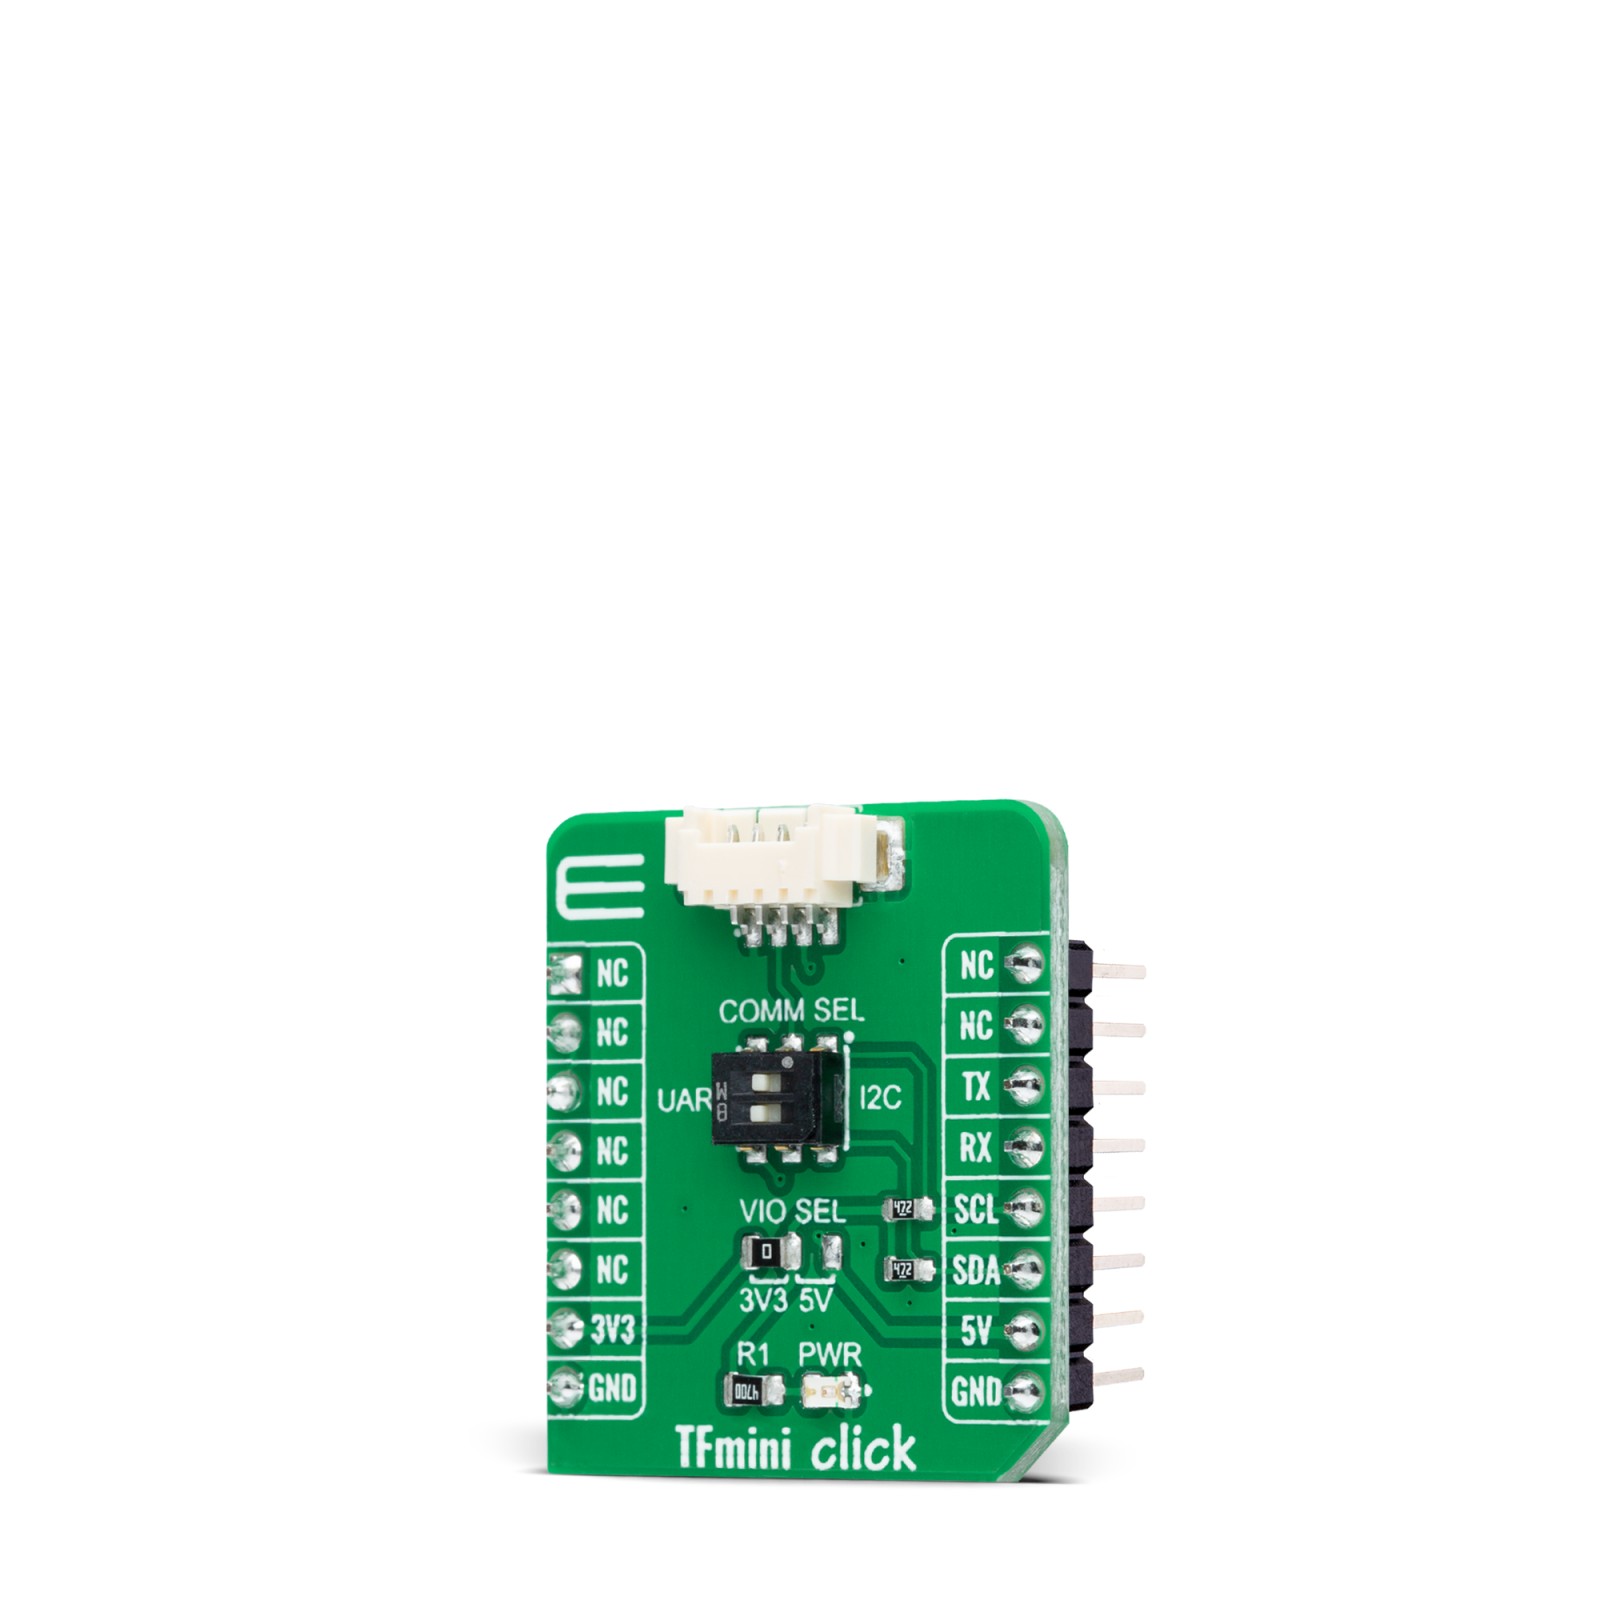
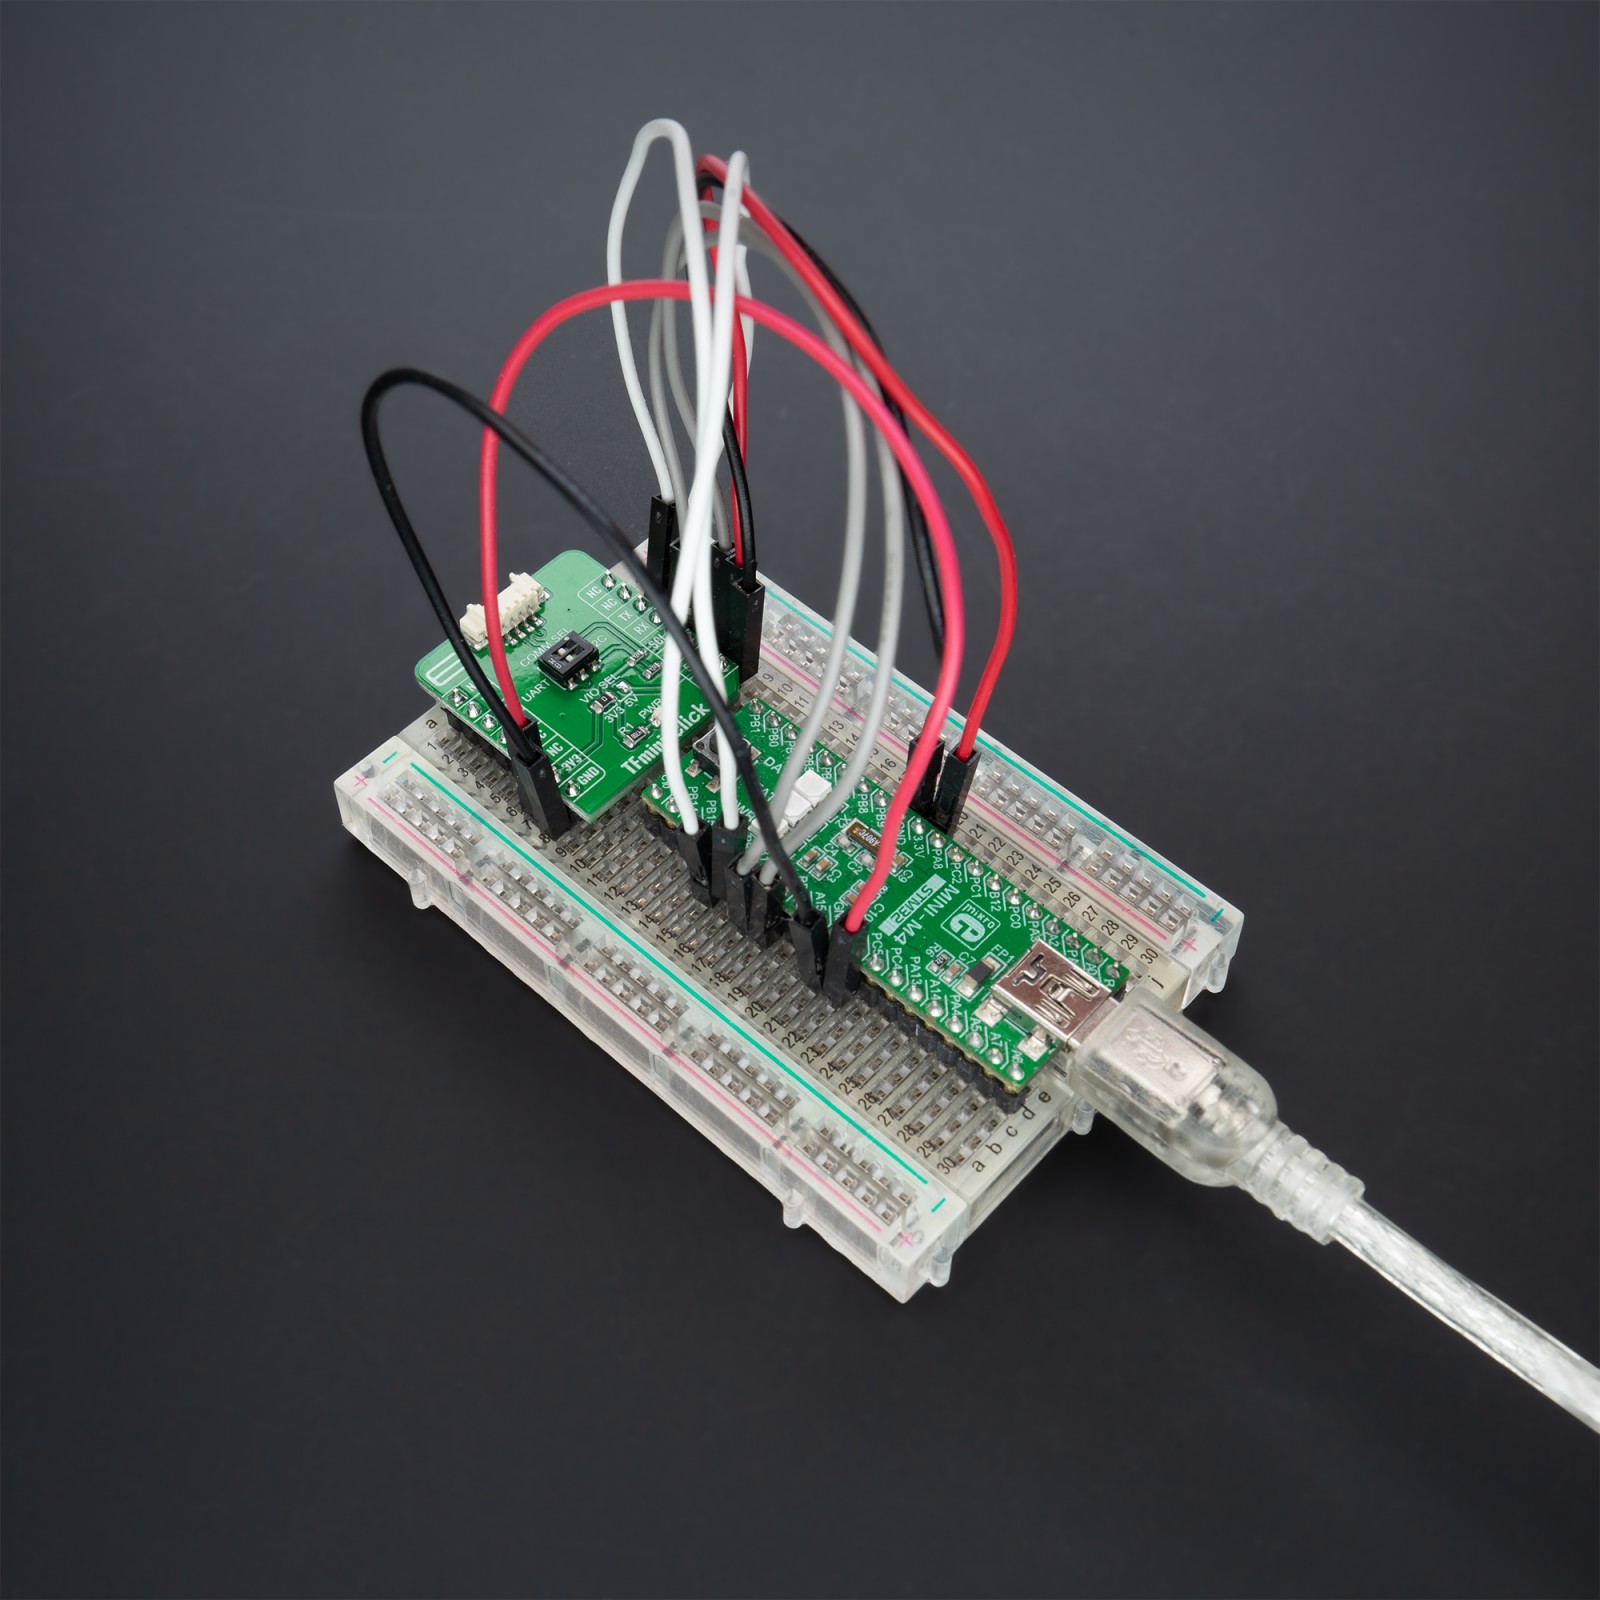
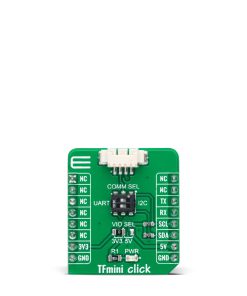
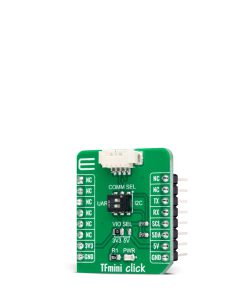
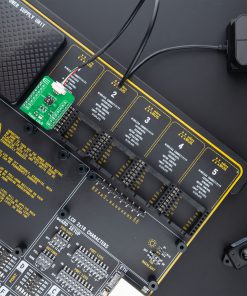
TFmini Click is an adapter Click board™ that simplifies the interface of the TFmini LiDAR module with the host MCU. This Click board™ represents a small PCB connected to the mikroBUS™ socket like any other Click board™, with a 1×4 1.25mm pitch connector used for the TFmini LiDAR sensor connection. Each of the connector pins corresponds to a pin of the TFmini LiDAR sensor, allowing easy pin access and manipulation while retaining a perfect connection quality at all times.
This Click board™ allows users to upgrade their projects with a sensor capable of measuring the distance to an object, where different measurement ranges are possible to achieve. As with all LiDAR sensors, the effective detection distance will vary depending on lighting conditions and the reflectivity of your target object. These sensors come with an IP65 enclosure rating, 100Hz frame rate, and 70Klux ambient light immunity and are suitable for various industrial environments like pedestrian detection, vehicle testing, and altitude.
TFmini Click provides the possibility of using both UART and I2C interfaces, with commonly used UART RX and TX pins as its default communication protocol operating at 115200bps by default configuration to transmit and exchange data with the host MCU. The selection can be made by positioning the SMD switch labeled as COMM SEL to an appropriate position. Note that all the switch positions must be on the same side, or the Click board™ may become unresponsive.
This Click board™ can operate with both 3.3V and 5V logic voltage levels selected via the VIO SEL jumper. This way, it is allowed for both 3.3V and 5V capable MCUs to use the communication lines properly. However, the Click board™ comes equipped with a library containing easy-to-use functions and an example code that can be used, as a reference, for further development.
Specifications
Type
Adapter,Optical
Applications
Can be used for various industrial environments like pedestrian detection, vehicle testing, and altitude
On-board modules
TFmini Click is an adapter Click board™ that simplifies the interface of the TFmini LiDAR module with the host MCU
Key Features
Low power consumption, high performance and accuracy, allowing measuring the distance to an object, configurable interface, suitable for both mikroBUS™ power rails, and more
Interface
I2C,UART
Compatibility
mikroBUS
Click board size
S (28.6 x 25.4 mm)
Input Voltage
3.3V or 5V
Pinout diagram
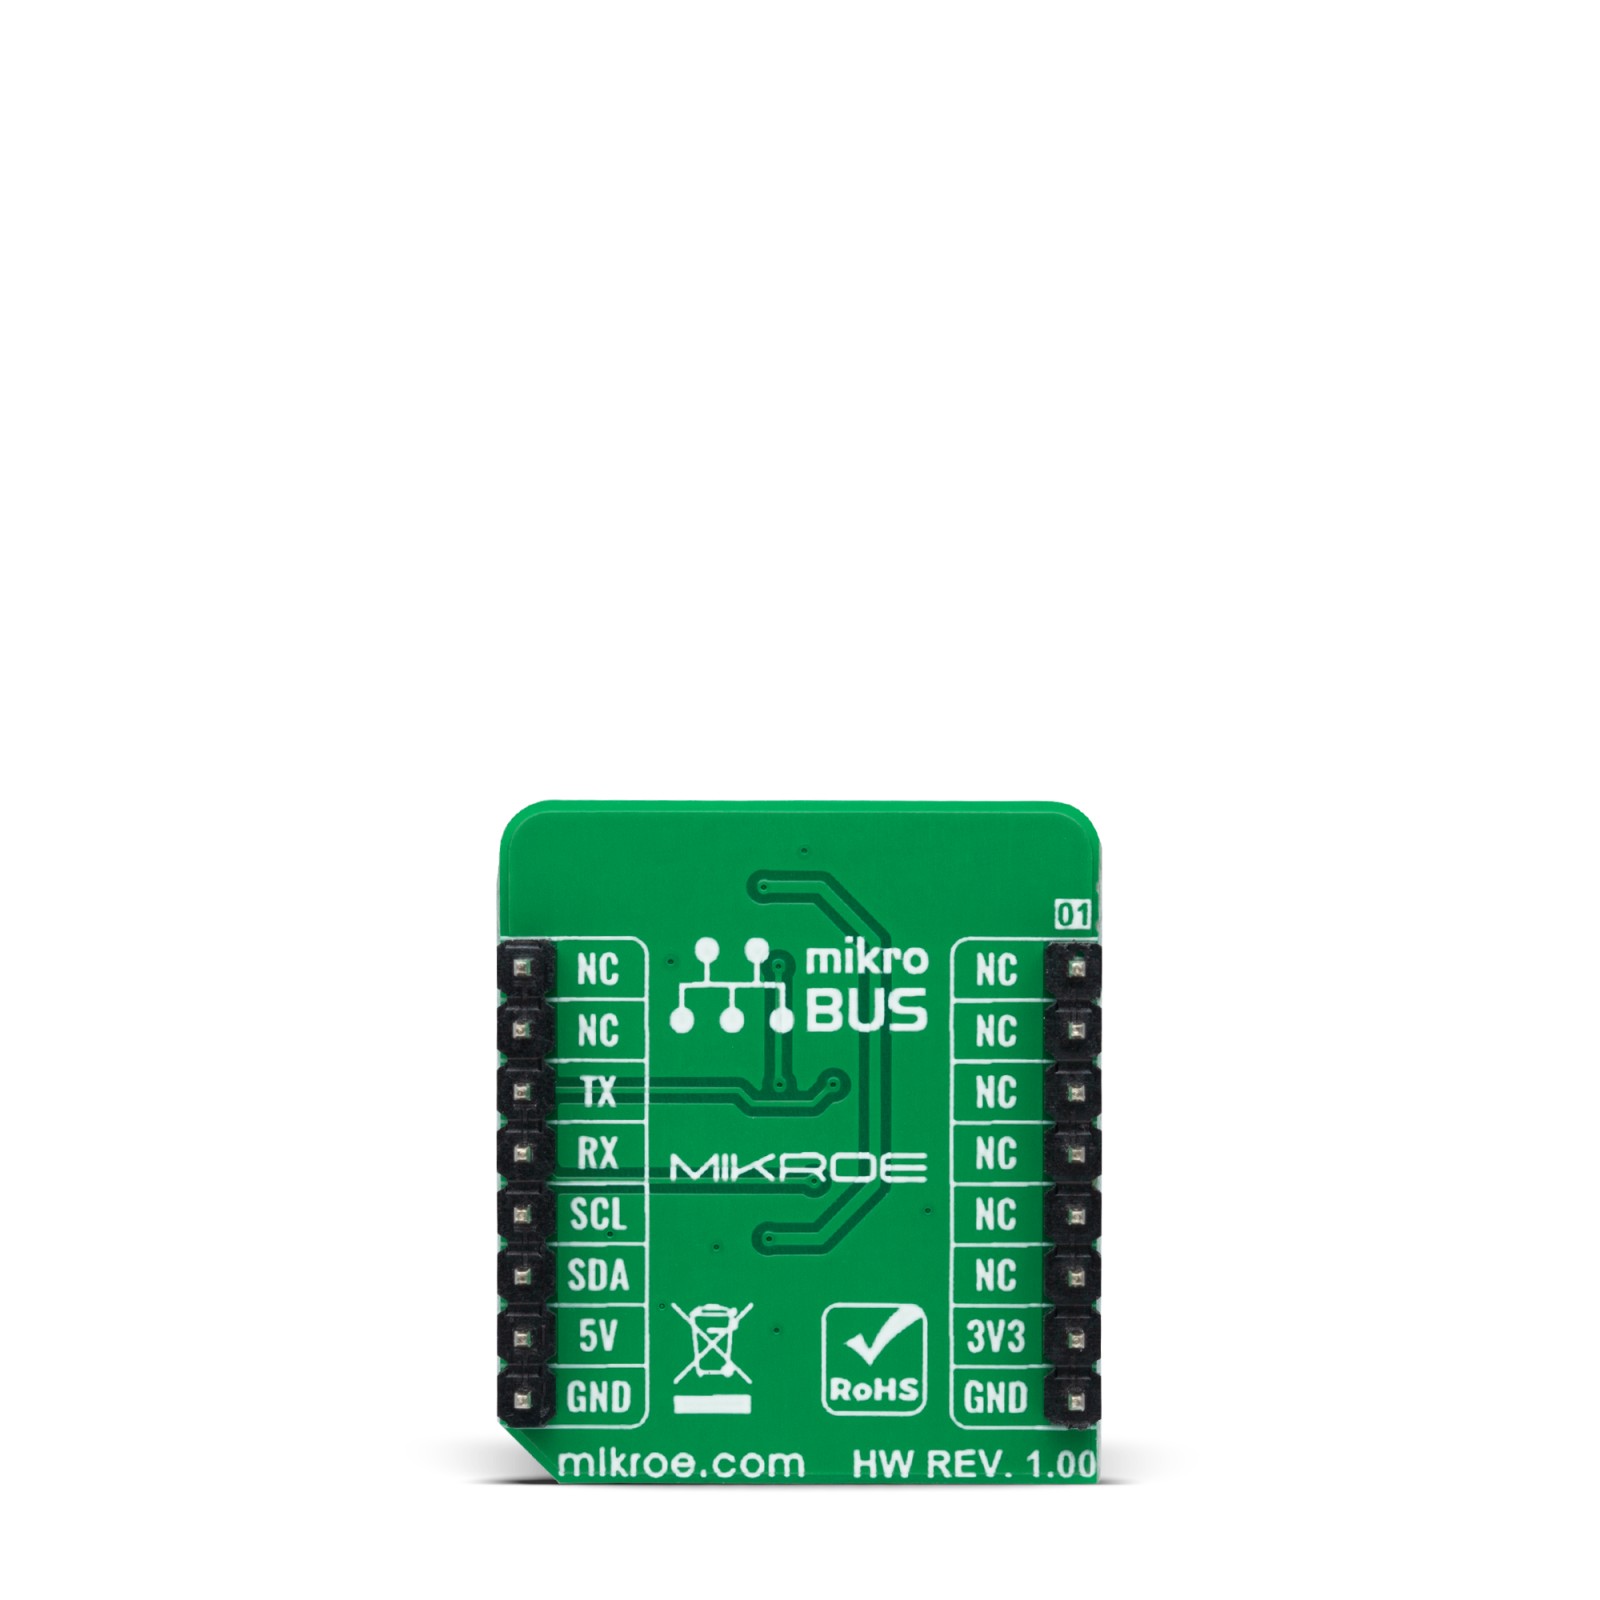
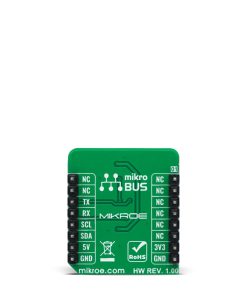
This table shows how the pinout on TFmini Click corresponds to the pinout on the mikroBUS™ socket (the latter shown in the two middle columns).
Onboard settings and indicators
Label | Name | Default | Description |
---|---|---|---|
LD1 | PWR | – | Power LED Indicator |
JP1 | PWR | Left | Logic Level Voltage Selection 3V3/5V: Left position 3V3, Right position 5V |
SW1 | PWR | Left | Communication Interface Selection UART/I2C: Left position UART, Right position I2C |
TFmini Click electrical specifications
Description | Min | Typ | Max | Unit |
---|---|---|---|---|
Supply Voltage | 3.3 | – | 5 | V |
Operating Range | 0.1 | – | 12 | m |
Operating Temperature Range | 0 | +25 | +60 | °C |
Software Support
We provide a library for the TFmini Click as well as a demo application (example), developed using MikroElektronika compilers. The demo can run on all the main MikroElektronika development boards.
Package can be downloaded/installed directly from NECTO Studio Package Manager(recommended way), downloaded from our LibStock™ or found on Mikroe github account.
Library Description
This library contains API for TFmini Click driver.
Key functions
-
tfmini_get_firmware_version
This function reads the sensor firmware version. -
tfmini_get_measurement
This function reads the output data frame and obtains the distance, strength and temperature values from it. -
tfmini_send_frame
This function sends a command frame to the sensor.
Example Description
This example demonstrates the use of TFmini Click board™ by reading the measurements from the attached TFmini S or TFmini Plus sensors.
void application_task ( void )
{
int16_t distance = 0, strength = 0;
float temperature = 0;
if ( TFMINI_OK == tfmini_get_measurement ( &tfmini, &distance, &strength, &temperature ) )
{
log_printf( &logger, " Target distance: %d cmrn", distance );
log_printf( &logger, " Signal strength: %drn", strength );
log_printf( &logger, " Sensor temperature: %.2f Crnn", temperature );
}
}
The full application code, and ready to use projects can be installed directly from NECTO Studio Package Manager(recommended way), downloaded from our LibStock™ or found on Mikroe github account.
Other Mikroe Libraries used in the example:
- MikroSDK.Board
- MikroSDK.Log
- Click.TFmini
Additional notes and informations
Depending on the development board you are using, you may need USB UART click, USB UART 2 Click or RS232 Click to connect to your PC, for development systems with no UART to USB interface available on the board. UART terminal is available in all MikroElektronika compilers.
mikroSDK
This Click board™ is supported with mikroSDK – MikroElektronika Software Development Kit. To ensure proper operation of mikroSDK compliant Click board™ demo applications, mikroSDK should be downloaded from the LibStock and installed for the compiler you are using.
For more information about mikroSDK, visit the official page.