How does it work?
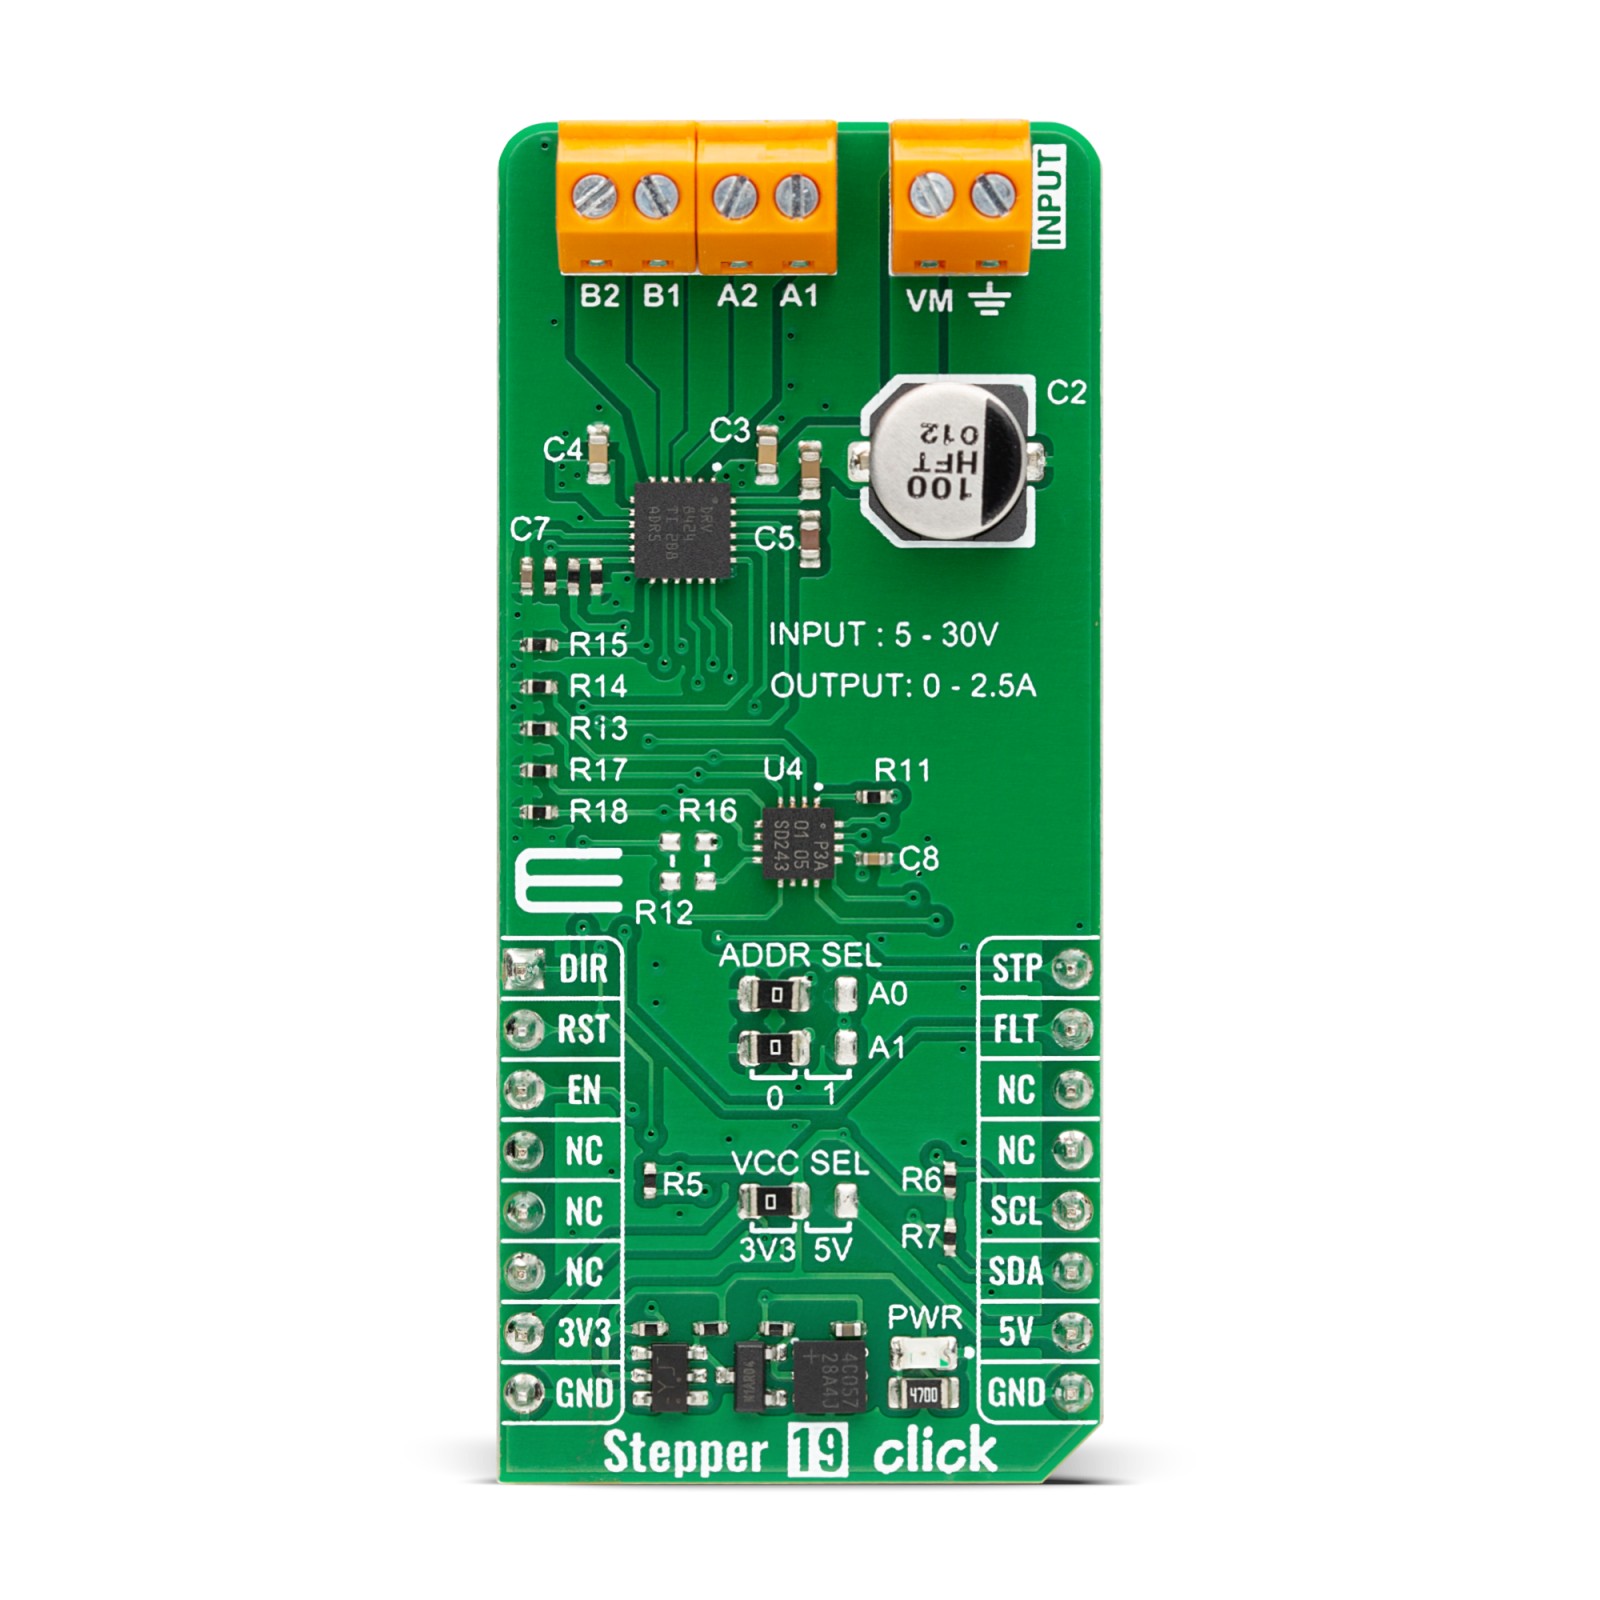
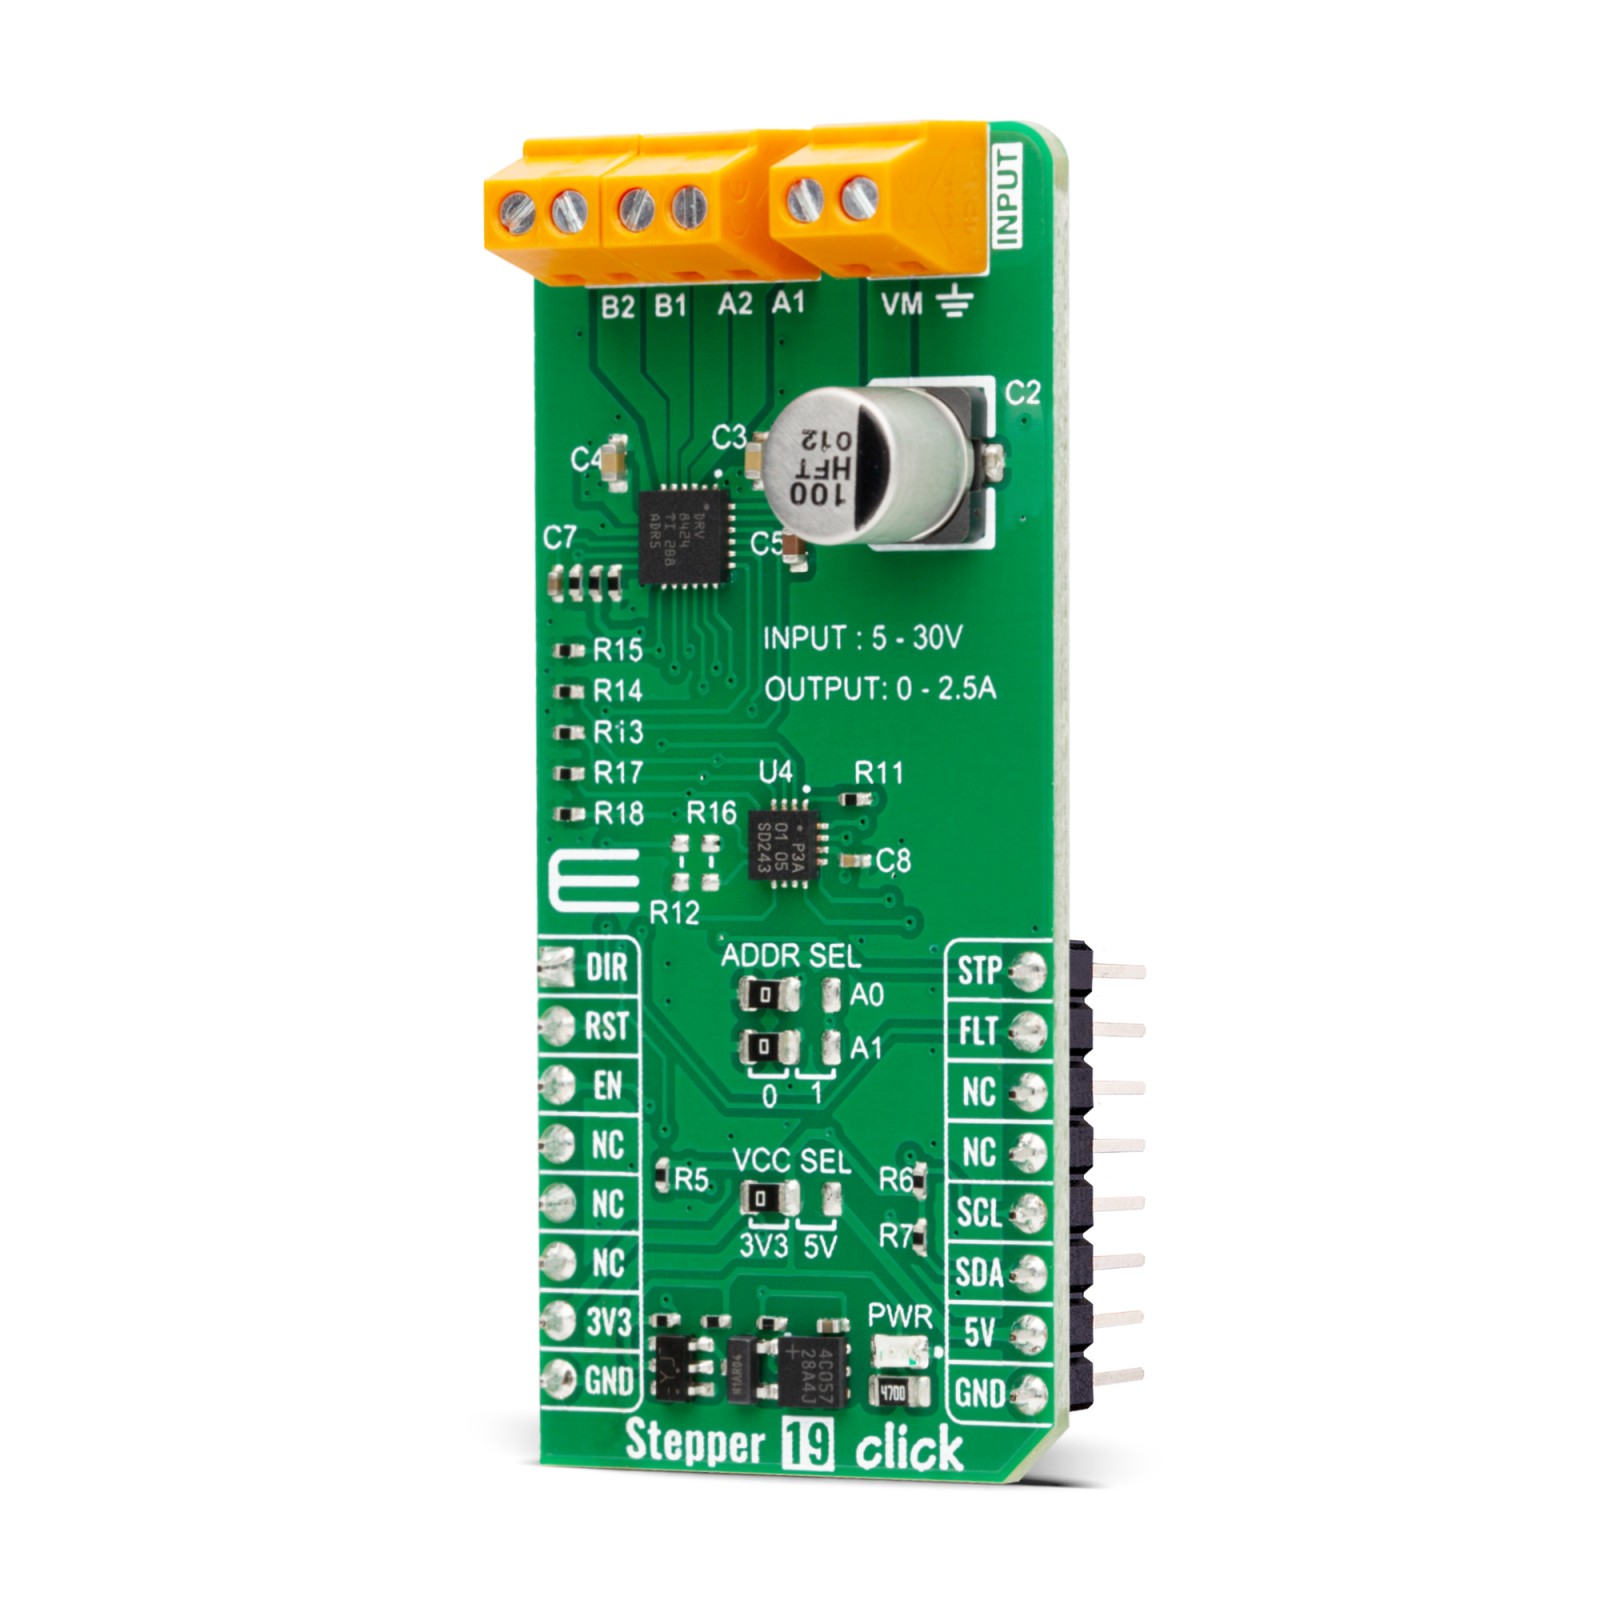
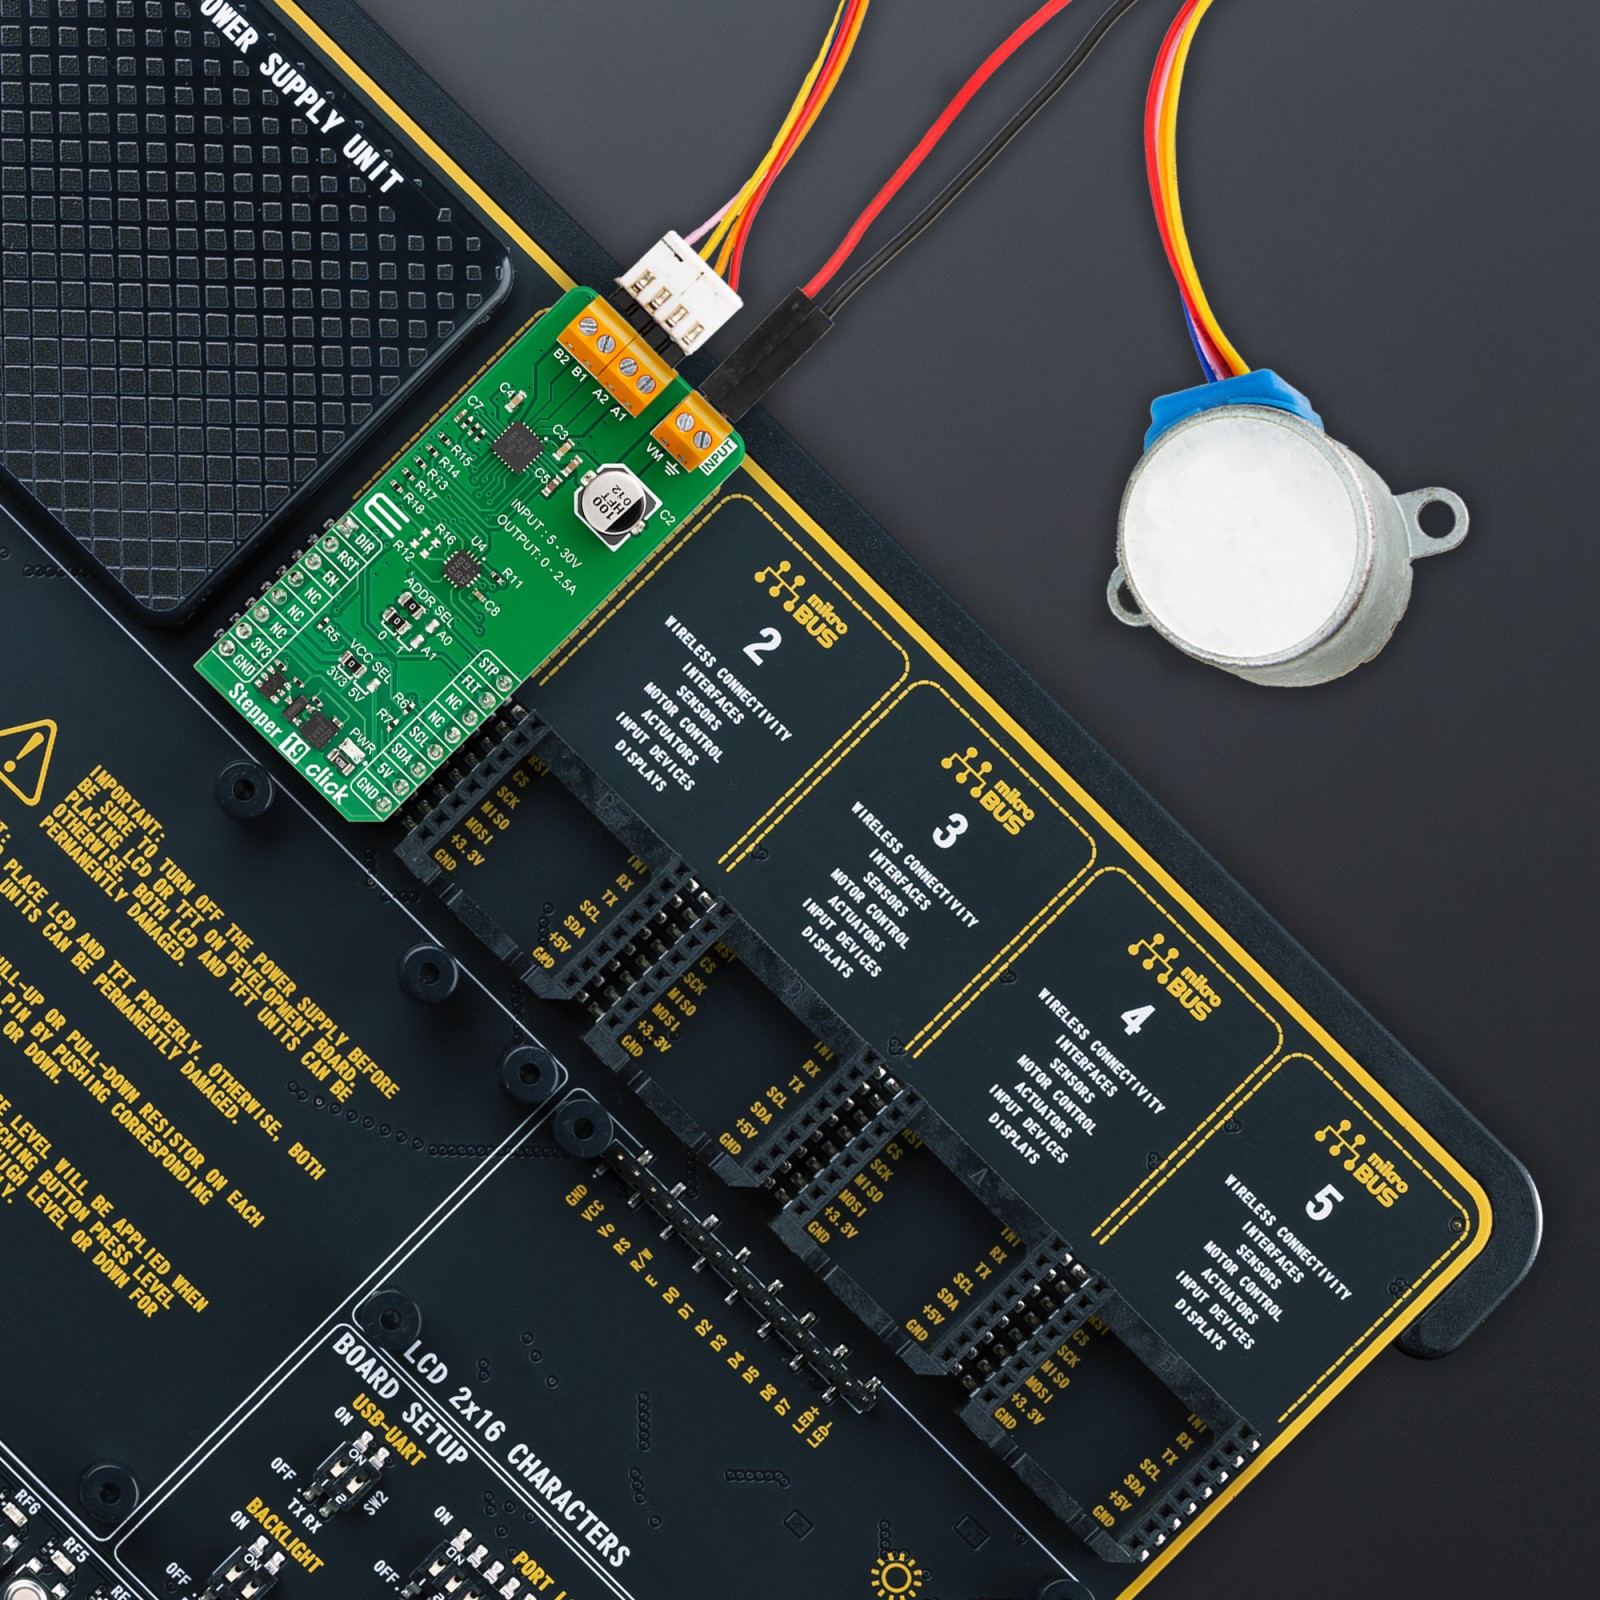
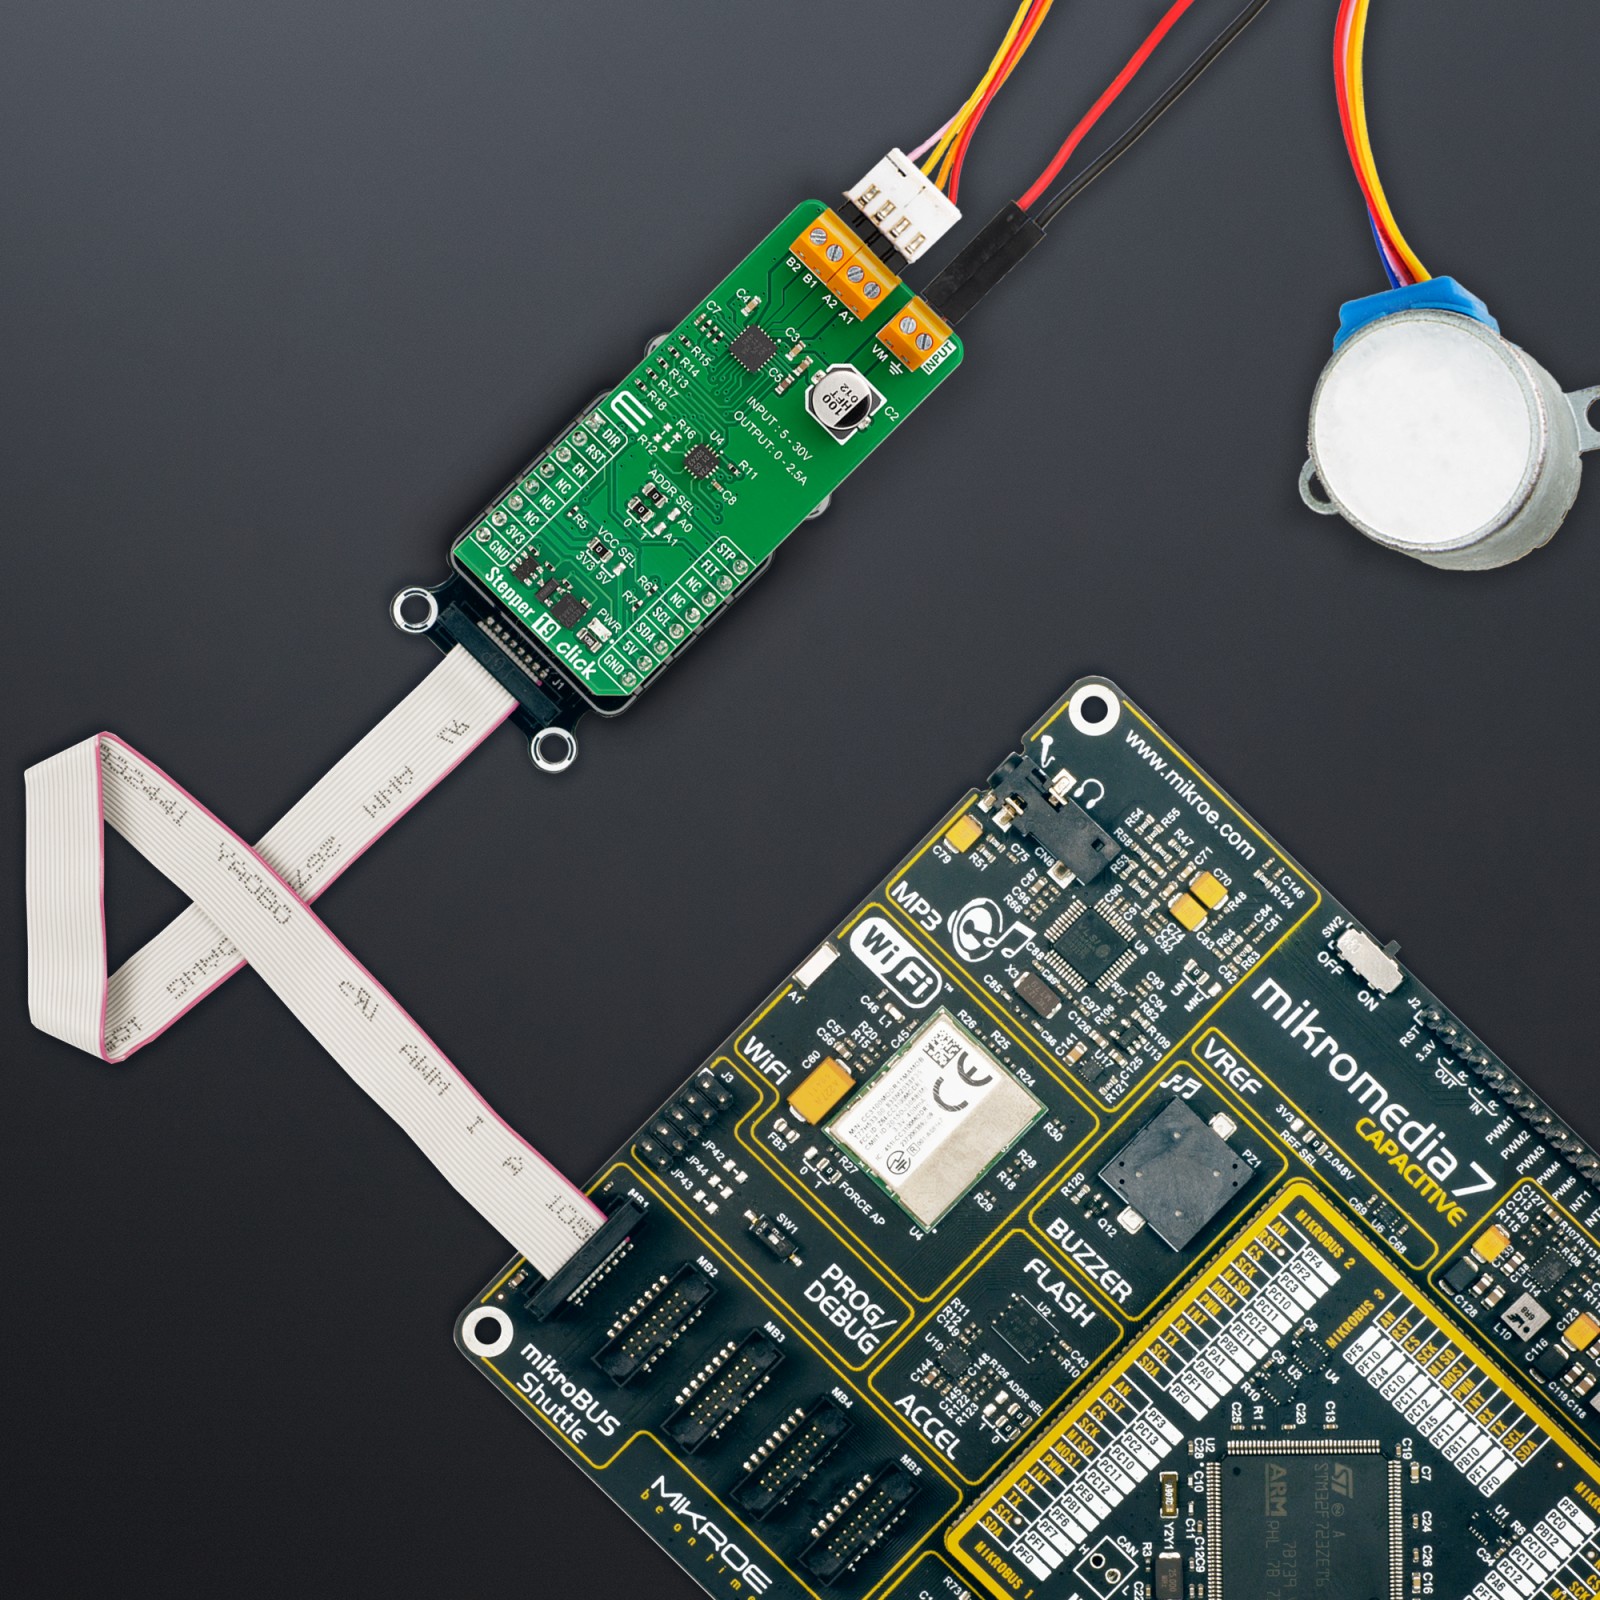
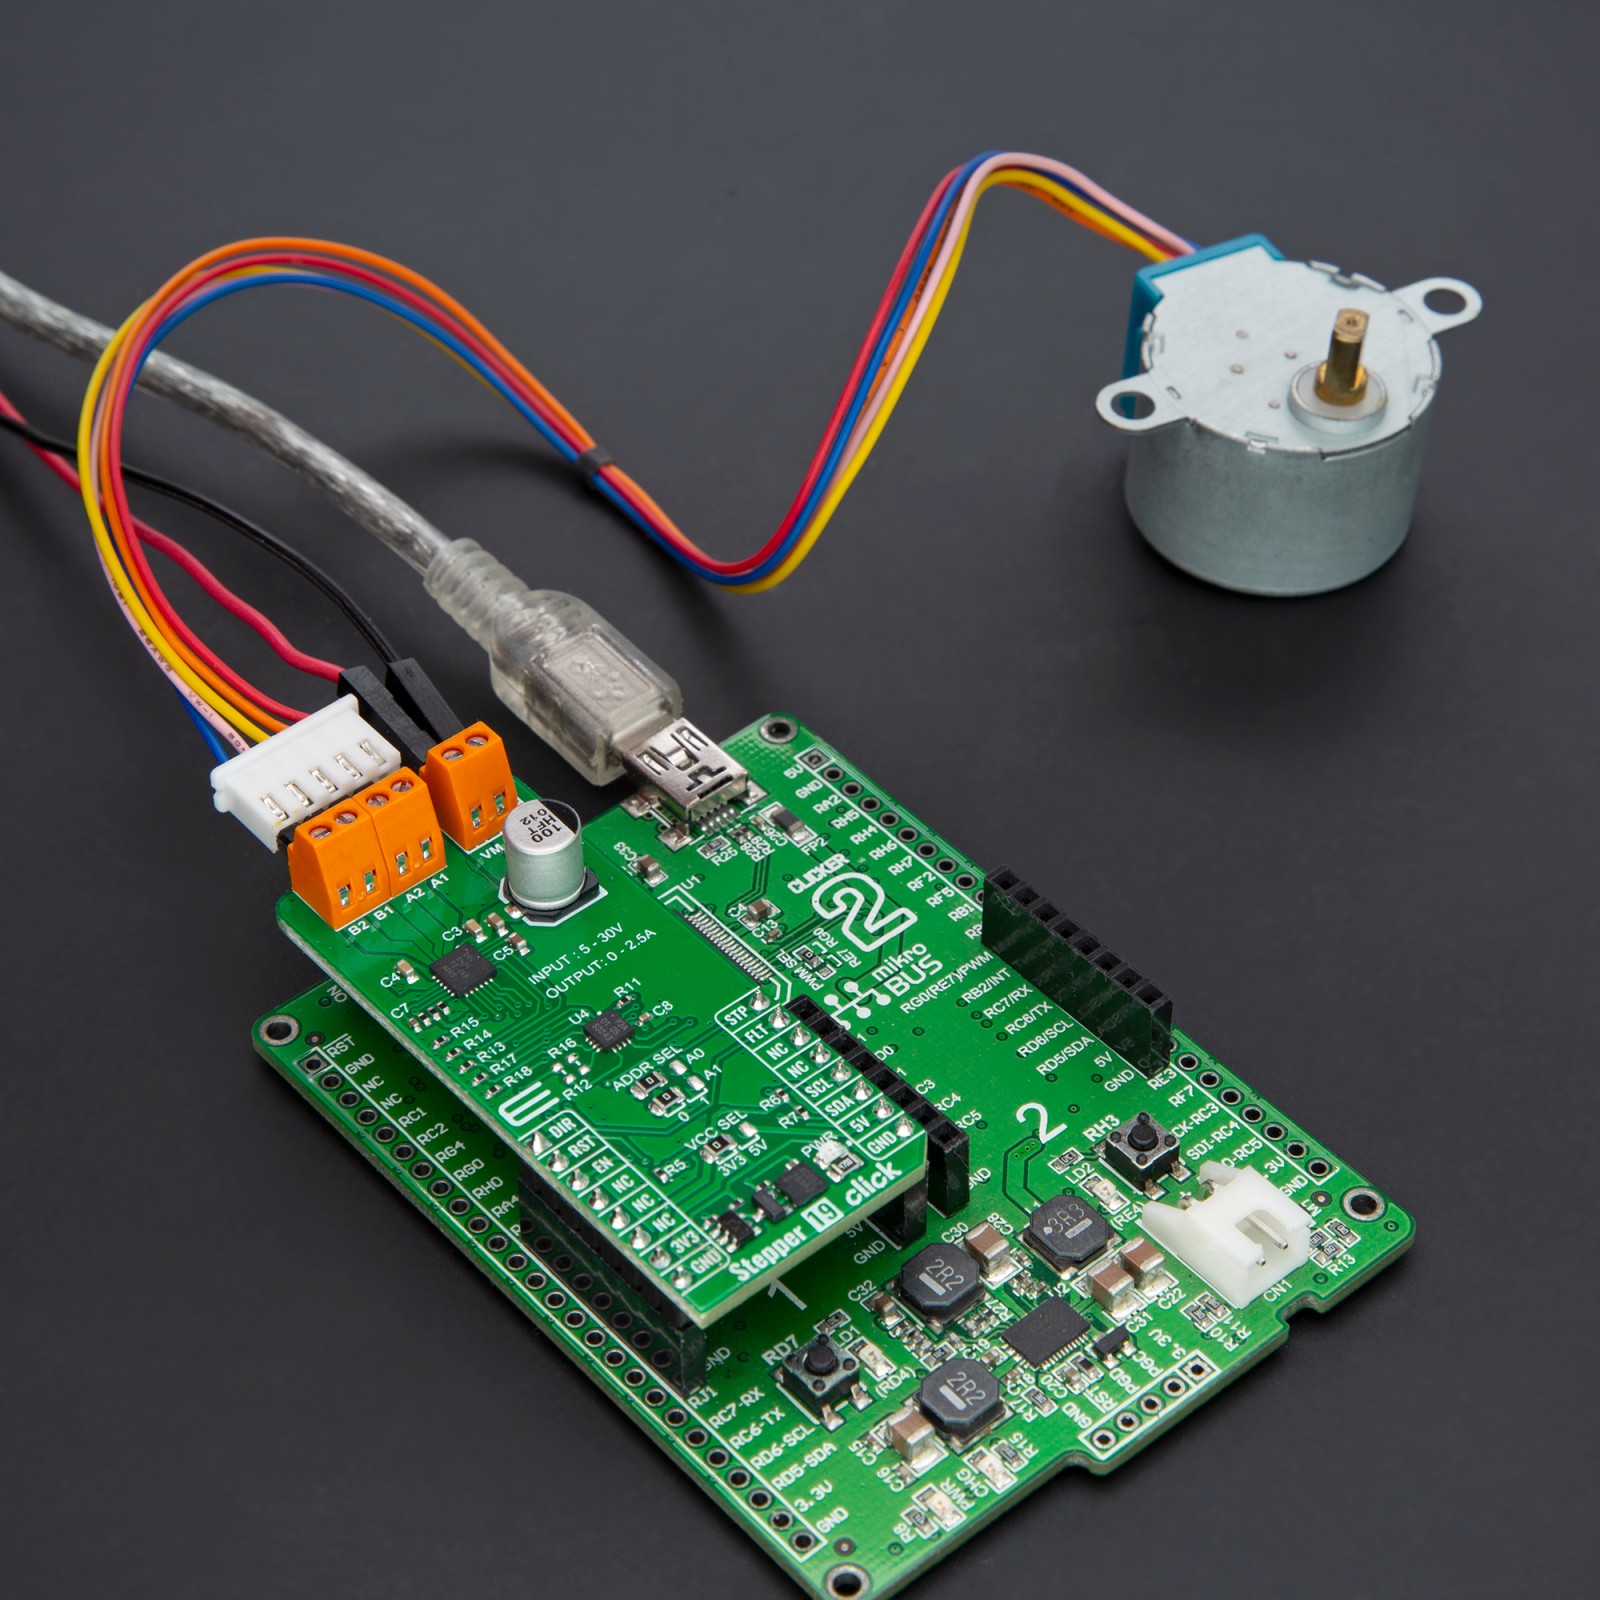
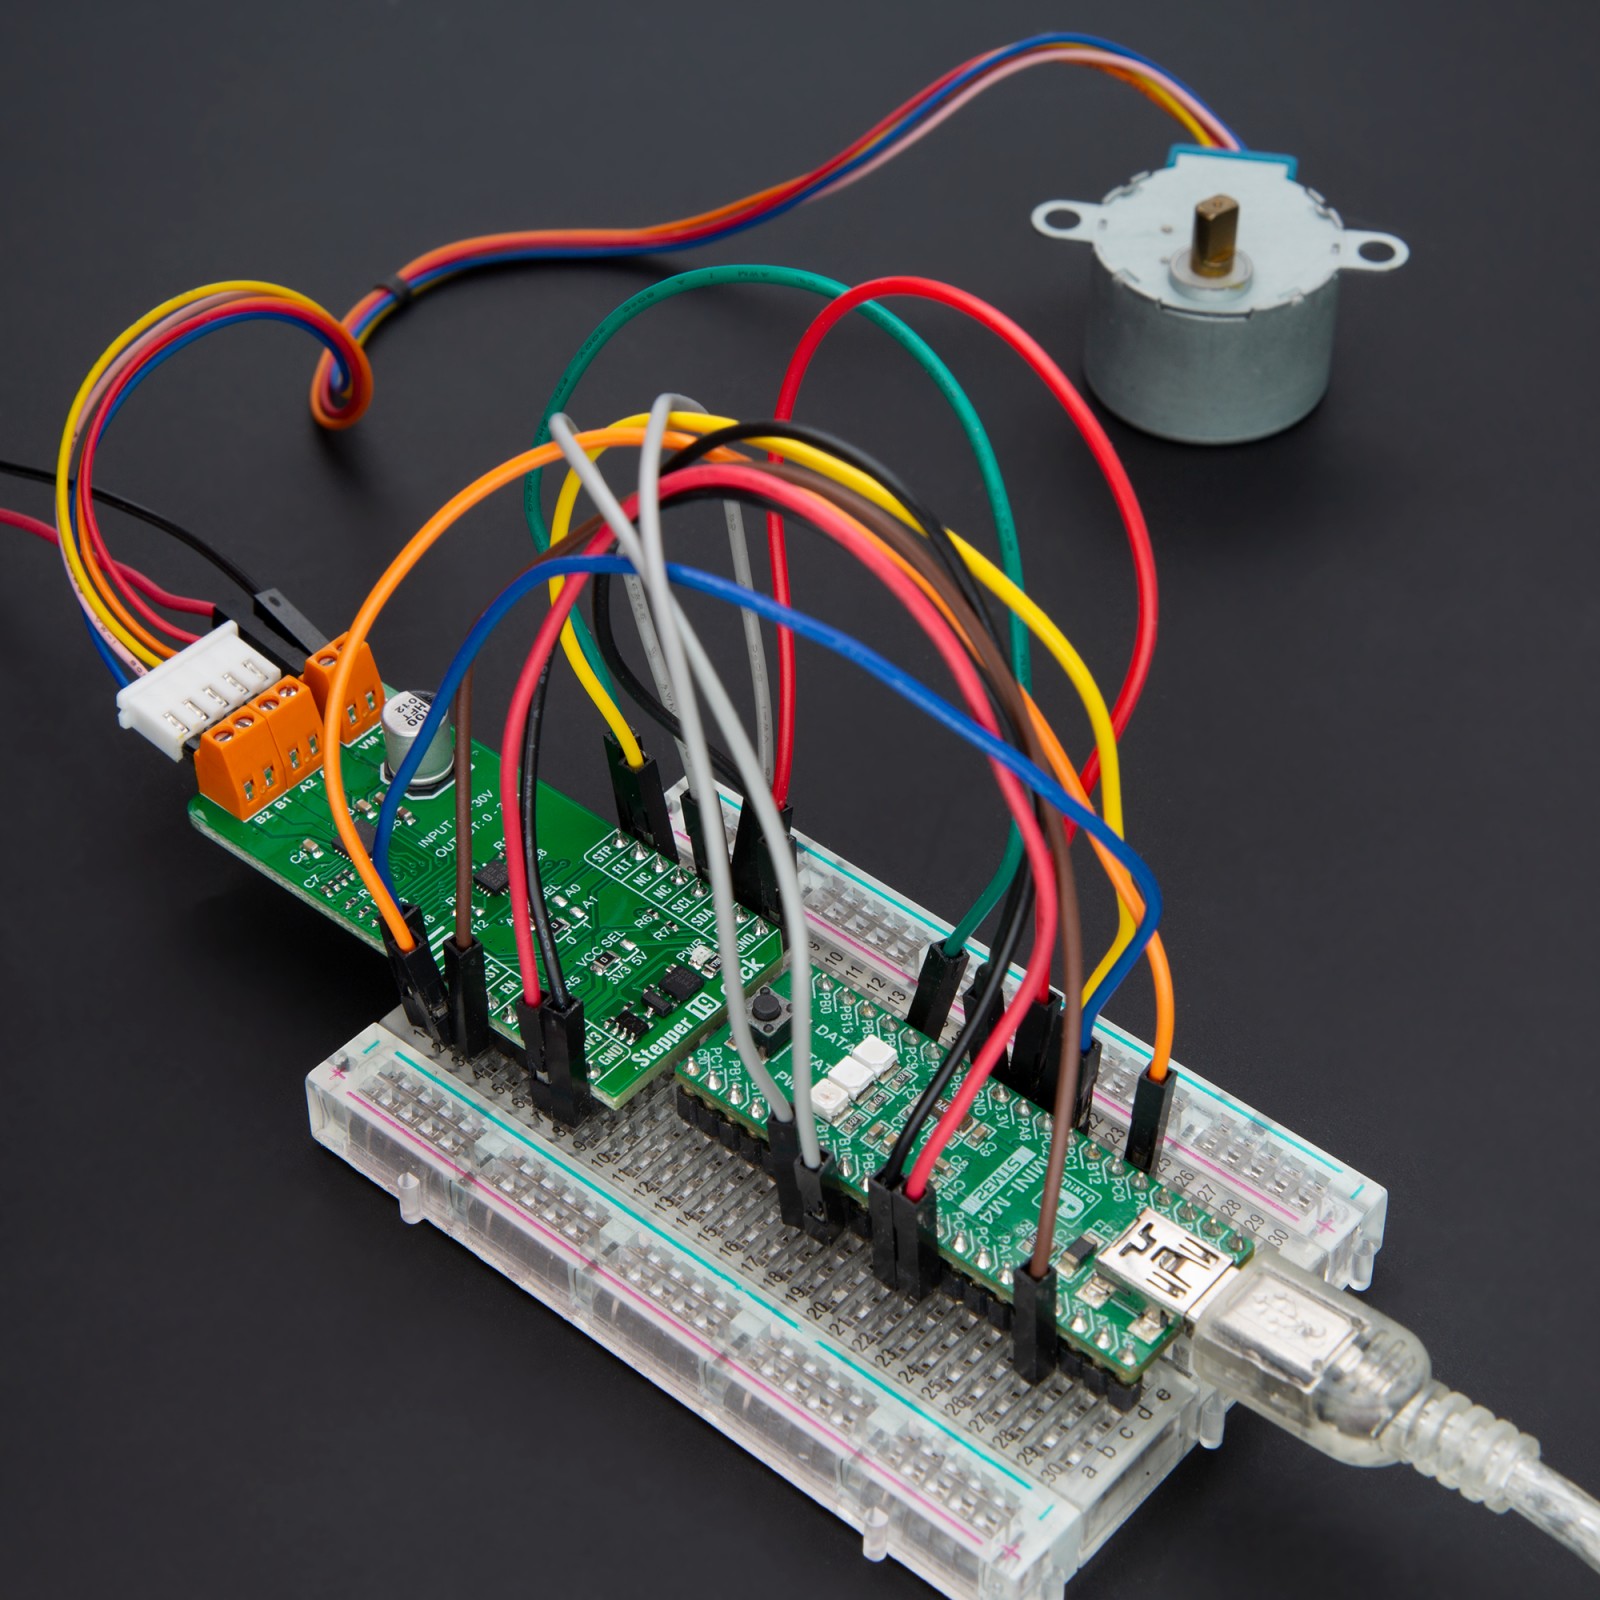
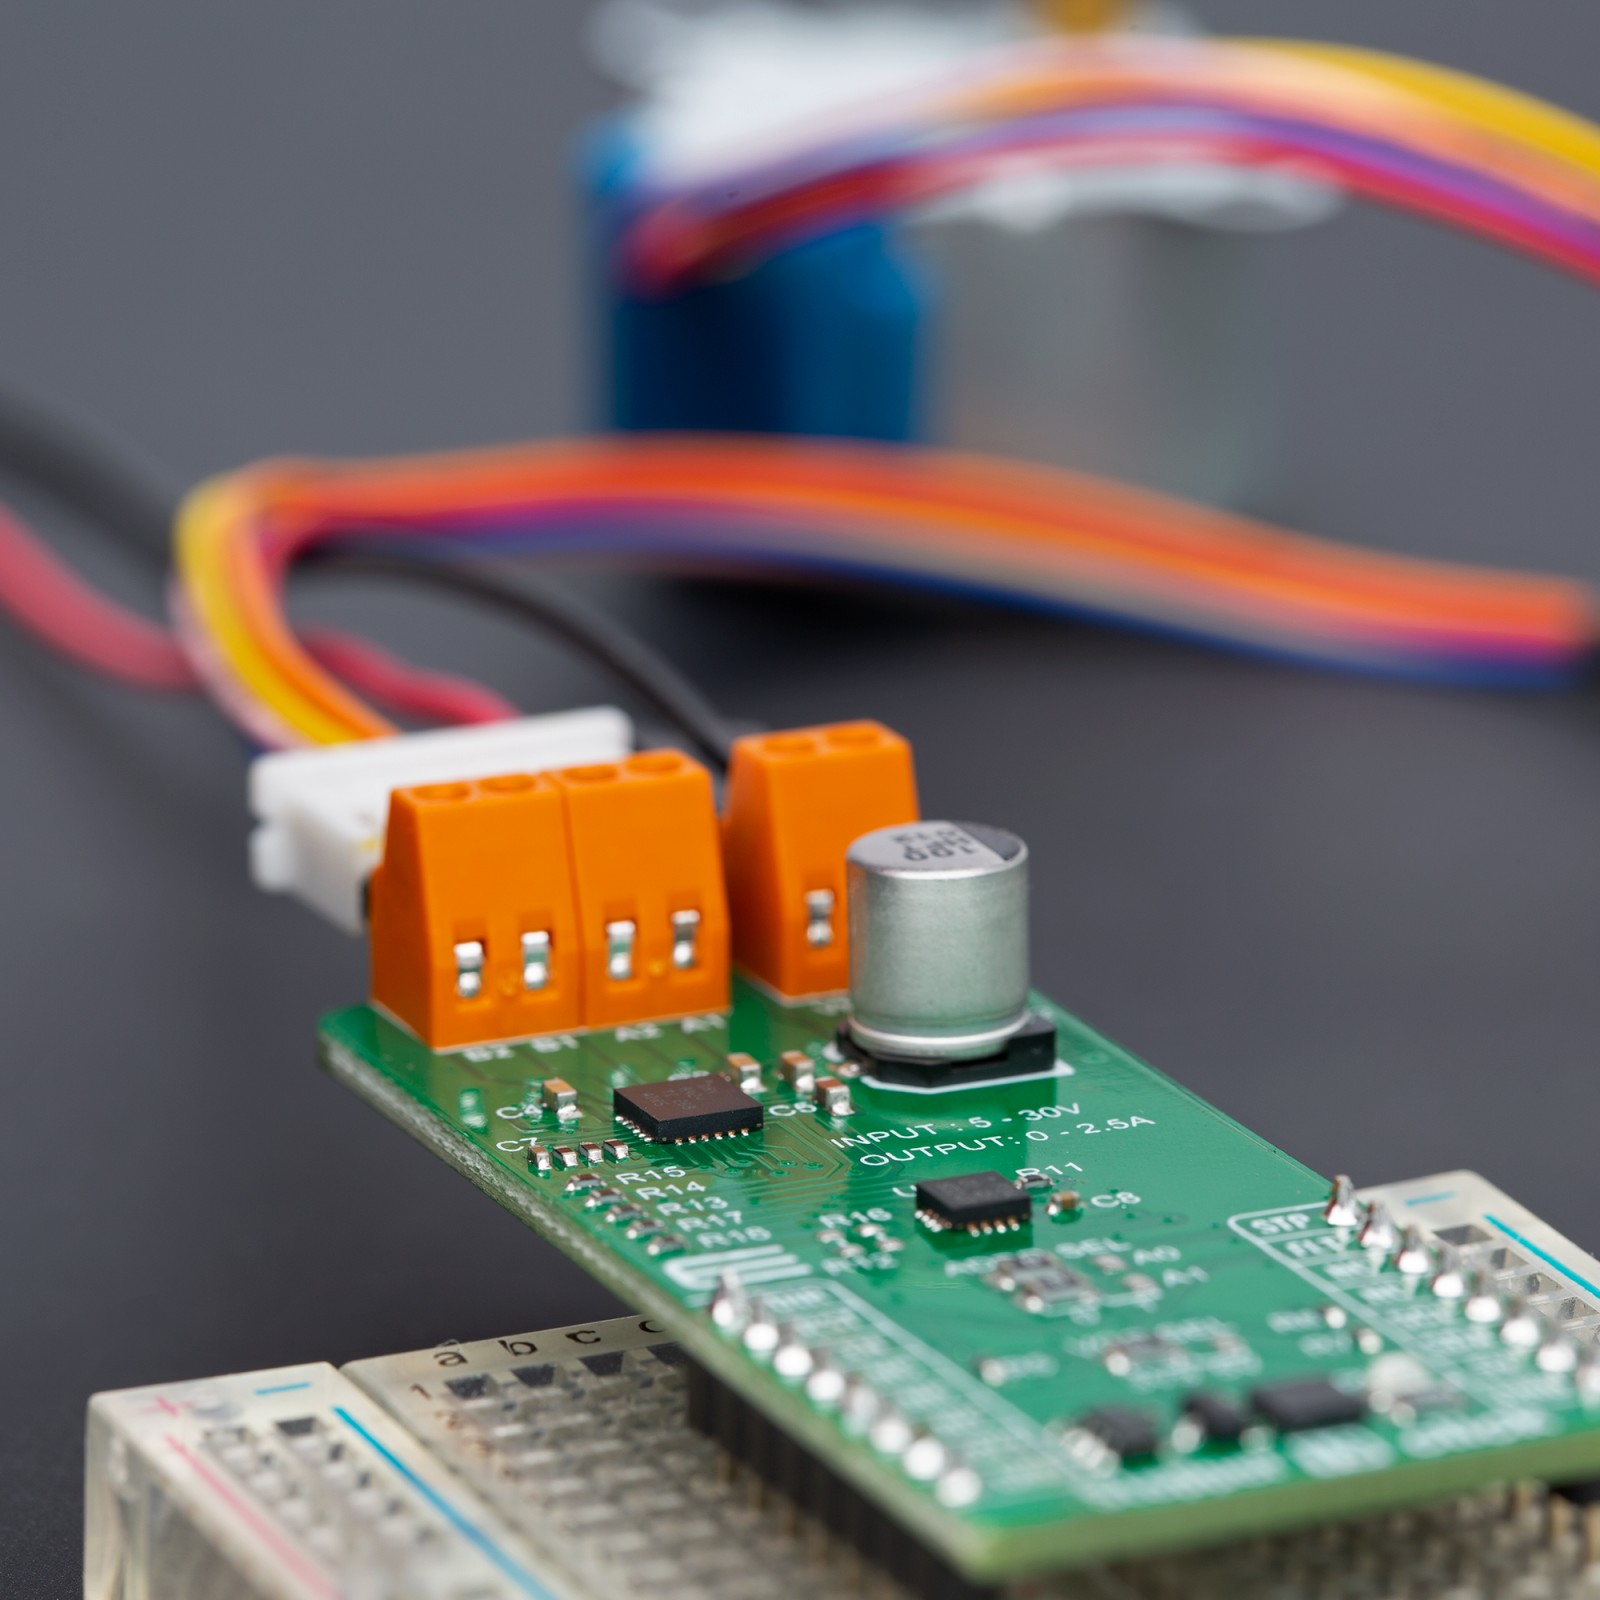
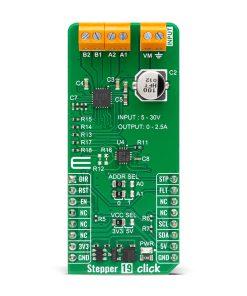
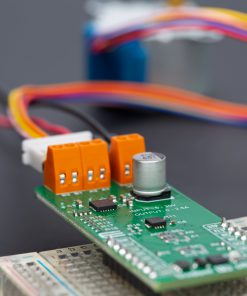
Stepper 19 Click is based on the DRV8424, a stepper motor driver from Texas Instruments, made for both industrial and consumer applications. This integrated circuit stands out with its comprehensive integration, including dual N-channel power MOSFET H-bridge drivers, a microstepping indexer, and integrated current sensing. The DRV8424 operates on an external power supply ranging from 5V to 30V and can drive up to 2.5A of full-scale output current. Its design eliminates the need for external power sense resistors by utilizing an internal current sense architecture, conserving PCB space and reducing overall system cost.
The DRV8424 optimizes performance through an internal PWM current regulation scheme, offering smart tune, slow, and mixed decay options selections. The smart tune feature dynamically adjusts to ensure optimal current regulation, compensates for motor variations and aging, and minimizes audible noise produced by the motor.
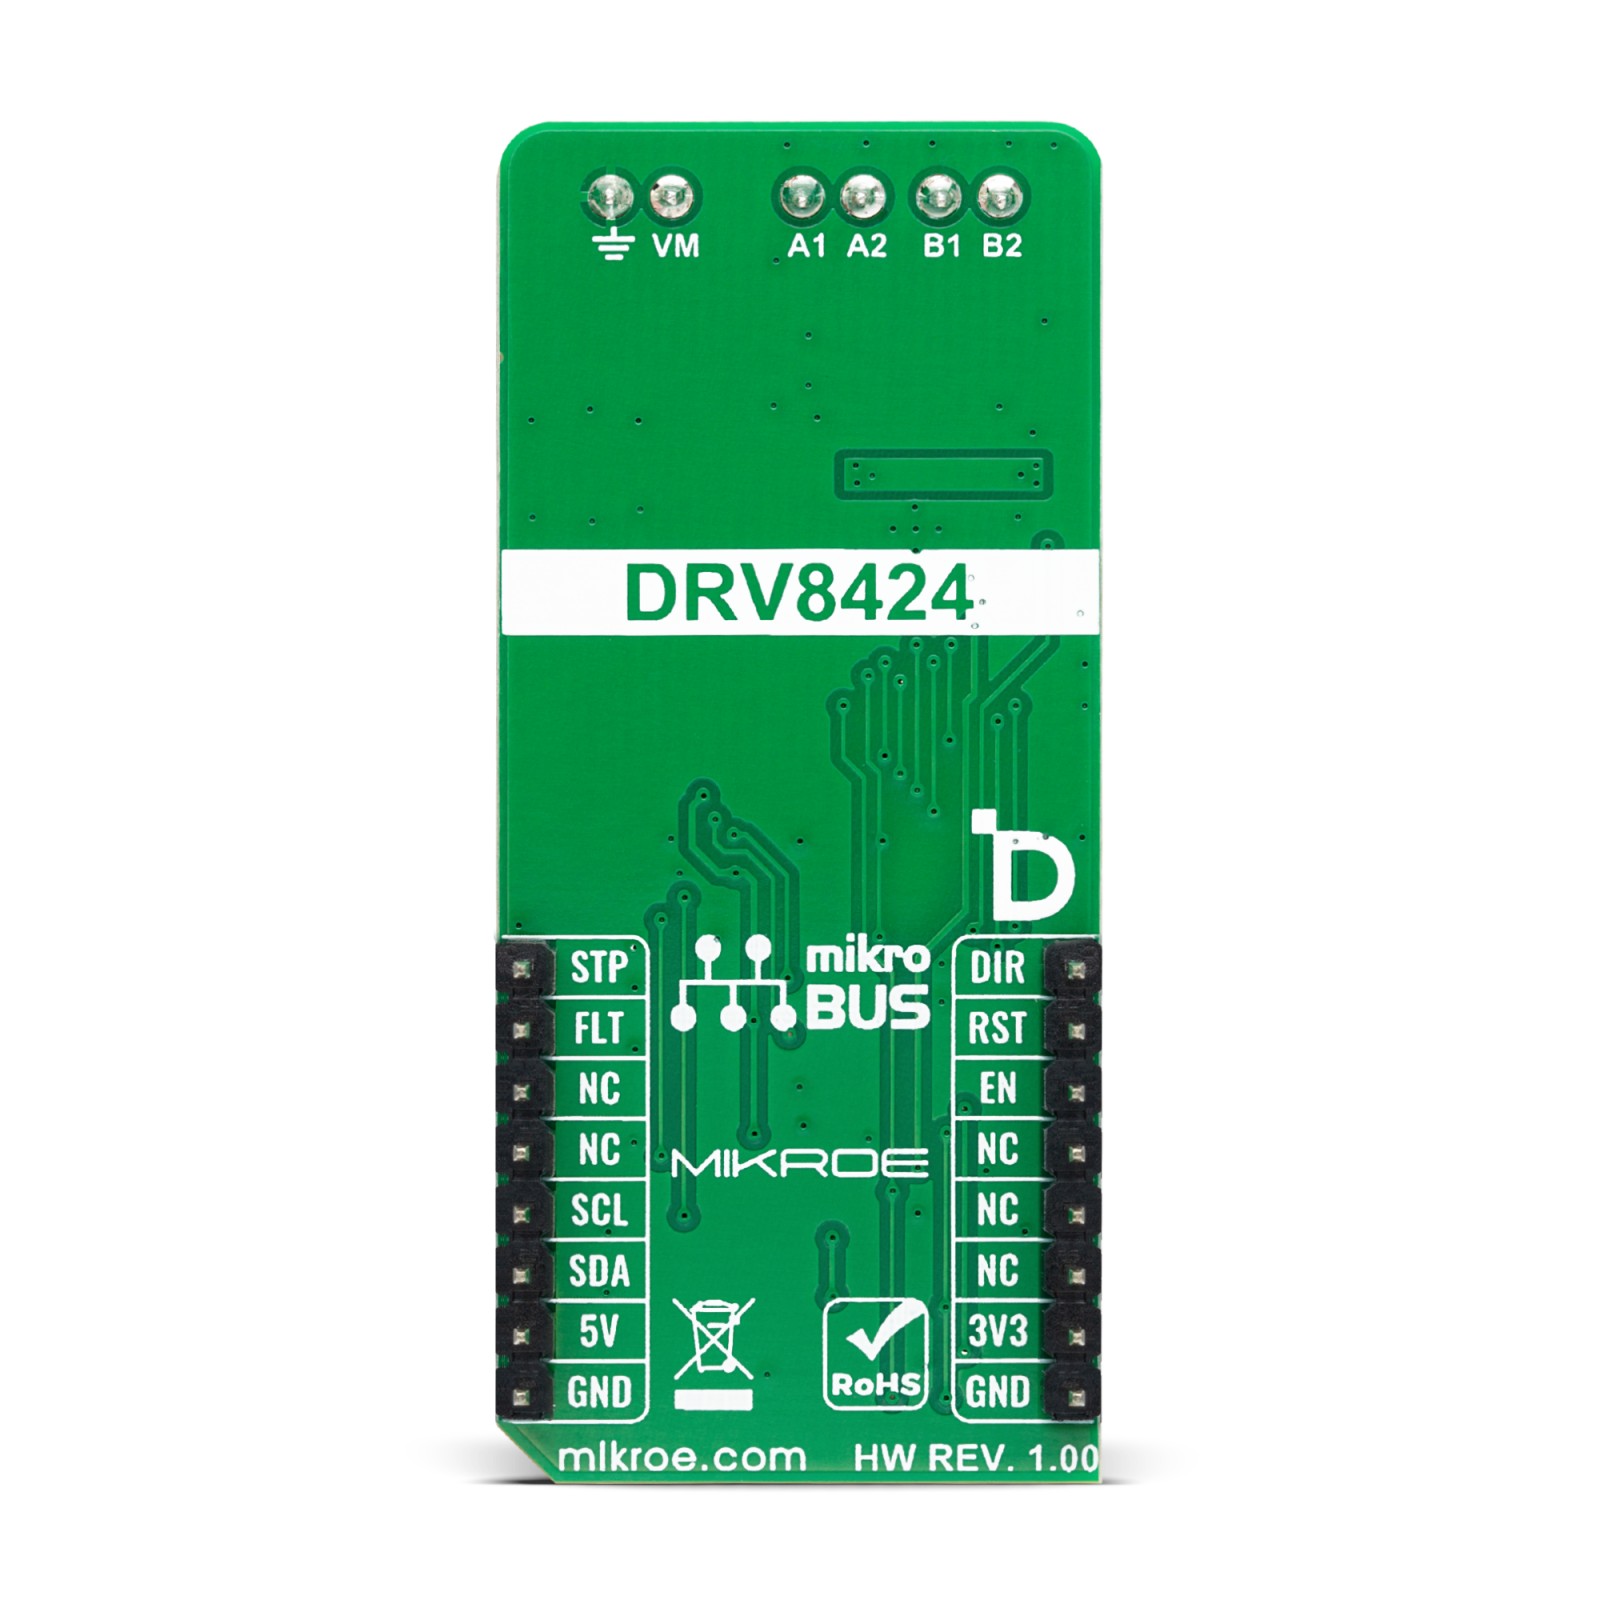
Control over the stepper motor is achieved via a straightforward STEP/DIR interface, which permits an external controller to dictate the motor’s stepping direction and rate. Microstepping resolution ranges from full-step to 1/256, selectable through the STP pin of the mikroBUS™ socket, with the direction controlled by the DIR pin. The device also includes a low-power sleep mode accessible via the RST pin. It has several protection features for conditions like supply undervoltage, charge pump faults, overcurrent, short circuits, and overtemperature, with fault indications through the FLT pin. The DRV8424’s enable/disable function is managed by the EN pin.
Additional functionalities on this Click board™ are achieved over the PCA9538A, an 8-bit I/O port from NXP, which interfaces with the main MCU via I2C, offering selectable addresses through the ADDR SEL jumpers. Besides DIR and STP pins on the mikroBUS™ socket, the PCA9538A can also control these functions if the R12 and R16 resistors are populated on the board. This configuration flexibility, combined with the DRV8424’s efficiency and the PCA9538A’s extensive control capabilities, makes Stepper 19 Click a powerful solution for driving stepper motors in various application scenarios.
This Click board™ can operate with either 3.3V or 5V logic voltage levels selected via the VCC SEL jumper. This way, both 3.3V and 5V capable MCUs can use the communication lines properly. Also, this Click board™ comes equipped with a library containing easy-to-use functions and an example code that can be used as a reference for further development.
Specifications
Type
Stepper
Applications
Ideal for multichannel system monitoring, robotics, precision positioning, and automated manufacturing processes
On-board modules
DRV8424 – stepper motor driver from Texas Instruments
Key Features
Dual N-channel power MOSFET H-bridge drivers, microstepping indexer, integrated current sensing, high output current, integrated PWM current regulation, protection features, low power sleep mode, STEP/DIR interface, and more
Interface
GPIO,I2C
Feature
ClickID
Compatibility
mikroBUS™
Click board size
L (57.15 x 25.4 mm)
Input Voltage
3.3V or 5V,External
Pinout diagram
This table shows how the pinout on Stepper 19 Click corresponds to the pinout on the mikroBUS™ socket (the latter shown in the two middle columns).
Onboard settings and indicators
Label | Name | Default | Description |
---|---|---|---|
LD1 | PWR | – | Power LED Indicator |
JP1 | VCC SEL | Left | Logic Voltage Level Selection 3V3/5V: Left position 3V3, Right position 5V |
JP2-JP3 | ADDR SEL | Left | I2C Address Selection 0/1: Left position 0, Right position 1 |
Stepper 19 Click electrical specifications
Description | Min | Typ | Max | Unit |
---|---|---|---|---|
Supply Voltage | 3.3 | – | 5 | V |
External Power Supply | 5 | – | 30 | V |
Output Current | 0 | – | 2.5 | A |
Software Support
We provide a library for the Stepper 19 Click as well as a demo application (example), developed using MIKROE compilers. The demo can run on all the main MIKROE development boards.
Package can be downloaded/installed directly from NECTO Studio Package Manager(recommended), downloaded from our LibStock™ or found on Mikroe github account.
Library Description
This library contains API for Stepper 19 Click driver.
Key functions
-
stepper19_rotate_by_angle
This function rotates the shaft through a desired step speed and angle. -
stepper19_rotate_by_step
This function rotates the shaft through for the specific number of steps at the selected speed. -
stepper19_set_direction
This function sets the desired direction of motor movement: clockwise or counterclockwise.
Example Description
This example demonstrates the use of Stepper 19 Click board by driving the motor in both directions for a desired rotation angle.
void application_task ( void )
{
log_printf( &logger, " Clockwise motionrn" );
log_printf( &logger, " Angle of rotation : 90 degreesrn" );
log_printf( &logger, " Step speed : 50 %%rn" );
stepper19_set_direction( &stepper19, STEPPER19_DIR_CLOCKWISE );
if ( STEPPER19_OK == stepper19_rotate_by_angle( &stepper19, 50, 90, STEPPER19_STEP_RES_200 ) )
{
log_printf( &logger, "-----------------------------rn" );
Delay_ms( 2000 );
}
log_printf( &logger, " Counterclockwise motionrn" );
log_printf( &logger, " Angle of rotation : 180 degrn" );
log_printf( &logger, " Step speed : 50 %%rn" );
stepper19_set_direction( &stepper19, STEPPER19_DIR_COUNTERCLOCKWISE );
if ( STEPPER19_OK == stepper19_rotate_by_angle( &stepper19, 50, 180, STEPPER19_STEP_RES_200 ) )
{
log_printf( &logger, "-----------------------------rn" );
Delay_ms( 2000 );
}
log_printf( &logger, " Clockwise motionrn" );
log_printf( &logger, " Angle of rotation : 270 degrn" );
log_printf( &logger, " Step speed : 90 %% rn" );
stepper19_set_direction( &stepper19, STEPPER19_DIR_CLOCKWISE );
if ( STEPPER19_OK == stepper19_rotate_by_angle( &stepper19, 90, 270, STEPPER19_STEP_RES_200 ) )
{
log_printf( &logger, "-----------------------------rn" );
Delay_ms( 2000 );
}
log_printf( &logger, " Counterclockwise motionrn" );
log_printf( &logger, " Angle of rotation : 360 degrn" );
log_printf( &logger, " Step speed : 90 %%rn" );
stepper19_set_direction( &stepper19, STEPPER19_DIR_COUNTERCLOCKWISE );
if ( STEPPER19_OK == stepper19_rotate_by_angle( &stepper19, 90, 360, STEPPER19_STEP_RES_200 ) )
{
log_printf( &logger, "-----------------------------rn" );
Delay_ms( 2000 );
}
log_printf( &logger, " Clockwise motionrn" );
log_printf( &logger, " Angle of rotation : 360 degrn" );
log_printf( &logger, " Step speed : 90 %% rn" );
stepper19_set_direction( &stepper19, STEPPER19_DIR_CLOCKWISE );
if ( STEPPER19_OK == stepper19_rotate_by_angle( &stepper19, 90, 360, STEPPER19_STEP_RES_200 ) )
{
log_printf( &logger, "-----------------------------rn" );
Delay_ms( 2000 );
}
}
The full application code, and ready to use projects can be installed directly from NECTO Studio Package Manager(recommended), downloaded from our LibStock™ or found on Mikroe github account.
Other Mikroe Libraries used in the example:
- MikroSDK.Board
- MikroSDK.Log
- Click.Stepper19
Additional notes and informations
Depending on the development board you are using, you may need USB UART click, USB UART 2 Click or RS232 Click to connect to your PC, for development systems with no UART to USB interface available on the board. UART terminal is available in all MIKROE compilers.
mikroSDK
This Click board™ is supported with mikroSDK – MIKROE Software Development Kit. To ensure proper operation of mikroSDK compliant Click board™ demo applications, mikroSDK should be downloaded from the LibStock and installed for the compiler you are using.
For more information about mikroSDK, visit the official page.