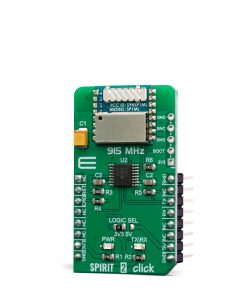
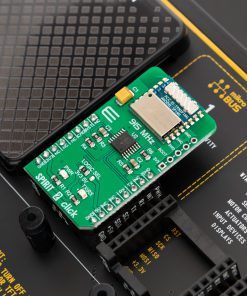
SPIRIT 2 Click
R1,000.00 ex. VAT
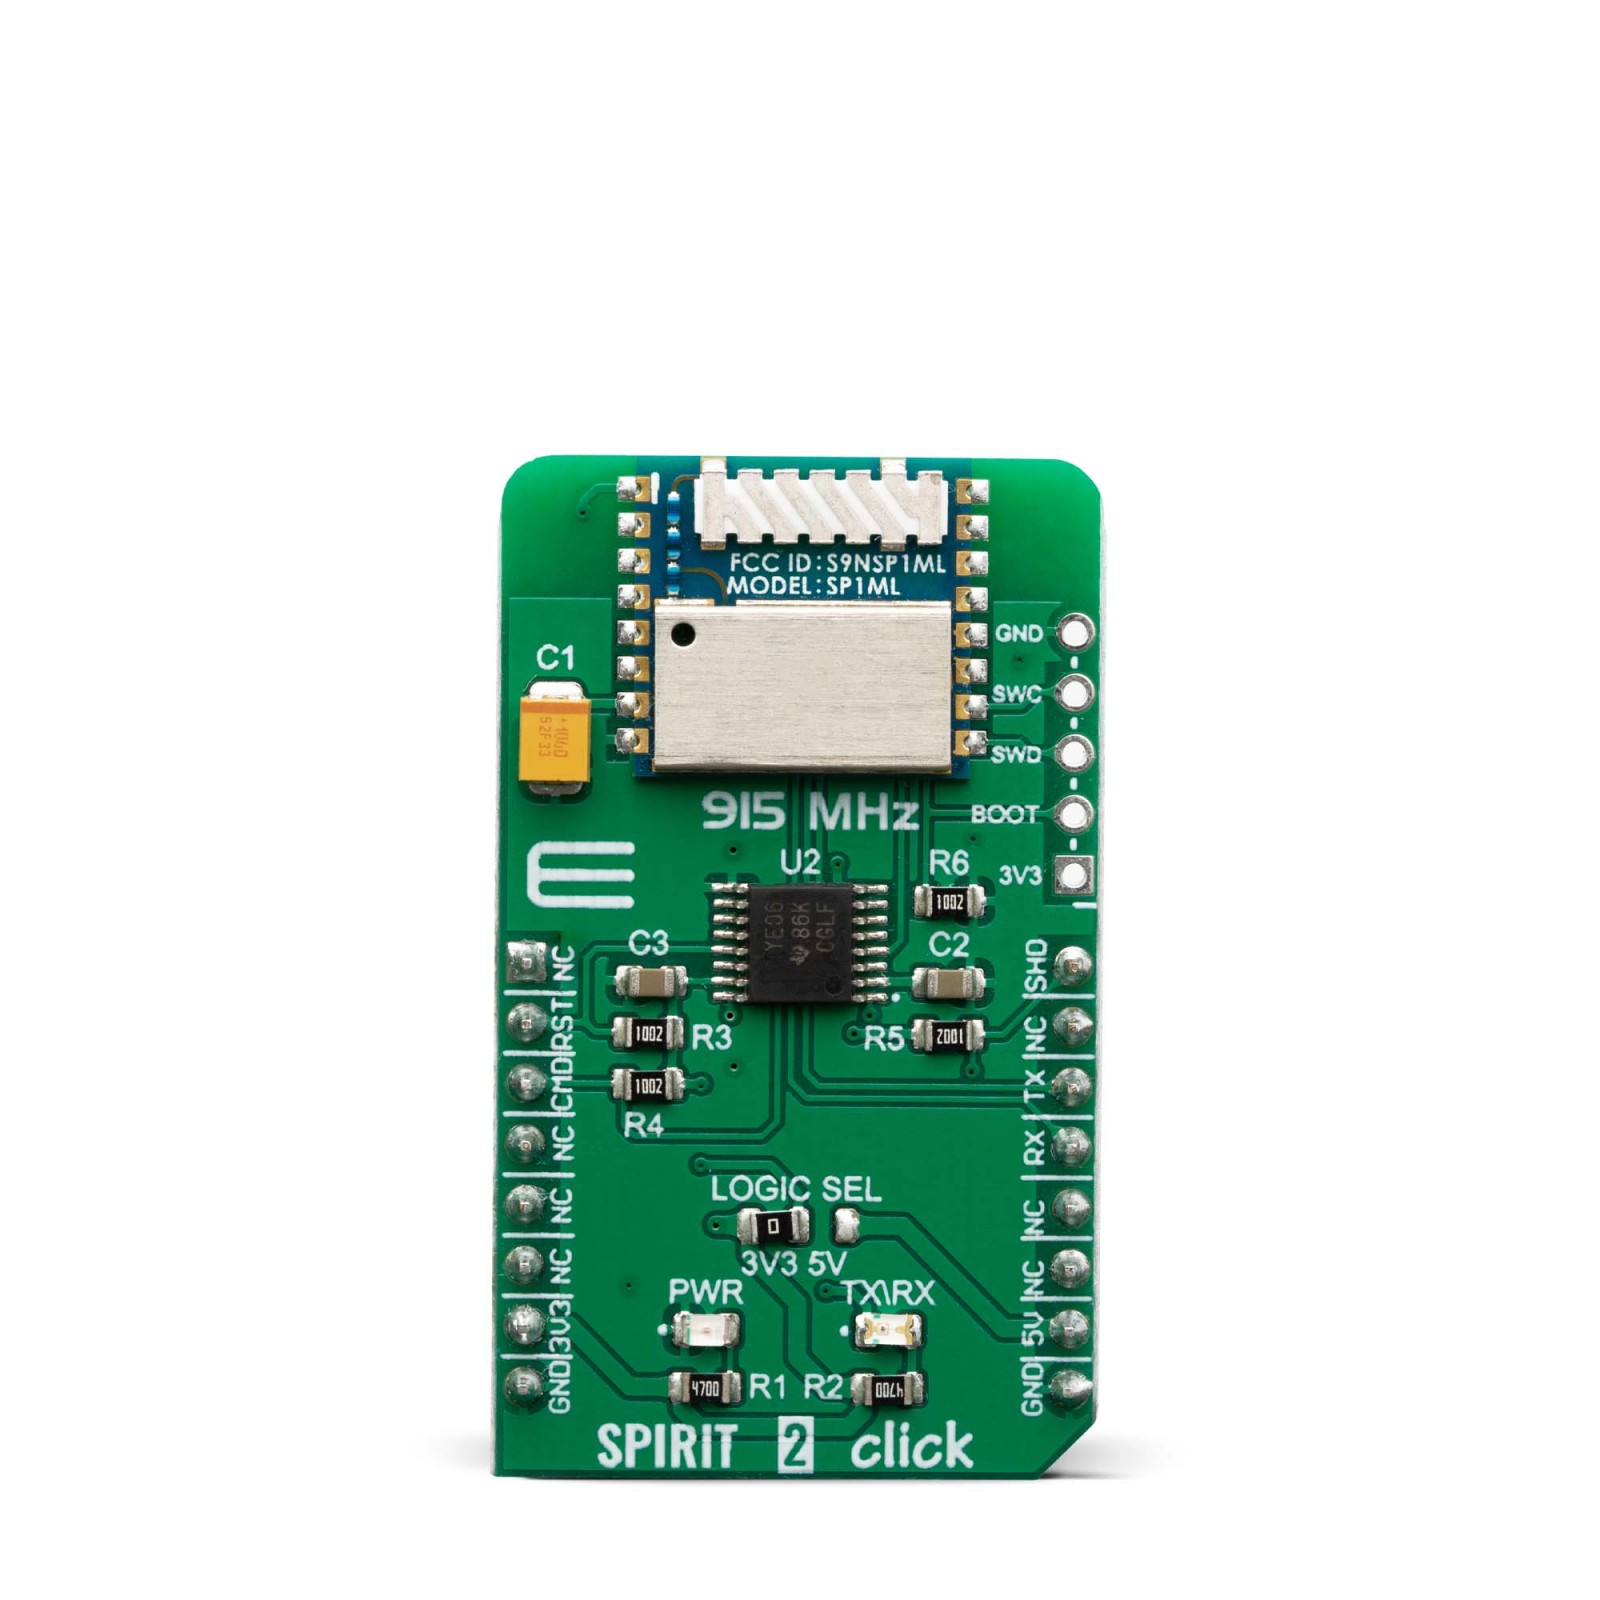
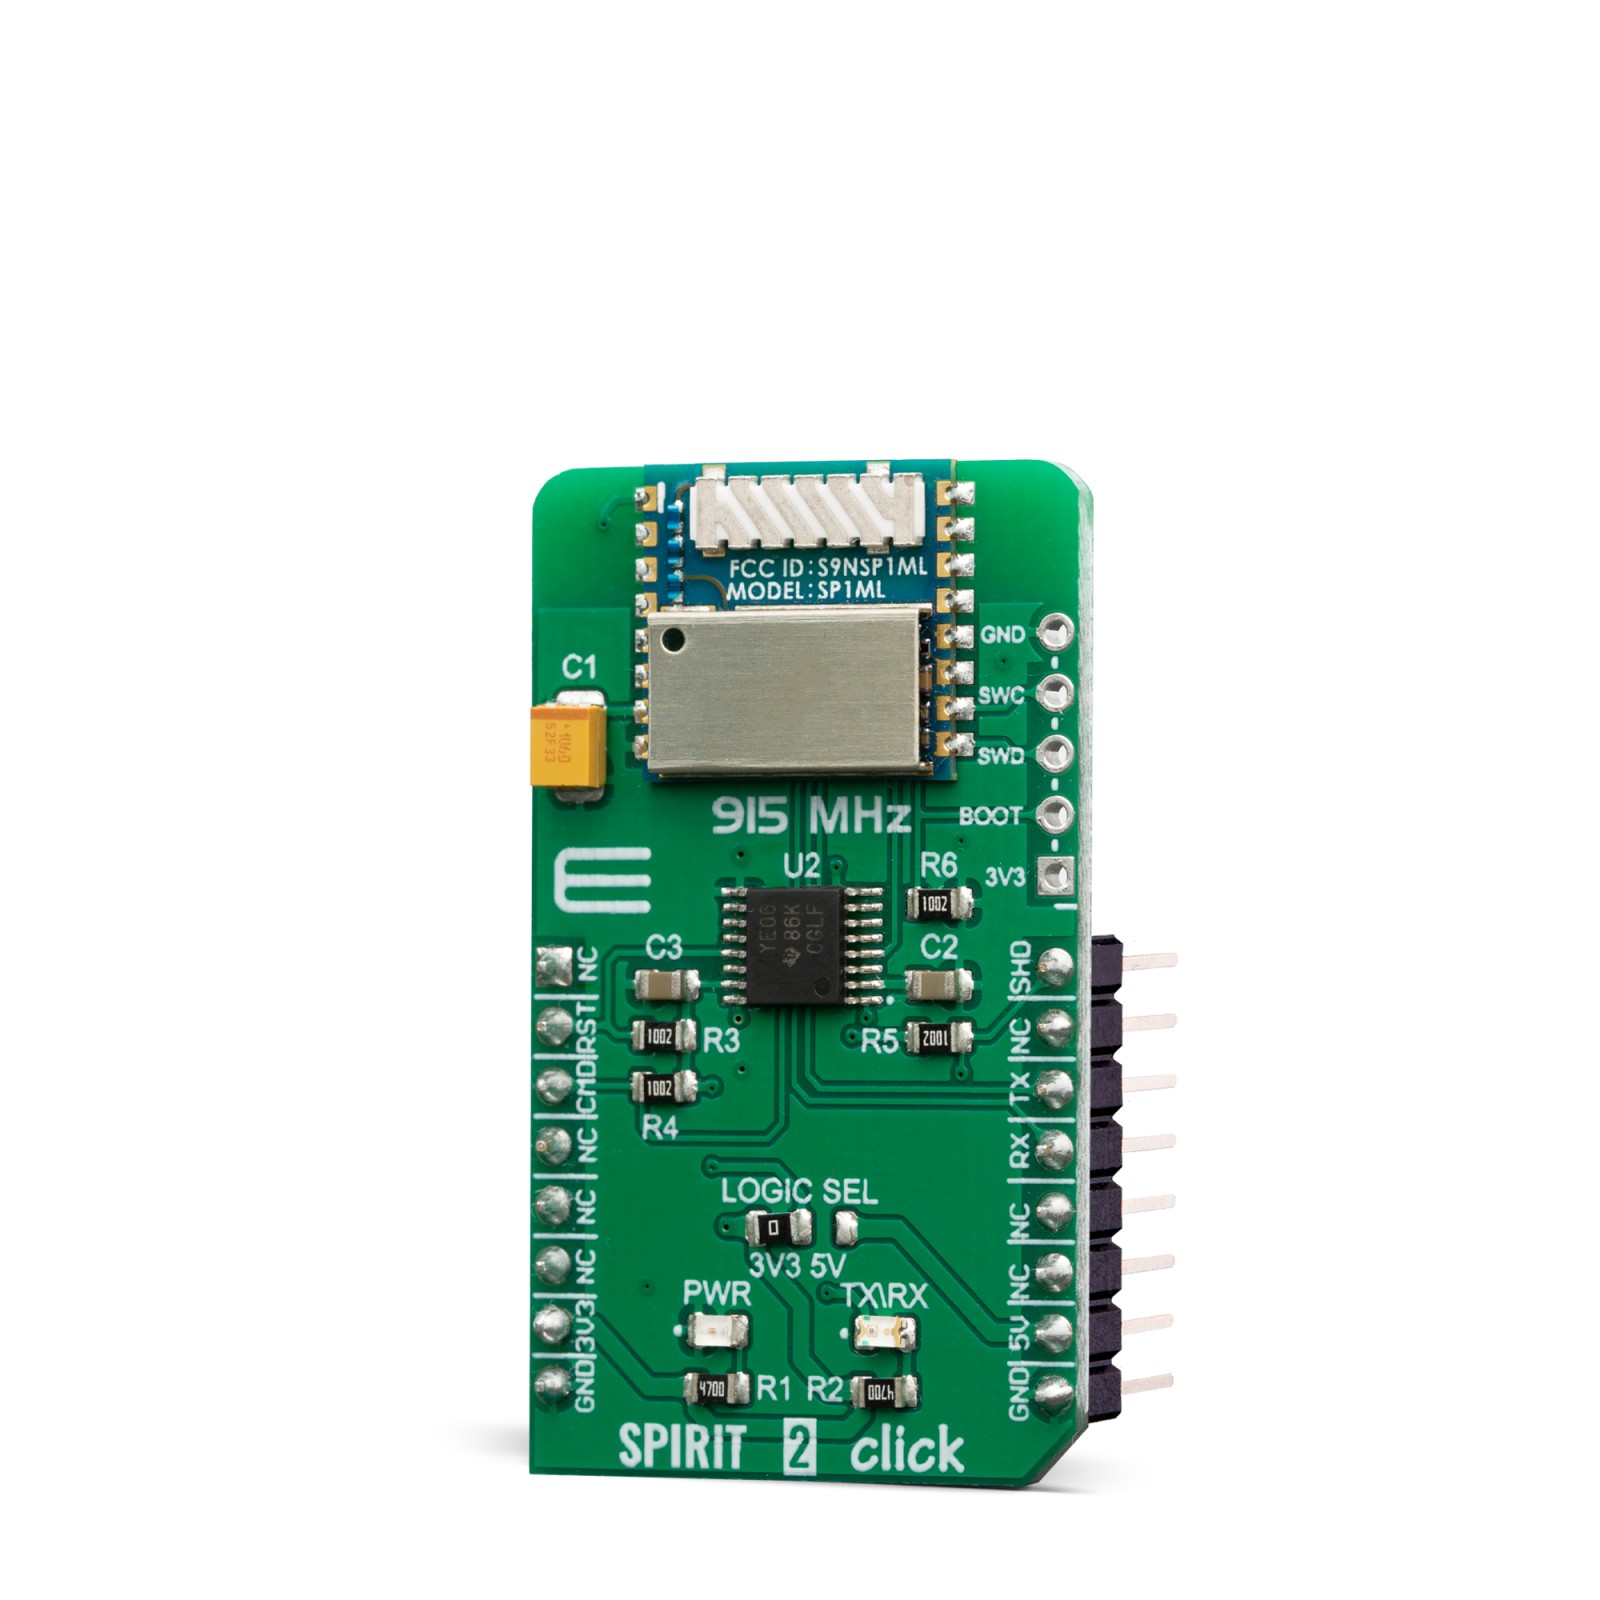
SPIRIT 2 Click features the SP1ML-915, an ultra-low power, fully integrated RF module, which operates at 915 MHz ISM band. This Click board™ can be used to add wireless connectivity to any application, requiring no extensive RF communication experience. The module integrates all the required components, including the 32-bit STM32L1 MCU, a compact chip antenna, and accompanying circuitry. The SP1ML-915 module supports several types of modulation schemes, including 2-FSK, GFSK, GMSK, OOK, and ASK, allowing it to fulfill different RF transmission requirements.
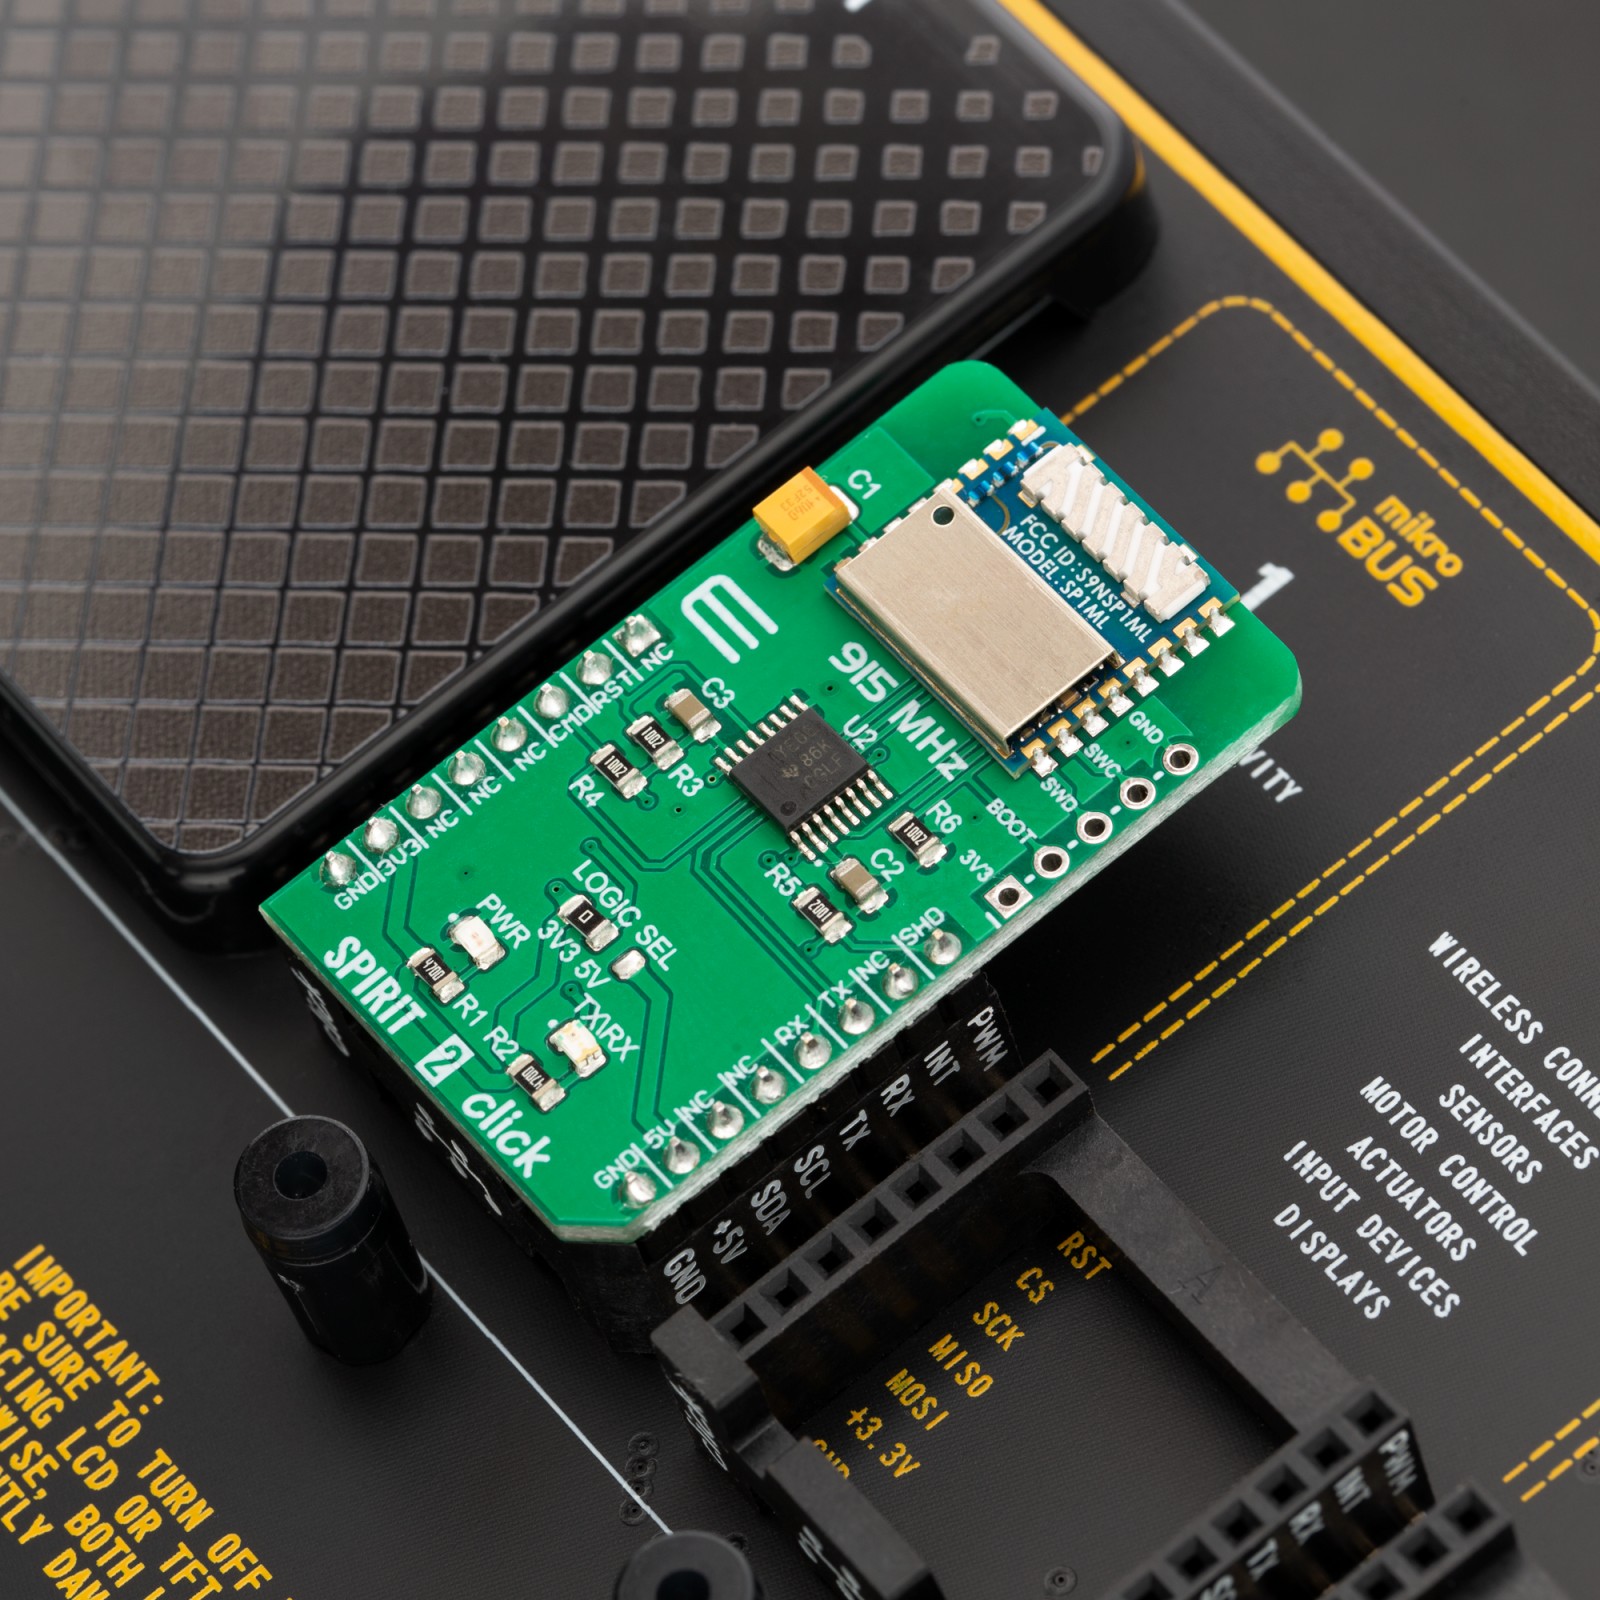
SPIRIT 2 click is supported by a mikroSDK compliant library, which includes functions that simplify software development. This Click board™ comes as a fully tested product, ready to be used on a system equipped with the mikroBUS™ socket.
Note: SPIRIT 2 click is intended and certified to be used in America (Region 2), for Europe (Region 1) you can use SPIRIT click.
Stock: Lead-time applicable.
| 5+ | R950.00 |
| 10+ | R900.00 |
| 15+ | R850.00 |
| 20+ | R818.00 |
Thanks to very low power consumption, high level of integration, and simple UART communication interface, Spirit 2 click can be used to add wireless connectivity to a wide range of different applications, including data acquisition equipment, security systems, home and building automation, wireless sensor network, wireless metering, etc. It is also an ideal solution for the development of various IoT-based applications, which demand low power consumption and wireless connectivity.
How does it work?
SPIRIT 2 click uses the SP1ML-915, a low power RF module with integrated MCU, from STMicroelectronics. The module incorporates all the necessary components packed in a very compact size of 14 x 13.4 x 2.5 mm. The STM32L1, an integrated 32-bit MCU is designed with the maximized power saving in mind, offering many power saving features. This allows even lower power consumption for the entire module, providing data rates up to 500 kbps. RF signal modulation schemes facilitate any RF transmission requirements, allowing fine-tuning of both the range and the power consumption.
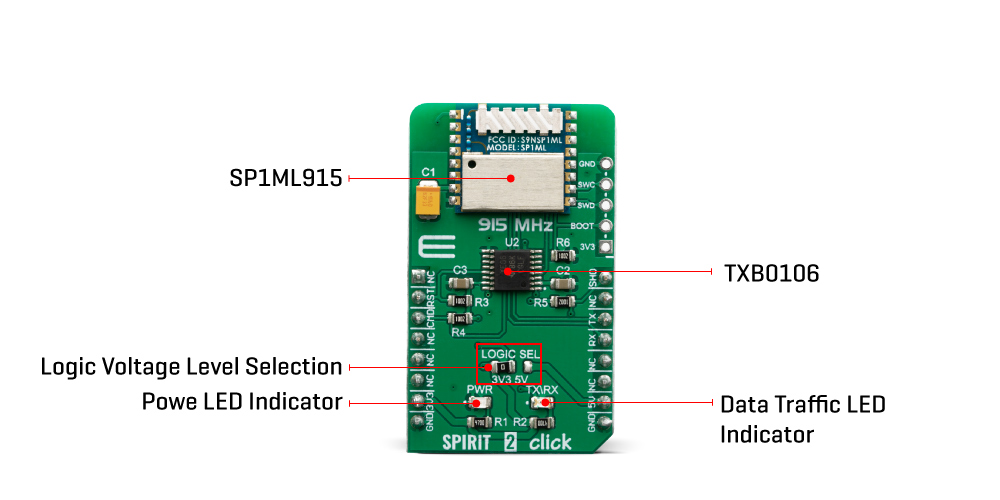
The primary function of the SP1ML-915 module is to be used as a wireless serial cable replacement. The Click board™ features the SWD compatible programming header, allowing custom firmware to be uploaded to the integrated MCU. However, that may destroy the factory firmware and void the warranty.
Offering a simple UART interface, combined with the lowered power consumption, it represents a perfect solution for adding wireless connectivity, especially to IoT applications. Since the module is designed to be used without an extensive RF communication experience, it is very simple to be used. The Click board™ offers two modes of operation: Operating mode and Command mode.
In operating mode, data received from the host on the UART interface will be wirelessly transmitted by the module using the current configuration settings for frequency, data rate, modulation and output power. Also, any data received by the module that meets the configured filtering criteria, will be output to the UART interface.
Command mode allows configuration of the SP1ML-915 module. When the Click board™ receives an escape sequence “+++”, followed by at least of 500ms of RX inactivity, it will enter the Command mode. By using a number of simple AT commands, the developer has the possibility to configure the operating parameters of the device. The complete list of AT commands is provided in the datasheet of the SP1ML-915 module.
A note should be taken not to send the escape sequence during the normal operation, if entering the Command mode is not intended.
Besides using the aforementioned escape sequence, the module can be put into the Command mode by driving the CMD pin of the Click board™ to a LOW logic level. A HIGH logic level on this pin will force the Click board™ into the Operating mode. The Click board™ should be reset after changing the state on this pin.
To reset the SP1ML-915 module, a LOW logic level to the RST pin of the Click board™ should be applied. While there is a LOW logic level present on the RST pin, the SP1ML-915module will be held in the RESET mode.
SHD pin of the Click board™ will drive the Click board™ into the power down mode by applying the LOW logic level on it. A HIGH logic level will wake-up the device.
The data traffic is indicated by a LED labeled as TX/RX. However, the indicator should be enabled to use it. Consult the datasheet of the SP1ML-915 for more information.
The Click board™ can be interfaced with both 3.3V and 5V MCUs without the need for any external components. Thanks to the TXB0106, 6-Bit bidirectional voltage-level translator, the Click board™ can be simply used with a wide range of different MCUs.
Specifications
Type
Sub-1 GHz Transceievers
Applications
It can be used to add wireless connectivity to a wide range of different applications, including data acquisition equipment, security systems, home and building automation, wireless sensor network, wireless metering, etc
On-board modules
SP1ML-915, a low power RF module with integrated MCU, from STMicroelectronics
Radio Region
America
Key Features
Low power consumption, high level of integration, a large number of RF modulation schemes, simple use over the UART interface, data rate up to 500 kbps
Interface
GPIO,UART
Feature
No ClickID
Compatibility
mikroBUS™
Click board size
M (42.9 x 25.4 mm)
Input Voltage
3.3V or 5V
Pinout diagram
This table shows how the pinout on SPIRIT 2 click corresponds to the pinout on the mikroBUS™ socket (the latter shown in the two middle columns).
Onboard settings and indicators
| Label | Name | Default | Description |
|---|---|---|---|
| PWR | PWR | – | Power LED Indicator |
| TX/RX | TX/RX | – | Data traffic LED indicator |
| LOGIC SEL | LOGIC SEL | Left | Logic voltage selection level: left position 3.3V, right position 5V |
Software support
We provide a library for the SPIRIT 2 Click on our LibStock page, as well as a demo application (example), developed using MikroElektronika compilers. The demo can run on all the main MikroElektronika development boards.
Library Description
The library contains all the necessary functions for working with SPIRIT modules. Generic parser
Key functions:
spirit2_cmdSingle– Sends provided command to the module.spirit2_moduleReset– Reset module.spirit2_modulePower– Turn on module.
Examples description
The application is composed of the three sections :
- System Initialization – Initializes all necessary GPIO pins, UART used for the communcation with SPIRIT module and UART used for infromation logging .
- Application Initialization – Initializes driver, power on module .
- Application Task – running in parallel core state machine. In the RX mode, the unit reads data received from another device and sends a message in TX mode every 2 seconds. .
void applicationTask()
{
    spirit2_process();

    if( _userAppMode == _SPIRIT2_APP_TX_MODE)
    {
        mikrobus_logWrite("** SPIRIT SENDS MESSAGE.....", _LOG_LINE);
        spirit2_cmdSingle(&_txBuffer[0]);
        Delay_ms( 2000 );
    }
}
Additional Functions :
All additional functions such as timer initialization and default handler.
The full application code, and ready to use projects can be found on our LibStock page.
Other mikroE Libraries used in the example:
StringConversionUART
Depending on the development board you are using, you may need USB UART click, USB UART 2 click or RS232 click to connect to your PC, for development systems with no UART to USB interface available on the board. The terminal available in all MikroElektronika compilers, or any other terminal application of your choice, can be used to read the message.
mikroSDK
This click board is supported with mikroSDK - MikroElektronika Software Development Kit. To ensure proper operation of mikroSDK compliant click board demo applications, mikroSDK should be downloaded from the LibStock and installed for the compiler you are using.
For more information about mikroSDK, visit the official page.
Resources
Downloads
| Weight | 20 g |
|---|---|
| Brand | MikroElektronika |

