Spectrometer Click
R515.00 ex. VAT
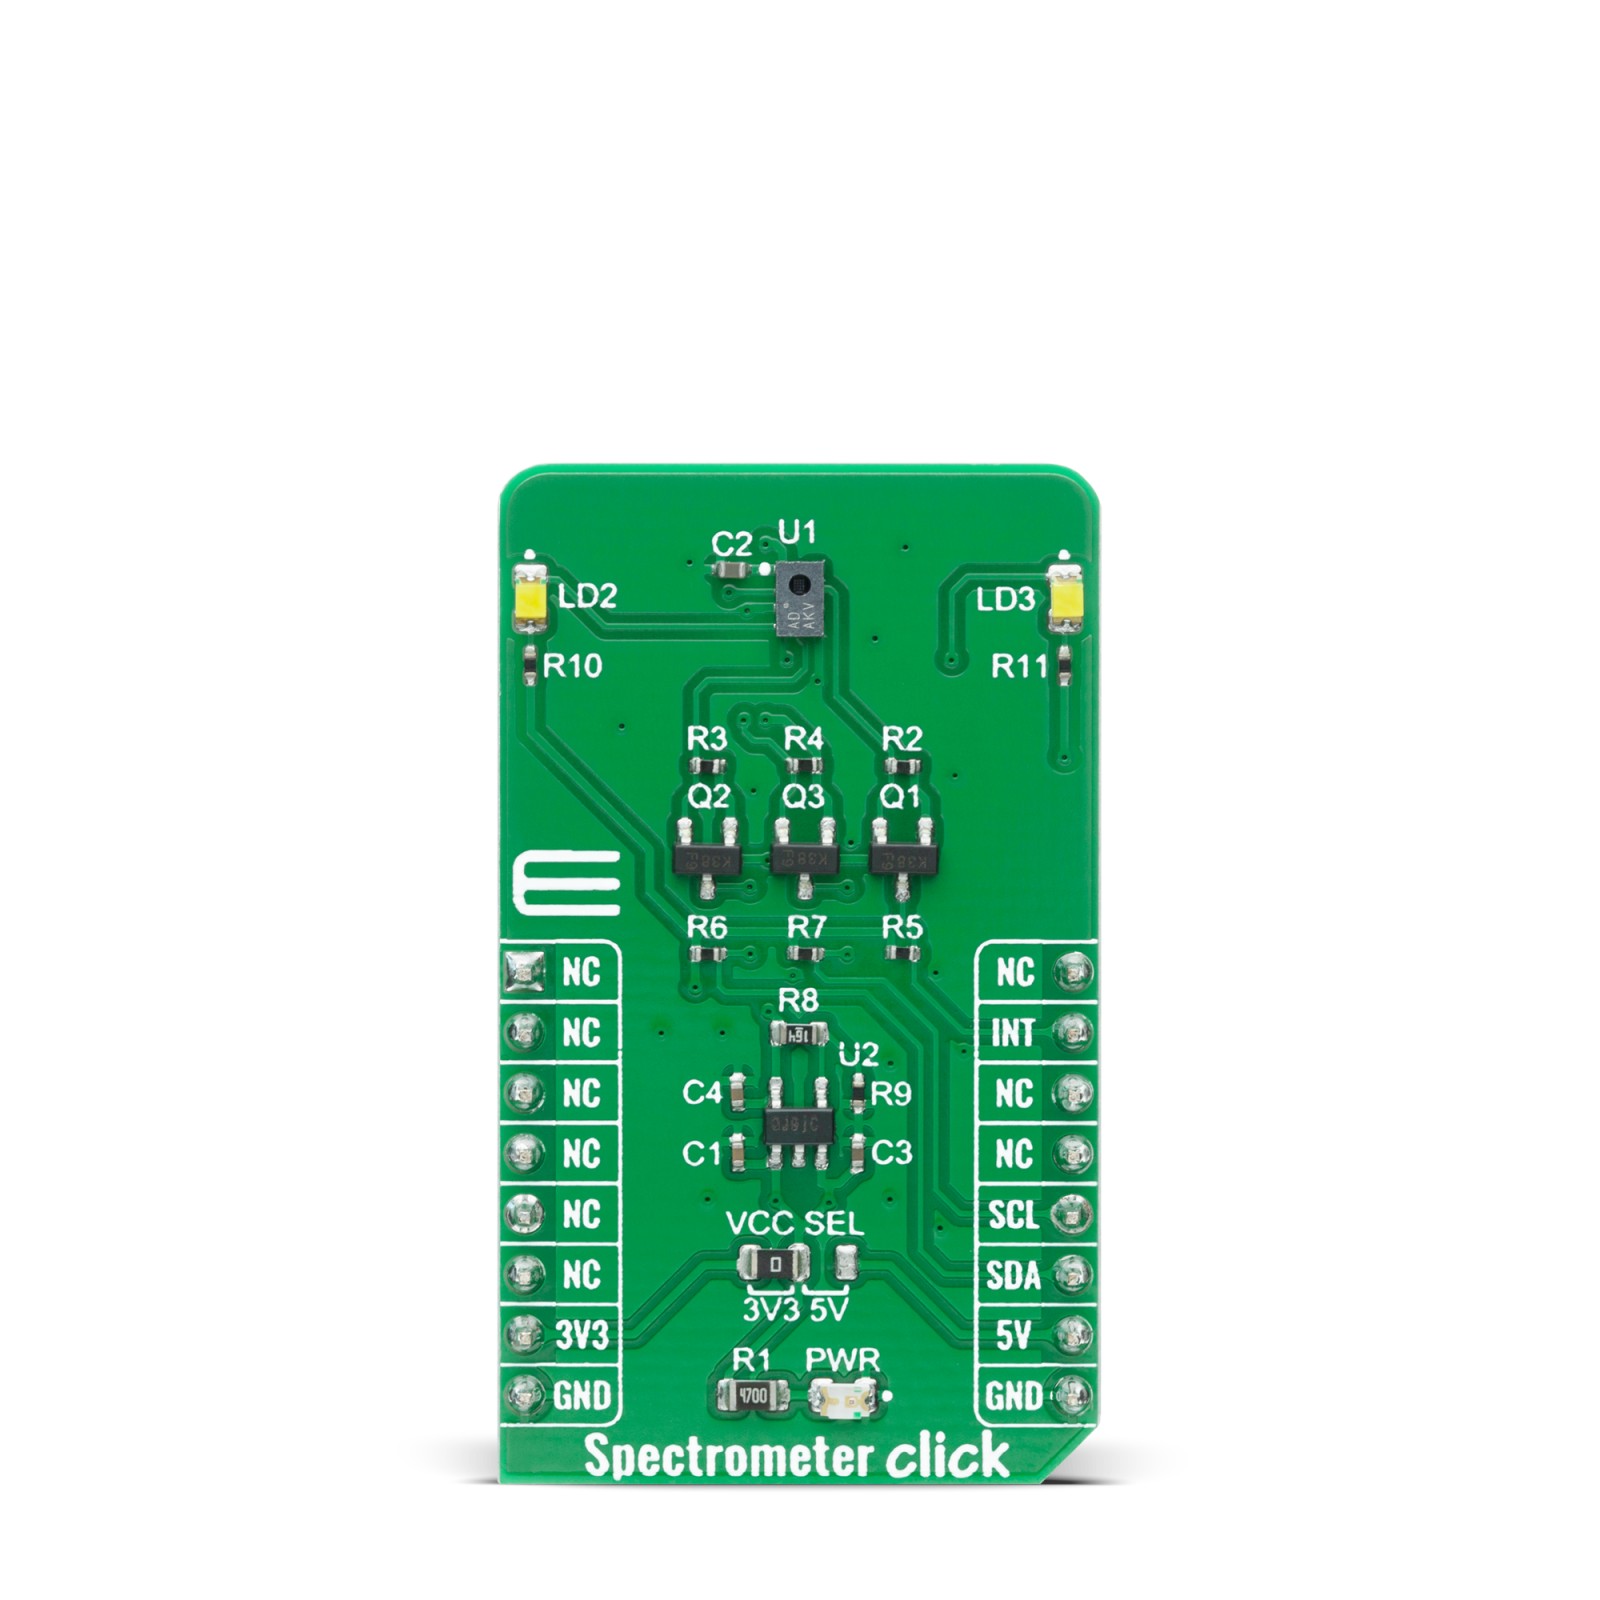
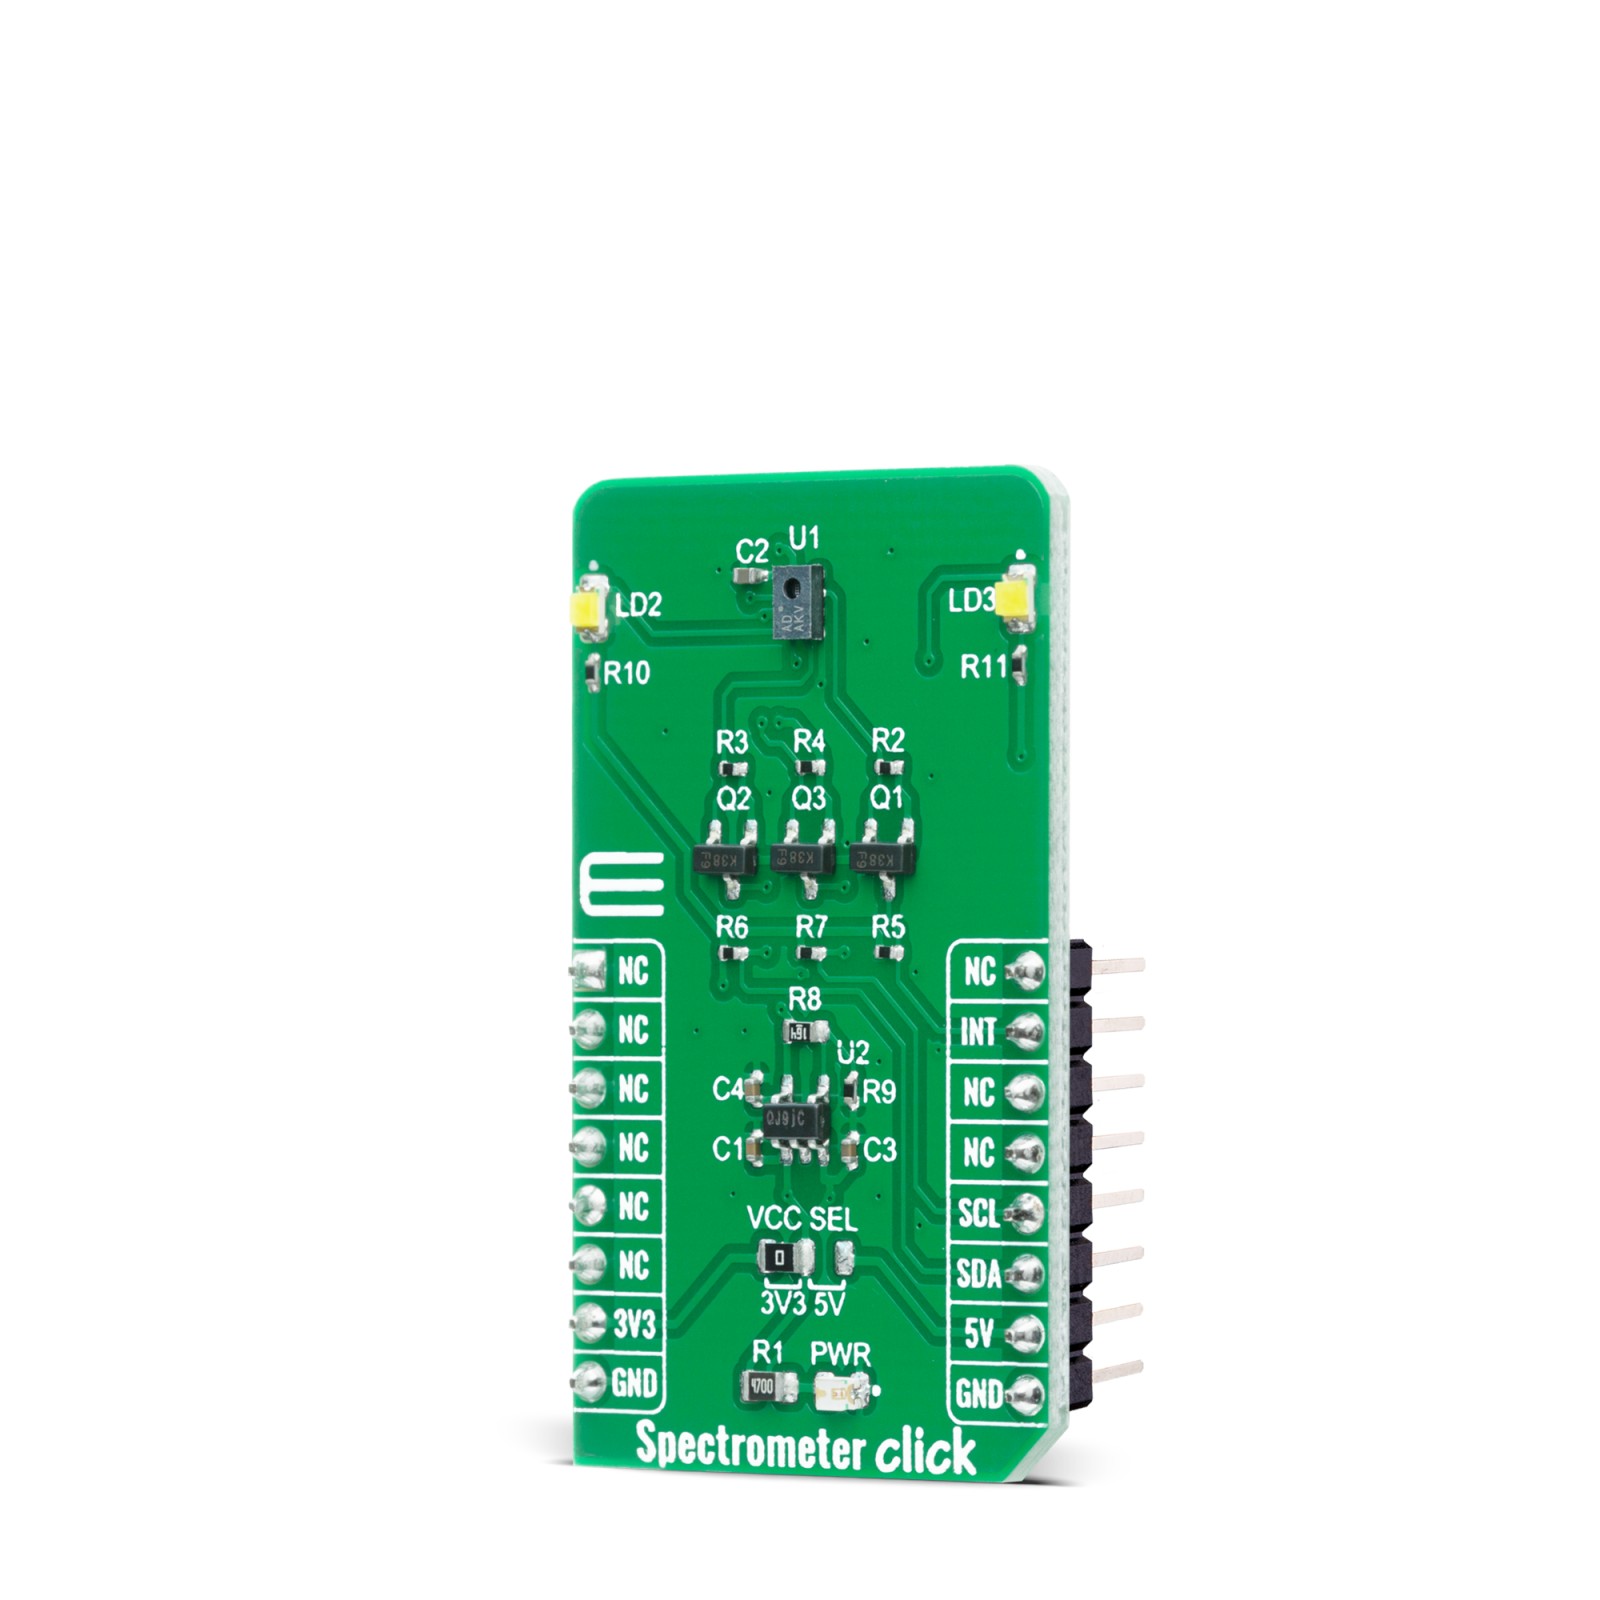
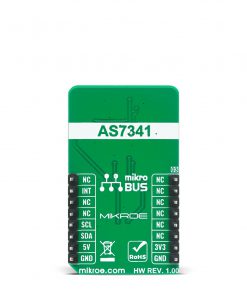
Spectrometer Click features an 11-channel spectrometer for spectral identification and color matching applications. This Click board™ features the AS7341 from AMS-AG, whose spectral response is defined in the wavelengths from approximately 350nm to 1000nm. Control and Spectral data access are implemented through a serial I2C interface with very a low power consumption. AS7341 also integrates a dedicated channel to detect 50Hz or 60Hz ambient light flicker. It has many features that make it attractive for various applications such as spectral measurement, reflective object color detection, color measurement, and as ambient light flicker detection.
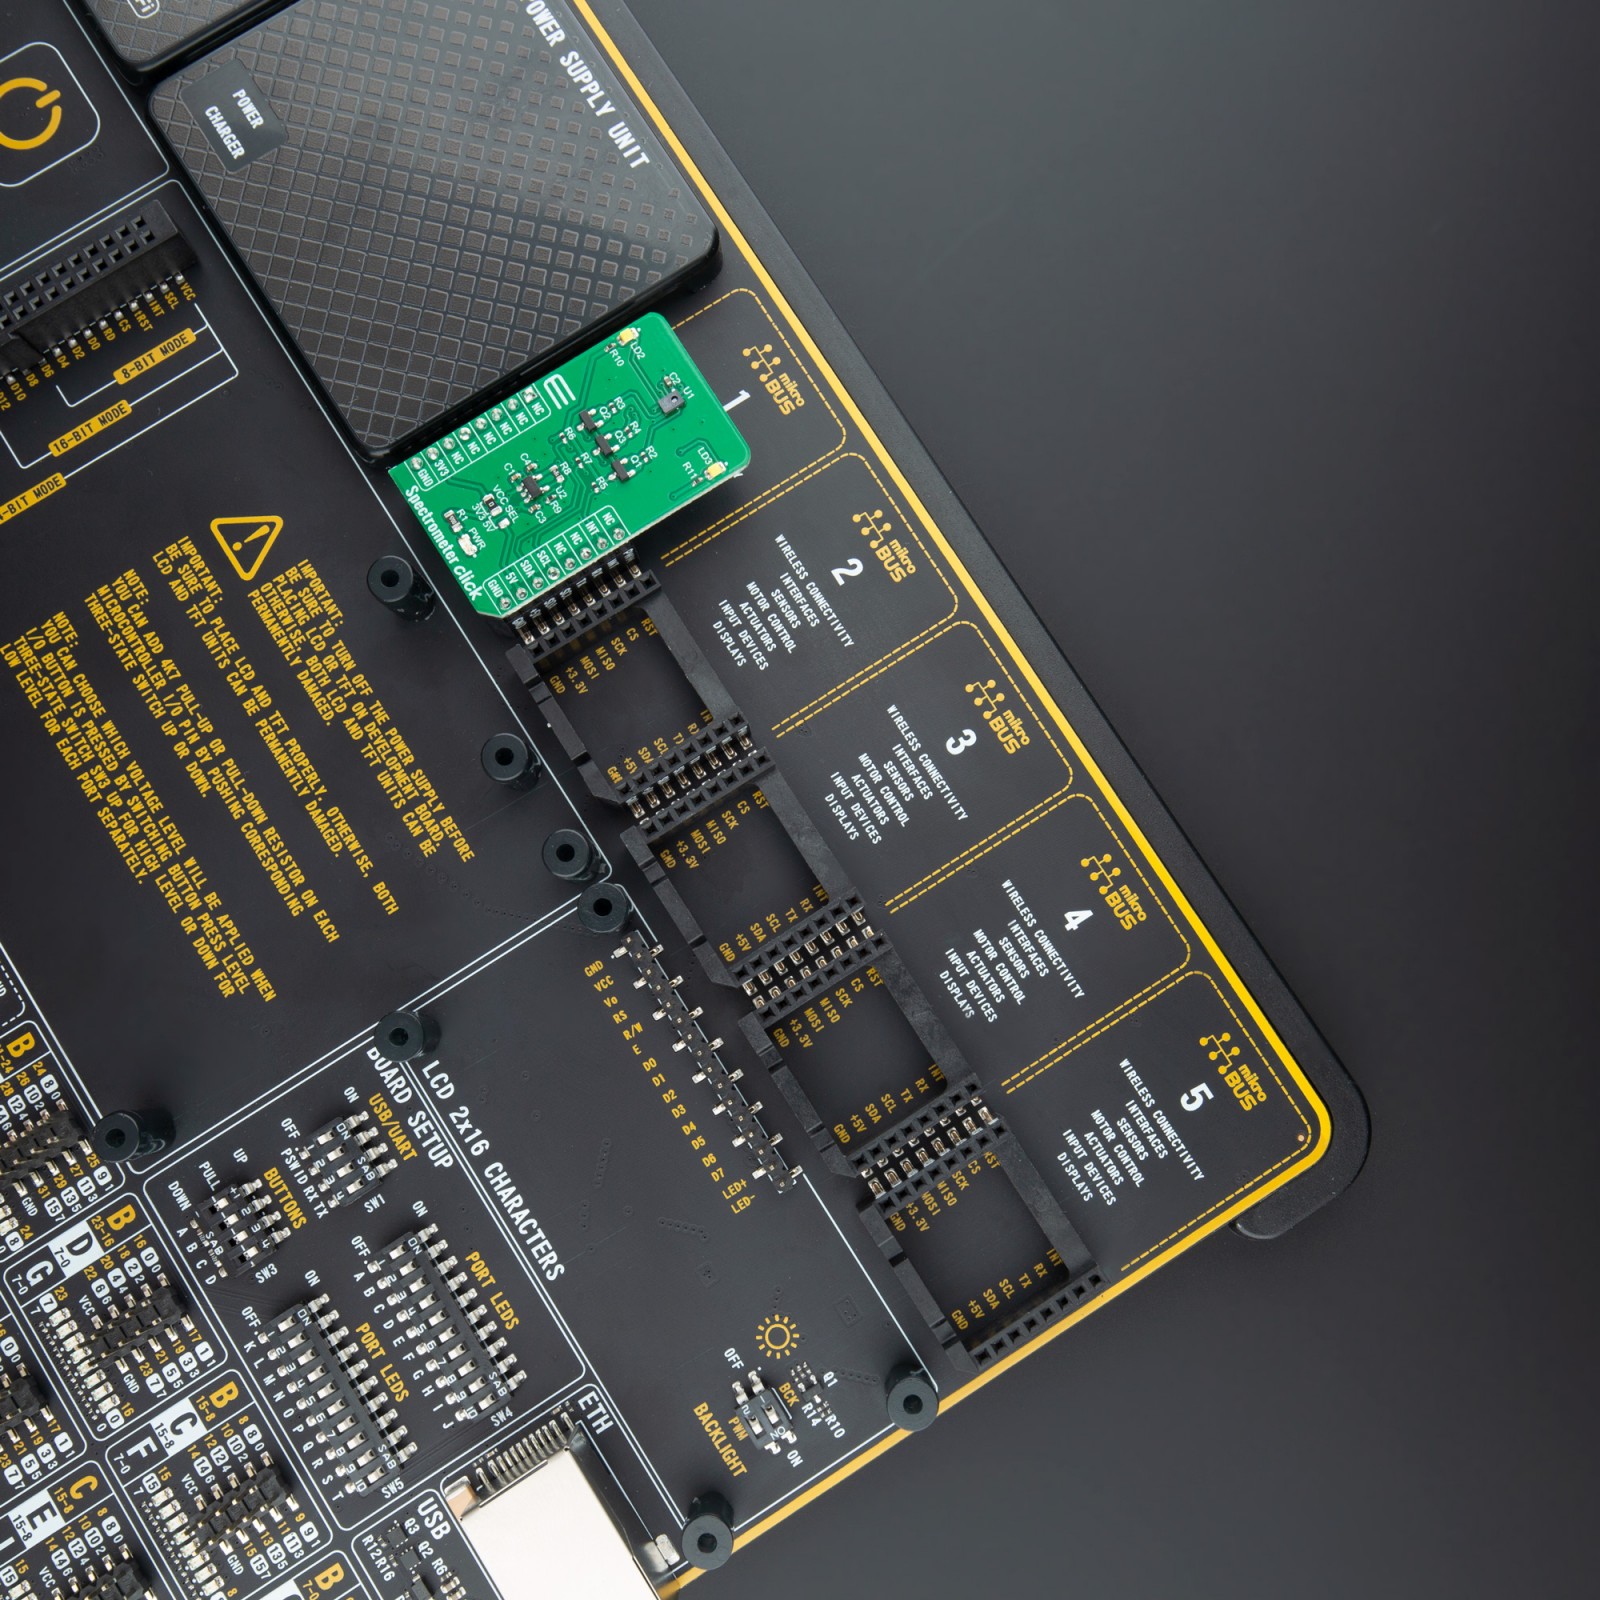
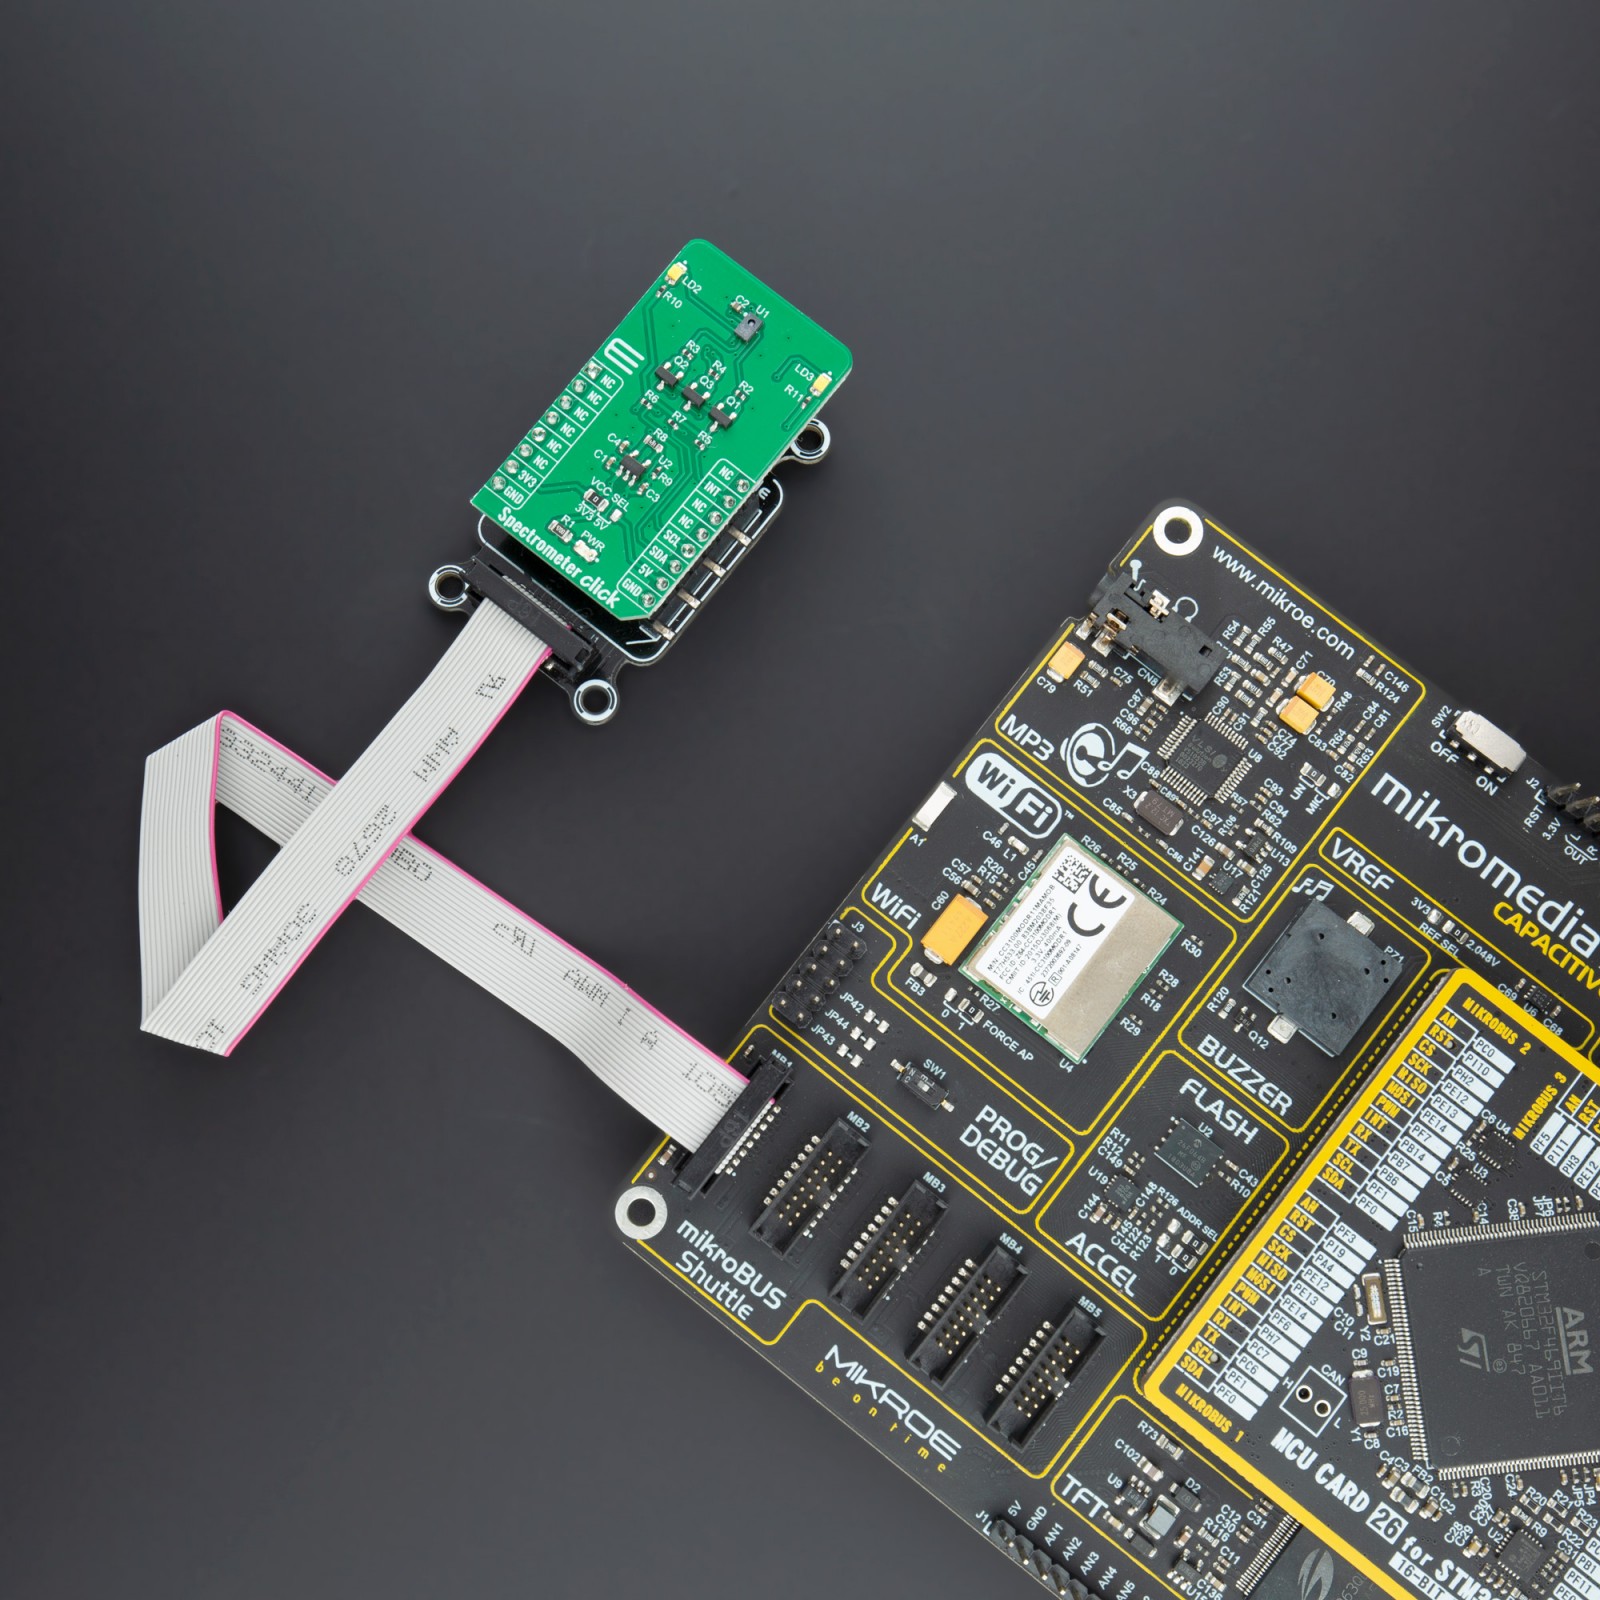
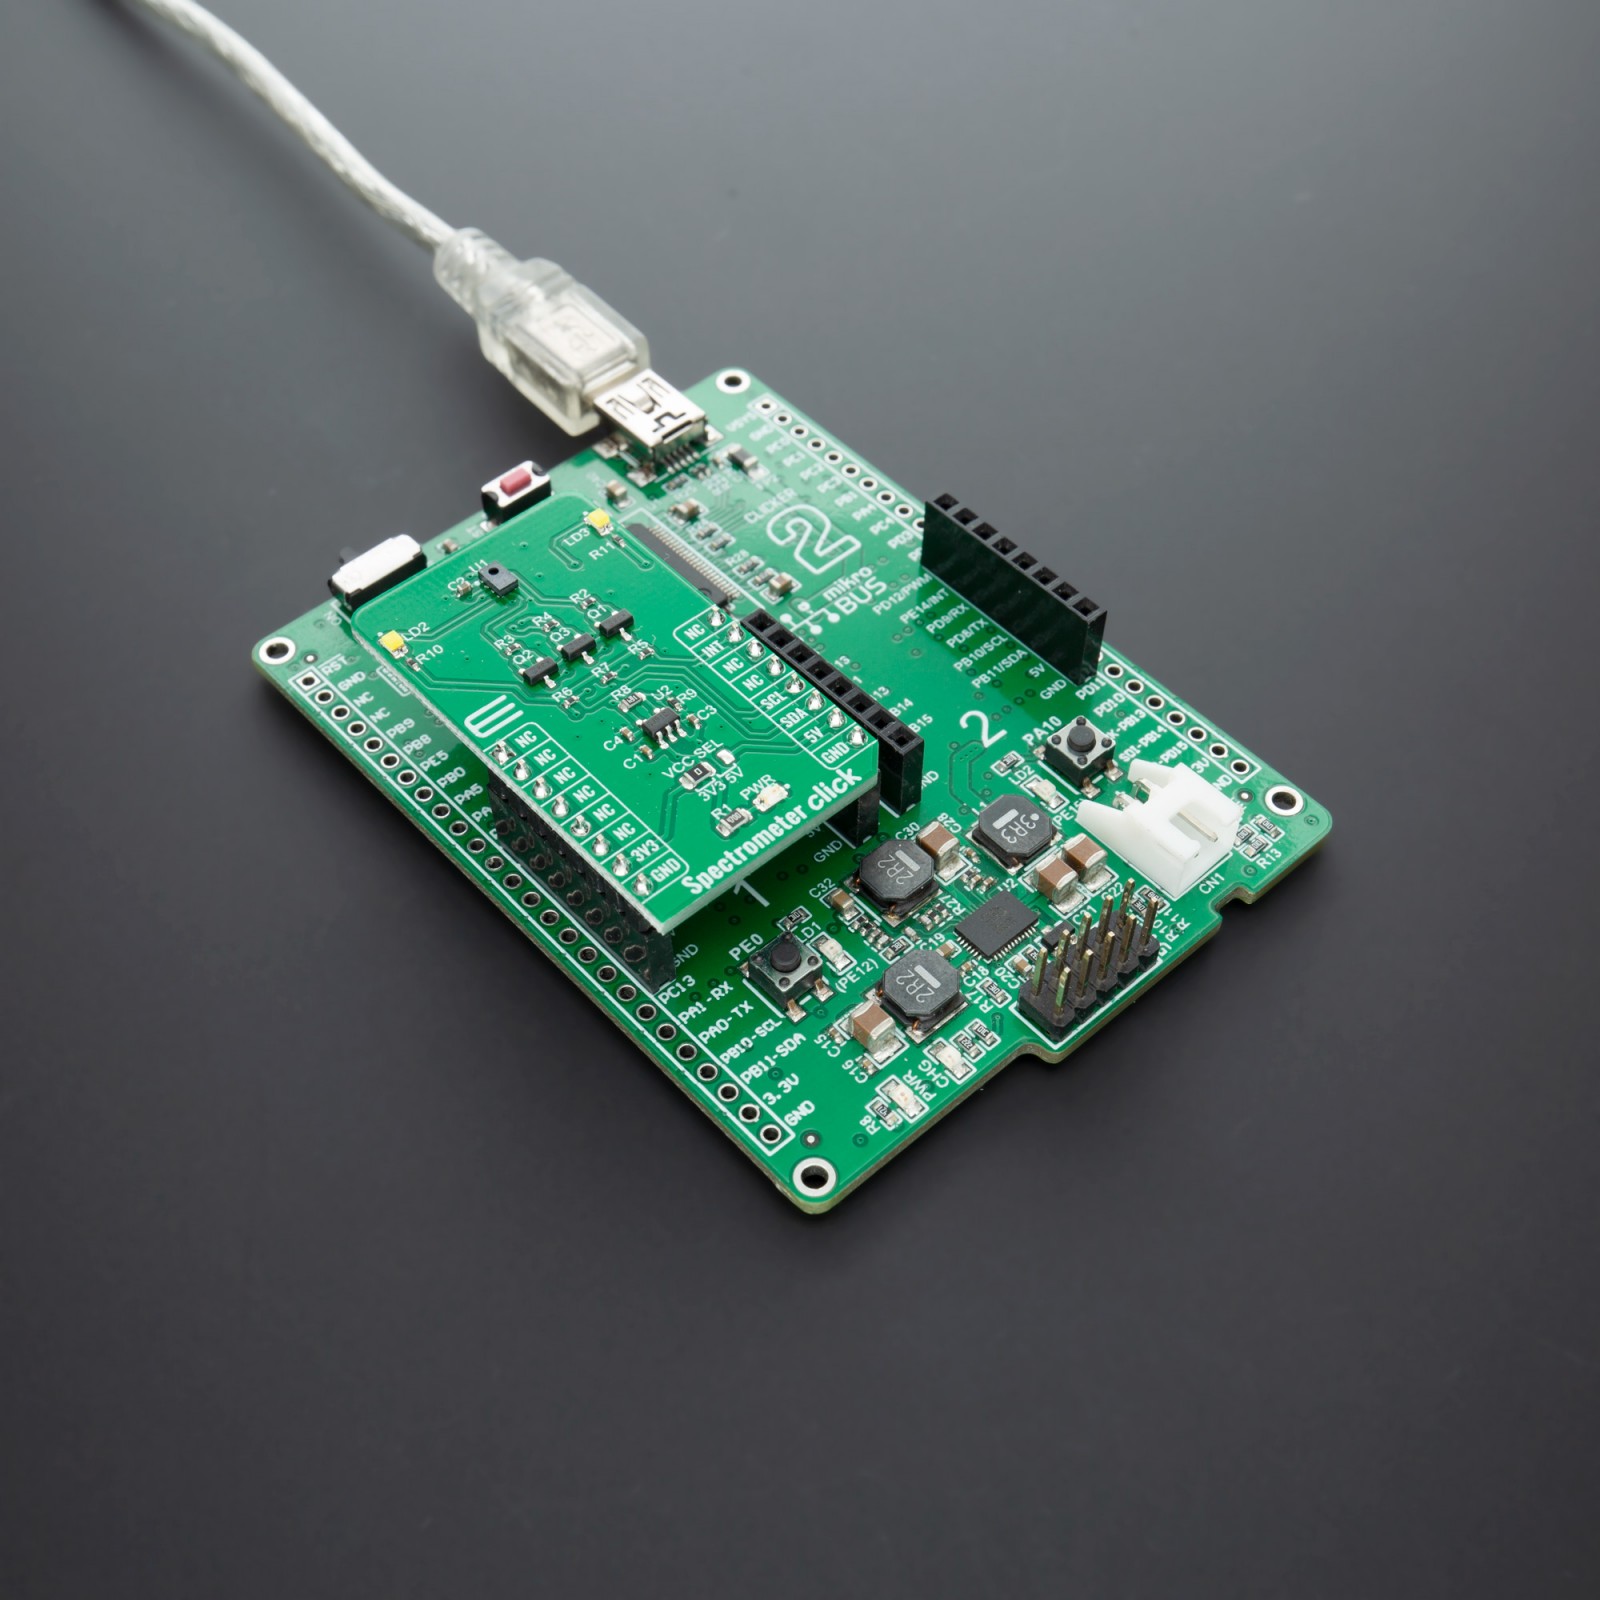
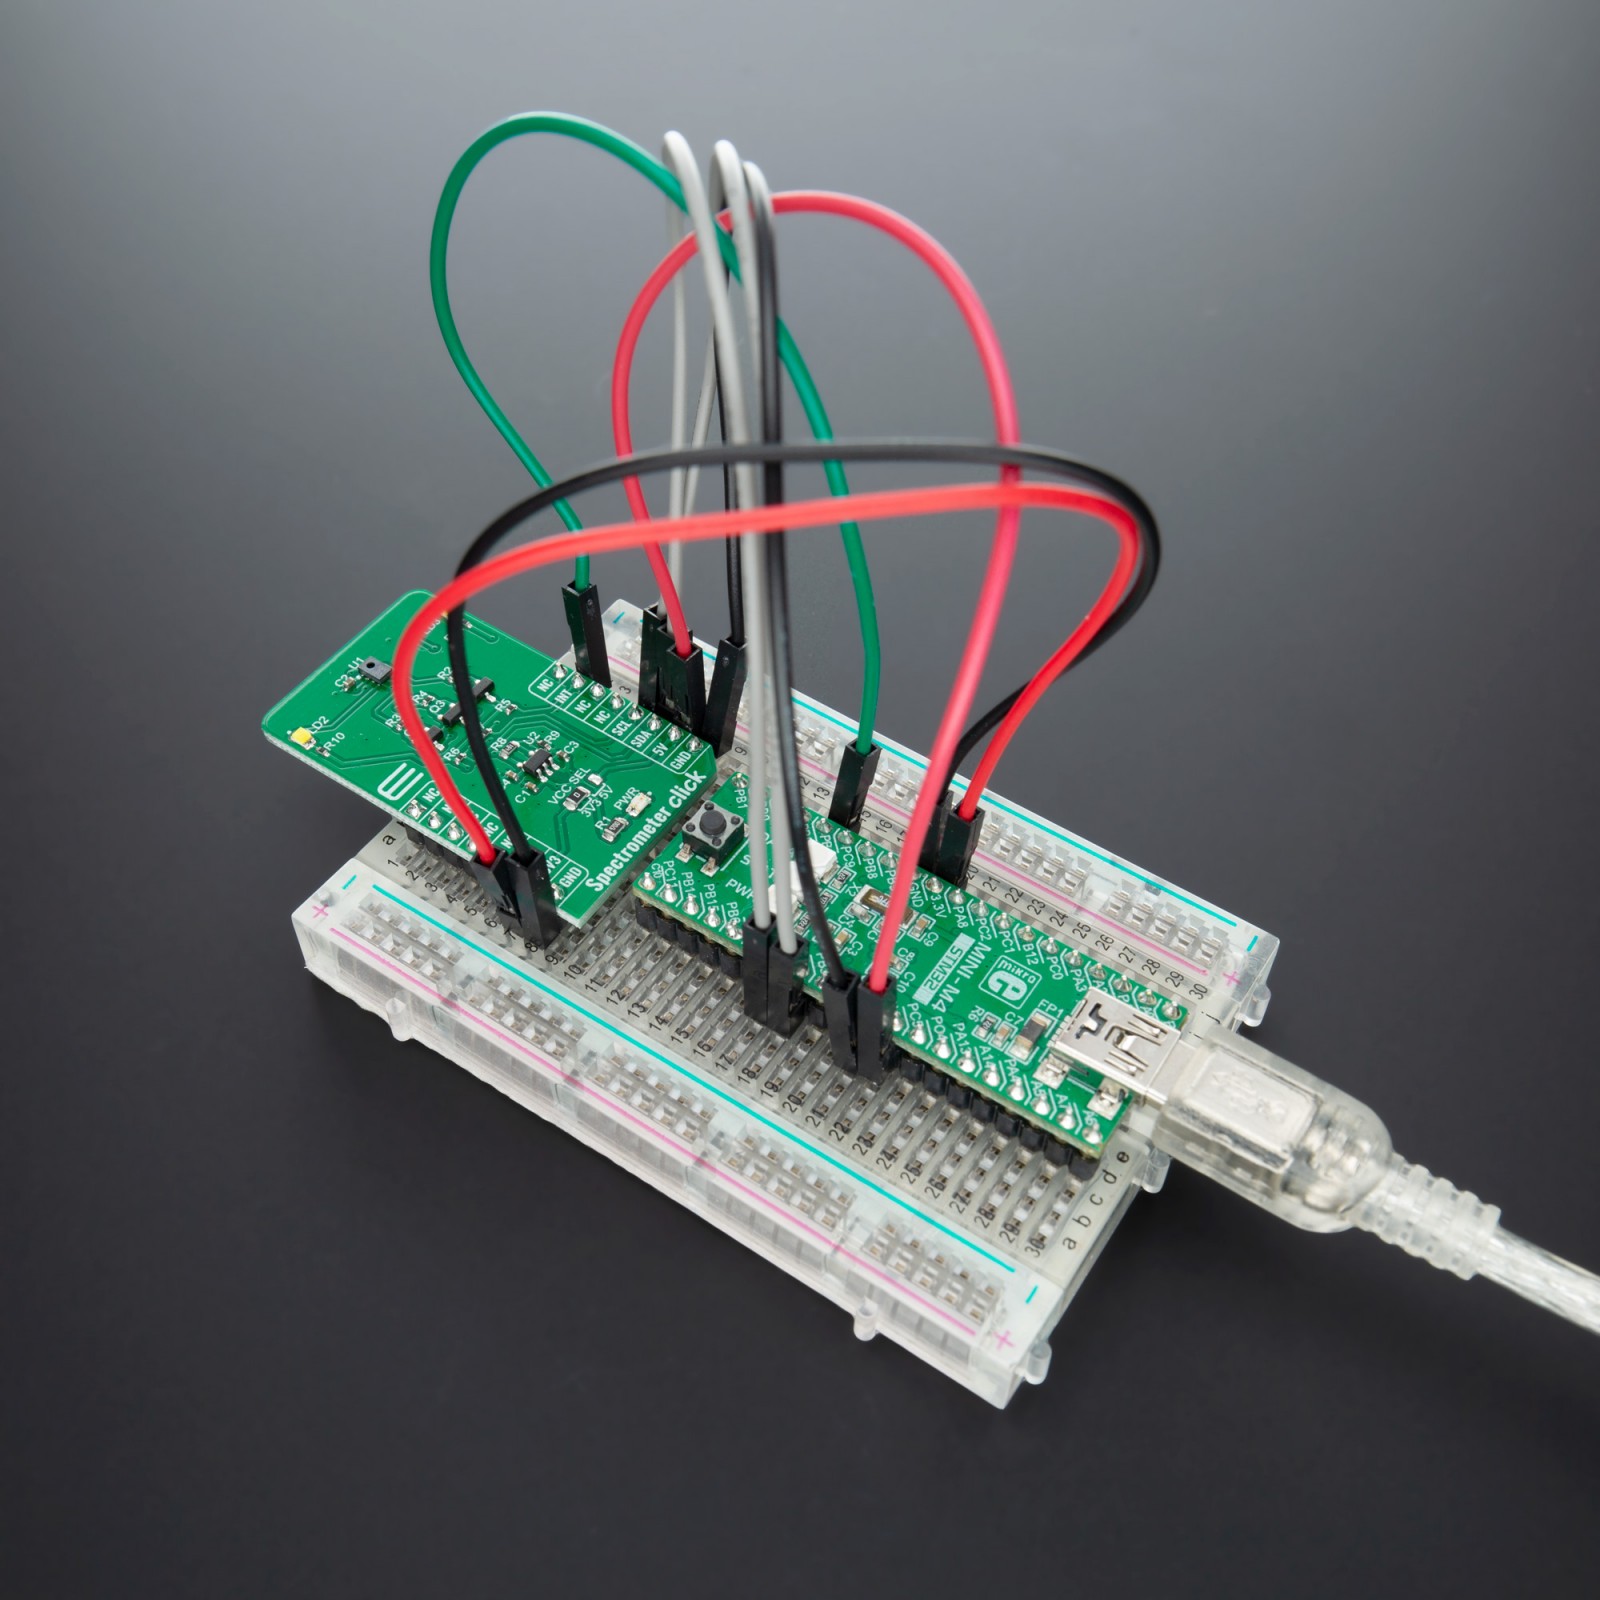
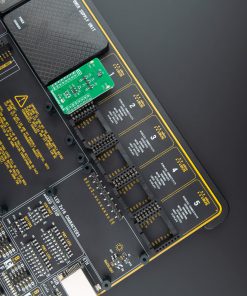
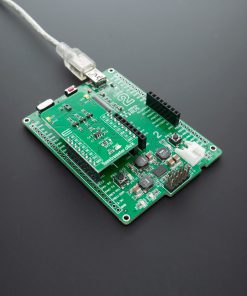
Spectrometer Click is supported by a mikroSDK compliant library, which includes functions that simplify software development. This Click board™ comes as a fully tested product, ready to be used on a system equipped with the mikroBUS™ socket.
Stock: Lead-time applicable.
| 5+ | R489.25 |
| 10+ | R463.50 |
| 15+ | R437.75 |
| 20+ | R421.27 |
How does it work?
Spectrometer Click uses the AS7341 IC, 11-Channel Spectral Sensor Frontend from AMS-AG. This IC features 6 independent optical channels with a dedicated 16-bit light-to-frequency converter. Gain and integration time of the 6 channels can be adjusted with the serial interface. Wait time can be programmed to automatically set a delay between two consecutive spectral measurements and to reduce overall power consumption. The other available channels can be accessed by a multiplexer (SMUX) connecting them to one of the internal ADCs. Also features a 4×4-photodiode array. On top and below the photodiode array there are two photodiodes with dedicated functions such as flicker detection and near-infrared response.

This Click board includes an LDO AP7331 to provide the 1.8 V supply voltage for the AS7341 and 3 N-Channel MOSFET BSS138 for voltage level translation. The AS7341, interrupt-driven IC, is controlled and monitored by registers accessed through the I²C serial interface. These registers provide device control functions and can be read to determine device status and acquire device data. The device supports 7-bit chip addressing and both standard and full-speed clock frequency modes. It possesses 8 optical channels distributed over the visible spectral range, plus clear and NIR channel to accurately measure and match colors, and configurable sleep mode. The device also integrates a dedicated channel to detect 50Hz or 60Hz ambient light flicker. The flicker detection engine can also buffer data for calculating other flicker frequencies externally.
Upon power-up, the Spectrometer Click initializes. During initialization (typically 200μs), the device will deterministically send NAK on I²C and cannot accept I²C transactions. All communication with the device must be delayed and all outputs from the device must be ignored including interrupts. After initialization, the device enters the SLEEP state (the internal oscillator and other circuitry are not active resulting in ultra-low power consumption). Once the Power ON bit is enabled, the device enters the IDLE state in which the internal oscillator and attendant circuitry are active, but power consumption remains low. Whenever the spectral measurement is enabled the device enters the ACTIVE state. If the spectral measurement is disabled the device returns to the IDLE state.
Spectrometer Click features an additional important detail: two white LEDs labeled LD2 and LD3, which serve as white light sources.
This Click board can be supplied and interfaced with both 3.3V and 5V supply voltages. The onboard SMD jumper labeled as VCC SEL allows voltage selection for interfacing with both 3.3V and 5V microcontrollers. More information about the AS7341 can be found in the attached datasheet. However, this Click board™ comes equipped with a library that contains easy to use functions and a usage example that may be used as a reference for the development.
Specifications
Type
Optical
Applications
Can be used for spectral measurement, ambient light measurement, color measurement, display management.
On-board modules
AS7341
Key Features
11-Channel Spectral Sensor, 350nm to 1000nm spectral response, 50Hz or 60Hz ambient light flicker, 16-bit light-to-frequency converter
Interface
GPIO,I2C
Feature
No ClickID
Compatibility
mikroBUS™
Click board size
M (42.9 x 25.4 mm)
Input Voltage
3.3V or 5V
Pinout diagram
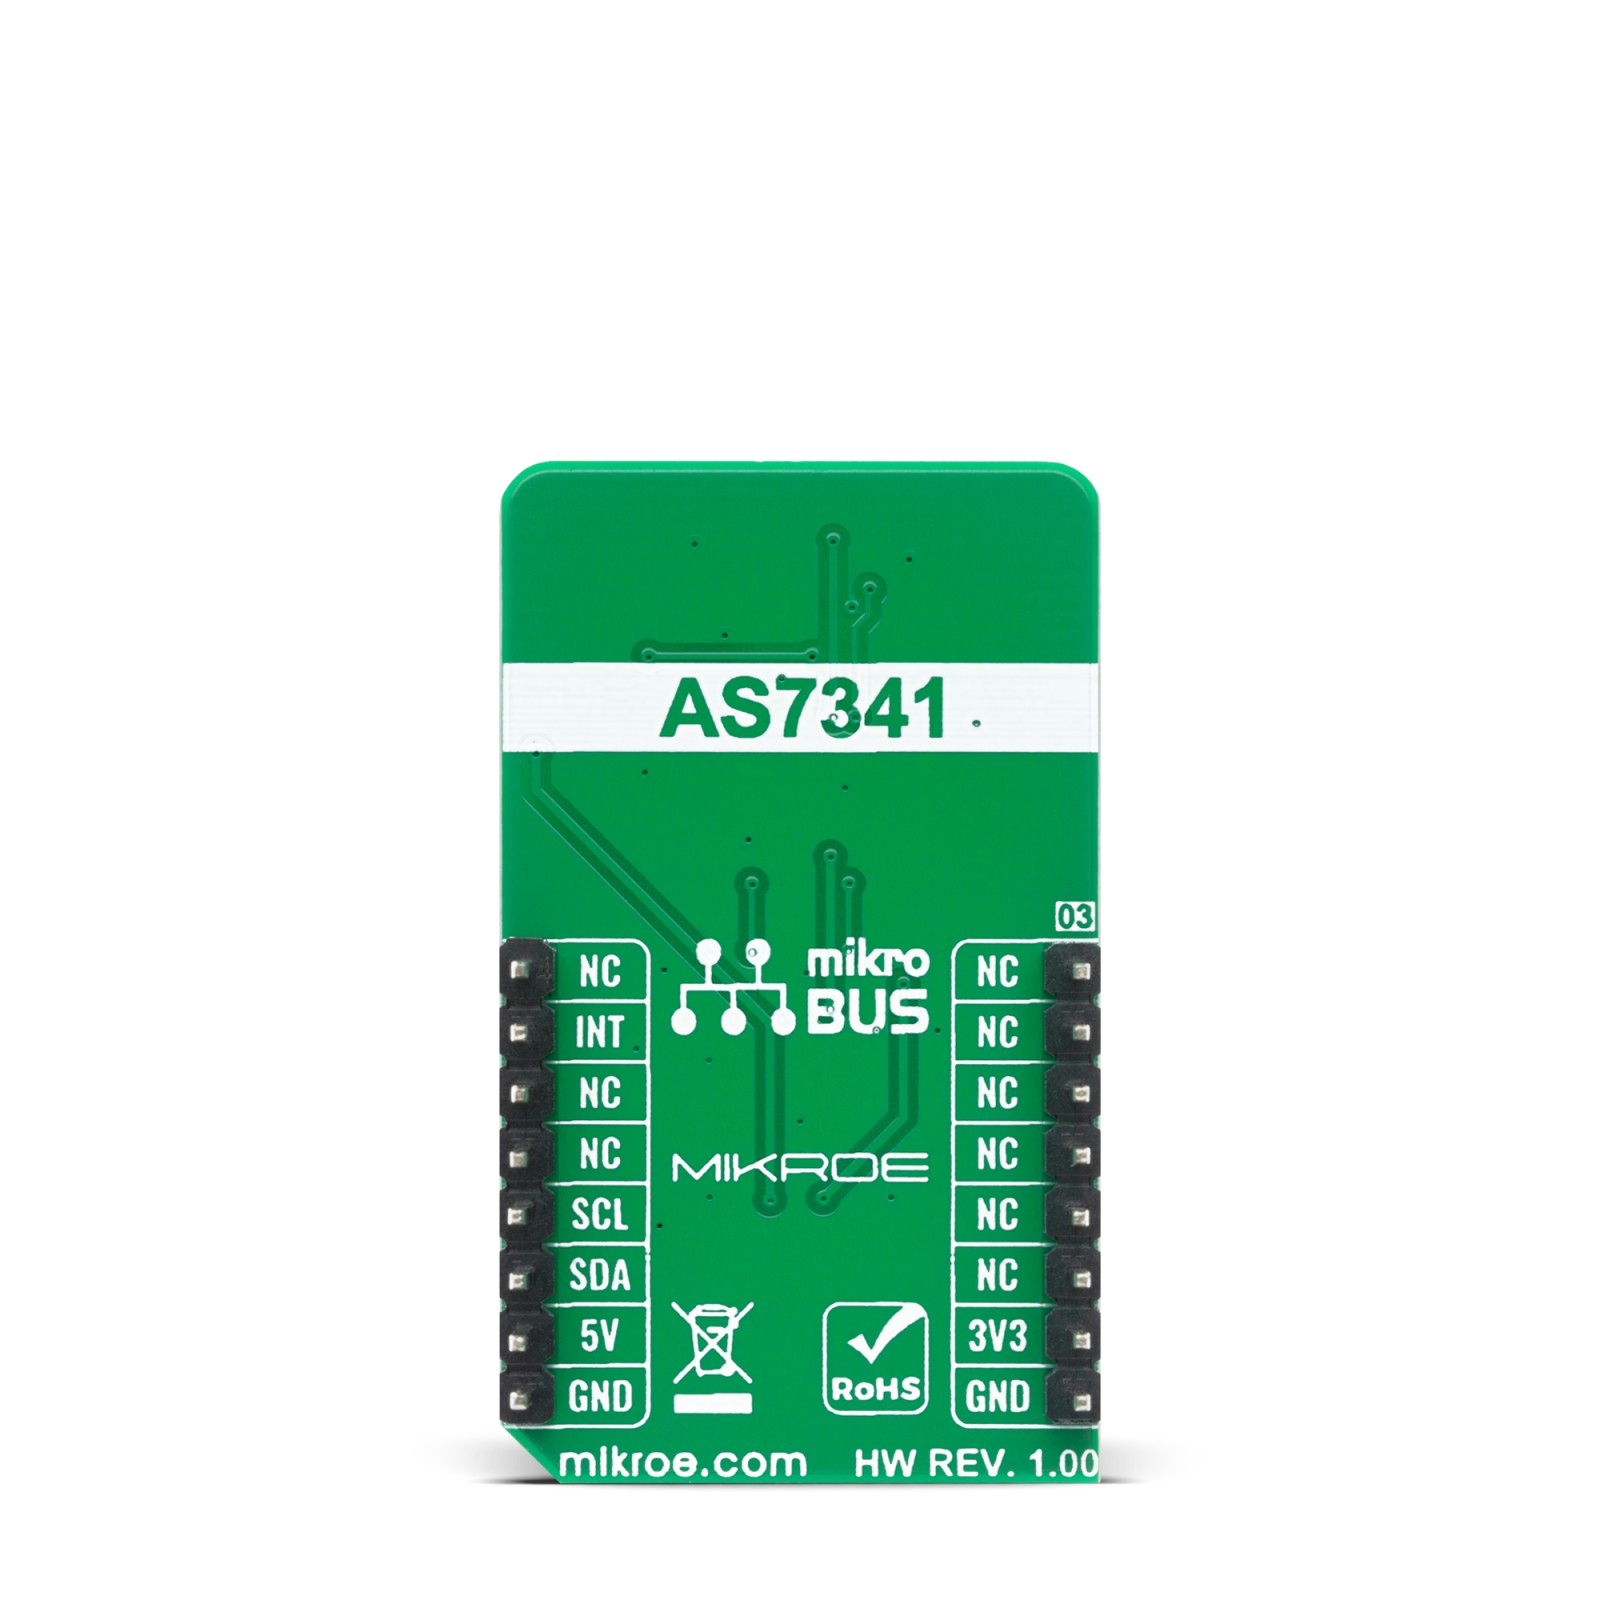
This table shows how the pinout on Spectrometer Click corresponds to the pinout on the mikroBUS™ socket (the latter shown in the two middle columns).
Onboard settings and indicators
| Label | Name | Default | Description |
|---|---|---|---|
| LD1 | PWR | – | Power LED Indicator |
| LD2-LD3 | LED | – | White LED Light Source |
| JP1 | VCC SEL | Right | Power Supply Voltage Selection 3V3/5V, left position 3V3, right position 5V |
Spectrometer Click electrical specifications
| Description | Min | Typ | Max | Unit |
|---|---|---|---|---|
| Supply Voltage | -0.3 | 1.8 | 2.2 | V |
| Maximum Output Current | -1 | – | 20 | mA |
| Operating Temperature Range | -30 | – | +85 | °C |
| Spectral Response | 350 | – | 1000 | nM |
Software Support
We provide a library for the Spectrometer Click on our LibStock page, as well as a demo application (example), developed using MikroElektronika compilers. The demo can run on all the main MikroElektronika development boards.
Library Description
The library covers necessary functions that enables the usage of the Spectrometer click board. User can read or write data in and from registers, check interrupt state, set diferent configuration and read data from all channels available.
Key functions:
void spectrometer_raw_rd_val_mode_1 ( uint8_t *adc_data );– Function is used to read out channels with SMUX configration 1; F1-F4, Clear.void spectrometer_raw_rd_val_mode_2 ( uint8_t *adc_data );– Function is used to read out channels with SMUX configration 2; F5-F8, Clear.uint8_t spectrometer_flicker_detection ( );– Function is used to detect flicker for 100 and 120 Hz.
Examples description
The application is composed of three sections :
- System Initialization – Initializes I2C module, LOG structure and sets INT pin as input.
- Application Initialization – Initalizes I2C driver, performs safety check and makes an initial log.
- Application Task – This example shows the capabilities of the Spectrometer click by reading out channels with SMUX configrations 1 and 2, detecting flicker for 100 and 120 Hz and displaying data via USART terminal.
void application_task ( )
{
    spectrometer_def_cfg( );

    spectrometer_raw_rd_val_mode_1( adc_buf );

    ch_0 = adc_buf[ 1 ];
    ch_0 <<= 8;
    ch_0 |= adc_buf[ 0 ];
    WordToStr( ch_0, log_txt );
    mikrobus_logWrite( " ADC0/F1 : ", _LOG_TEXT );
    Ltrim( log_txt );
    mikrobus_logWrite( log_txt, _LOG_LINE );

    ch_1 = adc_buf[ 3 ];
    ch_1 <<= 8;
    ch_1 |= adc_buf[ 2 ];
    WordToStr( ch_1, log_txt );
    mikrobus_logWrite( " ADC1/F2 : ", _LOG_TEXT );
    Ltrim( log_txt );
    mikrobus_logWrite( log_txt, _LOG_LINE );

    ch_2 = adc_buf[ 5 ];
    ch_2 <<= 8;
    ch_2 |= adc_buf[ 4 ];
    WordToStr( ch_2, log_txt );
    mikrobus_logWrite( " ADC2/F3 : ", _LOG_TEXT );
    Ltrim( log_txt );
    mikrobus_logWrite( log_txt, _LOG_LINE );

    ch_3 = adc_buf[ 7 ];
    ch_3 <<= 8;
    ch_3 |= adc_buf[ 6 ];
    WordToStr( ch_3, log_txt );
    mikrobus_logWrite( " ADC3/F4 : ", _LOG_TEXT );
    Ltrim( log_txt );
    mikrobus_logWrite( log_txt, _LOG_LINE );

    ch_4 = adc_buf[ 9 ];
    ch_4 <<= 8;
    ch_4 |= adc_buf[ 8 ];
    WordToStr( ch_4, log_txt );
    mikrobus_logWrite( " ADC4/Clear : ", _LOG_TEXT );
    Ltrim( log_txt );
    mikrobus_logWrite( log_txt, _LOG_LINE );

    spectrometer_raw_rd_val_mode_2( adc_buf );

    ch_0 = adc_buf[ 1 ];
    ch_0 <<= 8;
    ch_0 |= adc_buf[ 0 ];
    WordToStr( ch_0, log_txt );
    mikrobus_logWrite( " ADC0/F5 : ", _LOG_TEXT );
    Ltrim( log_txt );
    mikrobus_logWrite( log_txt, _LOG_LINE );

    ch_1 = adc_buf[ 3 ];
    ch_1 <<= 8;
    ch_1 |= adc_buf[ 2 ];
    WordToStr( ch_1, log_txt );
    mikrobus_logWrite( " ADC1/F6 : ", _LOG_TEXT );
    Ltrim( log_txt );
    mikrobus_logWrite( log_txt, _LOG_LINE );

    ch_2 = adc_buf[ 5 ];
    ch_2 <<= 8;
    ch_2 |= adc_buf[ 4 ];
    WordToStr( ch_2, log_txt );
    mikrobus_logWrite( " ADC2/F7 : ", _LOG_TEXT );
    Ltrim( log_txt );
    mikrobus_logWrite( log_txt, _LOG_LINE );

    ch_3 = adc_buf[ 7 ];
    ch_3 <<= 8;
    ch_3 |= adc_buf[ 6 ];
    WordToStr( ch_3, log_txt );
    mikrobus_logWrite( " ADC3/F8 : ", _LOG_TEXT );
    Ltrim( log_txt );
    mikrobus_logWrite( log_txt, _LOG_LINE );

    ch_4 = adc_buf[ 9 ];
    ch_4 <<= 8;
    ch_4 |= adc_buf[ 8 ];
    WordToStr( ch_4, log_txt );
    mikrobus_logWrite( " ADC4/Clear : ", _LOG_TEXT );
    Ltrim( log_txt );
    mikrobus_logWrite( log_txt, _LOG_LINE );

    f_val = spectrometer_flicker_detection( );
    if ( f_val == SPECTROMETER_UNKNOWN_FREQ )
    {
        mikrobus_logWrite( "Unknown frequency", _LOG_LINE );
    }
    else if ( f_val == SPECTROMETER_DETECTED_100_HZ )
    {
        mikrobus_logWrite( "100 Hz detected", _LOG_LINE );
    }
    else if ( f_val == SPECTROMETER_DETECTED_120_HZ )
    {
        mikrobus_logWrite( "120 Hz detected", _LOG_LINE );
    }
    else
    {
        mikrobus_logWrite( "Error in reading", _LOG_LINE );
    }

    mikrobus_logWrite( "-----------------", _LOG_LINE );
    Delay_ms( 1000 );
}
The full application code, and ready to use projects can be found on our LibStock page.
Other mikroE Libraries used in the example:
- I2C
- UART
- Conversions
Additional notes and informations
Depending on the development board you are using, you may need USB UART click, USB UART 2 click or RS232 click to connect to your PC, for development systems with no UART to USB interface available on the board. The terminal available in all MikroElektronika compilers, or any other terminal application of your choice, can be used to read the message.
mikroSDK
This Click board™ is supported with mikroSDK – MikroElektronika Software Development Kit. To ensure proper operation of mikroSDK compliant Click board™ demo applications, mikroSDK should be downloaded from the LibStock and installed for the compiler you are using.
For more information about mikroSDK, visit the official page.
Resources
Downloads
| Weight | 18 g |
|---|---|
| Brand | MikroElektronika |

