How does it work?
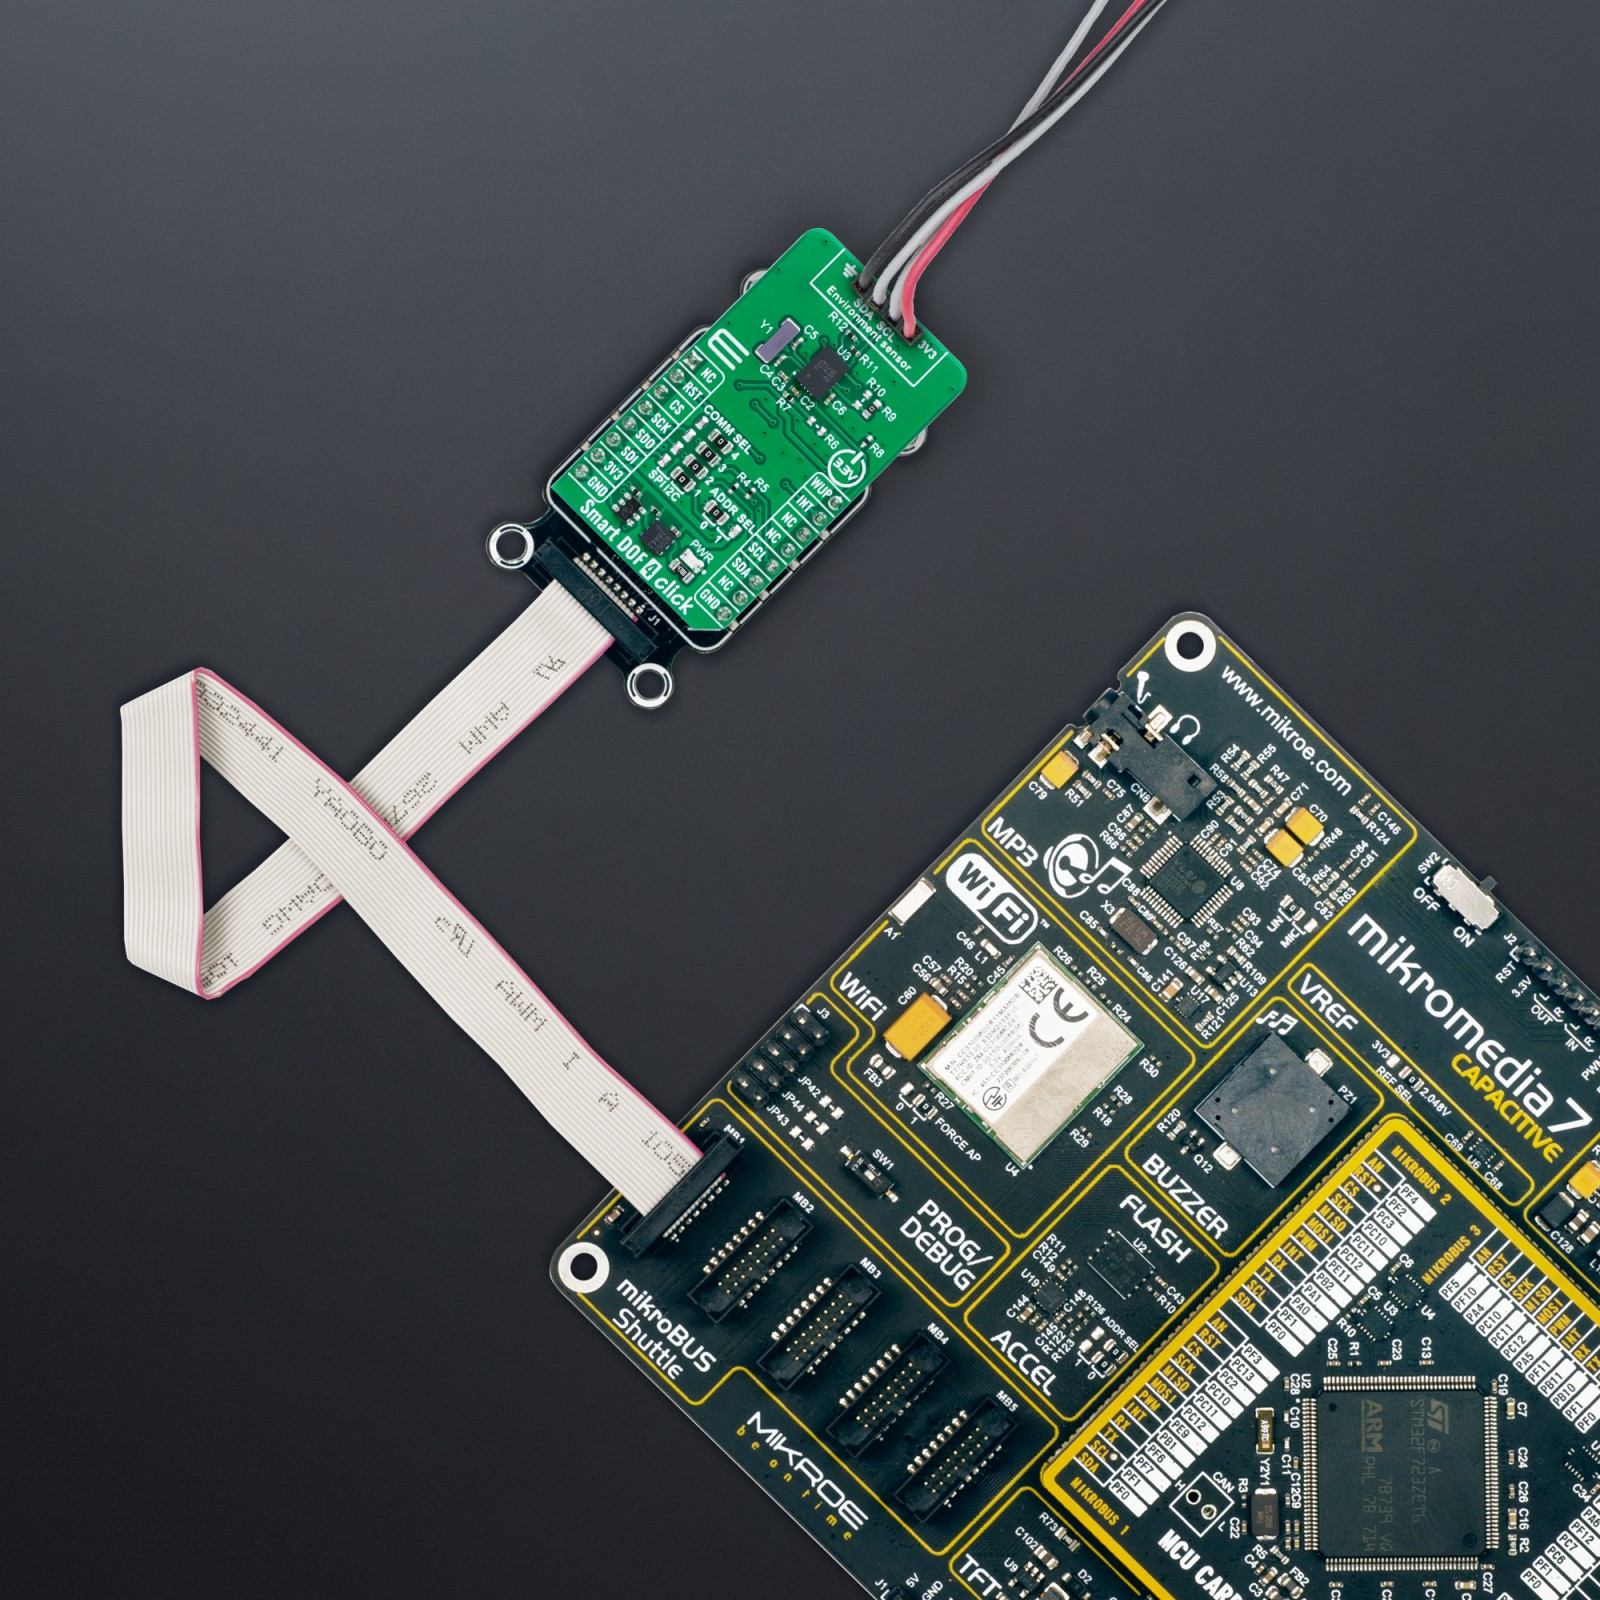
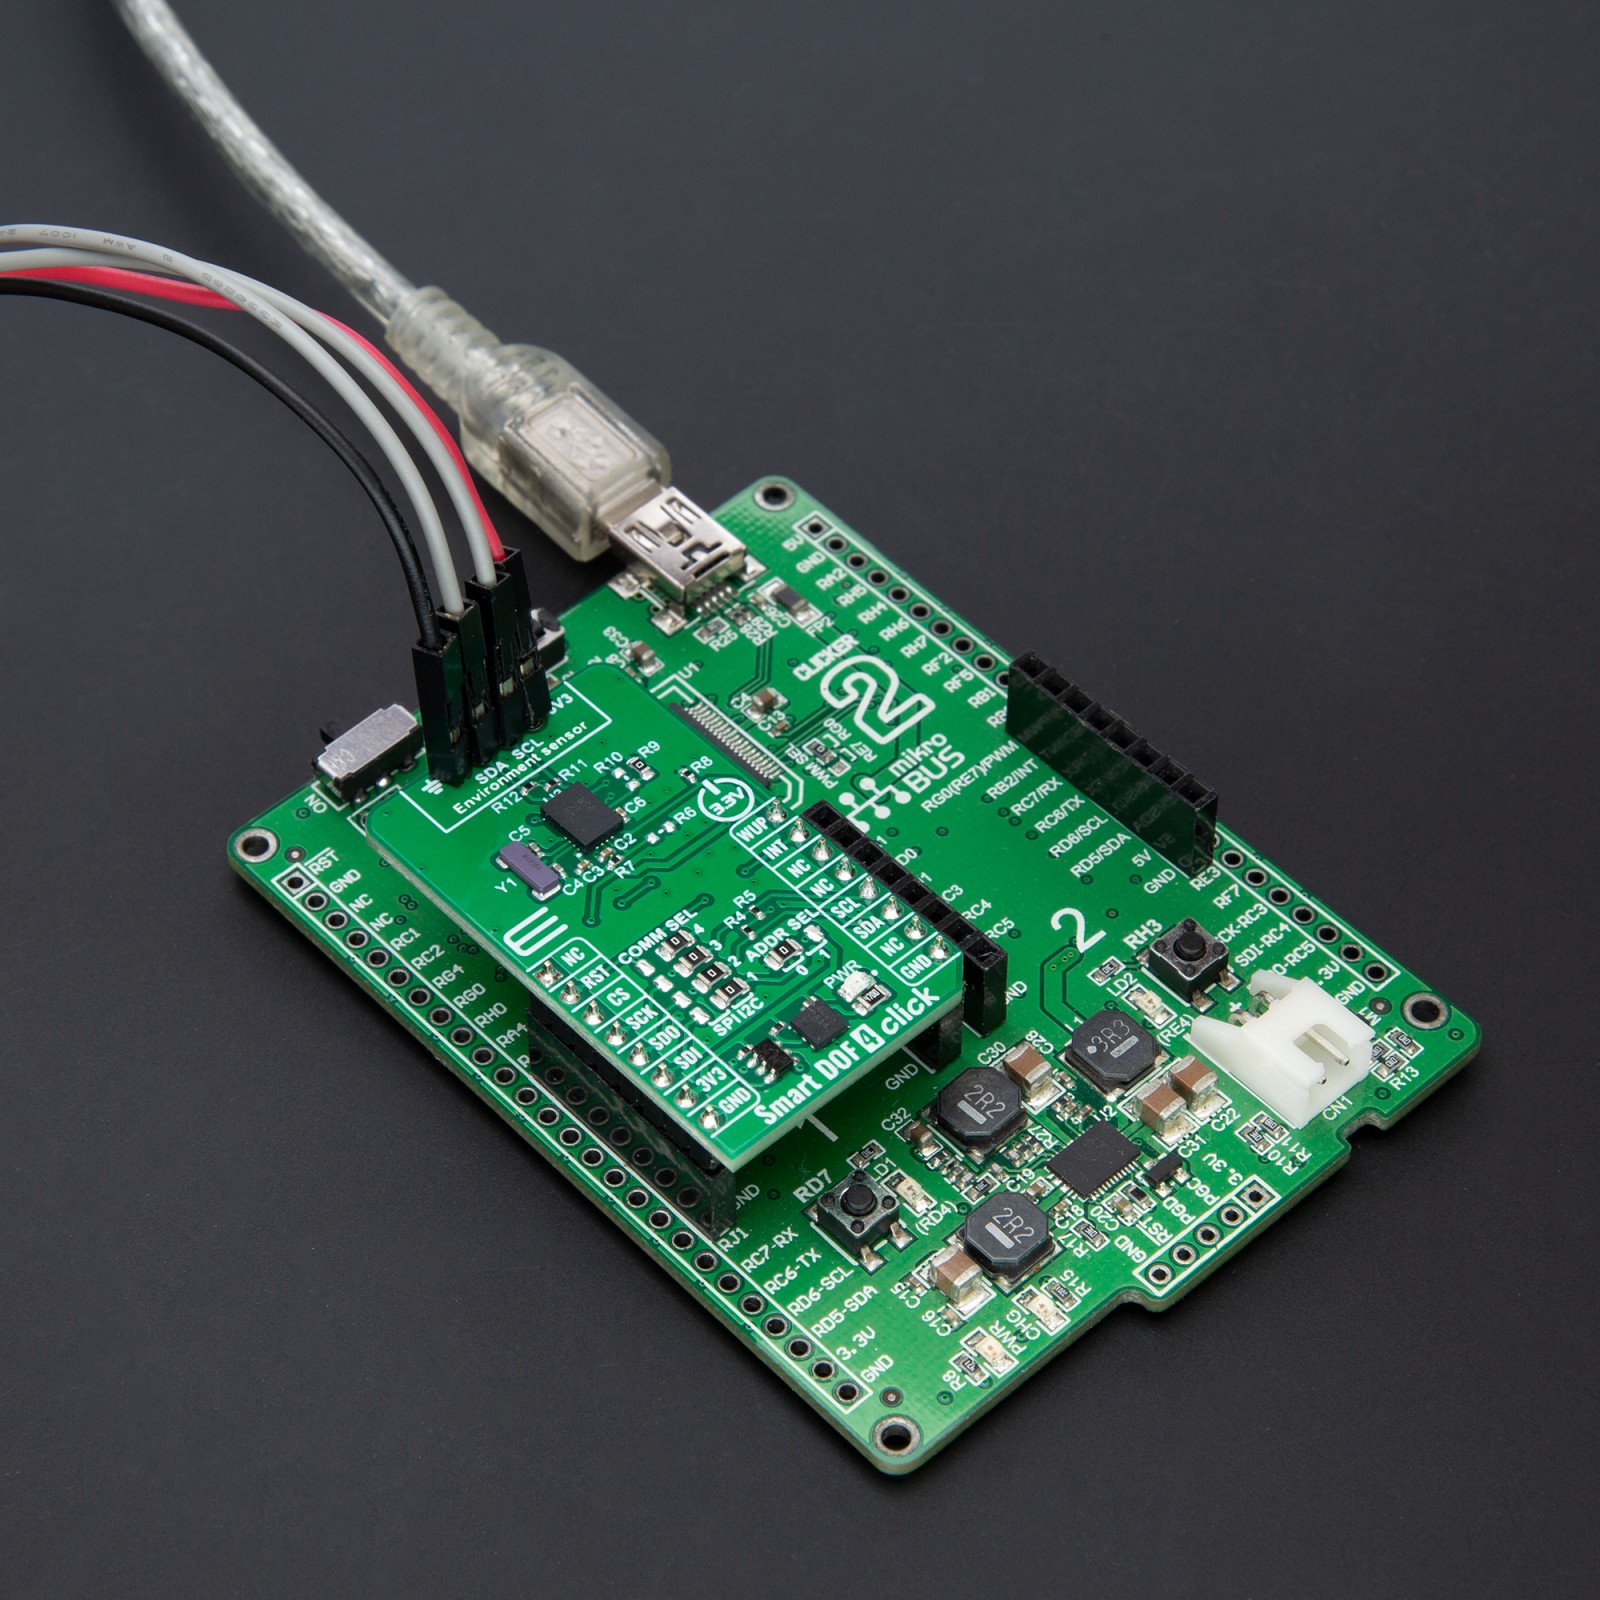
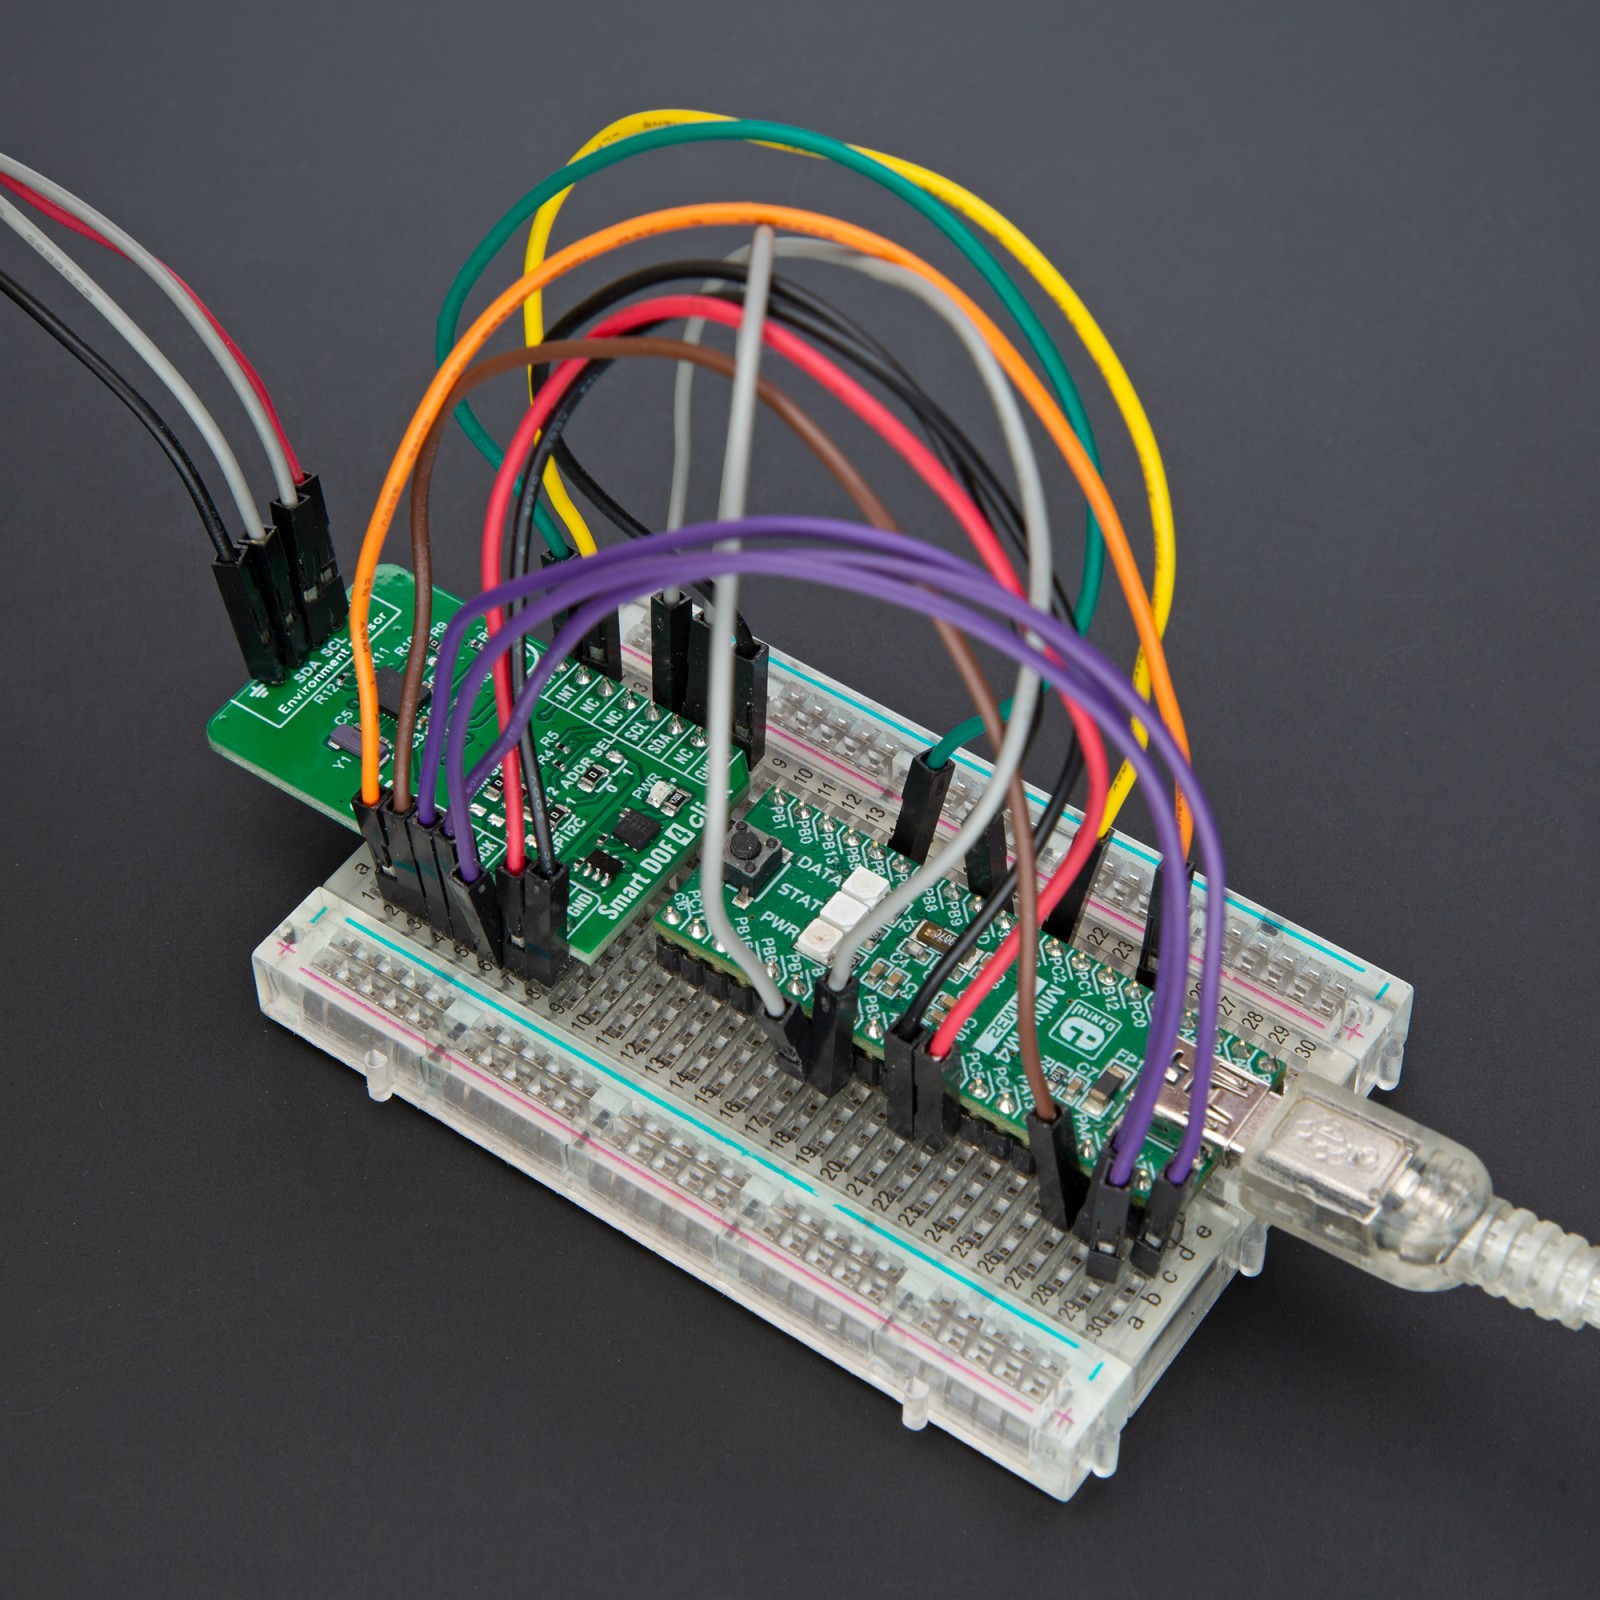
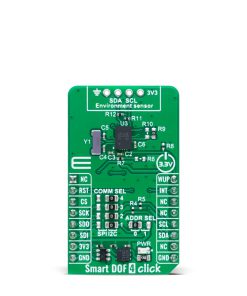
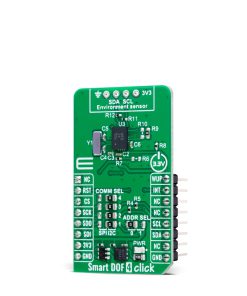
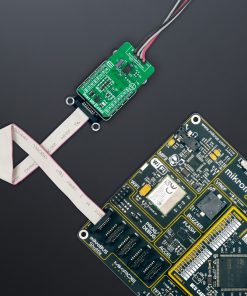
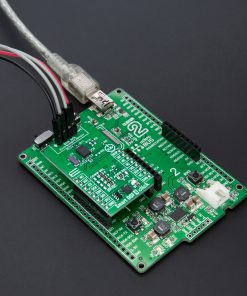
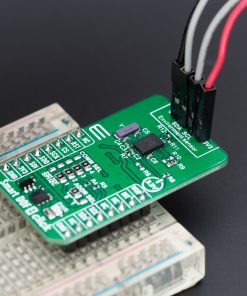
Smart DOF 4 Click is based on the BNO085, a 9-axis IMU System in Package (SiP) from CEVA, designed to deliver high-precision motion tracking and contextual sensing for advanced applications. The BNO085 integrates a triaxial 12-bit accelerometer with a range of ±8g, a triaxial 16-bit gyroscope with a range of ±2000 degrees per second, a triaxial geomagnetic sensor, and a 32-bit ARM® Cortex™-M0+ microcontroller running CEVA’s SH-2 firmware. This IMU chip provides real-time, calibrated 3D orientation, heading, linear acceleration, and angular velocity, making it ideal for various motion-based solutions in consumer electronics (AR/VR head trackers), robotics, IoT devices, and beyond.
The BNO085 excels in its ability to dynamically calibrate sensor data, compensating for environmental factors like temperature changes and sensor aging. It also supports various 3D orientation outputs, including rotation vectors, linear acceleration, and gravity, ensuring precise performance across diverse scenarios. The core of this SiP is the SH-2 software, featuring CEVA’s MotionEngine™ technology. MotionEngine transforms raw motion data from MEMS sensors into accurate, actionable motion outputs, supporting applications like gesture detection, activity monitoring, and dynamic motion control. With ‘Always-On’ capabilities, it provides features such as step counting, stability detection, tap detection, and gesture recognition. The SH-2 firmware is Android-compatible, supporting sensor types defined in Android 4.4 KitKat.
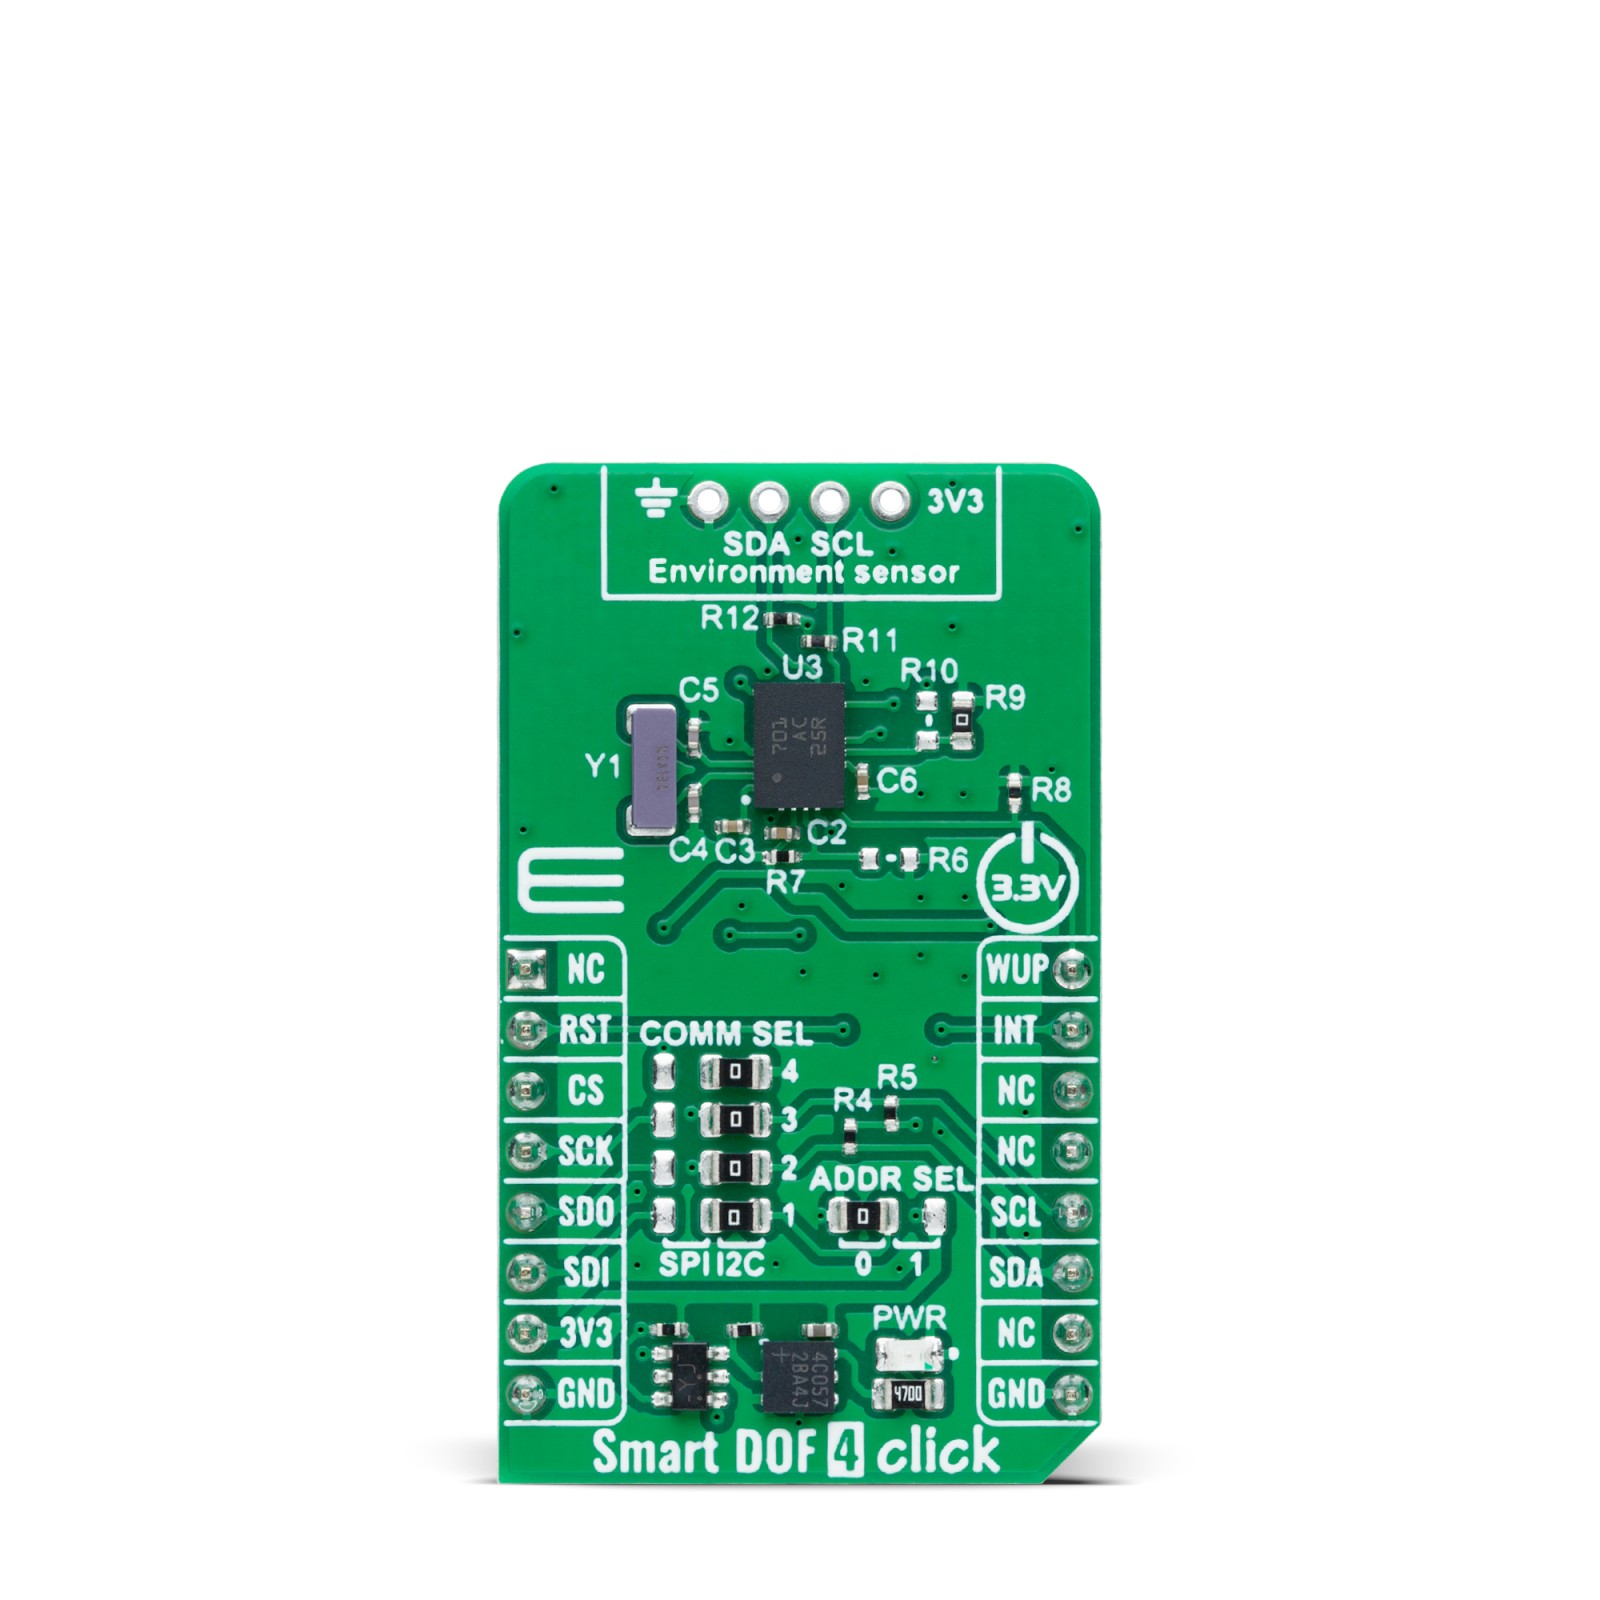
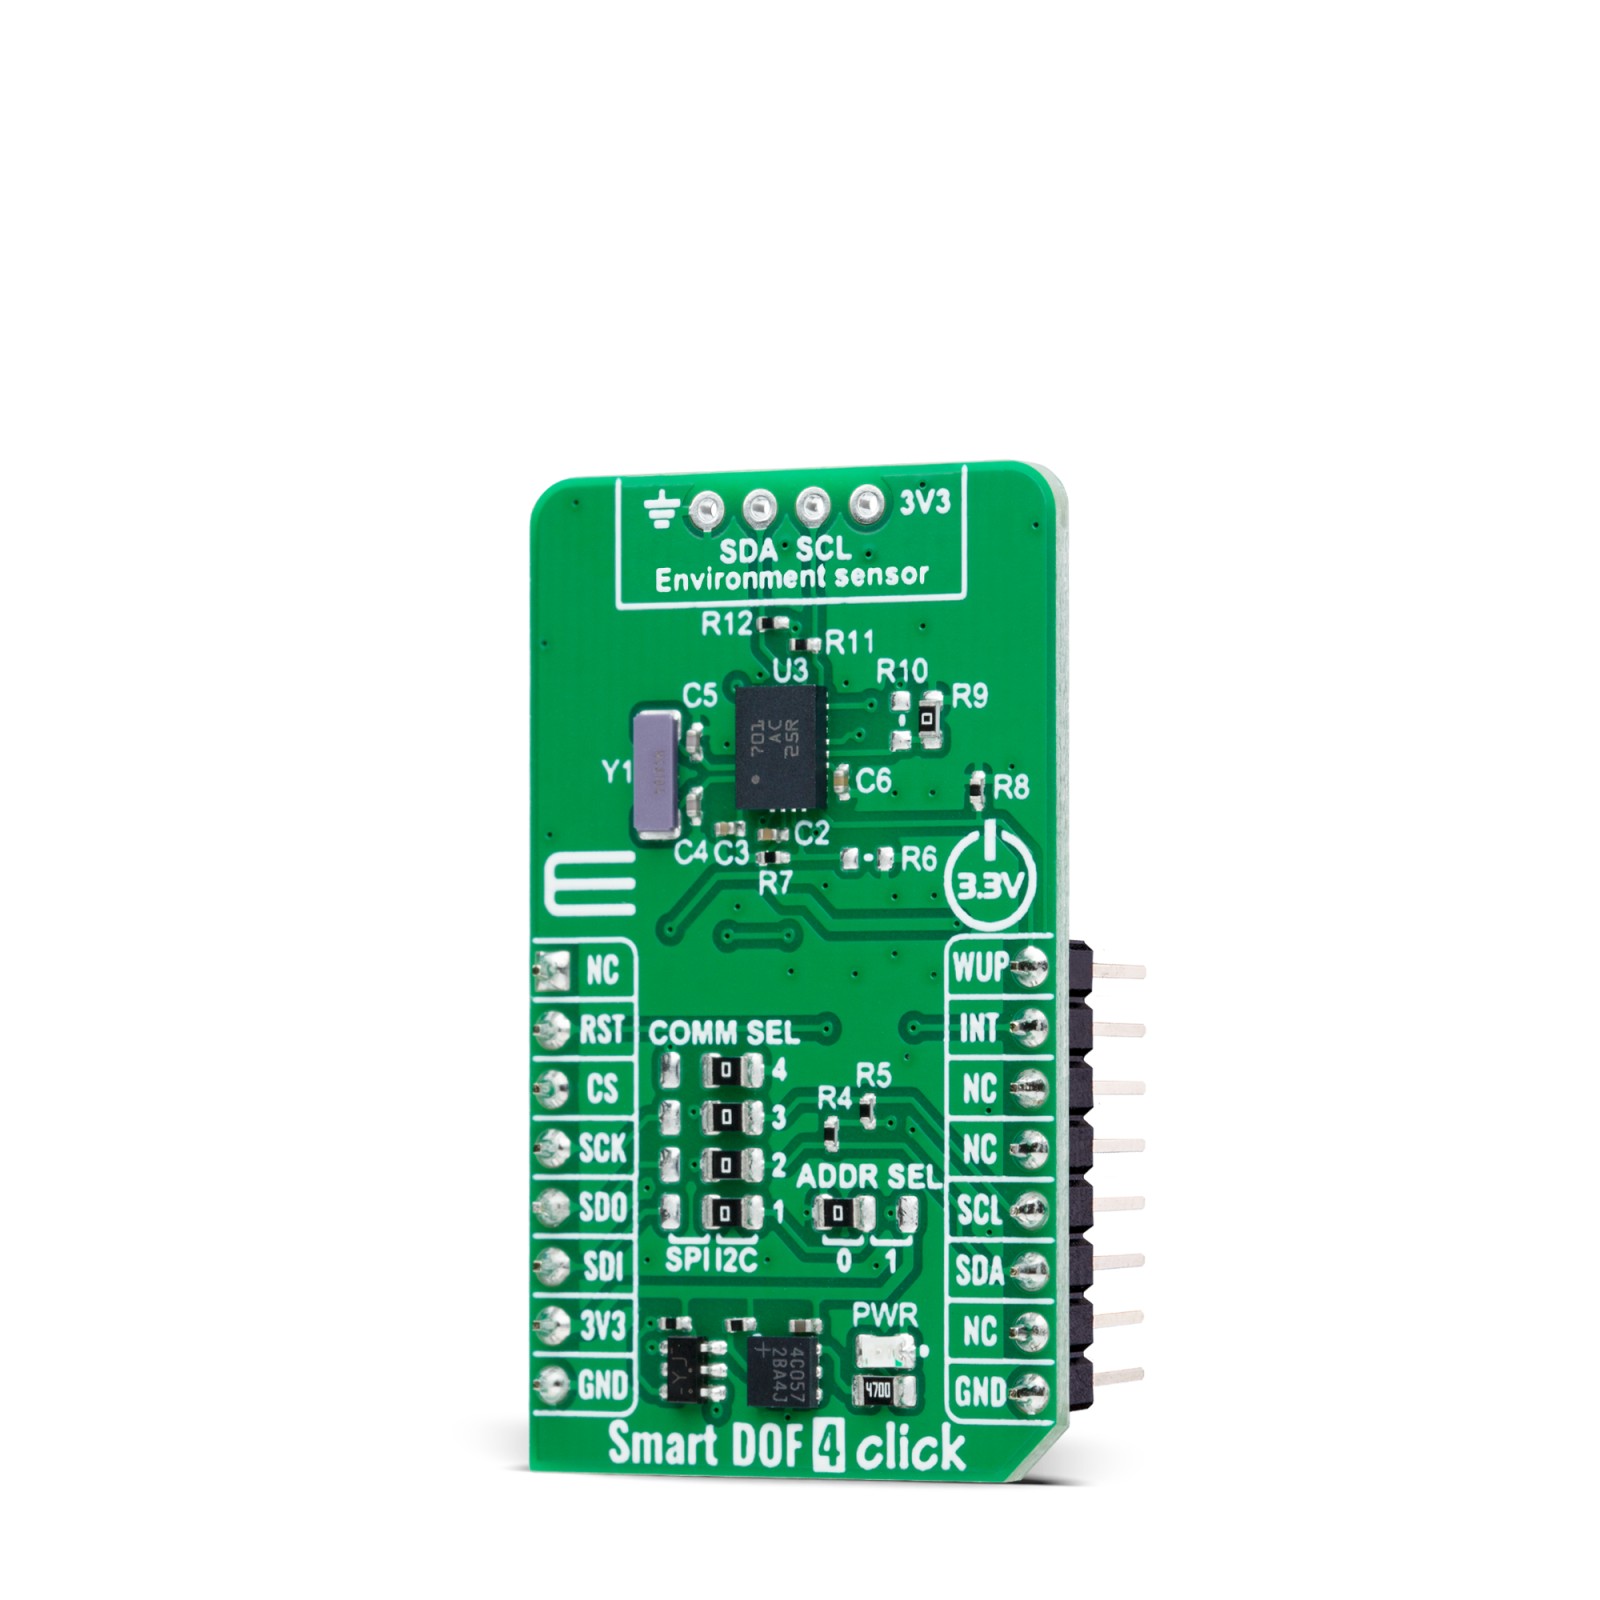
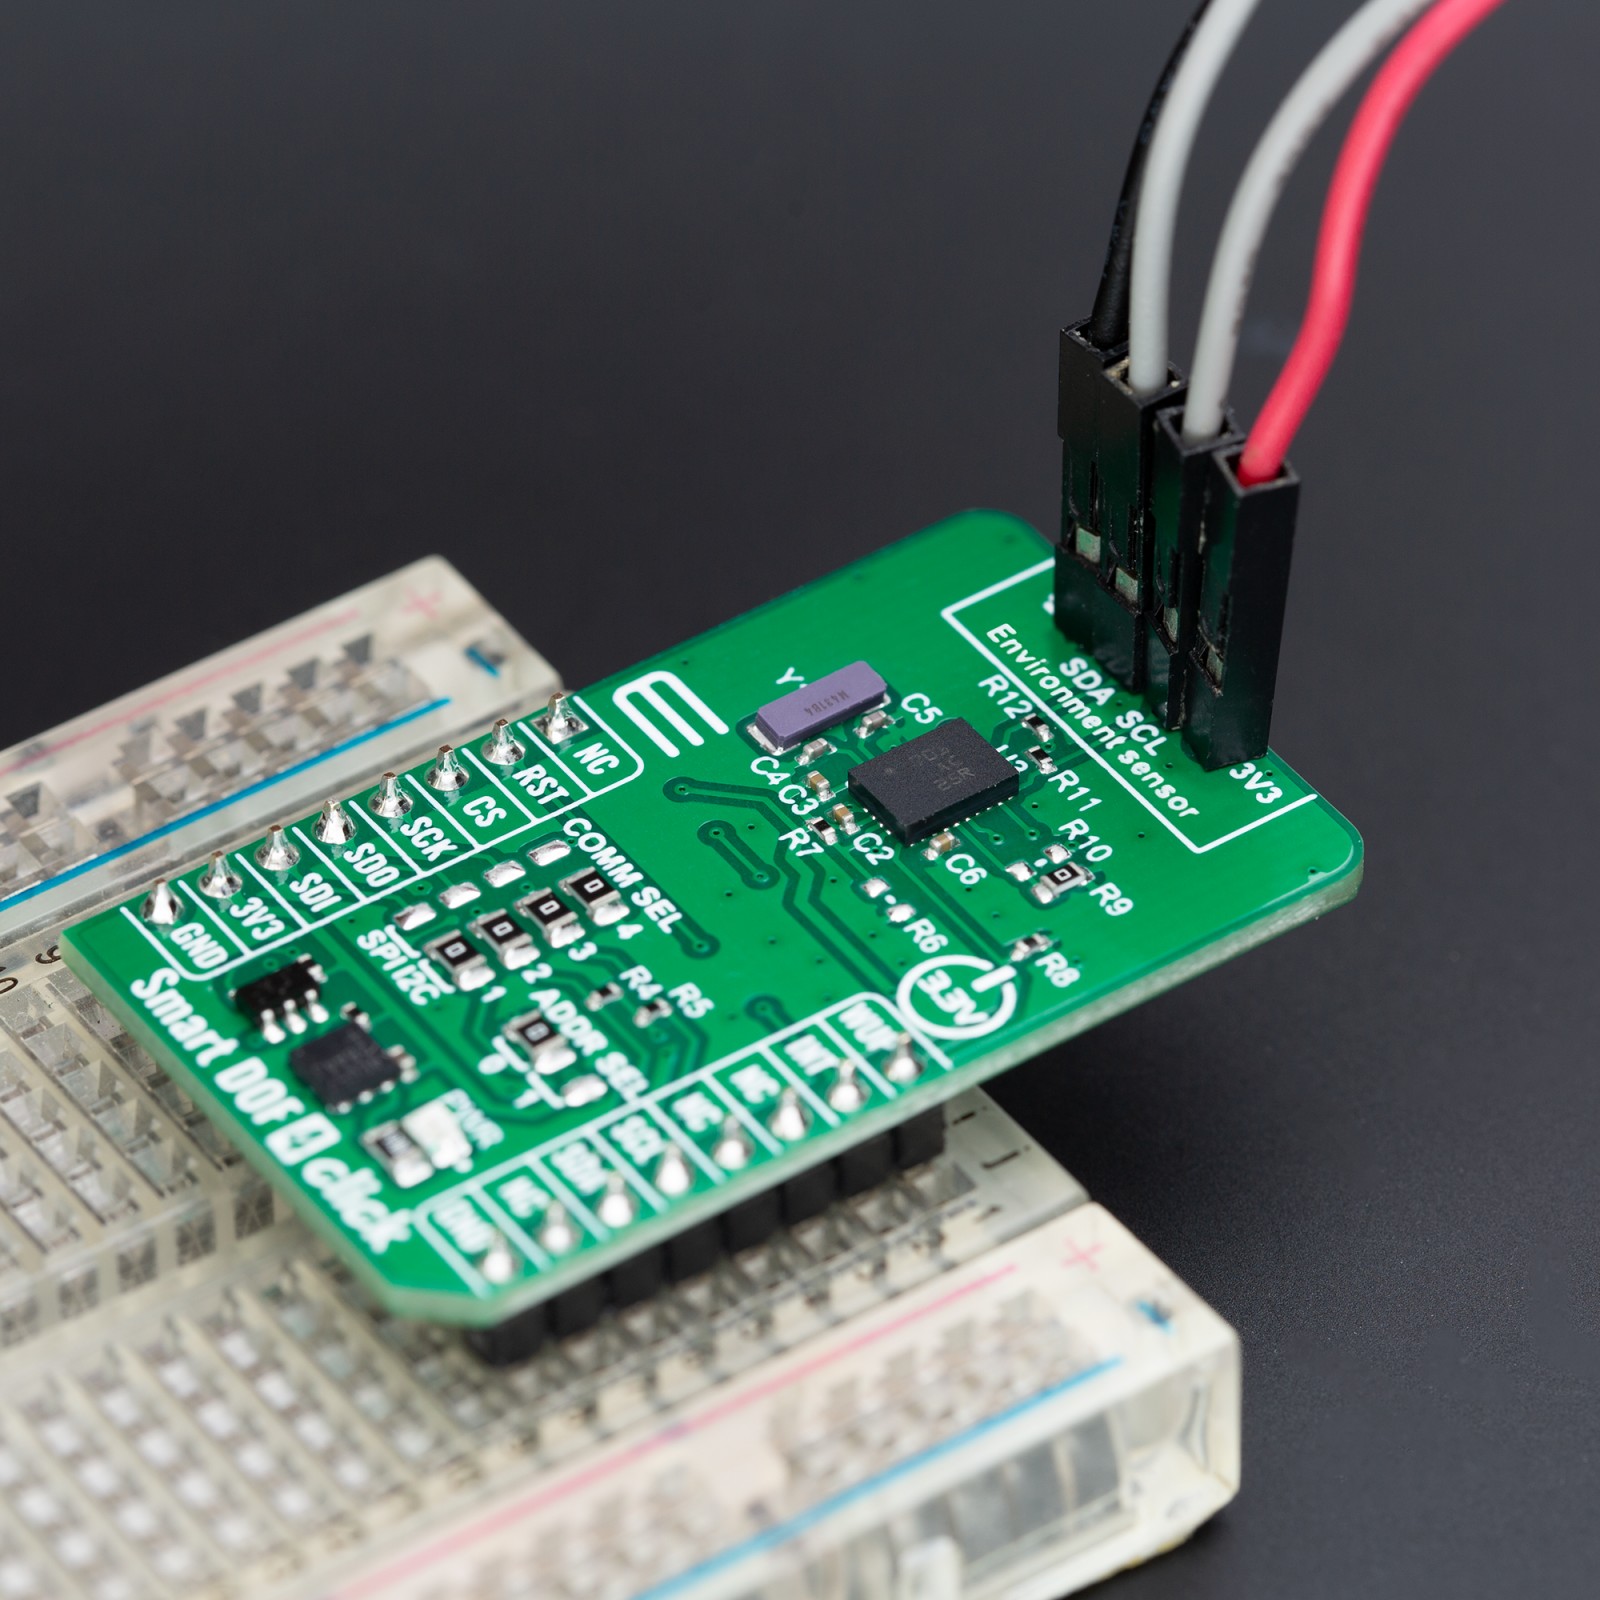
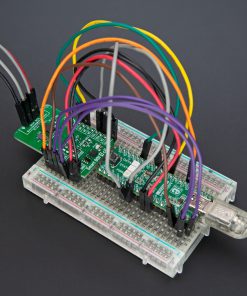
Sensor data are accessed through the I2C or SPI interface, with a maximum frequency of 400kHz for I2C and 3MHz for SPI communication. The selection is made by positioning SMD jumpers labeled COMM SEL appropriately. Note that all the jumpers’ positions must be on the same side, or the Click board™ may become unresponsive. While the I2C interface is selected, the BNO085 allows the least significant bit (LSB) of its I2C address to be chosen using the SMD jumper labeled ADDR SEL.
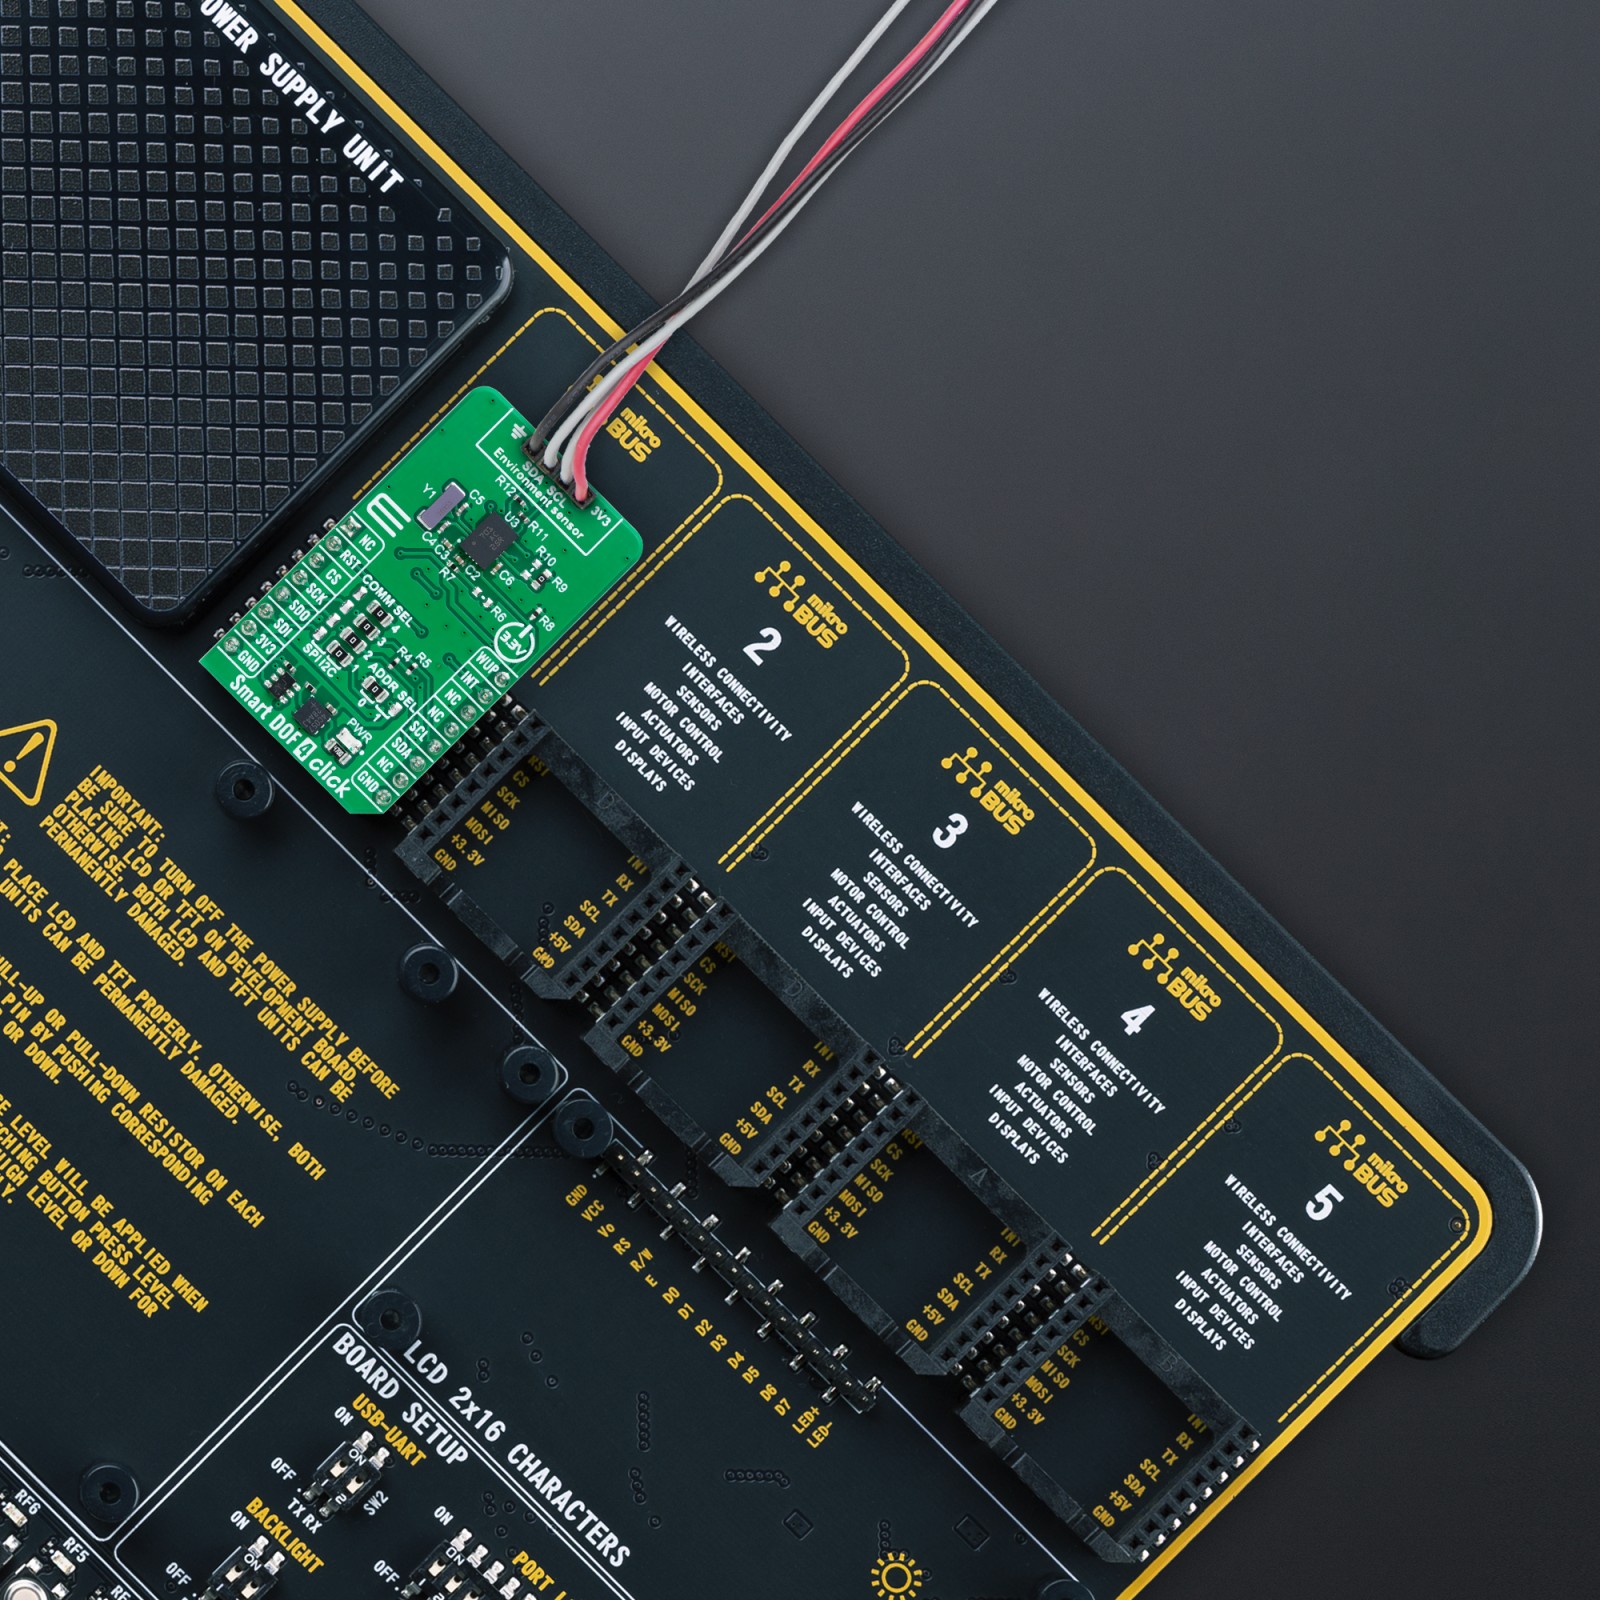
This board also uses additional pins from the mikroBUS™ socket to enhance functionality. The WUP pin wakes the processor from sleep mode during SPI communication, ensuring efficient power management. The RST pin provides a reset function for the sensor, activated by a LOW logic level, while the INT pin acts as an interrupt line, signaling various events detected during operation. Additionally, the BNO085 supports the integration of environmental sensors, such as pressure or ambient light sensors, via a secondary I2C interface accessible through an unsoldered header at the top of the board.
This Click board™ can be operated only with a 3.3V logic voltage level. The board must perform appropriate logic voltage level conversion before using MCUs with different logic levels. It also comes equipped with a library containing functions and example code that can be used as a reference for further development.
Specifications
Type
Motion
Applications
Ideal for various motion-based solutions in consumer electronics (AR/VR head trackers), robotics, IoT devices, and more
On-board modules
BNO085 – 9-Axis IMU System in Package (SiP) from CEVA
Key Features
Triaxial 12-bit accelerometer (±8g), 16-bit gyroscope (±2000°/s), and a geomagnetic sensor system, based on 32-bit ARM® Cortex™-M0+ microcontroller running CEVA’s SH-2 firmware with MotionEngine™ technology, real-time outputs with dynamic calibration, always-on features like step counter, stability detector, tap detection, and gesture recognition, and more
Interface
I2C,SPI
Feature
ClickID
Compatibility
mikroBUS™
Click board size
M (42.9 x 25.4 mm)
Input Voltage
3.3V
Pinout diagram
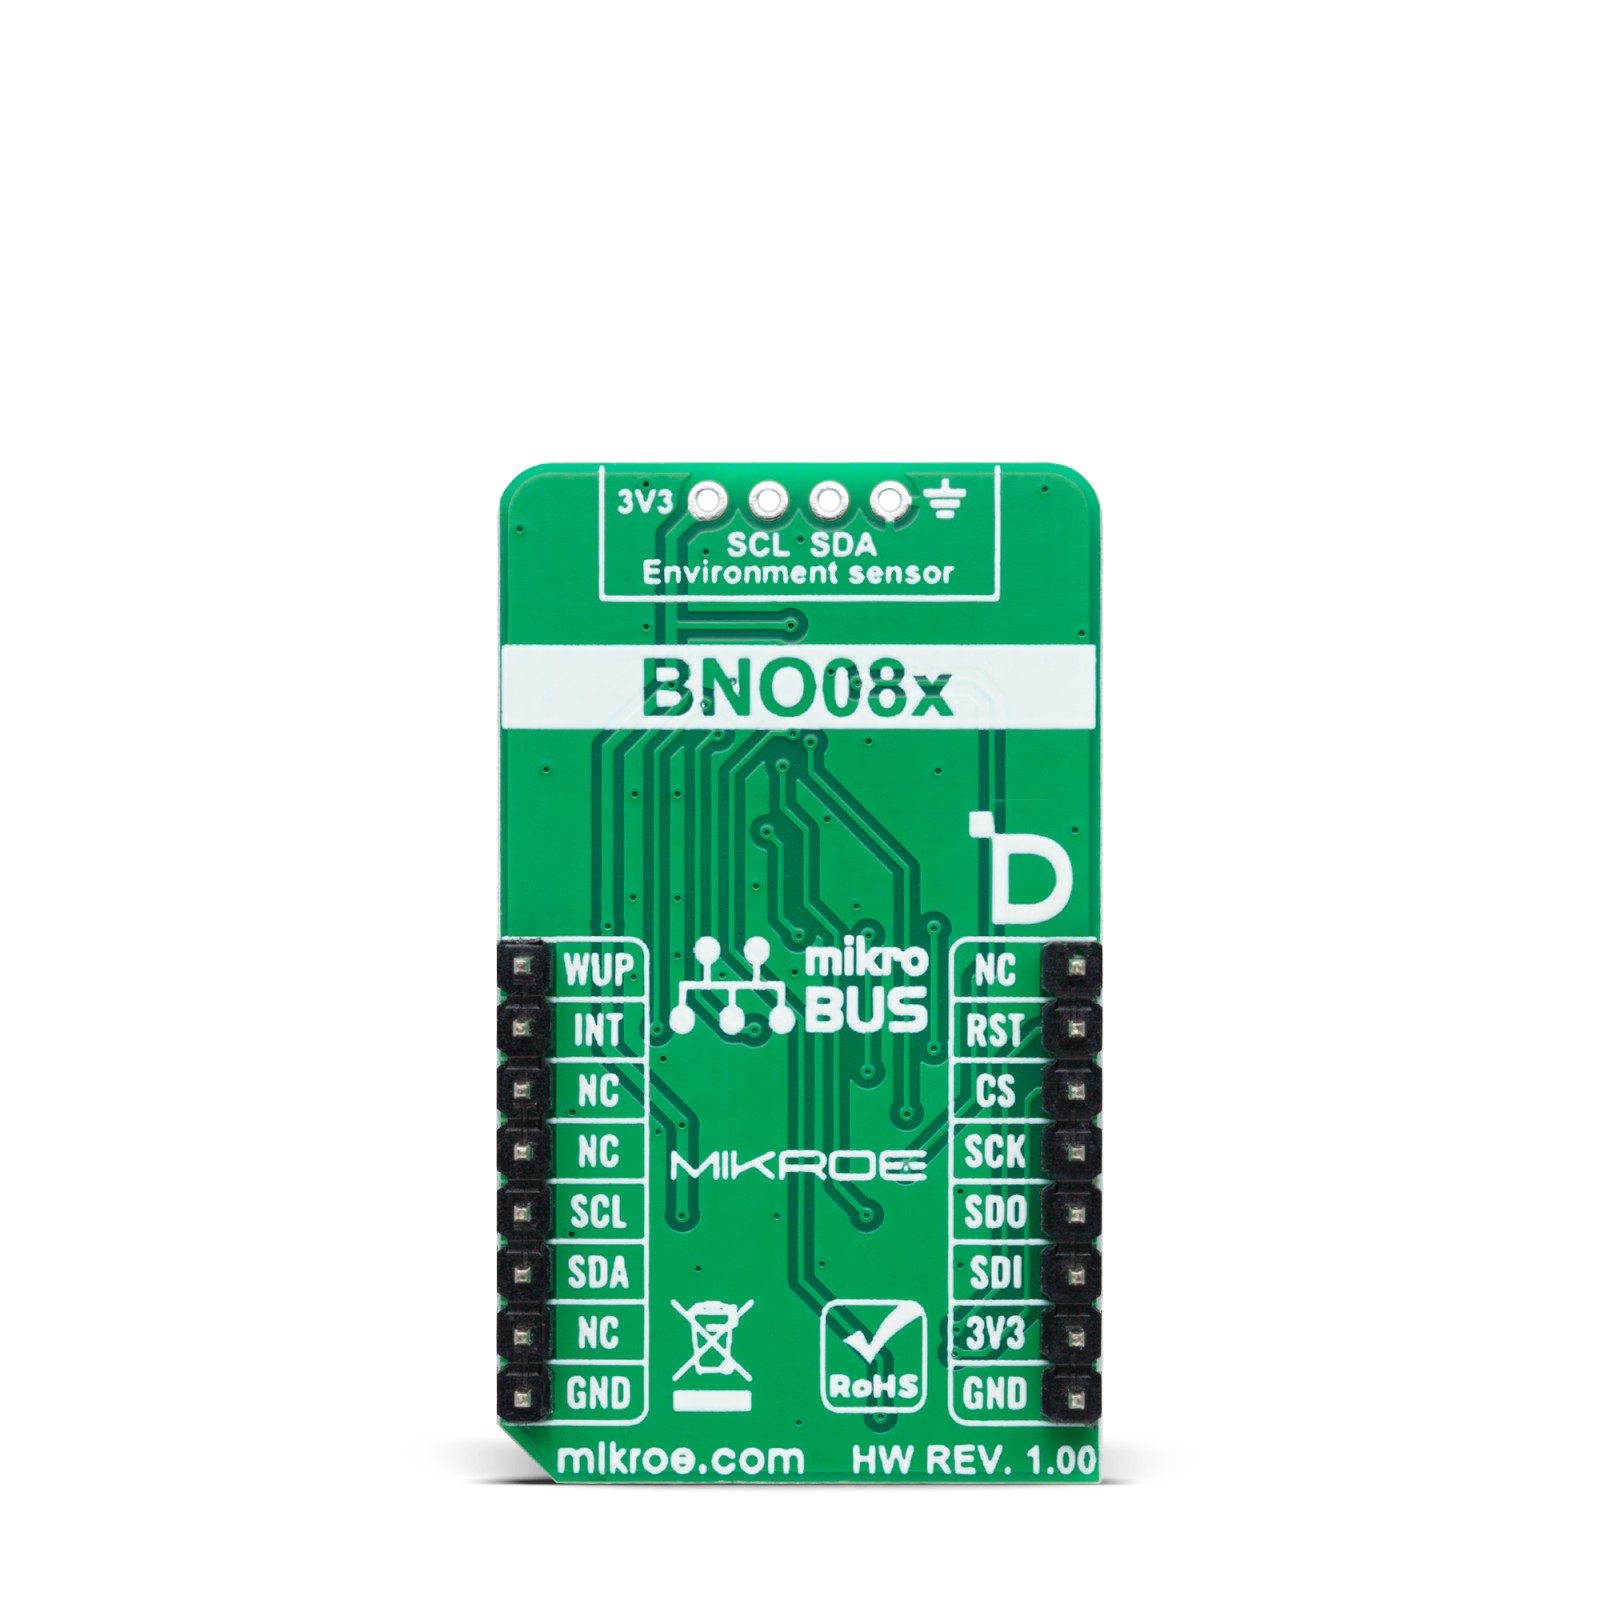
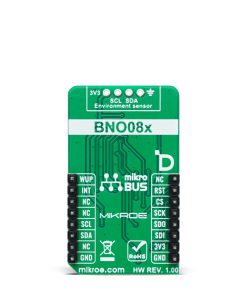
This table shows how the pinout on Smart DOF 4 Click corresponds to the pinout on the mikroBUS™ socket (the latter shown in the two middle columns).
Onboard settings and indicators
Label | Name | Default | Description |
---|---|---|---|
LD1 | PWR | – | Power LED Indicator |
JP1-JP4 | COMM SEL | Left | Communication Interface Selection SPI/I2C: Left position SPI, Right position I2C |
JP5 | ADDR SEL | Left | I2C Address Selection 0/1: Left position 0, Right position 1 |
Smart DOF 4 Click electrical specifications
Description | Min | Typ | Max | Unit |
---|---|---|---|---|
Supply Voltage | – | 3.3 | – | V |
Accelerometer Range | -8 | – | +8 | g |
Accelerometer Resolution | – | 12 | – | bit |
Gyroscope Range | -2000 | – | +2000 | dps |
Gyroscope Resolution | – | 16 | – | bit |
Software Support
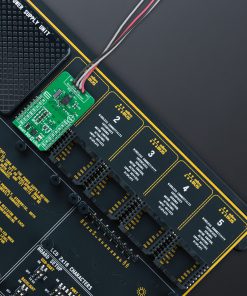
We provide a library for the Smart DOF 4 Click as well as a demo application (example), developed using MIKROE compilers. The demo can run on all the main MIKROE development boards.
Package can be downloaded/installed directly from NECTO Studio Package Manager (recommended), downloaded from our LibStock™ or found on MIKROE github account.
Library Description
This library contains API for Smart DOF 4 Click driver.
Key functions
-
smartdof4_read_pid
This function reads the product ID information. -
smartdof4_feature_set
This function sets a full feature report. -
smartdof4_read_data
This function reads the accelerometer (g), gyroscope (dps), and magnetometer (uT) 3-axis data from input report.
Example Description
This example demonstrates the use of Smart DOF 4 Click by reading the accelerometer, gyroscope, and magnetometer data measurements.
void application_task ( void )
{
static smartdof4_axis_t accel, gyro, mag;
if ( SMARTDOF4_OK == smartdof4_read_data ( &smartdof4, &accel, &gyro, &mag ) )
{
log_printf ( &logger, " Accel X: %.3f grn", accel.x );
log_printf ( &logger, " Accel Y: %.3f grn", accel.y );
log_printf ( &logger, " Accel Z: %.3f grn", accel.z );
log_printf ( &logger, " Gyro X: %.1f dpsrn", gyro.x );
log_printf ( &logger, " Gyro Y: %.1f dpsrn", gyro.y );
log_printf ( &logger, " Gyro Z: %.1f dpsrn", gyro.z );
log_printf ( &logger, " Mag X: %.1f uTrn", mag.x );
log_printf ( &logger, " Mag Y: %.1f uTrn", mag.y );
log_printf ( &logger, " Mag Z: %.1f uTrnn", mag.z );
Delay_ms ( 100 );
}
}
The full application code, and ready to use projects can be installed directly from NECTO Studio Package Manager (recommended), downloaded from our LibStock™ or found on MIKROE github account.
Other MIKROE Libraries used in the example:
- MikroSDK.Board
- MikroSDK.Log
- Click.SmartDOF4
Additional notes and informations
Depending on the development board you are using, you may need USB UART click, USB UART 2 Click or RS232 Click to connect to your PC, for development systems with no UART to USB interface available on the board. UART terminal is available in all MIKROE compilers.
mikroSDK
This Click board™ is supported with mikroSDK – MIKROE Software Development Kit. To ensure proper operation of mikroSDK compliant Click board™ demo applications, mikroSDK should be downloaded from the LibStock and installed for the compiler you are using.
For more information about mikroSDK, visit the official page.