How does it work?
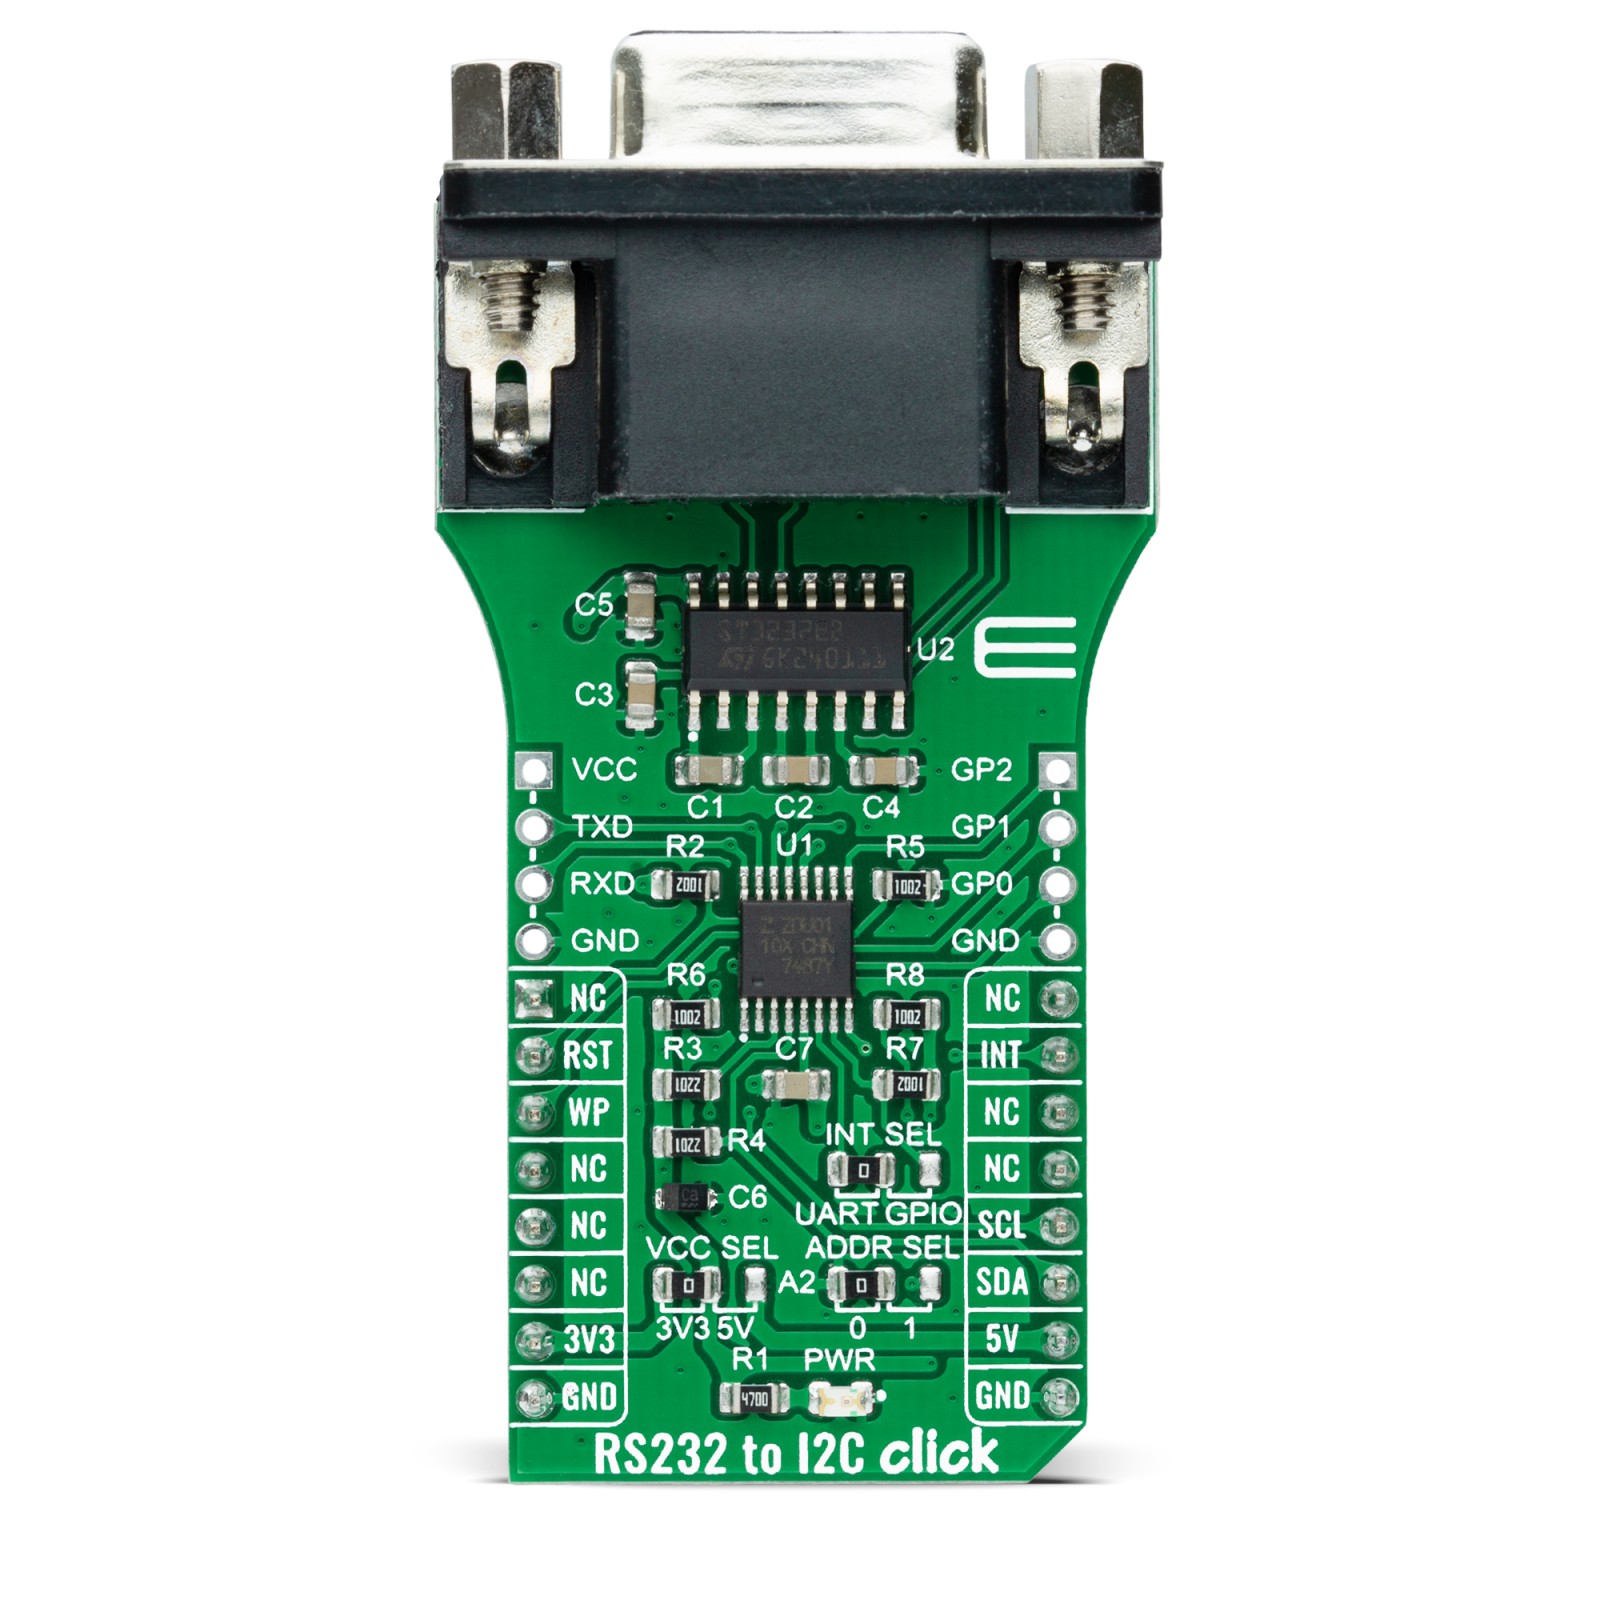
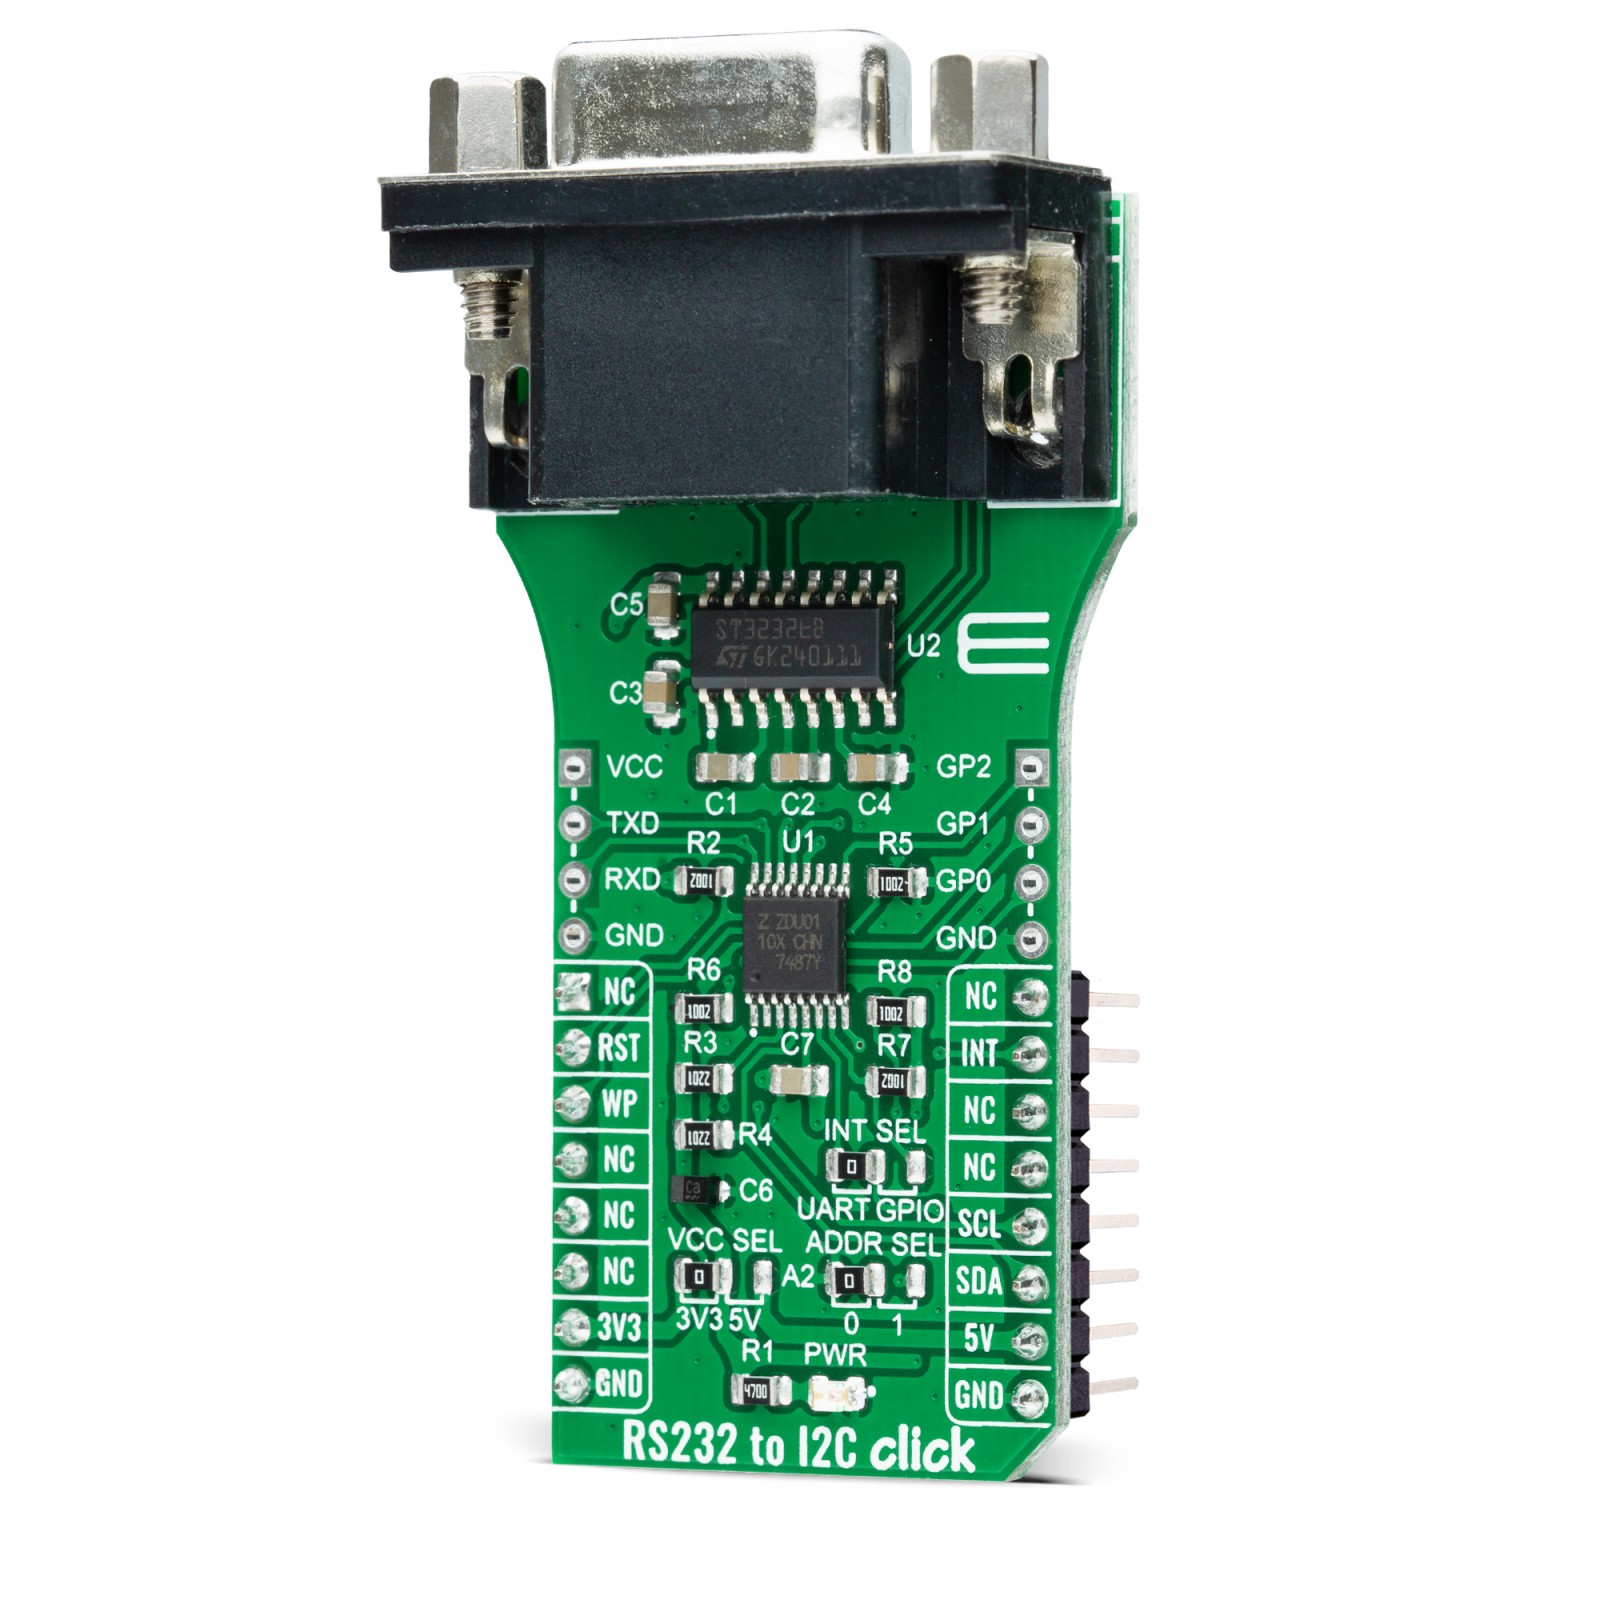
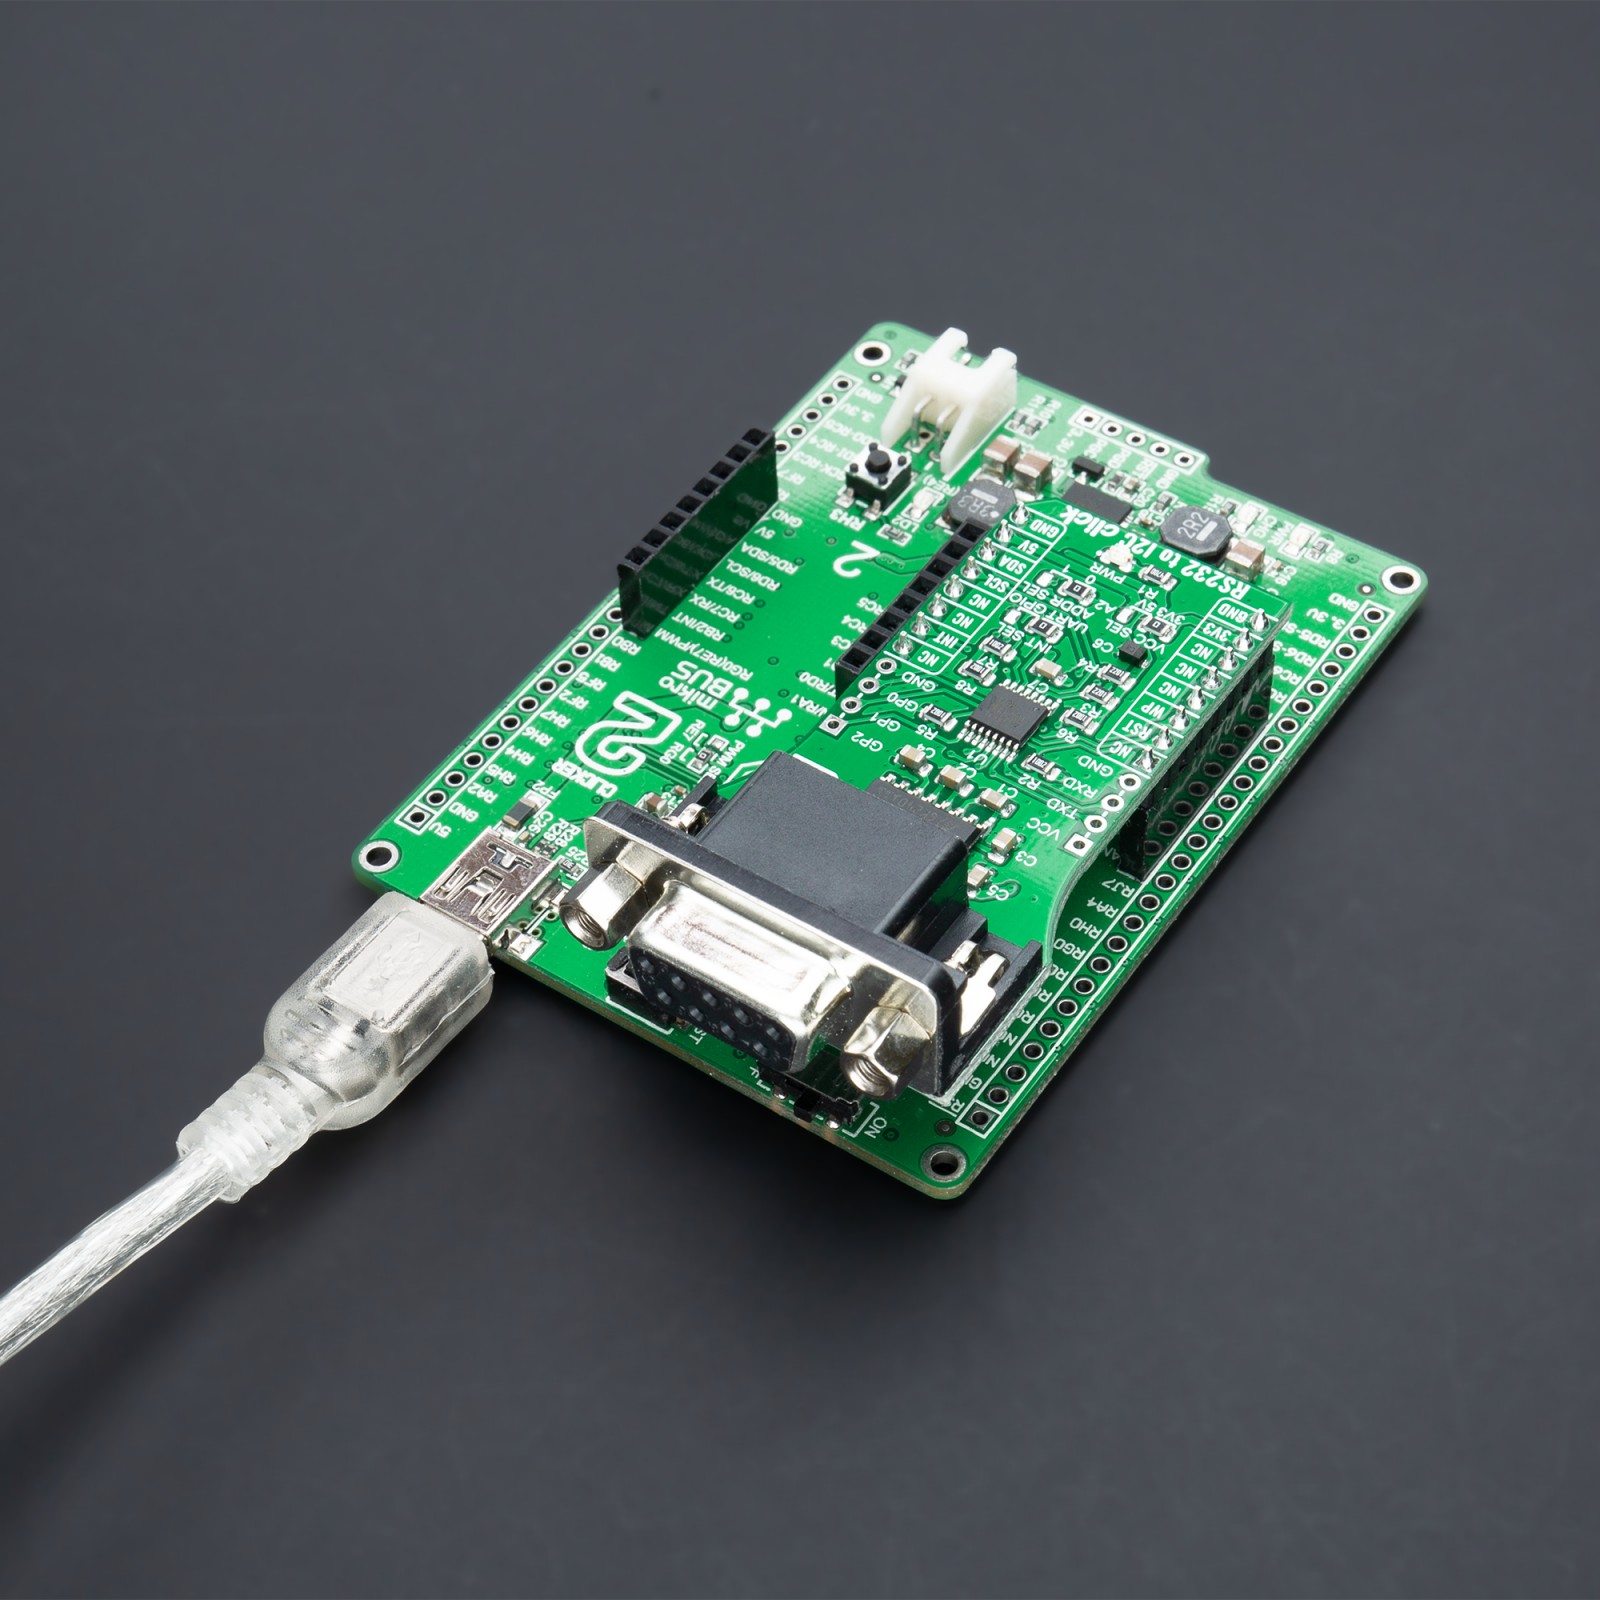
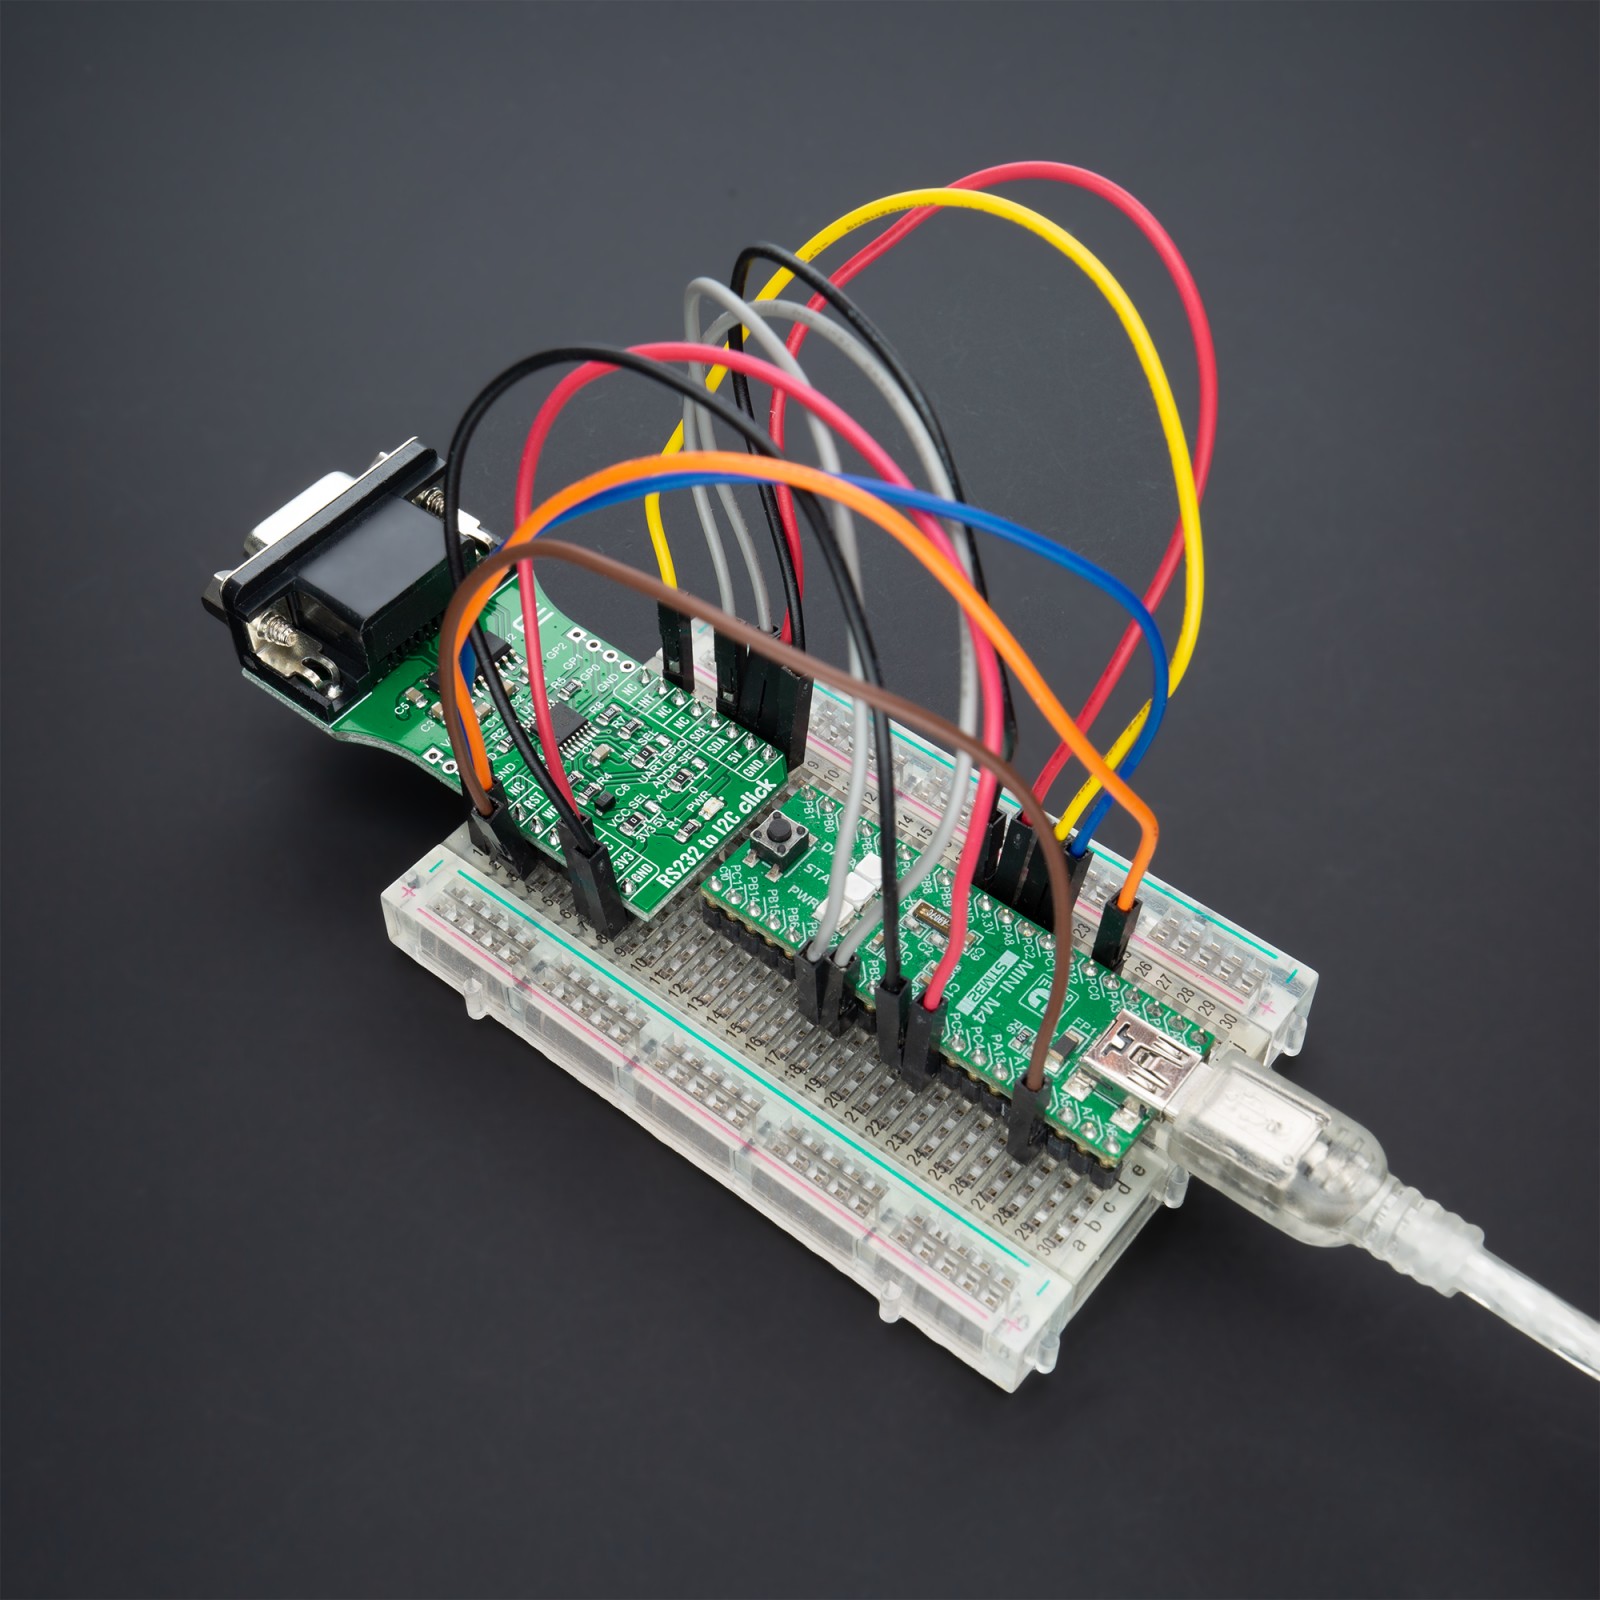
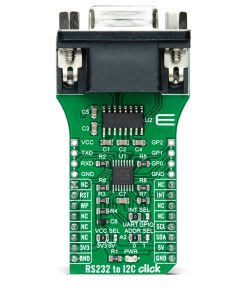
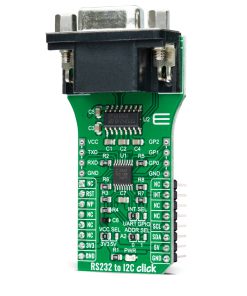
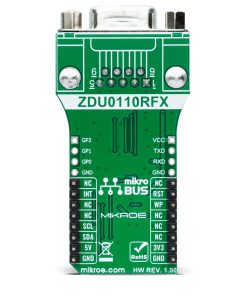
RS232 to I2C Click as its foundation uses the ZDU0110RFX, a digital UART interface IC designed to give you an I2C-controlled UART interface from Zilog. The ZDU0110RFX provides full-duplex asynchronous communications with a 128B FIFO (First In, First Out) buffer, allocating 64 bytes each to the receive and transmit operations. This interface bridge simultaneously represents the connection between the MCU and the RS232 line driver and receiver, the MAX3232, which completes this solution by making it a complete RS232 to I2C converter.
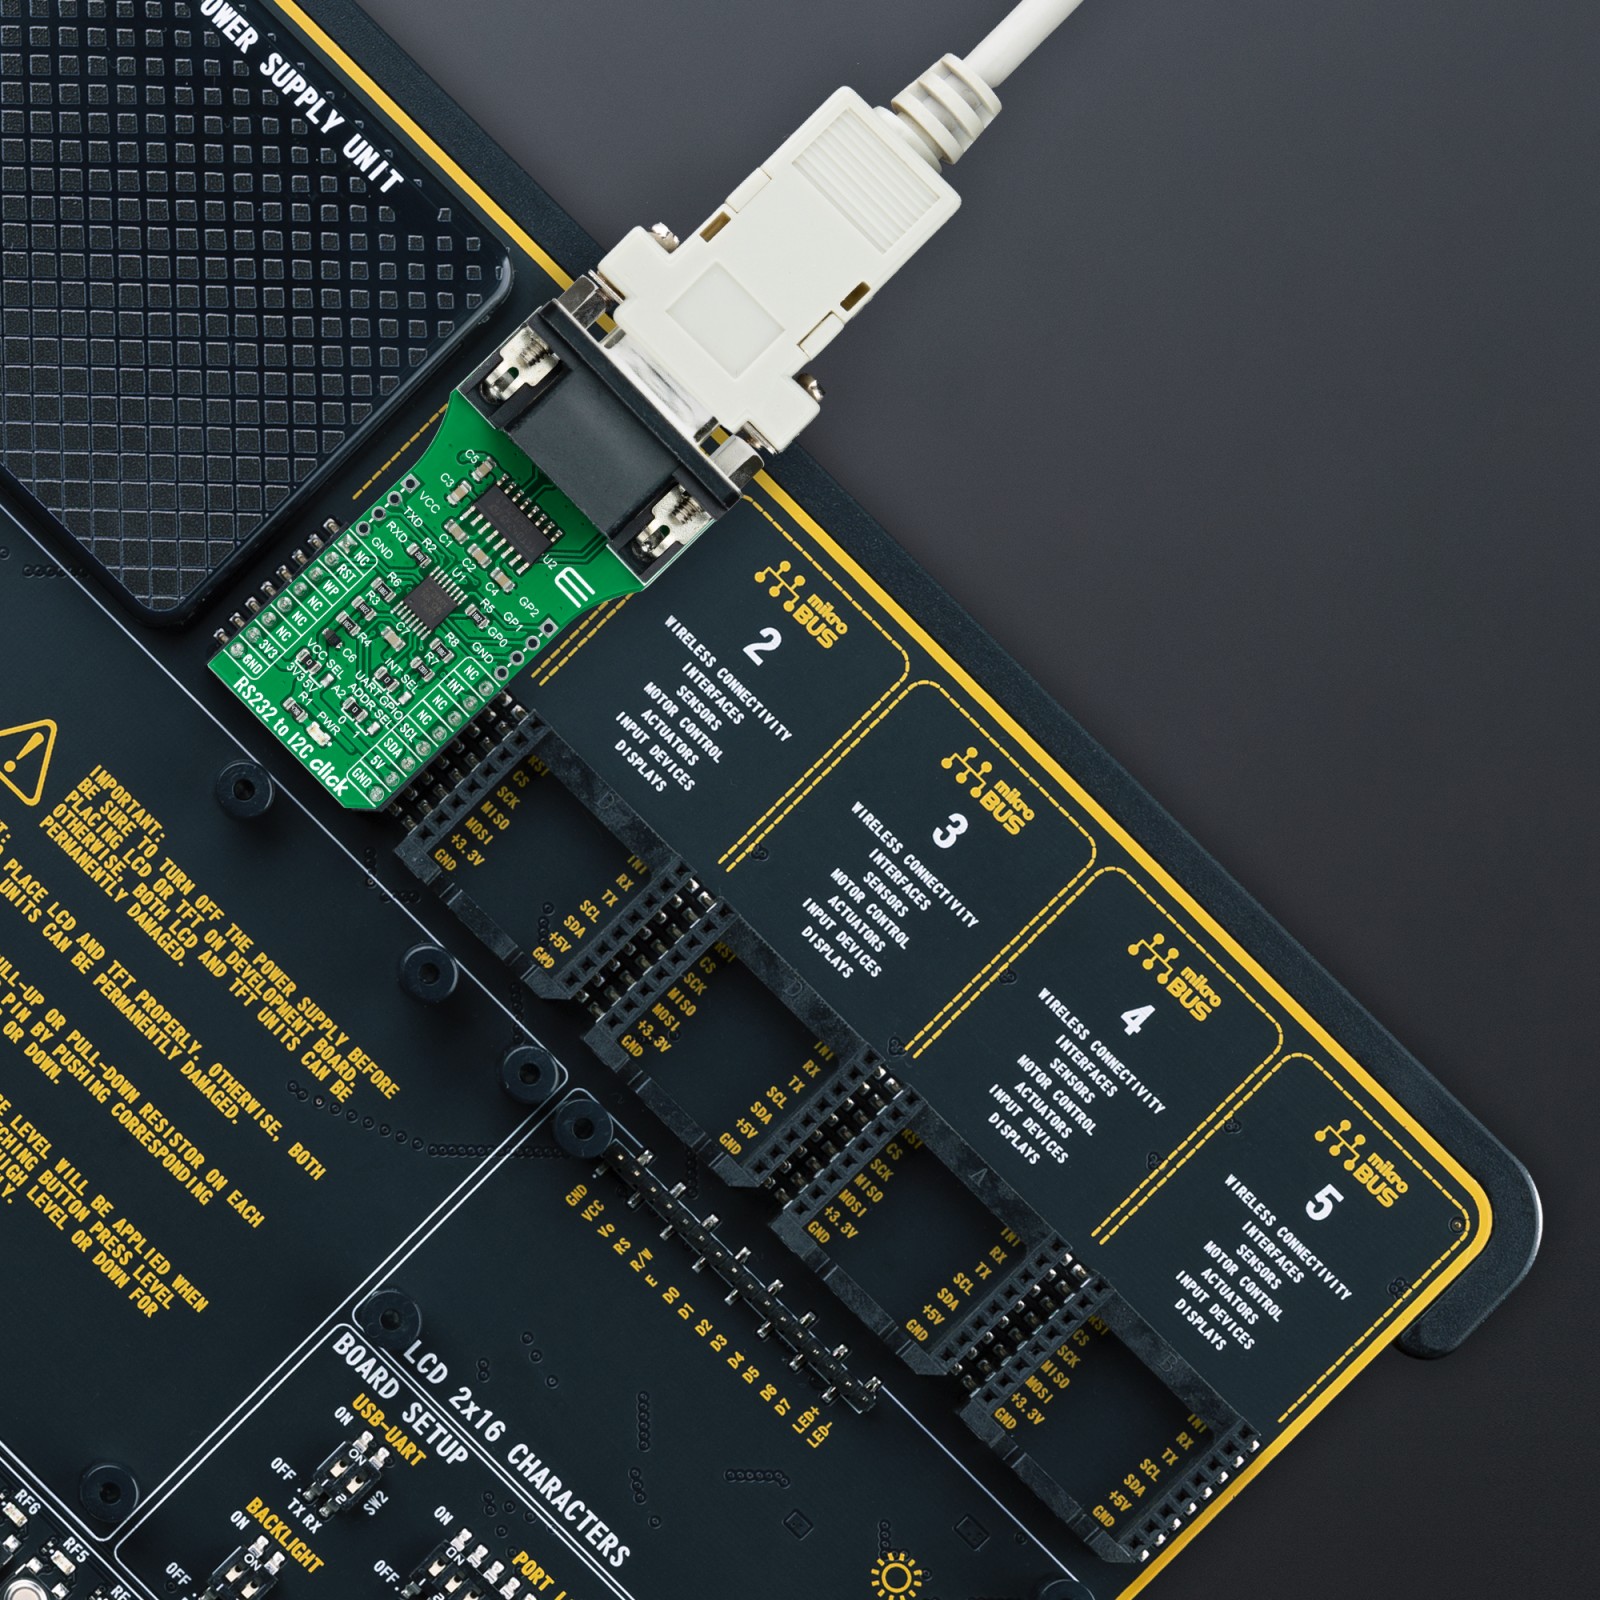
The MAX3222 is a low-power and high speed up to 1Mbps RS232 transceiver. It runs at data rates of 120kbps while maintaining RS-232 output levels. This transceiver is connected to the DB9 Female Connector, compliant with TIA/EIA-232-F standards which provides the users an electrical interface between an asynchronous communication controller and the serial-port connector. Alongside RS232 TX and RX signals, the DB-9 connector also carries flow control signals (CTS and RTS) for maximum reliability.
RS232 to I2C Click communicates with MCU using the standard I2C 2-Wire interface that supports Standard-Mode (100 kHz) and Fast-Mode (400 kHz) operation. Besides, the ZDU0110RFX allows choosing its I2C slave address using the onboard SMD jumpers labeled as ADDR SEL. The selection can be made by positioning the SMD jumper to an appropriate position marked as 0 or 1. This fully programmable UART IC is preconfigured to operate at a 57.6kb/s rate, so configuration is not required to access the UART or the EEPROM. The ZDU0110RFX also contains a 4kbit EEPROM and General Purpose Input and Output (GPIO) with programmable interrupt capability.
The EEPROM is accessible via I2C communication and comes with the configurable Write Protection function labeled as WP routed on the CS pin of the mikroBUS™ socket, and an active-low reset signal routed on the RST pin of the mikroBUS™ socket. The WP pin protects the EEPROM memory from write operations and must be set to a high logic state to inhibit all the write operations. Also, the ZDU0110RFX provides separate programmable interrupts, and interrupt lines for UART and GPIO notifications. These individual interrupts mean the controlling device doesn’t have to poll the UART IC for data. The interrupt selection can be made by positioning SMD jumpers labeled as INT SEL to an appropriate position marked as UART or GPIO, and processed by the INT pin of the mikroBUS™ socket.
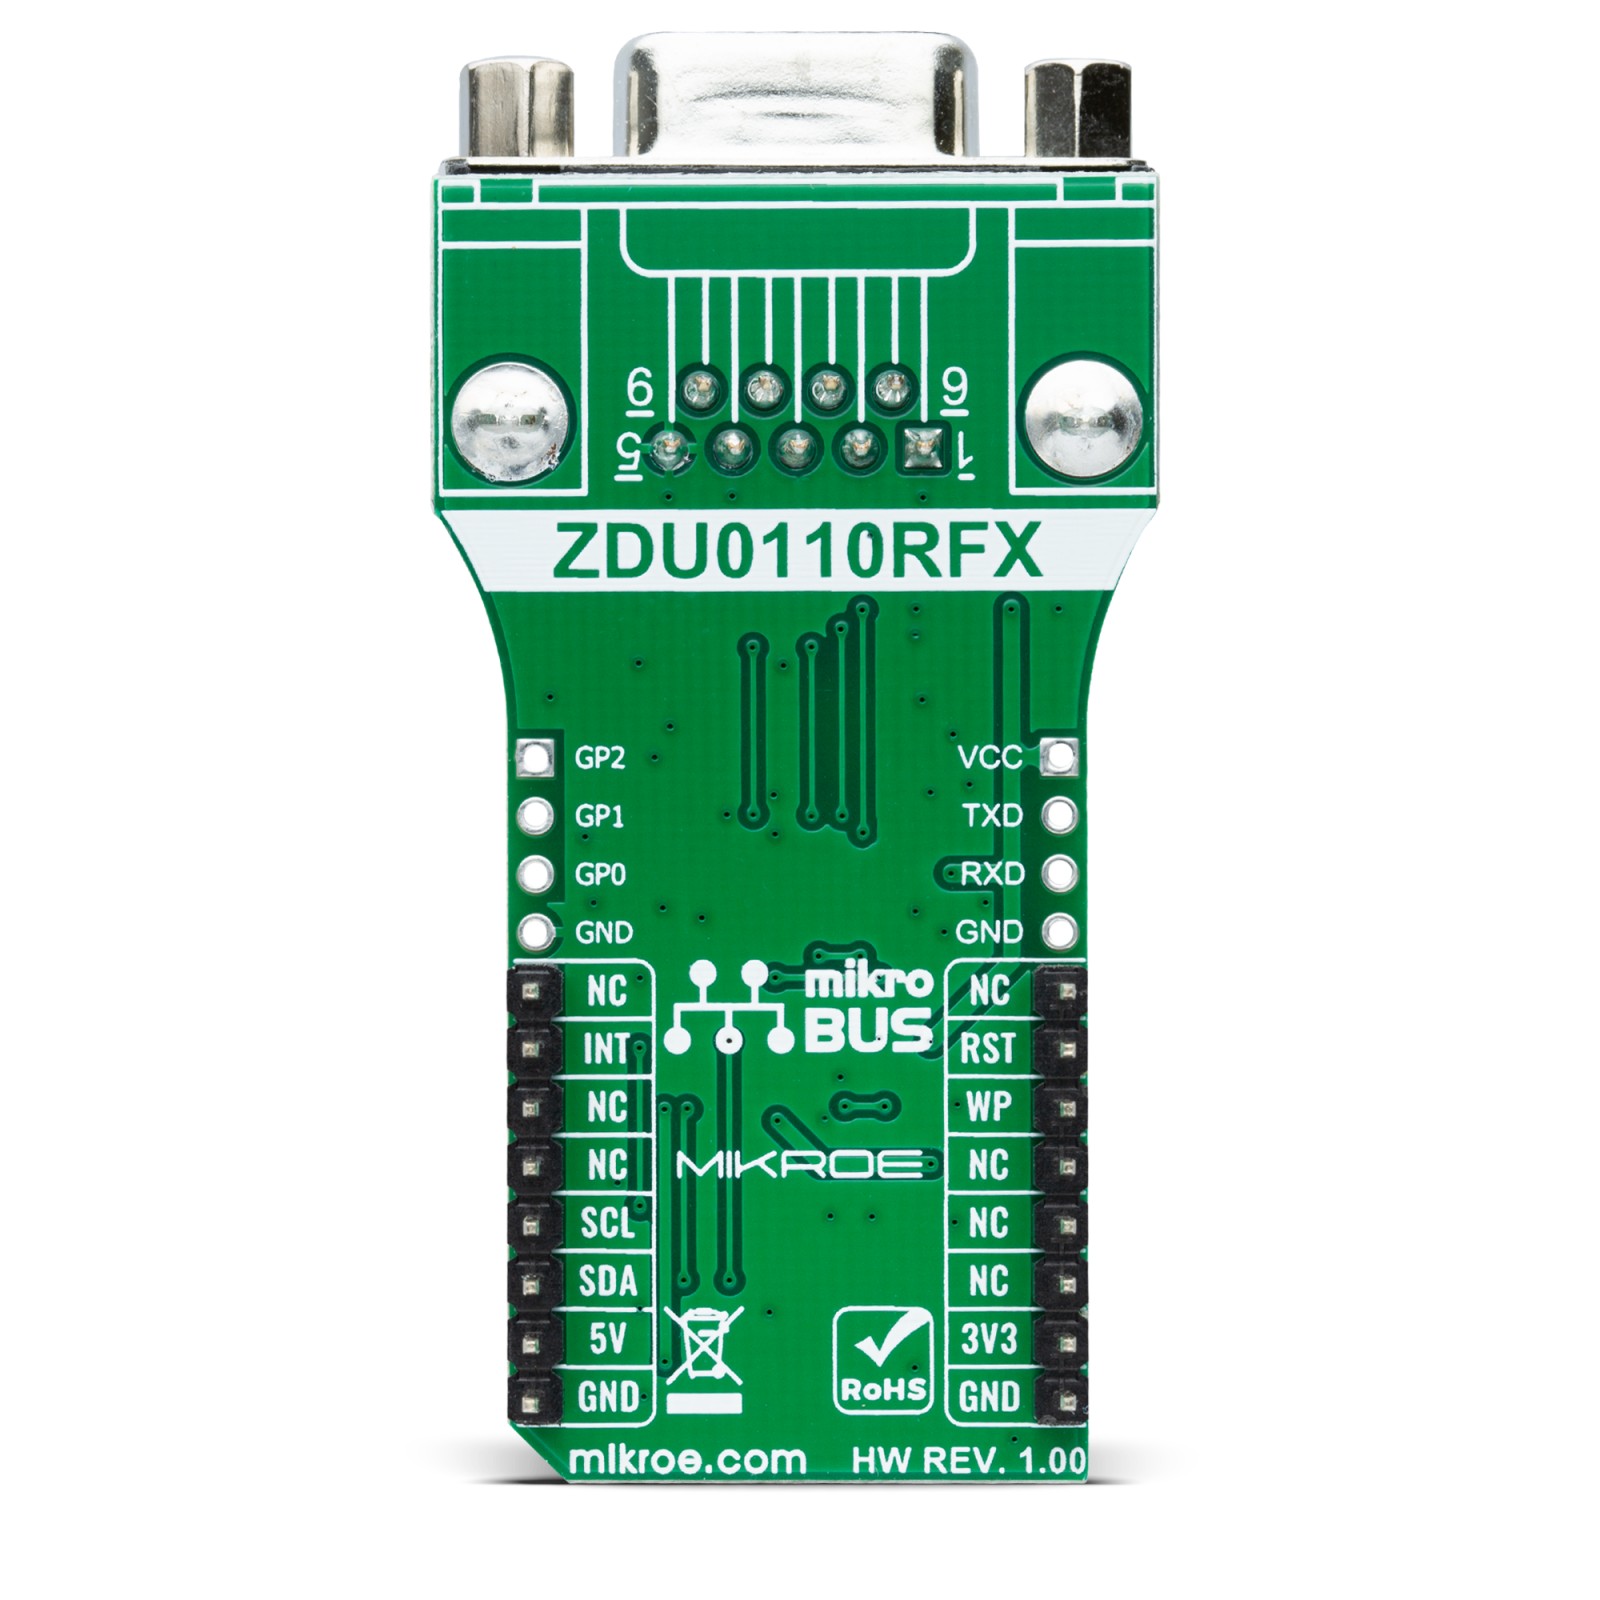
In addition to UART communication pins from the mikroBUS™ socket, the user can connect the TX/RX signals directly through the UART external connection header on the left side of the board, while previously mentioned GPIO pins can be connected to the General Purpose I/O header on the right side of the board. The two pins on this header, GP0 and GP1, are GPIO pins that possess an interrupt function.
This Click board™ can operate with both 3.3V and 5V logic voltage levels selected via the VCC SEL jumper. This way, it is allowed for both 3.3V and 5V capable MCUs to use the communication lines properly. However, the Click board™ comes equipped with a library containing easy-to-use functions and an example code that can be used, as a reference, for further development.
Specifications
Type
RS232
Applications
Can be used in multiple applications such as communication bridges, process and automation control, terminal servers, and many more
On-board modules
ZDU0110RFX – bridge between a UART port and an I2C bus from Zilog, which at the same time represents the connection between the MCU and the RS232 line driver and receiver, the MAX3232
Key Features
Control via I2C interface, 4KB built-in EEPROM, interrupt lines for UARTs and GPIOs for notification, low power consumption, high reliability, and more
Interface
I2C
Feature
No ClickID
Compatibility
mikroBUS™
Click board size
L (57.15 x 25.4 mm)
Input Voltage
3.3V or 5V
Pinout diagram
This table shows how the pinout on RS232 to I2C Click corresponds to the pinout on the mikroBUS™ socket (the latter shown in the two middle columns).
Onboard settings and indicators
Label | Name | Default | Description |
---|---|---|---|
LD1 | PWR | – | Power LED Indicator |
JP1 | VCC SEL | Left | Logic Level Voltage Selection 3V3/5V: Left position 3V3, Right position 5V |
JP2 | INT SEL | Left | Interrupt Selection UART/GPIO: Left position UART, Right position GPIO |
JP3 | ADDR SEL | Left | I2C Address Selection 0/1: Left position 0, Right position 1 |
J1 | UART | Unpopulated | UART External Header |
J2 | GPIO | Unpopulated | General Purpose I/O Header |
RS232 to I2C Click electrical specifications
Description | Min | Typ | Max | Unit |
---|---|---|---|---|
Supply Voltage | 3.3 | – | 5 | V |
Data Rate | – | 57.6 | – | kb/s |
EEPROM Memory Size | – | – | 4 | bits |
Operating Temperature Range | -40 | +25 | +85 | °C |
Software Support
We provide a library for the RS232 to I2C Click as well as a demo application (example), developed using MikroElektronika compilers. The demo can run on all the main MikroElektronika development boards.
Package can be downloaded/installed directly from NECTO Studio Package Manager(recommended way), downloaded from our LibStock™ or found on Mikroe github account.
Library Description
This library contains API for RS232 to I2C Click driver.
Key functions
-
rs232toi2c_write_tx_fifo
This function writes a desired number of data bytes to the TX fifo. -
rs232toi2c_read_rx_fifo
This function reads all data from RX fifo. -
rs232toi2c_get_int_pin
This function returns the INT pin logic state.
Example Description
This example demonstrates the use of an RS232 to I2C Click board™ by showing the communication between the two click board configured as a receiver and transmitter.
void application_task ( void )
{
#ifdef DEMO_APP_TRANSMITTER
if ( RS232TOI2C_OK == rs232toi2c_write_tx_fifo( &rs232toi2c, DEMO_TEXT_MESSAGE, strlen( DEMO_TEXT_MESSAGE ) ) )
{
log_printf( &logger, " The message "%s" has been sent!rn", ( char * ) DEMO_TEXT_MESSAGE );
uint16_t timeout_cnt = 5000;
// wait for an RX interrupt
while ( rs232toi2c_get_int_pin ( &rs232toi2c ) && timeout_cnt )
{
Delay_ms ( 1 );
timeout_cnt--;
}
if ( timeout_cnt )
{
uint8_t data_buf[ 256 ] = { 0 };
uint8_t data_len = 0;
if ( RS232TOI2C_OK == rs232toi2c_read_rx_fifo( &rs232toi2c, data_buf, &data_len ) )
{
log_printf( &logger, " Response: " );
for ( uint8_t cnt = 0; cnt < data_len; cnt++ )
{
log_printf( &logger, "%c", data_buf[ cnt ] );
}
}
}
else
{
log_error ( &logger, "TIMEOUT - no response received" );
}
log_printf( &logger, "rnn" );
Delay_ms( 2000 );
}
#else
// wait for an RX interrupt
while ( rs232toi2c_get_int_pin ( &rs232toi2c ) );
uint8_t data_buf[ 256 ] = { 0 };
uint8_t data_len = 0;
if ( RS232TOI2C_OK == rs232toi2c_read_rx_fifo( &rs232toi2c, data_buf, &data_len ) )
{
log_printf( &logger, " A new message has received: "" );
for ( uint8_t cnt = 0; cnt < data_len; cnt++ )
{
log_printf( &logger, "%c", data_buf[ cnt ] );
}
log_printf( &logger, ""rn" );
if ( strstr ( data_buf, DEMO_TEXT_MESSAGE ) )
{
if ( RS232TOI2C_OK == rs232toi2c_write_tx_fifo( &rs232toi2c, RESPONSE_OK, strlen( RESPONSE_OK ) ) )
{
log_printf( &logger, " Response "%s" has been sent to the sender!rnn", ( char * ) RESPONSE_OK );
}
}
else
{
if ( RS232TOI2C_OK == rs232toi2c_write_tx_fifo( &rs232toi2c, RESPONSE_ERROR, strlen( RESPONSE_ERROR ) ) )
{
log_printf( &logger, " Response "%s" has been sent to the sender!rnn", ( char * ) RESPONSE_ERROR );
}
}
}
#endif
}
The full application code, and ready to use projects can be installed directly from NECTO Studio Package Manager(recommended way), downloaded from our LibStock™ or found on Mikroe github account.
Other Mikroe Libraries used in the example:
- MikroSDK.Board
- MikroSDK.Log
- Click.RS232toI2C
Additional notes and informations
Depending on the development board you are using, you may need USB UART click, USB UART 2 Click or RS232 Click to connect to your PC, for development systems with no UART to USB interface available on the board. UART terminal is available in all MikroElektronika compilers.
mikroSDK
This Click board™ is supported with mikroSDK – MikroElektronika Software Development Kit. To ensure proper operation of mikroSDK compliant Click board™ demo applications, mikroSDK should be downloaded from the LibStock and installed for the compiler you are using.
For more information about mikroSDK, visit the official page.