How does it work?
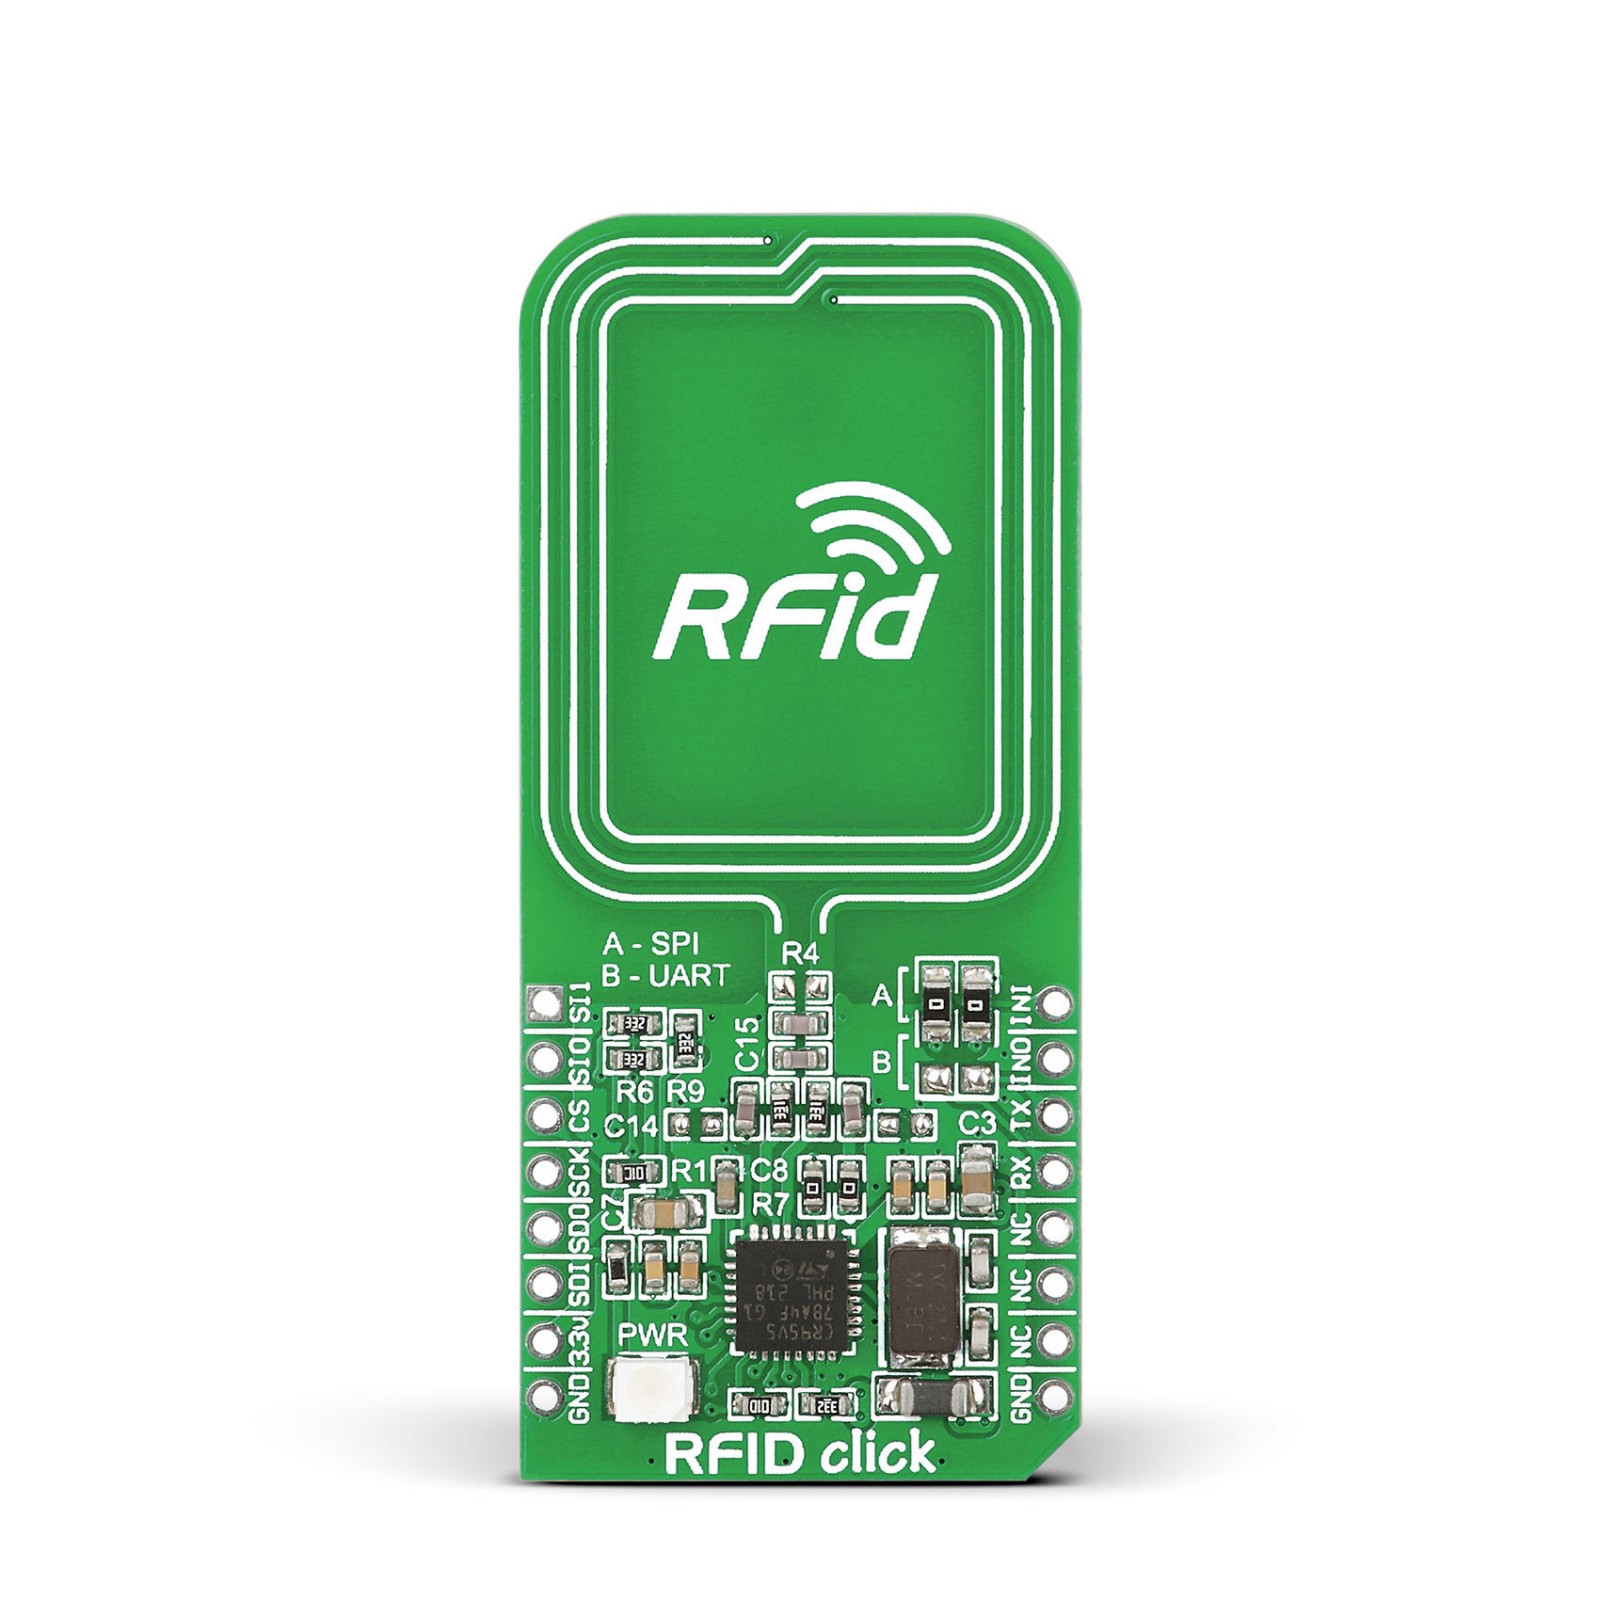
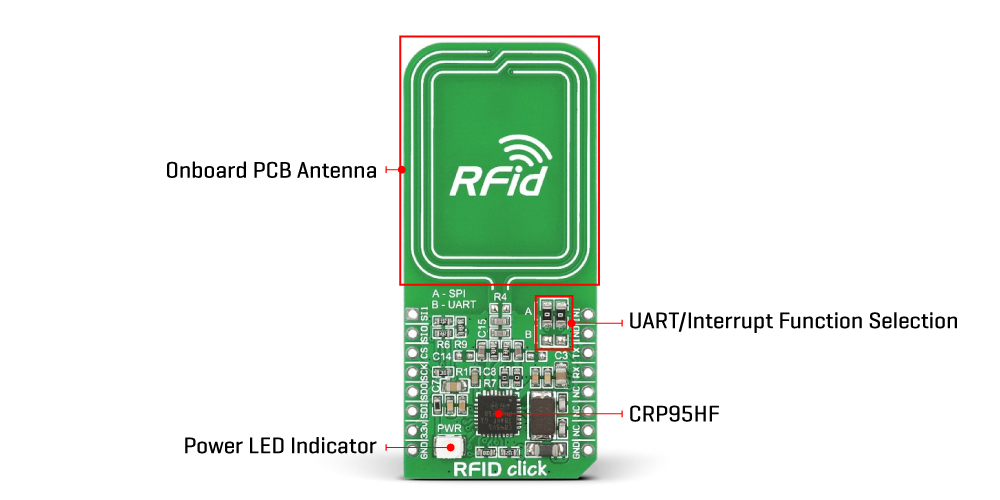
RFid Click is based on the CR95HF, a multi-protocol contactless transceiver from STMicroelectronics. This board supports ISO/IEC 14443 type A and B, ISO/IEC 15693, and ISO/IEC 18092 communication protocols (tags). In addition, it also supports the detection, reading, and writing of NFC forum type 1, 2, 3, and 4 tags with incorporated internal antenna. The CR95HF integrates an Analog Front End to provide the 13.56MHz Air Interface. It manages frame coding and decoding in Reader mode for standard applications such as near-field communication (NFC), proximity, and vicinity standards.
The CR95HF has two operating modes: Wait for Event (WFE) and Active Mode of operation. In Active mode, the CR95HF communicates actively with a tag or an external host. The WFE mode includes four low-consumption states: Power-up, Hibernate, Sleep, and Tag Detector, allowing the transceiver to switch from one mode to another. All states except Power-Up are software-accessible. While the CR95HF is in any of these, communication with the MCU is impossible. For normal communication, the transceiver must be woken up first.
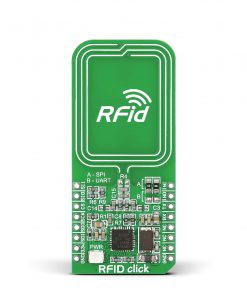
RFid Click can communicate with the host MCU using UART or SPI serial interfaces over the mikroBUS™ socket. This Click board™ comes with A and B jumpers with which the function of two multiplex pins is selected. Depending on their position, the pins can be used as UART or interrupt (input and output) pins (interrupt by default). These jumpers must be set to the B position for use with the UART interface, thus losing the interrupt function pins. The SSSI0 and SSI1 pins serve for communication interface selection based on their logic states.
This Click board™ can be operated only with a 3.3V logic voltage level. The board must perform appropriate logic voltage level conversion before using MCUs with different logic levels. However, the Click board™ comes equipped with a library containing functions and an example code that can be used, as a reference, for further development.
Specifications
Type
RFID/NFC
Applications
Can be used for applications with 13.56 MHz RFid tags or identification cards, tracking and security systems that needs RFID support
On-board modules
CR95HF – multi-protocol contactless transceiver from STMicroelectronics.
Key Features
Reader/Writer operating modes, internal frame controller, highly integrated AFE, optimized power management, tag detection mode, selectable communication interface, waking interrupts, and more
Interface
SPI,UART
Feature
No ClickID
Compatibility
mikroBUS™
Click board size
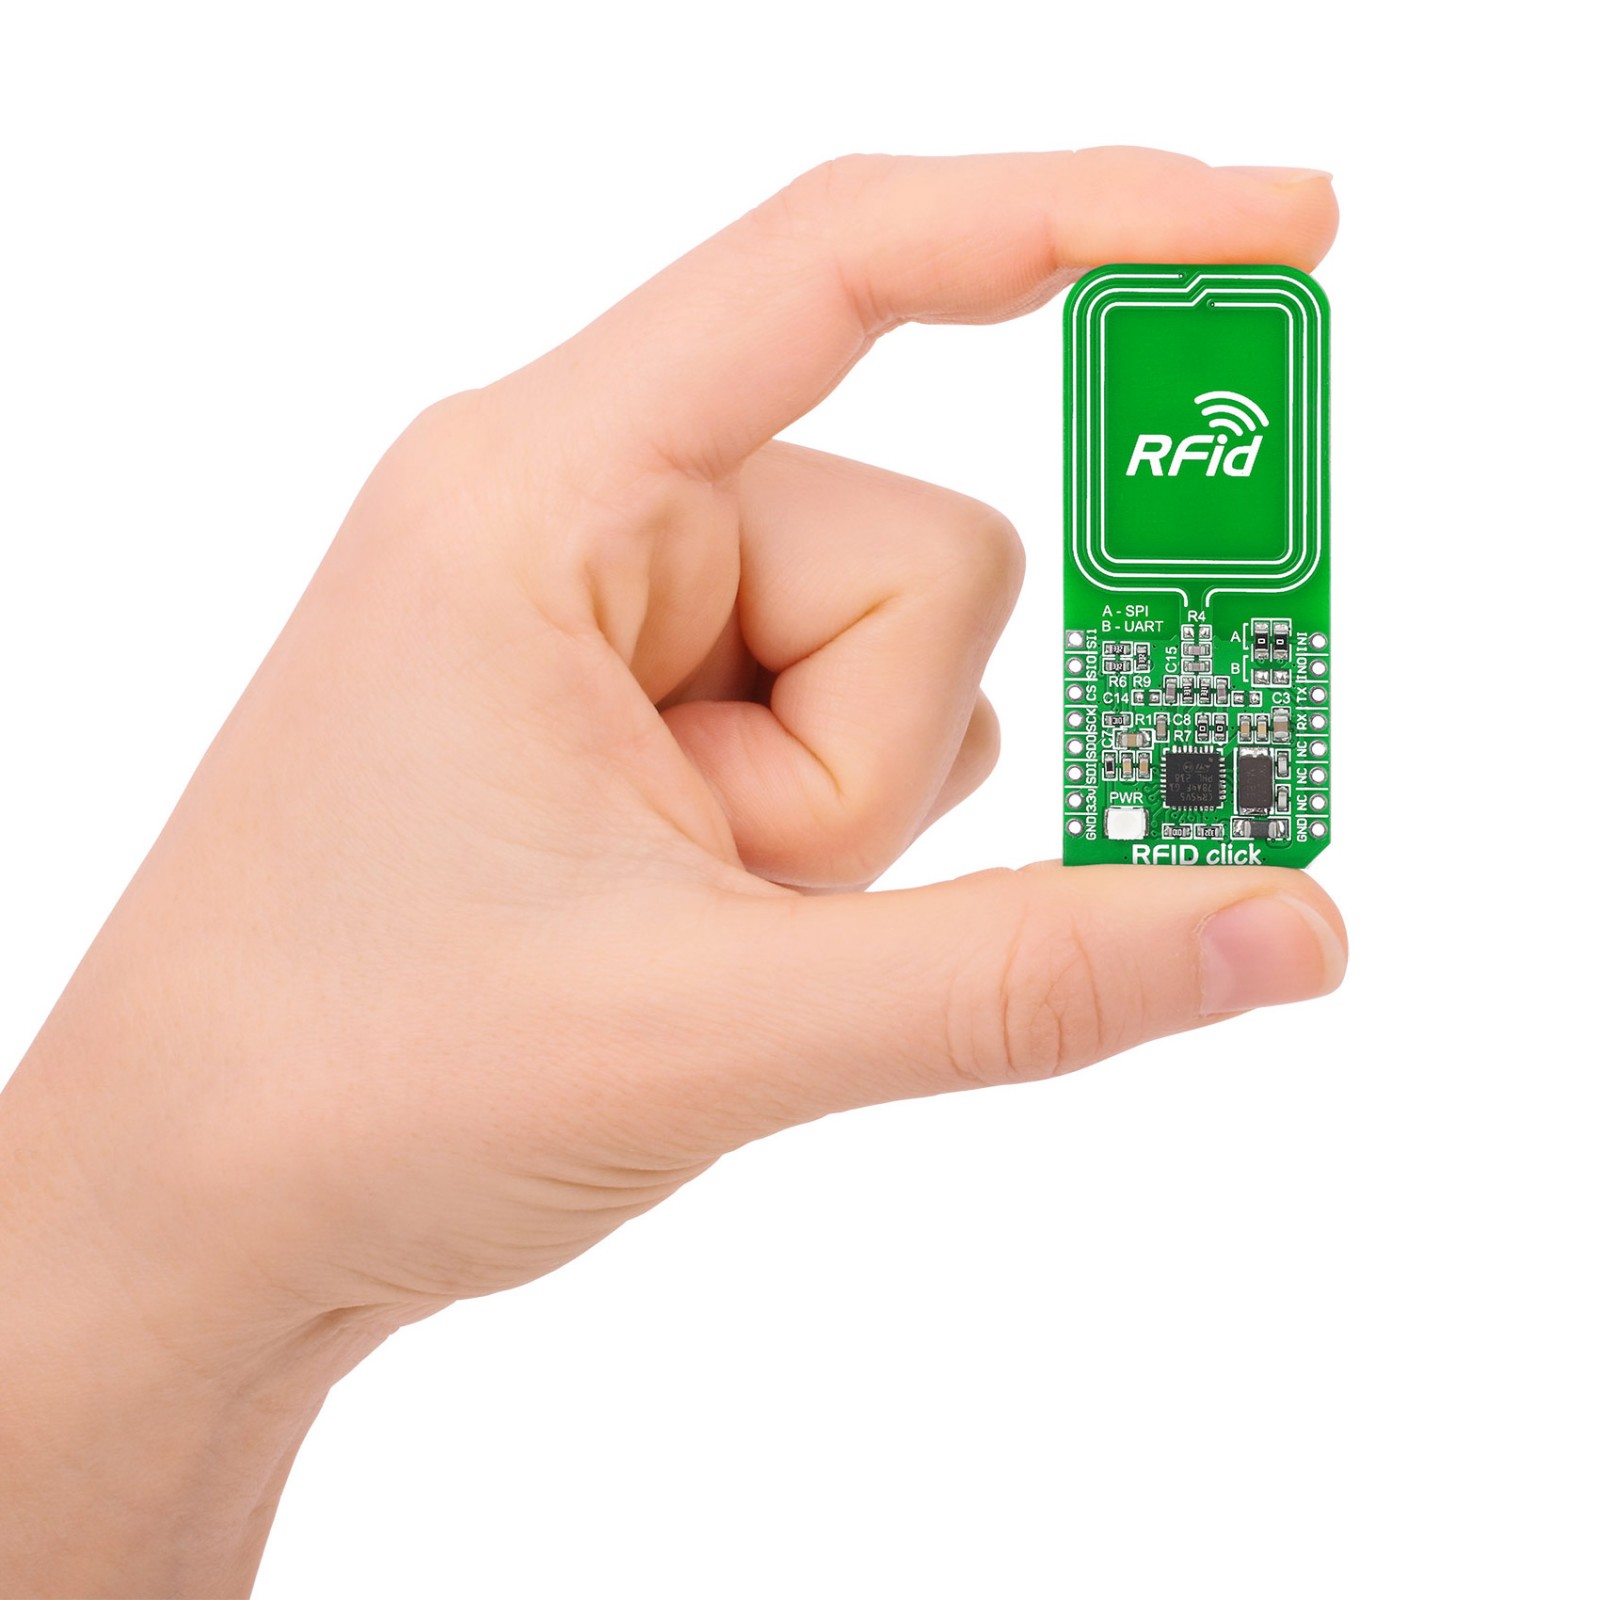
L (57.15 x 25.4 mm)
Input Voltage
3.3V
Pinout diagram
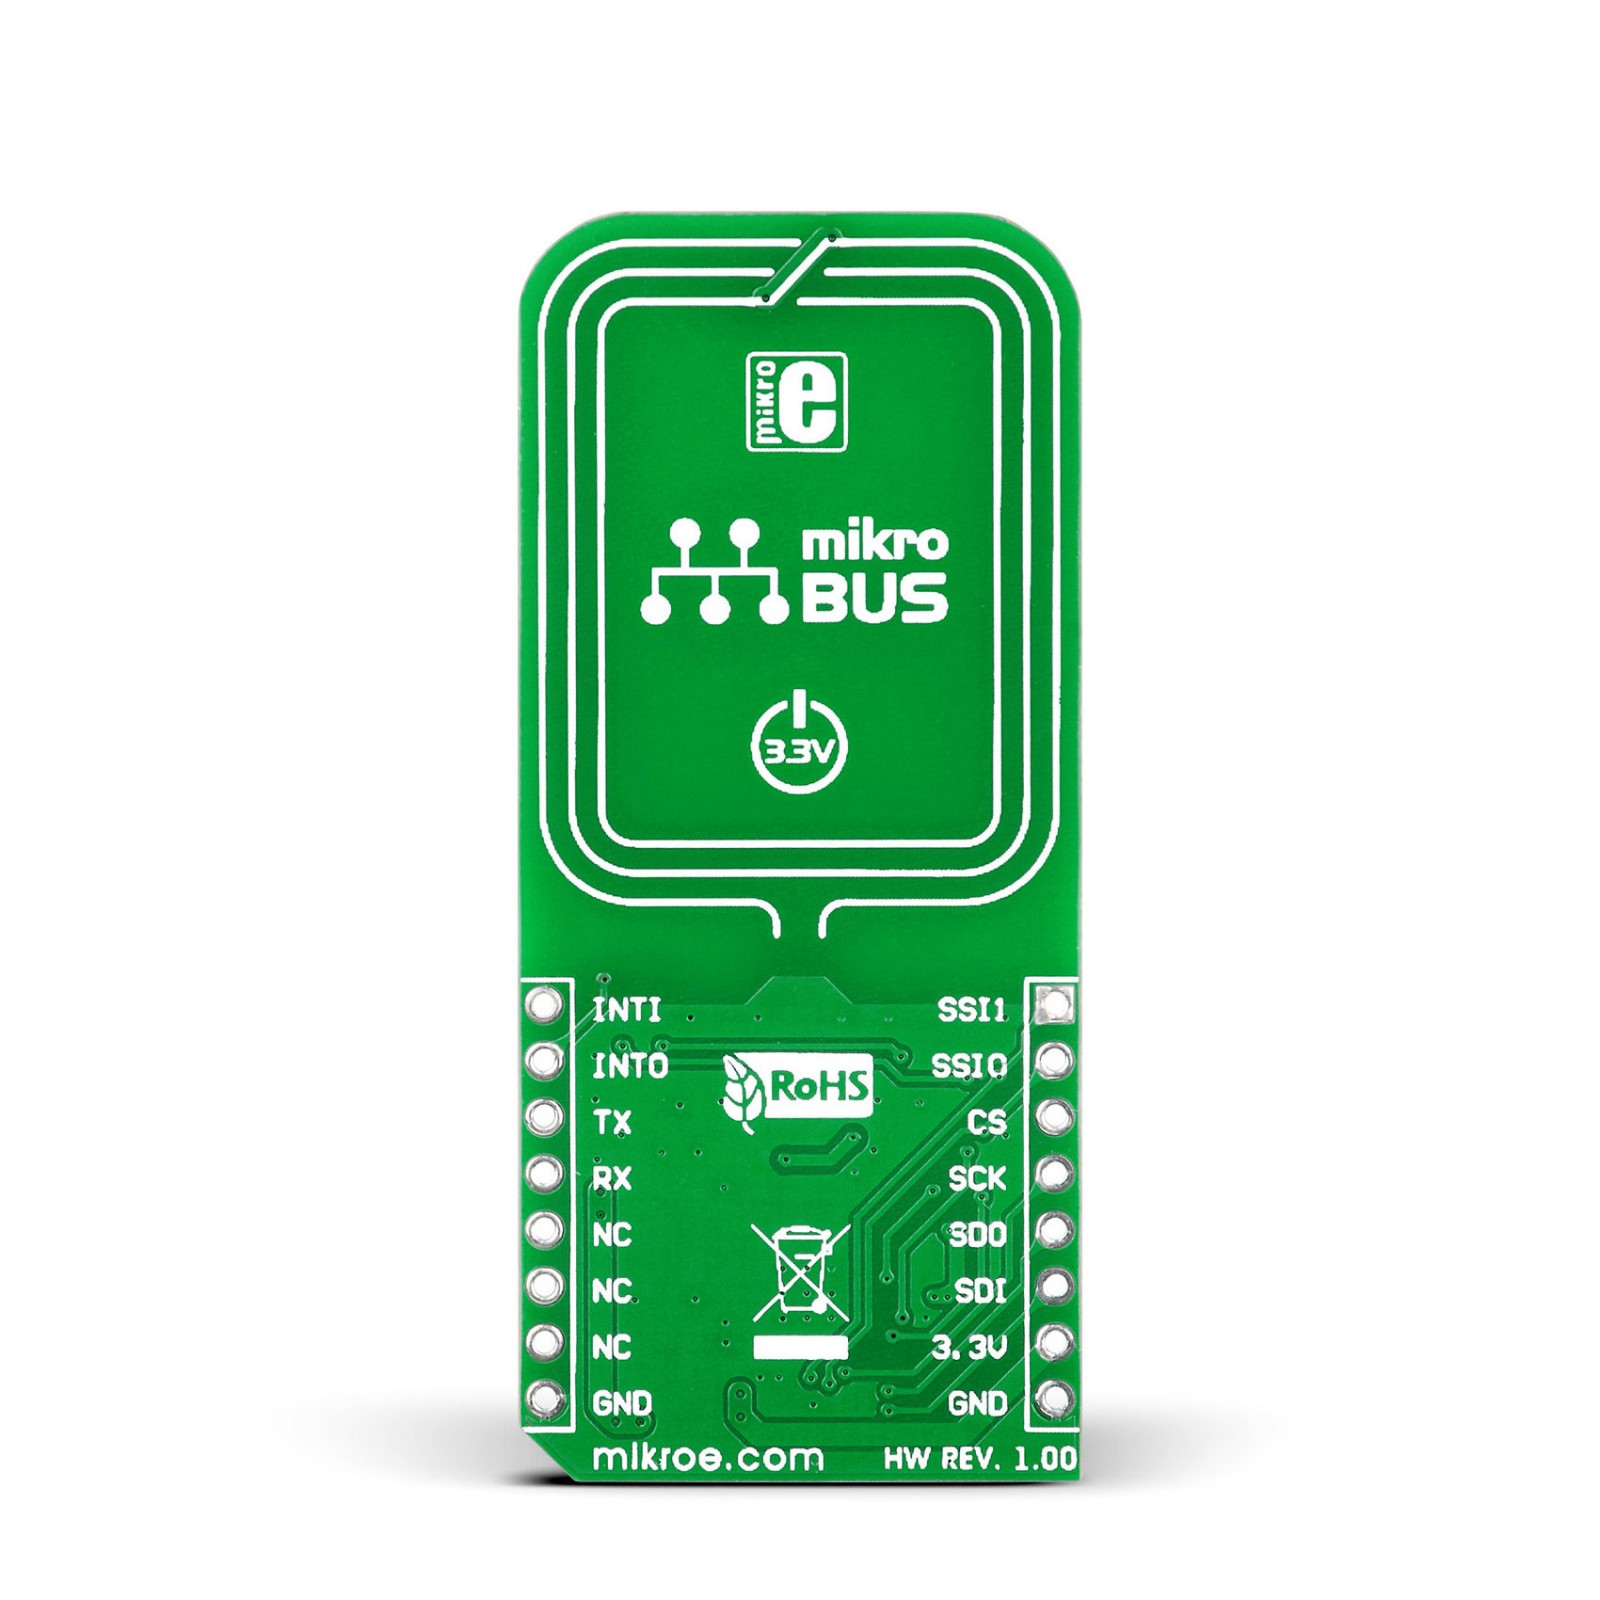
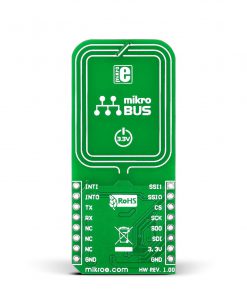
This table shows how the pinout on RFid Click corresponds to the pinout on the mikroBUS™ socket (the latter shown in the two middle columns).
Onboard settings and indicators
Label | Name | Default | Description |
---|---|---|---|
LD1 | PWR | – | Power LED Indicator |
J1A, J2A | A B | Upper | Communication interface Selection SPI/UART: Upper position SPI, Lower position UART |
RFid Click electrical specifications
Description | Min | Typ | Max | Unit |
---|---|---|---|---|
Supply Voltage | – | 3.3 | – | V |
Frequency Range | – | 13.56 | – | MHz |
Software Support
We provide a library for the RFID Click as well as a demo application (example), developed using MikroElektronika compilers. The demo can run on all the main MikroElektronika development boards.
Package can be downloaded/installed directly from NECTO Studio Package Manager(recommended), downloaded from our LibStock™ or found on Mikroe github account.
Library Description
This library contains API for RFID Click driver.
Key functions
-
rfid_select_communication_interface
Select communication interface. -
rfid_get_tag_uid
Get RFID tag uid function. -
rfid_get_device_id
RFID get device id function.
Example Description
This example demonstrates the use of RFID Click board by reading MIFARE ISO/IEC 14443 type A tag UID.
void application_task ( void )
{
uint8_t tag_uid[ 20 ] = { 0 };
uint8_t tag_len = rfid_get_tag_uid( &rfid, RFID_ISO_14443A, tag_uid );
if ( tag_len > 0 )
{
log_printf( &logger, " TAG UID: " );
for ( uint8_t cnt = 0; cnt < tag_len; cnt++ )
{
log_printf( &logger, "0x%.2X ", ( uint16_t ) tag_uid[ cnt ] );
}
log_printf( &logger, "rn----------------------------------rn" );
Delay_ms( 1000 );
}
}
The full application code, and ready to use projects can be installed directly from NECTO Studio Package Manager(recommended), downloaded from our LibStock™ or found on Mikroe github account.
Other Mikroe Libraries used in the example:
- MikroSDK.Board
- MikroSDK.Log
- Click.RFID
Additional notes and informations
Depending on the development board you are using, you may need USB UART click, USB UART 2 Click or RS232 Click to connect to your PC, for development systems with no UART to USB interface available on the board. UART terminal is available in all MikroElektronika compilers.
mikroSDK
This Click board™ is supported with mikroSDK – MikroElektronika Software Development Kit. To ensure proper operation of mikroSDK compliant Click board™ demo applications, mikroSDK should be downloaded from the LibStock and installed for the compiler you are using.
For more information about mikroSDK, visit the official page.