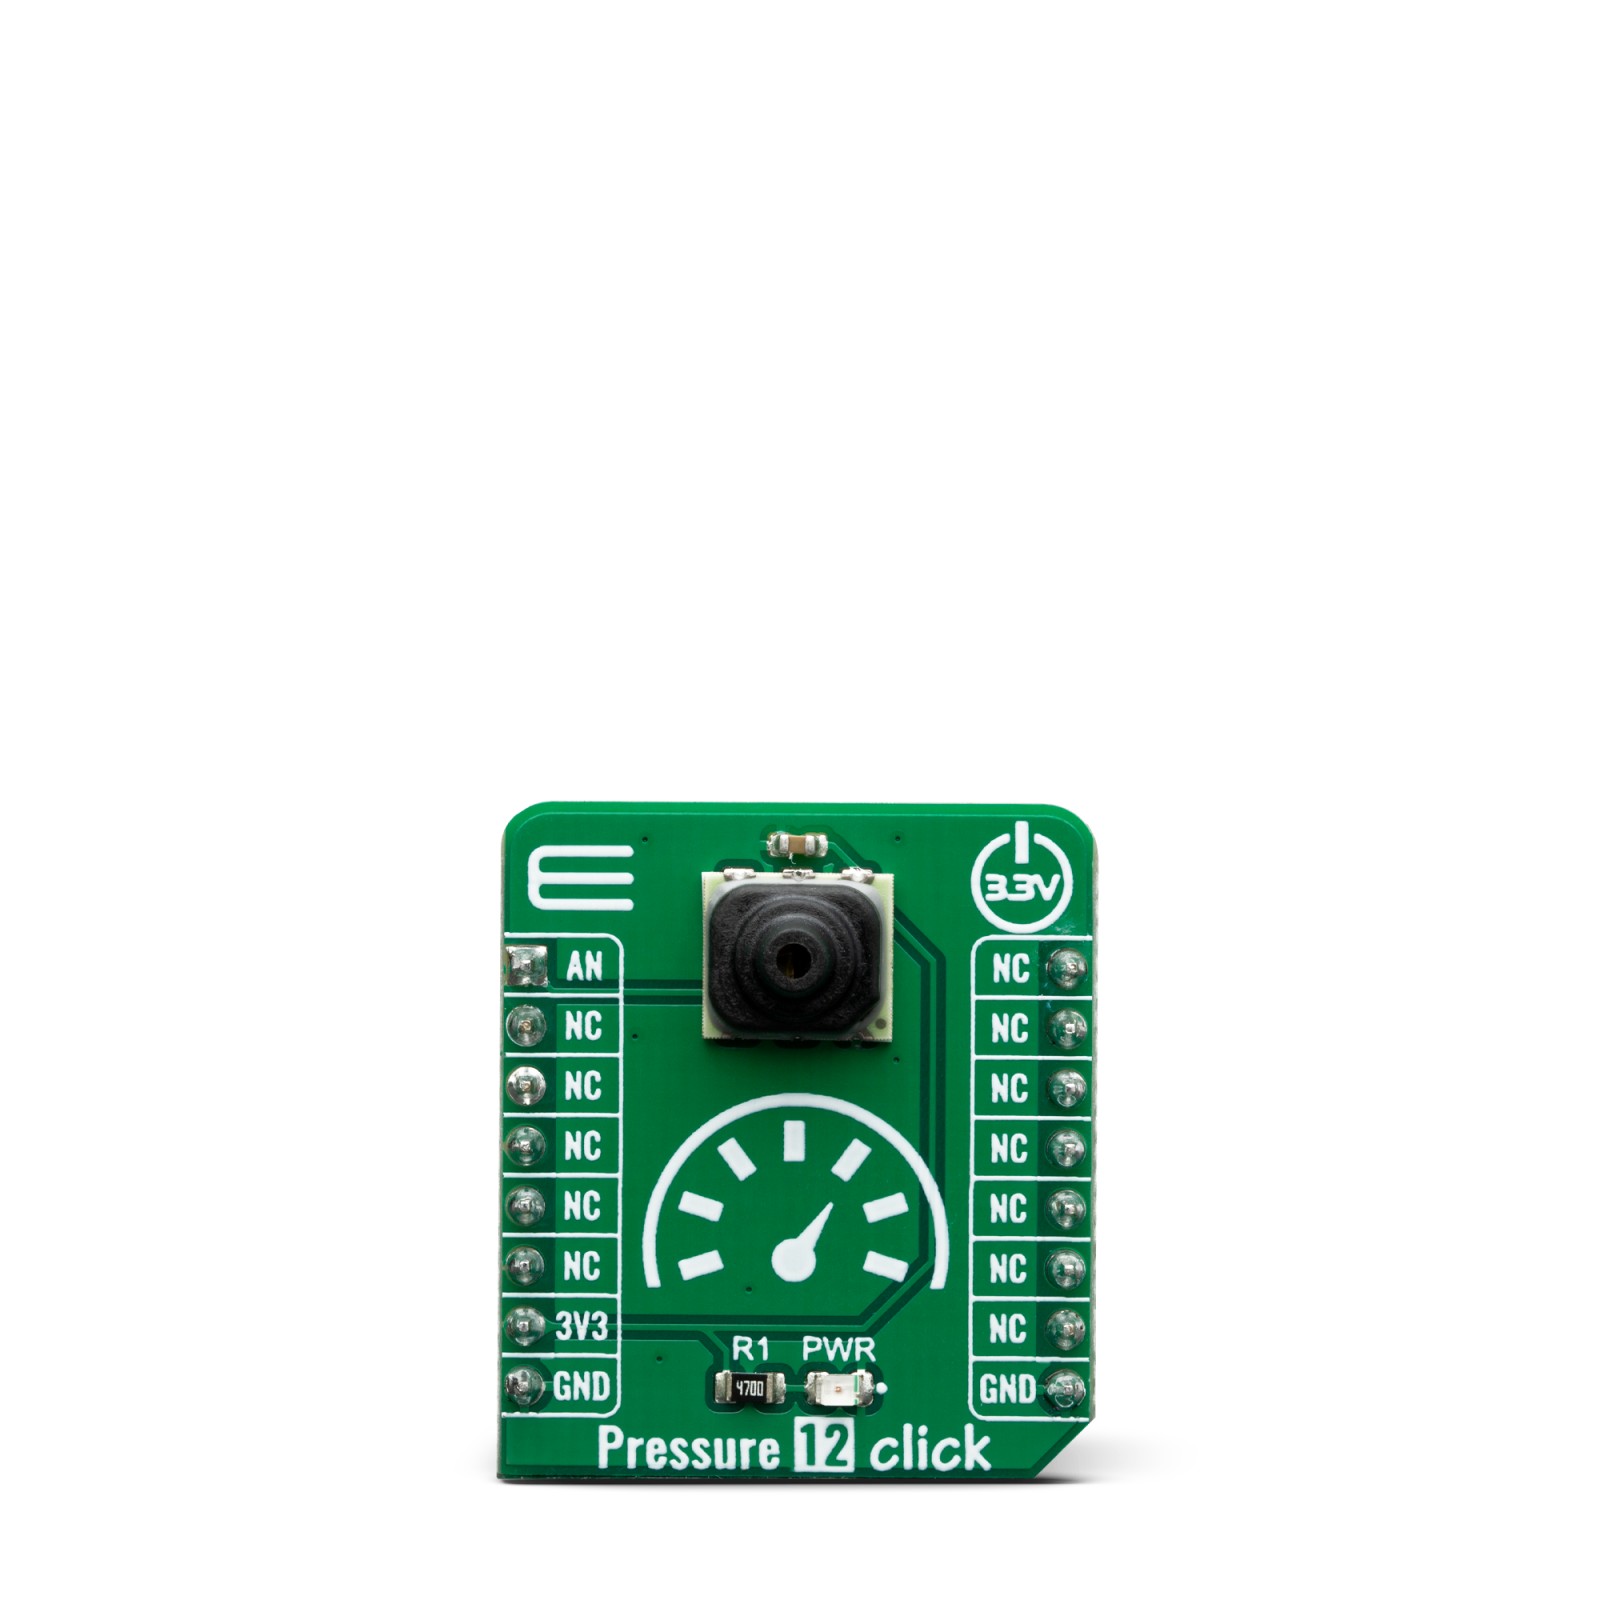
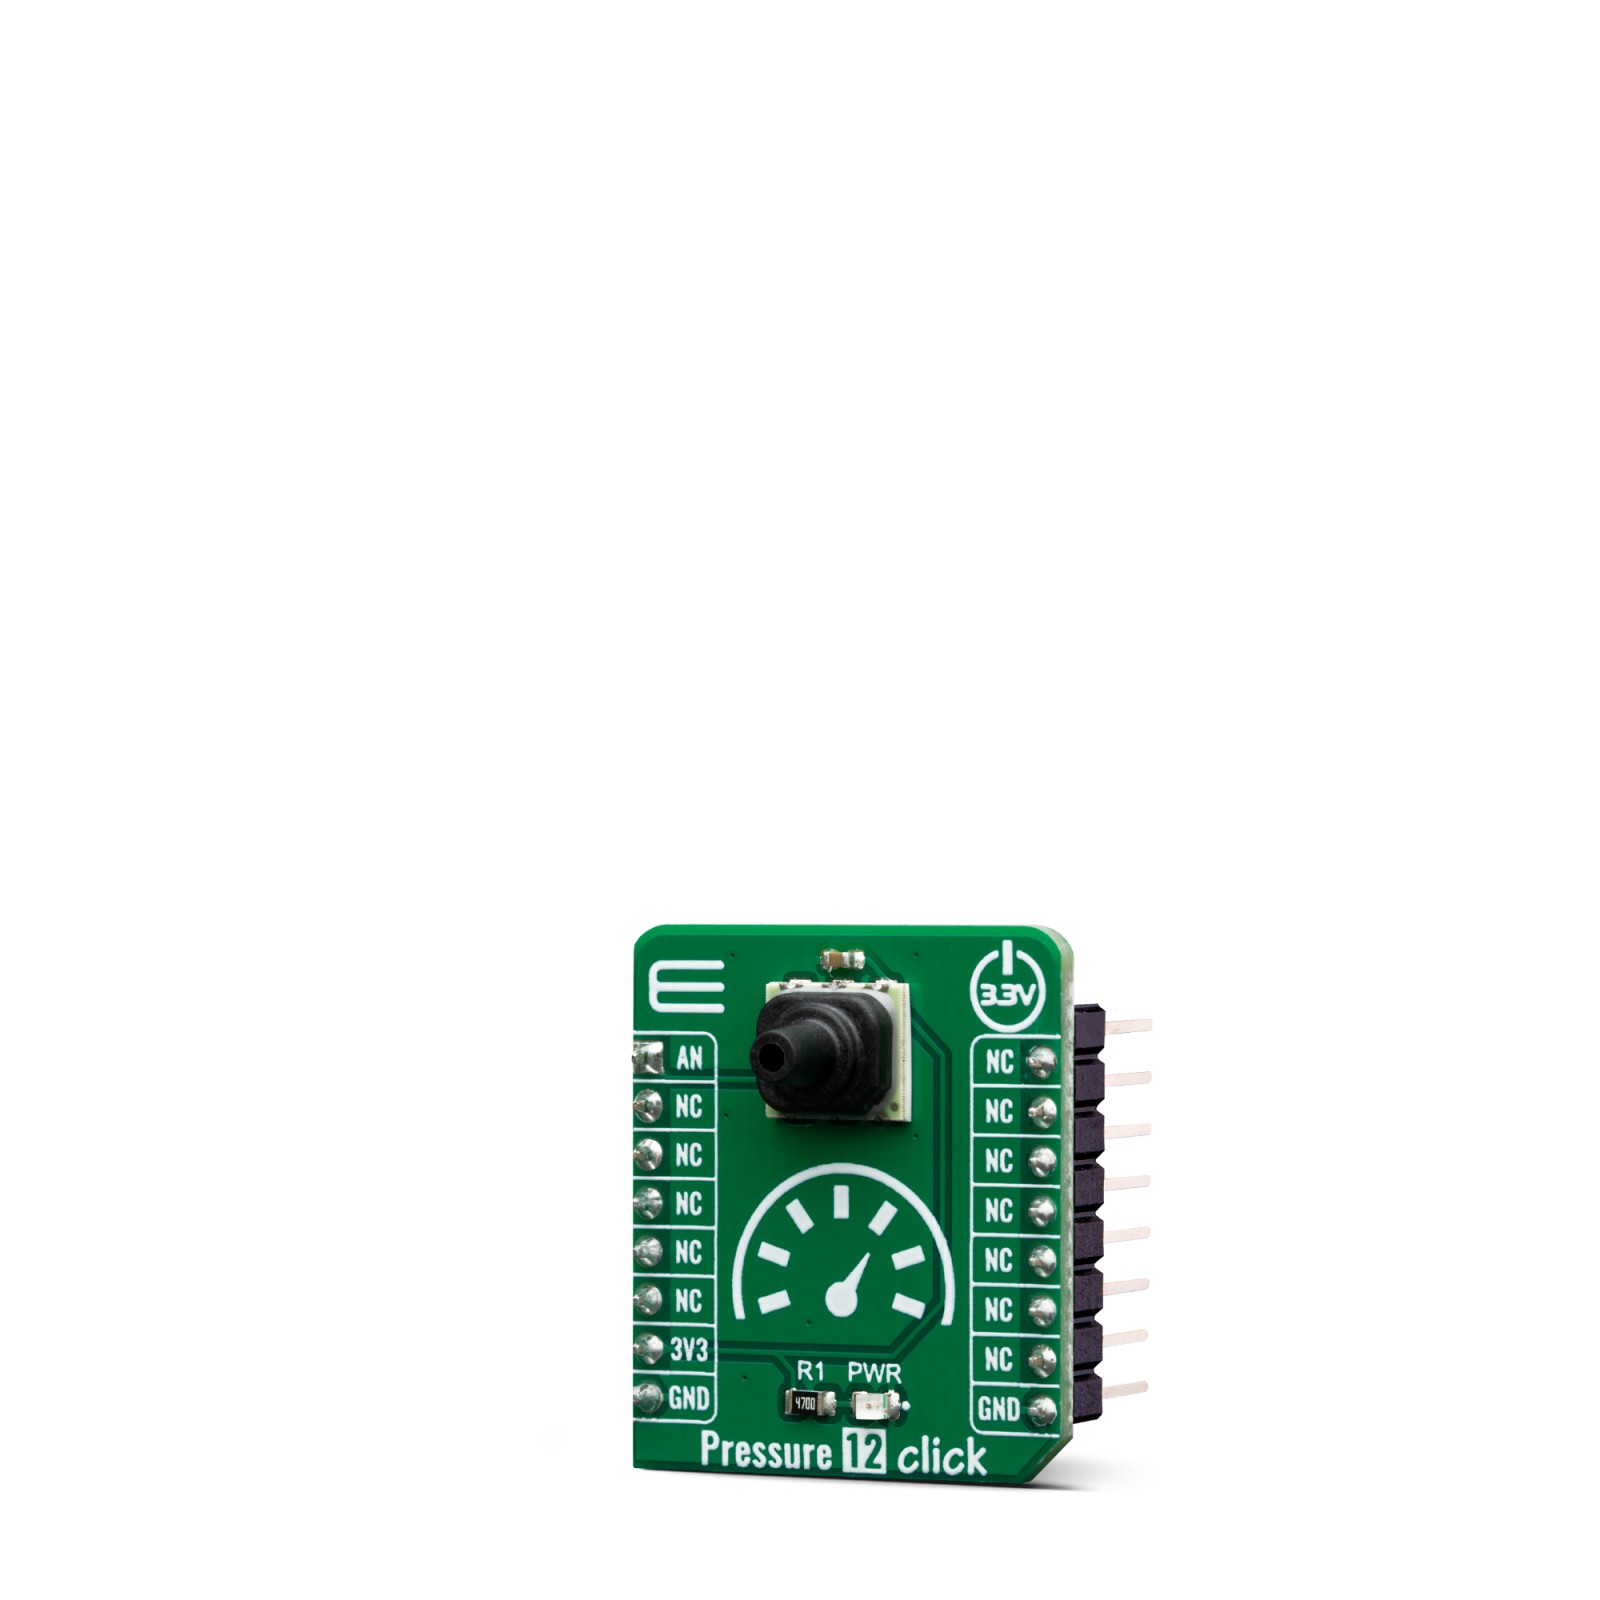
Pressure 12 Click
R760.00 ex. VAT
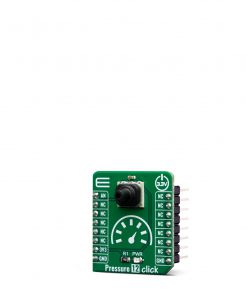
Pressure 12 click is a barometric gauge pressure measuring Click board™, equipped with the Amplified Basic Pressure sensor series (ABP), which features a ratiometric analog output, which is proportional to the applied pressure. It features a very low Total Error Band of 1.5% of FS, a specification used to describe all the measurement errors and deviations within the sensor itself. The ABP series sensor uses a calibrated and thermally compensated ASIC, providing a ratiometric output updated at a frequency of 1kHz. It can be directly used by the A/D conversion section of the host MCU, but it can also be directly used in a control feedback loop, for low latency operations.
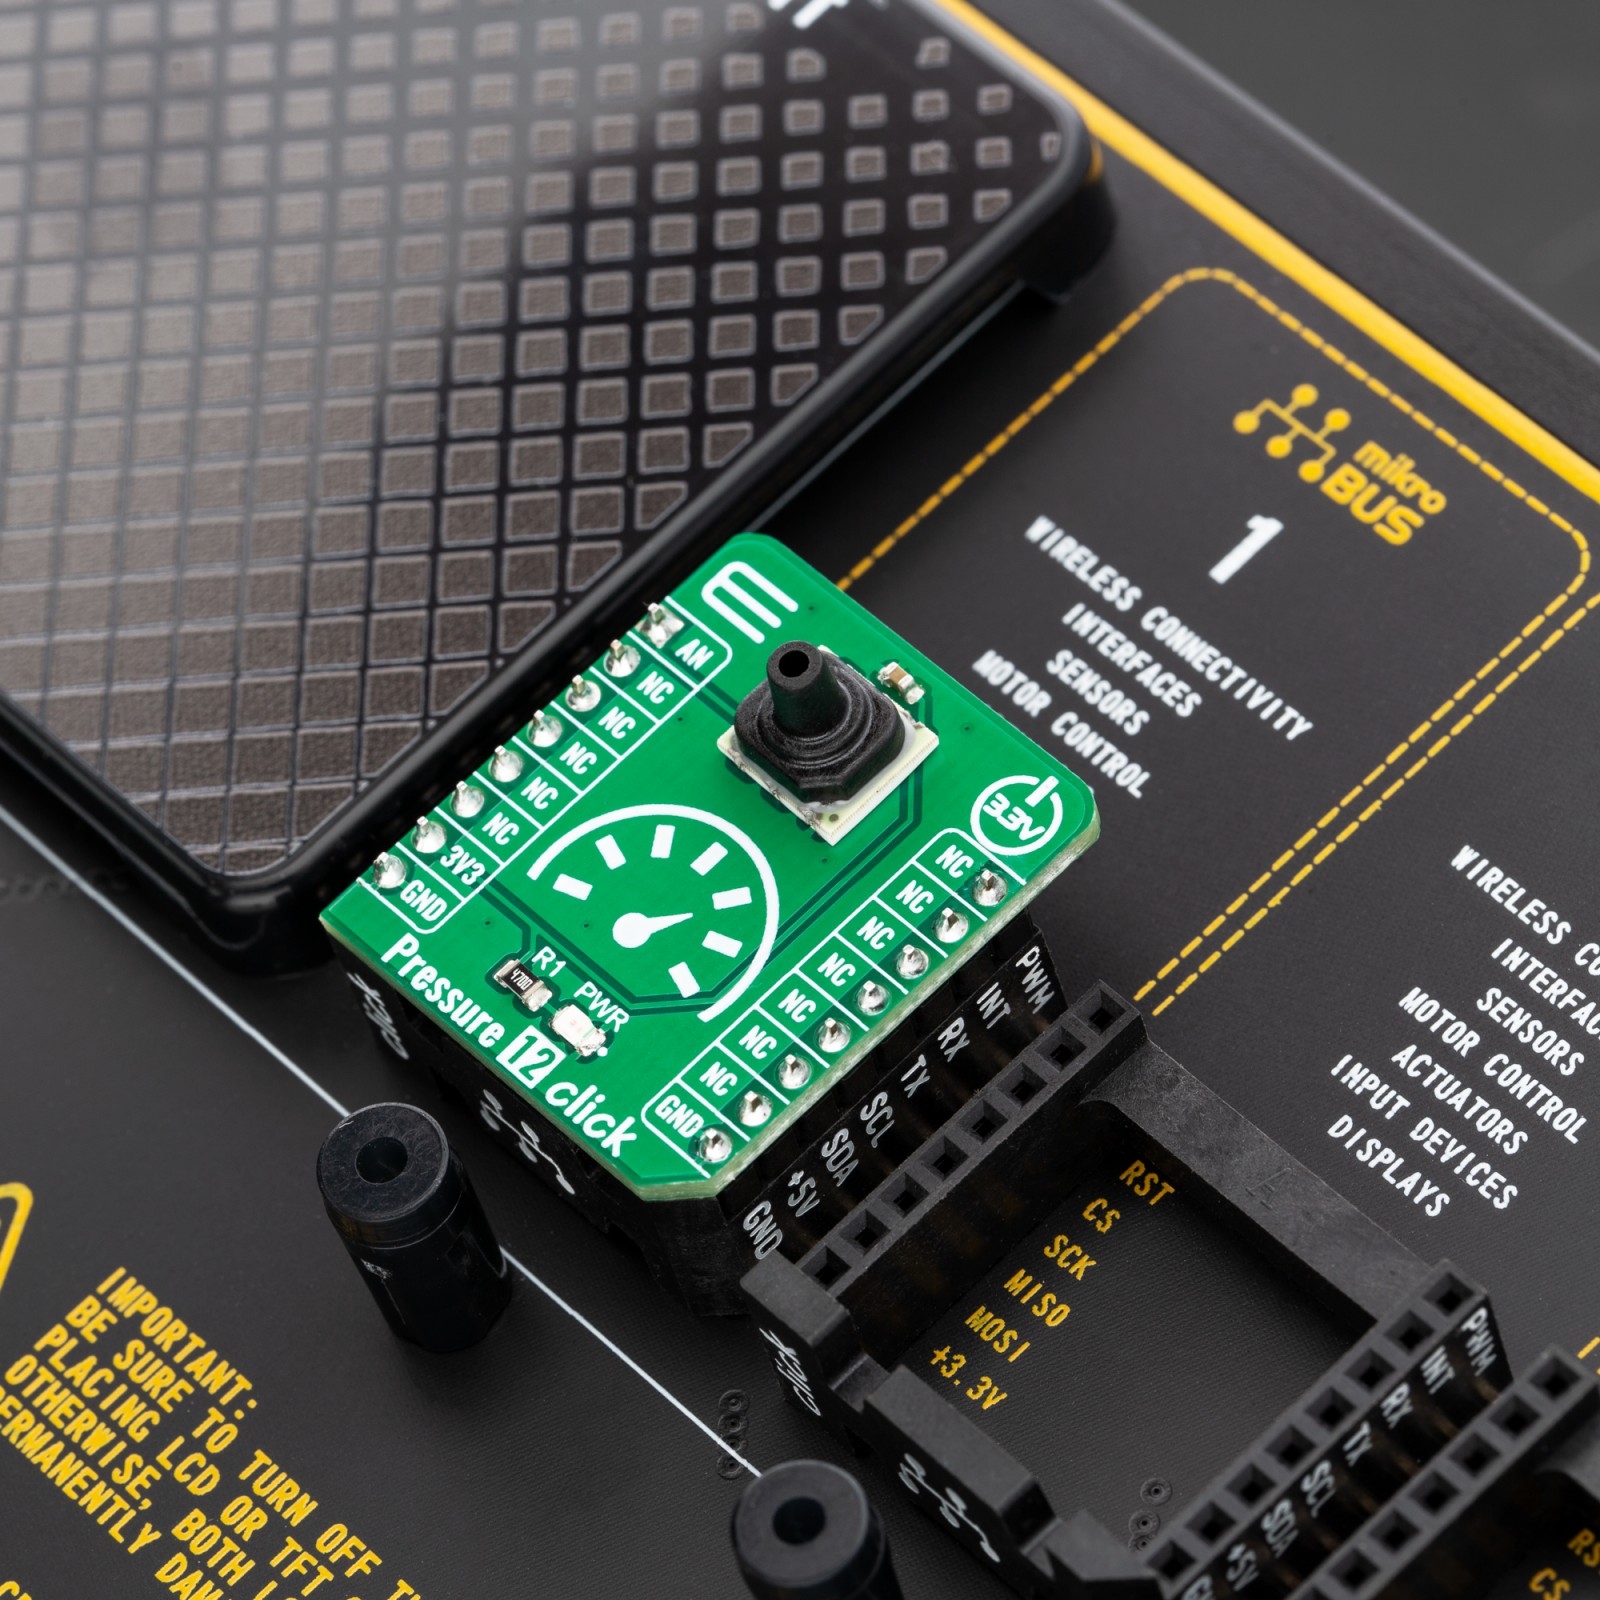
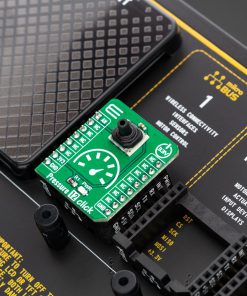
Pressure 12 click is supported by a mikroSDK compliant library, which includes functions that simplify software development. This Click board™ comes as a fully tested product, ready to be used on a system equipped with the mikroBUS™ socket.
Stock: Lead-time applicable.
| 5+ | R722.00 |
| 10+ | R684.00 |
| 15+ | R646.00 |
| 20+ | R621.68 |
Besides a very low error margin of only 1.5% across the full scale span (including errors caused by the offset, hysteresis, non-linearity, and other factors…), the sensor also features long-term stability (±0.25% FSS), low power consumption, very low count of additional components (a single bypass capacitor for supply filtering, in most cases), making it very cheap and simple solution which can be used to measure the gauge pressure in the range from 0 to 600 mbar. Pressure 12 click is a very well suited for the development and prototyping of many different applications based on the gauge pressure measurement, including HVAC systems, pneumatic control, and regulation, air/gas pressure monitoring, but also some low-power IoT applications, such as weather IoT nodes, and similar.
How does it work?
Pressure 12 click is based on the ABP series gauge pressure sensor, labeled as ABPLLNN600MGAA3, made by Honeywell. The entire ABP series sensors are very similar in design, so minor differences specific for a particular sensor are actually encoded into its label. The ABP series datasheet offers a detailed explanation of each code of the label. The specific sensor used on the Pressure 12 click is a piezoresistive silicon pressure sensor, which can be used for non-corrosive and non-ionic dry gas media and should not be exposed to moisture and corrosion.
.jpg)
The sensor itself is based on a piezoresistive silicon membrane sensitive to pressure, which is backed up by an ASIC. The ASIC applies temperature compensation and calibration to the signal. The ratiometric voltage at the output pin is updated once per one ms (1kHz), allowing it to be used either by the A/D converter of the host MCU or directly within the control feedback loop, ensuring the least possible latency.
The thermal compensation covers the range between 0⁰C and 50 ⁰C, where the sensor has the smallest TEB value. The datasheet introduces TEB (Total Error Band) term as the most realistic representation of the sensor’s accuracy, taking many factors into an account, including errors caused by the offset, hysteresis, non-linearity, and other factors… Honeywell uses the TEB to illustrate the overall sensor’s accuracy, since no single parameter can exist without being influenced by some other parameters (thermal effect on the offset, hysteresis, just to name few). This helps to paint a more realistic picture of the sensor’s performance.
The sensor contains a single axial barbless port, adequate for secure interfacing with various pipes, hoses or gas-filled containers of some pressurized system which needs to be controlled or monitored. No barbed port is required for this sensor, as the maximum gauge pressure, it can measure goes up to 600mbar. The voltage at the output changes proportionally with the applied pressure. The ABP series datasheet provides a simple conversion formula, which can be used to calculate the pressure value for a given output voltage. This formula is simple to be calculated by the firmware that runs on the host MCU, as the output voltage is already conditioned by the sensor’s ASIC.
Since the sensor uses only an analog output voltage, which changes proportionally with the applied pressure (as described previously), there are no setup registers, or any user-configurable parameters. However, the Click board™ is supported by a mikroSDK compatible library with functions that allow using an internal ADC module of the MCU, and an example that demonstrates their use. The demo example utilizes the aforementioned conversion formula to output pressure value based on the sensor’s output voltage.
Specifications
Type
Pressure
Applications
Perfect for the development and prototyping of many different applications based on the gauge pressure measurement, including HVAC systems, pneumatic control, and regulation, air/gas pressure monitoring, but also some low-power IoT applications, such as weather IoT nodes, and similar
On-board modules
ABPLLNN600MGAA3, by Honeywell
Key Features
Low error margin of 1.5% across the full-scale span (including errors caused by the offset, hysteresis, non-linearity, and other factors…), excellent long-term stability, low power consumption, low count of additional components required, can be used in the range from 0 to 600 mbar
Interface
Analog
Feature
No ClickID
Compatibility
mikroBUS™
Click board size
S (28.6 x 25.4 mm)
Input Voltage
3.3V
Pinout diagram
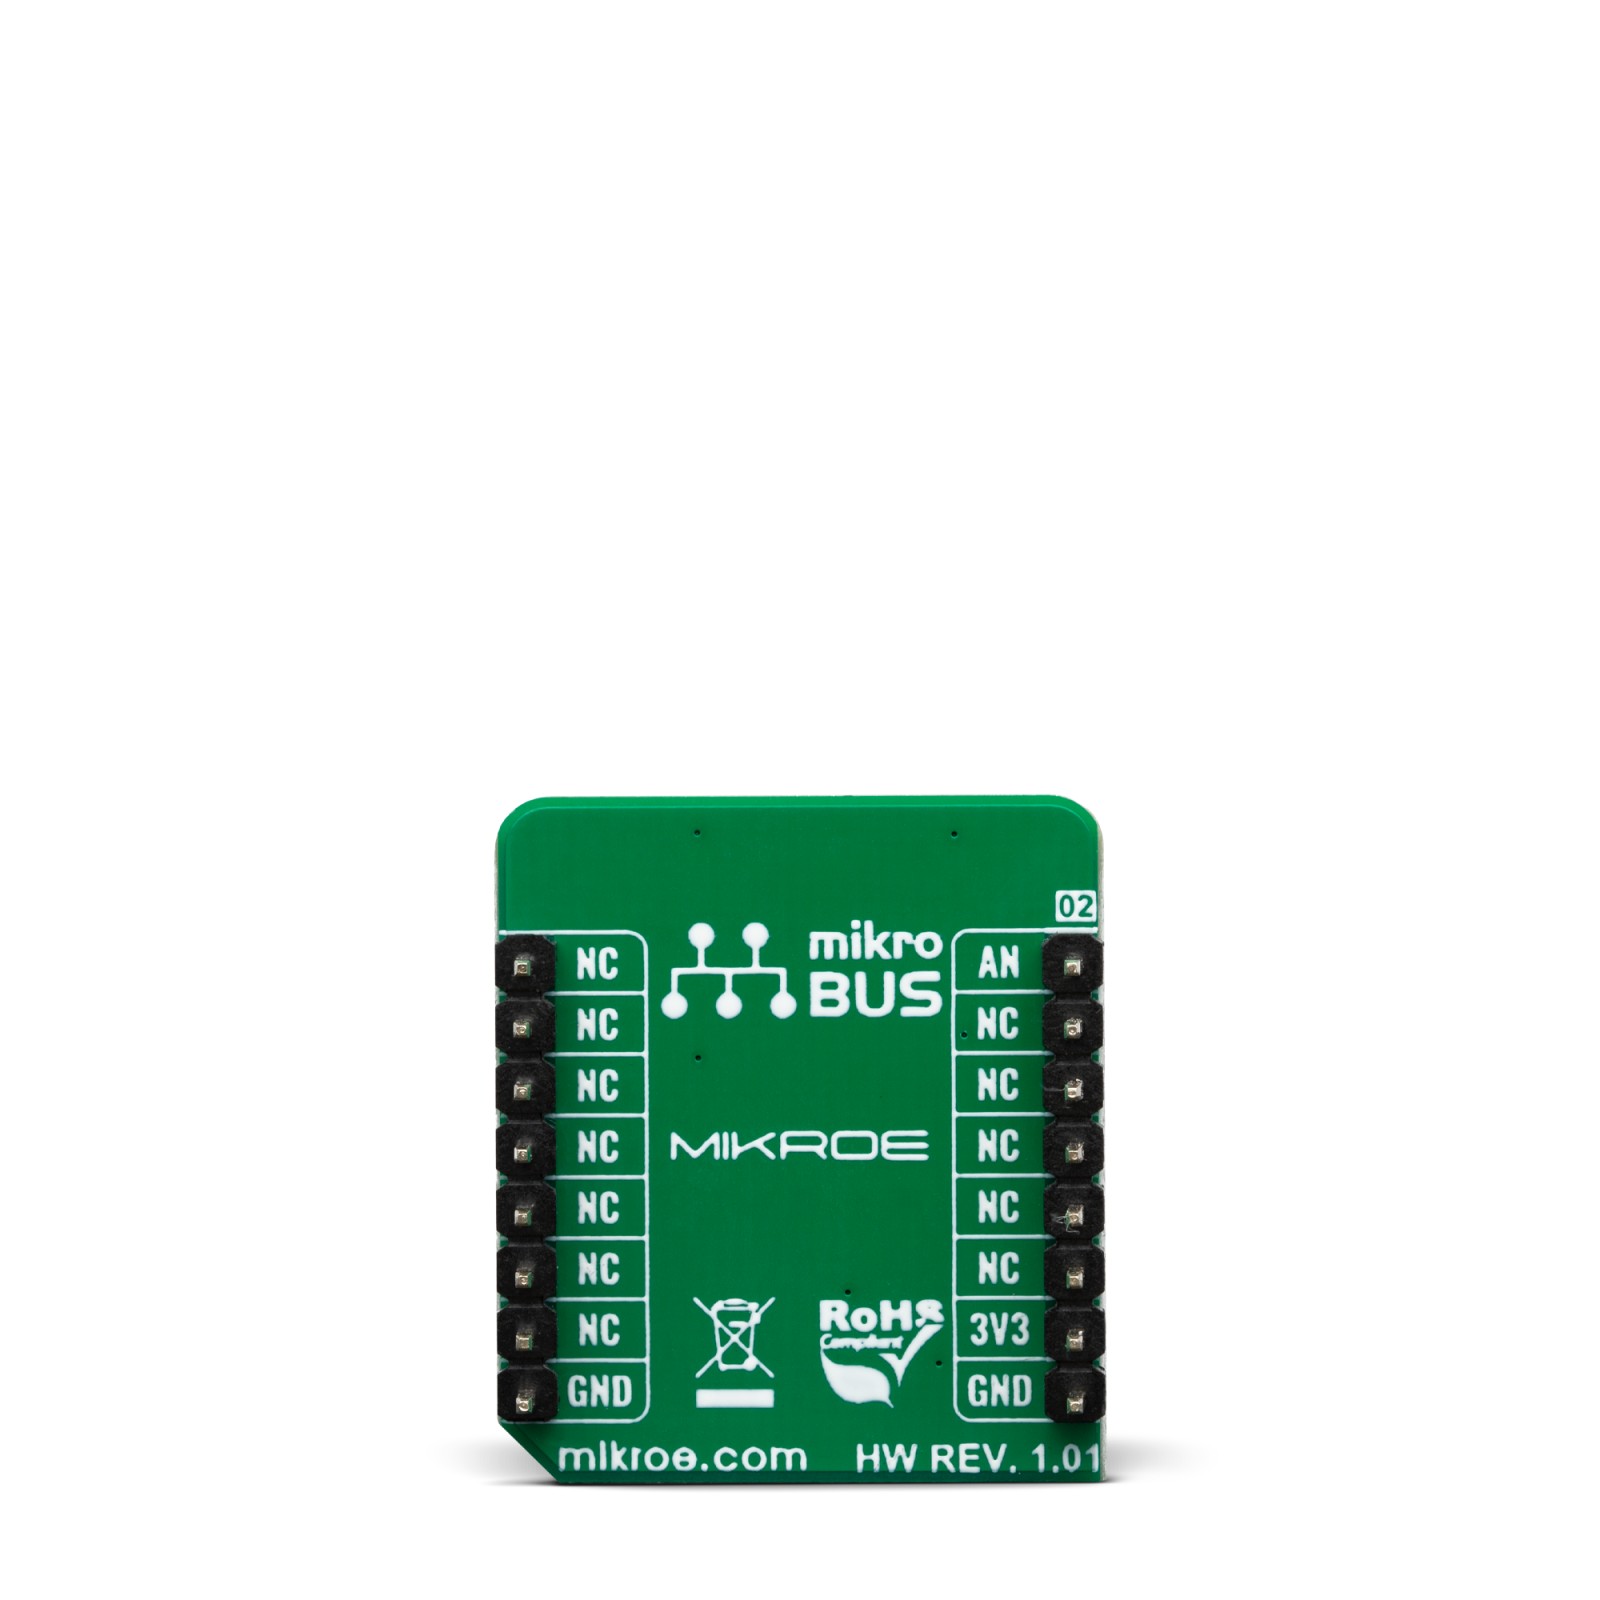
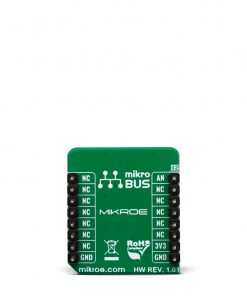
This table shows how the pinout on Pressure 12 click corresponds to the pinout on the mikroBUS™ socket (the latter shown in the two middle columns).
Onboard settings and indicators
| Label | Name | Default | Description |
|---|---|---|---|
| LD1 | PWR | – | Power LED Indicator |
Pressure 12 click electrical specifications
| Description | Min | Typ | Max | Unit |
|---|---|---|---|---|
| Pressure range | 0 | - | 600 | mbar |
| Operating temperature range | -40 | – | +85 | ⁰C |
| Calibrated temperature range | 0 | - | +50 | ⁰C |
| Output voltage update frequency | – | 1 | – | kHz |
Software Support
We provide a library for the Pressure 12 Click as well as a demo application (example), developed using MIKROE compilers. The demo can run on all the main MIKROE development boards.
Package can be downloaded/installed directly from NECTO Studio Package Manager (recommended), downloaded from our LibStock™ or found on MIKROE github account.
Library Description
This library contains API for Pressure 12 Click driver.
Key functions
-
Get pressure function.
-
Get voltage function.
-
Set ADC resolution function.
Example Description
Reads ADC value, convert ADC data to Voltage[ mV ] and pressure [ mBar ].
 void application_task ( void )
 {
     if ( pressure12_read_pin_voltage( &pressure12, &voltage_val ) != ADC_ERROR )
     {
         log_printf( &logger, " Voltage [V] : %.2frn", voltage_val );
     }

     if ( pressure12_get_pressure( &pressure12, &pressure_val ) != ADC_ERROR )
     {
         log_printf( &logger, " Pressure [mBar] : %urn", pressure_val );
     }

     log_printf( &logger, "-----------------------------rn" );
     Delay_ms ( 1000 );
 }
The full application code, and ready to use projects can be installed directly from NECTO Studio Package Manager (recommended), downloaded from our LibStock™ or found on MIKROE github account.
Other MIKROE Libraries used in the example:
- MikroSDK.Board
- MikroSDK.Log
- Click.Pressure12
Additional notes and informations
Depending on the development board you are using, you may need USB UART click, USB UART 2 Click or RS232 Click to connect to your PC, for development systems with no UART to USB interface available on the board. UART terminal is available in all MIKROE compilers.
mikroSDK
This Click board™ is supported with mikroSDK – MIKROE Software Development Kit. To ensure proper operation of mikroSDK compliant Click board™ demo applications, mikroSDK should be downloaded from the LibStock and installed for the compiler you are using.
For more information about mikroSDK, visit the official page.
Resources
Downloads
| Weight | 19 g |
|---|---|
| Brand | MikroElektronika |

