How does it work?
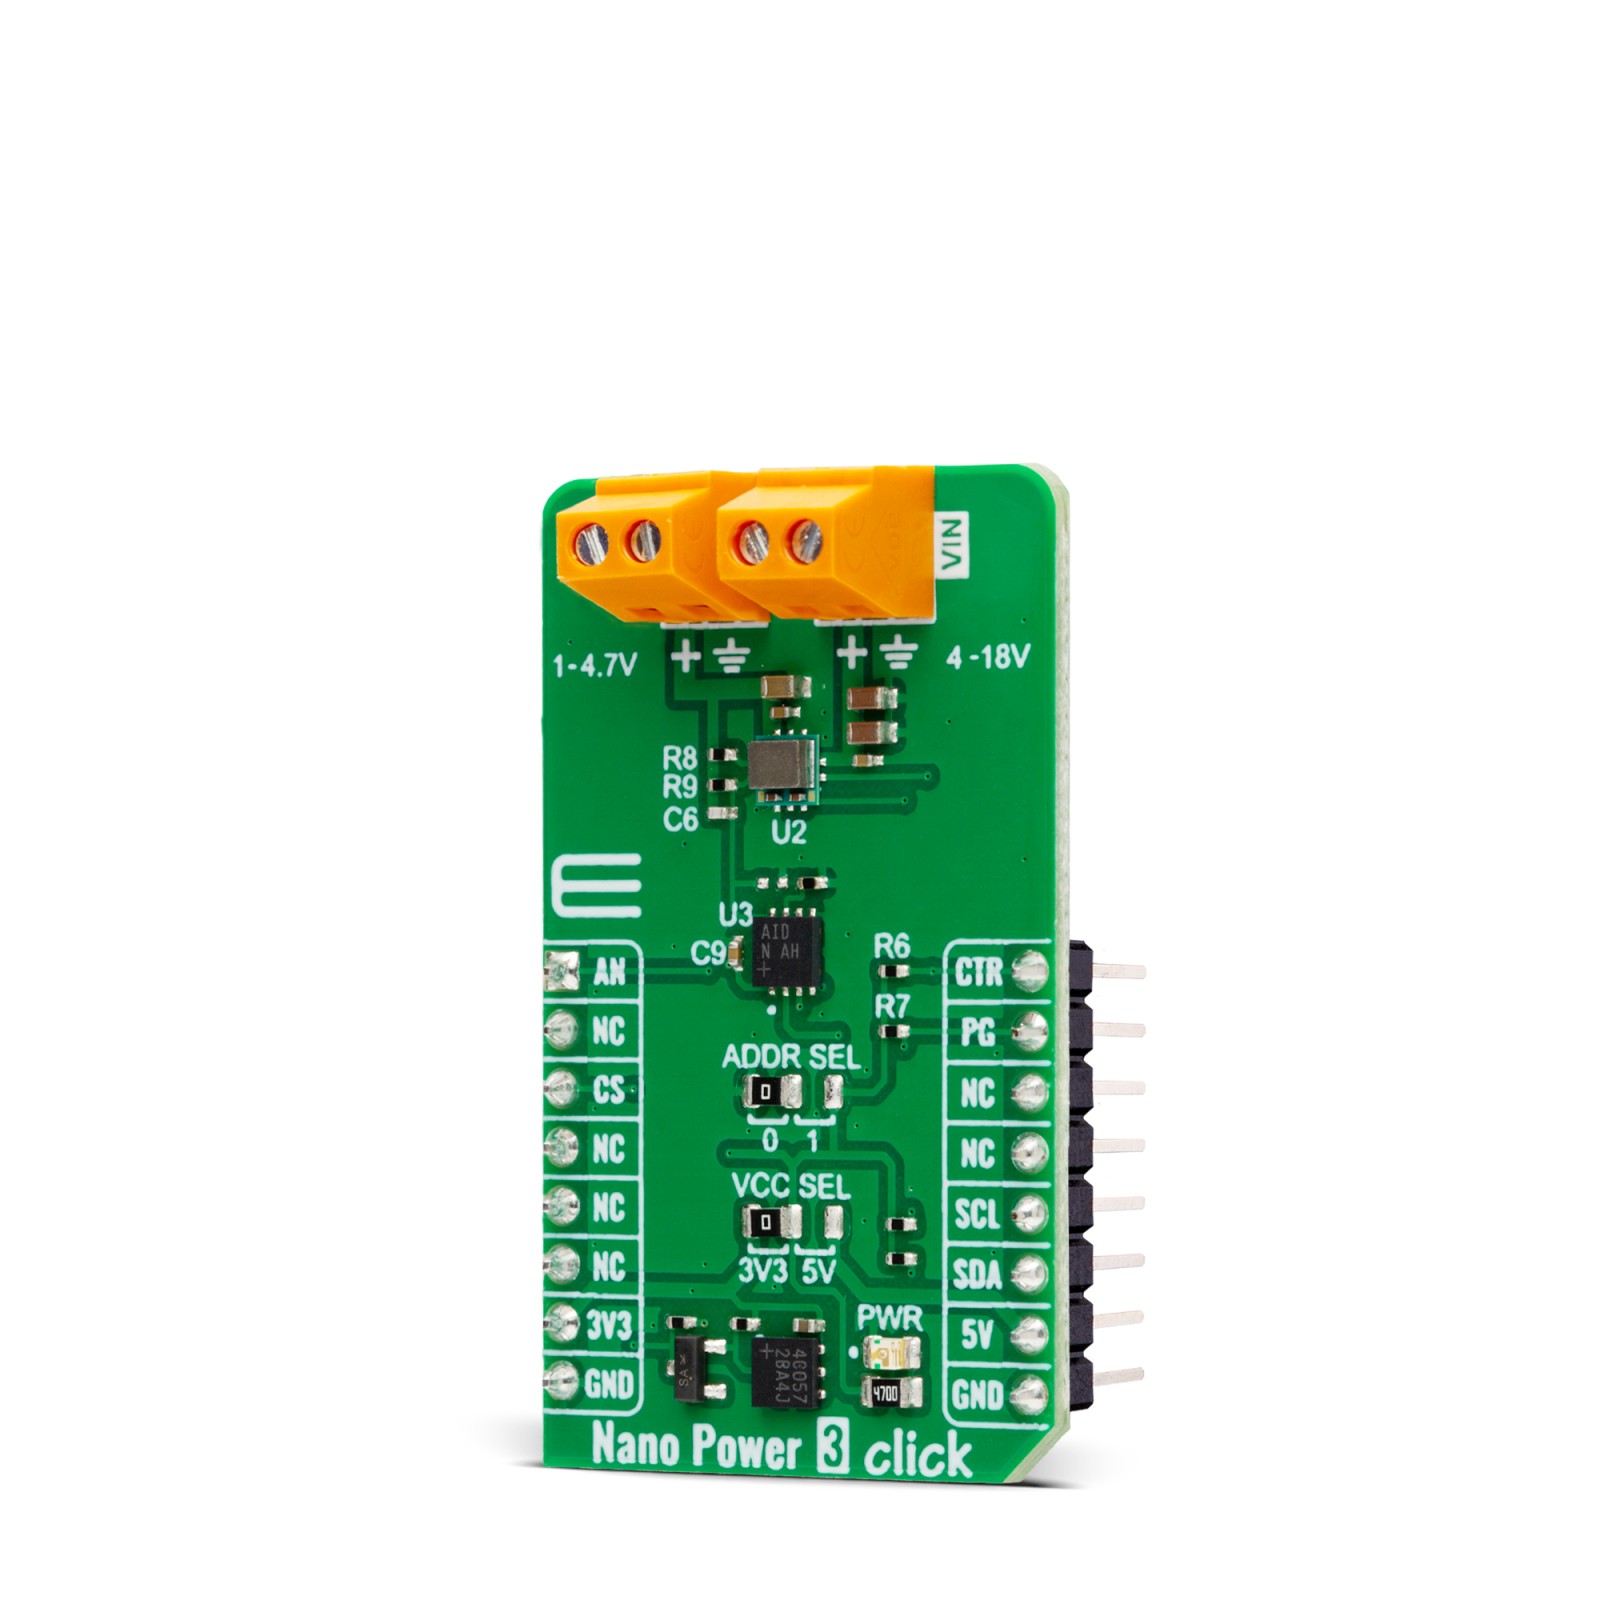
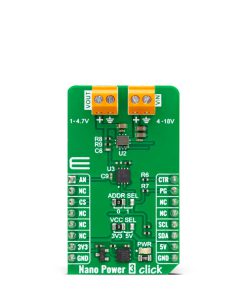
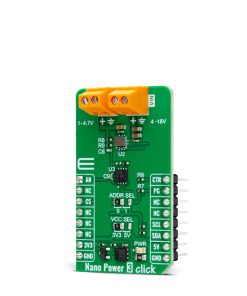
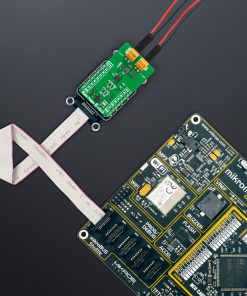
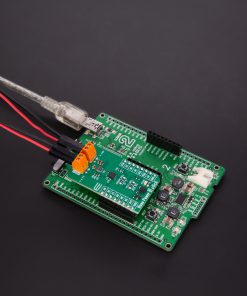
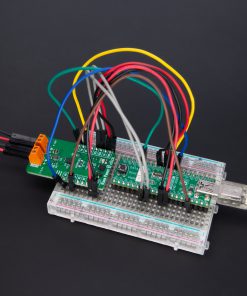
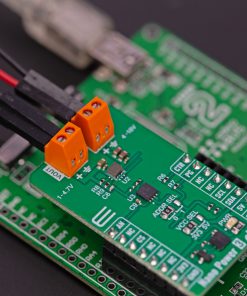
Nano Power 3 Click is based on the RPL-3.0-R, a buck converter with an integrated inductor from Recom Power. This thermally-enhanced converter uses, as input, voltage from 4 up to 18VDC, thus allowing 5V and 12V supply rails to be used. It’s fully protected against continuous short circuits, output overcurrent, or over-temperature faults. To set the output voltage on the VOUT terminal, the Nano Power 3 Click uses the MAX5419, a 256-tap nonvolatile digital potentiometer from Analog Devices. This potentiometer features the power-on recall of the wiper position from nonvolatile EEPROM memory. The nominal resistance of this potentiometer is 200kΩ, and together with an onboard resistor makes a voltage divider that feeds the feedback input of the buck converter. You select the output voltage value by setting the resistance value on this potentiometer.
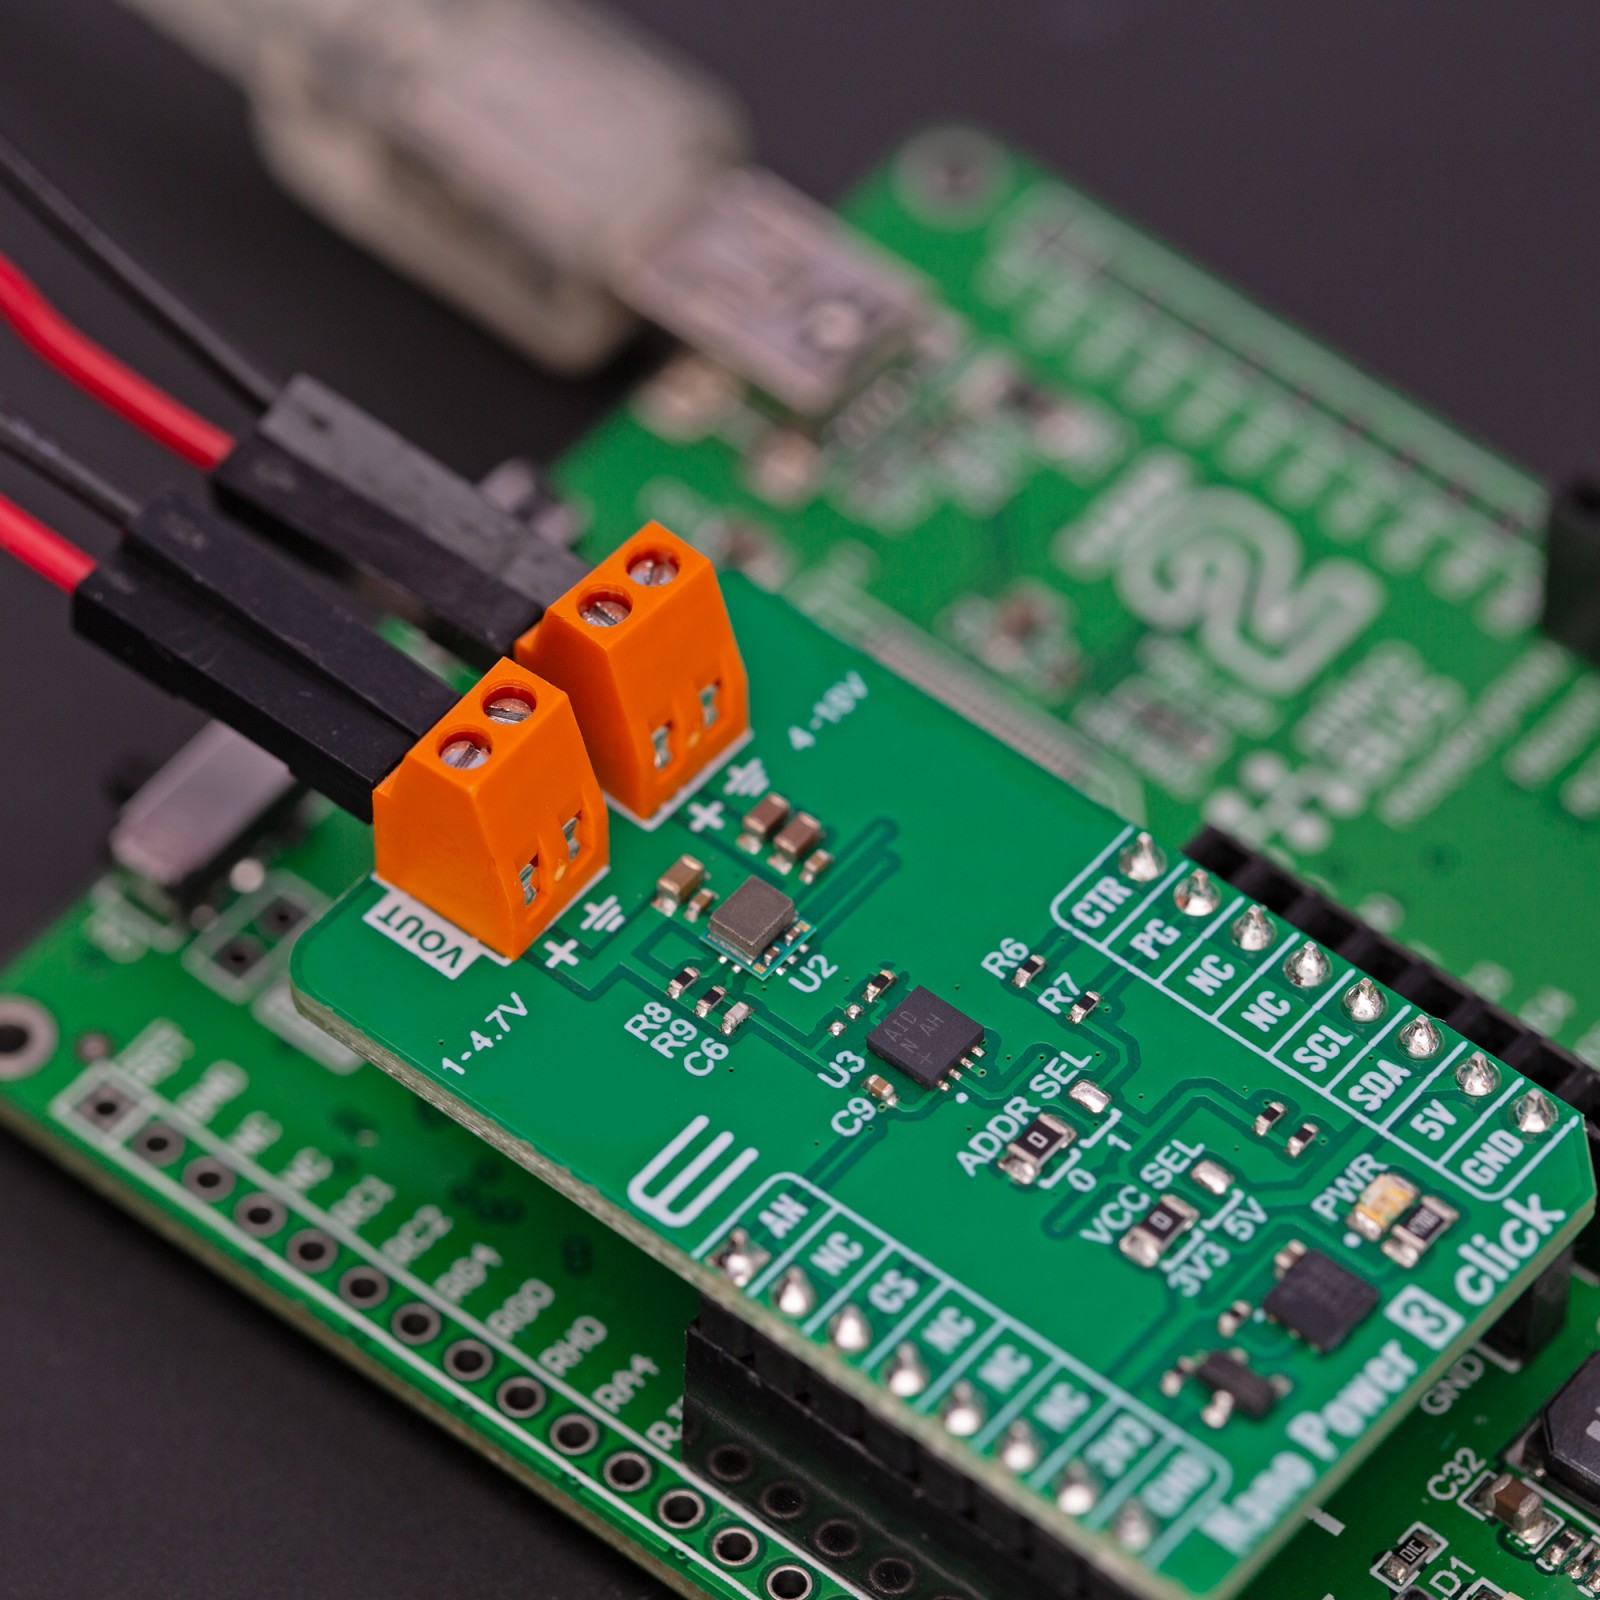
Nano Power 3 Click uses a standard 2-Wire I2C interface of the MAX5419 to communicate with the host MCU, supporting Fast mode and data rates of up to 400Kbps. The I2C address can be set over the ADDR SEL jumper with 0 selected by default. In addition to the digital potentiometer control, you can also control the buck converter by turning it OFF via the CTR pin. The PG pin serves as the buck converter Power Good condition output, which interrupts the host MCU according to meeting one of the overvoltage or undervoltage thresholds and sink current capability. The buck converter’s output voltage can be read over the AN pin of the mikroBUS™ socket.
This Click board™ can operate with either 3.3V or 5V logic voltage levels selected via the VCC SEL jumper. This way, both 3.3V and 5V capable MCUs can use the communication lines properly. Also, this Click board™ comes equipped with a library containing easy-to-use functions and an example code that can be used, as a reference, for further development.
Specifications
Type
Buck
Applications
Can be used for distributed power architectures, portable equipment in telecom, industrial applications, and more
On-board modules
RPL-3.0-R – buck converter with an integrated inductor from Recom Power
Key Features
Wide voltage input range, wide voltage output range including voltages of 1V, the current output of up to 3A, overvoltage, and under-voltage protection, power-good indicator, an onboard digital potentiometer with 256 wiper positions, and more
Interface
I2C
Feature
ClickID
Compatibility
mikroBUS™
Click board size
M (42.9 x 25.4 mm)
Input Voltage
3.3V or 5V
Pinout diagram
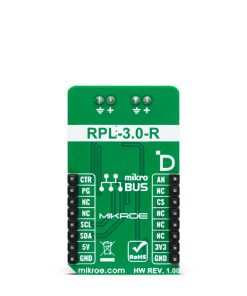
This table shows how the pinout on Nano Power 3 Click corresponds to the pinout on the mikroBUS™ socket (the latter shown in the two middle columns).
Onboard settings and indicators
Label | Name | Default | Description |
---|---|---|---|
LD1 | PWR | – | Power LED Indicator |
JP1 | VCC SEL | Left | Logic Level Voltage Selection 3V3/5V: Left position 3V3, Right position 5V |
– | ADDR SEL | Left | I2C Address Selection 0/1: Left position 0, Right position 1 |
Nano Power 3 Click electrical specifications
Description | Min | Typ | Max | Unit |
---|---|---|---|---|
Supply Voltage | 3.3 | – | 5 | V |
External Supply Voltage Range | 4 | – | 18 | V |
Output Voltage Range | 1 | – | 4.7 | V |
Maximum Output Current | – | – | 3 | A |
Software Support
We provide a library for the Nano Power 3 Click as well as a demo application (example), developed using MIKROE compilers. The demo can run on all the main MIKROE development boards.
Package can be downloaded/installed directly from NECTO Studio Package Manager(recommended), downloaded from our LibStock™ or found on Mikroe github account.
Library Description
This library contains API for Nano Power 3 Click driver.
Key functions
-
nanopower3_set_ctr_pin
Nano Power 3 set CTRL pin state function. -
nanopower3_set_wiper_pos
Nano Power 3 set wiper position function. -
nanopower3_set_voltage
Nano Power 3 set output voltage function.
Example Description
This library contains API for the Nano Power 3 Click driver. This driver provides the functions to set the output voltage treshold.
void application_task ( void )
{
for ( uint8_t n_cnt = NANOPOWER3_1V_OUT_VOLTAGE; n_cnt <= NANOPOWER3_4V5_OUT_VOLTAGE; n_cnt++ )
{
nanopower3_set_voltage( &nanopower3, n_cnt );
log_printf( &logger, " Selected output is:" );
print_selected_output_level ( n_cnt );
Delay_ms( 5000 );
}
}
The full application code, and ready to use projects can be installed directly from NECTO Studio Package Manager(recommended), downloaded from our LibStock™ or found on Mikroe github account.
Other Mikroe Libraries used in the example:
- MikroSDK.Board
- MikroSDK.Log
- Click.NanoPower3
Additional notes and informations
Depending on the development board you are using, you may need USB UART click, USB UART 2 Click or RS232 Click to connect to your PC, for development systems with no UART to USB interface available on the board. UART terminal is available in all MIKROE compilers.
mikroSDK
This Click board™ is supported with mikroSDK – MIKROE Software Development Kit. To ensure proper operation of mikroSDK compliant Click board™ demo applications, mikroSDK should be downloaded from the LibStock and installed for the compiler you are using.
For more information about mikroSDK, visit the official page.