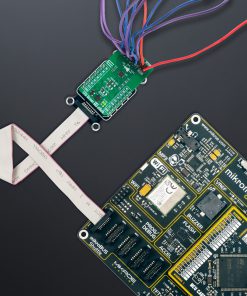
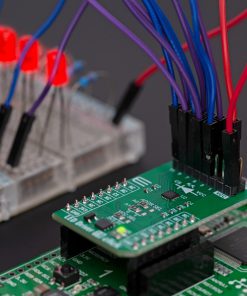
How does it work?
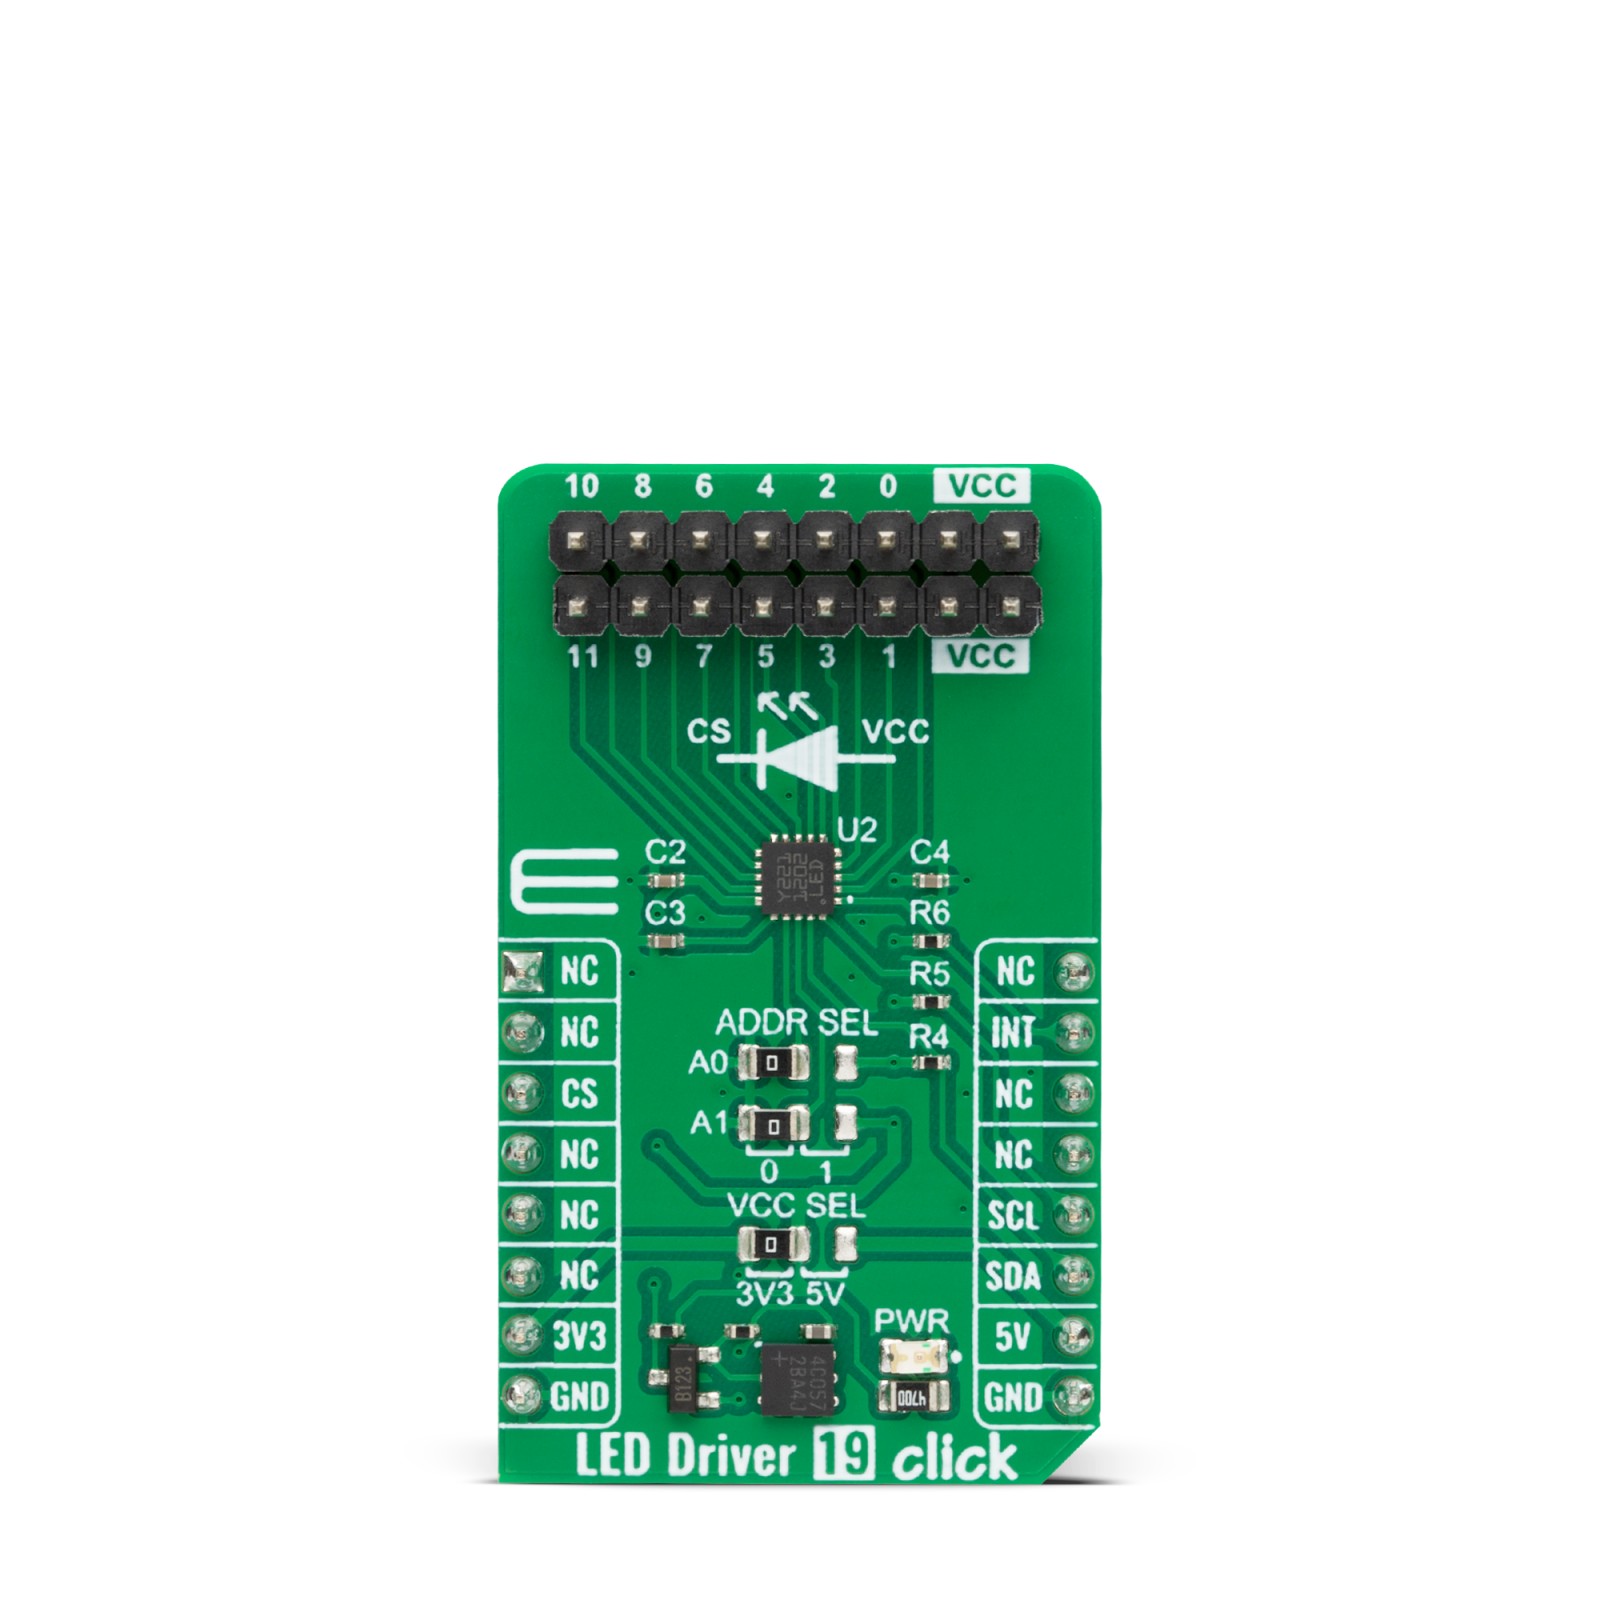
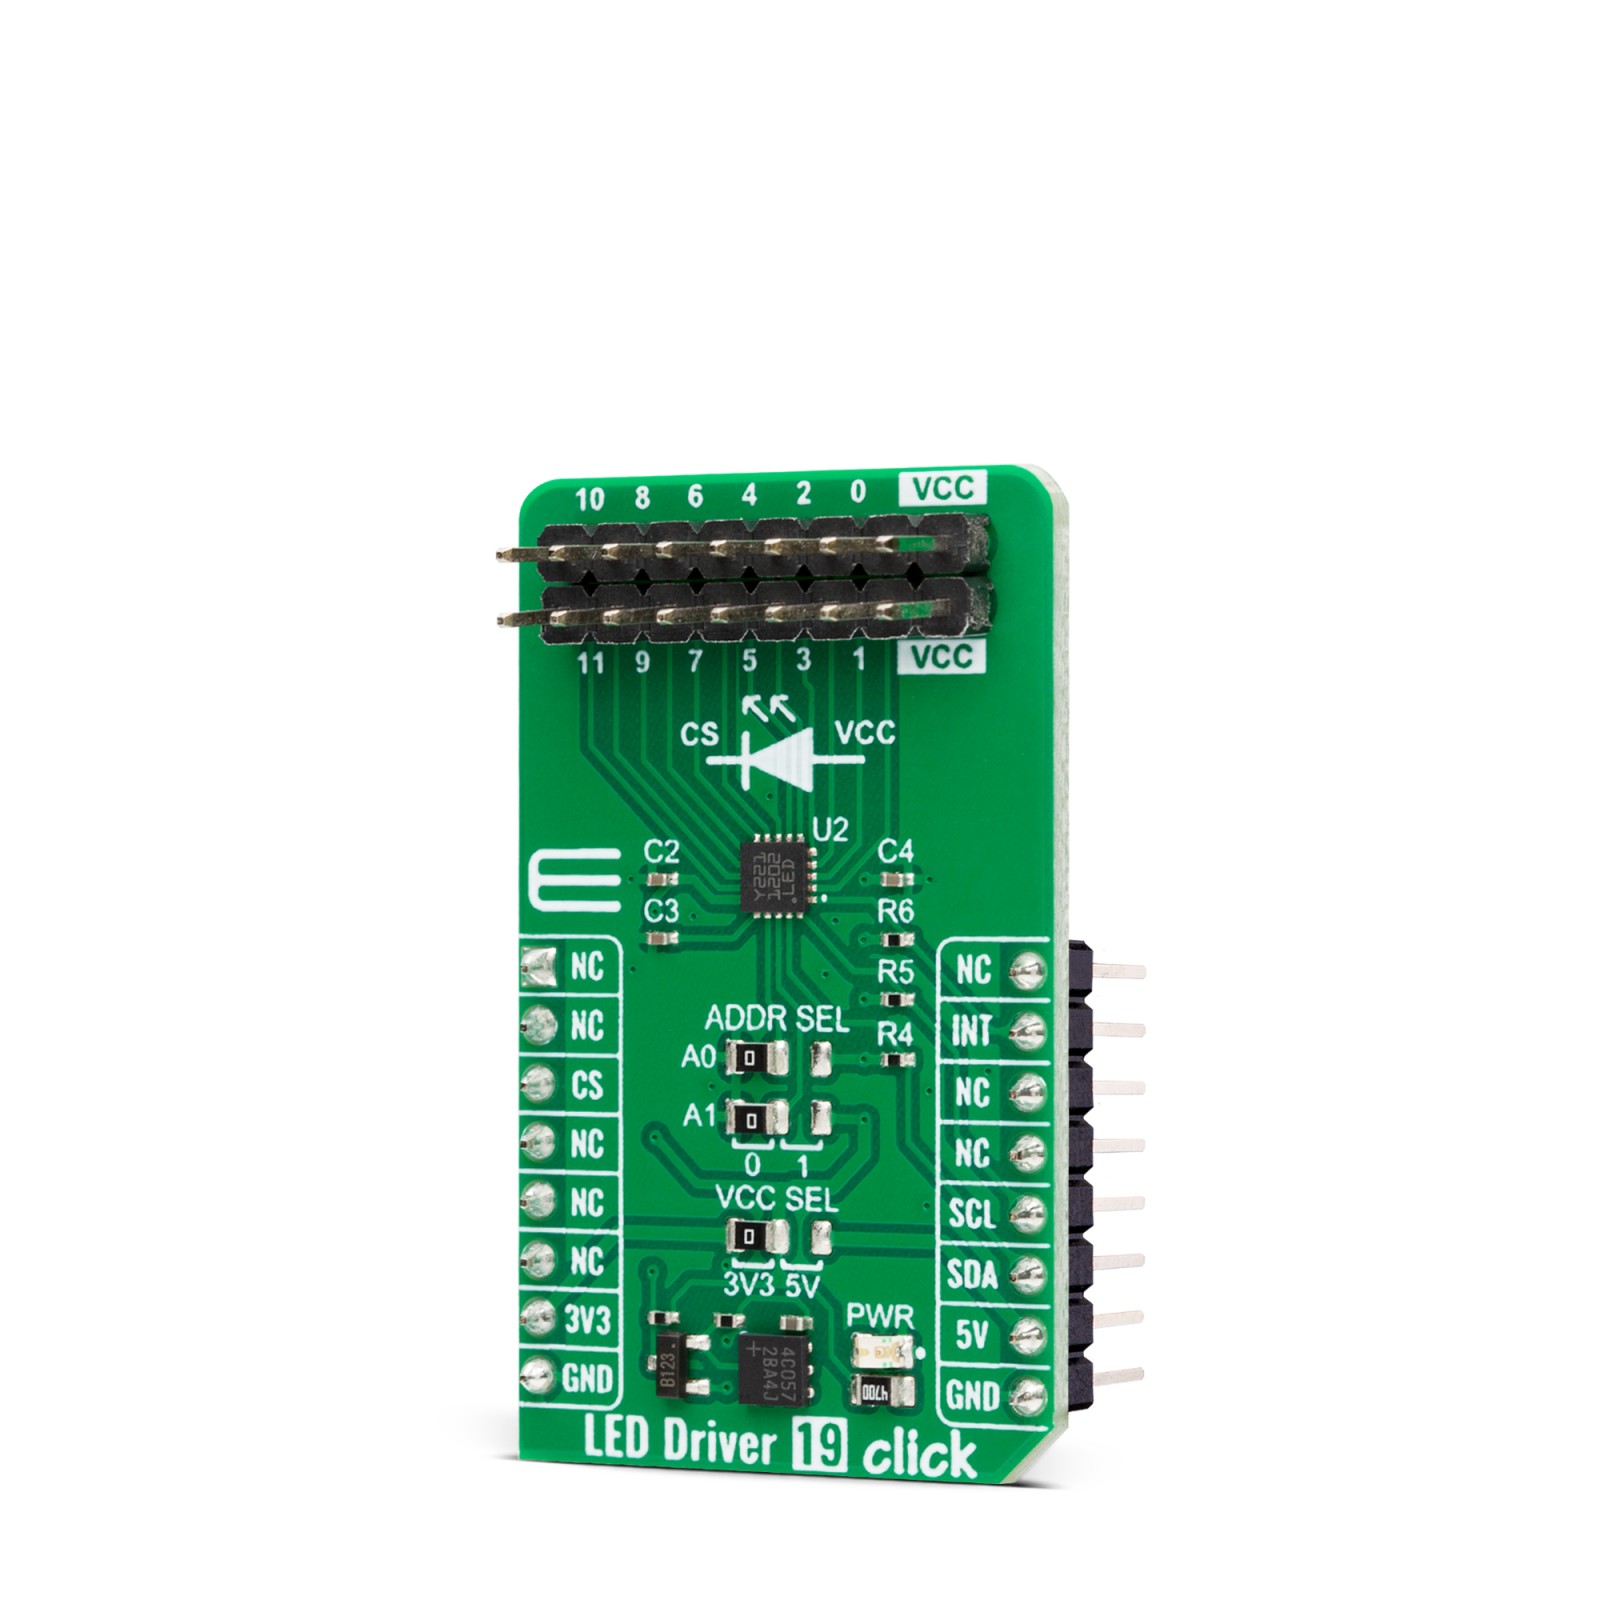
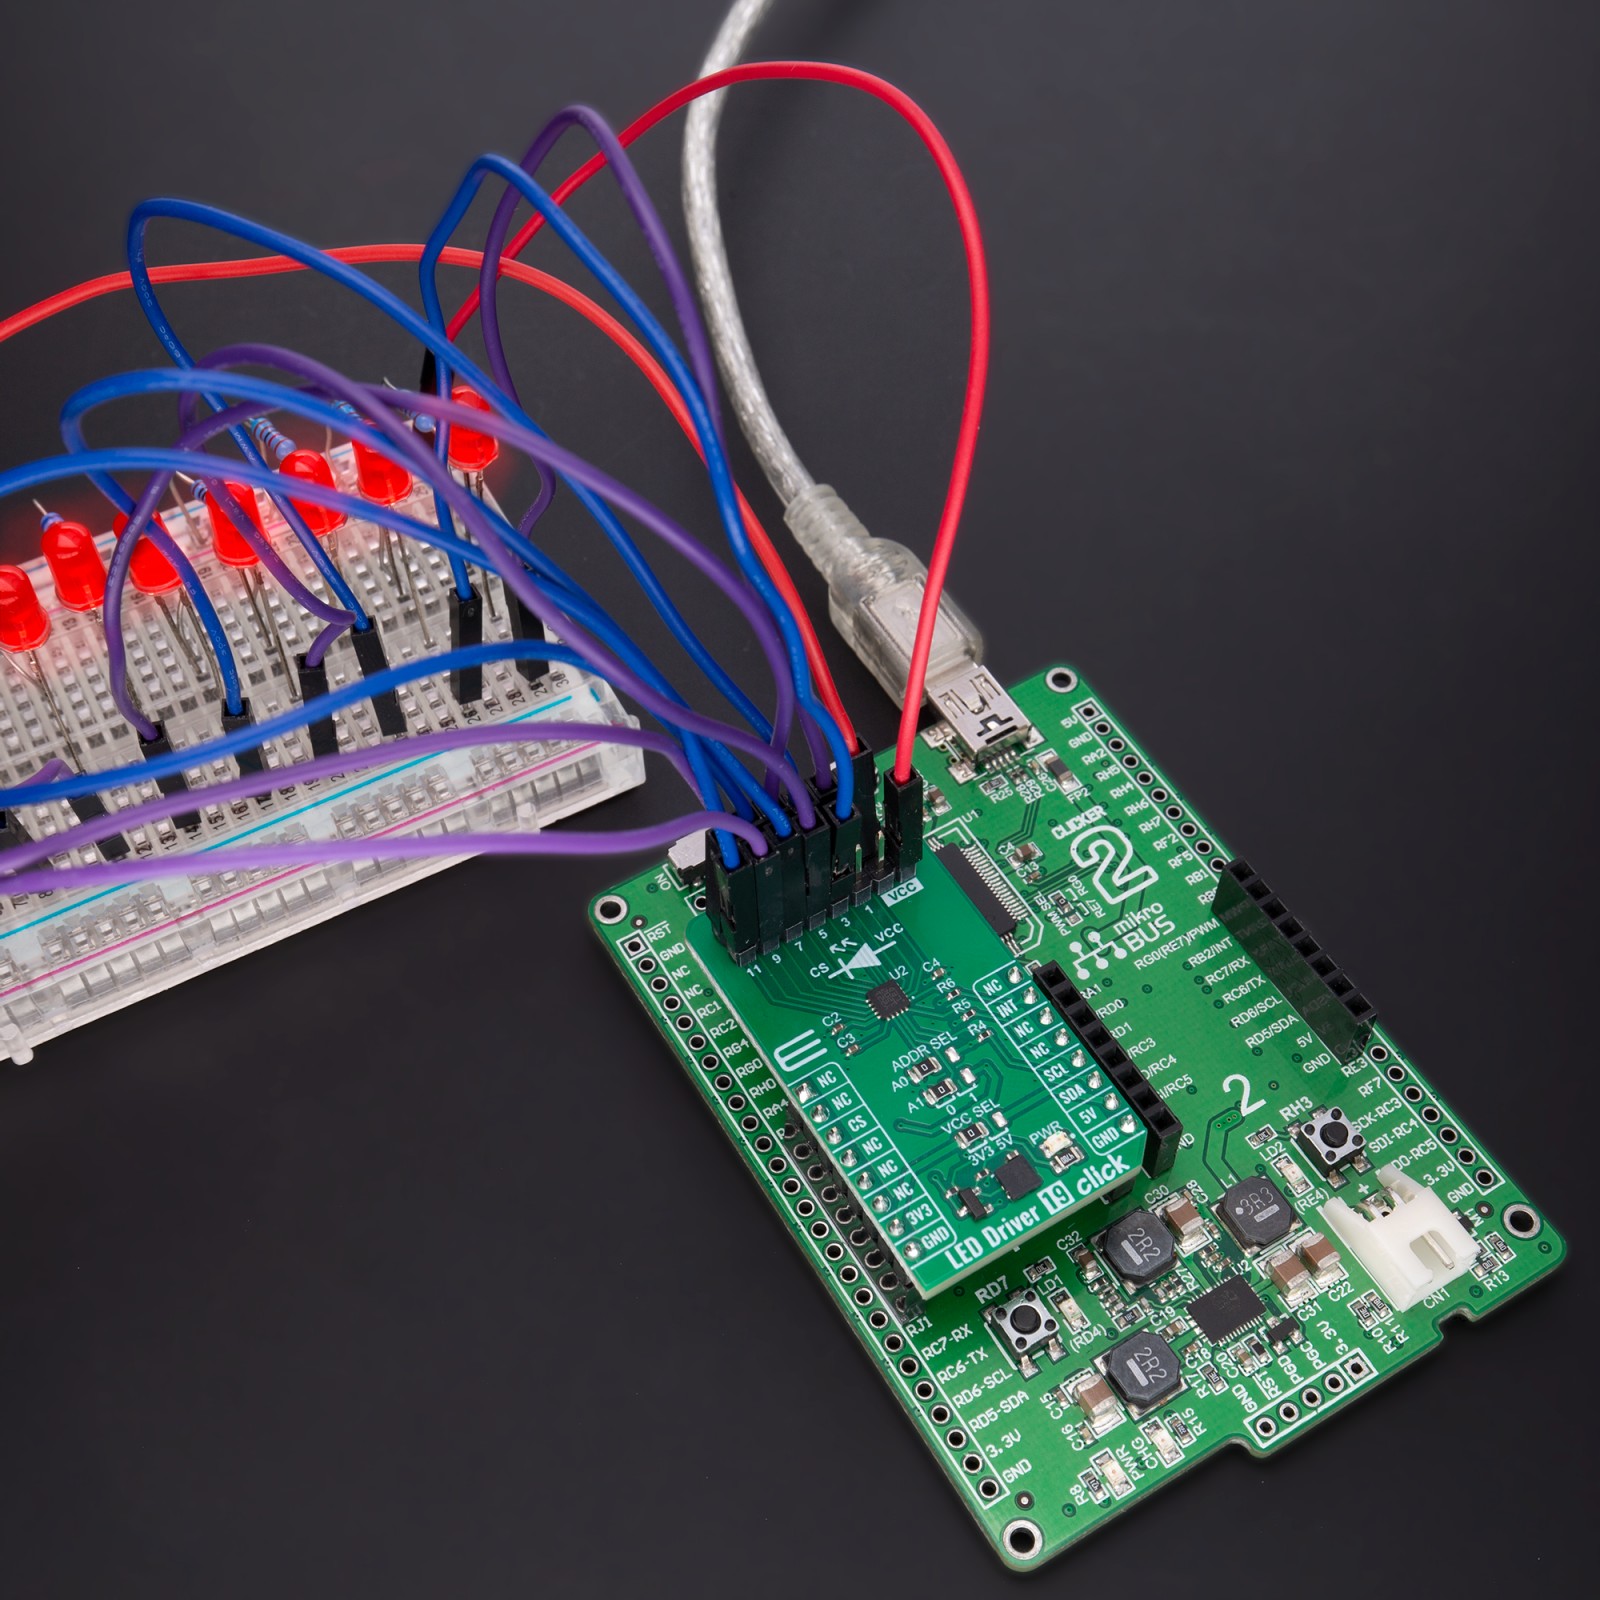
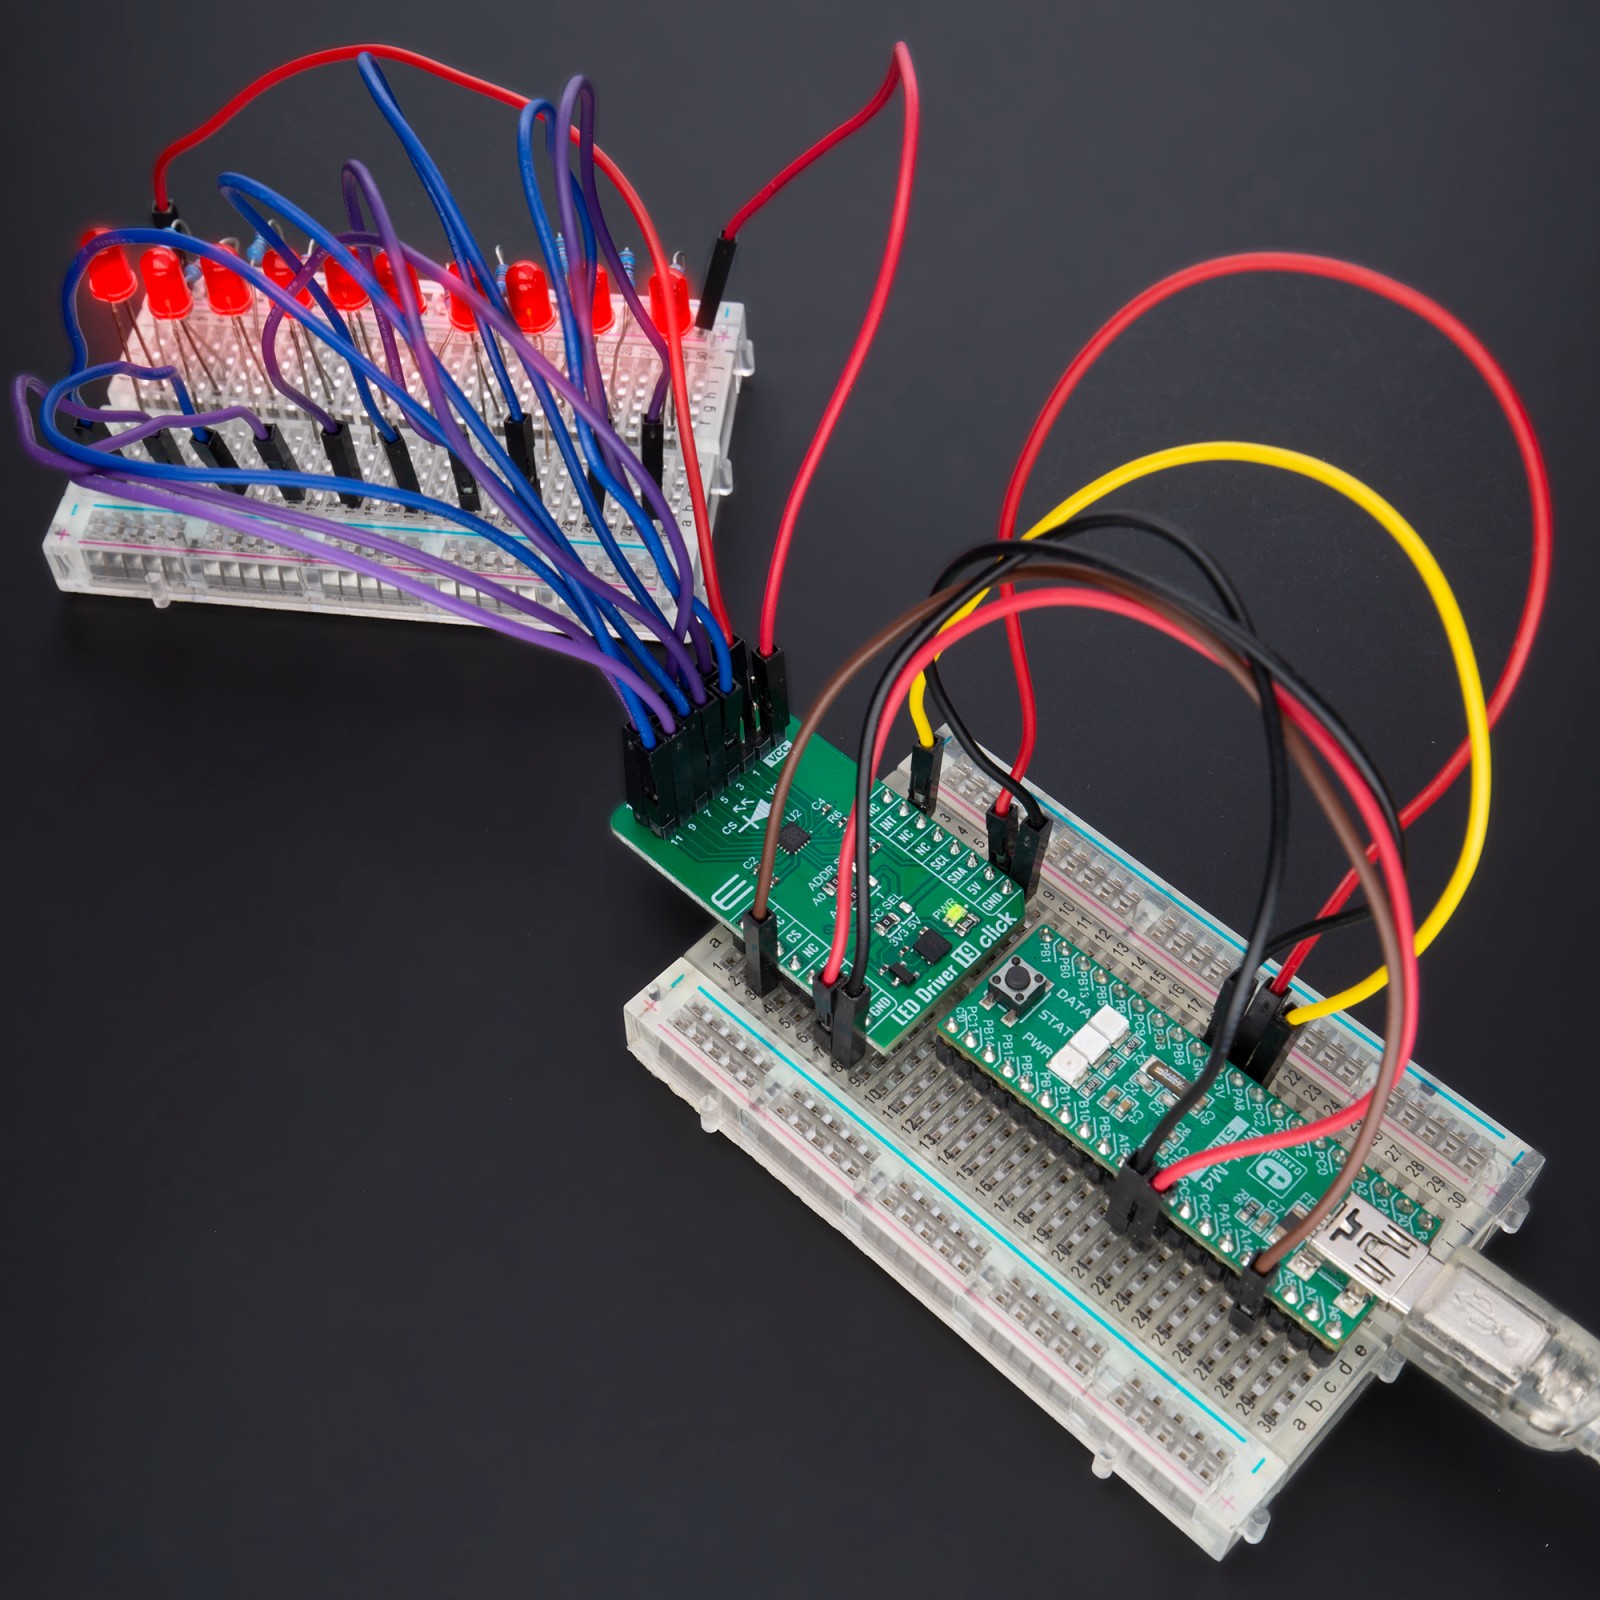
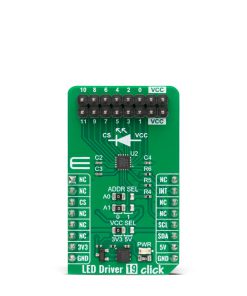
LED Driver 19 Click is based on the LED1202, a 12-channel low quiescent current LED driver from STMicroelectronics. Its internal non-volatile memory can store up to 8 different patterns, each with a particular output configuration, thus enabling automatic sequencing without MCU intervention. Each channel has an output PWM dimming frequency of 220Hz in a 12-bit resolution. Analog dimming range is from 1 up to 20mA, in 256 steps per channel, and common to all patterns. In addition, using one of the PWM or analog modes, you can use both of them to achieve full control of LED brightness. This LED driver also features a built-in open LED detection and thermal shutdown function that turns OFF all output drivers during an over-temperature condition.
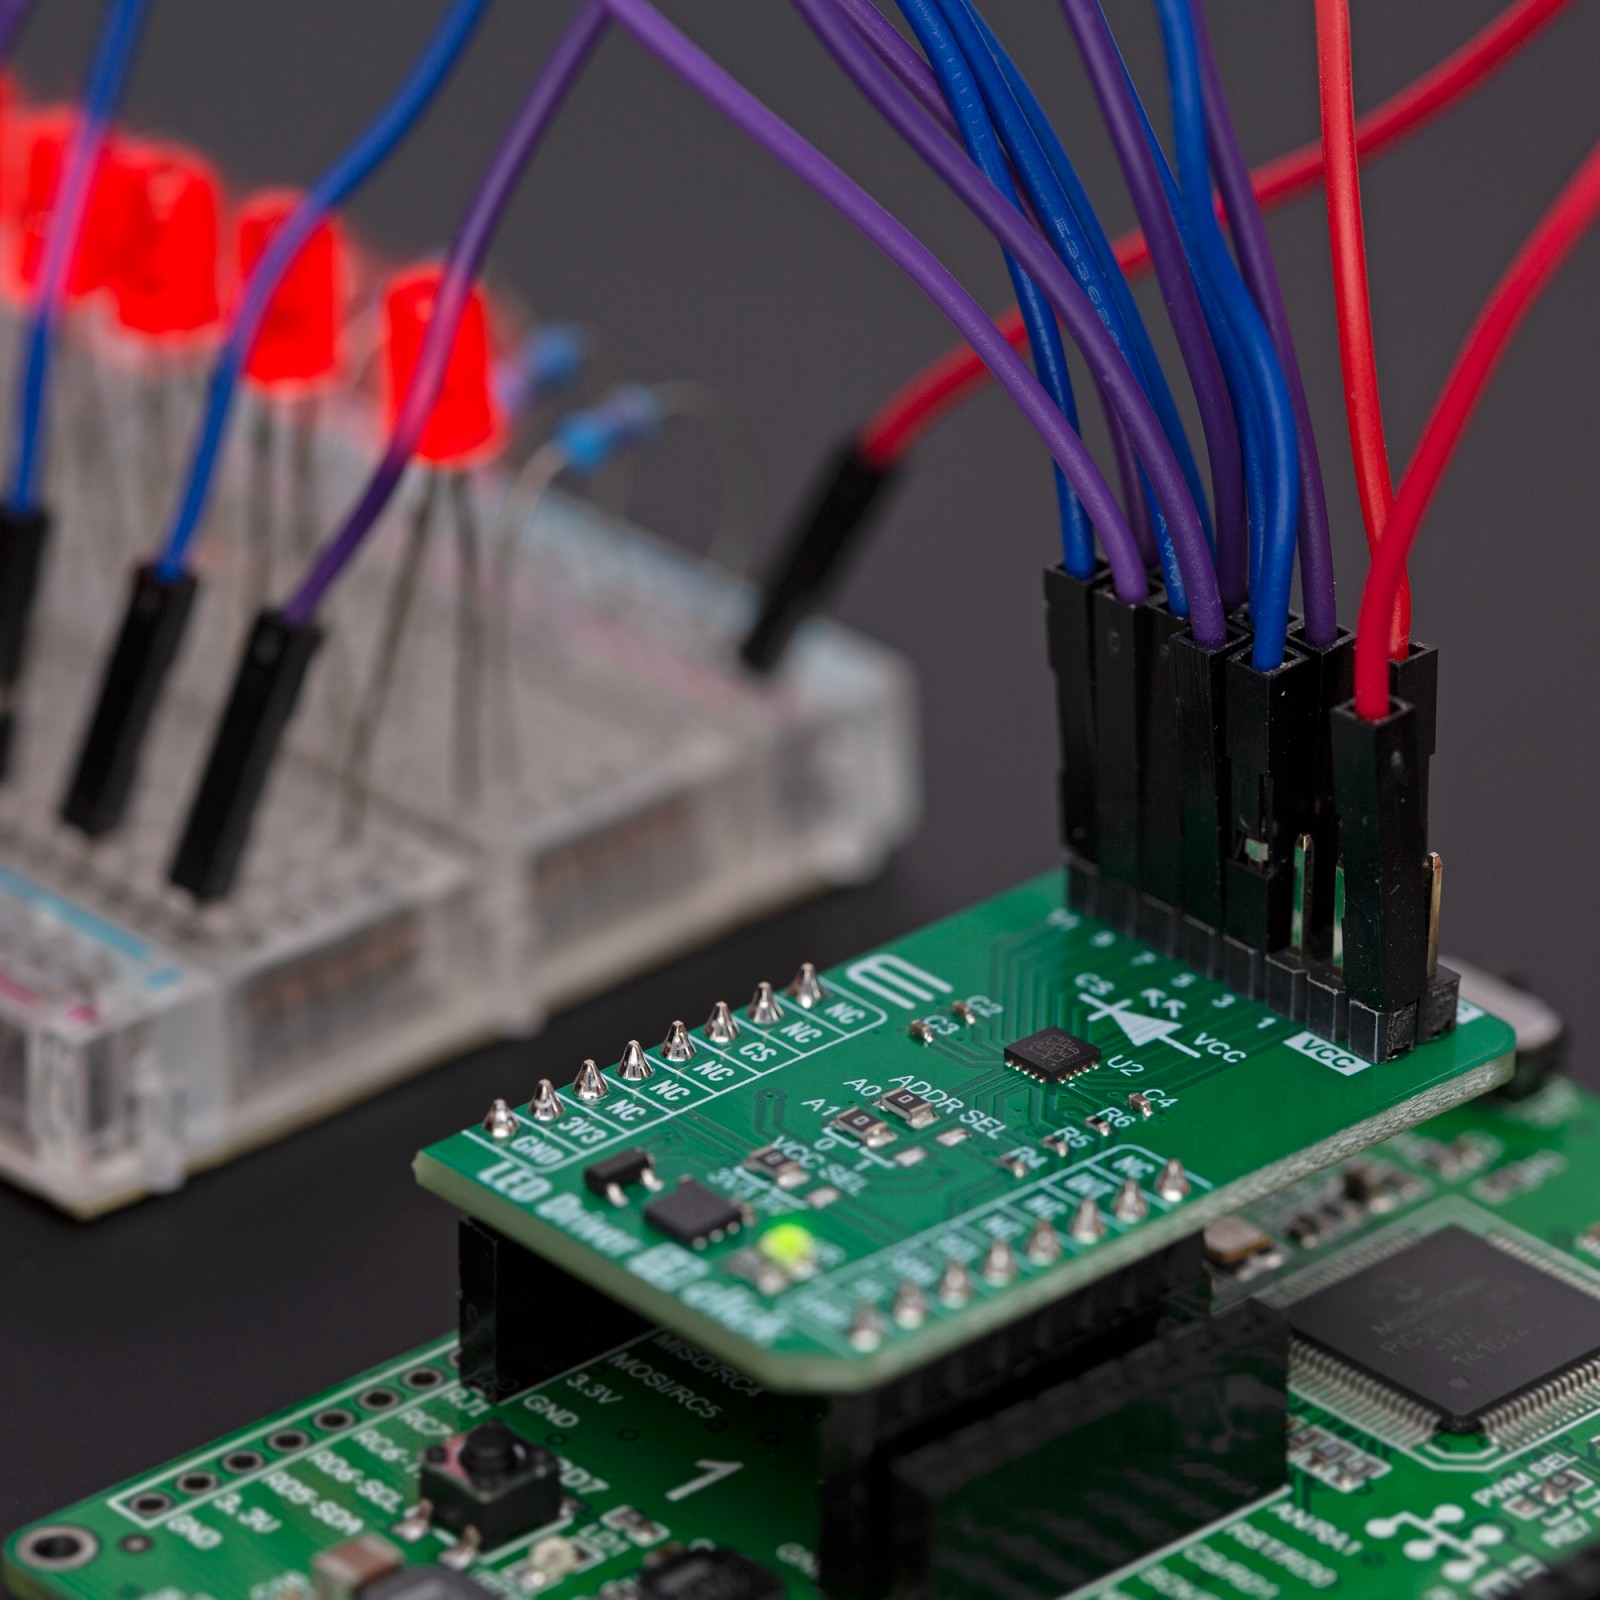
The LED Driver 19 Click uses a standard I2C 2-Wire interface to communicate with the host MCU. The I2C address can be selected via two ADDR SEL jumpers, where 0 is selected by default on both. The LED1202 driver can generate an interrupt on the INT pin if a fault or condition occurs; by that, it means an open LED, overtemperature, pattern end, and frame start. The INT pin informs the system about those statuses with active LOW.
This Click board™ can operate with either 3.3V or 5V logic voltage levels selected via the VCC SEL jumper. This way, both 3.3V and 5V capable MCUs can use the communication lines properly. However, the Click board™ comes equipped with a library containing easy-to-use functions and an example code that can be used, as a reference, for further development.
Specifications
Type
LED Drivers
Applications
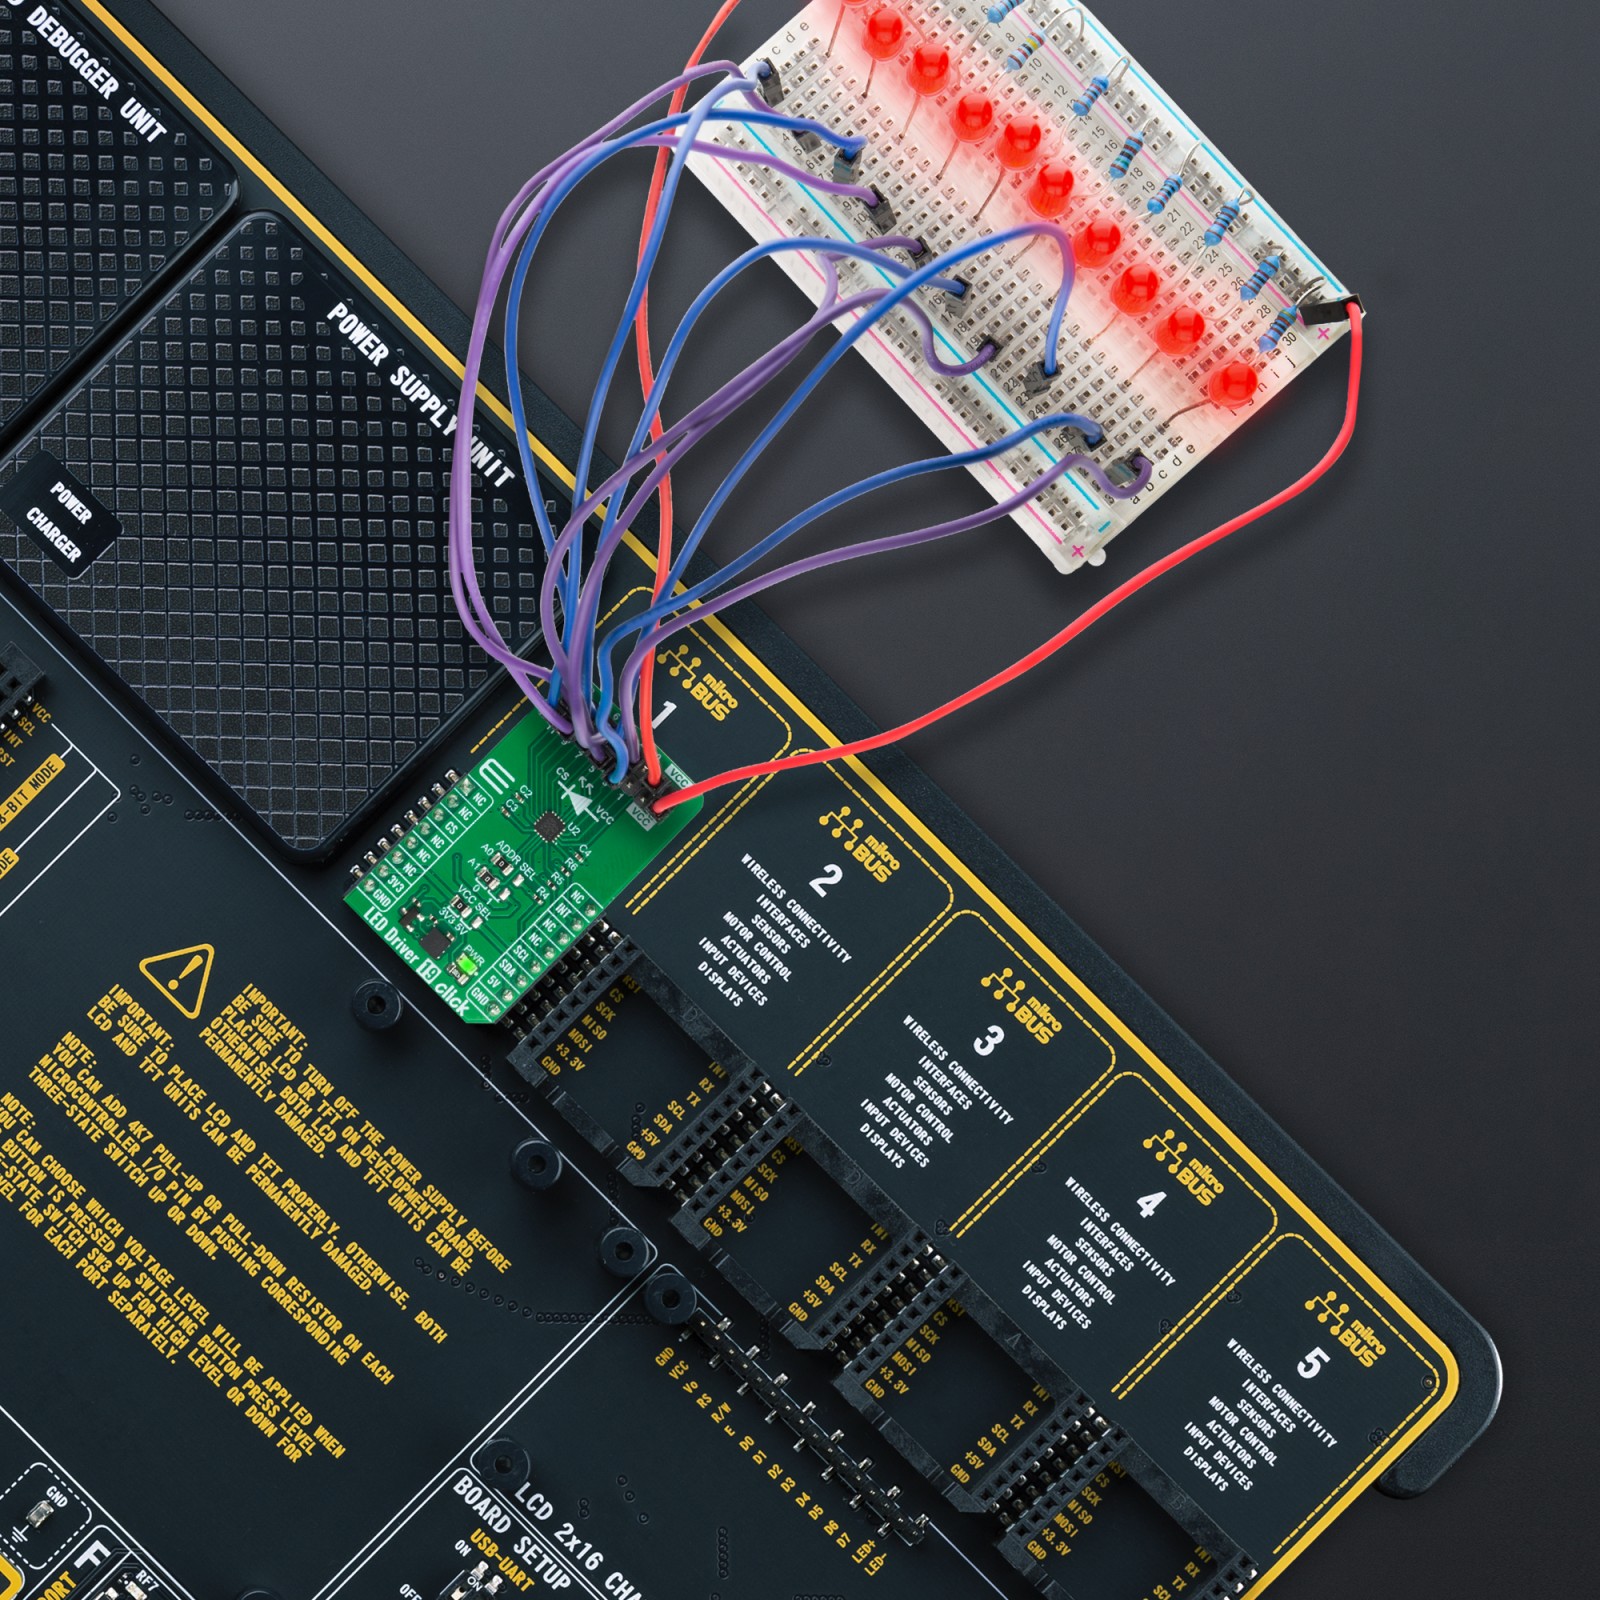
Can be used for color mixing and backlight application for amusement products, LED status signalization, home automation projects, and more
On-board modules
LED1202 – 12-channel low quiescent current LED driver from STMicroelectronics
Key Features
12 individual LED channels, 12-bit PWM control, 8-bit analog control, thermal shutdown protection, low power consumption, 8 programmable pattern sequences in non-volatile memory, fault flag pin, high efficiency and performance, and more
Interface
I2C
Feature
ClickID
Compatibility
mikroBUS™
Click board size
M (42.9 x 25.4 mm)
Input Voltage
3.3V or 5V
Pinout diagram
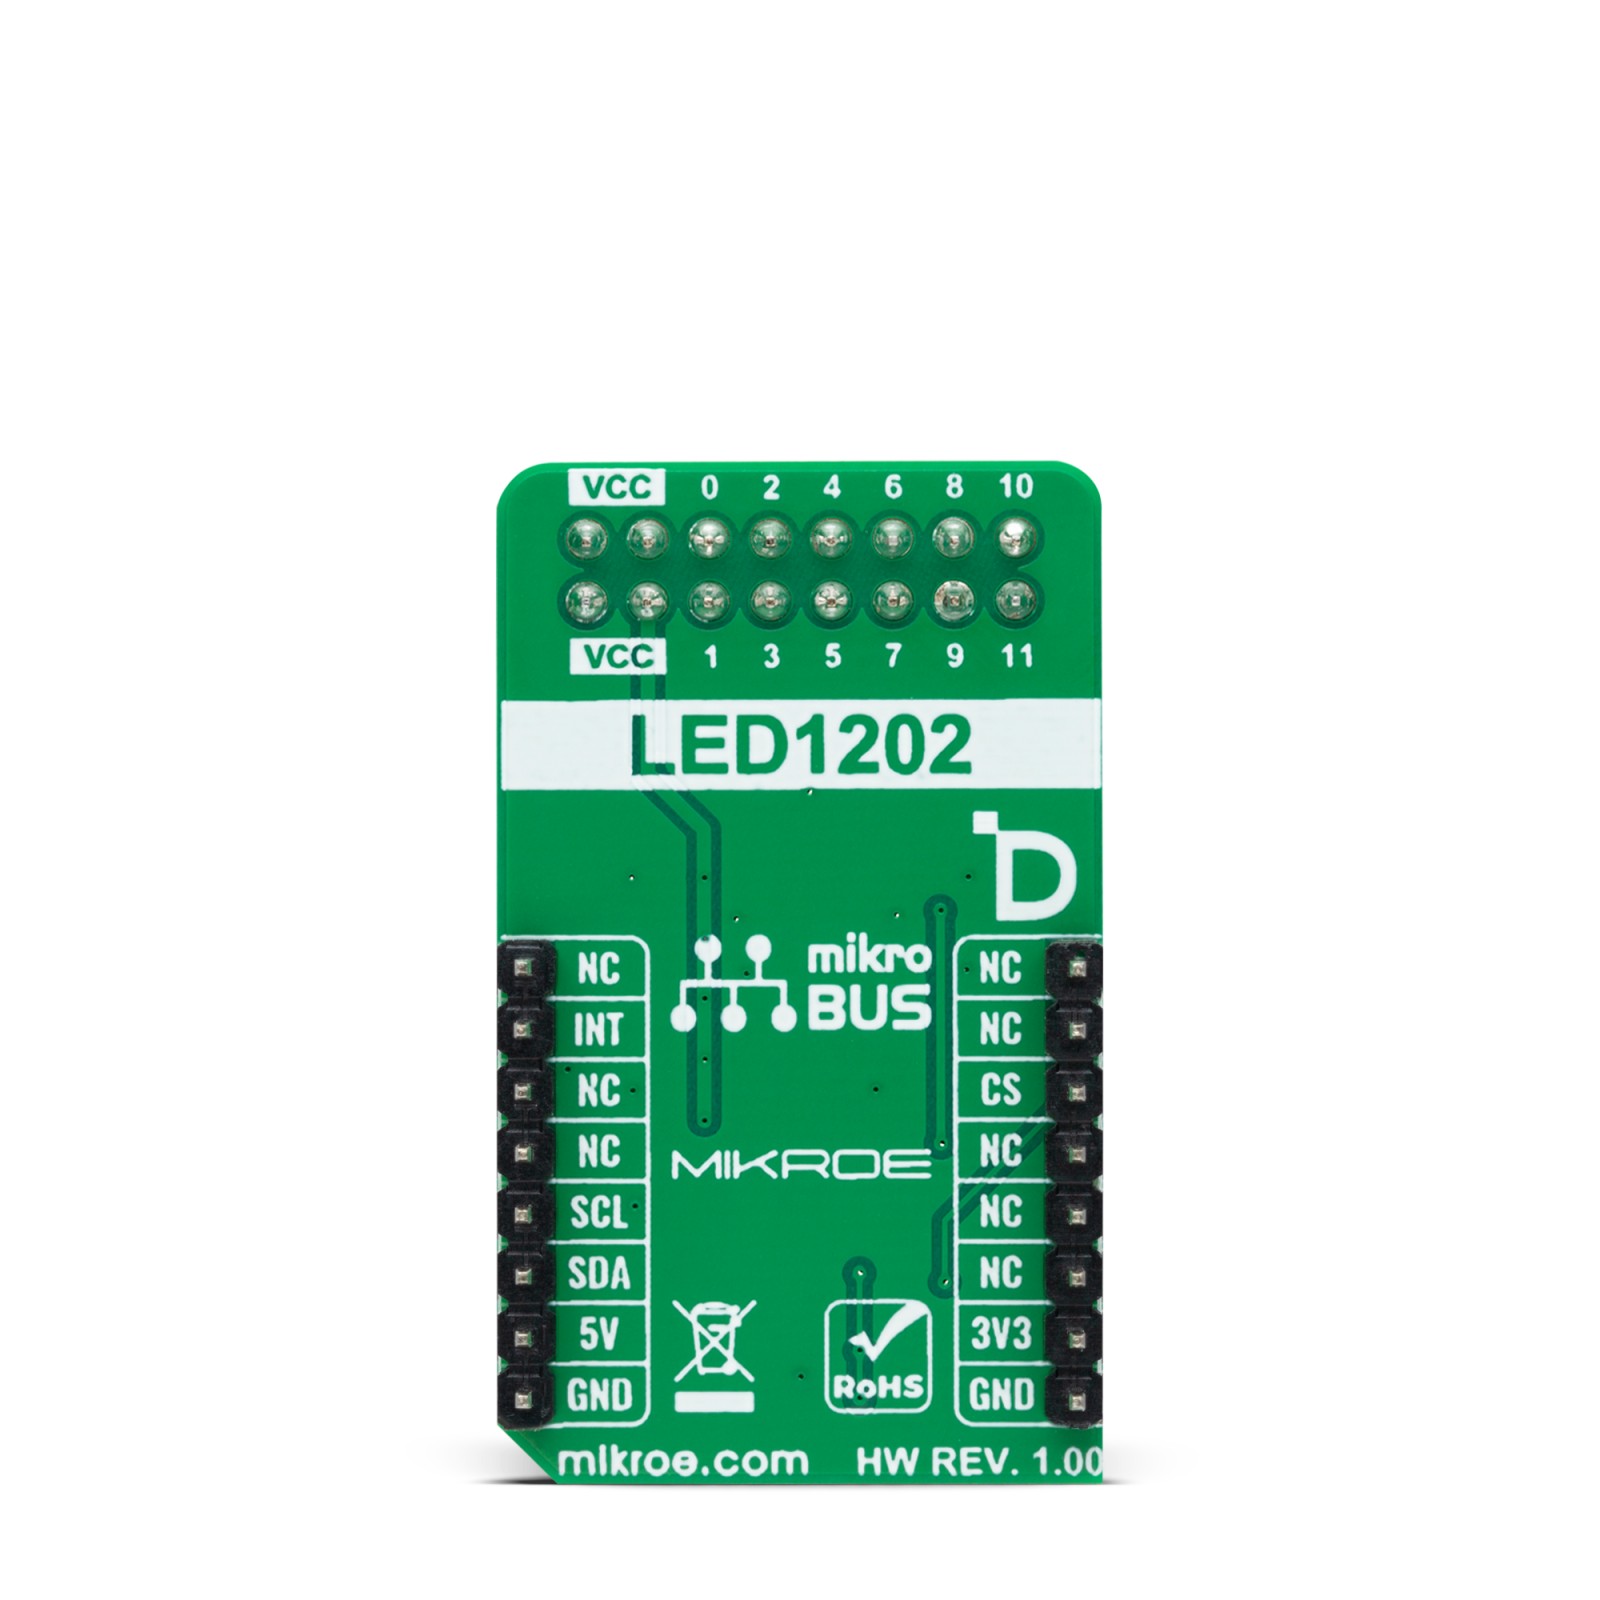
This table shows how the pinout on LED Driver 19 Click corresponds to the pinout on the mikroBUS™ socket (the latter shown in the two middle columns).
Onboard settings and indicators
Label | Name | Default | Description |
---|---|---|---|
LD1 | PWR | – | Power LED Indicator |
JP1 | VCC SEL | Left | Power/Logic Voltage Level Selection 3V3/5V: Left position 3V3, Right position 5V |
JP2-JP3 | ADDR SEL | Right | I2C Address Selection 0/1: Left position 0, Right position 1 |
LED Driver 19 Click electrical specifications
Description | Min | Typ | Max | Unit |
---|---|---|---|---|
Supply Voltage | 3.3 | – | 5 | V |
Maximum Output Current per Channel | – | – | 20 | mA |
Software Support
We provide a library for the LED Driver 19 Click as well as a demo application (example), developed using MIKROE compilers. The demo can run on all the main MIKROE development boards.
Package can be downloaded/installed directly from NECTO Studio Package Manager (recommended), downloaded from our LibStock™ or found on MIKROE github account.
Library Description
This library contains API for LED Driver 19 Click driver.
Key functions
-
leddriver19_sw_reset
LED Driver 19 software reset function. -
leddriver19_enable_channels
LED Driver 19 enables channels function. -
leddriver19_set_pattern_pwm
LED Driver 19 set pattern PWM value function.
Example Description
This library contains API for LED Driver 19 Click driver. The library initializes and defines the I2C bus drivers to write the default configuration for a PWM output value of the out pins.
void application_task ( void )
{
for ( uint8_t n_cnt = LEDDRIVER19_CH_SEL_0; n_cnt <= LEDDRIVER19_CH_SEL_11; n_cnt++ )
{
leddriver19_set_pattern_pwm( &leddriver19, LEDDRIVER19_PATSEL_0, n_cnt, 100 );
Delay_ms( 100 );
}
Delay_ms( 1000 );
for ( uint8_t n_cnt = LEDDRIVER19_CH_SEL_0; n_cnt <= LEDDRIVER19_CH_SEL_11; n_cnt++ )
{
leddriver19_set_pattern_pwm( &leddriver19, LEDDRIVER19_PATSEL_0, n_cnt, 0 );
Delay_ms( 100 );
}
Delay_ms( 1000 );
}
The full application code, and ready to use projects can be installed directly from NECTO Studio Package Manager (recommended), downloaded from our LibStock™ or found on MIKROE github account.
Other MIKROE Libraries used in the example:
- MikroSDK.Board
- MikroSDK.Log
- Click.LEDDriver19
Additional notes and informations
Depending on the development board you are using, you may need USB UART click, USB UART 2 Click or RS232 Click to connect to your PC, for development systems with no UART to USB interface available on the board. UART terminal is available in all MIKROE compilers.
mikroSDK
This Click board™ is supported with mikroSDK – MIKROE Software Development Kit. To ensure proper operation of mikroSDK compliant Click board™ demo applications, mikroSDK should be downloaded from the LibStock and installed for the compiler you are using.
For more information about mikroSDK, visit the official page.