How does it work?
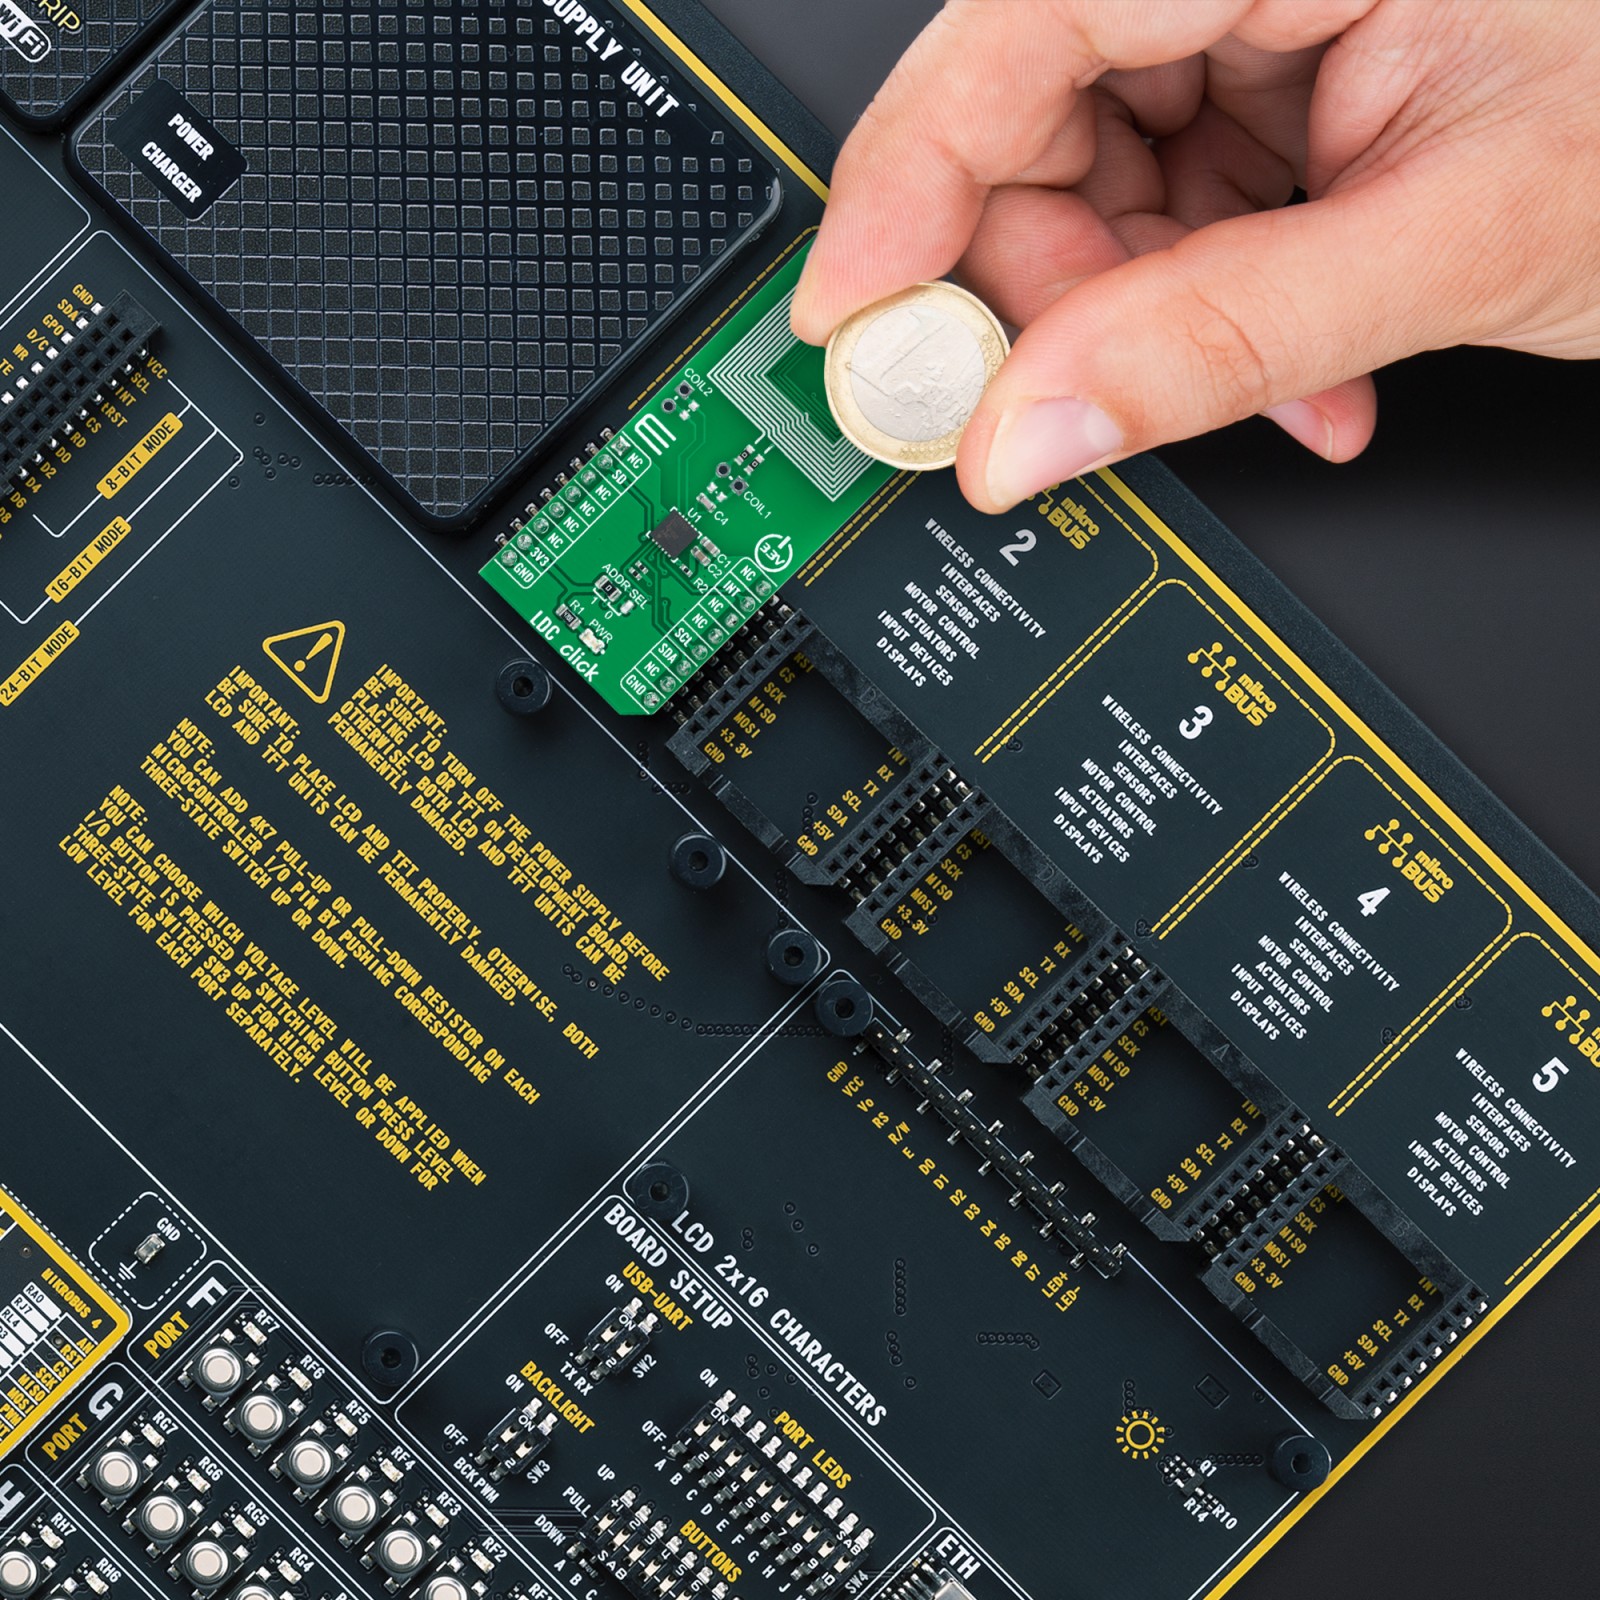
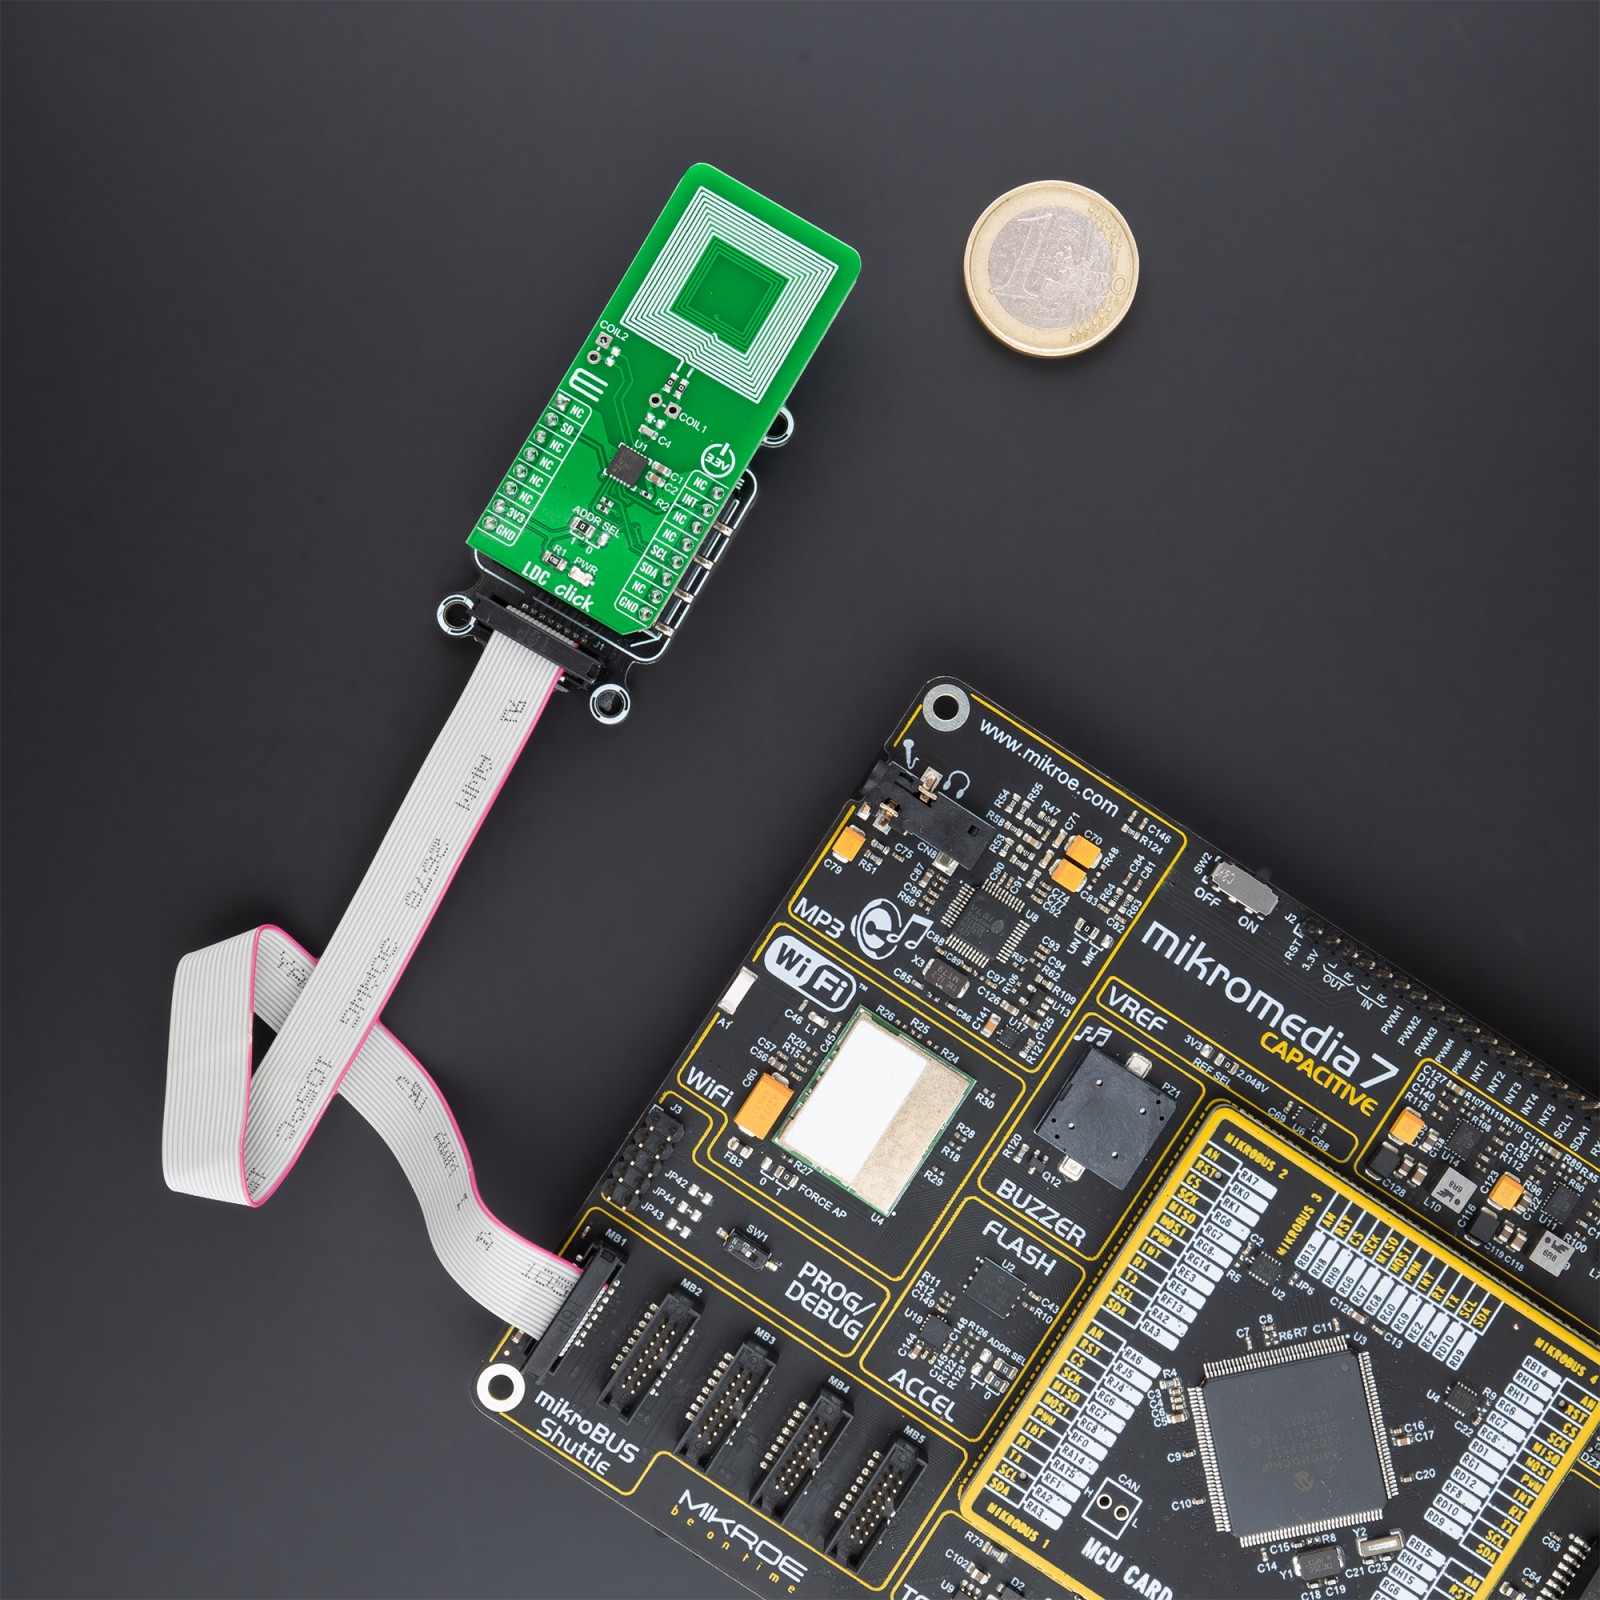
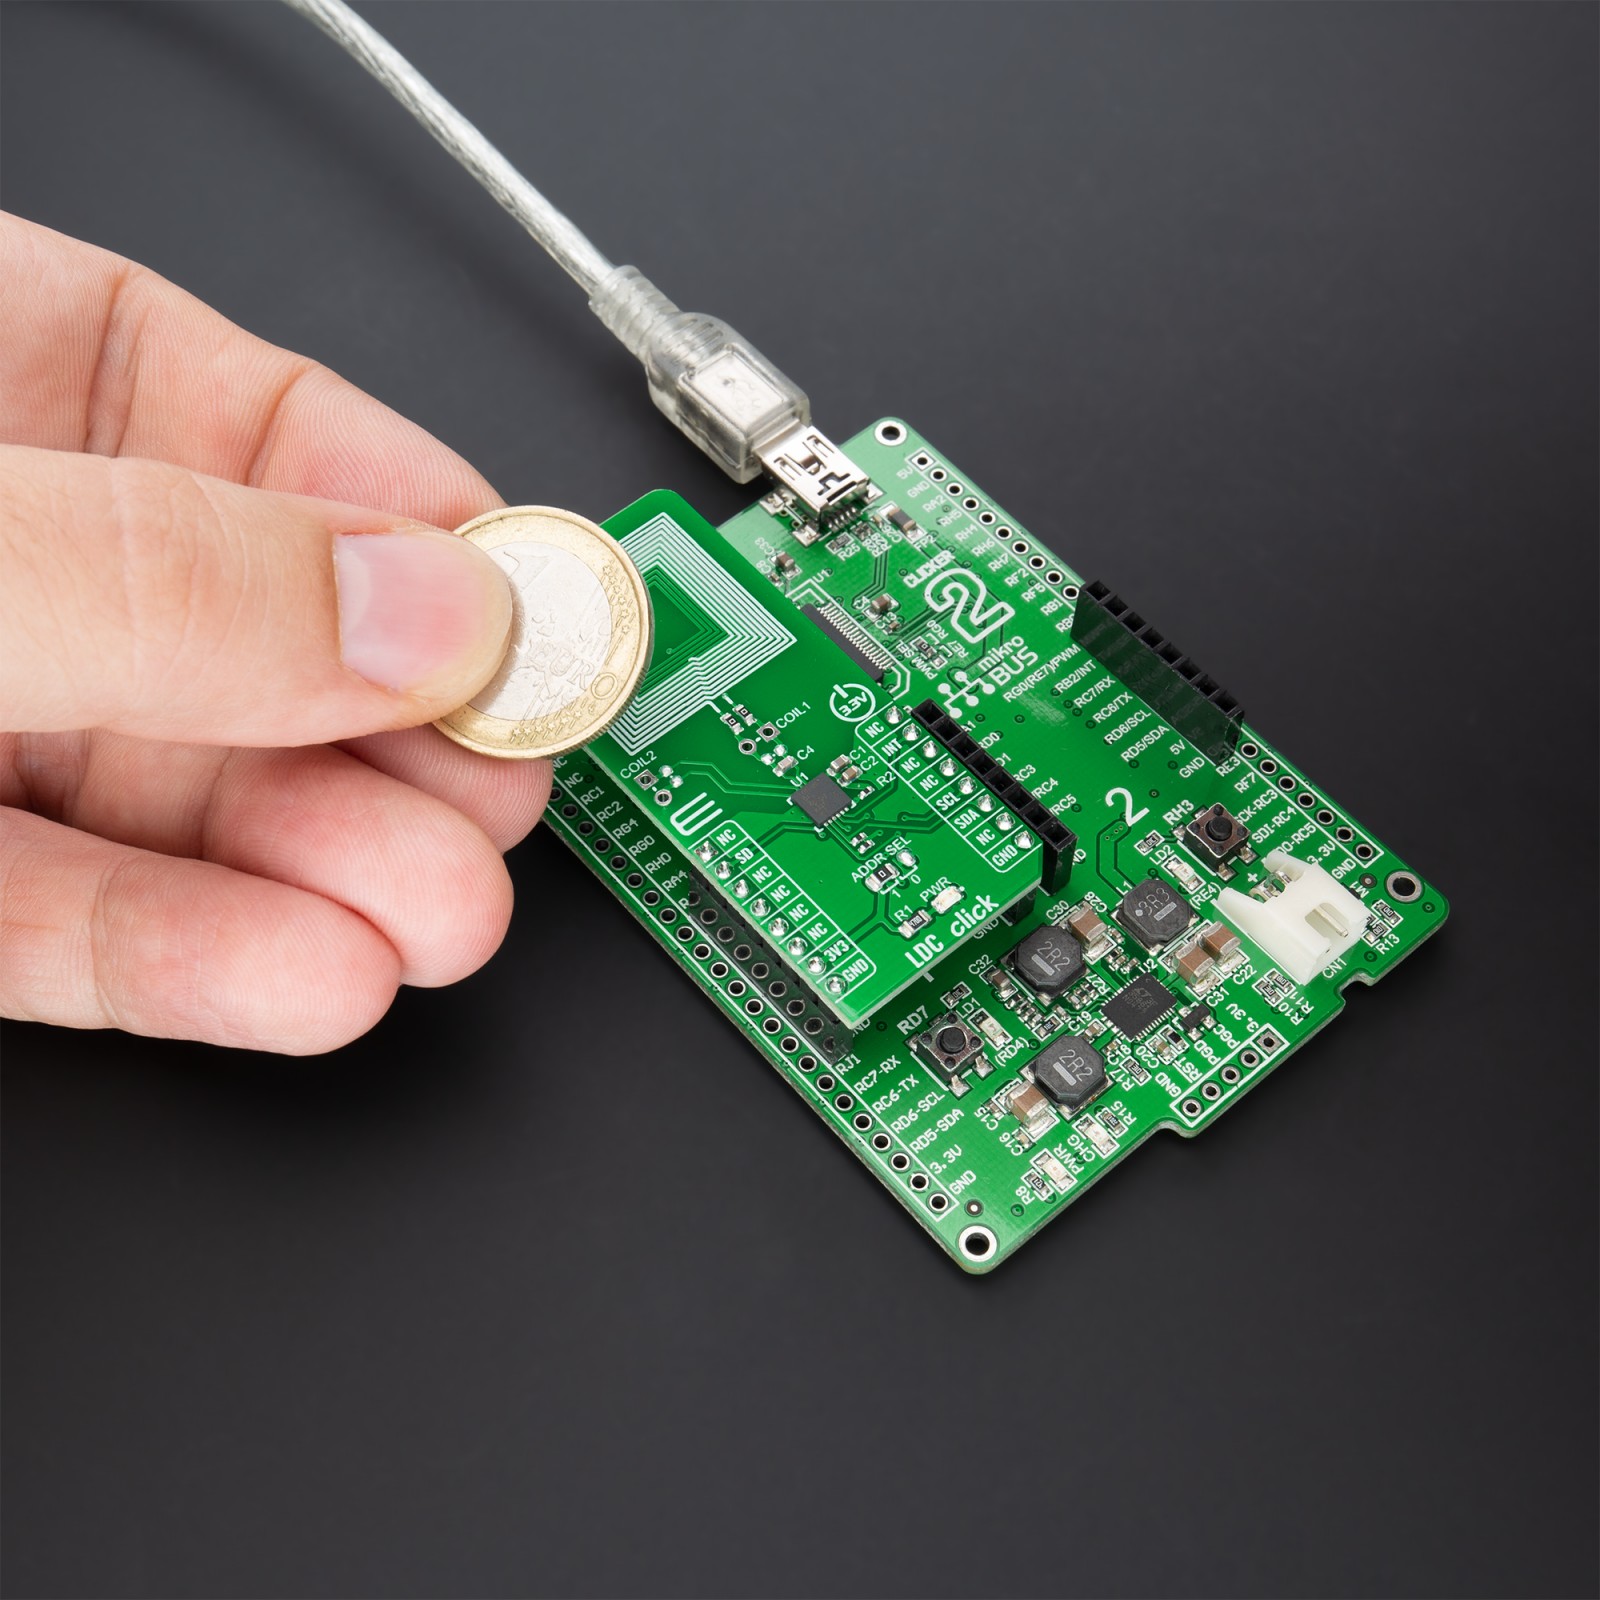
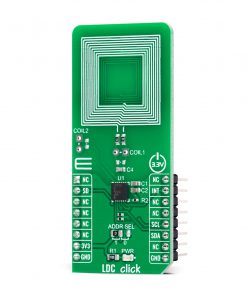
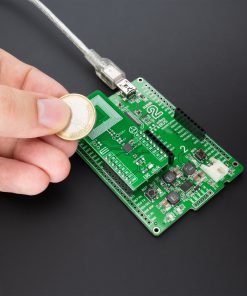
LDC Click as its foundation uses the LDC1312-Q1, two-channel, 12-bit inductance to digital converters (LDCs) for inductive sensing solutions from Texas Instruments. This Click board™ is easy-to-use, requiring only the sensor frequency within 1kHz and 10MHz to begin sensing. It measures the oscillation frequency of an LC resonator and outputs a digital value proportional to frequency. Inductive sensing offers better performance, reliability, and flexibility than competitive sensing technologies at lower system cost and power. That’s why this board is ideal for exact short-range measurements of the position, motion, or composition of conductive targets.
Conductive objects brought in contact with an AC electromagnetic (EM) field will induce field changes that can be detected using a sensor such as an inductor. Conveniently, an inductor and a capacitor are used to construct an LC resonator, also known as an LC tank used to produce an EM field. In the case of an LC tank, the effect of the field disturbance is an apparent shift in the inductance of the sensor, which can be observed as a shift in the resonant frequency – using this principle, the LDC1312-Q1 works.
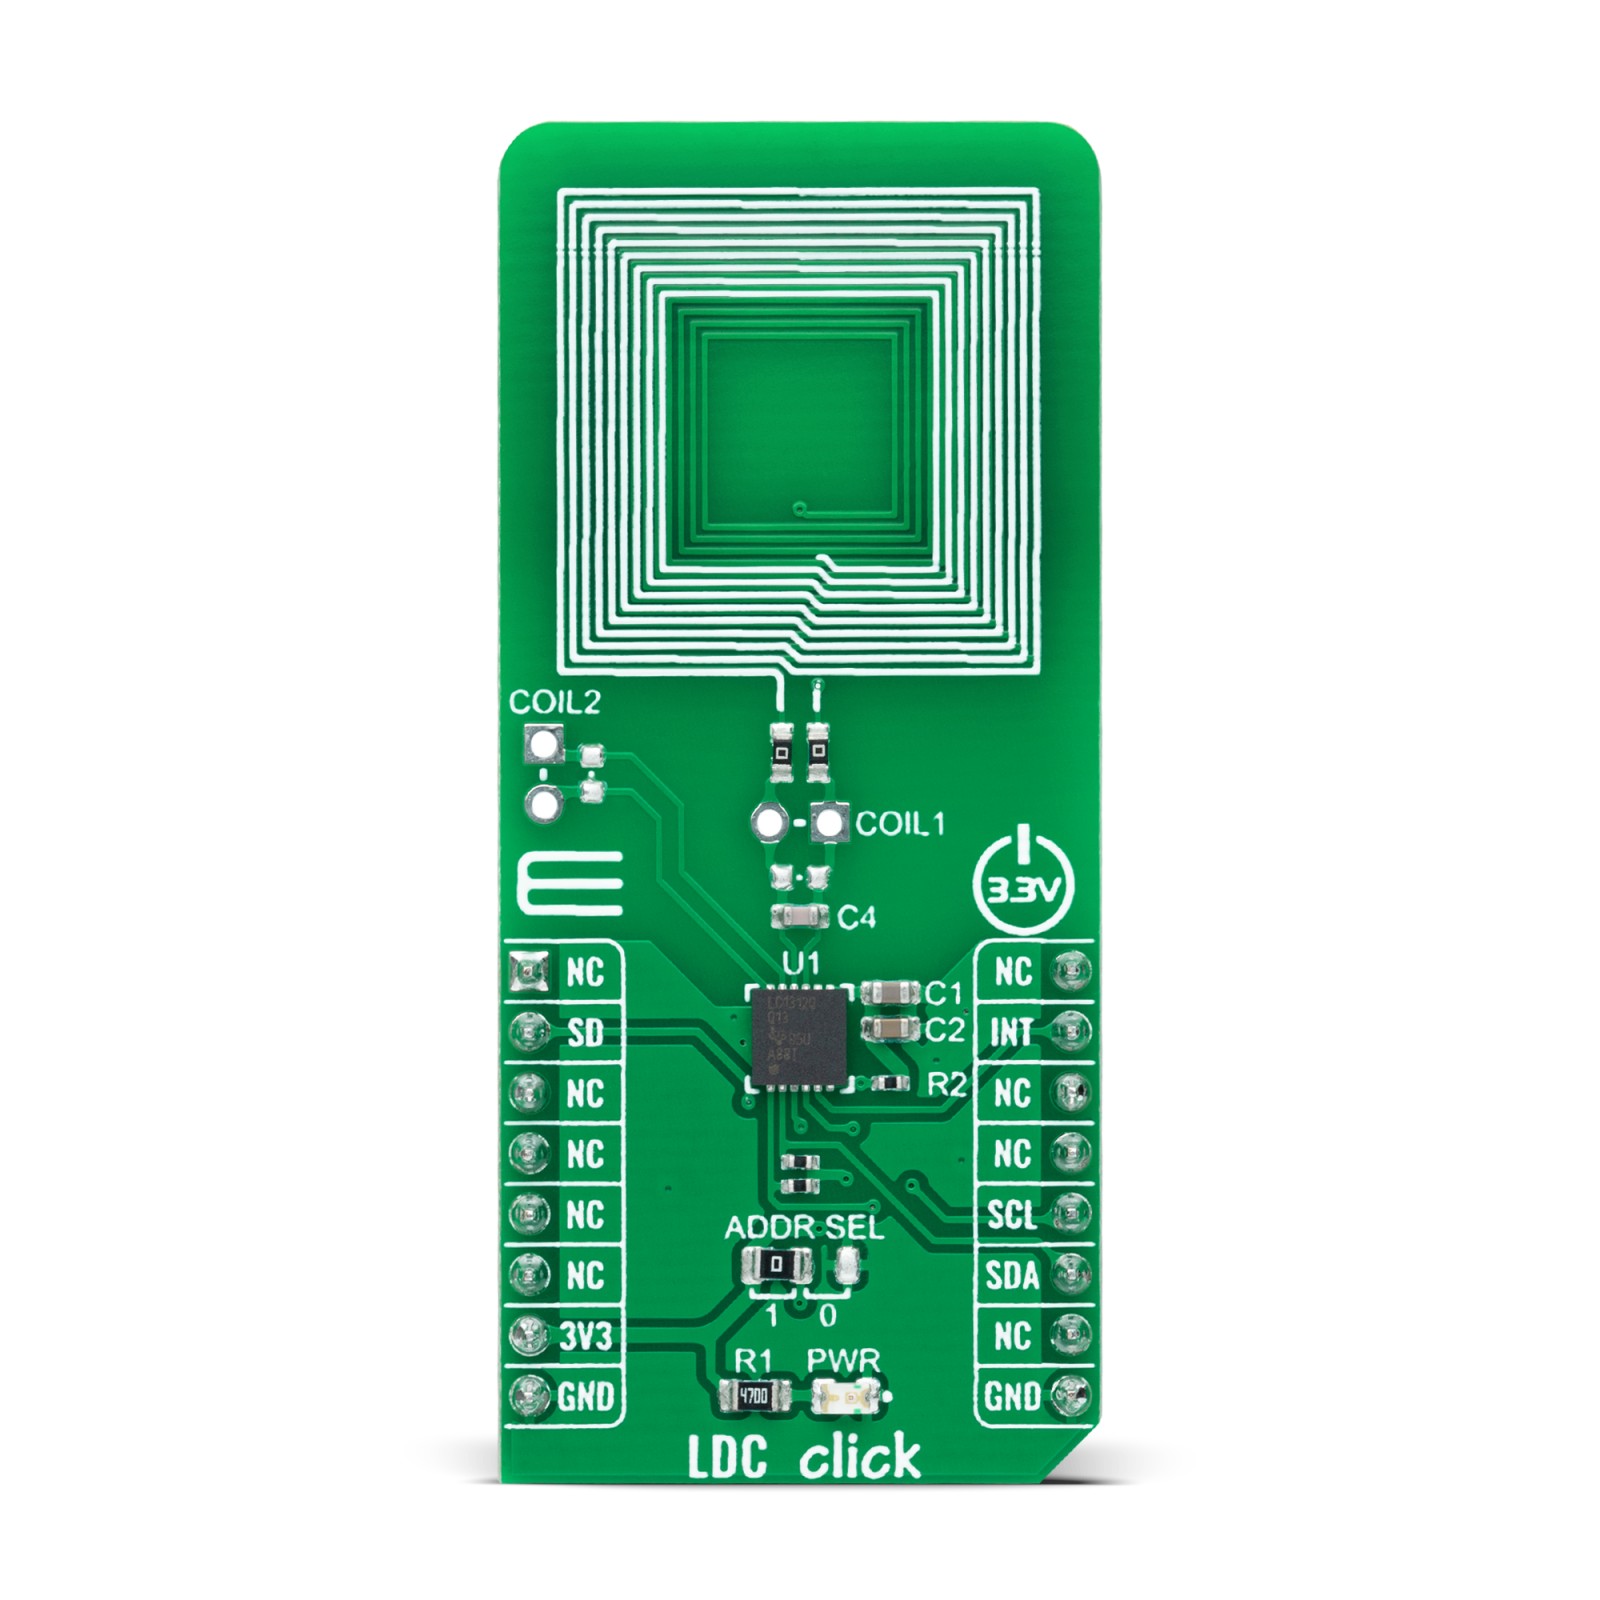
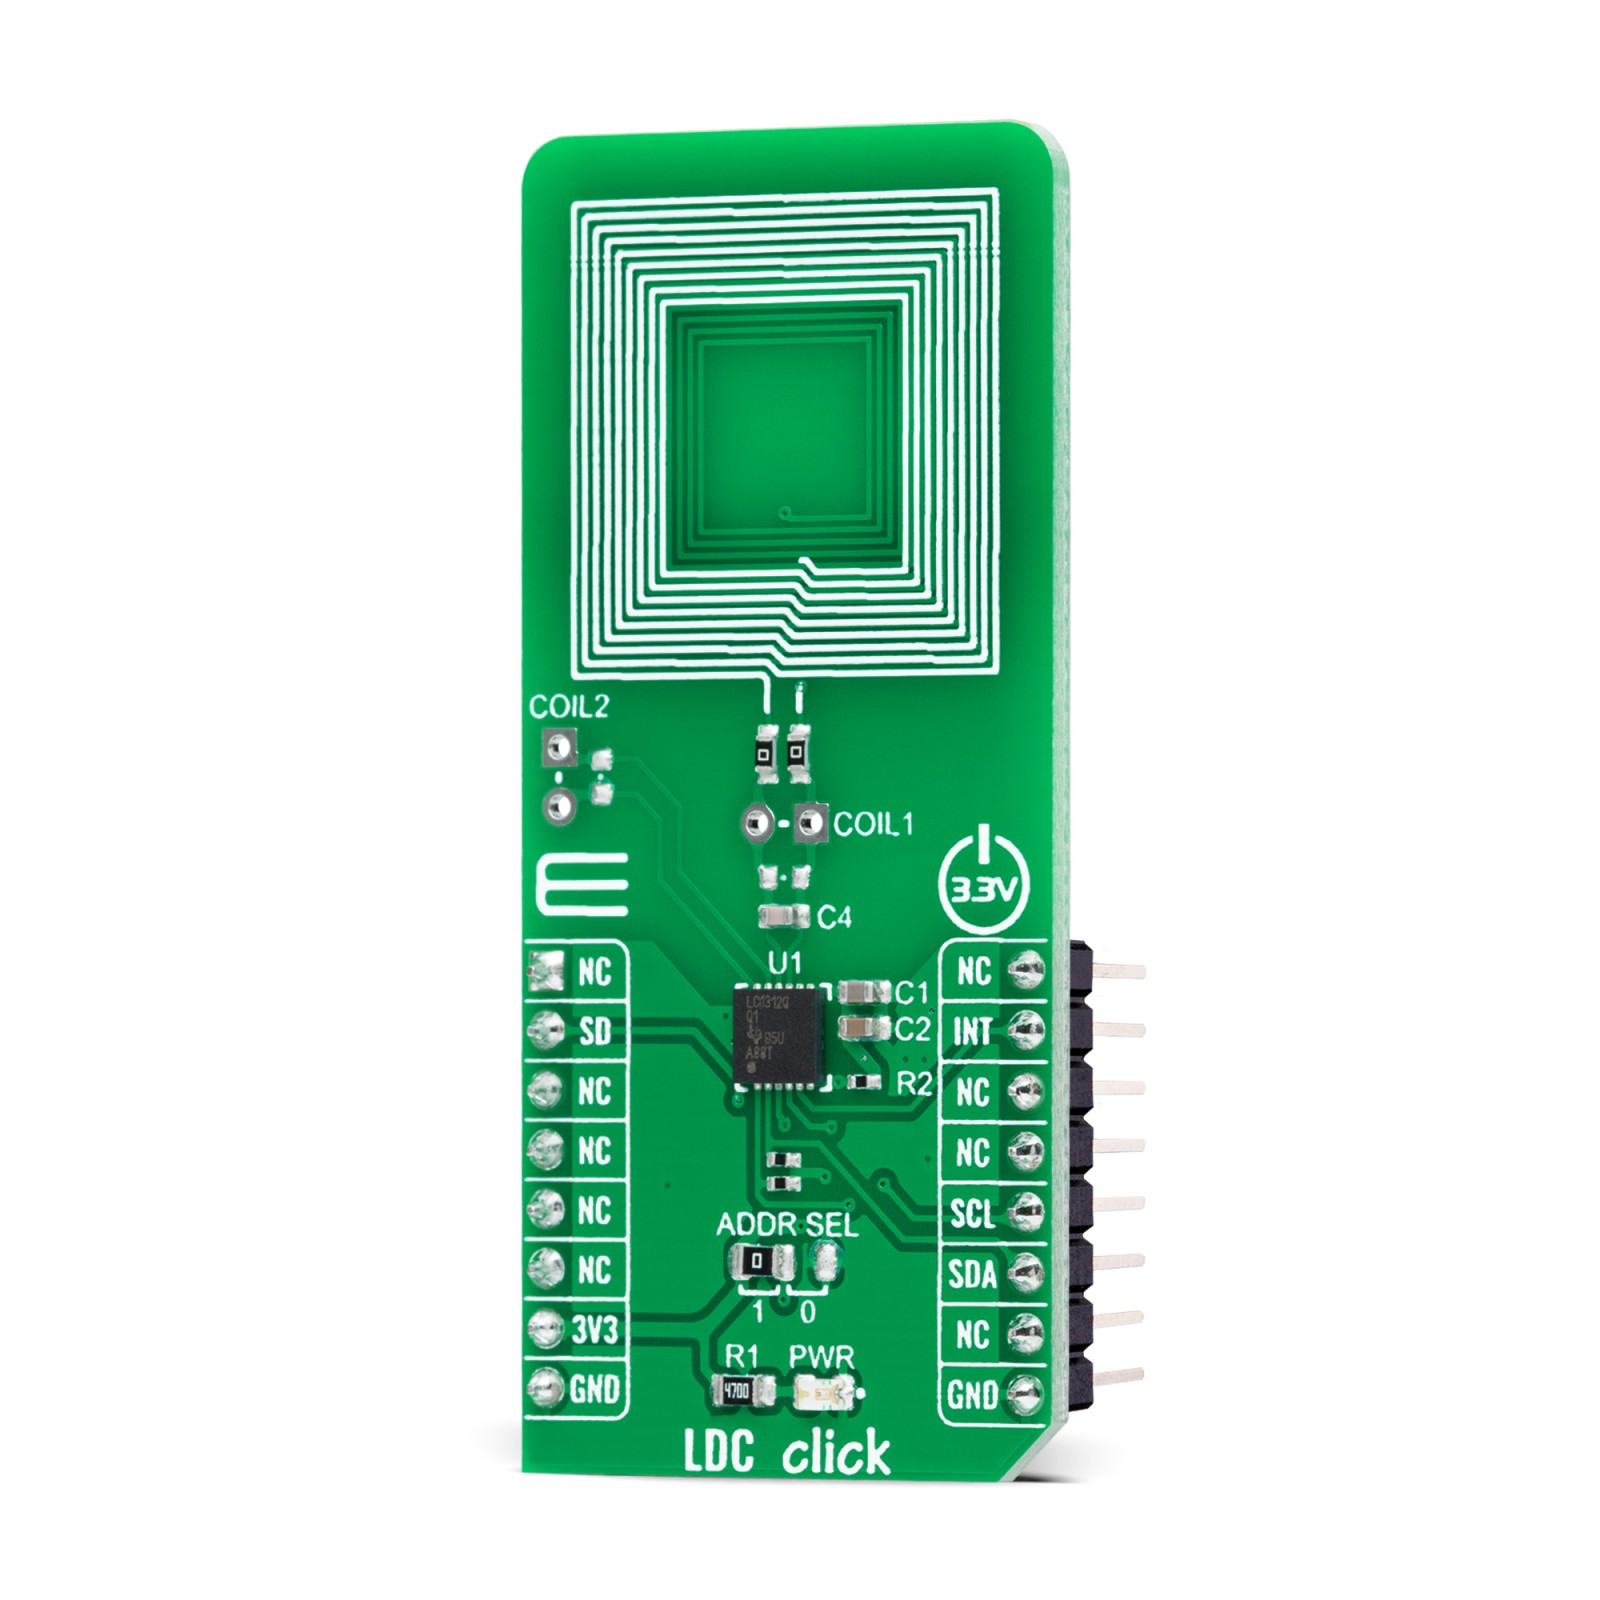
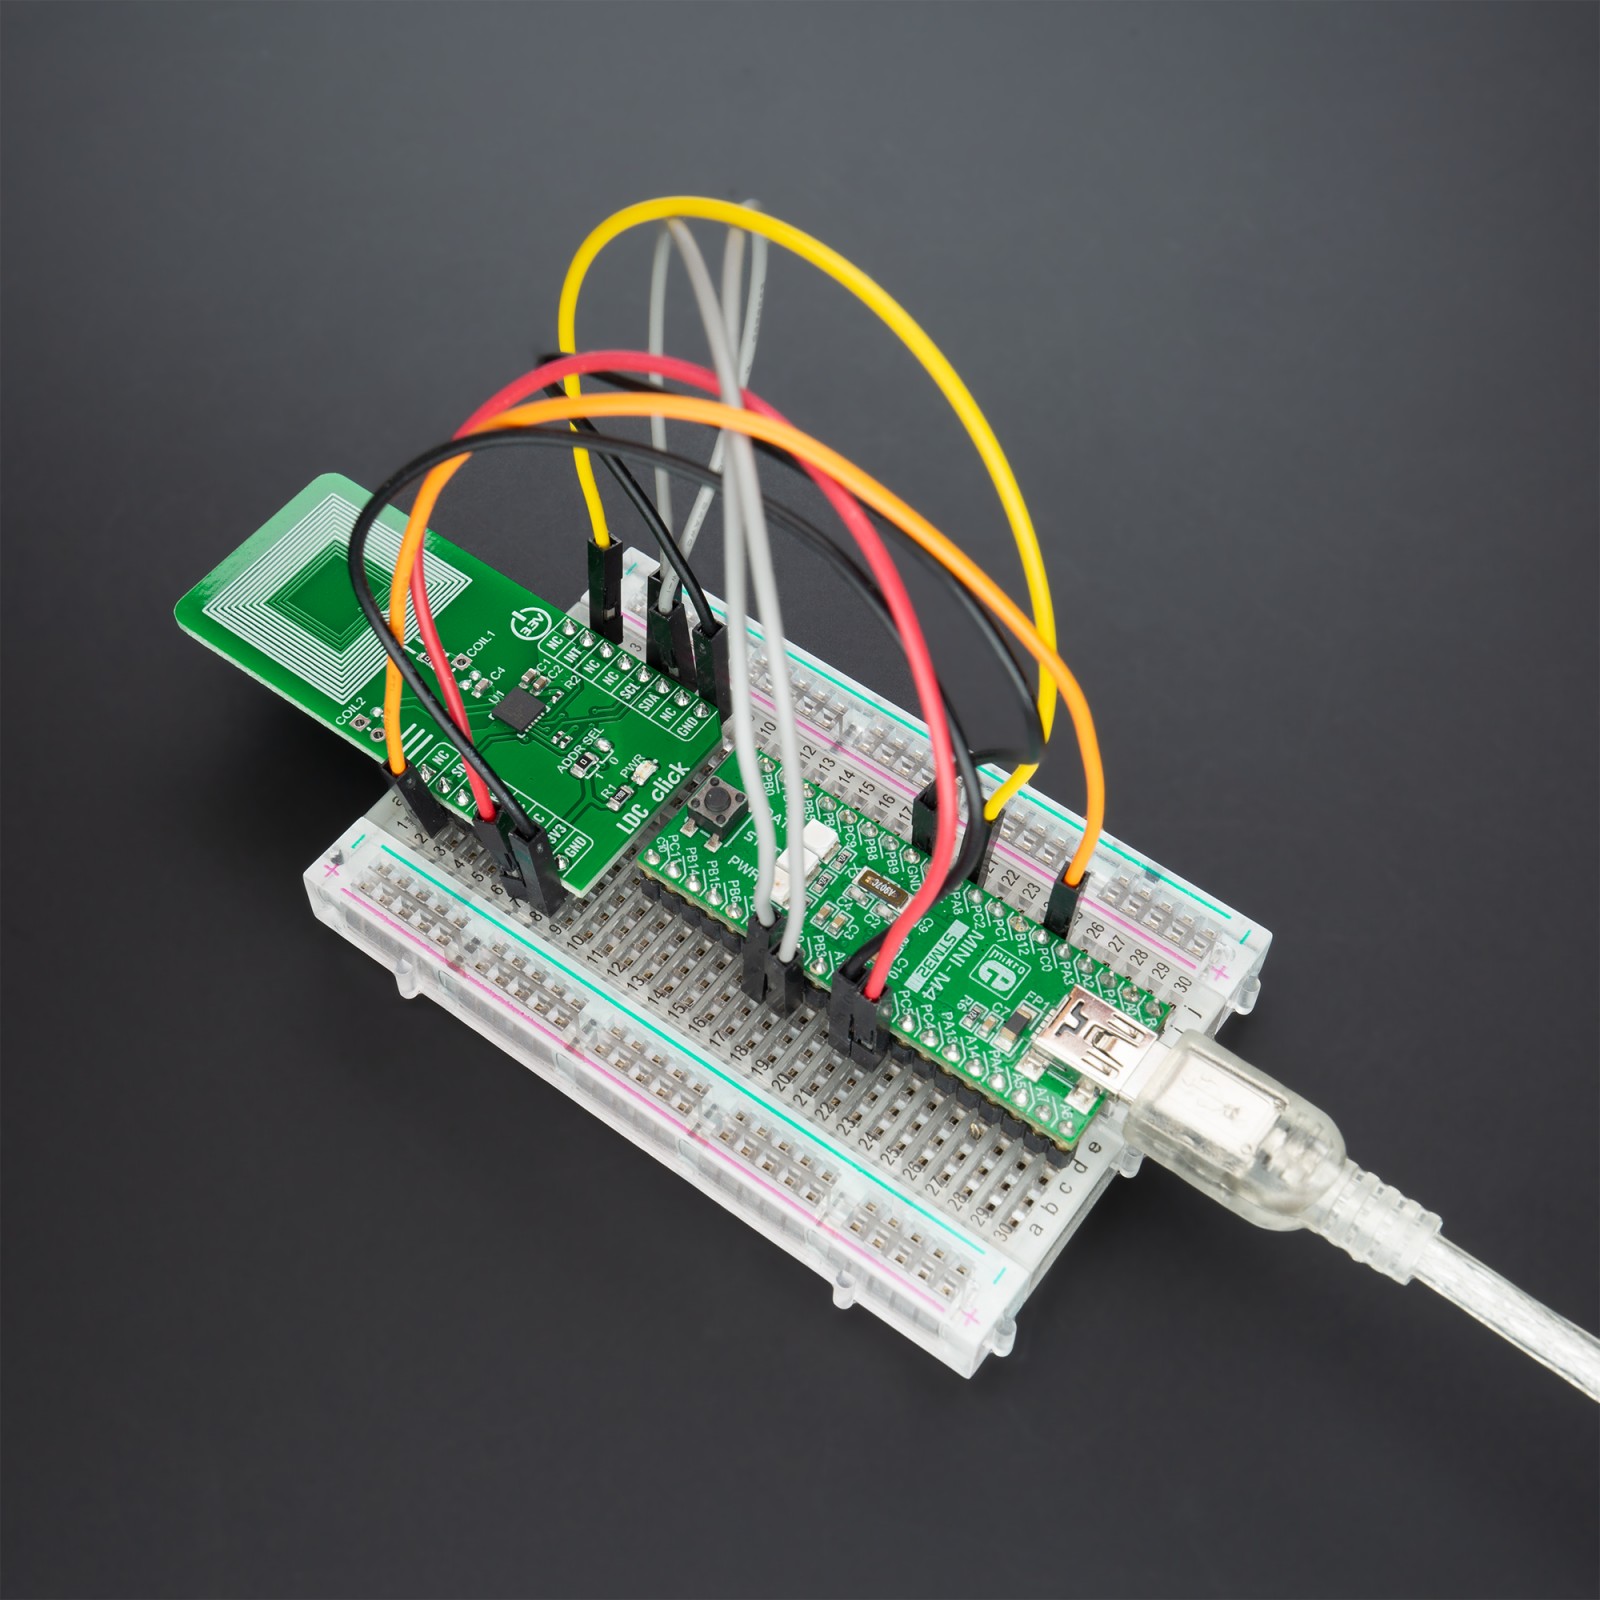
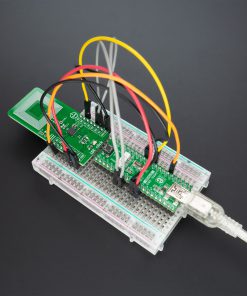
LDC Click communicates with MCU using the standard I2C 2-Wire interface with a maximum clock frequency of 400kHz. In addition to I2C communication, two GPIO pins connected to the mikroBUS™ socket pins are also used. The SD pin, routed to the RST pin of the mikroBUS™ socket, is used to place the LDC1312-Q1 in Shutdown mode, saving current, while the INT pin may be configured as an interrupt to notify the host MCU of changes in system status. Besides, it also allows the choice of the least significant bit of its I2C slave address by positioning the SMD jumper labeled as ADDR SEL to an appropriate position marked as 1 and 0.
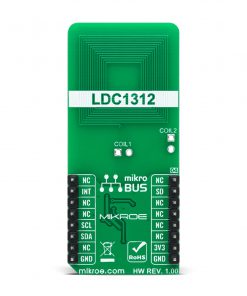
It also comes with the ability to connect additional external LC sensors, allowing you to replace the provided onboard sensor and solder your own at places marked with COIL1 and COIL2.
This Click board™ can be operated only with a 3.3V logic voltage level. The board must perform appropriate logic voltage level conversion before use with MCUs with different logic levels. However, the Click board™ comes equipped with a library containing functions and an example code that can be used, as a reference, for further development.
Specifications
Type
Inductance
Applications
Can be used for improving significantly existing sensing solutions and introducing brand new sensing capabilities to products in all markets, especially consumer and industrial applications
On-board modules
LDC1312-Q1 – two-channel, 12-bit inductance to digital converters (LDCs) for inductive sensing solutions from Texas Instruments
Key Features
Low power consumption, qualified for automotive applications, easy-to-use, remote sensing, supports wide frequency range from 1kHz to 10MHz, high performance, reliability, and more
Interface
I2C
Feature
No ClickID
Compatibility
mikroBUS™
Click board size
L (57.15 x 25.4 mm)
Input Voltage
3.3V
Pinout diagram
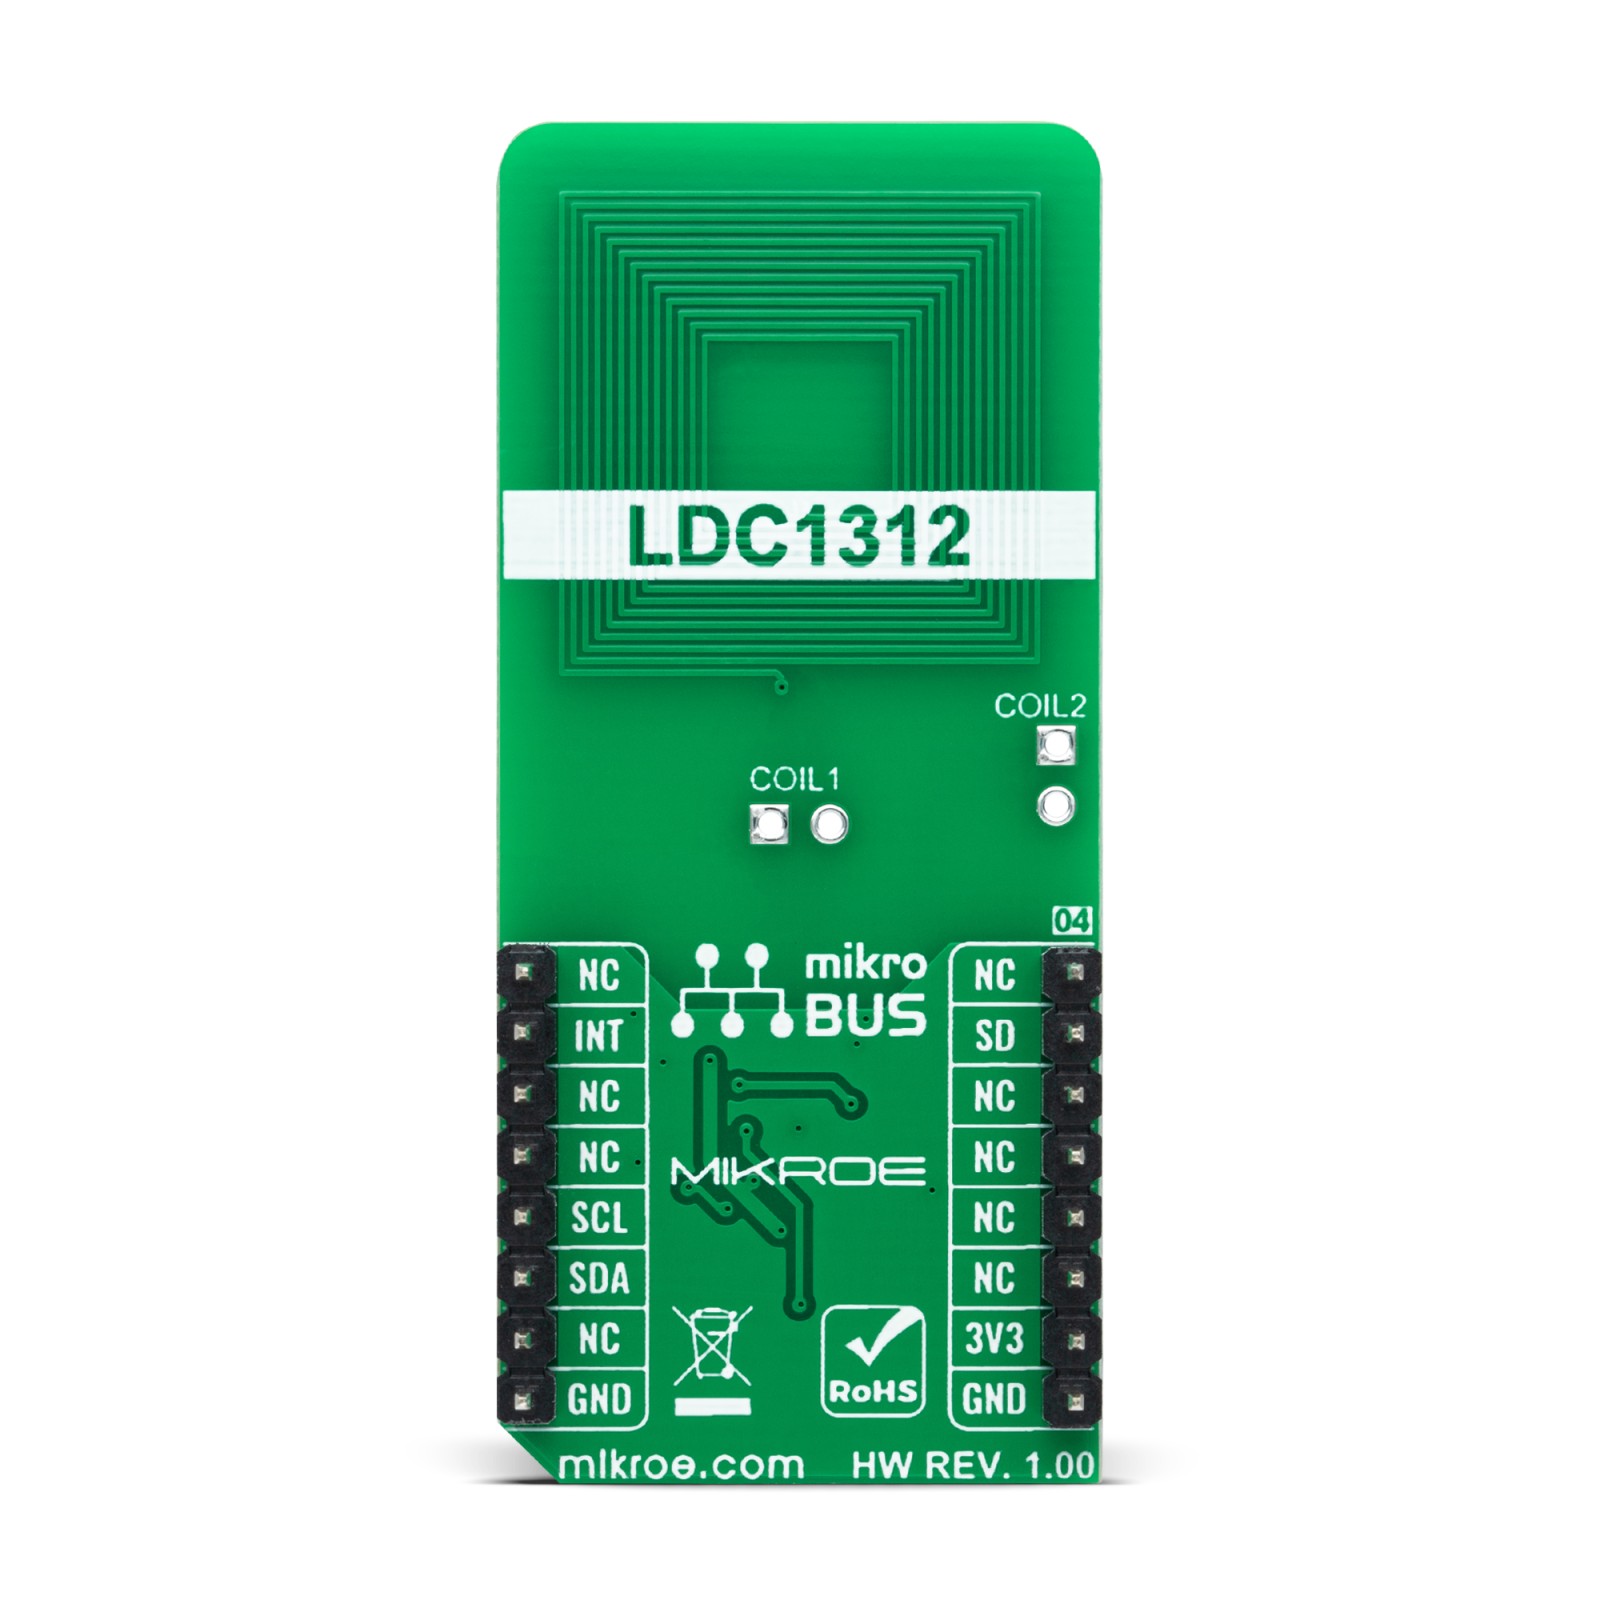
This table shows how the pinout on LDC Click corresponds to the pinout on the mikroBUS™ socket (the latter shown in the two middle columns).
Onboard settings and indicators
Label | Name | Default | Description |
---|---|---|---|
LD1 | PWR | – | Power LED Indicator |
JP1 | ADDR SEL | Left | I2C Address Selection 1/0: Left position 1, Right position 0 |
J1 | COIL1 | Unpopulated | External LC Sensor |
J2 | COIL2 | Unpopulated | External LC Sensor |
LDC Click electrical specifications
Description | Min | Typ | Max | Unit |
---|---|---|---|---|
Supply Voltage | – | 3.3 | – | V |
Sensor Current Drive | – | 1.5 | – | mA |
Resolution | – | – | 12 | bits |
Operating Temperature Range | -40 | +25 | +125 | °C |
Software Support
We provide a library for the LDC Click as well as a demo application (example), developed using MikroElektronika compilers. The demo can run on all the main MikroElektronika development boards.
Package can be downloaded/installed directly from NECTO Studio Package Manager(recommended way), downloaded from our LibStock™ or found on Mikroe github account.
Library Description
This library contains API for LDC Click driver.
Key functions:
ldc_cfg_setup
– Config Object Initialization function.ldc_init
– Initialization function.ldc_default_cfg
– Click Default Configuration function.
Examples description
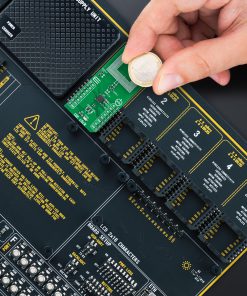
This example showcases abillity of the device to detect metal objects. It configures device for reading data from channel 0, checks if ID’s are OK and reads data when interrupt is asserted and logs result.
void application_task ( void ) { if ( ldc_get_interrupt( &ldc ) ) { float frequency = 0.0; float inductance = 0.0; err_t ret_val = ldc_get_frequency( &ldc, LDC_REG_DATA_CH0, divider, &frequency ); if ( !ret_val ) { log_printf( &logger, "> Freq[MHz]: %.3frn", frequency ); if (frequency > 0 ) { inductance = ldc_calculate_inductance( frequency ); } log_printf( &logger, "> L[uH]: %.3frn", inductance ); log_printf( &logger, "> ************************rn" ); Delay_ms( 500 ); } else { log_error( &logger, " Reading data: %ld", ret_val ); } } }
The full application code, and ready to use projects can be installed directly from NECTO Studio Package Manager(recommended way), downloaded from our LibStock™ or found on Mikroe github account.
Other mikroE Libraries used in the example:
- MikroSDK.Board
- MikroSDK.Log
- Click.LDC
Additional notes and informations
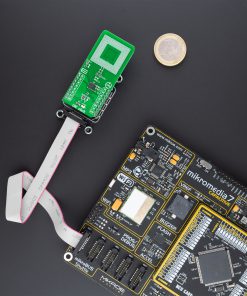
Depending on the development board you are using, you may need USB UART click, USB UART 2 click or RS232 click to connect to your PC, for development systems with no UART to USB interface available on the board. The terminal available in all MikroElektronika compilers, or any other terminal application of your choice, can be used to read the message.
mikroSDK
This Click board™ is supported with mikroSDK – MikroElektronika Software Development Kit. To ensure proper operation of mikroSDK compliant Click board™ demo applications, mikroSDK should be downloaded from the LibStock and installed for the compiler you are using.
For more information about mikroSDK, visit the official page.