ISM RX 2 Click
R320.00 ex. VAT
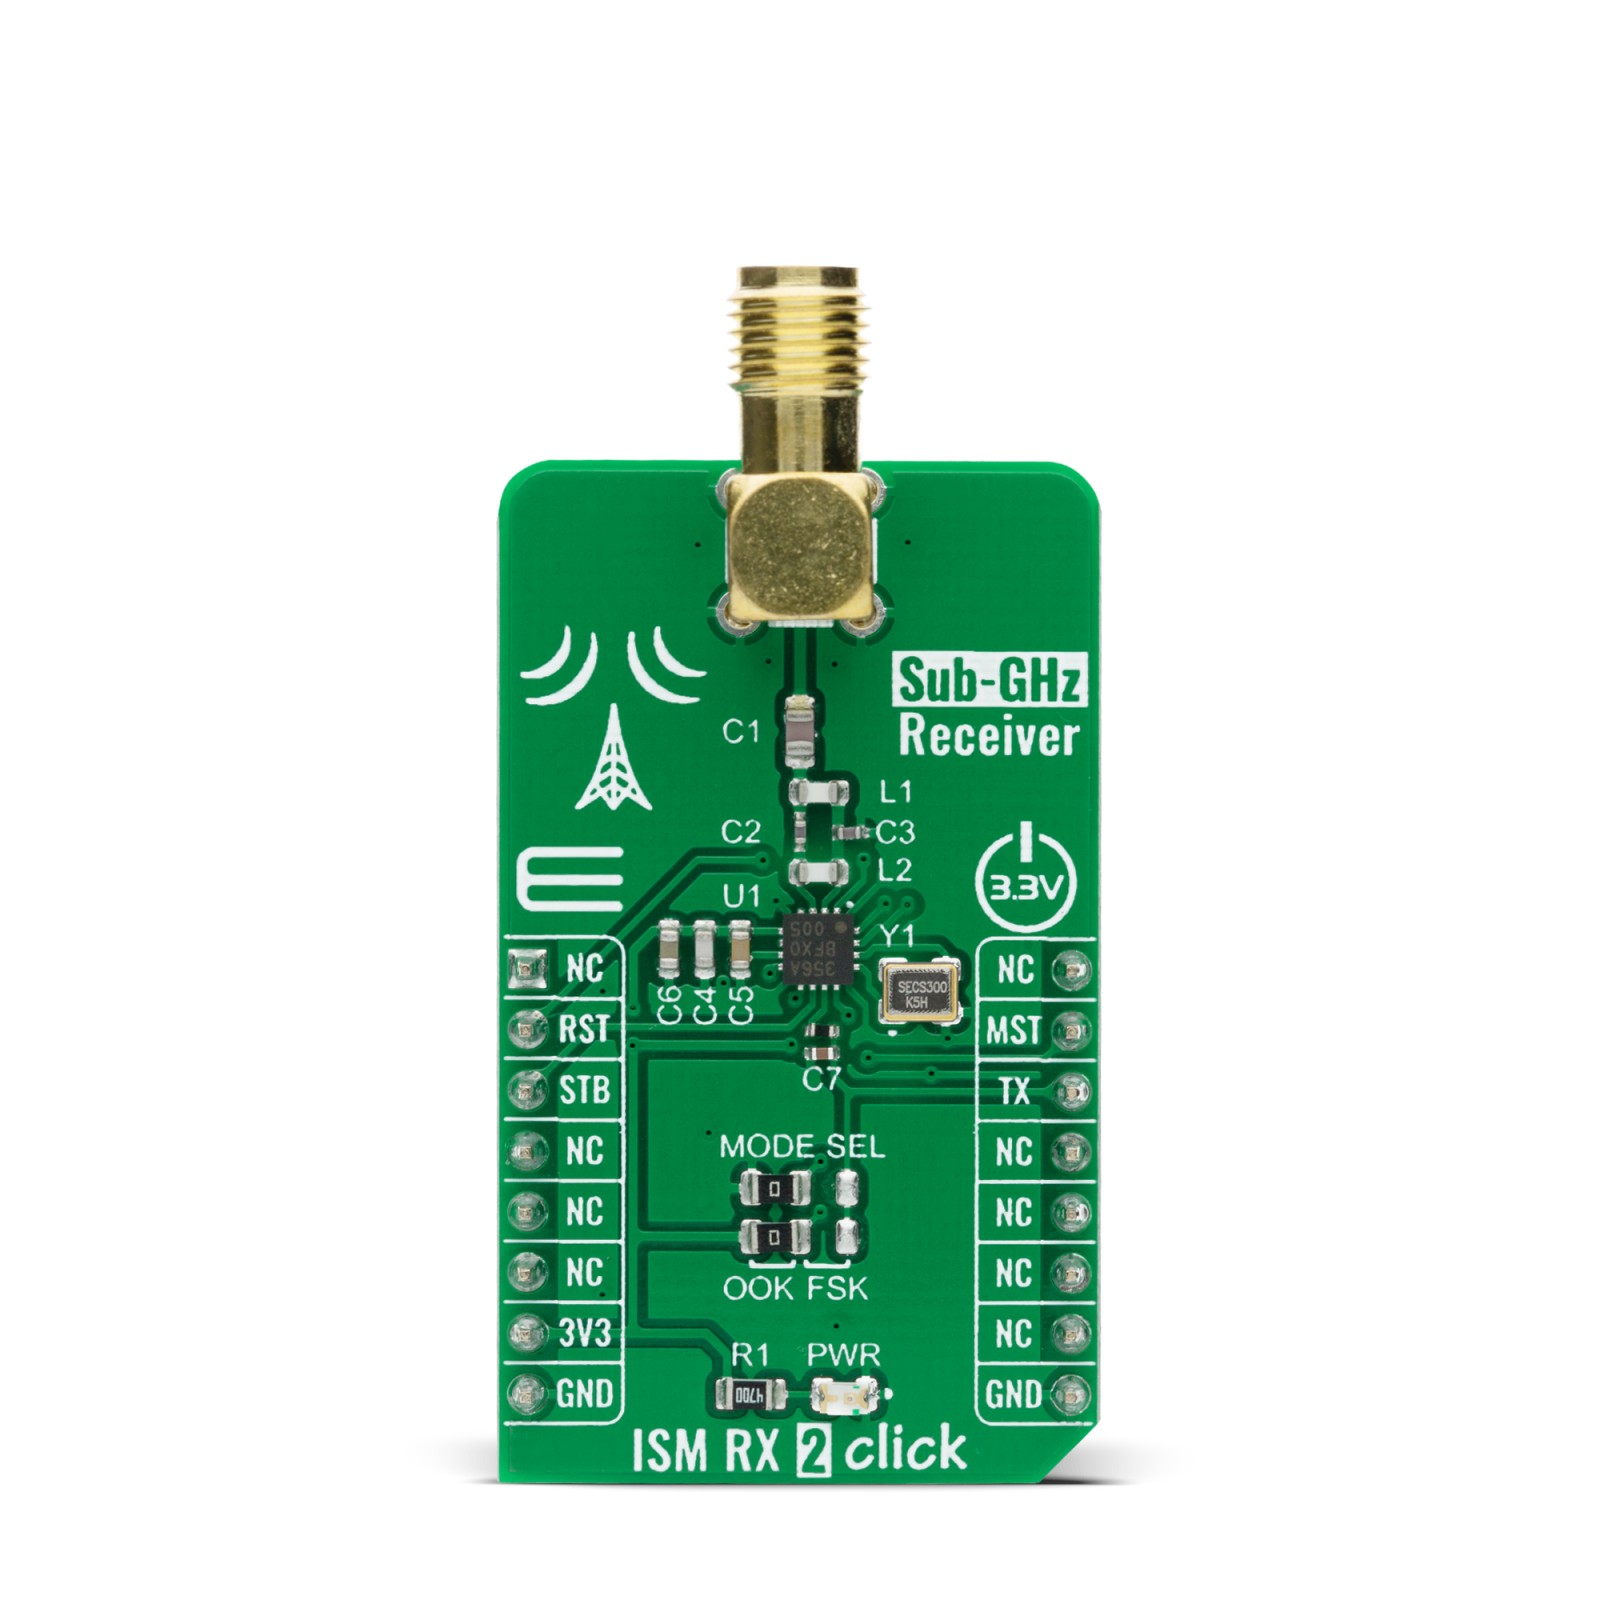
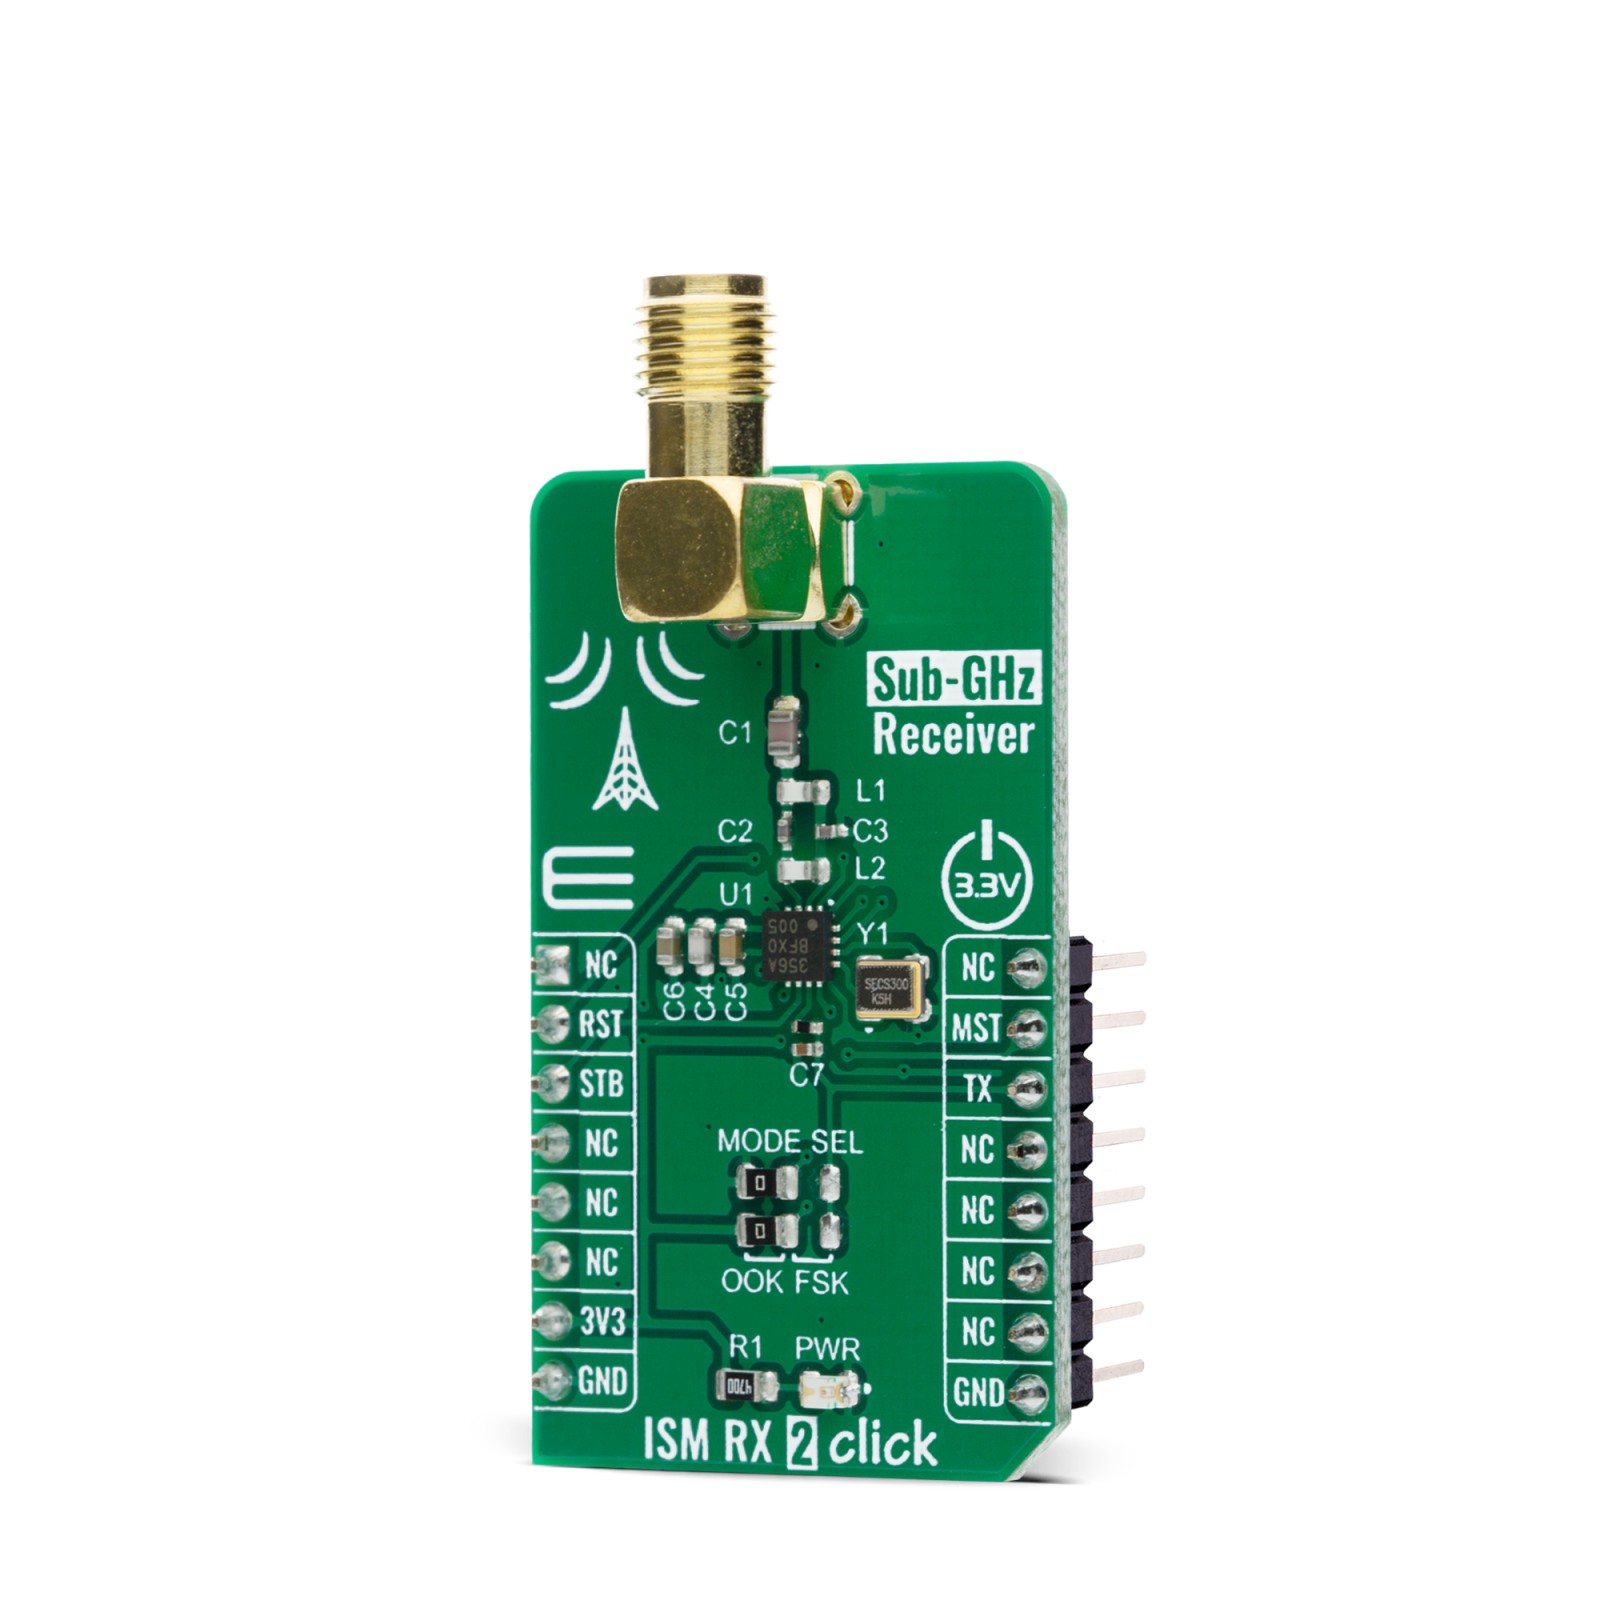
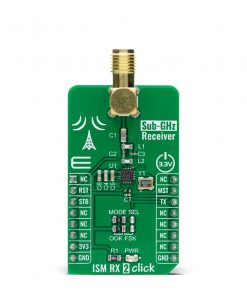
ISM RX 2 Click is a compact add-on board that contains a pin configurable, low current, sub-GHz EZRadio® receiver. This board features the Si4356, a standalone Sub-GHz RF receiver IC, from Silicon Labs, which provides a true plug-and-play receive option. The Si4356 features a (G)FSK/OOK demodulator, and it has a good sensitivity up to –113 dBm that allows longer operating range, while the low current consumption of 12 mA in Active and 50 nA in Stand-by Mode provides superior battery life. This Click board™ is suitable for remote low-speed communication, such as the remote keyless access, garage or gate doors control, industrial control, home automation, and similar applications where this kind of communication is applicable.
ISM RX 2 Click Click is supported by a mikroSDK compliant library, which includes functions that simplify software development. This Click board™ comes as a fully tested product, ready to be used on a system equipped with the mikroBUS™ socket.
Stock: Lead-time applicable.
| 5+ | R304.00 |
| 10+ | R288.00 |
| 15+ | R272.00 |
| 20+ | R261.76 |
How does it work?
ISM RX 2 Click is based on the Si4356, an easy-to-use, size efficient, low current wireless receiver IC, from Silicon Labs that covers the sub-GHz bands. The wide operating voltage range and low current consumption make the Si4356 an ideal solution for battery-powered applications. It has an integrated crystal oscillator and uses a single-conversion mixer to downconvert the (G)FSK or OOK modulated receive signal to a low IF frequency. The receiver demodulates the incoming data asynchronously by oversampling the incoming transmission, and the resulting demodulated signal send to the system MCU via the UART interface.

The Si4356 has a frequency range from 315 up to 917MHz and can be configured for operation using the four selector pins (SEL0 – SEL3) where the state of each of these pins is read internally at Start-Up and used to determine which pre-loaded configuration should be used. The SEL0 and SEL1 pins are used to adjust the frequency, and they are connected in such a way that the frequency of this Click board™ is fixed to 433.92MHz, while the setting of the SEL2 and SEL3 pins can be changed by using the SMD jumpers labeled as MODE SEL used to select the desired modulation (G)FSK or OOK. Additionally, this Click board™ has a low-pass RC filter on the receiver data output pin which is used to filter the output and improve sensitivity.
This Click board™ communicates with MCU using the UART interface for the data transfer, while the GPIO pins on the mikroBUS™ are used for mode selection and indication. More precisely, only one UART pin from the mikroBUS™ (RX) is used, for receiving the data. The Si4356 provides two operating modes: a Receive Mode and a Stand-by Mode. The operating mode can be changed by toggling the STBY signal routed to the CS pin on the mikroBUS™, while the MSTAT signal routed to the INT pin on the mikroBUS™ represents an interrupt and indicates the current operating mode of the device. It is also possible to reset the device by using RST pin routed to the RST pin on the mikroBUS™.
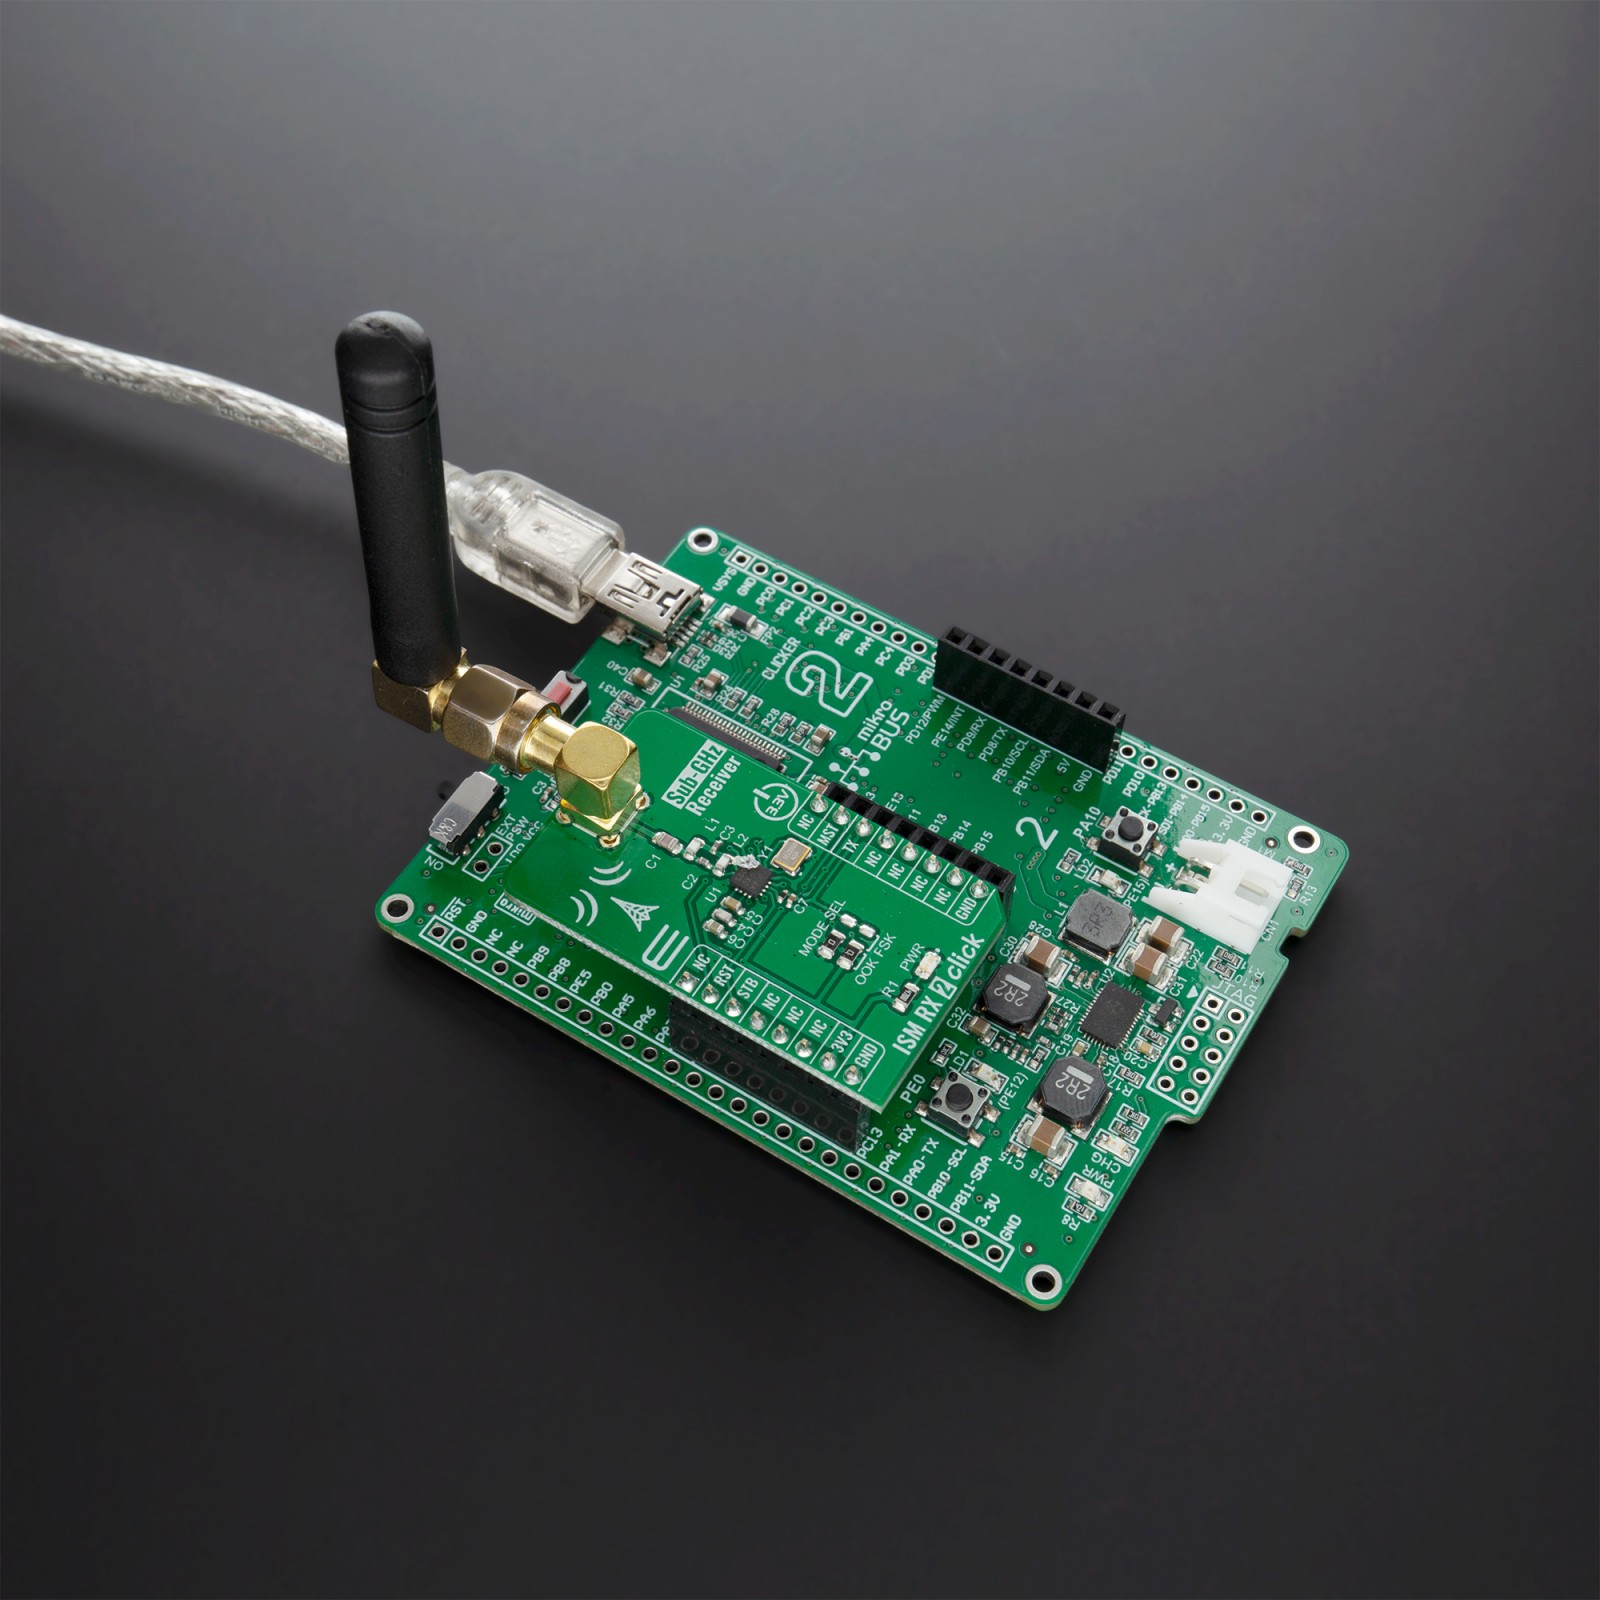
ISM RX 2 Click possesses on itself the SMA antenna connector with an impedance of 50Ω and it can be used for connecting the appropriate antenna that MikroE has in its offer such as Rubber Antenna 433MHz Straight, for improved range and received signal strength.
This Click board™ is designed to be operated only with a 3.3V logic voltage level. A proper logic voltage level conversion should be performed before the Click board™ is used with MCUs with different logic levels.
Specifications
Type
Sub-1 GHz Transceievers
Applications
Can be used for remote low-speed communication, such as the remote keyless access, garage or gate doors control, industrial control, home automation, and similar applications where this kind of communication is applicable.
On-board modules
ISM RX 2 Click is based on the Si4356, an easy-to-use, size efficient, low current wireless receiver IC from Silicon Labs.
Key Features
Low current consumption, (G)FSK/OOK demodulator, pin configurable, excellent sensitivity up to –113 dBm, automatic gain control, true plug-and-play receive the option and more.
Interface
GPIO,UART
Feature
No ClickID
Compatibility
mikroBUS™
Click board size
M (42.9 x 25.4 mm)
Input Voltage
3.3V
Pinout diagram
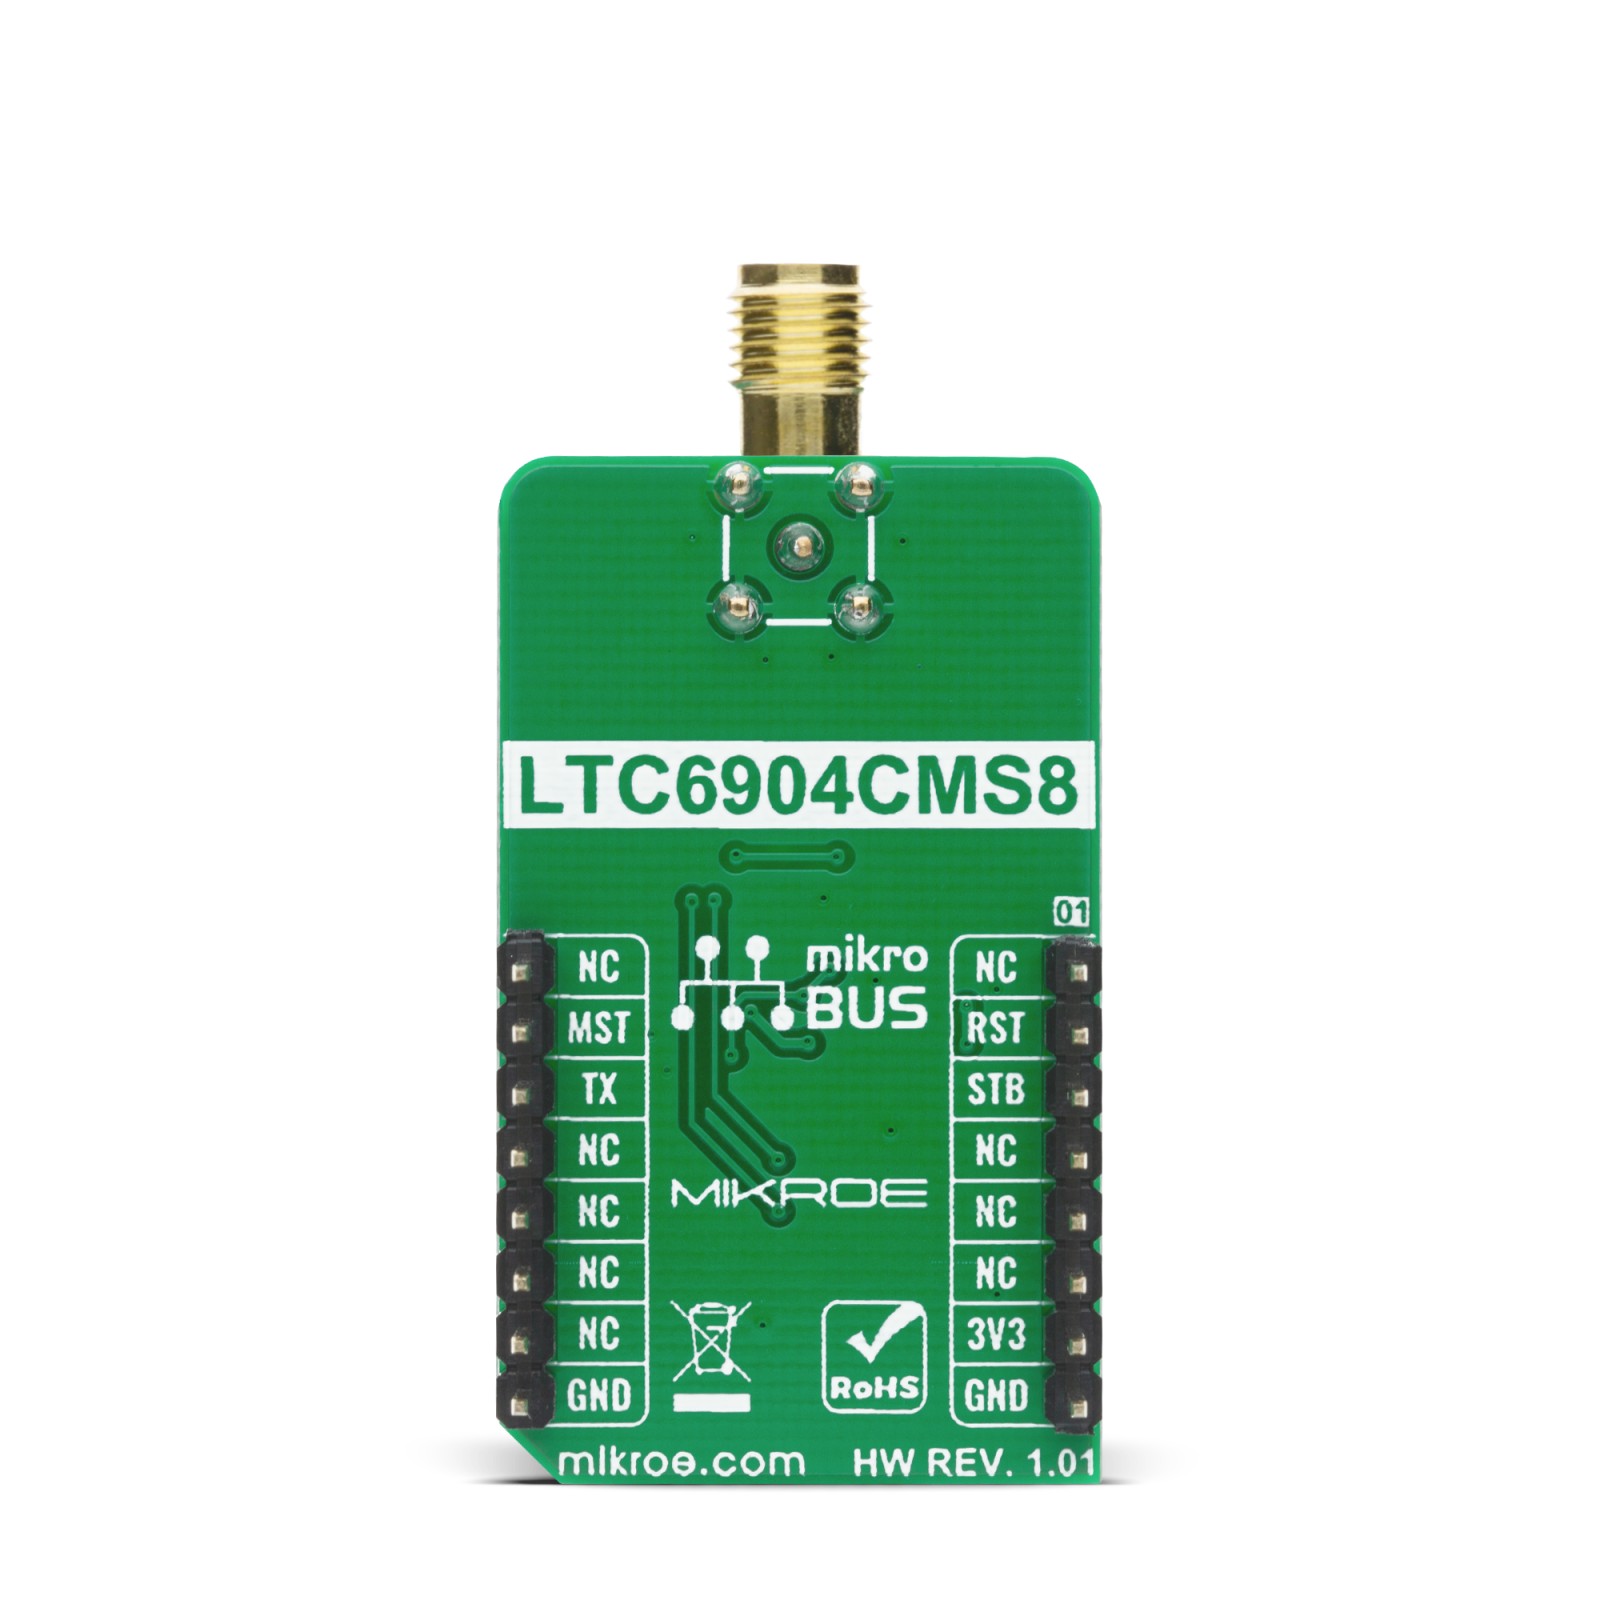
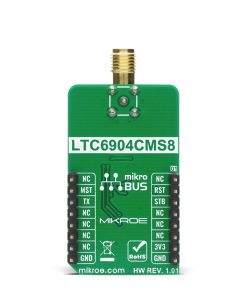
This table shows how the pinout on ISM RX 2 Click corresponds to the pinout on the mikroBUS™ socket (the latter shown in the two middle columns).
Onboard settings and indicators
| Label | Name | Default | Description |
|---|---|---|---|
| LD1 | PWR | – | Power LED Indicator |
| JP1-JP2 | MODE SEL | Left | Modulation Selection: Left position (G)FSK, Right position OOK |
| CN1 | ANT | – | SMA Antenna Connector |
ISM RX 2 Click electrical specifications
| Description | Min | Typ | Max | Unit |
|---|---|---|---|---|
| Supply Voltage | -0.3 | – | 3.6 | V |
| ISM RX 2 Frequency Range | – | 433.92 | – | MHz |
| RX Mode Current | – | 12 | – | mA |
| RX Input Power | – | – | +10 | dBm |
Software Support
We provide a library for the ISM RX 2 Click on our LibStock page, as well as a demo application (example), developed using MikroElektronika compilers. The demo can run on all the main MikroElektronika development boards.
Library Description
Library provides function for initializing device and control over GPIO pin states.
Key functions:
void ismrx2_initialize_device ( void )– Function for waking up device and reseting ituint8_t ismrx2_get_data_pin_state ( void )– Function for getting data pin pin state
Examples description
The application is composed of three sections :
- System Initialization – Initialize GPIO pins and LOG module
- Application Initialization – Initilize device
- Application Task – Wait for data pin to go down and starts sampling and waiting for sync word if it’s received collect data to buffer till it receive 0 byte
void application_task ( )
{
//---------------------------------------------------------Manchester example
    if ( MANCHESTER_EXAMPLE == example_type )
    {
        if ( ISMRX2_PIN_STATE_LOW == ismrx2_get_data_pin_state() )
        {
            //Collecting data till timeout
            sample_collecter();
            //Filtering data for validation
            filter_sample();

            if ( ISMRX2_DEV_OK == valid_data )
            {
                //Extracting manchester data
                man_sort();
                //Extracting bit data
                bit_sort();
                //Extracting decoded data
                data_sort();
                //Logs result if valid data received ( first byte 0xFF )
                if ( ISMRX2_DEV_OK == valid_data )
                {
                    data_tmp =  &data_buf[ 1 ];
                    mikrobus_logWrite( " - RX data: ", _LOG_TEXT );
                    mikrobus_logWrite( data_tmp, _LOG_LINE );
                    mikrobus_logWrite( "*********************", _LOG_LINE );
                }

                Delay_ms( 50 );
            }
            //Resets every counter and flag
            reset_to_default(  );
        }
    }
//-----------------------------------------------------------------------------

//--------------------------------------------------------------- Basic example
    if ( DEFAULT_EXAMPLE == example_type )
    {
        if ( ISMRX2_PIN_STATE_LOW == ismrx2_get_data_pin_state() )
        {
            state = read_rf_data( &data_buf[ 0 ] );
            if ( ISMRX2_DEV_OK == state )
            {
                mikrobus_logWrite( " - RX data: ", _LOG_TEXT );
                mikrobus_logWrite( data_buf, _LOG_LINE );
                mikrobus_logWrite( "*********************", _LOG_LINE );
                Delay_ms( 50 );
            }
        }
    }
//-----------------------------------------------------------------------------
}
Additional Functions :
- uint8_t read_rf_data ( uint8_t *read_buff ) – Function for reading data from RF antenna till you get 0 byte.
- void min_max_check ( uint8_t check_b ) – Function for getting max and min sample data values.
- void bit_sort ( ) – Extracting bit data from manchester buffer.
- void data_sort ( ) – Extracting data from bit buffer.
- void man_set_data ( uint16_t smp_cnt, uint8_t man_data ) – Function that sets data to manchester buffer
- void man_sort ( ) – Function for extracting data from sample buffer.
- void sample_collecter ( ) – Collecting data from pin.
- void filter_sample ( ) – Filtering collected data.
- void reset_to_default ( ) – Resets flags and counters to default values.
The full application code, and ready to use projects can be found on our LibStock page.
Other mikroE Libraries used in the example:
- UART
Additional notes and informations
Depending on the development board you are using, you may need USB UART click, USB UART 2 click or RS232 click to connect to your PC, for development systems with no UART to USB interface available on the board. The terminal available in all MikroElektronika compilers, or any other terminal application of your choice, can be used to read the message.
mikroSDK
This Click board™ is supported with mikroSDK – MikroElektronika Software Development Kit. To ensure proper operation of mikroSDK compliant Click board™ demo applications, mikroSDK should be downloaded from the LibStock and installed for the compiler you are using.
For more information about mikroSDK, visit the official page.
Resources
Downloads
| Weight | 21 g |
|---|---|
| Brand | MikroElektronika |

