How does it work?
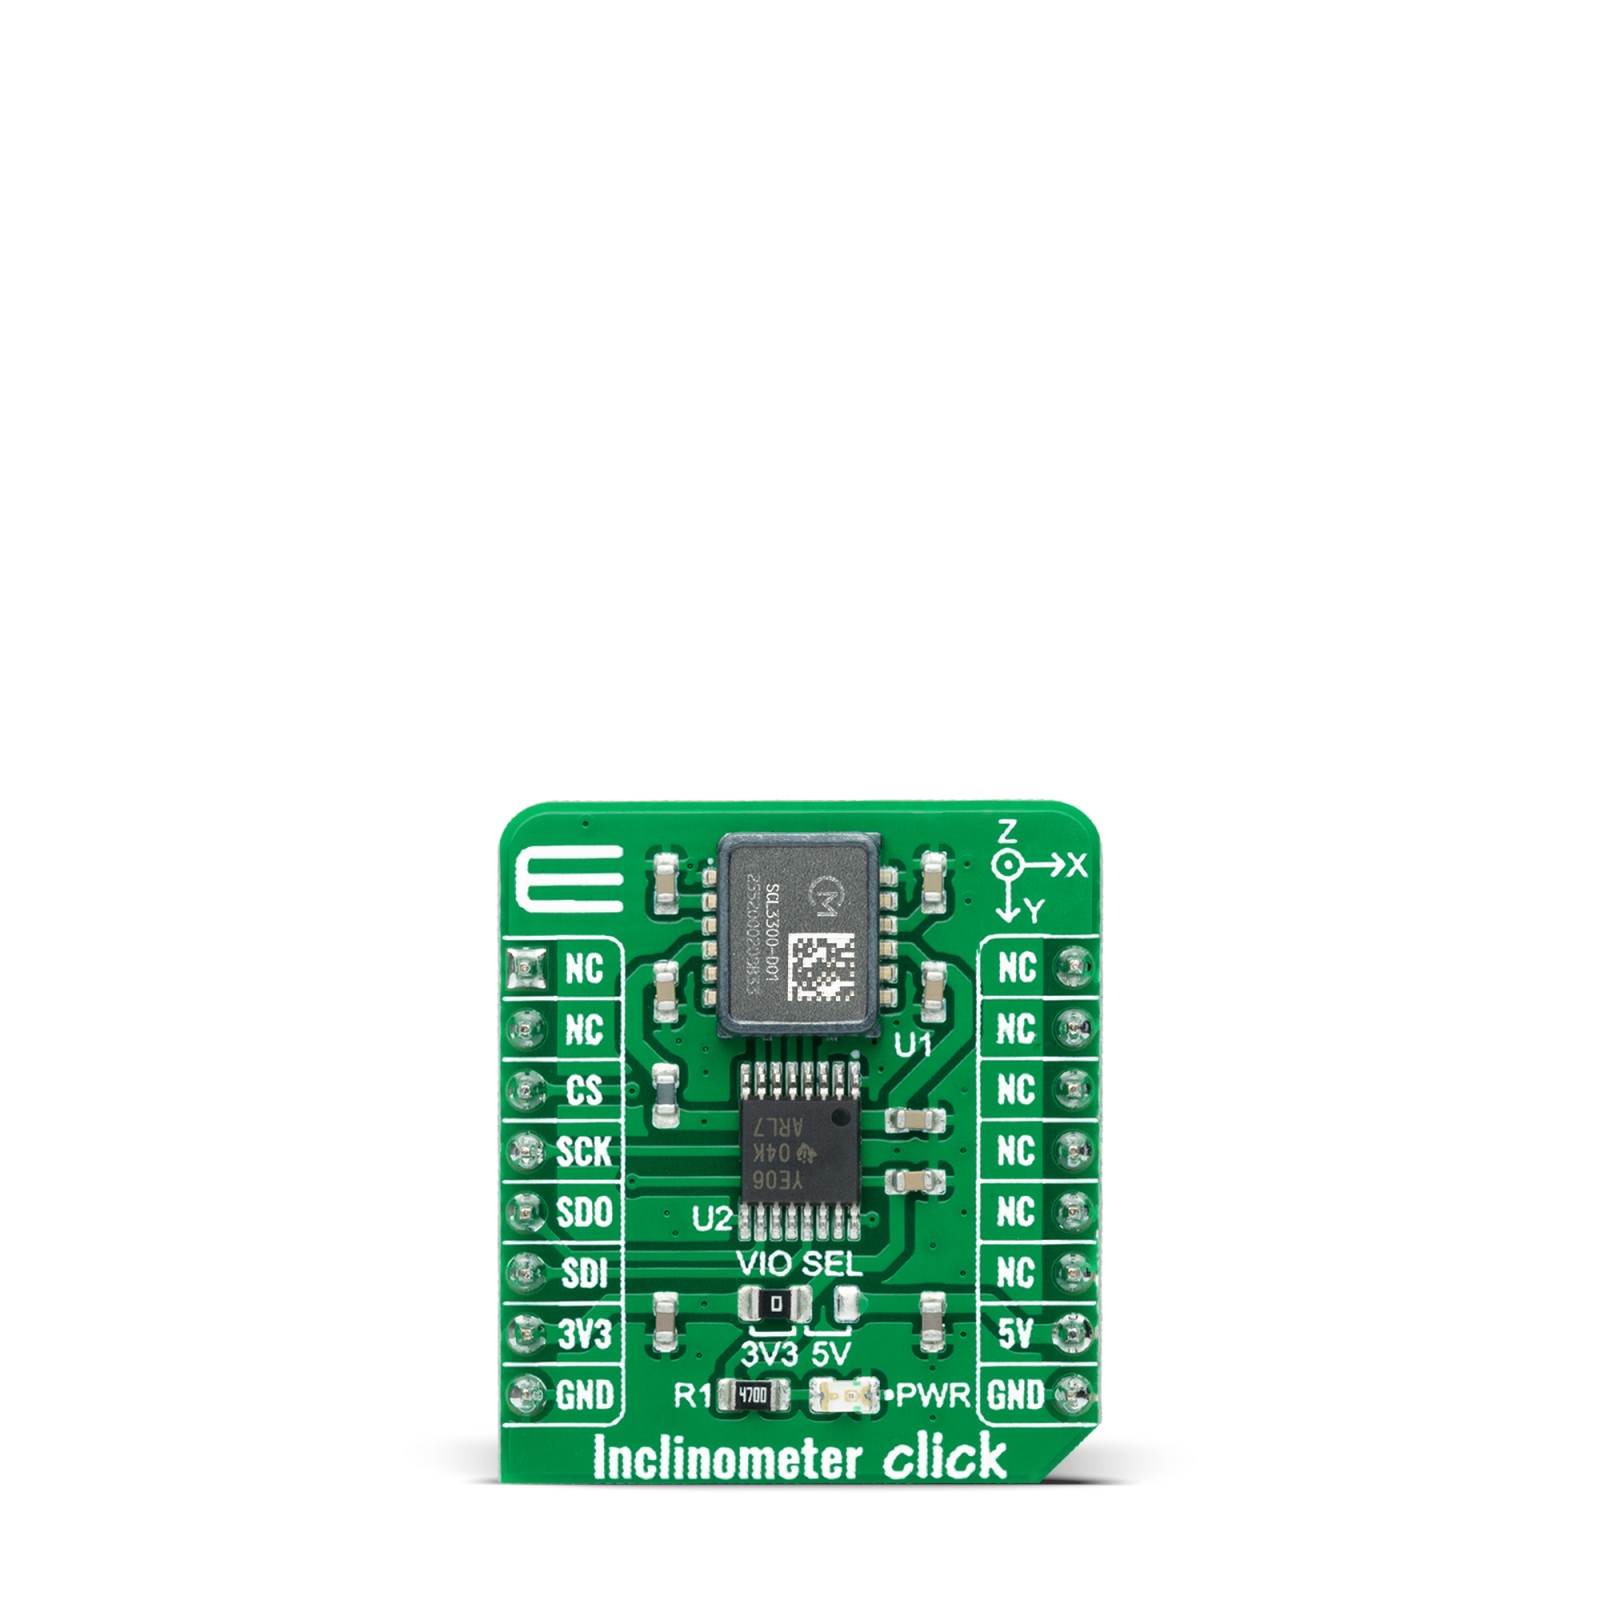
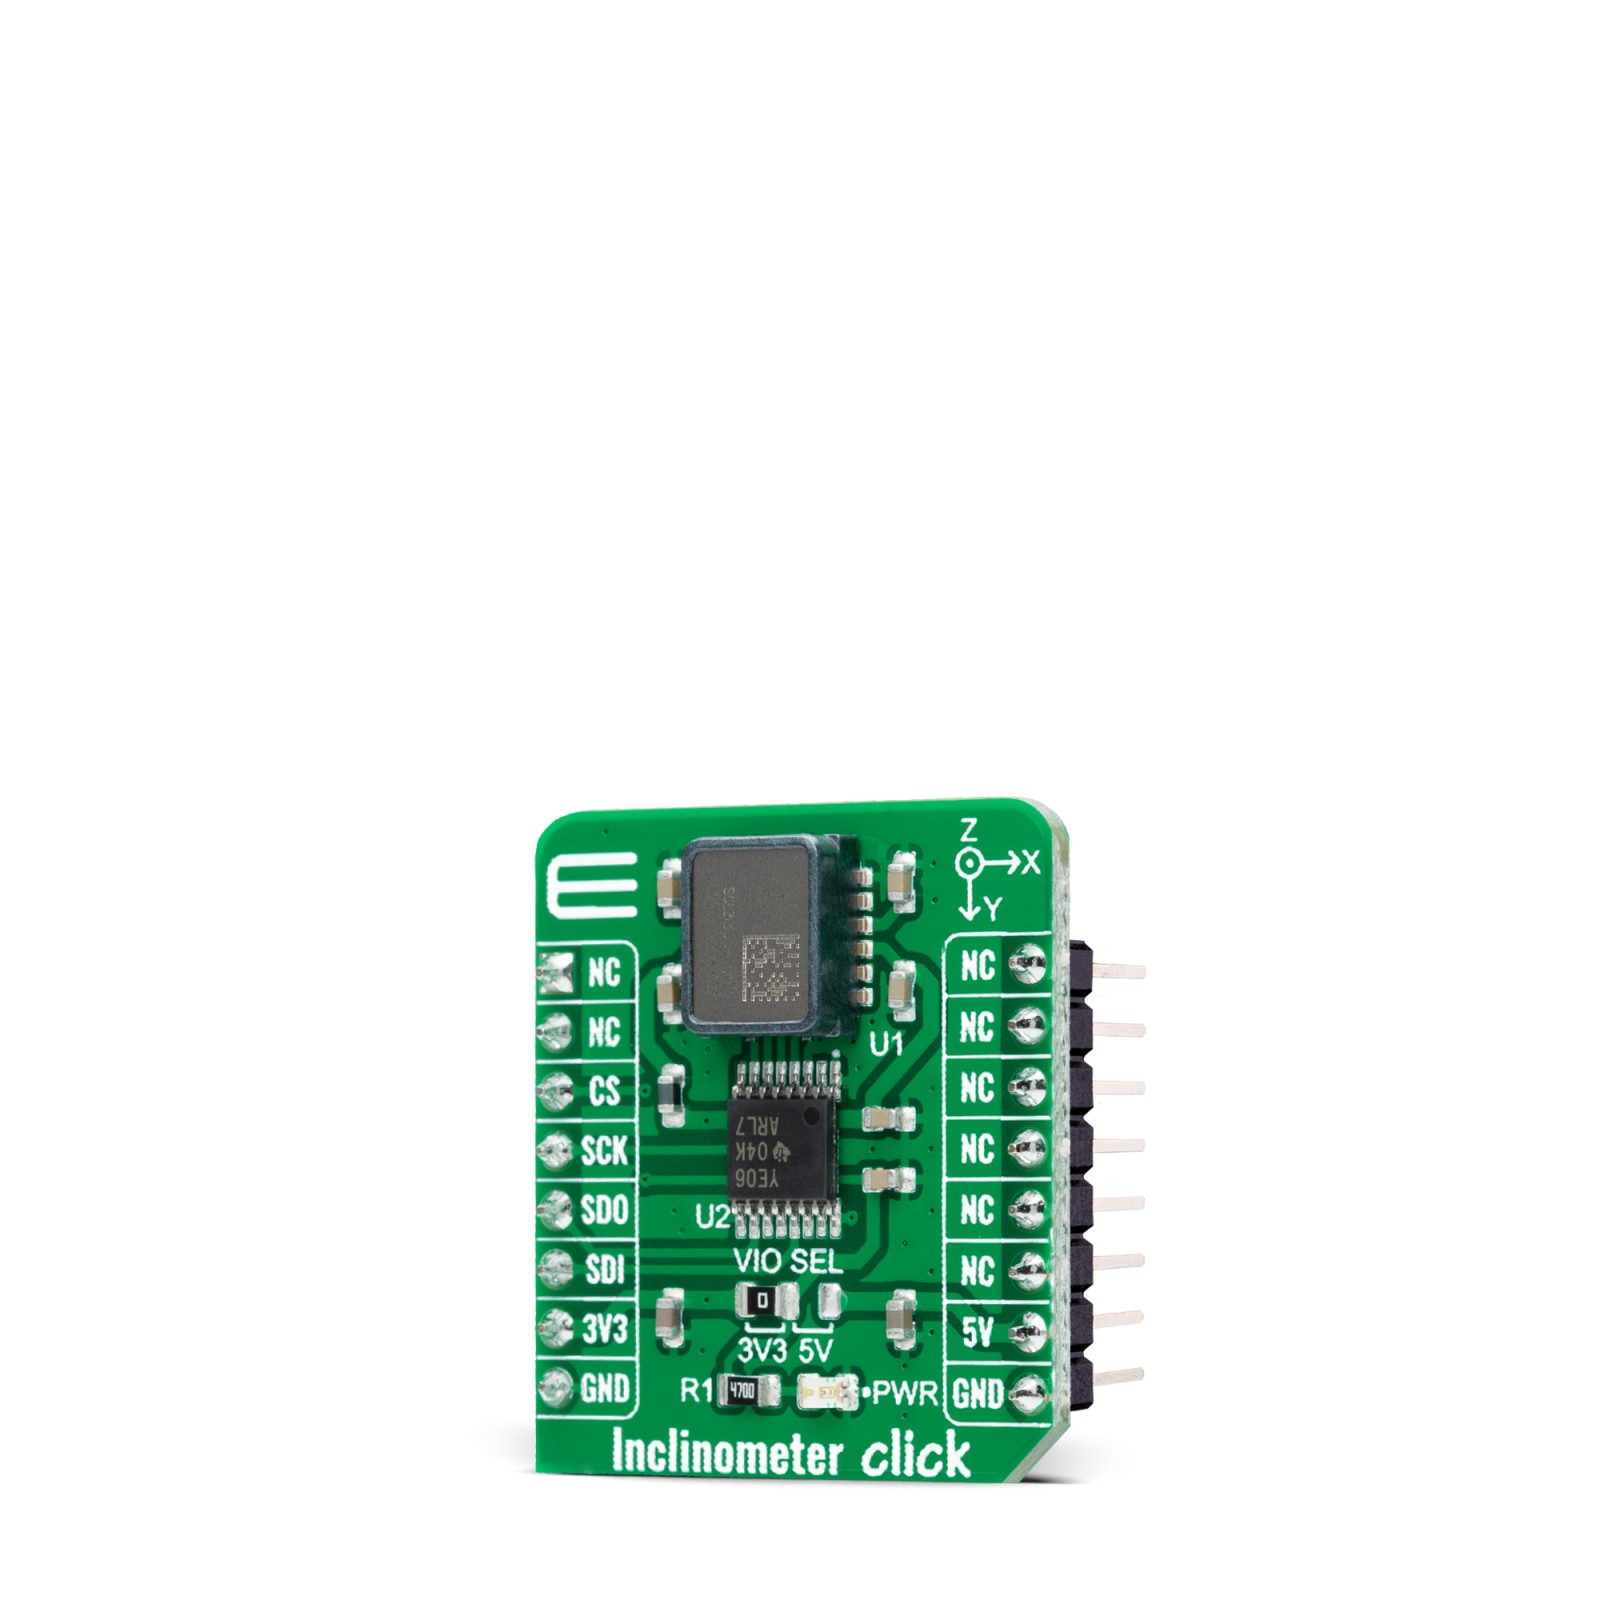
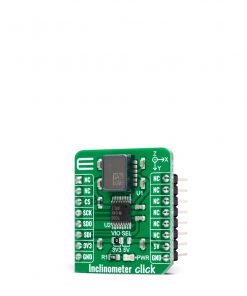
Inclinometer Click as its foundation uses the SCL3300, a high-performance best-in-class inclinometer sensor component from Murata. The SCL3300 includes an acceleration sensing element that consists of four acceleration-sensitive masses and an Application-Specific Integrated Circuit (ASIC). The sensing elements are manufactured using the Murata proprietary High Aspect Ratio (HAR) 3D-MEMS process, making extraordinarily stable and low noise capacitive sensors. Acceleration causes capacitance change that is converted into a voltage change in the signal conditioning ASIC. The SCL3300 has extremely stable output over a wide range of temperatures and vibrations.
Inclination measurement of SCL3300 is based on the angle measurements between the component and the gravity vector in a static environment. Note that no other accelerations should be present to measure angles correctly. The SCL3300 has four user-selectable measurement modes for sensor performance optimization for different applications and their requirements. Suppose the whole 360° operation is needed. In that case, the user should select either Mode 1 or Mode 2, where the limitations regarding the maximum inclination angle don’t exist (inclination ranges are limited in Mode 3 and Mode 4 to maximum ±10° inclination).
The SCL3300 communicates with MCU using the standard SPI serial interface with a maximum frequency of 4MHz, and a proper logic voltage level conversion performed by the appropriate voltage level translator. The VIO logic level provides a needed reference voltage for one side of the TXB0106, a 6-bit bidirectional level shifting, and a voltage translator with automatic direction sensing from Texas Instruments. On another side of the level shifter, the reference voltage is taken from the 3.3V mikroBUS™ power rail.
This Click board™ can operate with both 3.3V and 5V logic voltage levels selected via the VIO SEL jumper. This way, it is allowed for both 3.3V and 5V capable MCUs to use the SPI communication lines properly. However, the Click board™ comes equipped with a library containing easy-to-use functions and an example code that can be used, as a reference, for further development.
Specifications
Type
Motion
Applications
Can be used for applications demanding high stability with demanding environmental requirements such as tilt sensing, machine control, inertial measurement units, positioning and guidance systems, and many more
On-board modules
SCL3300 – high-performance best-in-class inclinometer sensor component from Murata
Key Features
Low power consumption, 3-axis inclinometer, selectable measurement modes, ultra-low noise density, excellent offset stability, high accuracy, and more
Interface
SPI
Feature
No ClickID
Compatibility
mikroBUS™
Click board size
S (28.6 x 25.4 mm)
Input Voltage
3.3V or 5V
Pinout diagram
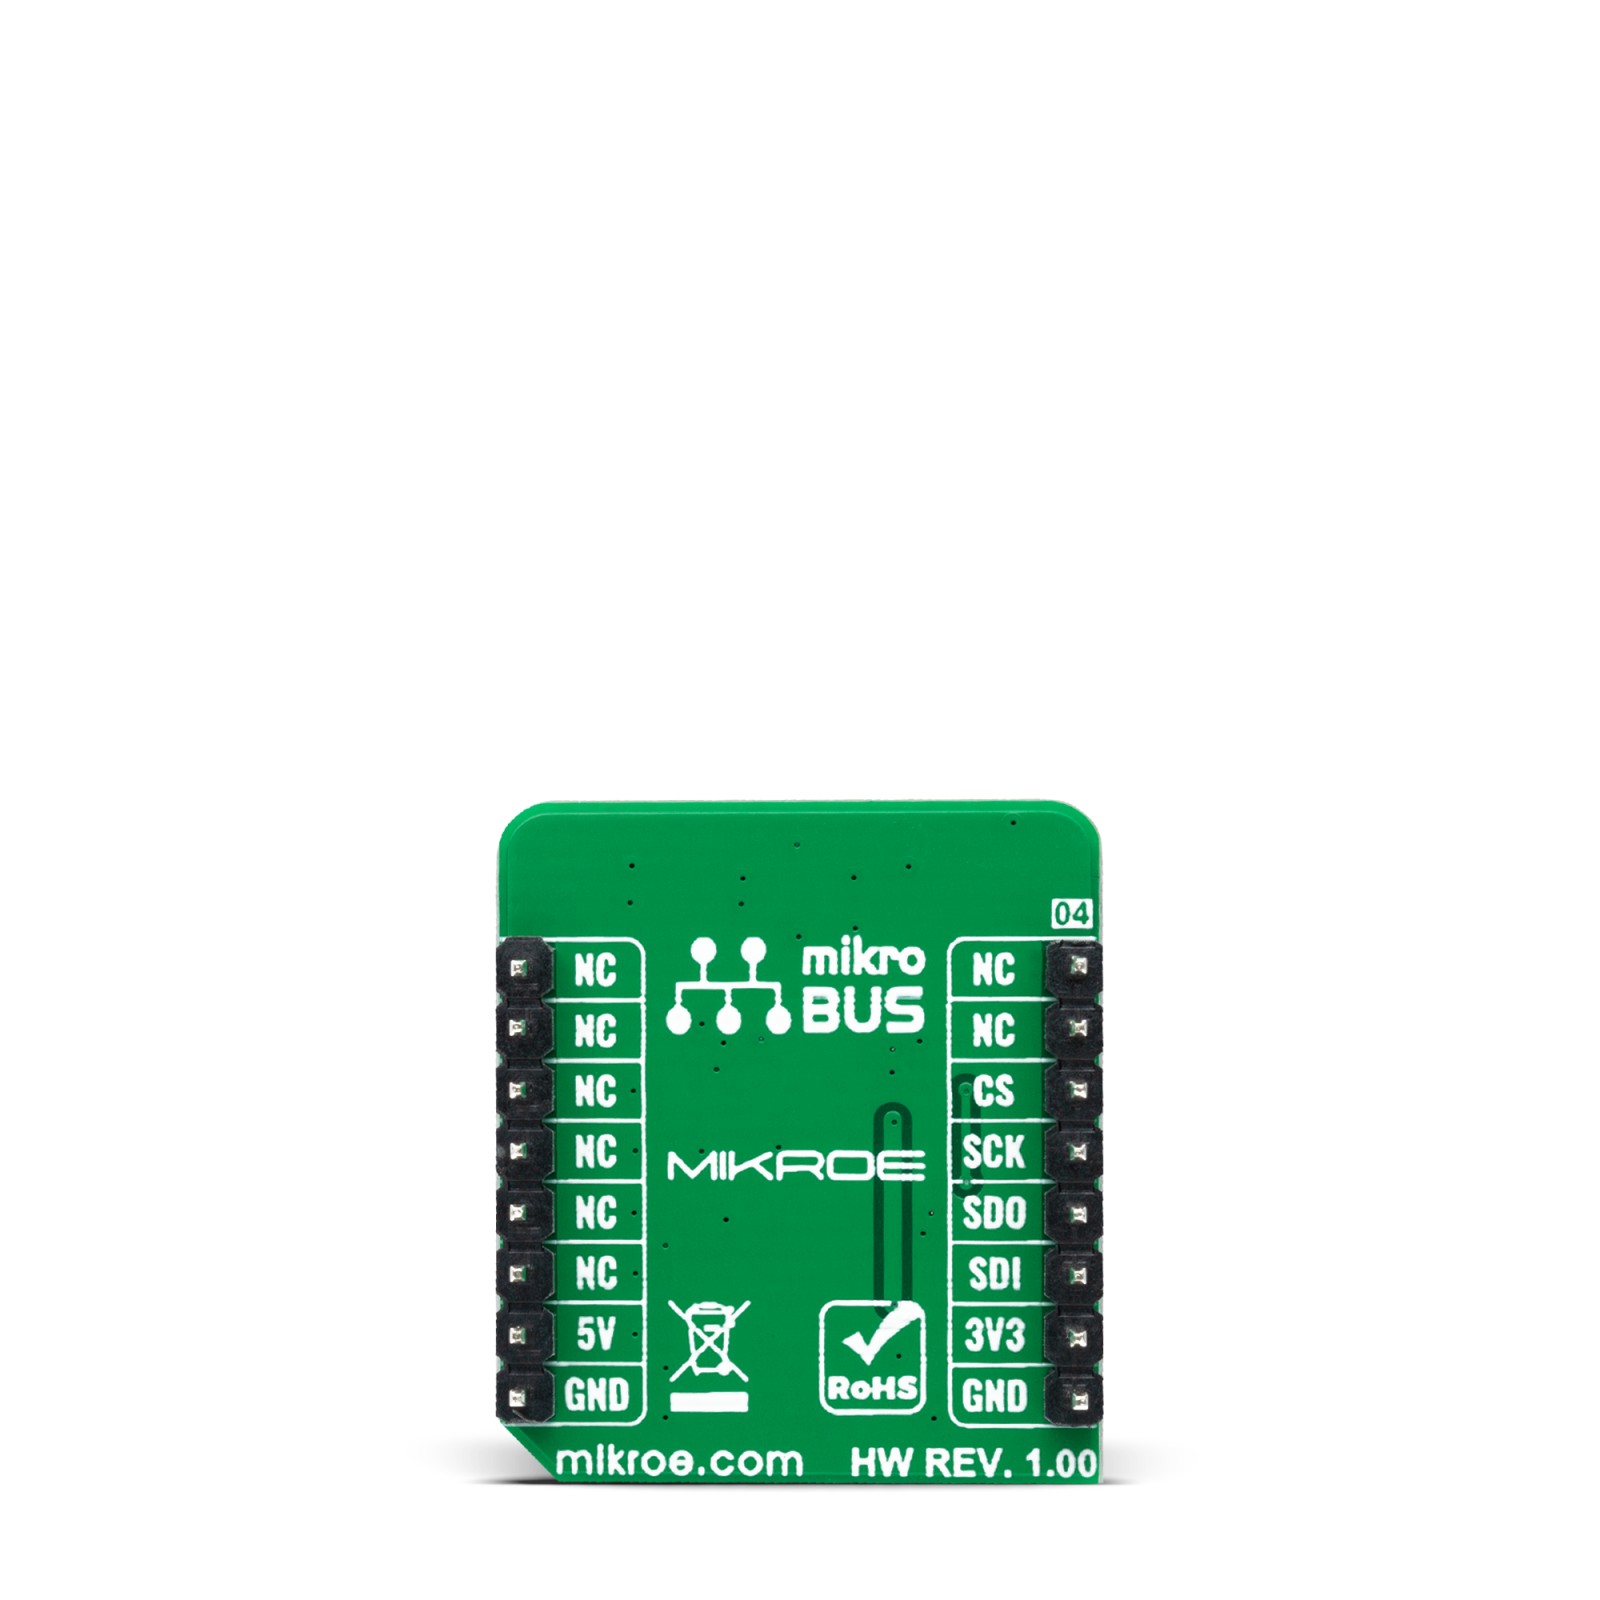
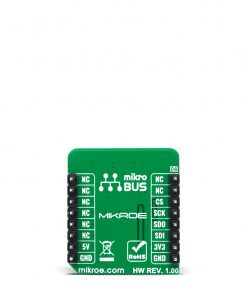
This table shows how the pinout on Inclinometer Click corresponds to the pinout on the mikroBUS™ socket (the latter shown in the two middle columns).
Onboard settings and indicators
Label | Name | Default | Description |
---|---|---|---|
LD1 | PWR | – | Power LED Indicator |
JP1 | VCC SEL | Left | Logic Level Voltage Selection 3V3/5V: Left position 3V3, Right position 5V |
Inclinometer Click electrical specifications
Description | Min | Typ | Max | Unit |
---|---|---|---|---|
Supply Voltage | 3.3 | – | 5 | V |
Measurement Range (Mode 1-2/3-4) | ±90 / ±10 | deg | ||
Operating Temperature Range | -40 | +25 | +125 | °C |
Software Support
We provide a library for the Inclinometer Click as well as a demo application (example), developed using MikroElektronika compilers. The demo can run on all the main MikroElektronika development boards.
Package can be downloaded/installed directly from NECTO Studio Package Manager(recommended way), downloaded from our LibStock™ or found on Mikroe github account.
Library Description
This library contains API for Inclinometer Click driver.
Key functions:
inclinometer_cfg_setup
– Config Object Initialization function.inclinometer_init
– Initialization function.inclinometer_default_cfg
– Click Default Configuration function.
Examples description
This example showcases ability of device to configure it for resolution and read Axis/Angle/Temperature data.
The demo application is composed of two sections :
void application_task ( void ) { switch ( example_type ) { case EXAMPLE_AXIS: { inclinometer_accel_t axes_data; inclinometer_get_axes( &inclinometer, &axes_data ); log_printf( &logger, "> ACCEL X[g]: %.2frn", axes_data.x ); log_printf( &logger, "> ACCEL Y[g]: %.2frn", axes_data.y ); log_printf( &logger, "> ACCEL Z[g]: %.2frn", axes_data.z ); break; } case EXAMPLE_ANGLE: { inclinometer_accel_t angle_data; inclinometer_get_angle( &inclinometer, &angle_data ); log_printf( &logger, "> ANGLE X[deg]: %.2frn", angle_data.x ); log_printf( &logger, "> ANGLE Y[deg]: %.2frn", angle_data.y ); log_printf( &logger, "> ANGLE Z[deg]: %.2frn", angle_data.z ); break; } case EXAMPLE_TEMP: { float temp_data = 0; inclinometer_get_temperature( &inclinometer, &temp_data ); log_printf( &logger, "> Temperature[degC]: %.2frn", temp_data ); break; } default: { log_error( &logger, " Example type." ); break; } } log_printf( &logger, "*************************************rn" ); Delay_ms( 100 ); }
The full application code, and ready to use projects can be installed directly from NECTO Studio Package Manager(recommended way), downloaded from our LibStock™ or found on Mikroe github account.
Other Mikroe Libraries used in the example:
- MikroSDK.Board
- MikroSDK.Log
- Click.Inclinometer
Additional notes and informations
Depending on the development board you are using, you may need USB UART click, USB UART 2 click or RS232 click to connect to your PC, for development systems with no UART to USB interface available on the board. The terminal available in all MikroElektronika compilers, or any other terminal application of your choice, can be used to read the message.
mikroSDK
This Click board™ is supported with mikroSDK – MikroElektronika Software Development Kit. To ensure proper operation of mikroSDK compliant Click board™ demo applications, mikroSDK should be downloaded from the LibStock and installed for the compiler you are using.
For more information about mikroSDK, visit the official page.