How does it work?
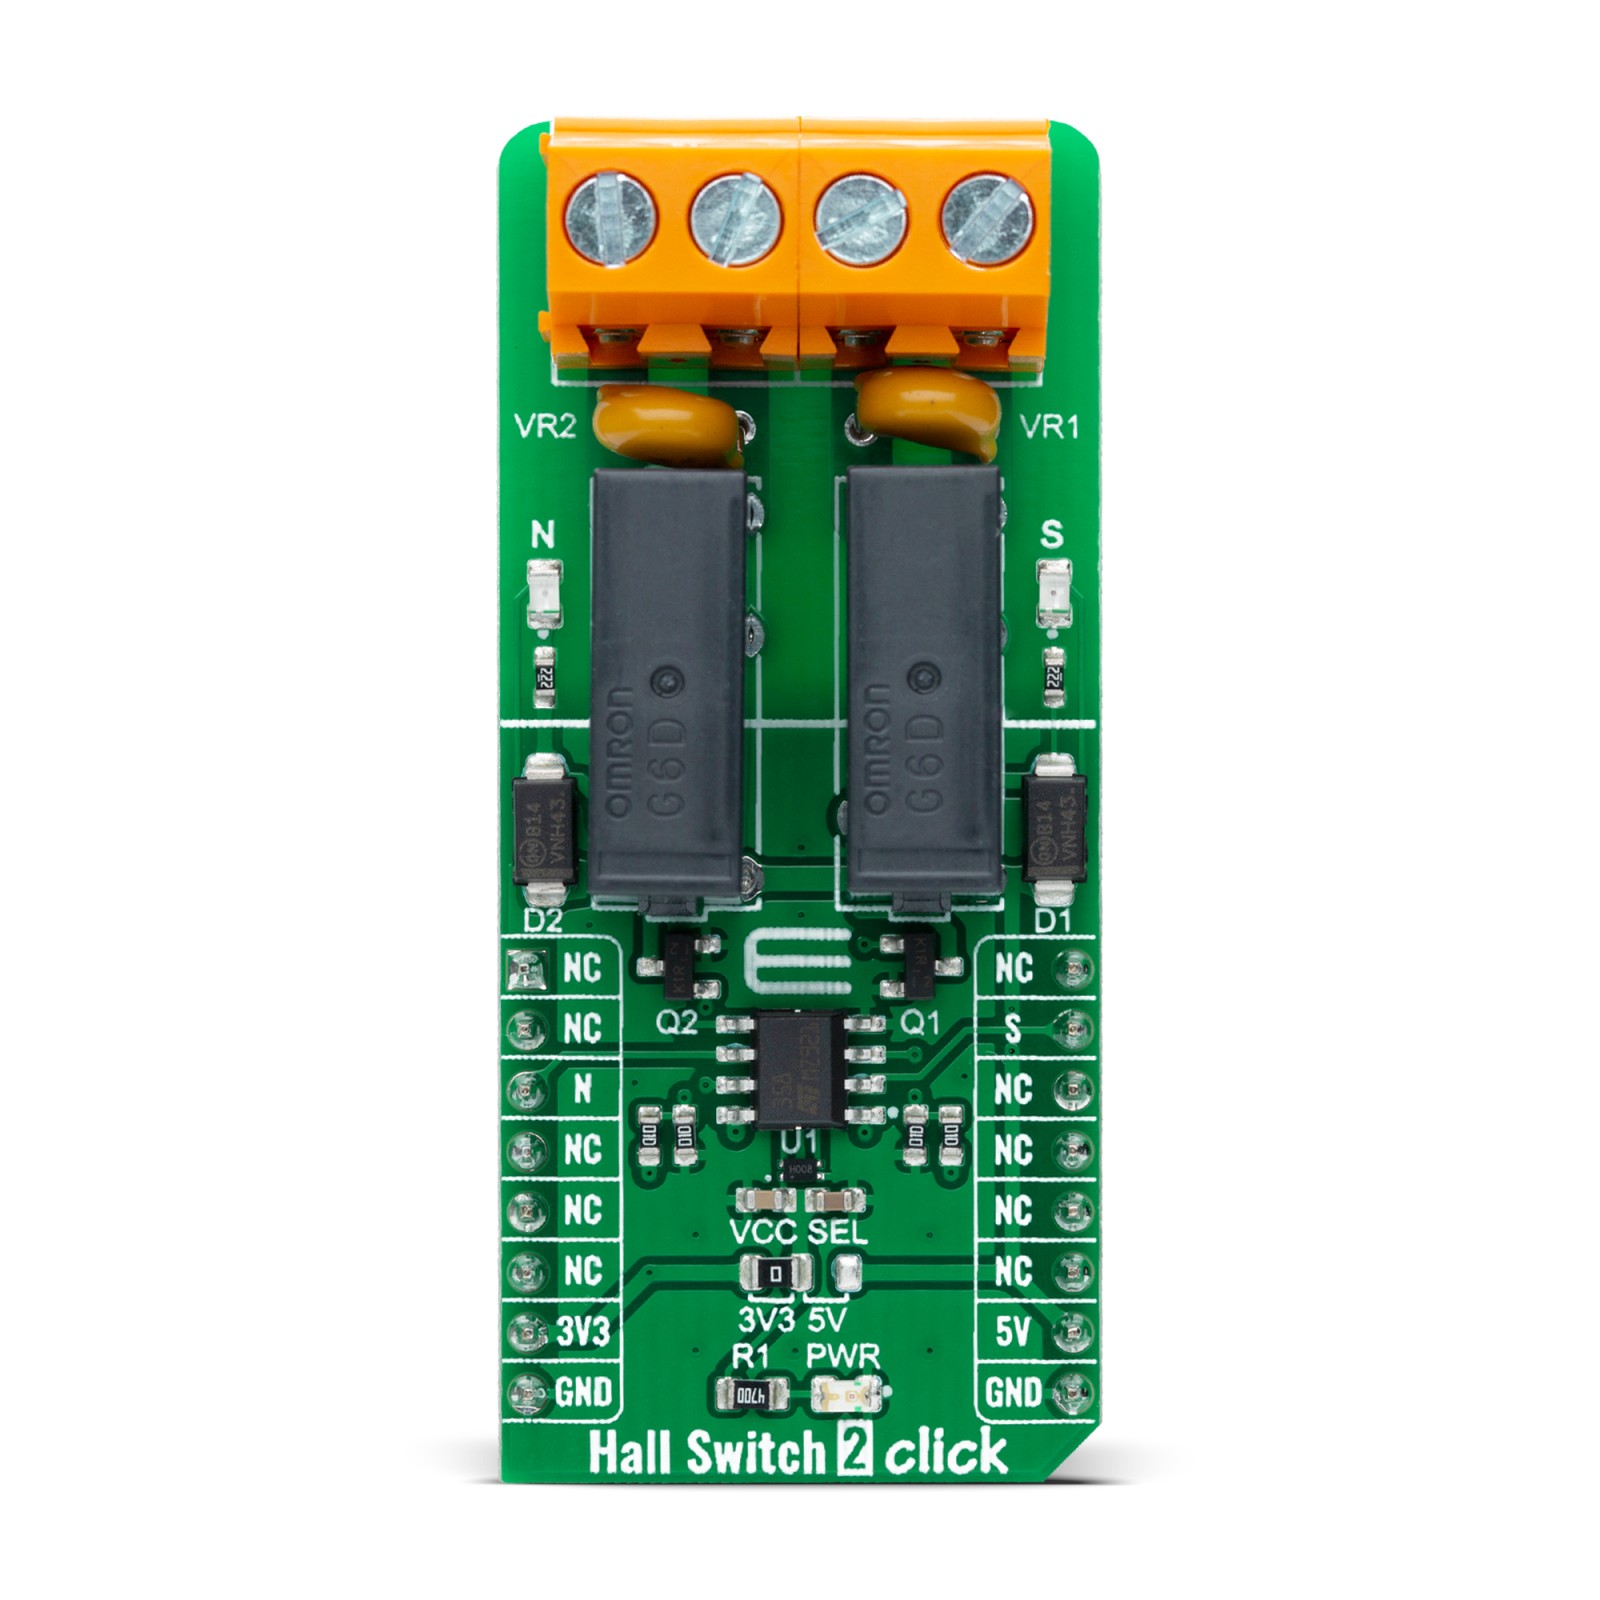
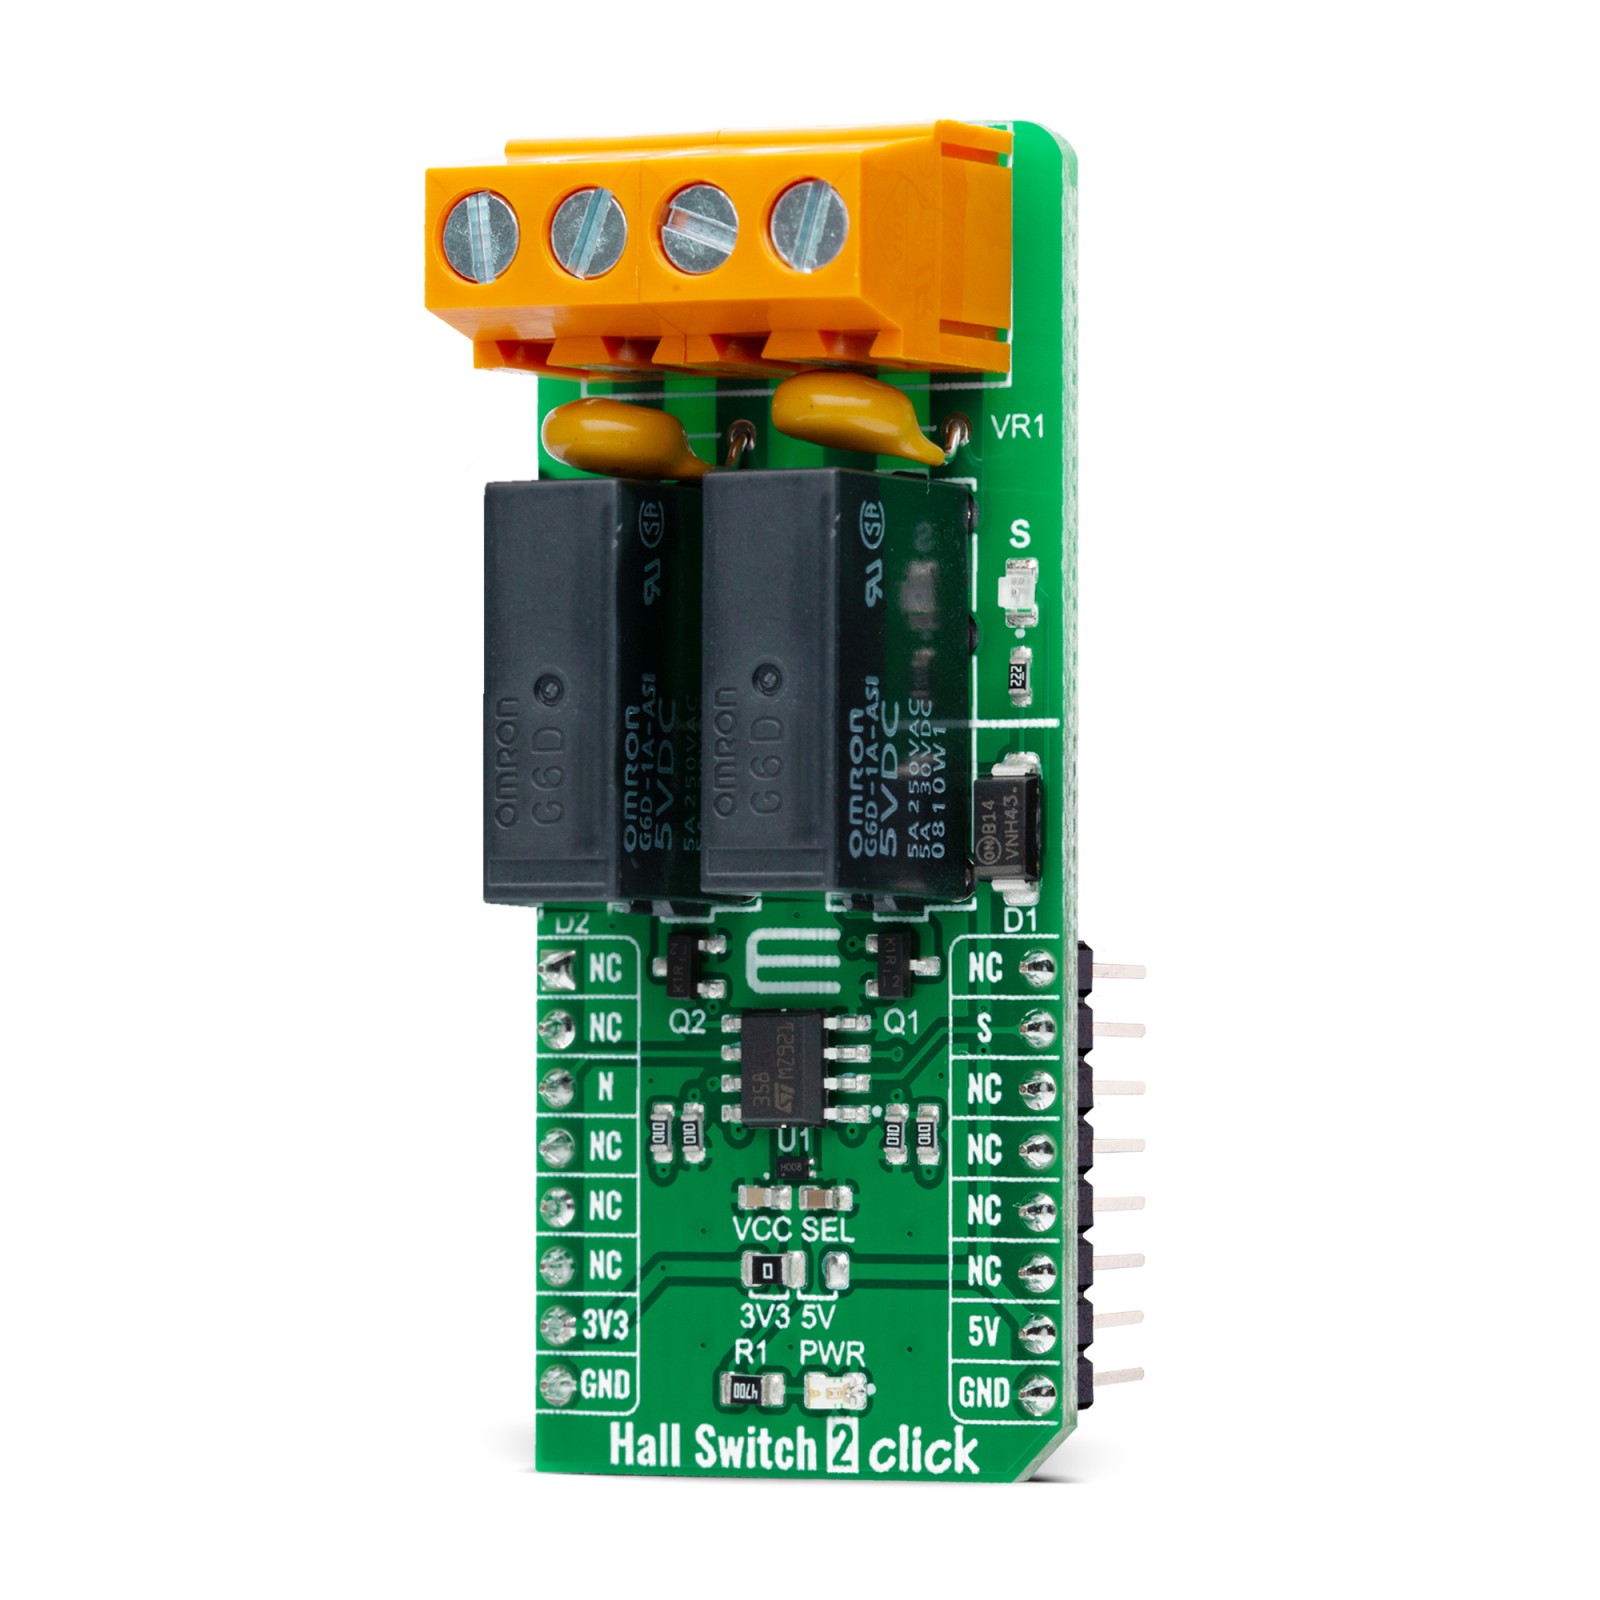
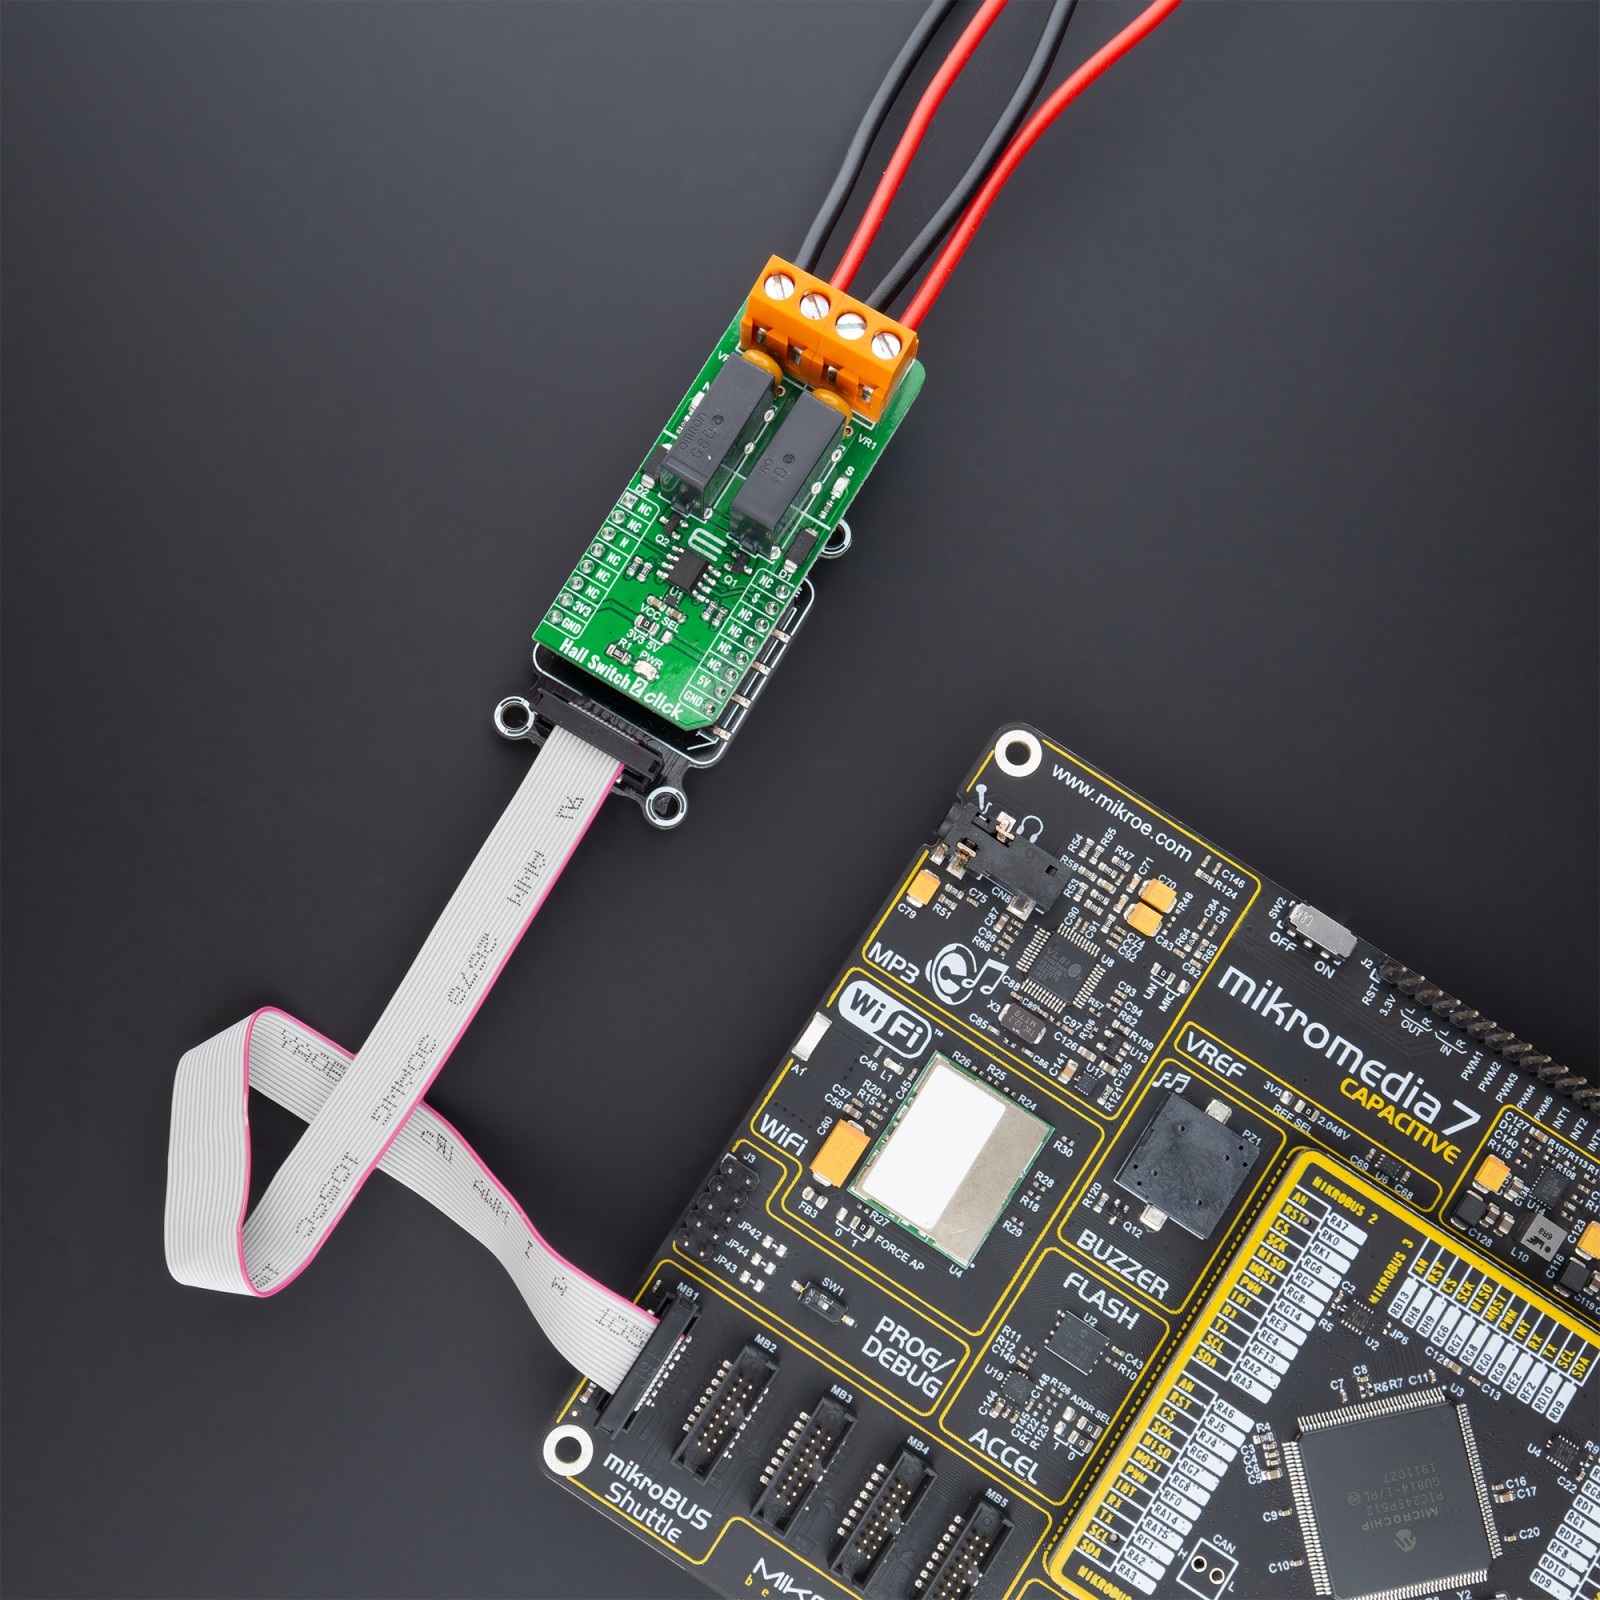
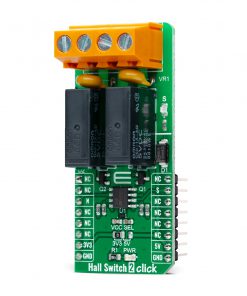
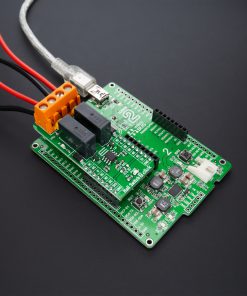
Hall Switch 2 Click as its foundation uses the MHA100KN, a high-performance, low-power Hall-Effect sensor from MEMSIC. This Click board™ detects the presence and magnitude of a magnetic field using the Hall effect. It consists of two high-quality relays, which the MHA100KN activates. When the north pole magnetic field is introduced to the sensor, one of the relays will be activated; otherwise, the other relay will be activated.
The outputs of the MHA100KN are routed to the LM358 operational amplifier, which works as the inverting comparators. When the output of the MHA100KN is activated, pulled to a low logic level, the output from the comparator will be set to 5V, which will cause biasing of the BJTs, allowing current flow through the relay coil and thus forming a magnetic field necessary for closing the relay contacts. A Schottky diode across the relay coils prevents the reverse kickback voltage, which forms due to the inert nature of the coils.
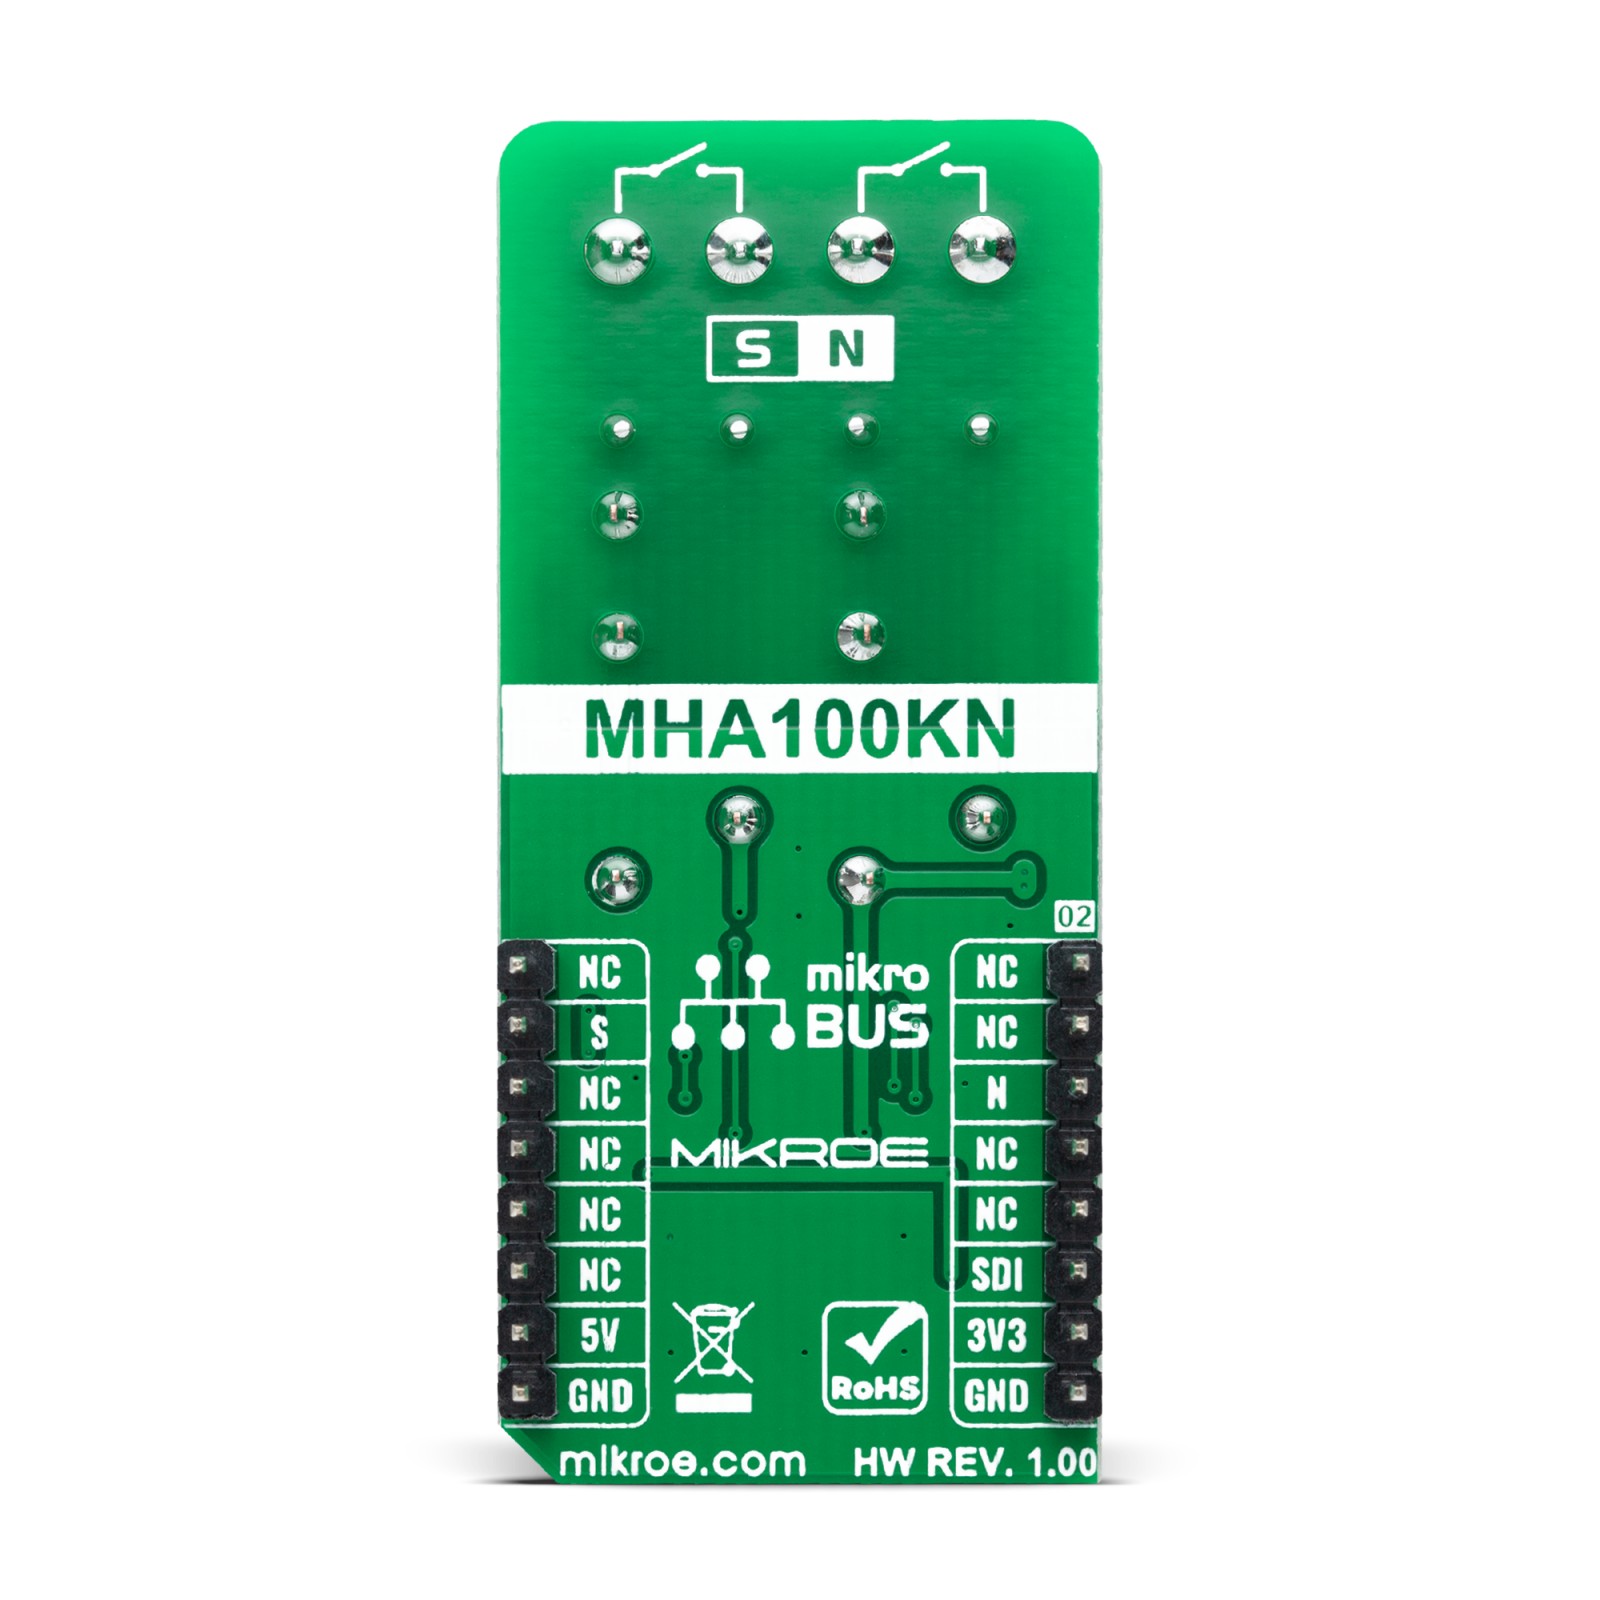
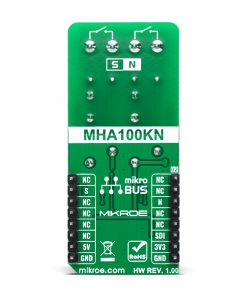
Hall Switch 2 Click communicates with MCU using two GPIO pins labeled S and N. The north pole output is routed to the CS pin, while the south pole output is routed to the INT pin of the mikroBUS™ socket so that the MCU can monitor the status of the MHA100KN. Activation of the relay coils is also visually indicated by the yellow and red LEDs, respectively.
Two varistors VR1 and VR2, are used to prevent voltage peaks when the load is connected or disconnected on the relay output contacts. However, the relays allow up to 5A for 250VAC / 30VDC, so the connected load should not exceed these power r0atings.
This Click board™ can operate with both 3.3V and 5V logic voltage levels selected via the VCC SEL jumper. This way, it allows both 3.3V and 5V capable MCUs to use the communication lines properly. However, the Click board™ comes equipped with a library containing easy-to-use functions and an example code that can be used, as a reference, for further development.
Specifications
Type
Magnetic
Applications
Can be used for various applications activated by the magnetic field, such as contactless switches, lids or tray position detecting switches, or other similar applications that require contactless switching of the relay contacts
On-board modules
MHA100KN – high-performance, low-power Hall-Effect sensor from MEMSIC
Key Features
Low power consumption, reliable contactless switching by the magnetic field, separate sensors for both south and north pole magnetic fields, high-quality compact relays, and more
Interface
GPIO
Feature
No ClickID
Compatibility
mikroBUS™
Click board size
L (57.15 x 25.4 mm)
Input Voltage
3.3V or 5V
Pinout diagram
This table shows how the pinout on Hall Switch 2 Click corresponds to the pinout on the mikroBUS™ socket (the latter shown in the two middle columns).
Onboard settings and indicators
Label | Name | Default | Description |
---|---|---|---|
LD1 | PWR | – | Power LED Indicator |
LD2 | S | – | Magnet South Pole LED Indicator |
LD3 | N | – | Magnet North Pole LED Indicator |
JP1 | VCC SEL | Left | Logic Level Voltage Selection 3V3/5V: Left position 3V3, Right position 5V |
Hall Switch 2 Click electrical specifications
Description | Min | Typ | Max | Unit |
---|---|---|---|---|
Supply Voltage | 3.3 | – | 5 | V |
Maximum Output Current | – | – | 5 | A |
Operating Temperature Range | -40 | +25 | +85 | °C |
Software Support
We provide a library for the Hall Switch 2 Click as well as a demo application (example), developed using MikroElektronika compilers. The demo can run on all the main MikroElektronika development boards.
Package can be downloaded/installed directly from NECTO Studio Package Manager(recommended way), downloaded from our LibStock™ or found on Mikroe github account.
Library Description
This library contains API for Hall Switch 2 Click driver.
Key functions:
hallswitch2_cfg_setup
– Config Object Initialization function.hallswitch2_init
– Initialization function.- – .
Examples description
This example demonstrates the use of Hall Switch 2 Click board.
void application_task ( void ) { switch ( hallswitch2_check_state( &hallswitch2 ) ) { case HALLSWITCH2_NO_MAGNET_DETECTED: { if ( HALLSWITCH2_NO_MAGNET_DETECTED != print_state ) { log_printf( &logger, " No magnet detectedrn" ); log_printf( &logger, " Switches - disabledrnrn" ); print_state = HALLSWITCH2_NO_MAGNET_DETECTED; } break; } case HALLSWITCH2_S_POLE_DETECTED: { if ( HALLSWITCH2_S_POLE_DETECTED != print_state ) { log_printf( &logger, " South pole detectedrn" ); log_printf( &logger, " Switch 1 - enabledrnrn" ); print_state = HALLSWITCH2_S_POLE_DETECTED; } break; } case HALLSWITCH2_N_POLE_DETECTED: { if ( HALLSWITCH2_N_POLE_DETECTED != print_state ) { log_printf( &logger, " North pole detectedrn" ); log_printf( &logger, " Switch 2 - enabledrnrn" ); print_state = HALLSWITCH2_N_POLE_DETECTED; } break; } default: { break; } } }
The full application code, and ready to use projects can be installed directly from NECTO Studio Package Manager(recommended way), downloaded from our LibStock™ or found on Mikroe github account.
Other mikroE Libraries used in the example:
- MikroSDK.Board
- MikroSDK.Log
- Click.HallSwitch2
Additional notes and informations
Depending on the development board you are using, you may need USB UART click, USB UART 2 click or RS232 click to connect to your PC, for development systems with no UART to USB interface available on the board. The terminal available in all MikroElektronika compilers, or any other terminal application of your choice, can be used to read the message.
mikroSDK
This Click board™ is supported with mikroSDK – MikroElektronika Software Development Kit. To ensure proper operation of mikroSDK compliant Click board™ demo applications, mikroSDK should be downloaded from the LibStock and installed for the compiler you are using.
For more information about mikroSDK, visit the official page.