How does it work?
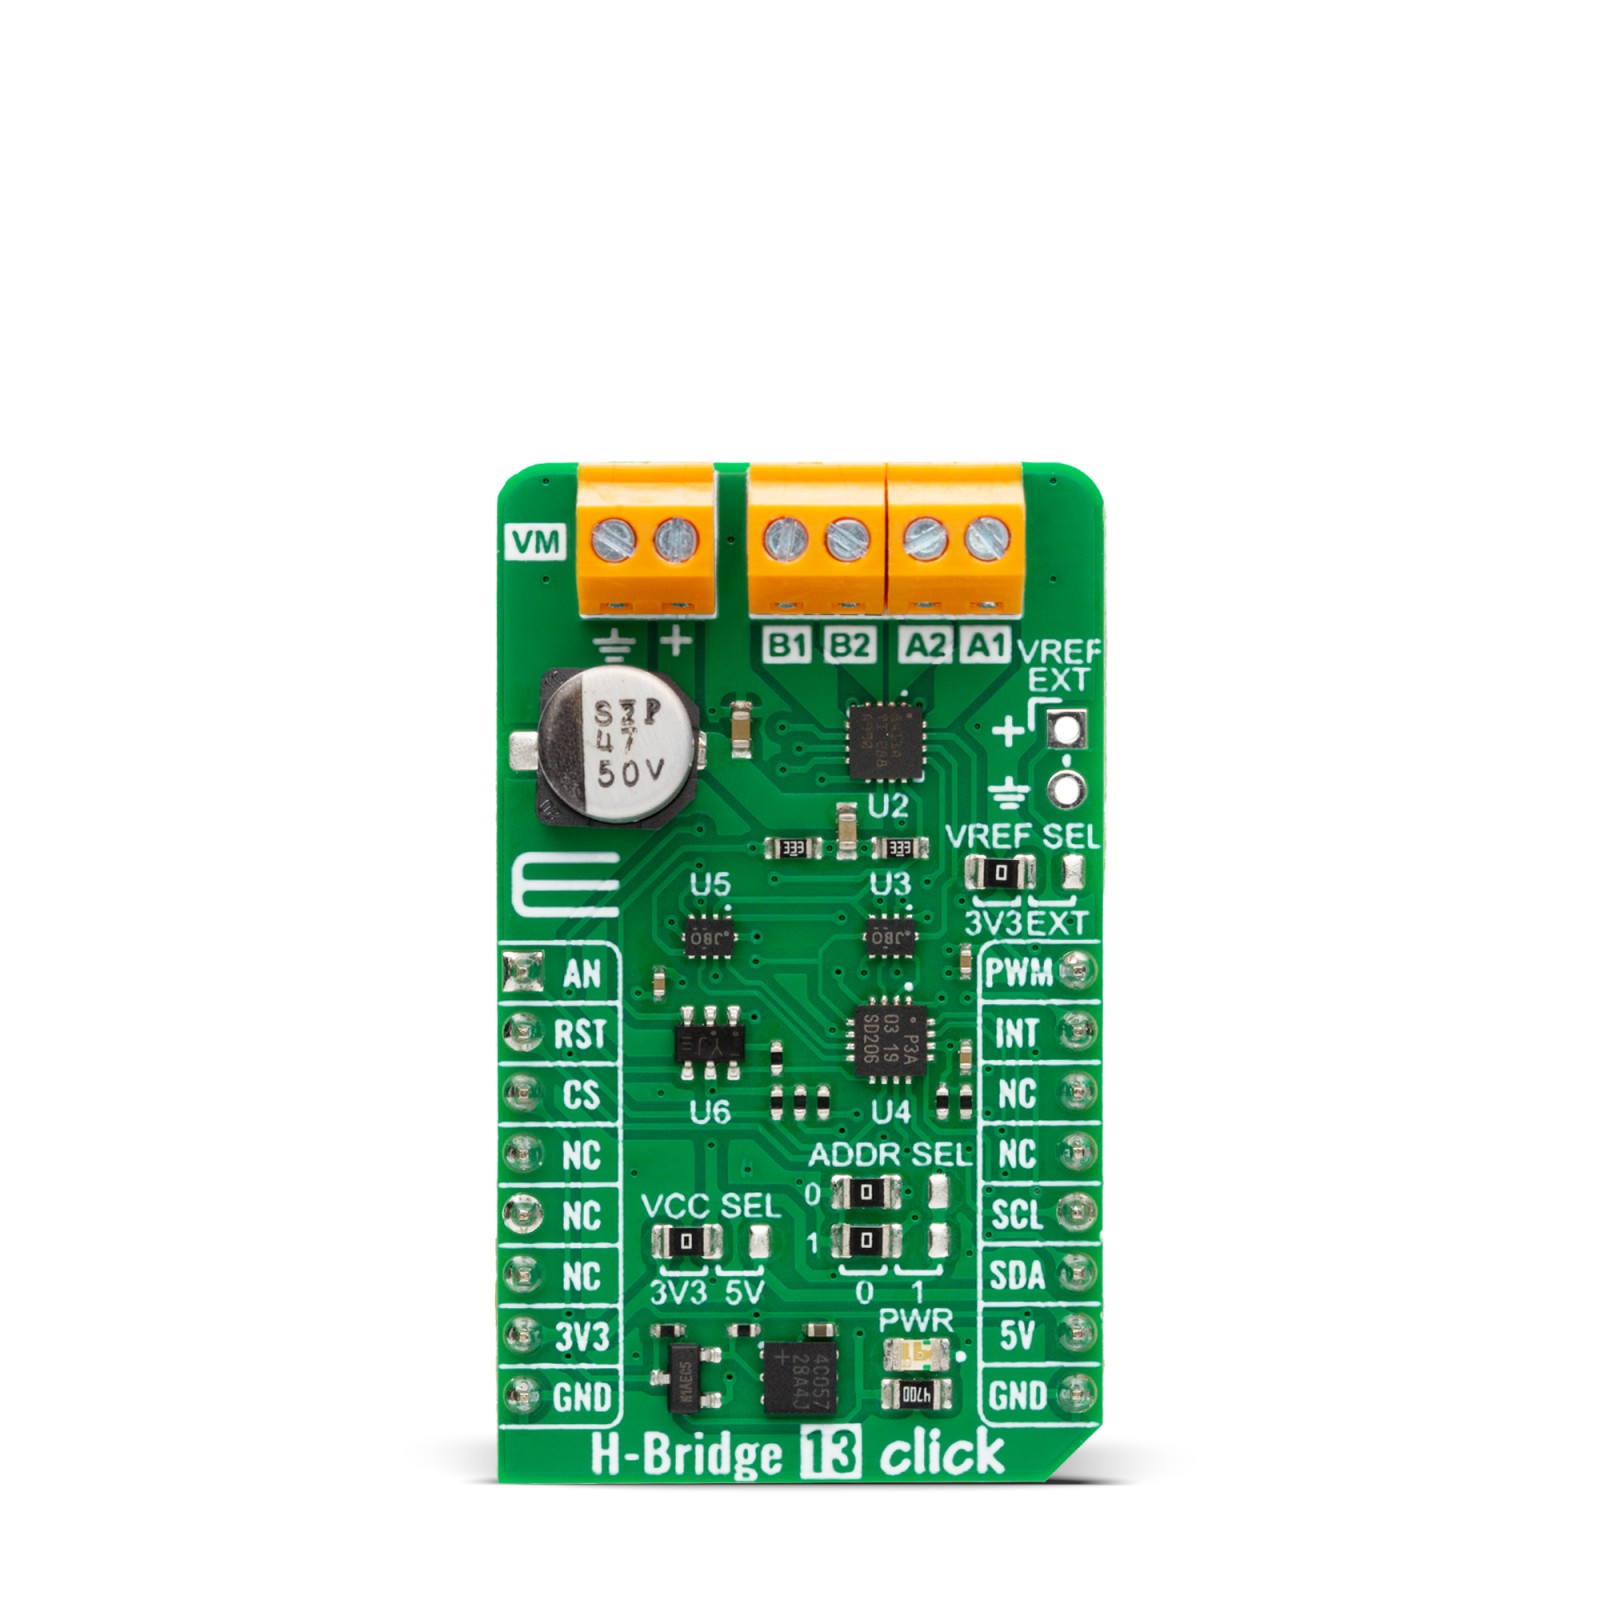
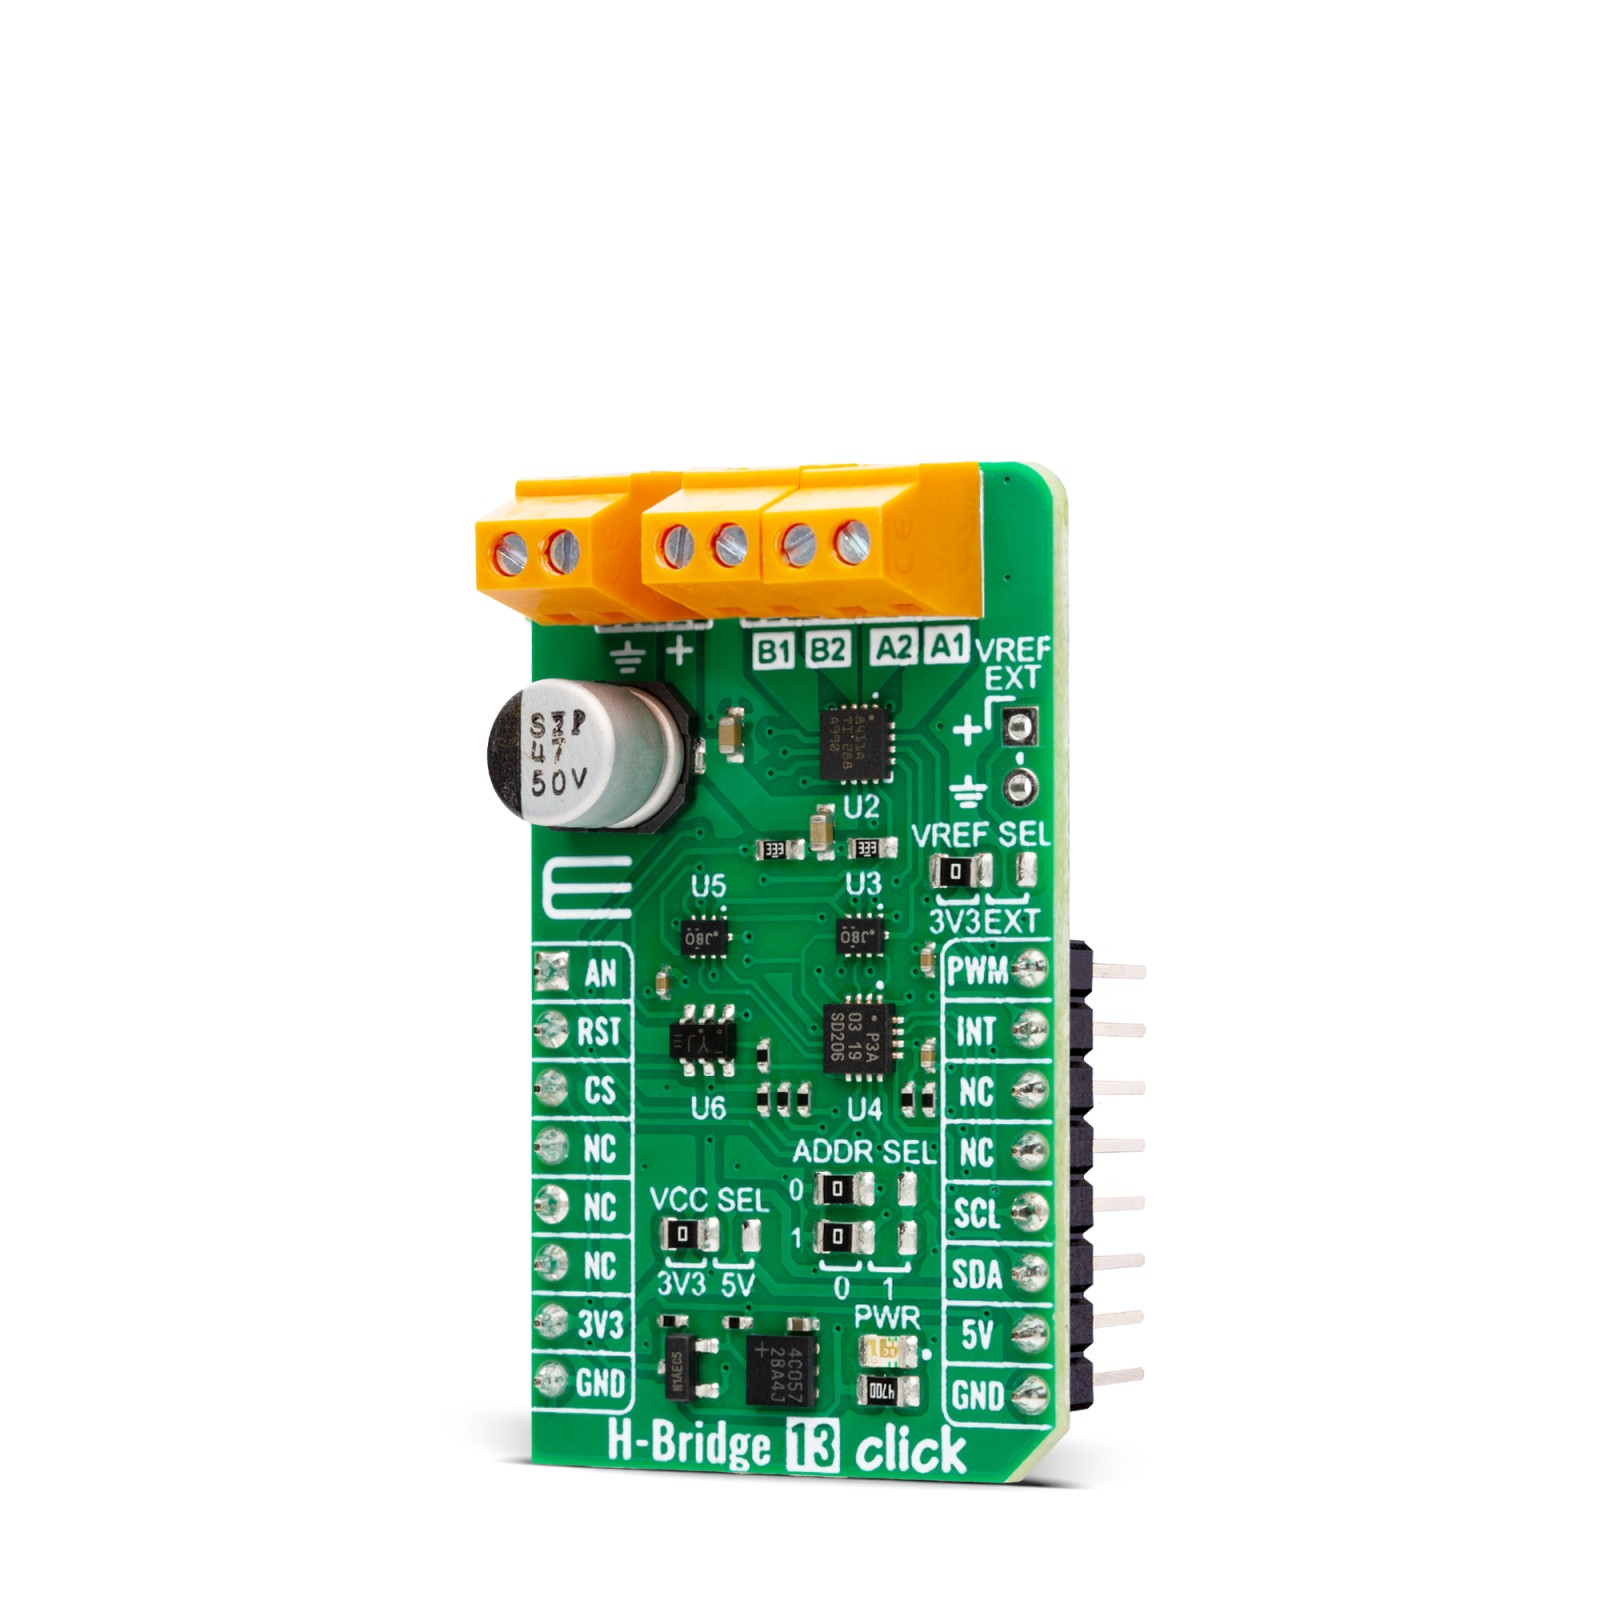
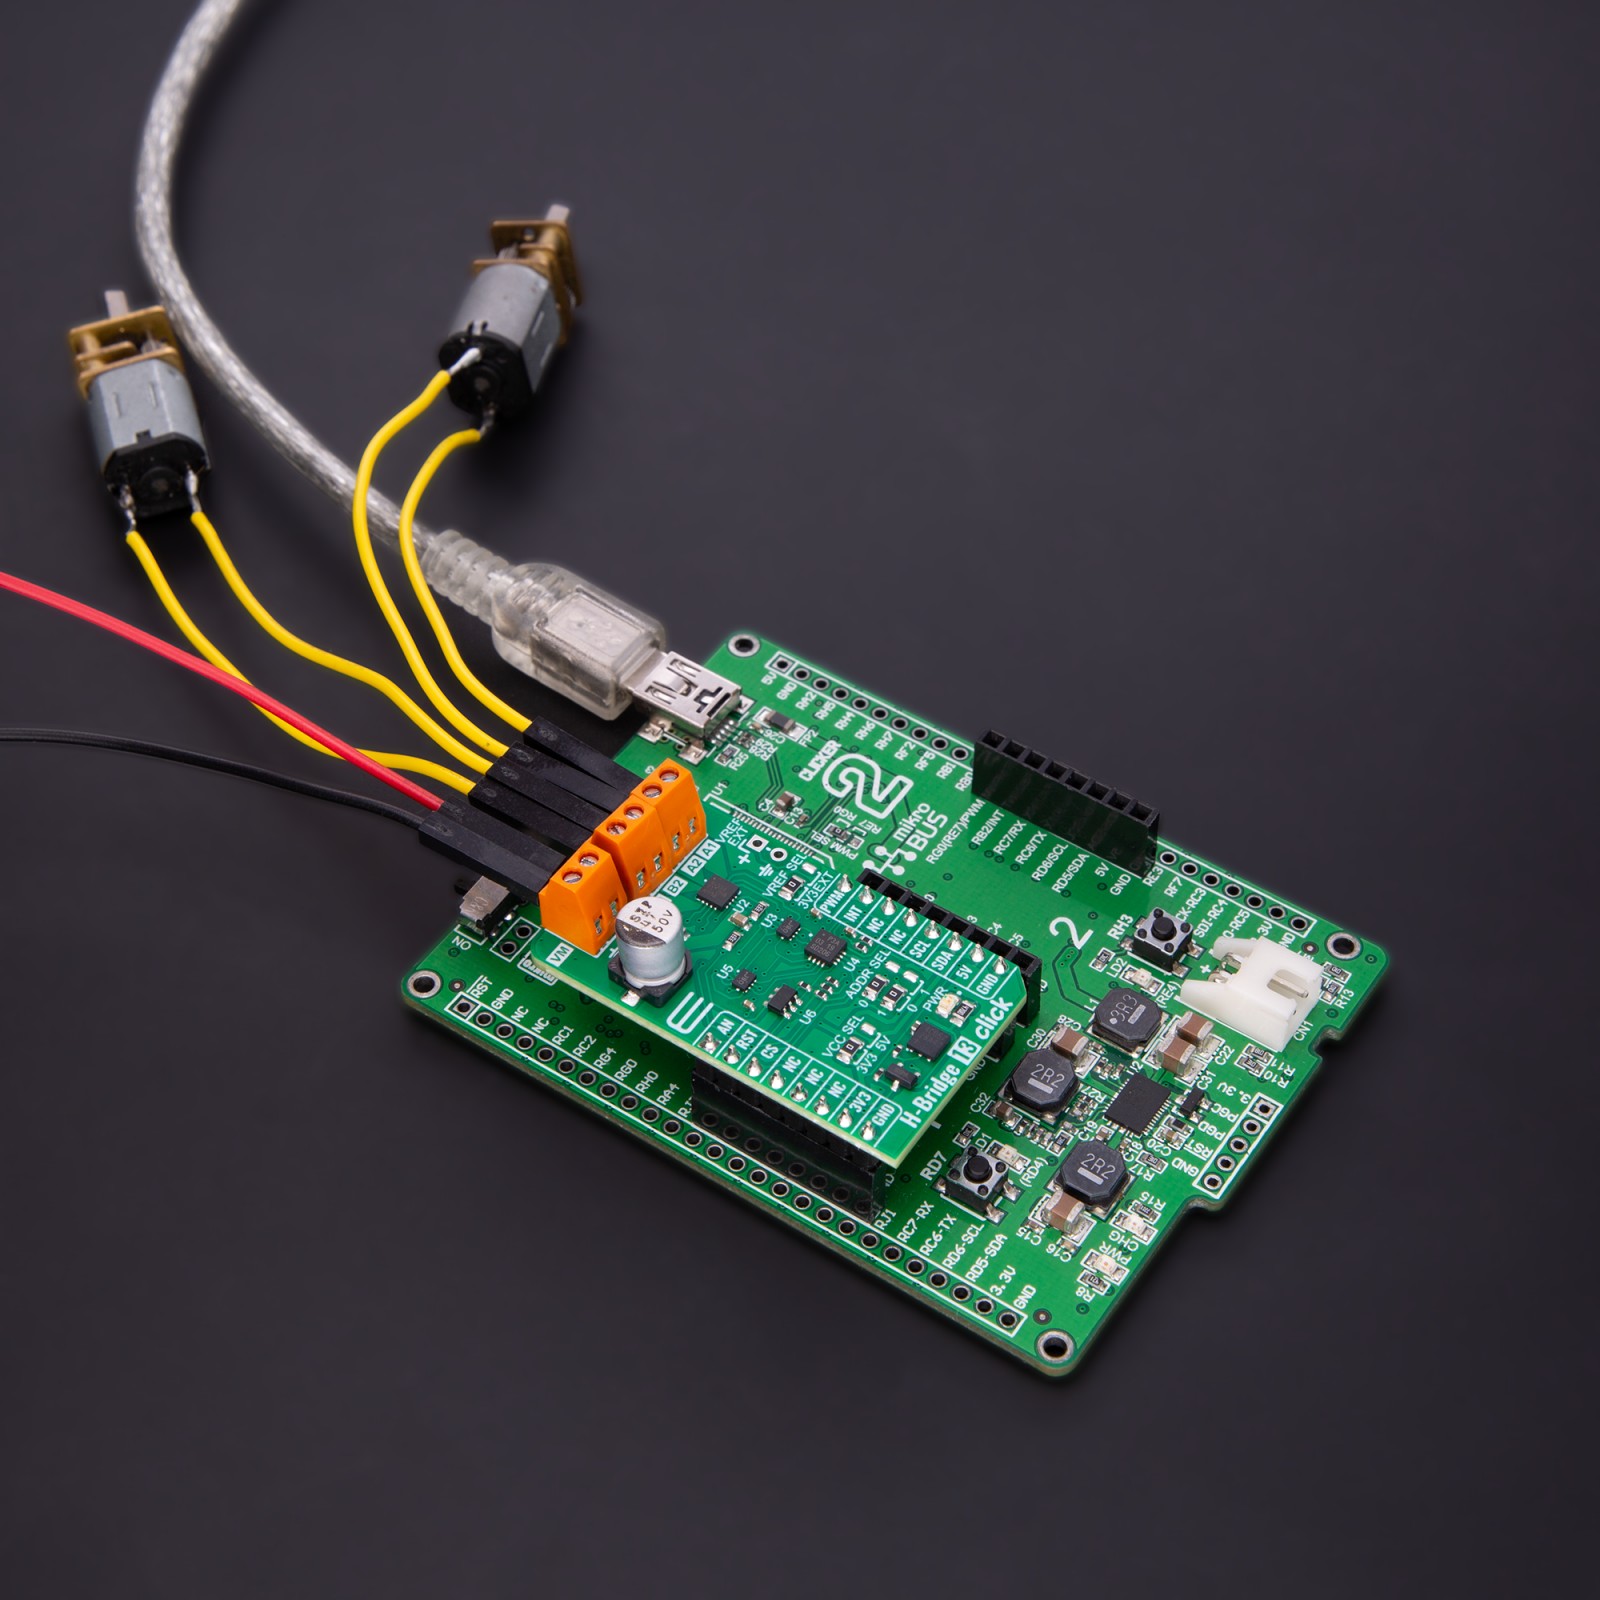
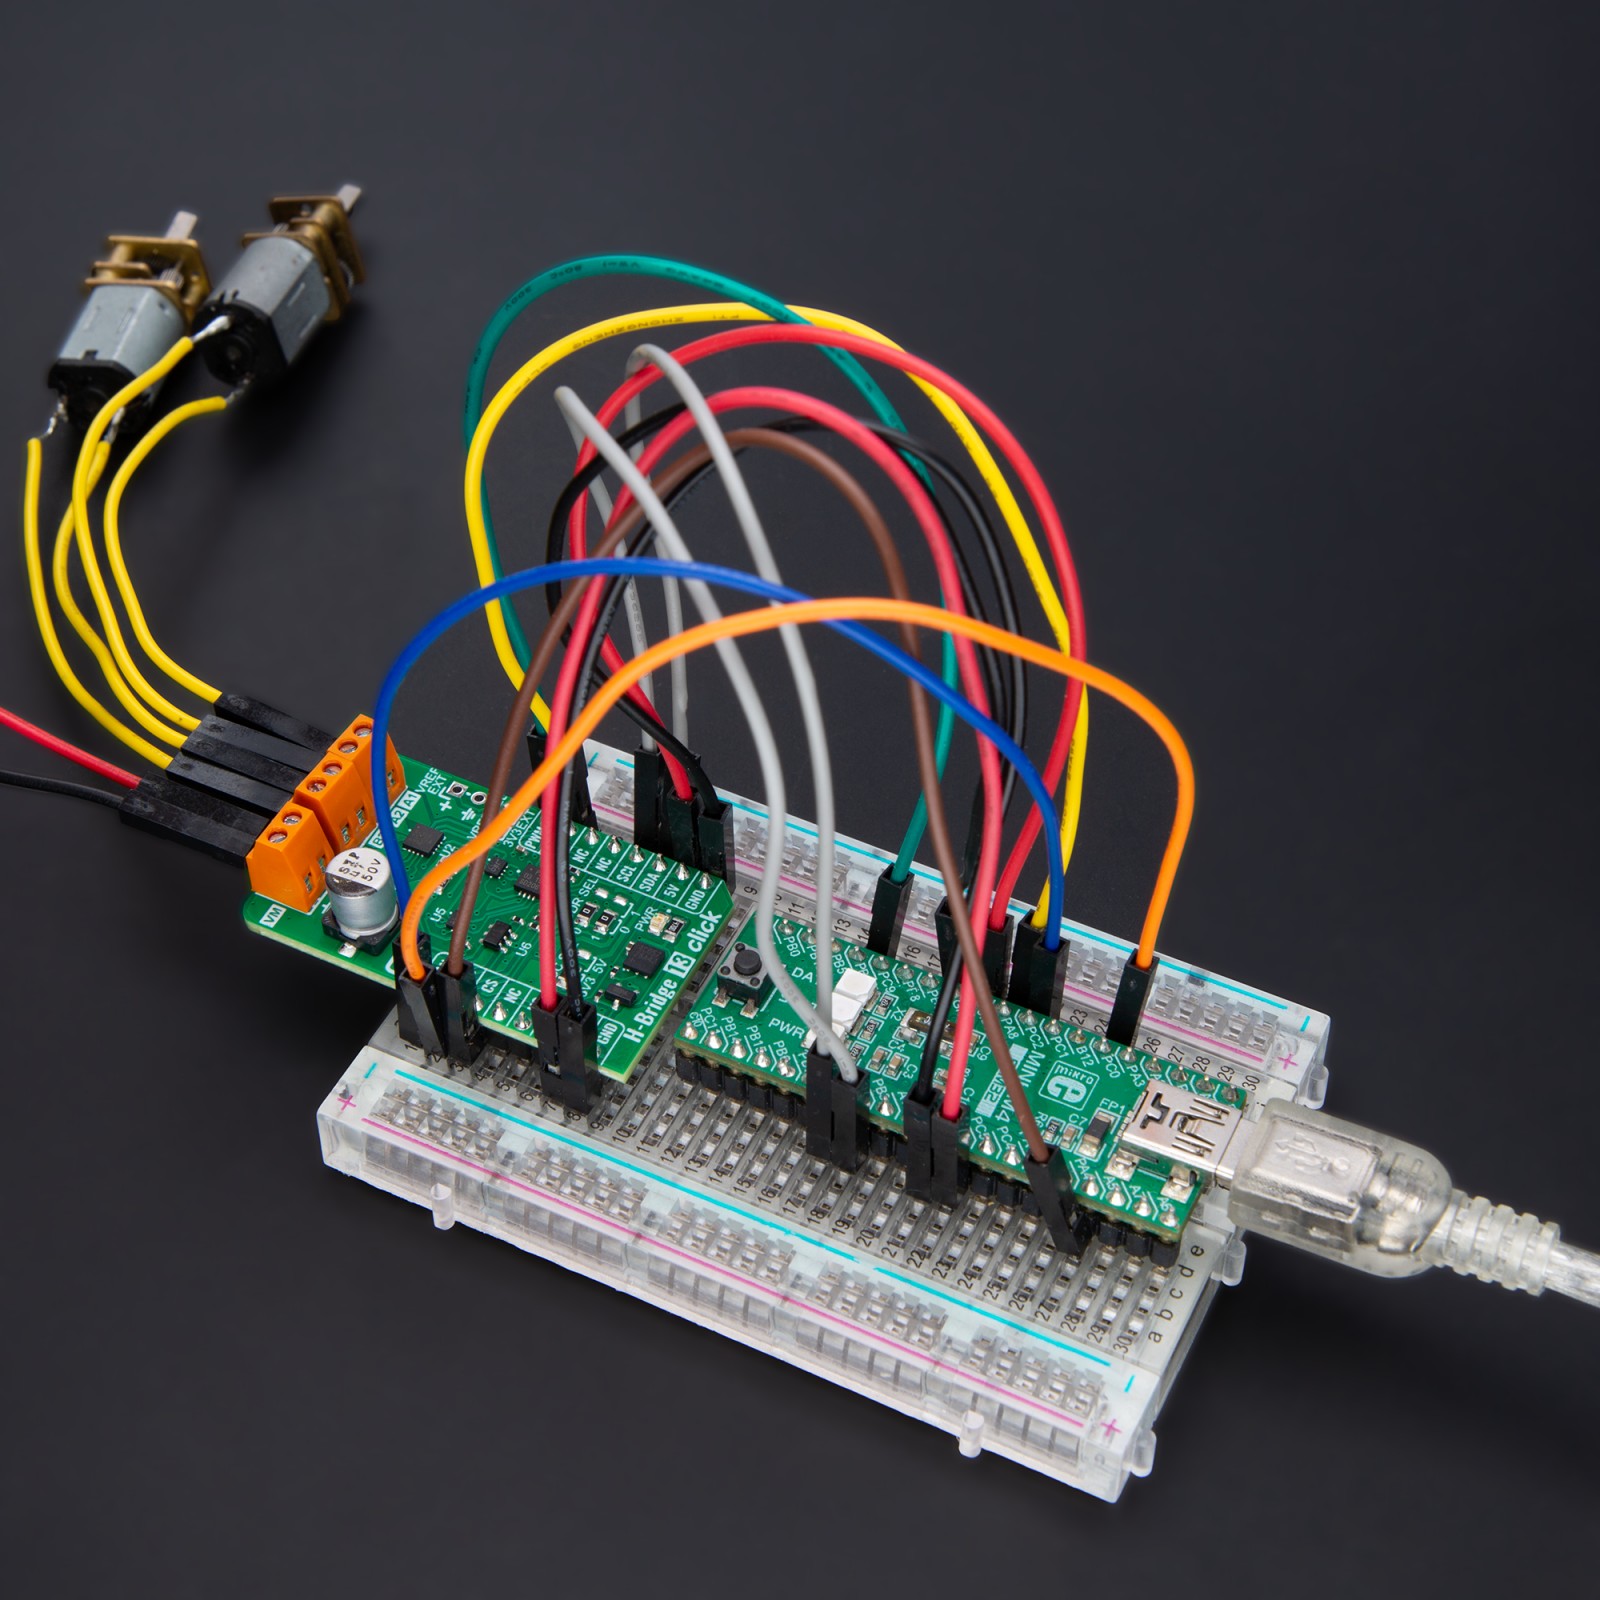
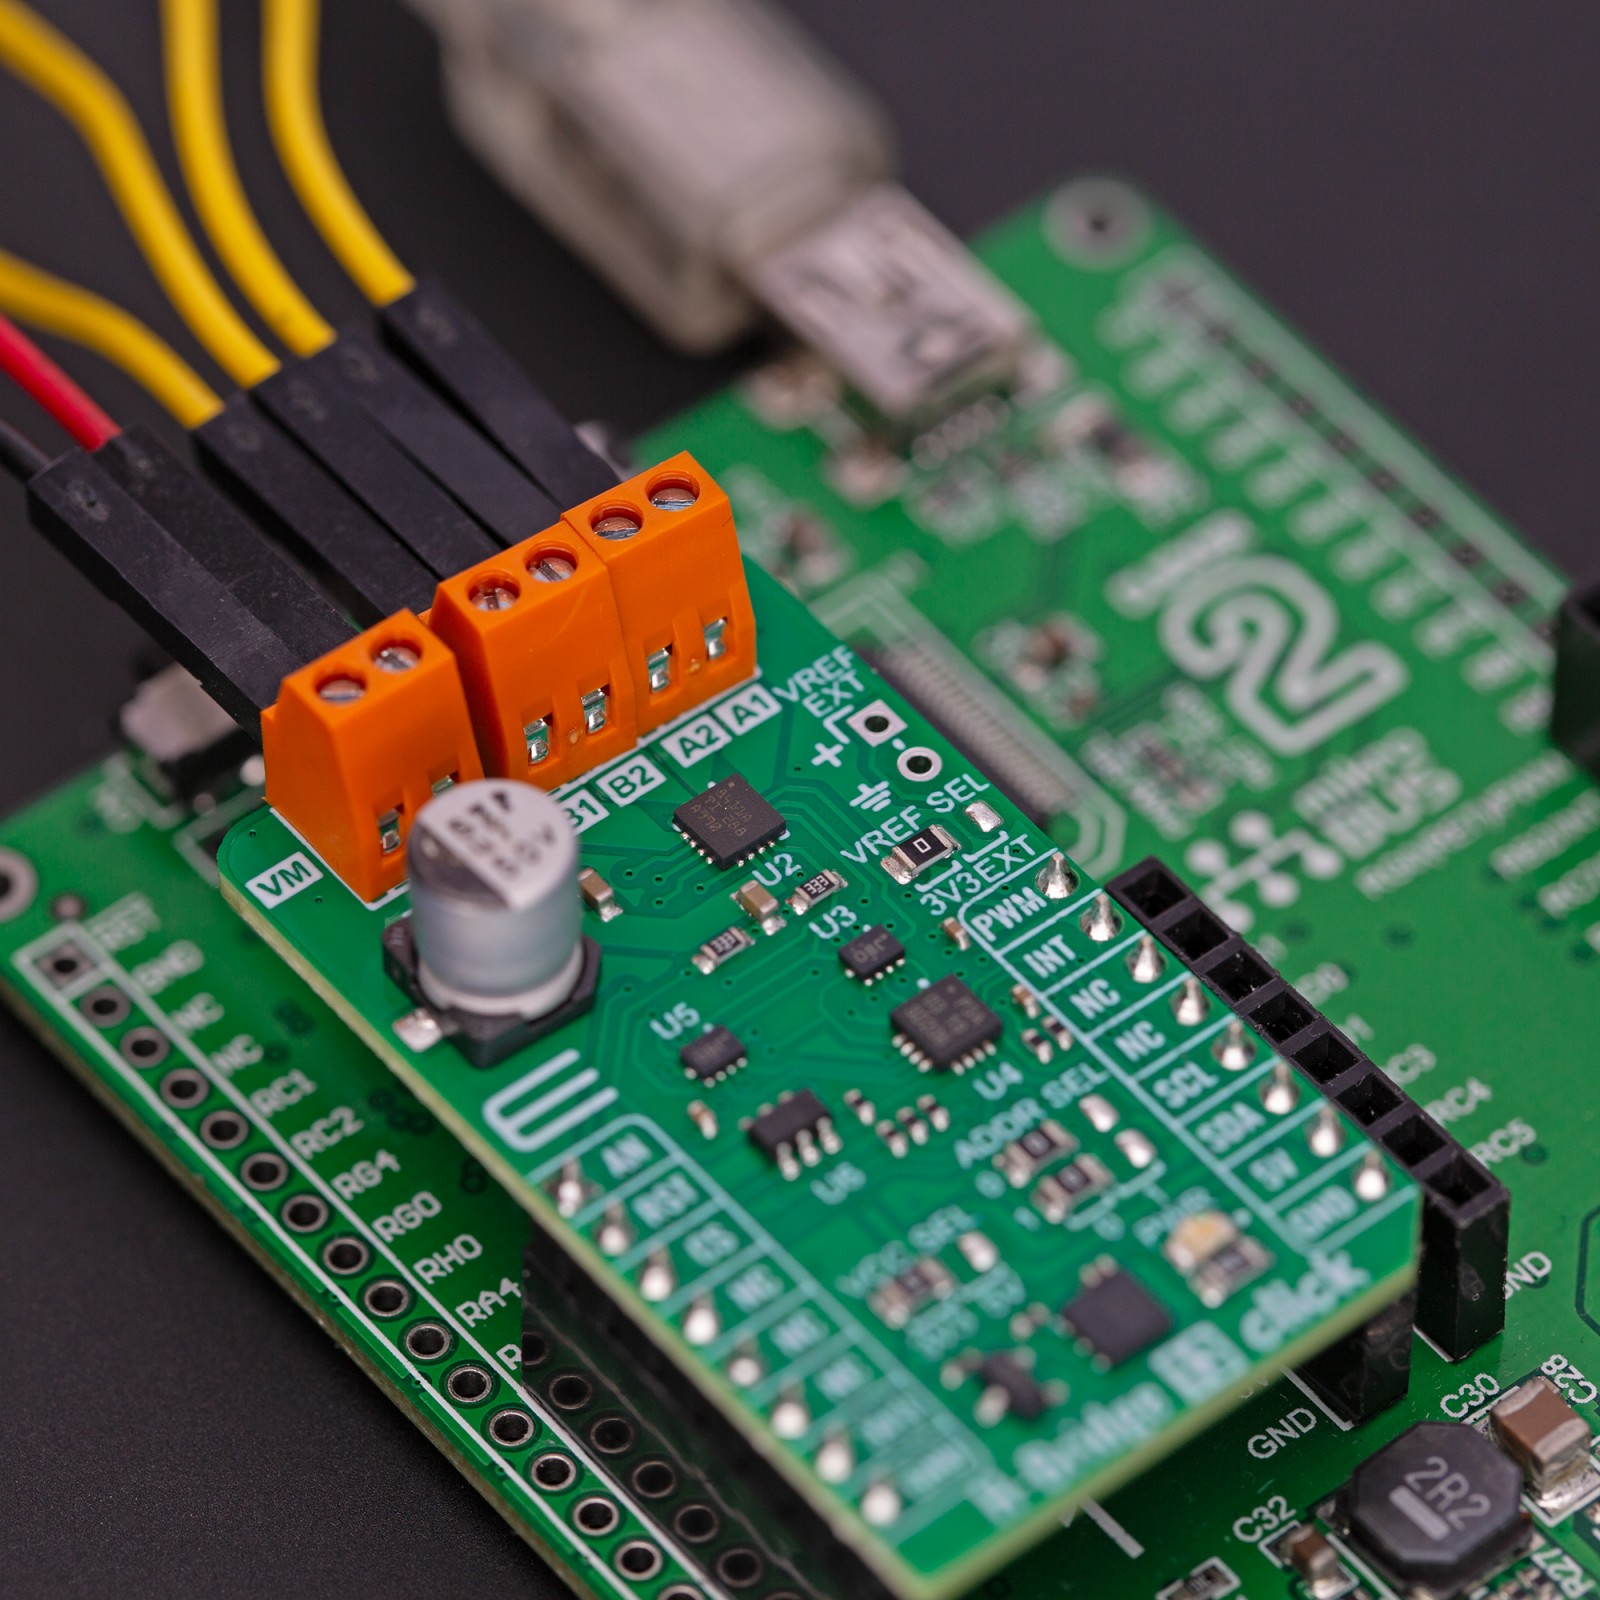
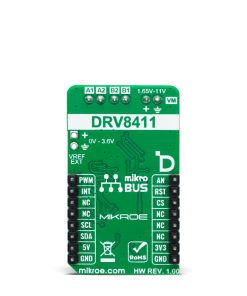
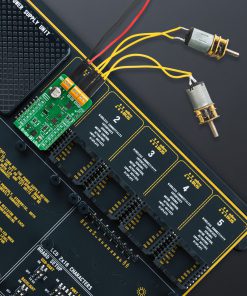
H-Bridge 13 Click is based on the DRV8411A, a dual H-Bridge motor driver with current regulations from Texas Instruments. The Tripler charge pump integrates all capacitors and allows for 100% duty cycle operation. The inputs and outputs can be paralleled to drive high-current brush DC motors. It also implements current sensing and regulation parts. Internal current mirrors output the current sense information on the IPROPI pins, eliminating the need for large power shunt resistors, thereby saving board area and reducing system cost, and allowing the host MCU to detect motor stalls or changes in load conditions. There are four screw terminals to connect the motors and one VM external power supply input to power the motors.
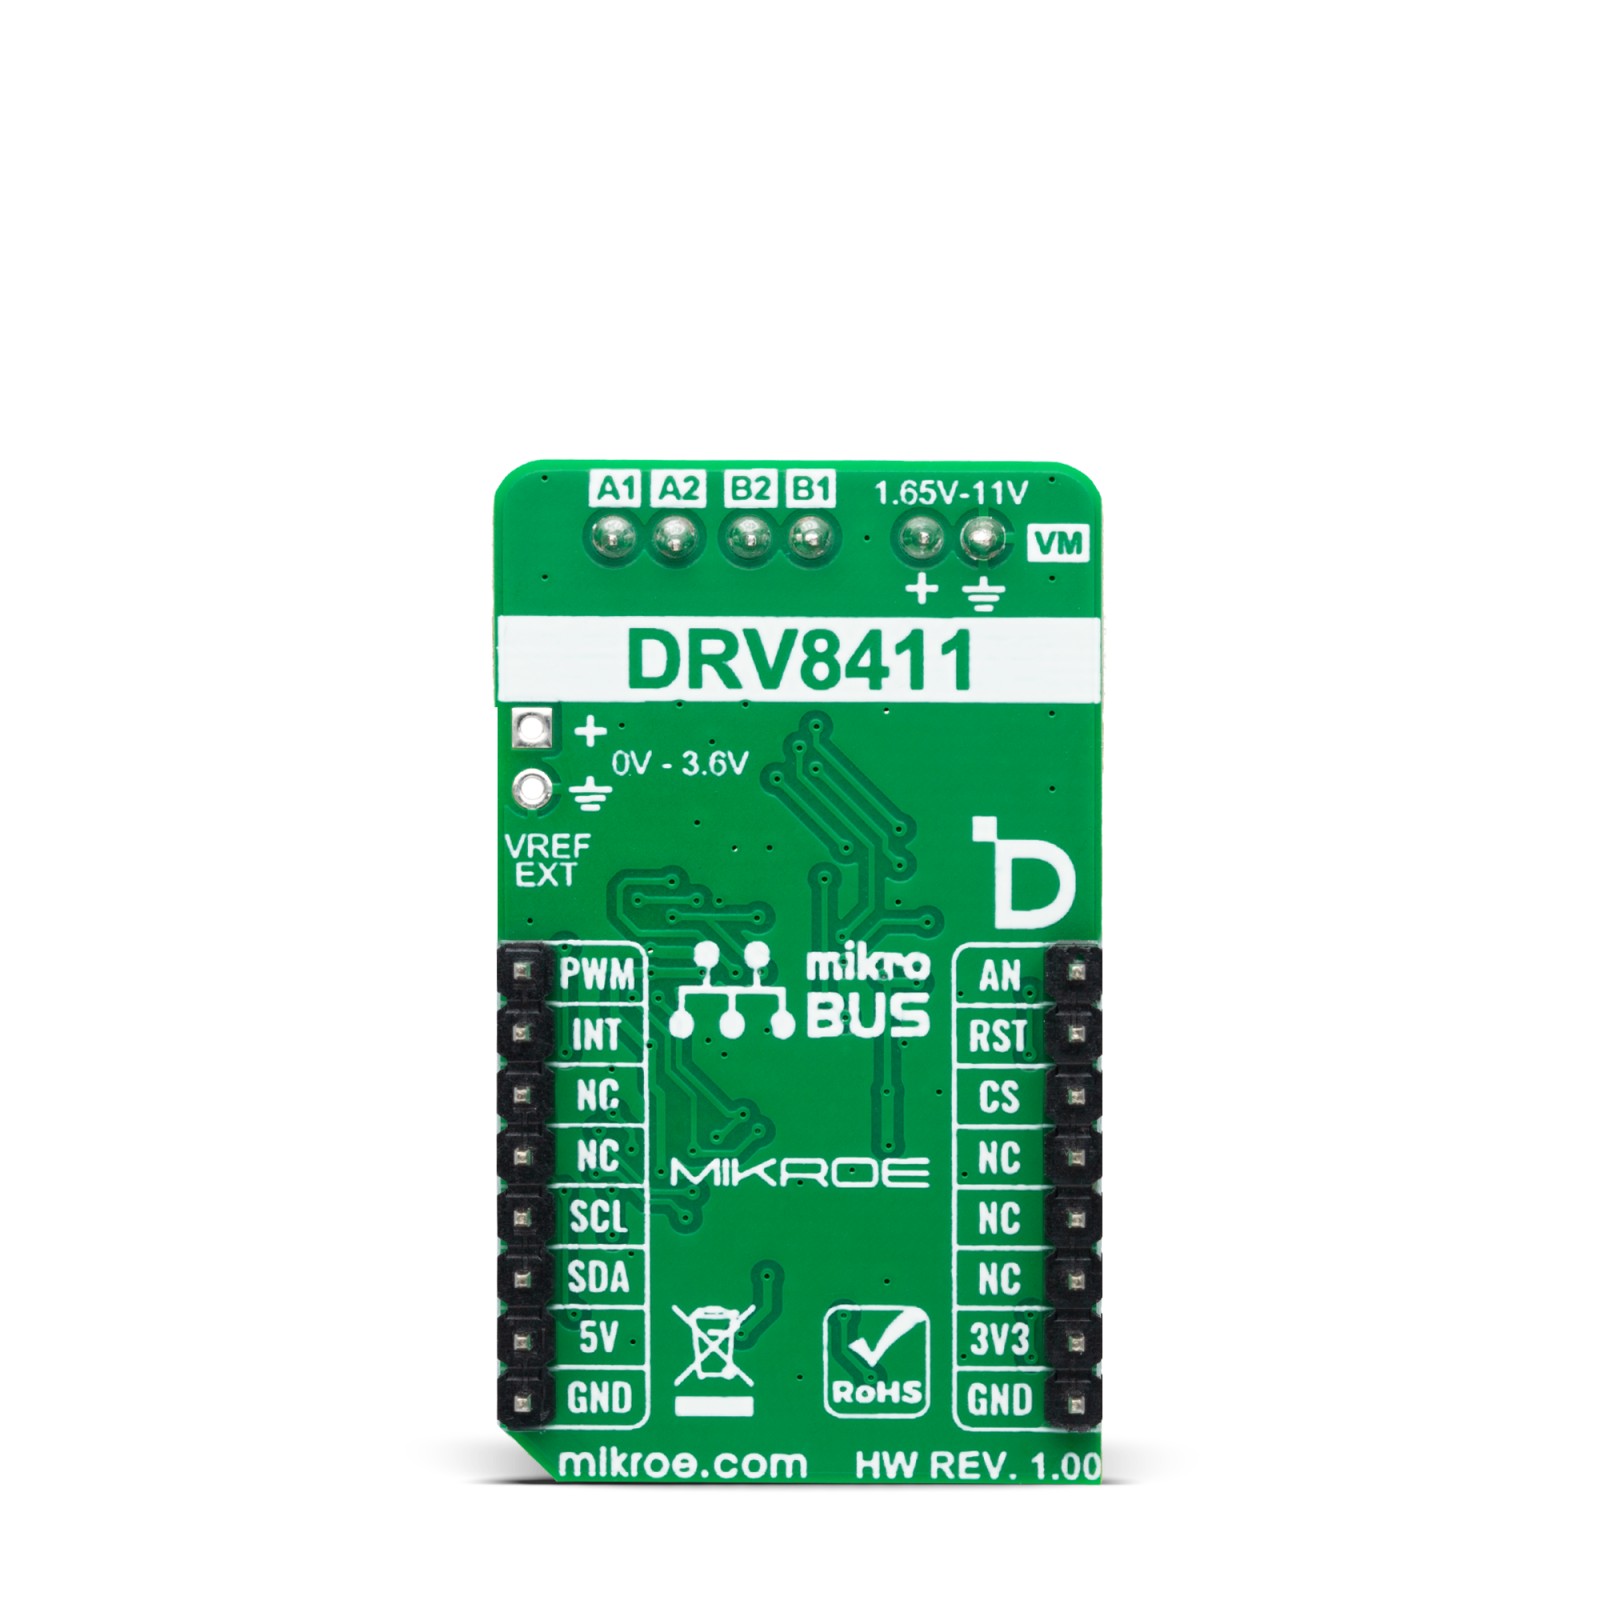
The motor driver comes with several protection features, such as a VM undervoltage lockout (UVLO), auto-recovery overcurrent protection (OCP), thermal shutdown (TSD), and fault indication. The integrated current regulation feature limits motor current to a predefined maximum based on the VREF and xIPROPI settings. The xIPROPI signal can provide current feedback to a microcontroller during the H-bridges drive and brake/slow-decay states. The reference voltage can be selected over the onboard 3.3V rail or an external one over the VREF SEL jumper, where the 3.3V is selected by default. The external reference voltage can be connected over the VREF EXT header.
The H-Bridge control inputs for the motor driver’s full bridges A and B are fed by two TS5A23157s, dual 10Ω SPDT analog switches from Texas Instruments. These single-pole double-throw switches are designed to handle both digital and analog signals. They feature a low-charge injection, excellent ON-resistance matching, and low total harmonic distortion. Normally closed IO ports of this switch are controlled over the PCA9538A, a low-voltage 8-bit IO port with interrupt and reset from NXP Semiconductors. The analog current output that is proportional to the load current for full bridges A and B can be monitored by selecting one of the channels at a time over the 74LVC1G3157GV,125, a 10Ω single-pole double-throw analog switch from Nexperia.
H-Bridge 13 Clisk uses a standard 2-Wire I2C interface of the PCA9538A to communicate with the host MCU supporting fast mode up to 400KHz. The I2C address can be selected over the ADDR SEL jumper, where 0 is selected by default. By controlling the PCA9538A, you can control the switches, the PWM signal, full bridge inputs, and the motor driver itself. You can also read the DRV8411A’s fault indicator over the I2C interface and the interrupt INT pin. The speed of the motors can be controlled over the PWM pin and the TS5A23157s switches. The analog current outputs can be read over the AN pin by selecting one of the bridges over the PCA9538A and I2C interface. The PCA9538A can be reset over the RST pin.
This Click board™ can operate with either 3.3V or 5V logic voltage levels selected via the PWR SEL jumper. This way, both 3.3V and 5V capable MCUs can use the communication lines properly. Also, this Click board™ comes equipped with a library containing easy-to-use functions and an example code that can be used, as a reference, for further development.
Specifications
Type
Brushed
Applications
Can be used for the development of battery-powered toys, POS printers, video security cameras, office automation machines, robotics, electronic smart locks, and more
On-board modules
DRV8411A – dual H-Bridge motor driver with current regulations from Texas Instruments
Key Features
Two half bridges up to 11V, high output current up to 4A peak, high performance, switches for protection of the host MCU, PWM control interface, low-power sleep mode, VM undervoltage lockout, auto-recovery overcurrent protection, thermal shutdown, fault indication, and more
Interface
I2C,PWM
Feature
ClickID
Compatibility
mikroBUS™
Click board size
M (42.9 x 25.4 mm)
Input Voltage
3.3V or 5V
Pinout diagram
This table shows how the pinout on H-Bridge 13 Click corresponds to the pinout on the mikroBUS™ socket (the latter shown in the two middle columns).
Onboard settings and indicators
Label | Name | Default | Description |
---|---|---|---|
LD1 | PWR | – | Power LED Indicator |
JP1 | VCC SEL | Left | Logic Level Voltage Selection 3V3/5V: Left position 3V3, Right position 5V |
JP2 | VREF SEL | Left | Voltage Reference Selection 3V3/EXT: Left position 3V3, Right position EXT |
JP3-JP4 | ADDR SEL | Left | I2C Address Selection 0/1: Left position 0, Right position 1 |
H-Bridge 13 Click electrical specifications
Description | Min | Typ | Max | Unit |
---|---|---|---|---|
Supply Voltage | 3.3 | – | 5 | V |
External Power Supply Range | 1.65 | – | 11 | V |
Output Current | – | – | 4 | A |
Software Support
We provide a library for the H-Bridge 13 Click as well as a demo application (example), developed using MIKROE compilers. The demo can run on all the main MIKROE development boards.
Package can be downloaded/installed directly from NECTO Studio Package Manager(recommended), downloaded from our LibStock™ or found on Mikroe github account.
Library Description
This library contains API for H-Bridge 13 Click driver.
Key functions
-
hbridge13_write_reg
H-Bridge 13 write register function. -
hbridge13_set_direction
H-Bridge 13 set direction function. -
hbridge13_get_an_voltage
H-Bridge 13 get xIPROPI voltage function.
Example Description
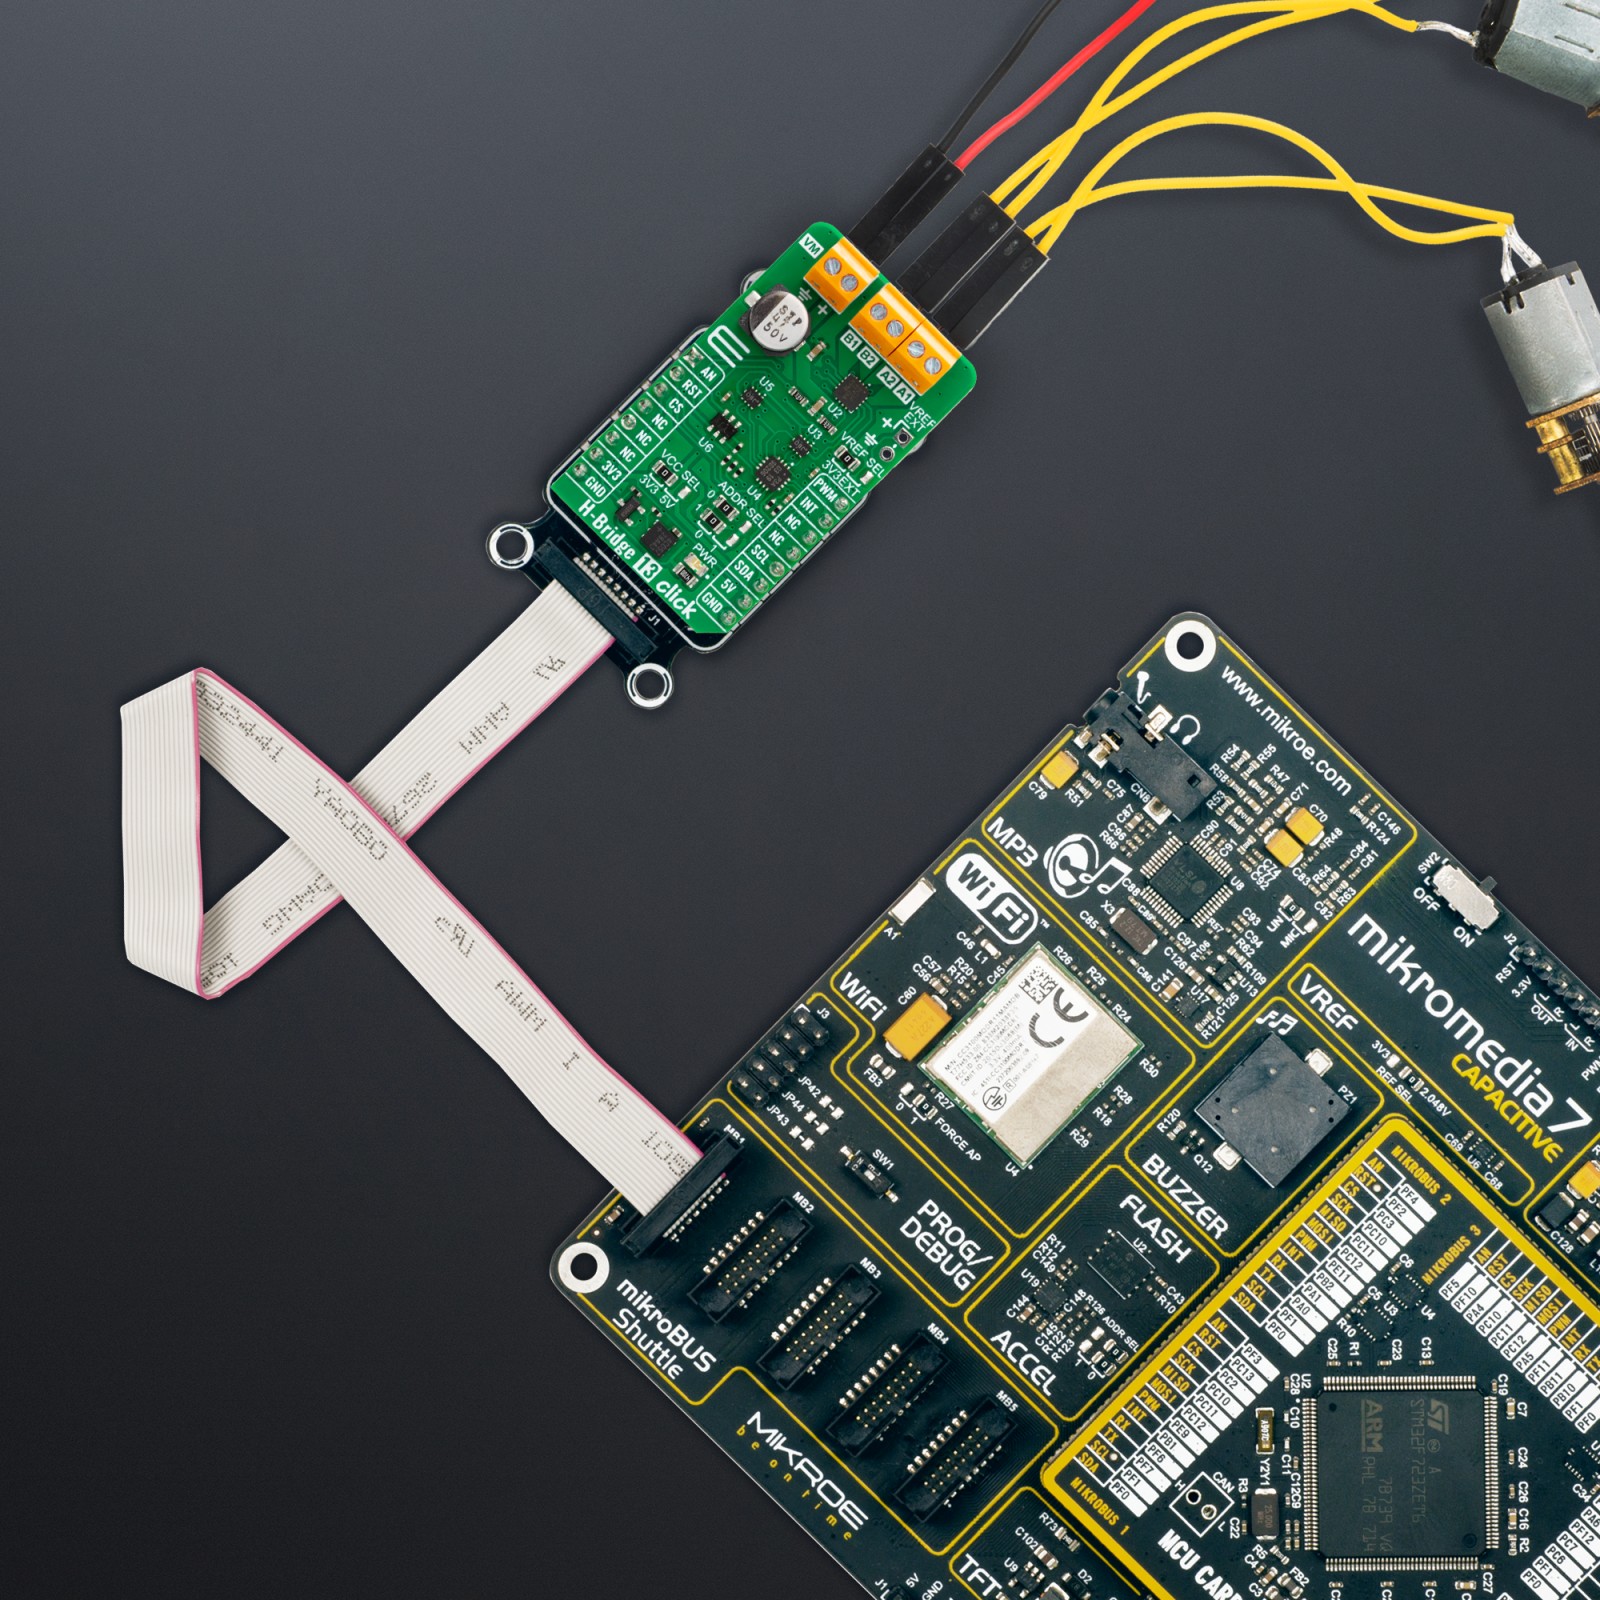
This example demonstrates the use of the H-Bridge 13 Click board™ by driving the motor connected to OUT A and OUT B, in both directions with braking and freewheeling.
void application_task ( void )
{
for( uint8_t n_cnt = 0; n_cnt <= 100; n_cnt += 10 )
{
log_printf( &logger, " Motor in forward mode with speed of %d %% rn", ( uint16_t ) n_cnt );
hbridge13_set_direction( &hbridge13, HBRIDGE13_DIR_FORWARD, n_cnt );
Delay_ms( 1000 );
}
log_printf( &logger, " Motor brake is on rn" );
hbridge13_set_brake( &hbridge13 );
Delay_ms( 5000 );
for( uint8_t n_cnt = 0; n_cnt <= 100; n_cnt += 10 )
{
log_printf( &logger, " Motor in reverse with speed of %d %% rn", ( uint16_t ) n_cnt );
hbridge13_set_direction( &hbridge13, HBRIDGE13_DIR_REVERSE, n_cnt );
Delay_ms( 1000 );
}
log_printf( &logger, " Motor is coasting rn" );
hbridge13_set_coast( &hbridge13 );
Delay_ms( 5000 );
}
The full application code, and ready to use projects can be installed directly from NECTO Studio Package Manager(recommended), downloaded from our LibStock™ or found on Mikroe github account.
Other Mikroe Libraries used in the example:
- MikroSDK.Board
- MikroSDK.Log
- Click.HBridge13
Additional notes and informations
Depending on the development board you are using, you may need USB UART click, USB UART 2 Click or RS232 Click to connect to your PC, for development systems with no UART to USB interface available on the board. UART terminal is available in all MIKROE compilers.
mikroSDK
This Click board™ is supported with mikroSDK – MIKROE Software Development Kit. To ensure proper operation of mikroSDK compliant Click board™ demo applications, mikroSDK should be downloaded from the LibStock and installed for the compiler you are using.
For more information about mikroSDK, visit the official page.