

.jpg)
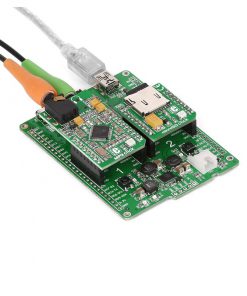
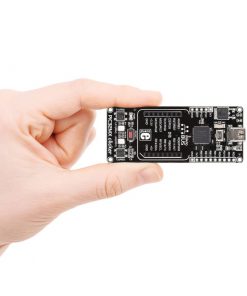
- Plug in Flip&Click (use the USB port between C and D socket).
- Launch Arduino IDE
- Download ChipKIT core (for detailed instruction, see the user manual)
- Start writing Arduino sketches.
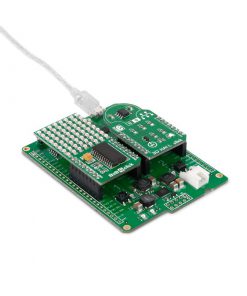
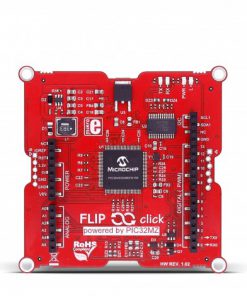
Using Flip&Click PIC32MZ with MikroE bootloader
- Plug in Flip&Click PIC32MZ (use the USB port between A and B socket).
- Start mikroC PRO for PIC32
- Write your code
- Start MikroElektronika USB HID bootloader (detailed instructions in the user manual)
- Download your code on MCU.
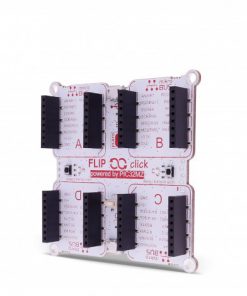
More than 969 click boards™ available
In Arduino-terms, Click boards™ are like mini shields. Their small size allows you to add up to four different sensors, transceivers, encoders, or any other types of chips or modules while keeping the design compact (no stacking). More than 969 click boards™ are available.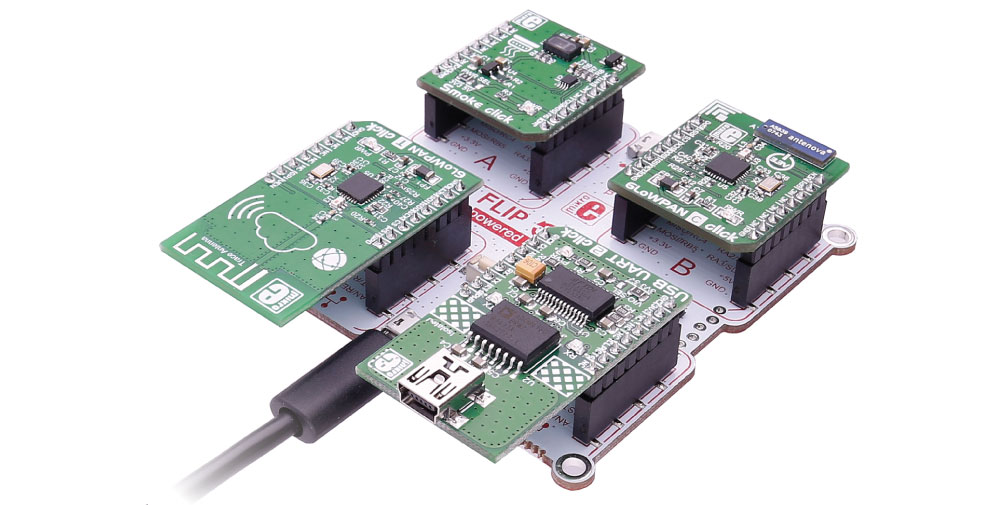 Visit the shop, and find the click boards™ that suit your project the most.