How does it work?
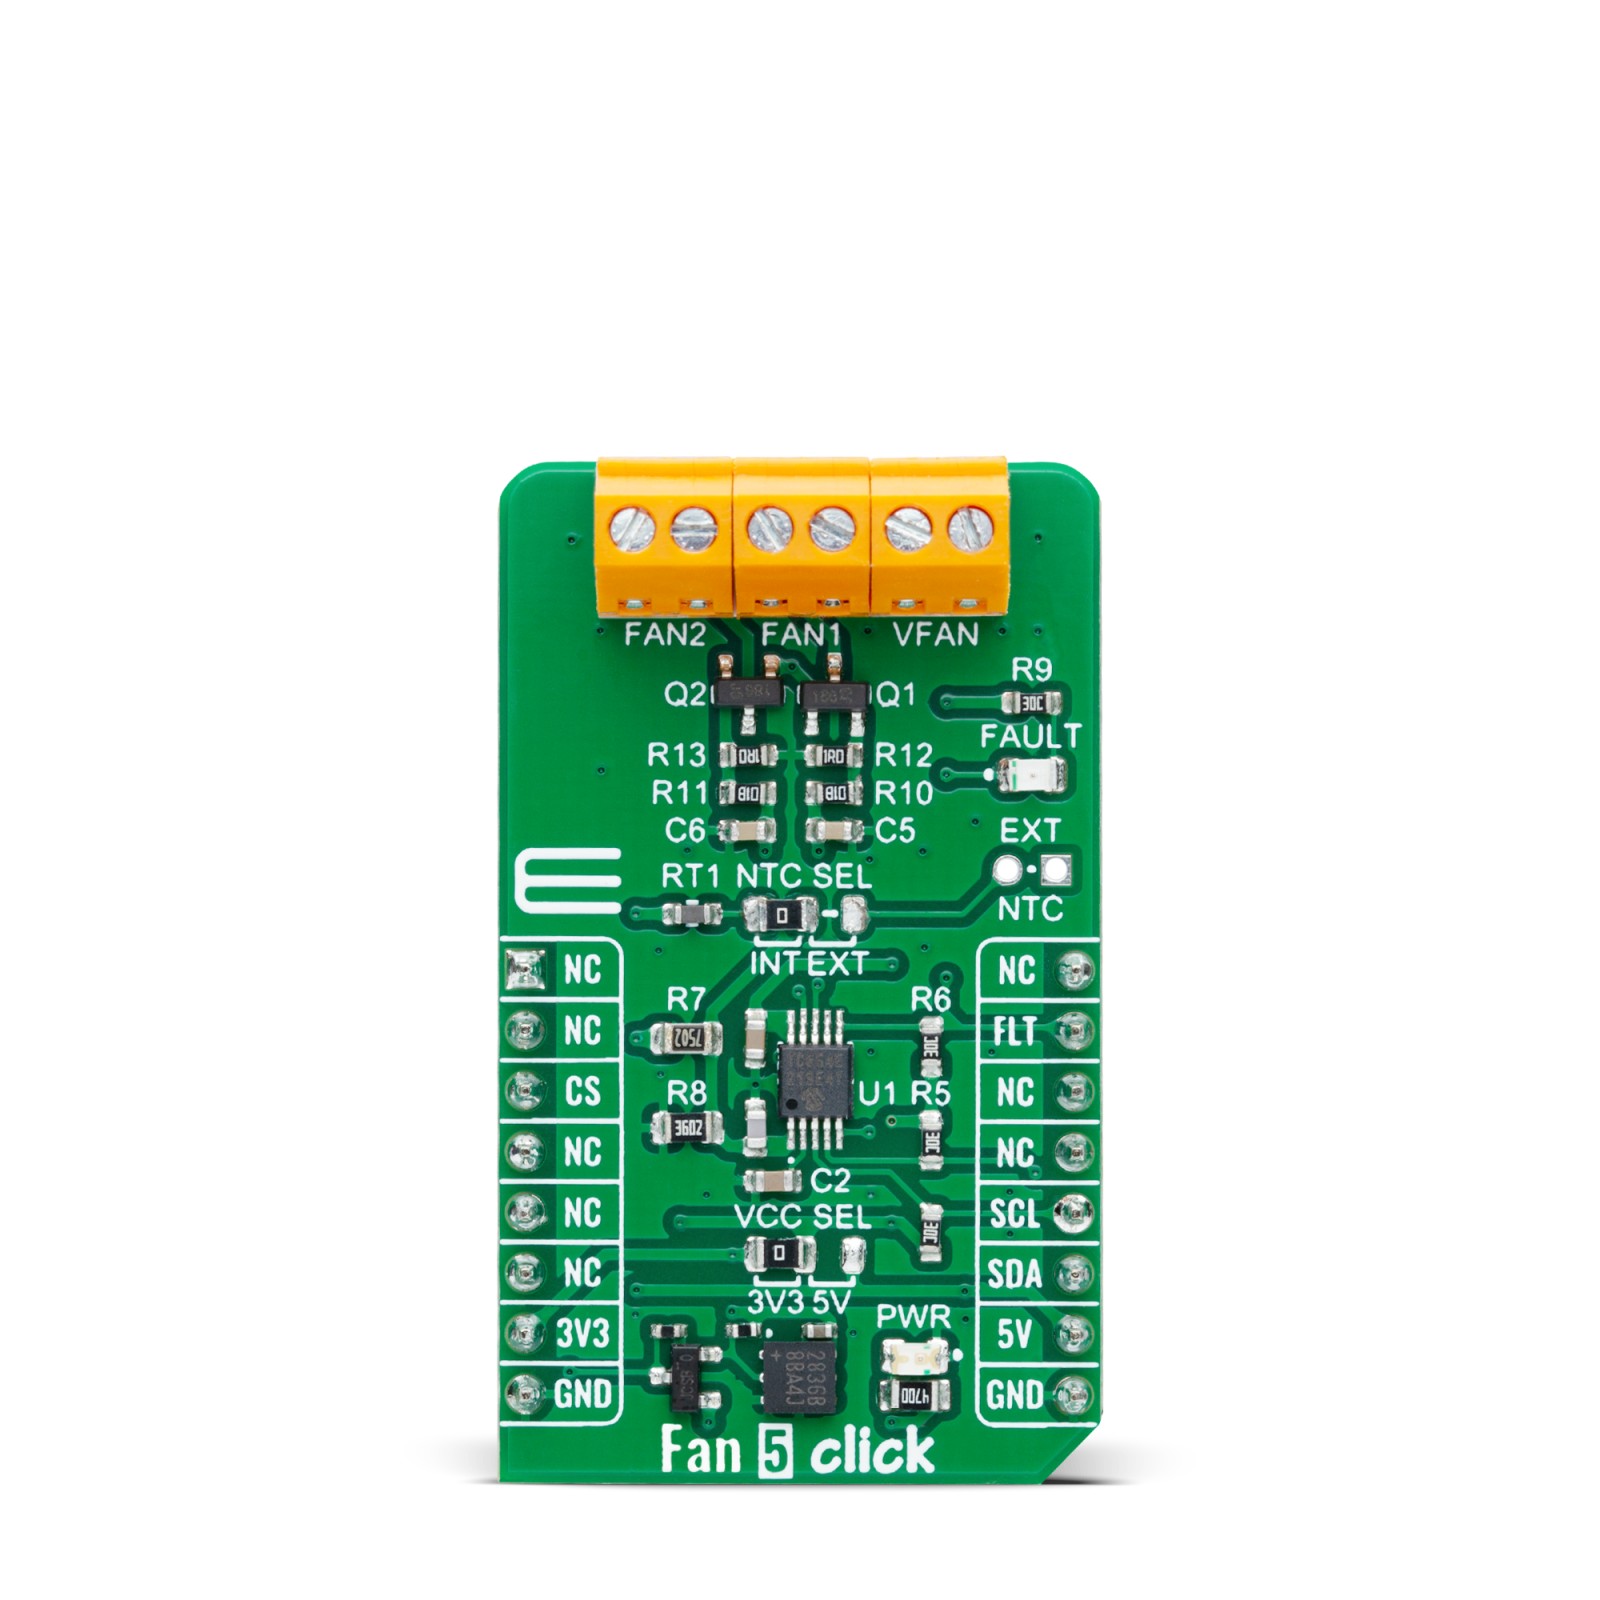
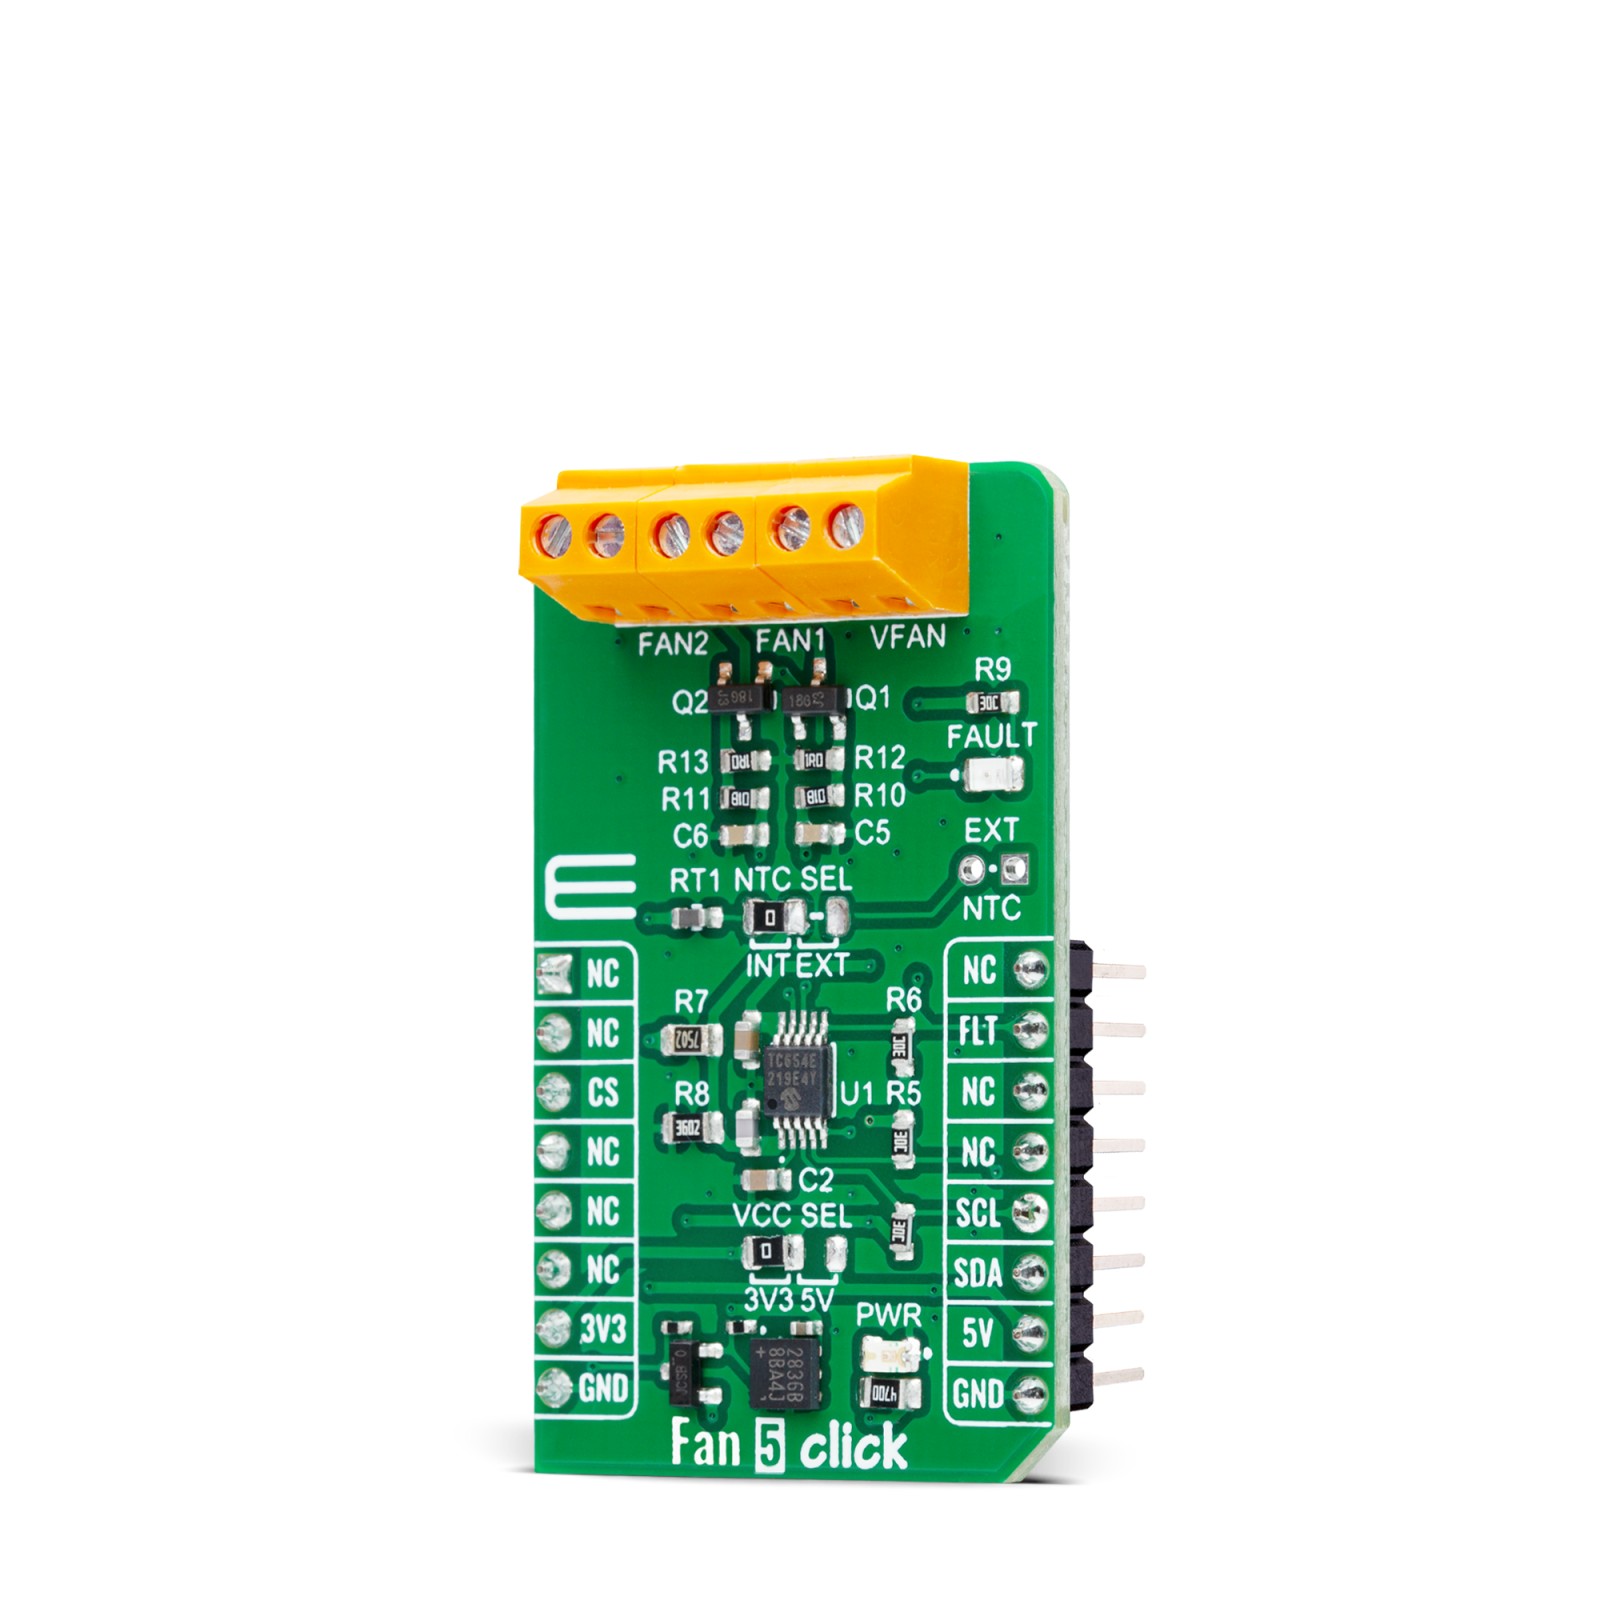
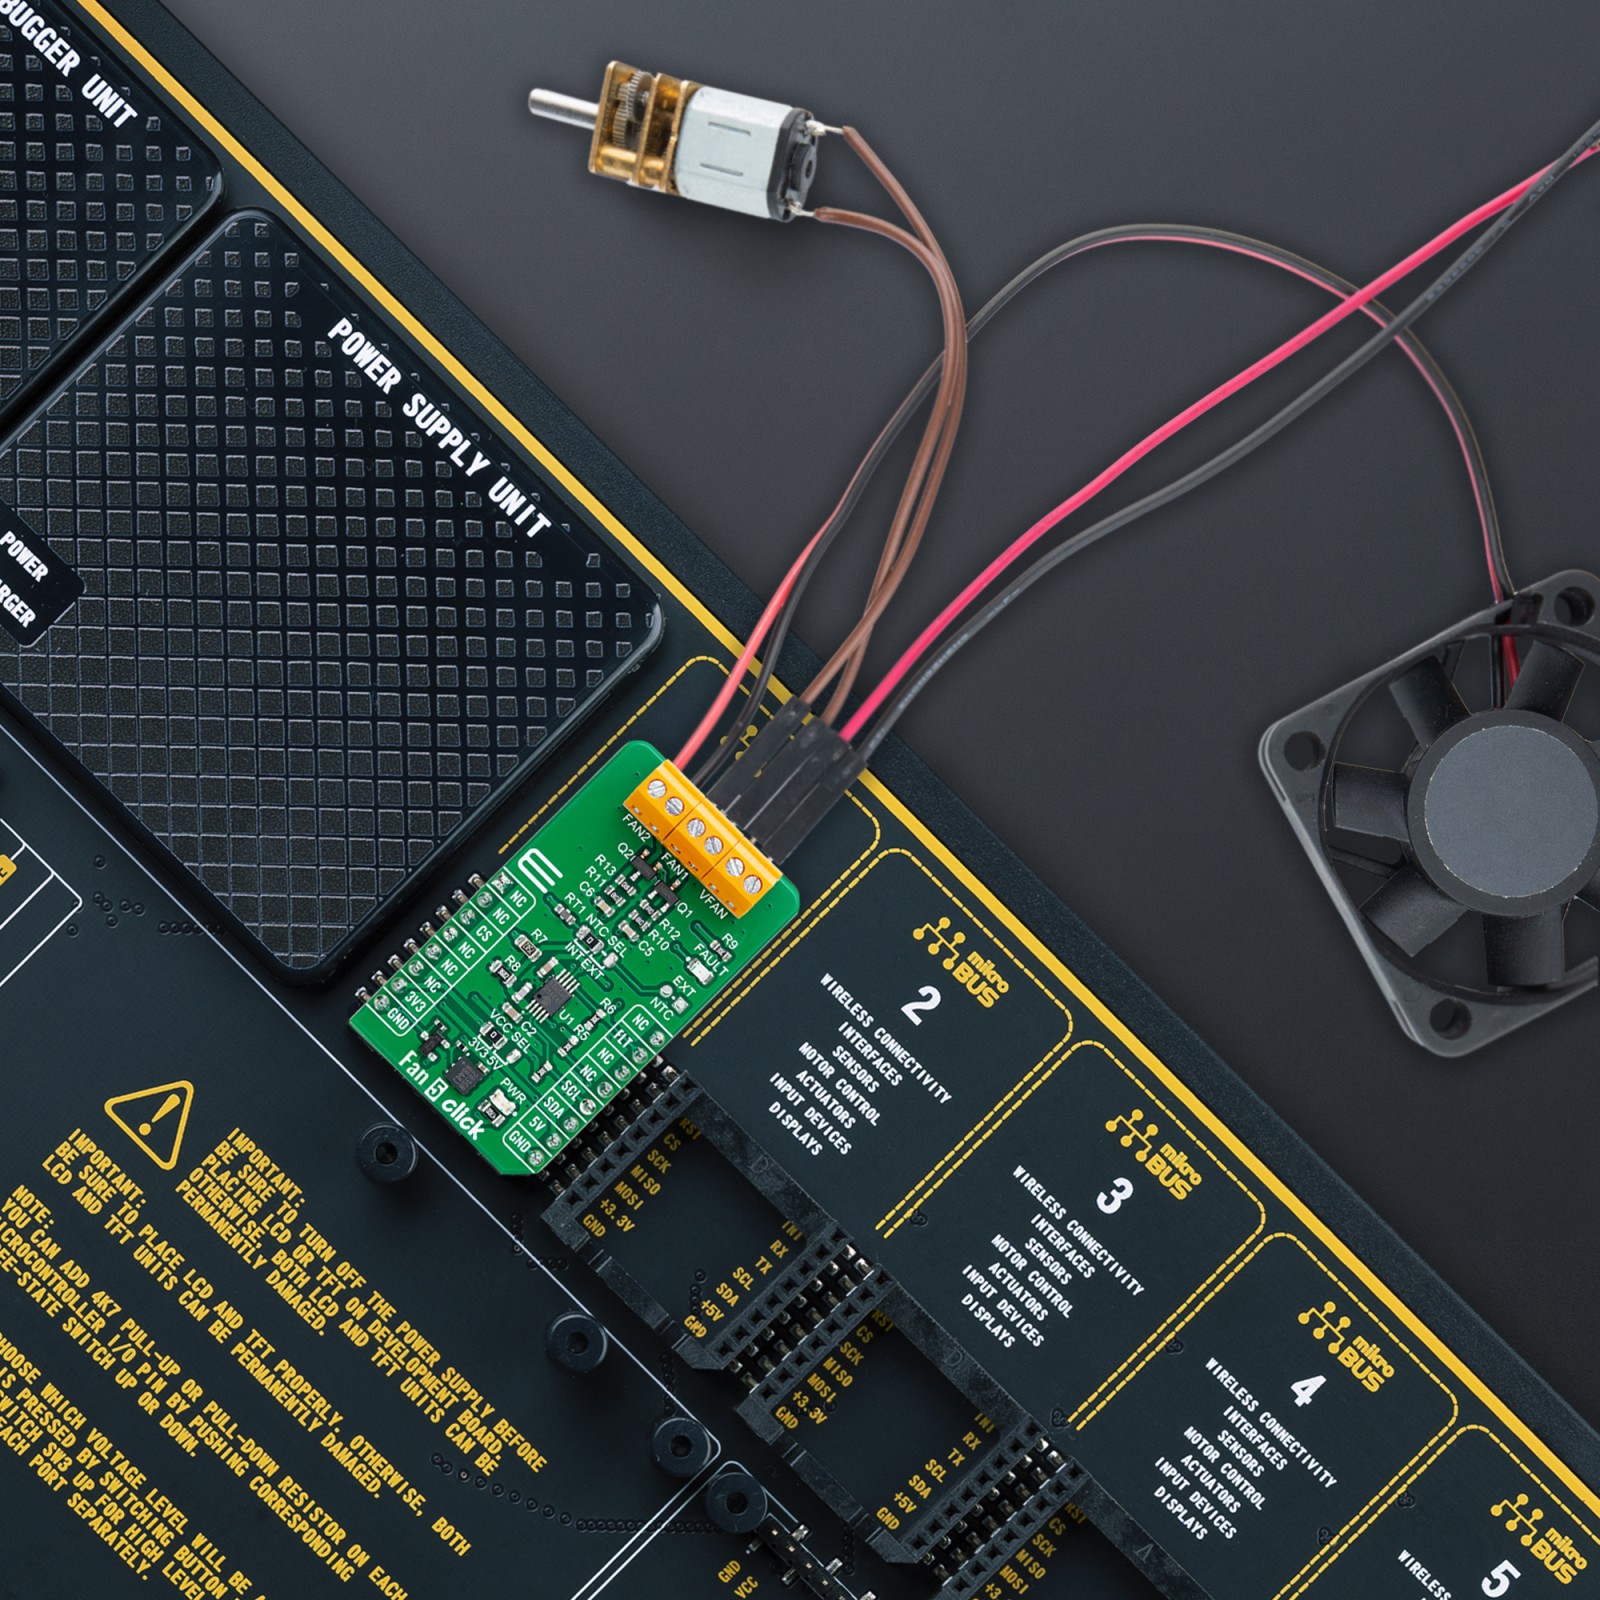
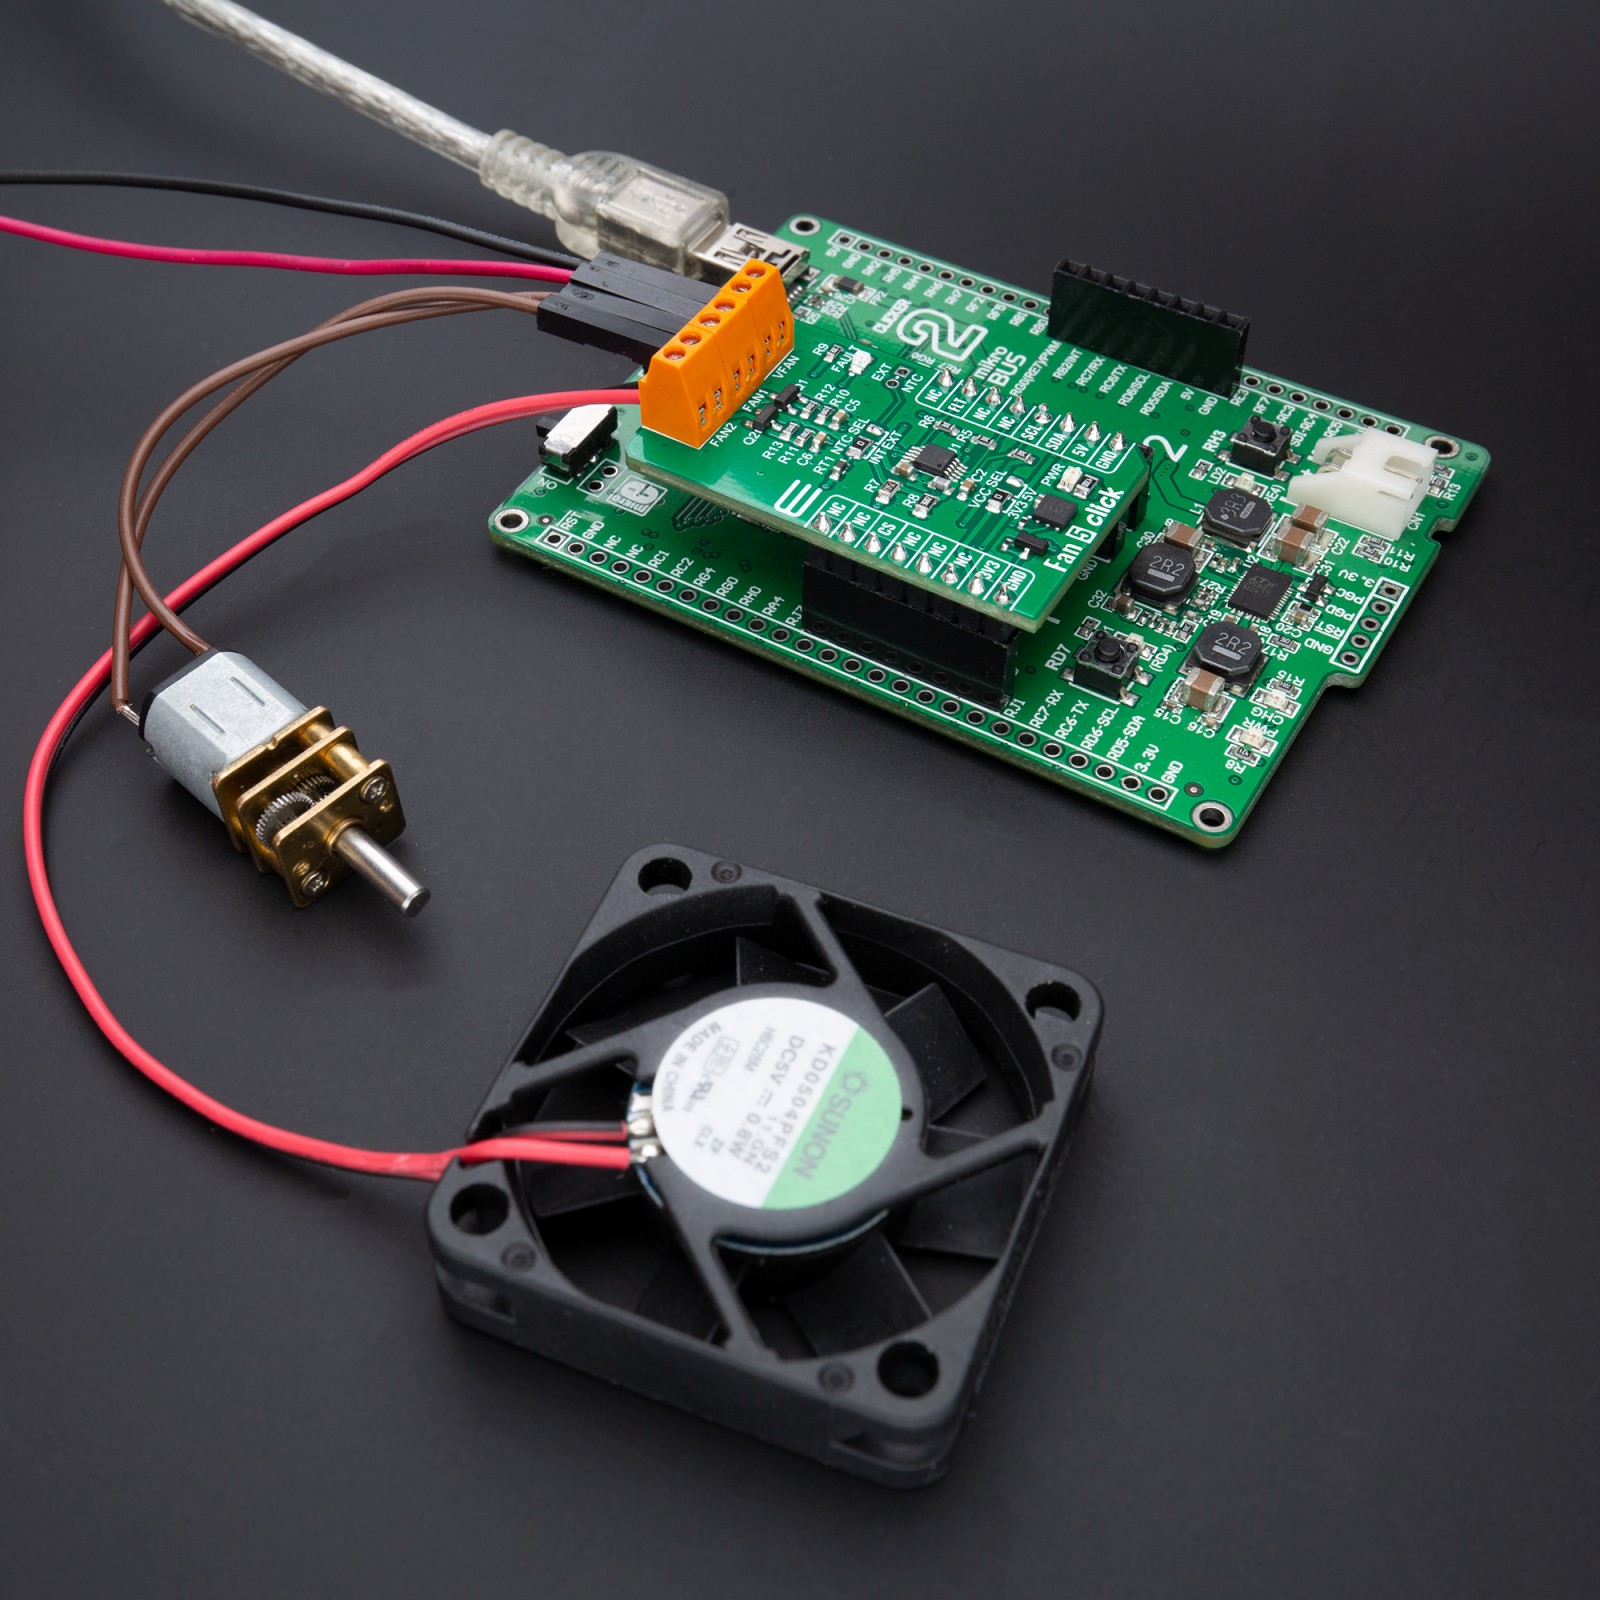
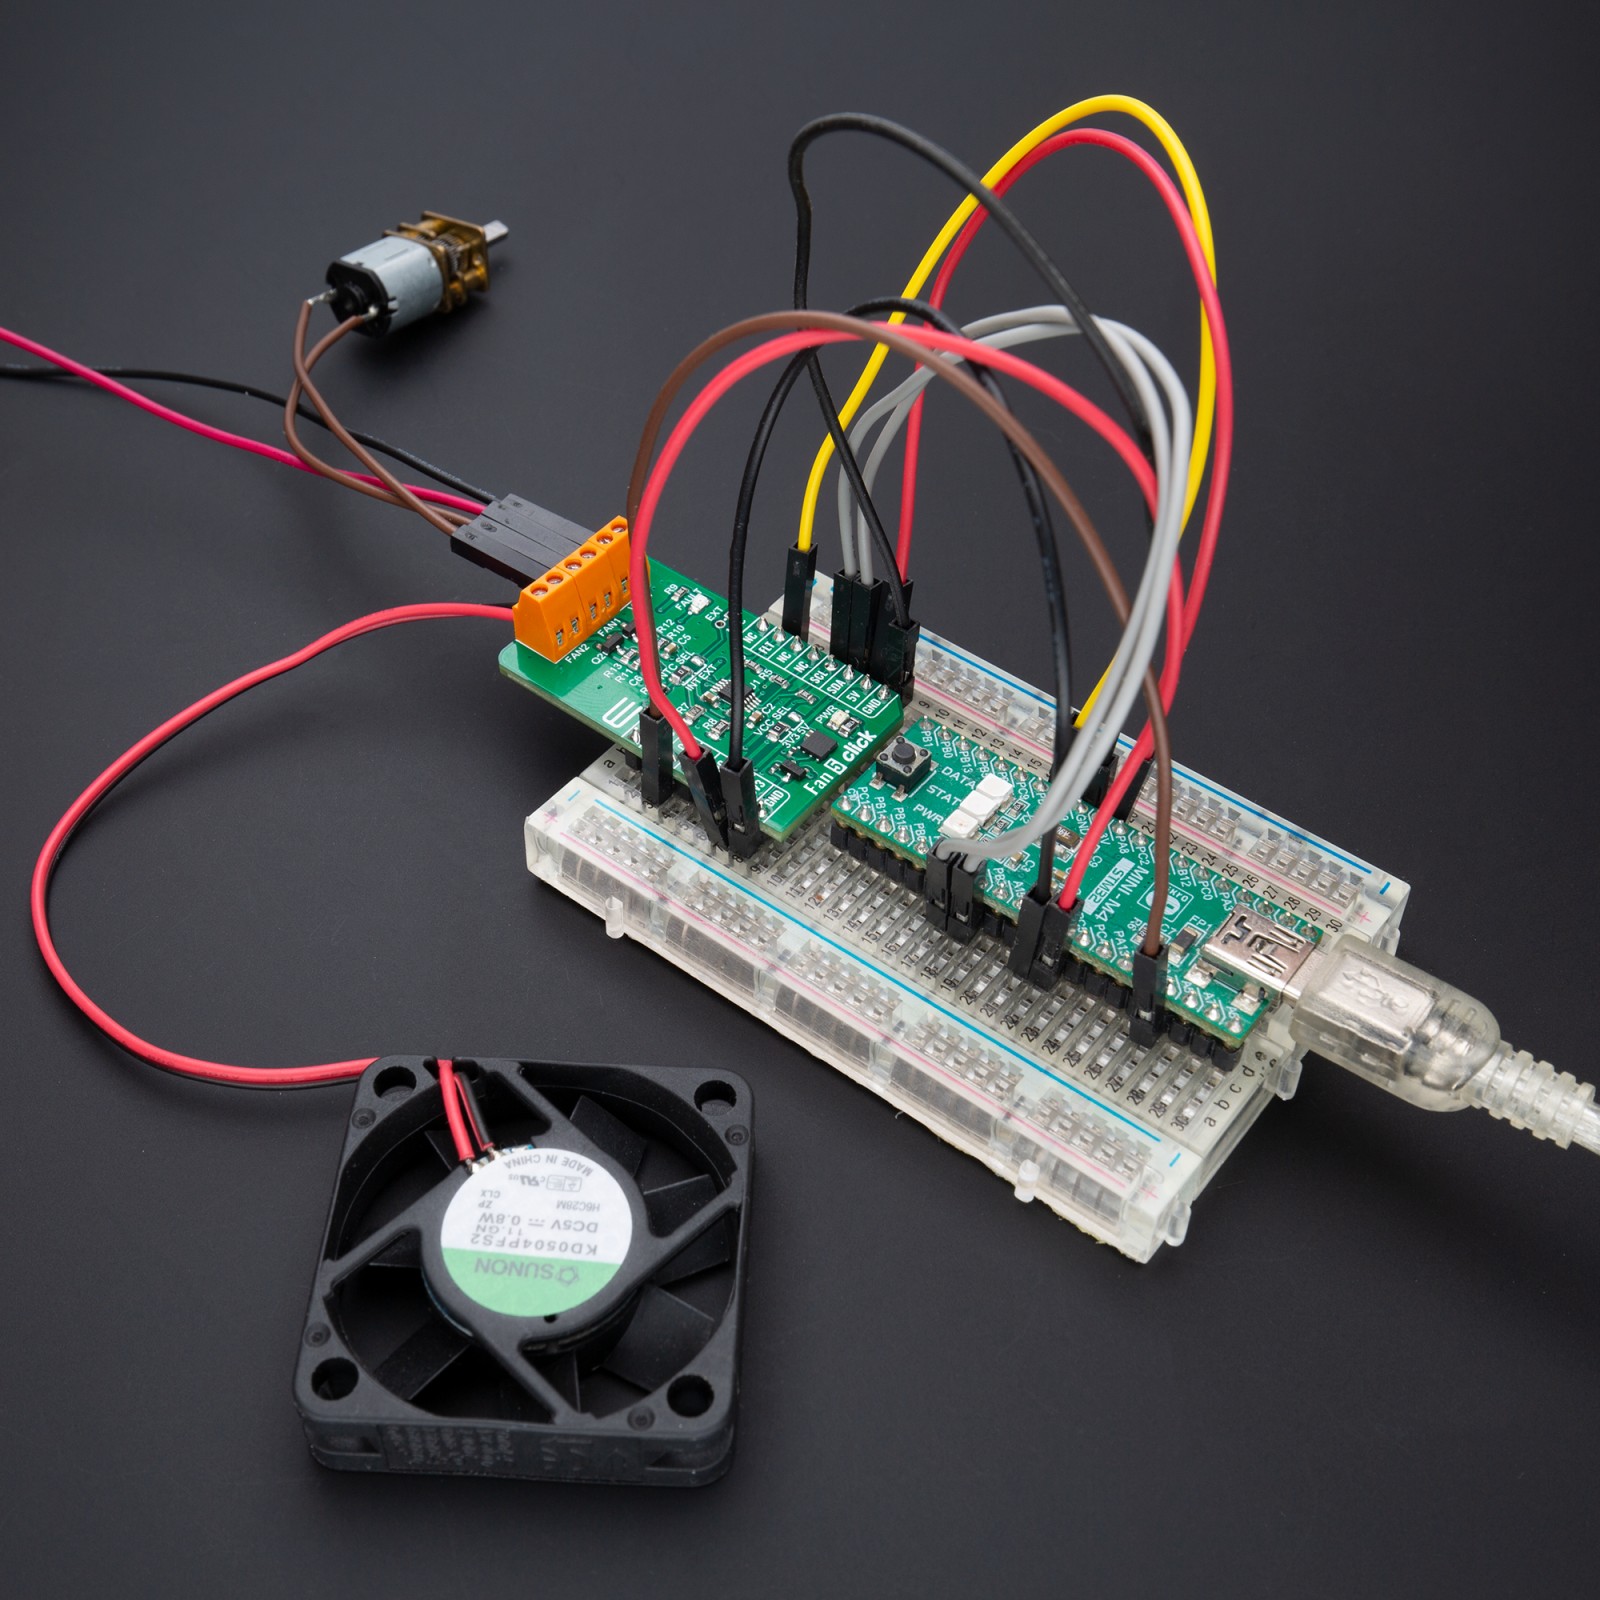
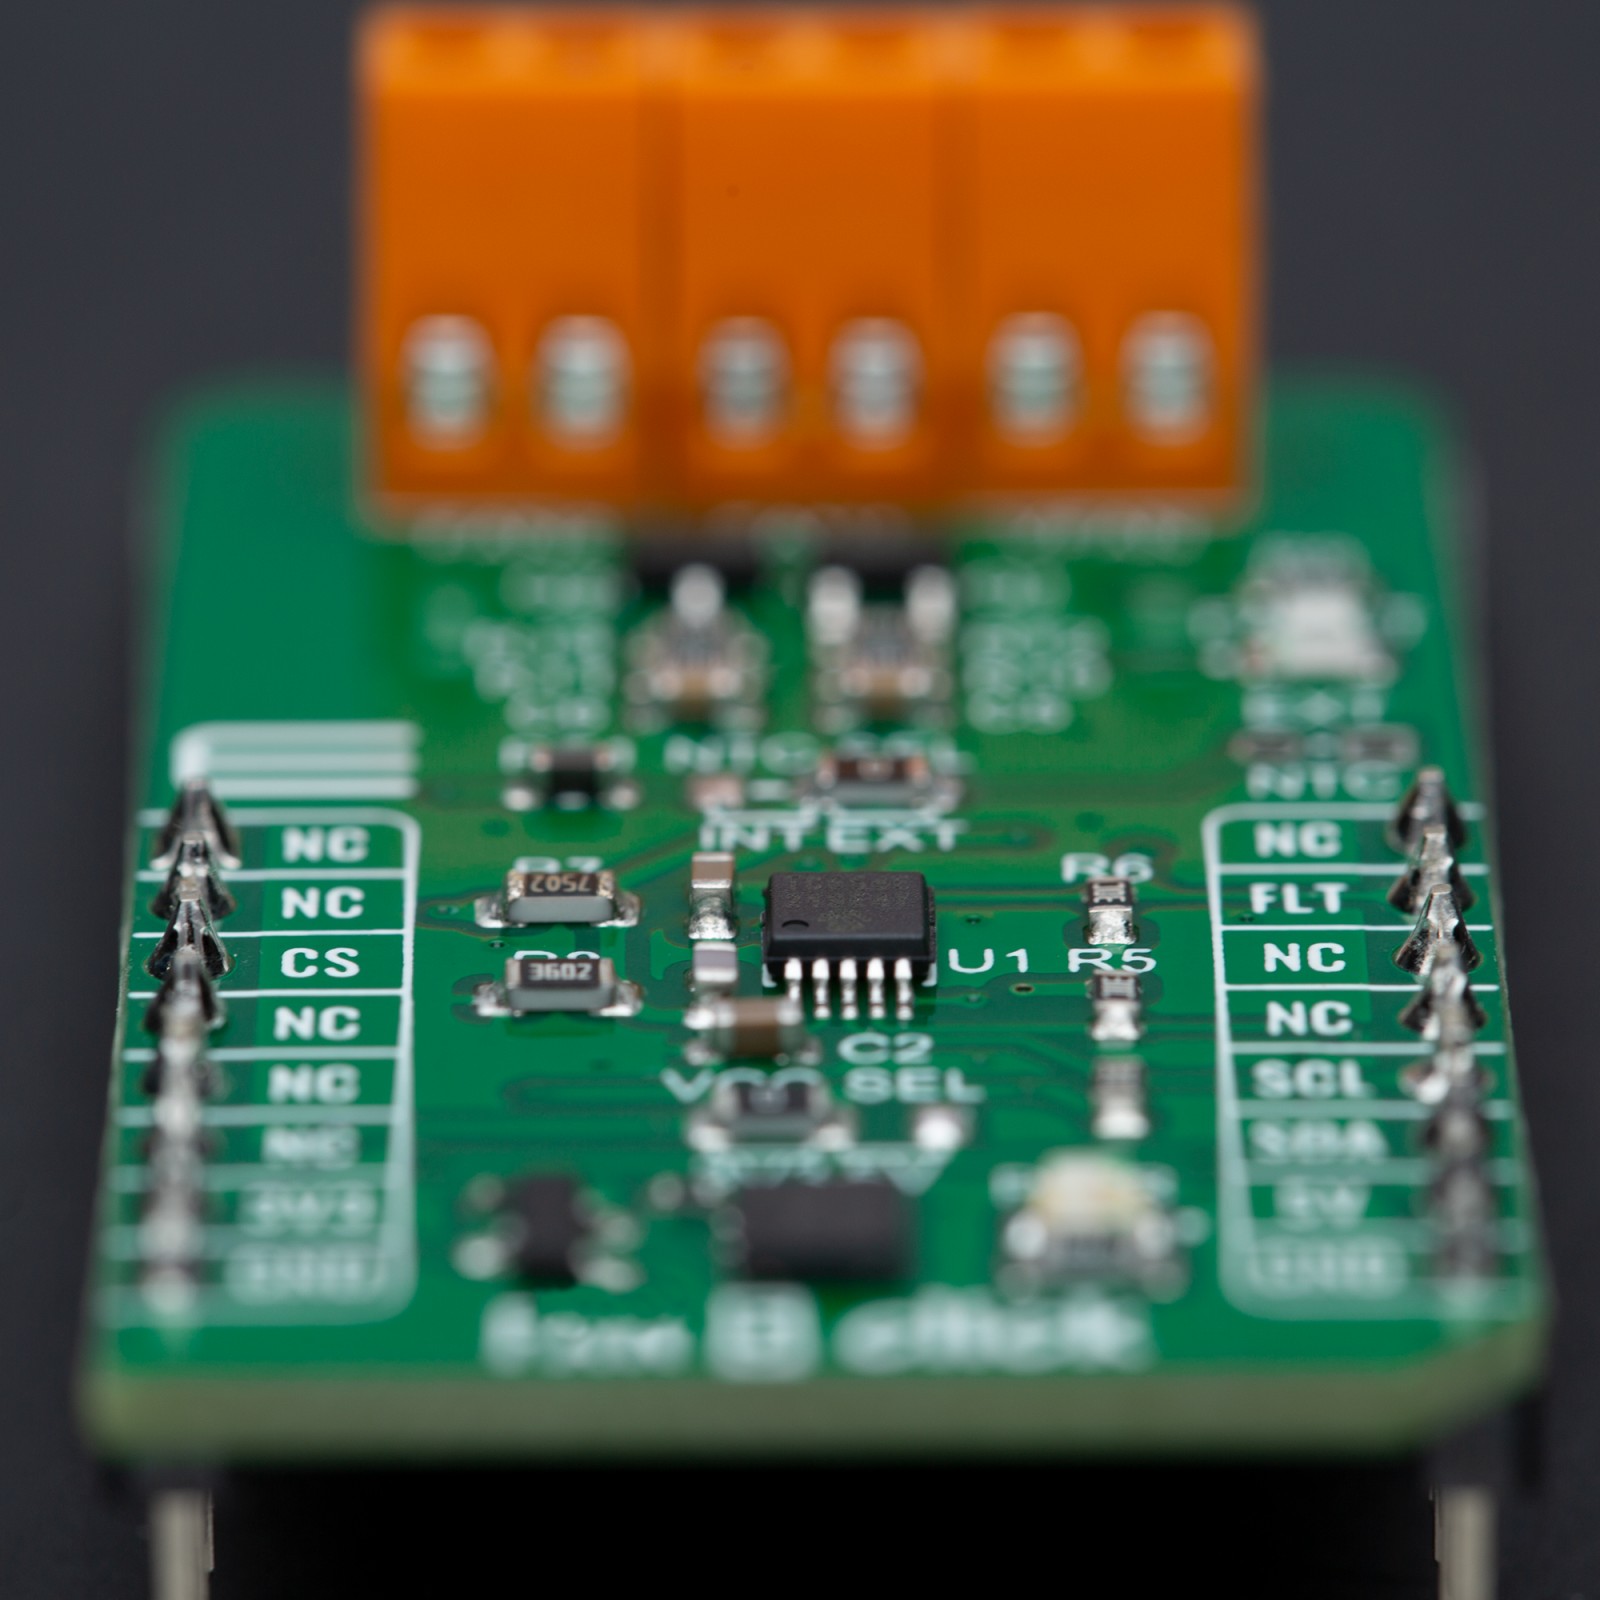
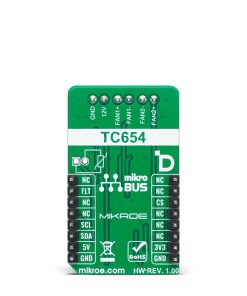
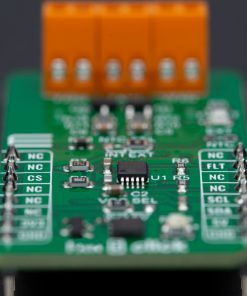
Fan 5 Click is based on the TC654, a fan speed controller from Microchip that allows you to control and monitor the speed of two DC brushless fans. The TC654 is based on the FanSense™ technology, which protects your application against fan failure and eliminates the need for 3-wire fans. With the TC654, the fan speed can be controlled by its input voltage or the serial interface, allowing for high flexibility. The input voltage of the TC654 represents temperature, typically provided by a chosen internal or external thermistor (selected using an NTC SEL jumper). The TC654 controls fan speed according to the system temperature by pulse-width modulating the voltage across the fan. This method reduces the fan’s acoustic noise and extends the fan’s working life.
An external N-channel MOSFET, one per channel, controls the fans. Modulating the voltage applied to the gate of the MOSFETs also modulates the voltage applied to the fan. The PWM output can be adjusted between 30% and 100%, based on the TC654’s input voltage, or programmed, as mentioned, via the I2C interface to allow fan speed control without needing an external thermistor. The standard I2C 2-Wire interface reads data and configures settings with a maximum frequency of 100kHz.
The TC654 also measures and monitors fan revolutions per minute (RPM), representing a measure of its health. As a fan’s bearings wear out, the fan slows down and eventually stops (locked rotor). The TC654 can detect open, shorted, unconnected, and locked rotor fan conditions by monitoring the fan’s RPM level. Apart from the availability of this information on the FLT pin of the mikroBUS™ socket, this condition can also be visually detected through the red LED marked with FAULT. The fan RPM data and threshold registers are available over the I2C interface, allowing complete system control.
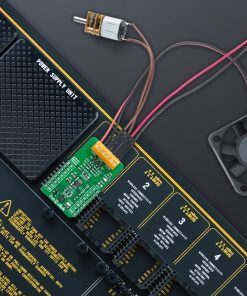
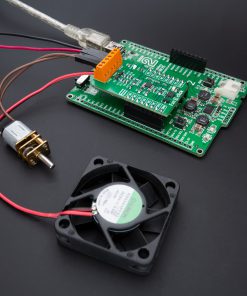
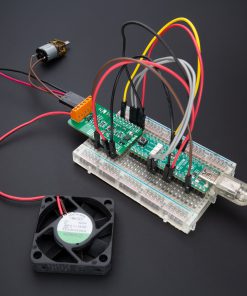
In addition to the two terminals for fan connections, there is another terminal, VFAN, for an external 12V power supply for FAN1. FAN2 uses the necessary supply from the 5V mikroBUS™ power rail.
This Click board™ can operate with both 3.3V and 5V logic voltage levels selected via the VCC SEL jumper. This way, both 3.3V and 5V MCUs can use the communication lines correctly. However, the Click board™ comes equipped with a library containing easy-to-use functions and an example code that can be used, as a reference, for further development.
Specifications
Type
Brushless
Applications
Can be used for networking equipment, servers, or other applications requiring cooling and temperature control
On-board modules
TC654 – fan speed controller from Microchip
Key Features
Temperature proportional fan speed, reduced noise, 5V and 12V fan drive, FanSense™ technology protecting against fan failure, PWM fan drive, I2C interface, selectable thermistor, fault LED indicator, and more
Interface
I2C
Feature
ClickID
Compatibility
mikroBUS™
Click board size
M (42.9 x 25.4 mm)
Input Voltage
3.3V or 5V
Pinout diagram
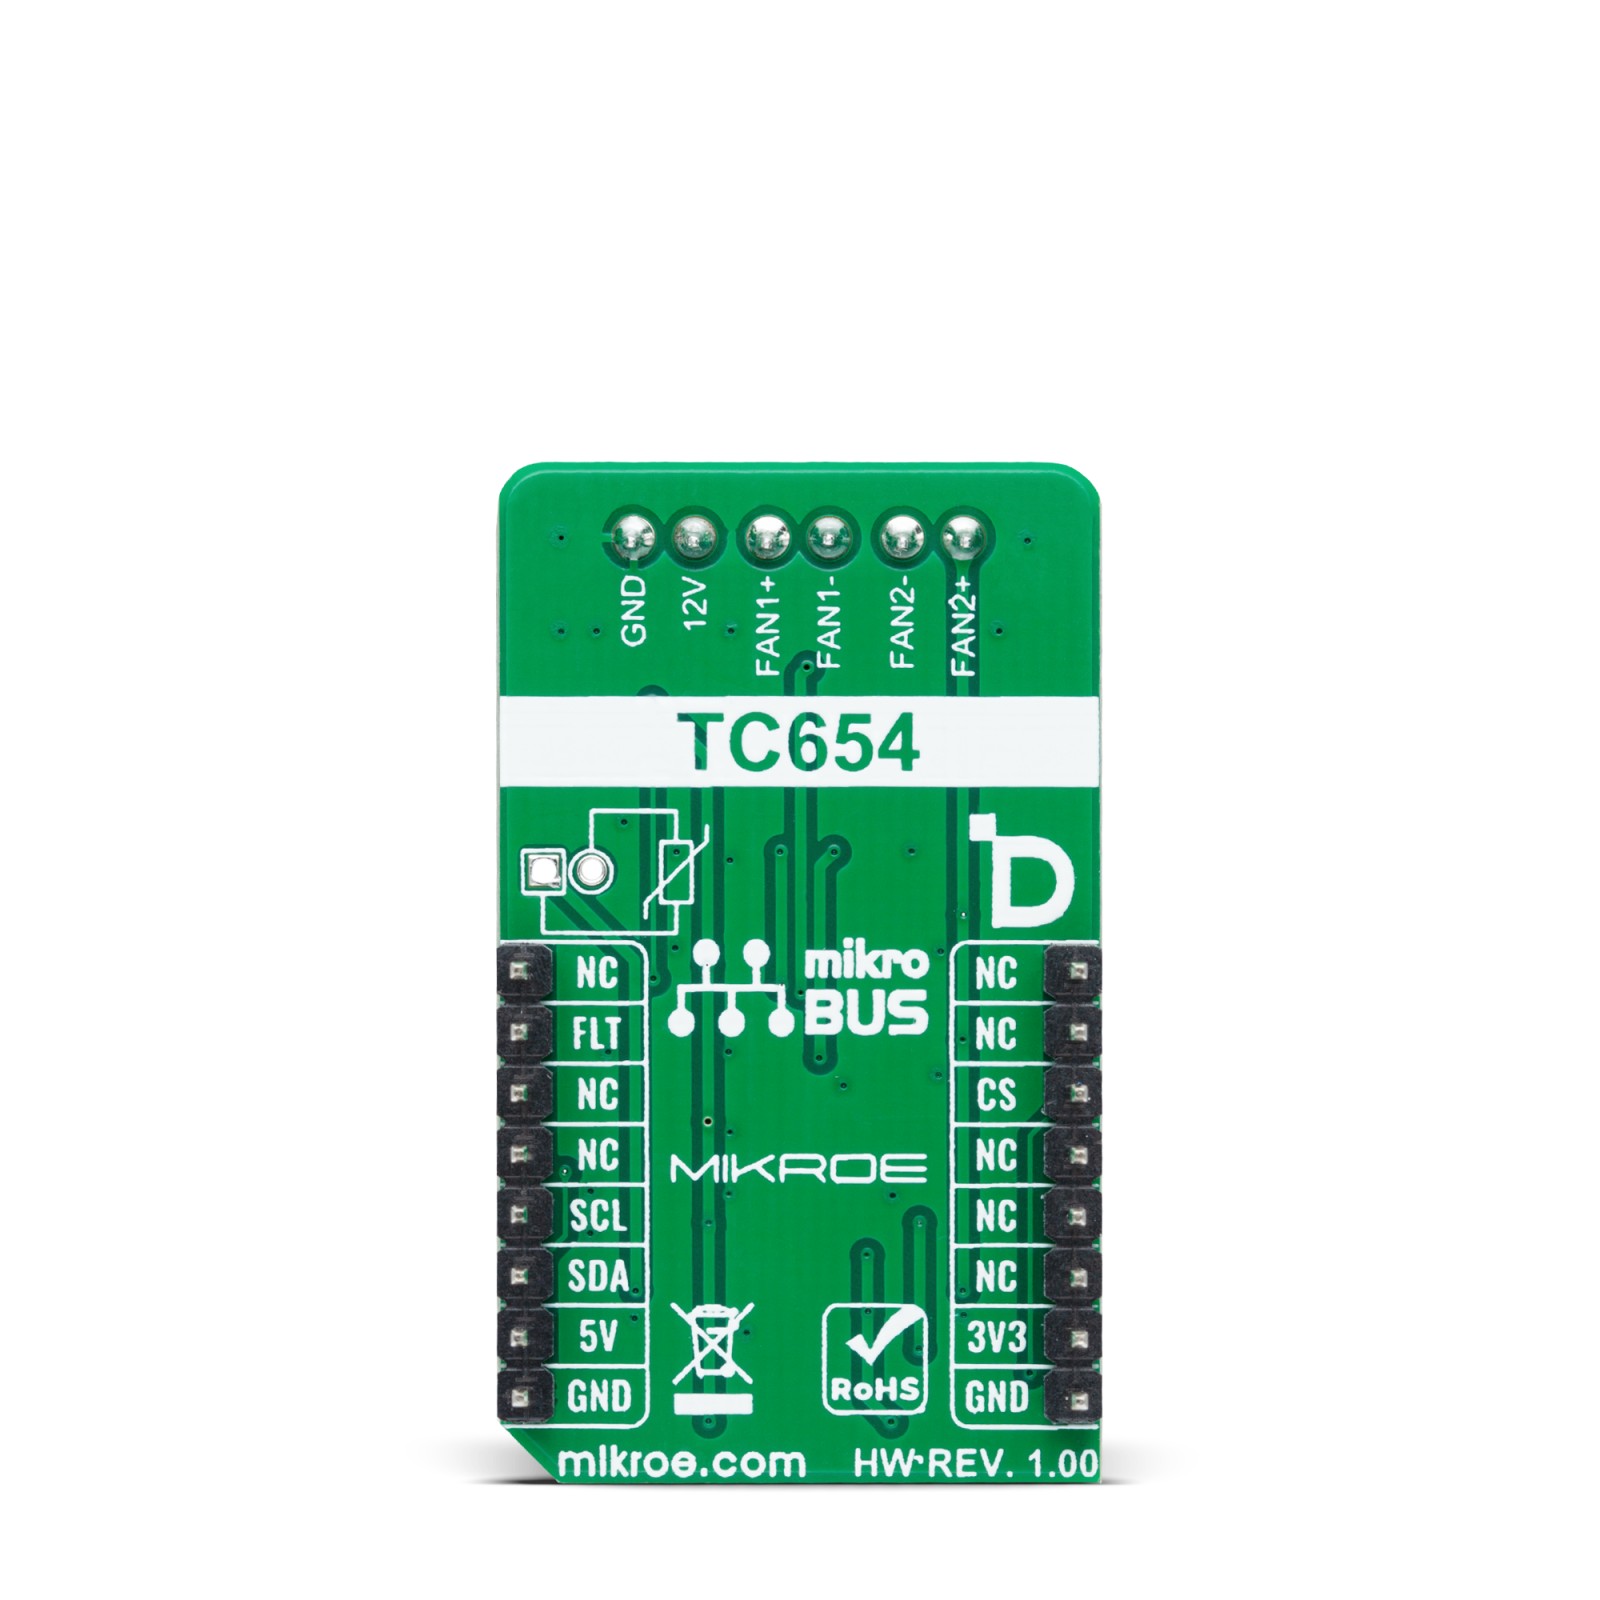
This table shows how the pinout on Fan 5 Click corresponds to the pinout on the mikroBUS™ socket (the latter shown in the two middle columns).
Onboard settings and indicators
Label | Name | Default | Description |
---|---|---|---|
LD1 | PWR | – | Power LED Indicator |
LD2 | FAULT | – | Fault LED Indicator |
JP1 | VCC SEL | Left | Logic Level Voltage Selection 3V3/5V: Left position 3V3, Right position 5V |
JP2 | NTC SEL | Left | NTC Thermistor Selection INT/EXT: Left position INT, Right position EXT |
J1 | EXT NTC | Unpopulated | External NTC Thermistor Connection Header |
Fan 5 Click electrical specifications
Description | Min | Typ | Max | Unit |
---|---|---|---|---|
Supply Voltage | 3.3 | – | 5 | V |
VFAN Supply Voltage | – | 12 | – | V |
Software Support
We provide a library for the Fan 5 Click as well as a demo application (example), developed using Mikroe compilers. The demo can run on all the main Mikroe development boards.
Package can be downloaded/installed directly from NECTO Studio Package Manager(recommended), downloaded from our LibStock™ or found on Mikroe github account.
Library Description
This library contains API for Fan 5 Click driver.
Key functions
-
fan5_get_rpm1
Fan 5 get speed of FAN1. -
fan5_set_duty_cycle
Fan 5 set duty cycle. -
fan5_turn_on_fans
Fan 5 turn on fans.
Example Description
This example demonstrates the use of FAN 5 Click board™ by controlling and regulating the fan motors speed.
void application_task ( void )
{
#if defined FAN_CONTROL_MODE
uint16_t speed;
uint8_t flag_data;
fan5_get_rpm1( &fan5, &speed);
log_printf( &logger, " SPEED: %d RPM rn", speed );
if ( FAN5_FAULT == fan5_get_fault_state( &fan5 ) )
{
fan5_get_status_flags ( &fan5, &flag_data );
log_printf( &logger, " FLAG: %d rn", flag_data );
if ( FAN5_F1F_FLAG & flag_data )
{
log_printf( &logger, " FAN SPEED DROPED !!! rn" );
log_printf( &logger, " OUTPUT IS DISABLED rn" );
fan5_turn_off_fans( &fan5 );
for( ; ; );
}
}
Delay_ms( 2000 );
#else
uint16_t speed;
uint8_t duty_value;
for ( duty_value = FAN5_30_PER_DUTY; duty_value <= FAN5_100_PER_DUTY; duty_value++ )
{
fan5_set_duty_cycle( &fan5, duty_value );
log_printf( &logger, " Duty value: %d rn", ( uint16_t ) duty_value );
Delay_ms( 5000 );
fan5_get_rpm1( &fan5, &speed);
log_printf( &logger, " SPEED: %d RPM rn", speed );
Delay_ms( 500 );
}
#endif
}
The full application code, and ready to use projects can be installed directly from NECTO Studio Package Manager(recommended), downloaded from our LibStock™ or found on Mikroe github account.
Other Mikroe Libraries used in the example:
- MikroSDK.Board
- MikroSDK.Log
- Click.Fan5
Additional notes and informations
Depending on the development board you are using, you may need USB UART click, USB UART 2 Click or RS232 Click to connect to your PC, for development systems with no UART to USB interface available on the board. UART terminal is available in all Mikroe compilers.
mikroSDK
This Click board™ is supported with mikroSDK – Mikroe Software Development Kit. To ensure proper operation of mikroSDK compliant Click board™ demo applications, mikroSDK should be downloaded from the LibStock and installed for the compiler you are using.
For more information about mikroSDK, visit the official page.