How does it work?
ECG 2 Click is based on the ADS1194, a low-power, 8-channel, 16-bit analog front-end for biopotential measurements from Texas Instruments. The ADS1194 is a multichannel simultaneous sampling delta-sigma analog-to-digital converter with a built-in programmable gain amplifier, internal reference, and onboard oscillator. It has a flexible input multiplexer per channel that can be independently connected to the internally generated signals for test, temperature, and lead-off detection. This ADC can sample data in a range of 125sps up to 8ksps data rates, with a programmable gain in 1, 2, 3, 4, 6, 8, or 12 steps. In addition, the ECG 2 Click features the built-in right leg drive amplifier, lead-off detection, WCT, test signals, pace detection channel selection, and more.
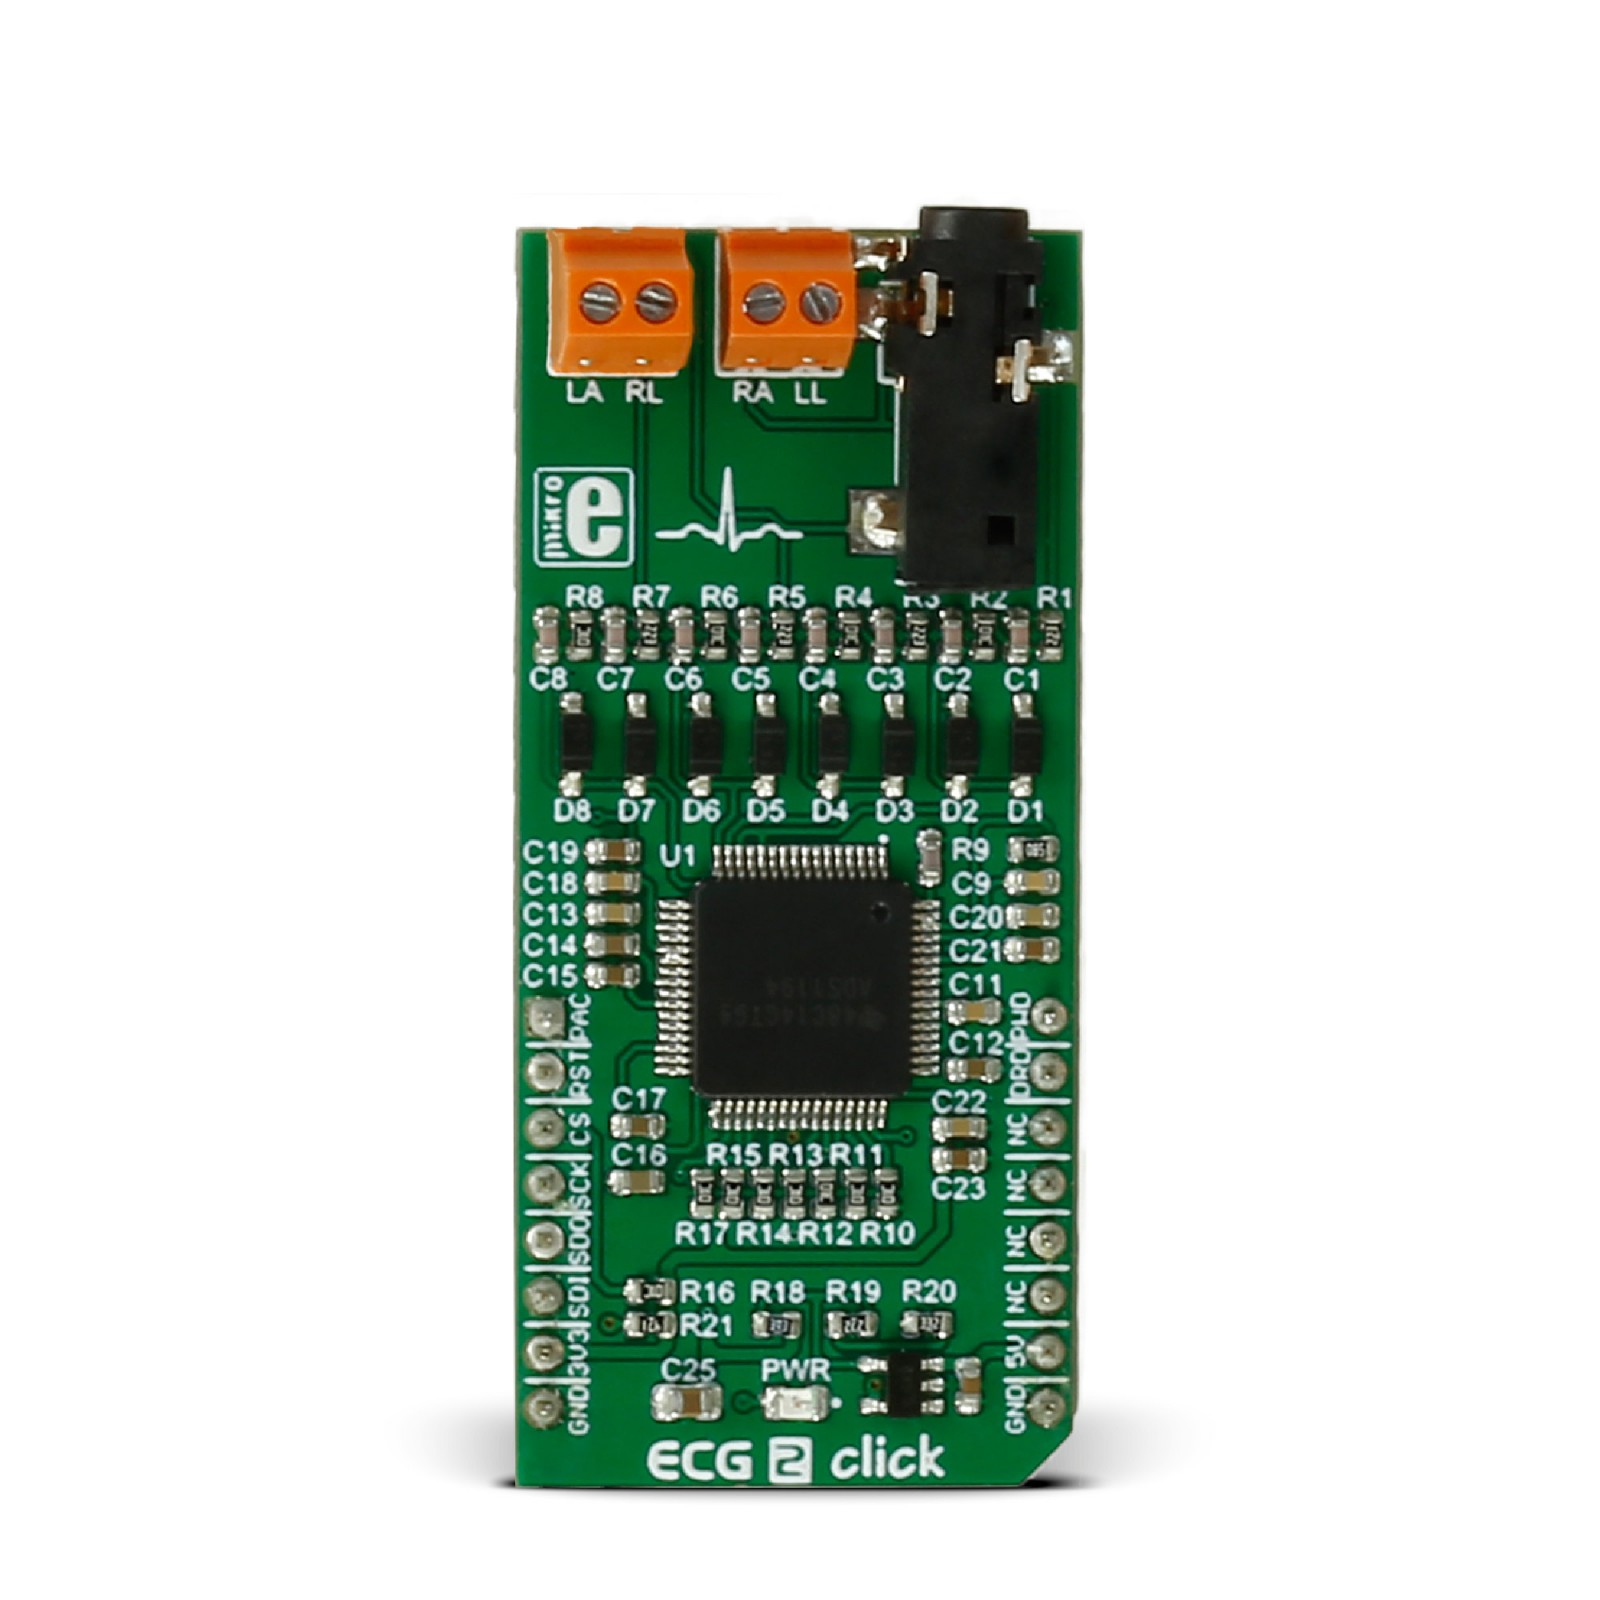
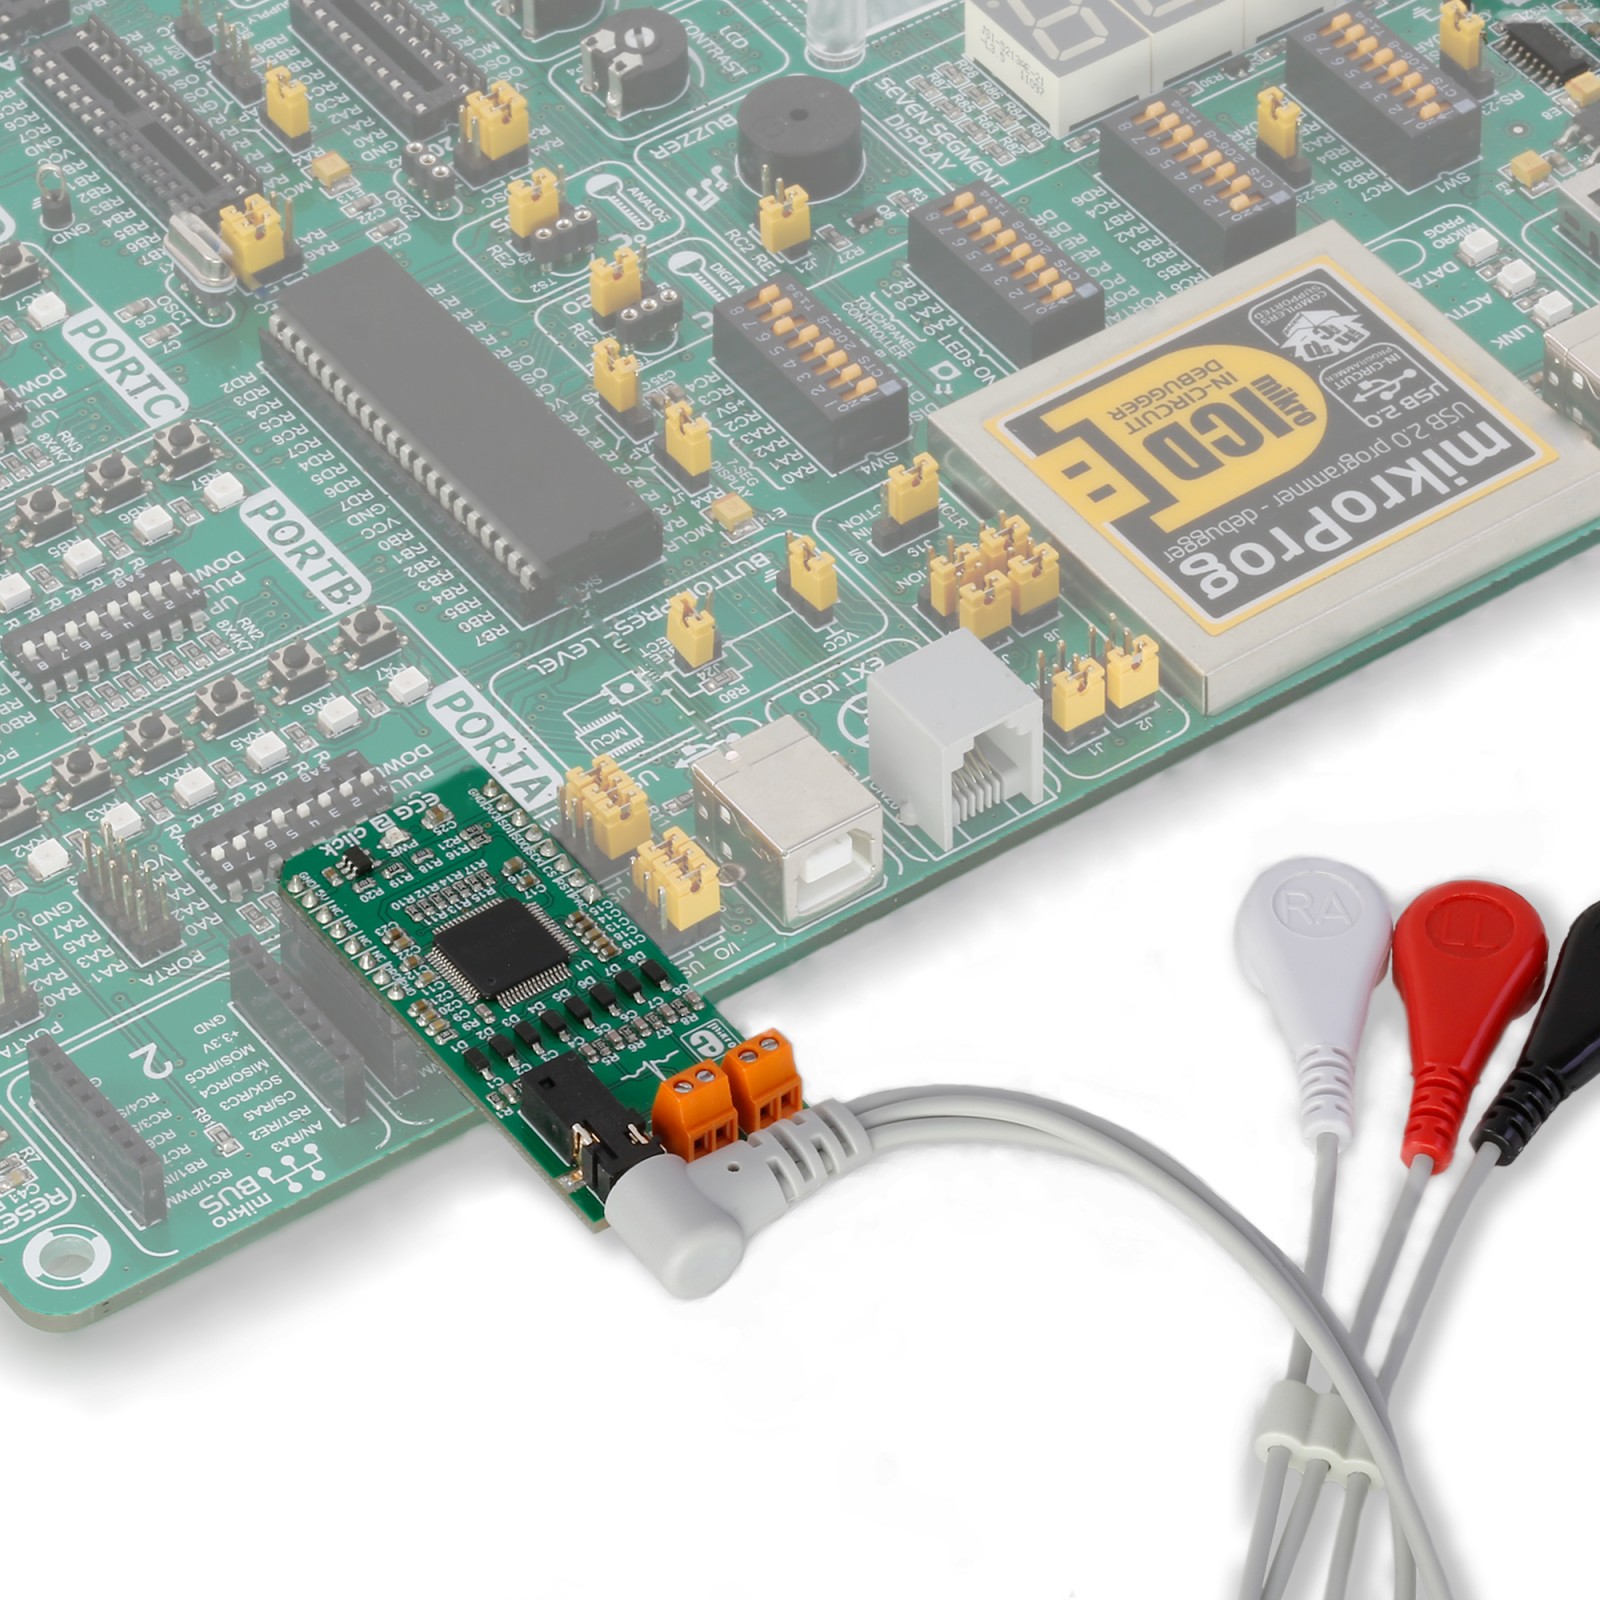
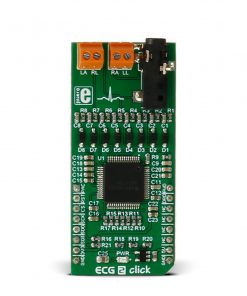
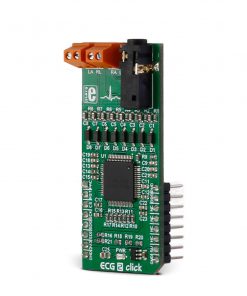
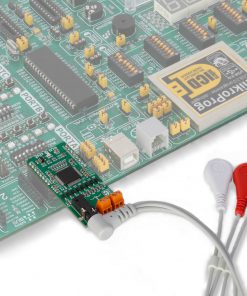
The ECG 2 Click can work in several modes. The Continuous mode is ideal for applications that require a fixed stream of conversion results. The Single-Shot conversion mode is provided for applications that require a non-standard or non-continuous data rate. An onboard 3.5mm phone jack is used to connect cables/electrodes to the Click board™. The electrode collects voltage from the skin, after which the signal is amplified, filtered, and sent to the host MCU over the mikroBUS™ socket. The three electrodes should be placed on the left arm, right arm, and the left side of the abdomen (below the heart), on the left leg. In addition to the phone jack, the ECG 2 Click includes screw terminals for a 4-wire measurement. ECG 2 click can also be connected by four electrodes placed on both arms and legs.
The final measurement results can be displayed as an Electrocardiogram using a free app, the MikroPlot, a free data visualization tool (Windows). It’s a simple tool to help you visualize sensor data recorded over time, suitable for biosignals (ECG, EEG, EMG) and environmental data logging (temperature, humidity, and more). The graph is generated from data sent from the MCU (ADC values from ECG 2 click input + timestamp). The app can receive data sets from a microcontroller through a USB UART connection. See the learn.mikroe.com article (https://www.mikroe.com/blog/ecg-click-mikroplot-complete-solution-human-heart-data-analysis) for more information.
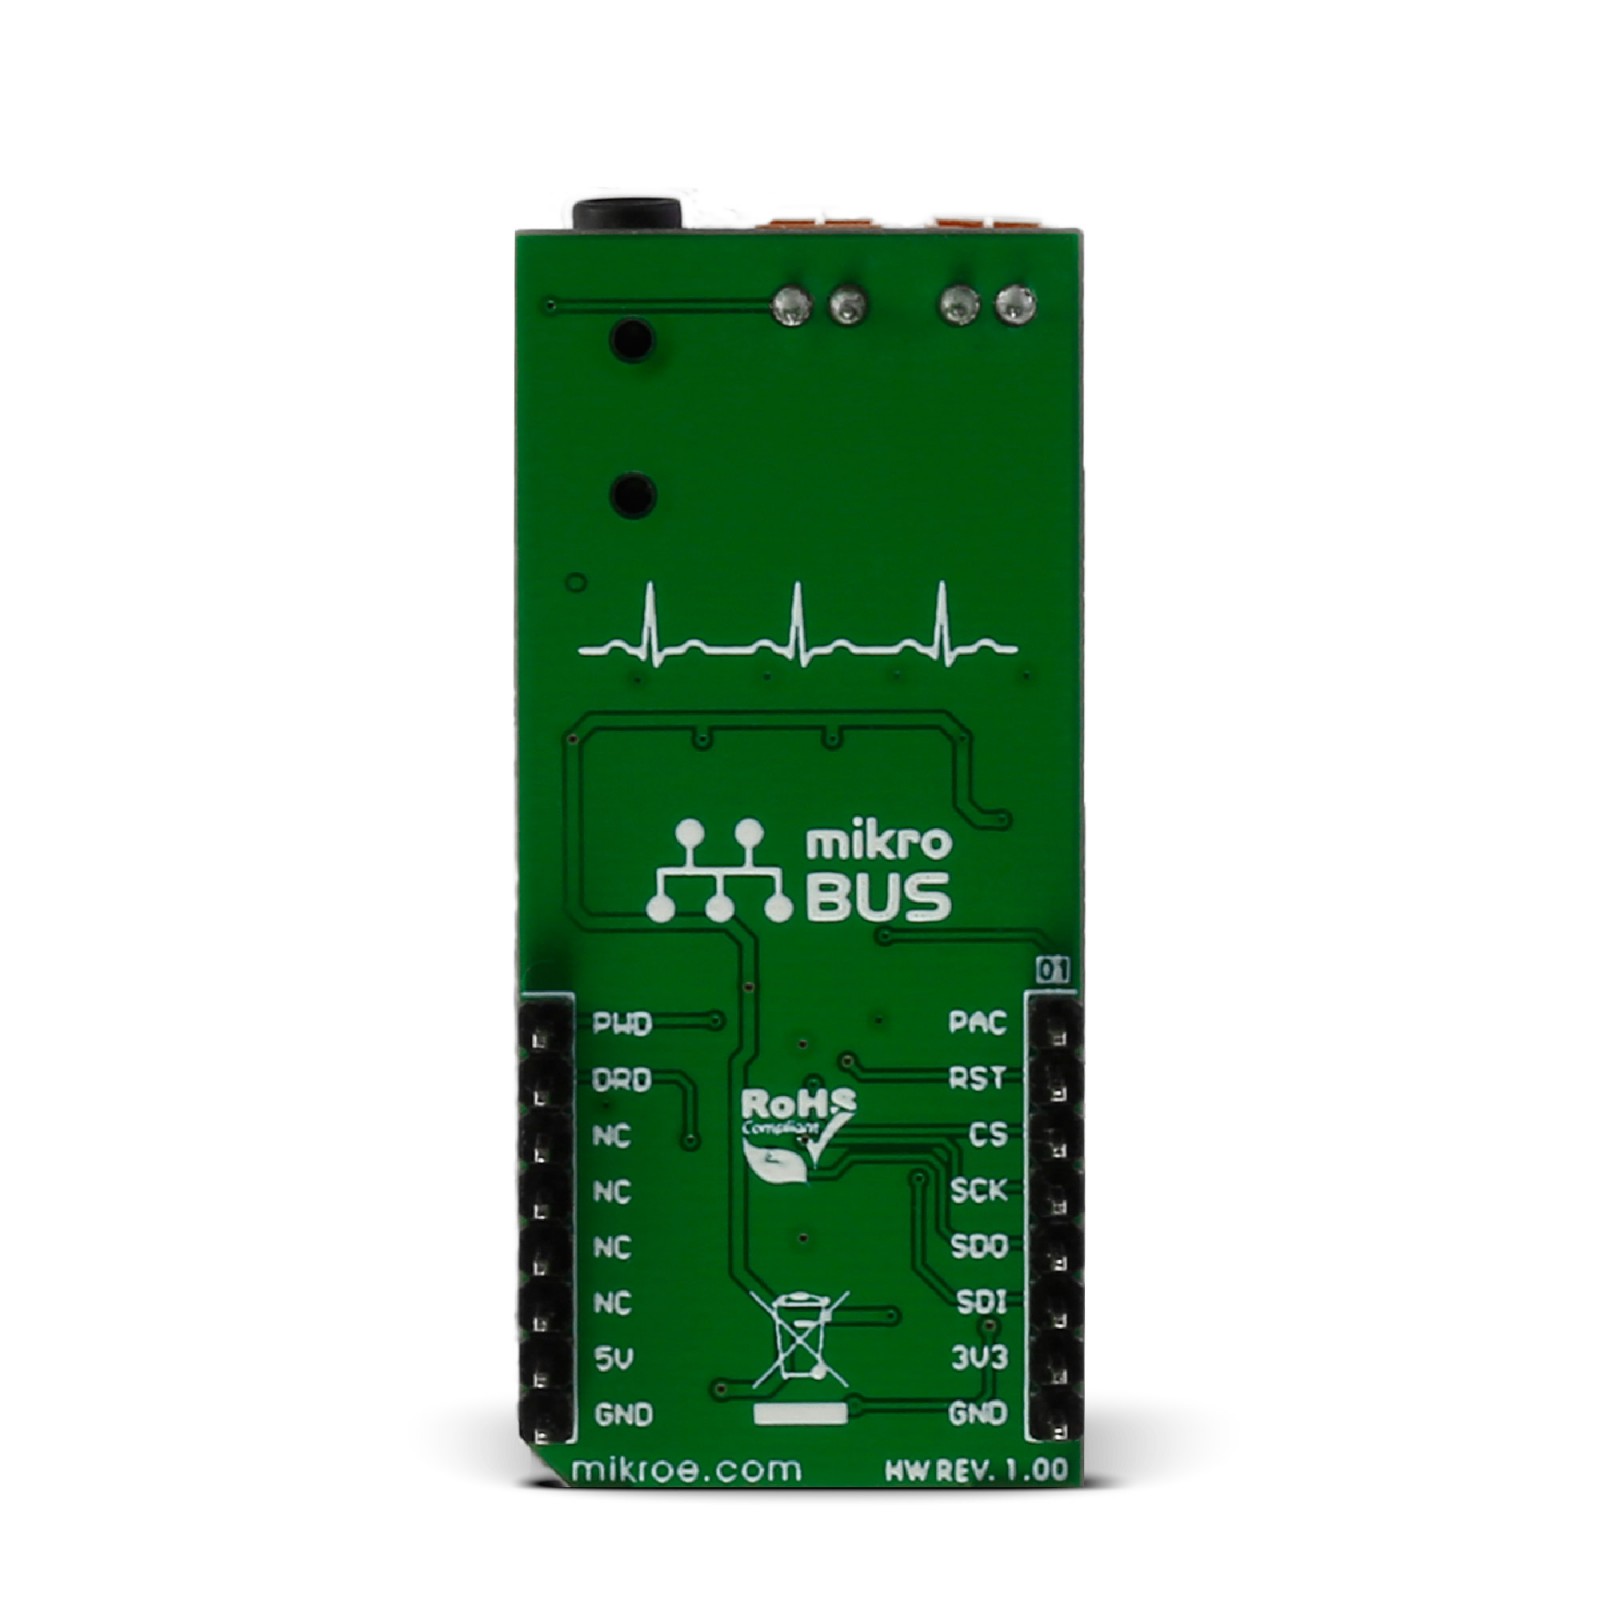
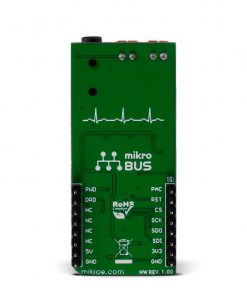
ECG 2 Click uses a standard 4-Wire SPI serial interface to communicate with the host MCU. The data-ready output is used as a status signal to indicate when data are ready, where the DRD pin will go LOW if new data are available. In addition, other pins meet the ECG 2 Click’s functionalities. The ADS1194 can be reset over the RST pin with an active LOW logic state, while it can be powered down with an active LOW on the PWD pin. The host MCU can be used to detect the presence of the pulse by bringing out the output of the PGA at the PAC pin (TEST PACE OUT1).
This Click board™ can be operated only with a 3.3V logic voltage level while it uses a 5V for analog power supply via LDO (3V stabilized). The board must perform appropriate logic voltage level conversion before using MCUs with different logic levels. However, the Click board™ comes equipped with a library containing functions and an example code that can be used, as a reference, for further development.
Specifications
Type
Biometrics,ECG
Applications
Can be used for the development of health-tracking and fitness devices, quantified-self wearables, portable battery-powered Holter, or you can make an LED blink in sync with your heart
On-board modules
ADS1194 – analog front-end for biopotential measurements from Texas Instruments
Key Features
Programmable gain, built-in right leg driver amplifier, lead-off detection, WCT, test signals, pace detection channel selection, standby mode, bipolar power supply, phone jack, and screw terminals for connecting the electrodes, and more
Interface
GPIO,SPI
Feature
No ClickID
Compatibility
mikroBUS™
Click board size
L (57.15 x 25.4 mm)
Input Voltage
3.3V,5V
Pinout diagram
This table shows how the pinout on ECG 2 click corresponds to the pinout on the mikroBUS™ socket (the latter shown in the two middle columns).
Onboard settings and indicators
Label | Name | Default | Description |
---|---|---|---|
LD1 | PWR | – | Power LED Indicator |
ECG 2 Click electrical specifications
Description | Min | Typ | Max | Unit |
---|---|---|---|---|
Supply Voltage | 3.3 | – | 5 | V |
Data Rate | 125 | – | 8000 | SPS |
Resolution | – | 16 | – | bit |
Software Support
We provide a library for the ECG 2 Click as well as a demo application (example), developed using MIKROE compilers. The demo can run on all the main MIKROE development boards.
Package can be downloaded/installed directly from NECTO Studio Package Manager (recommended), downloaded from our LibStock™ or found on Mikroe github account.
Library Description
This library contains API for ECG 2 Click driver.
Key functions
-
ecg2_read_an_pin_value
ECG 2 read AN pin value function. -
ecg2_send_command
ECG 2 send command function. -
ecg2_read_channel_data
ECG 2 read data channel function.
Example Description
This is an example that demonstrates the use of the ECG 2 Click board.
void application_task ( void )
{
uint16_t ecg_an = 0;
ecg2_read_channel_data( &ecg2, 5, &ecg_an );
log_printf( &logger, " %.6u, %.8lu rn", ecg_an, time );
time += 5;
Delay_ms( 5 );
}
The full application code, and ready to use projects can be installed directly from NECTO Studio Package Manager (recommended), downloaded from our LibStock™ or found on Mikroe github account.
Other Mikroe Libraries used in the example:
- MikroSDK.Board
- MikroSDK.Log
- Click.ECG2
Additional notes and informations
Depending on the development board you are using, you may need USB UART click, USB UART 2 Click or RS232 Click to connect to your PC, for development systems with no UART to USB interface available on the board. UART terminal is available in all MIKROE compilers.
mikroSDK
This Click board™ is supported with mikroSDK – MIKROE Software Development Kit. To ensure proper operation of mikroSDK compliant Click board™ demo applications, mikroSDK should be downloaded from the LibStock and installed for the compiler you are using.
For more information about mikroSDK, visit the official page.