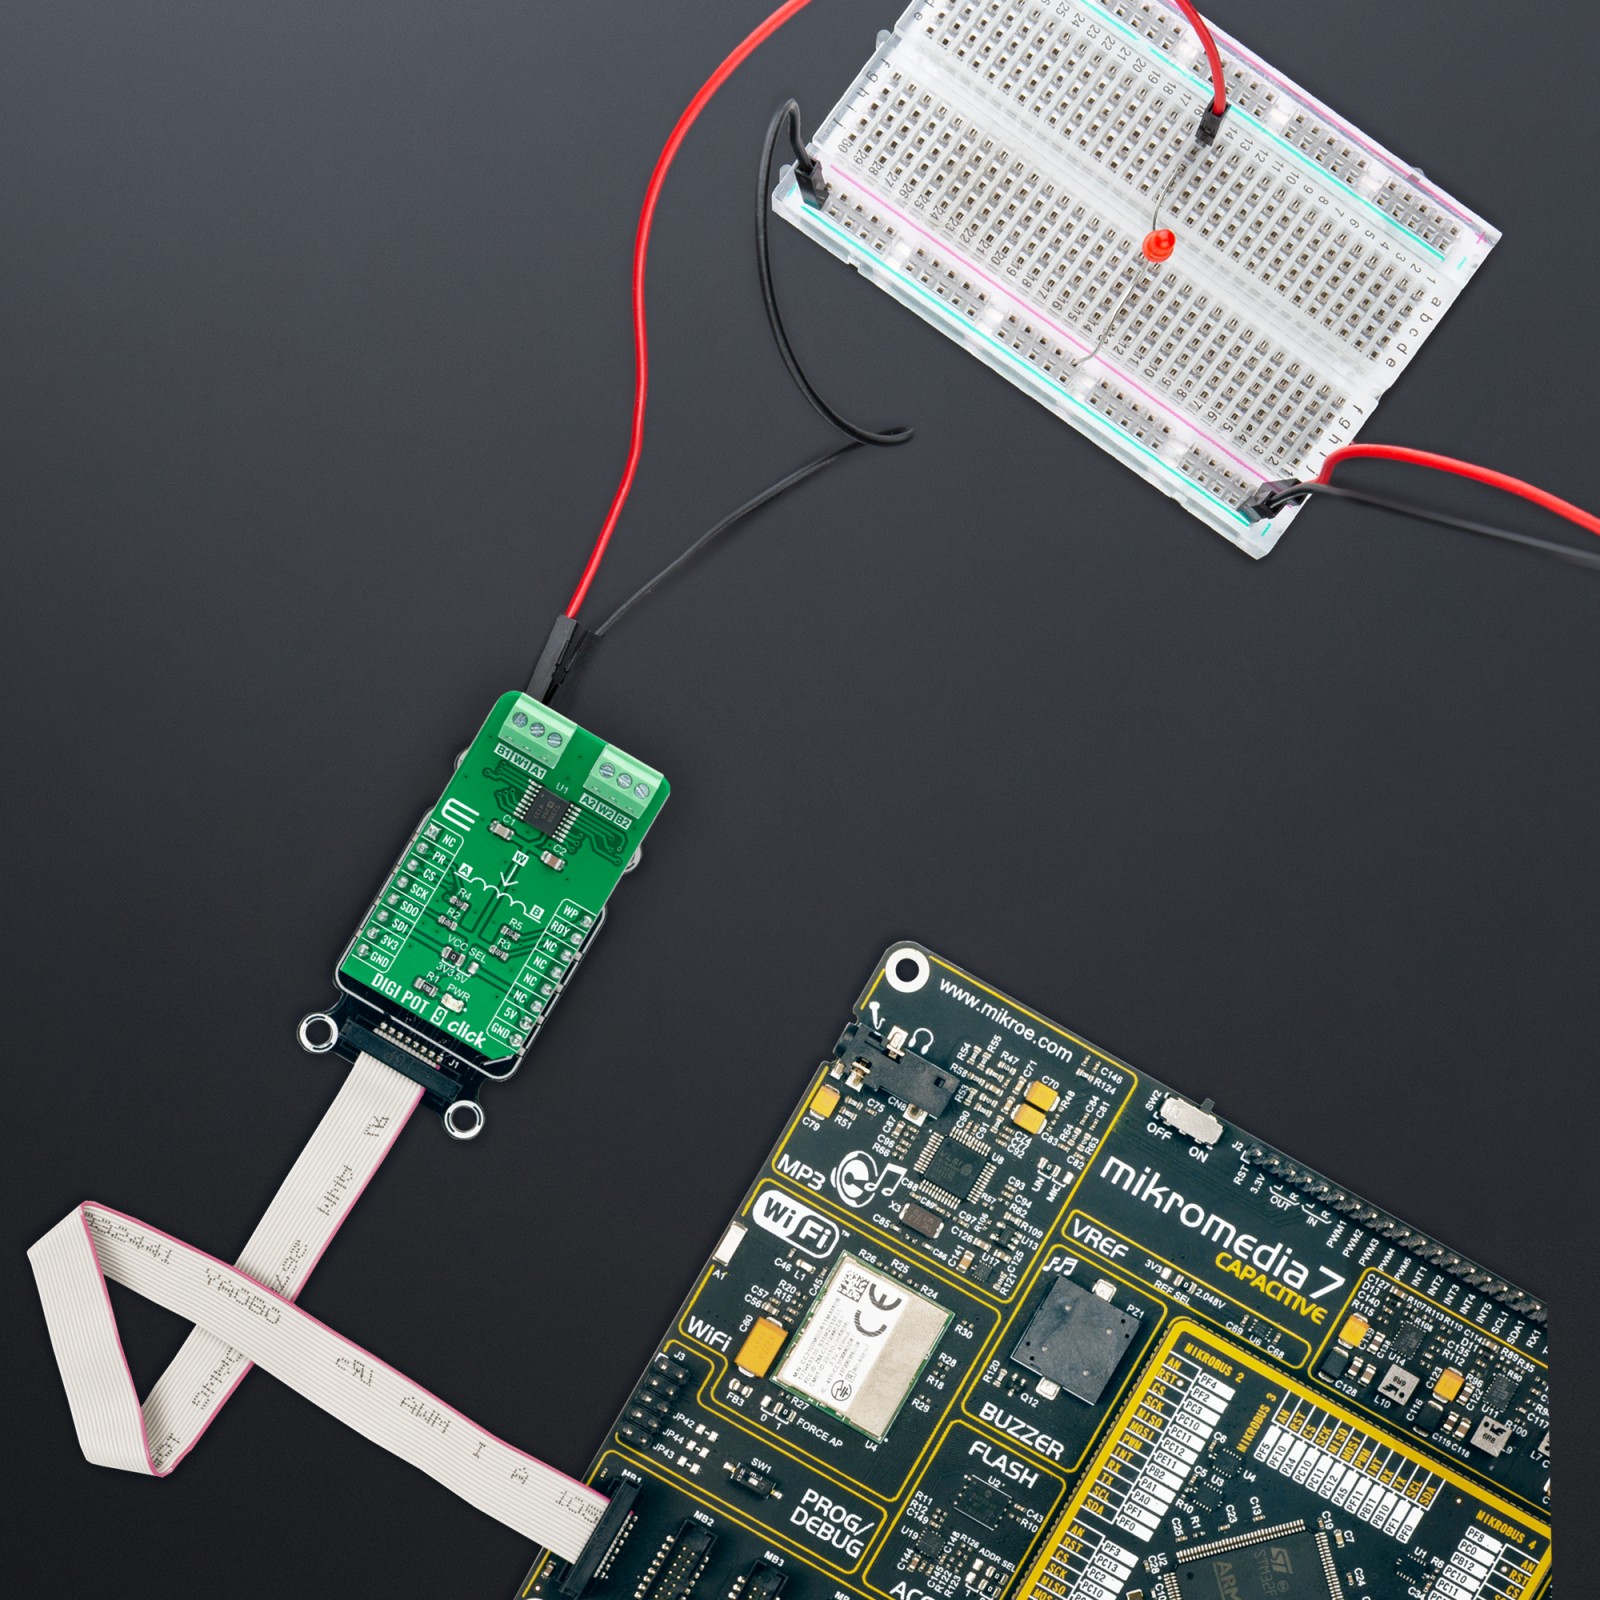
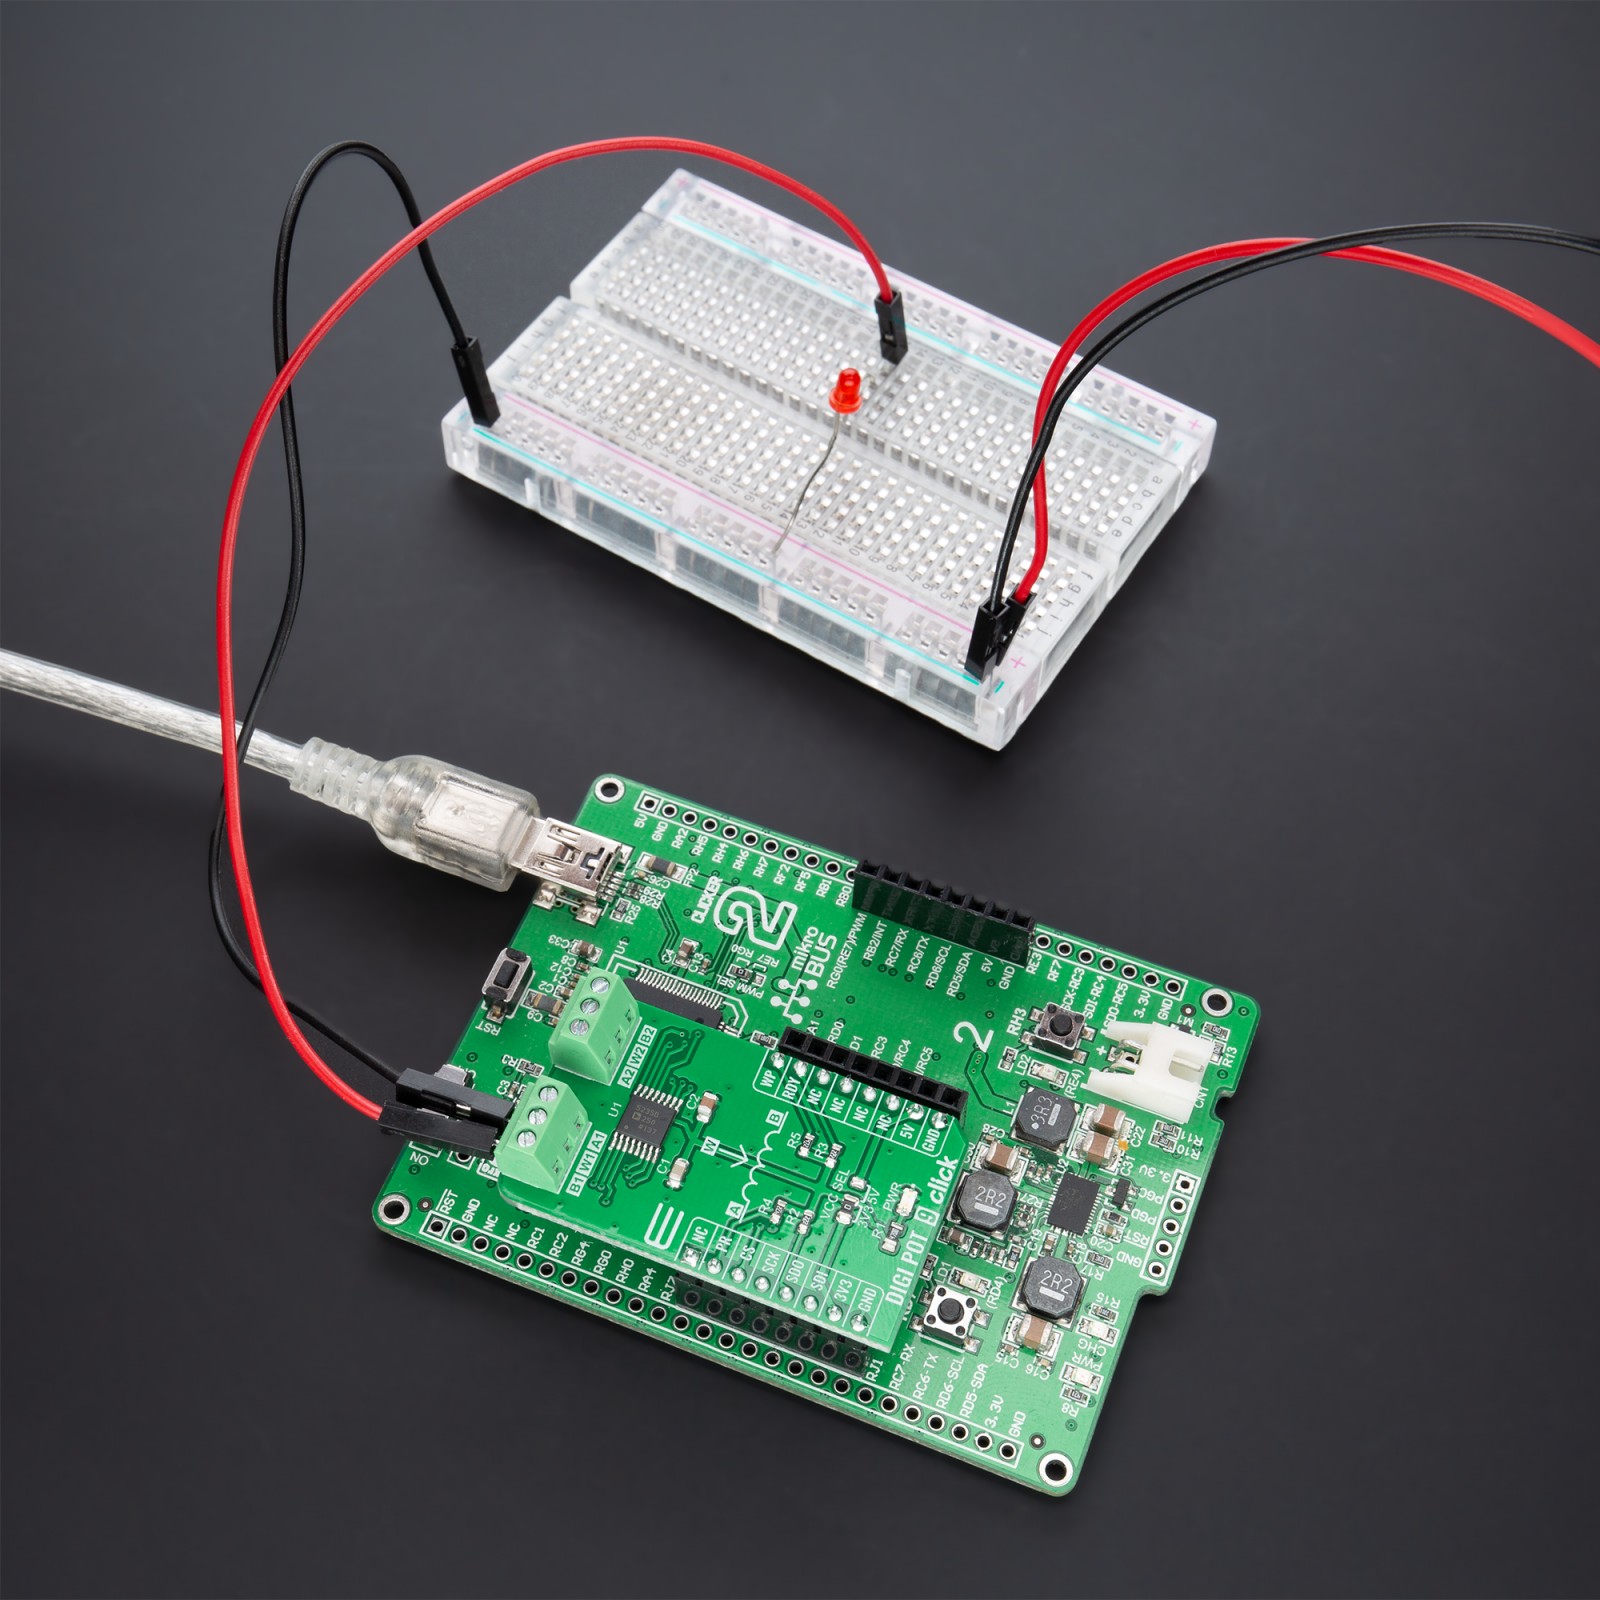
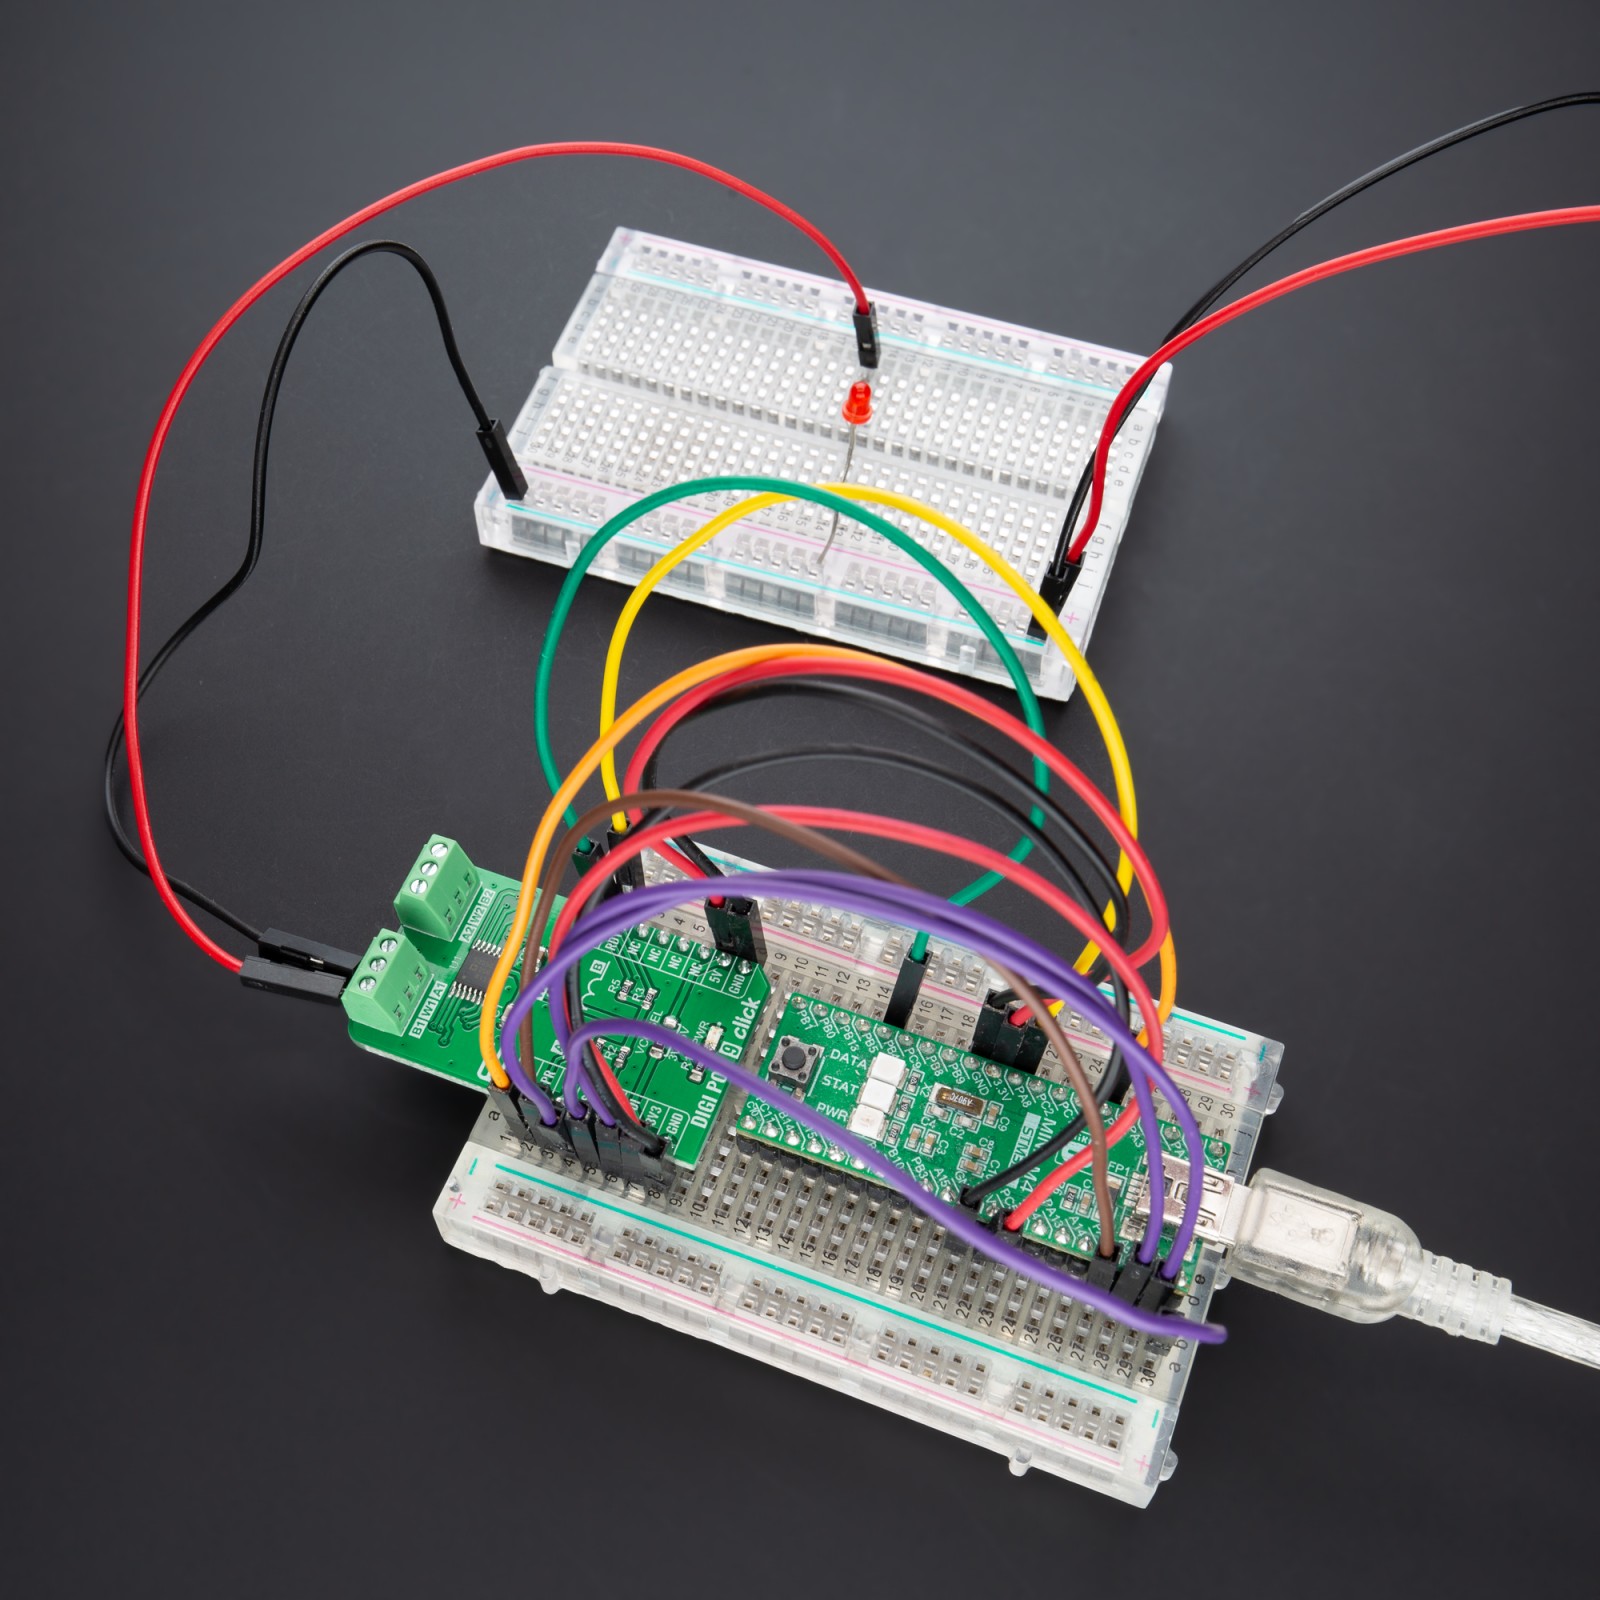
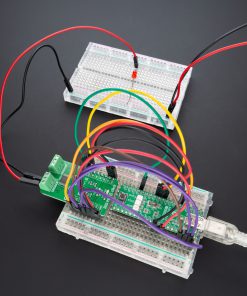
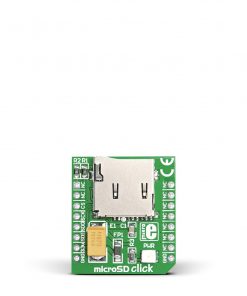
How does it work?
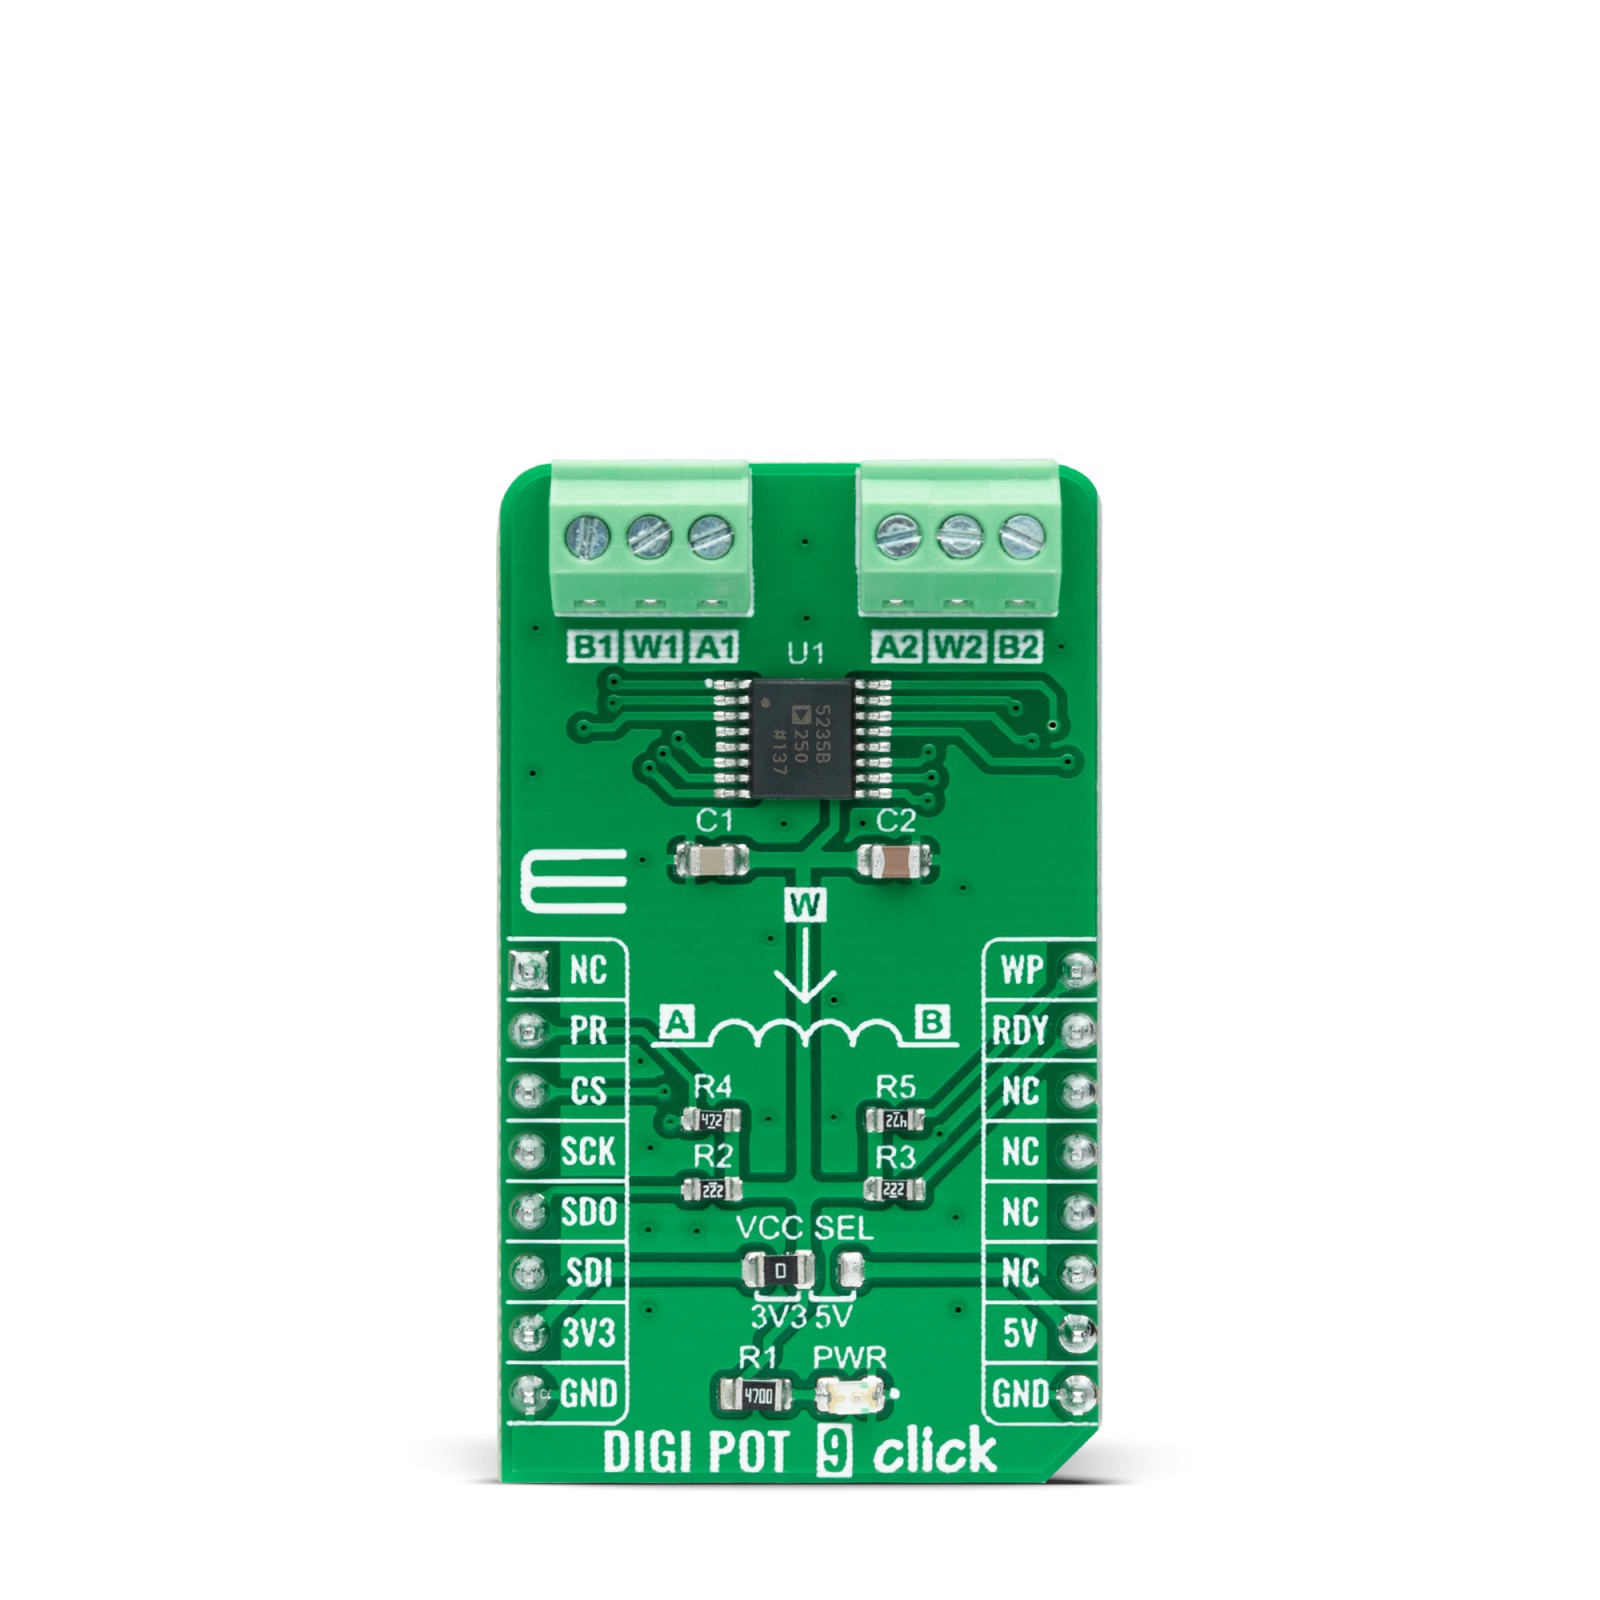
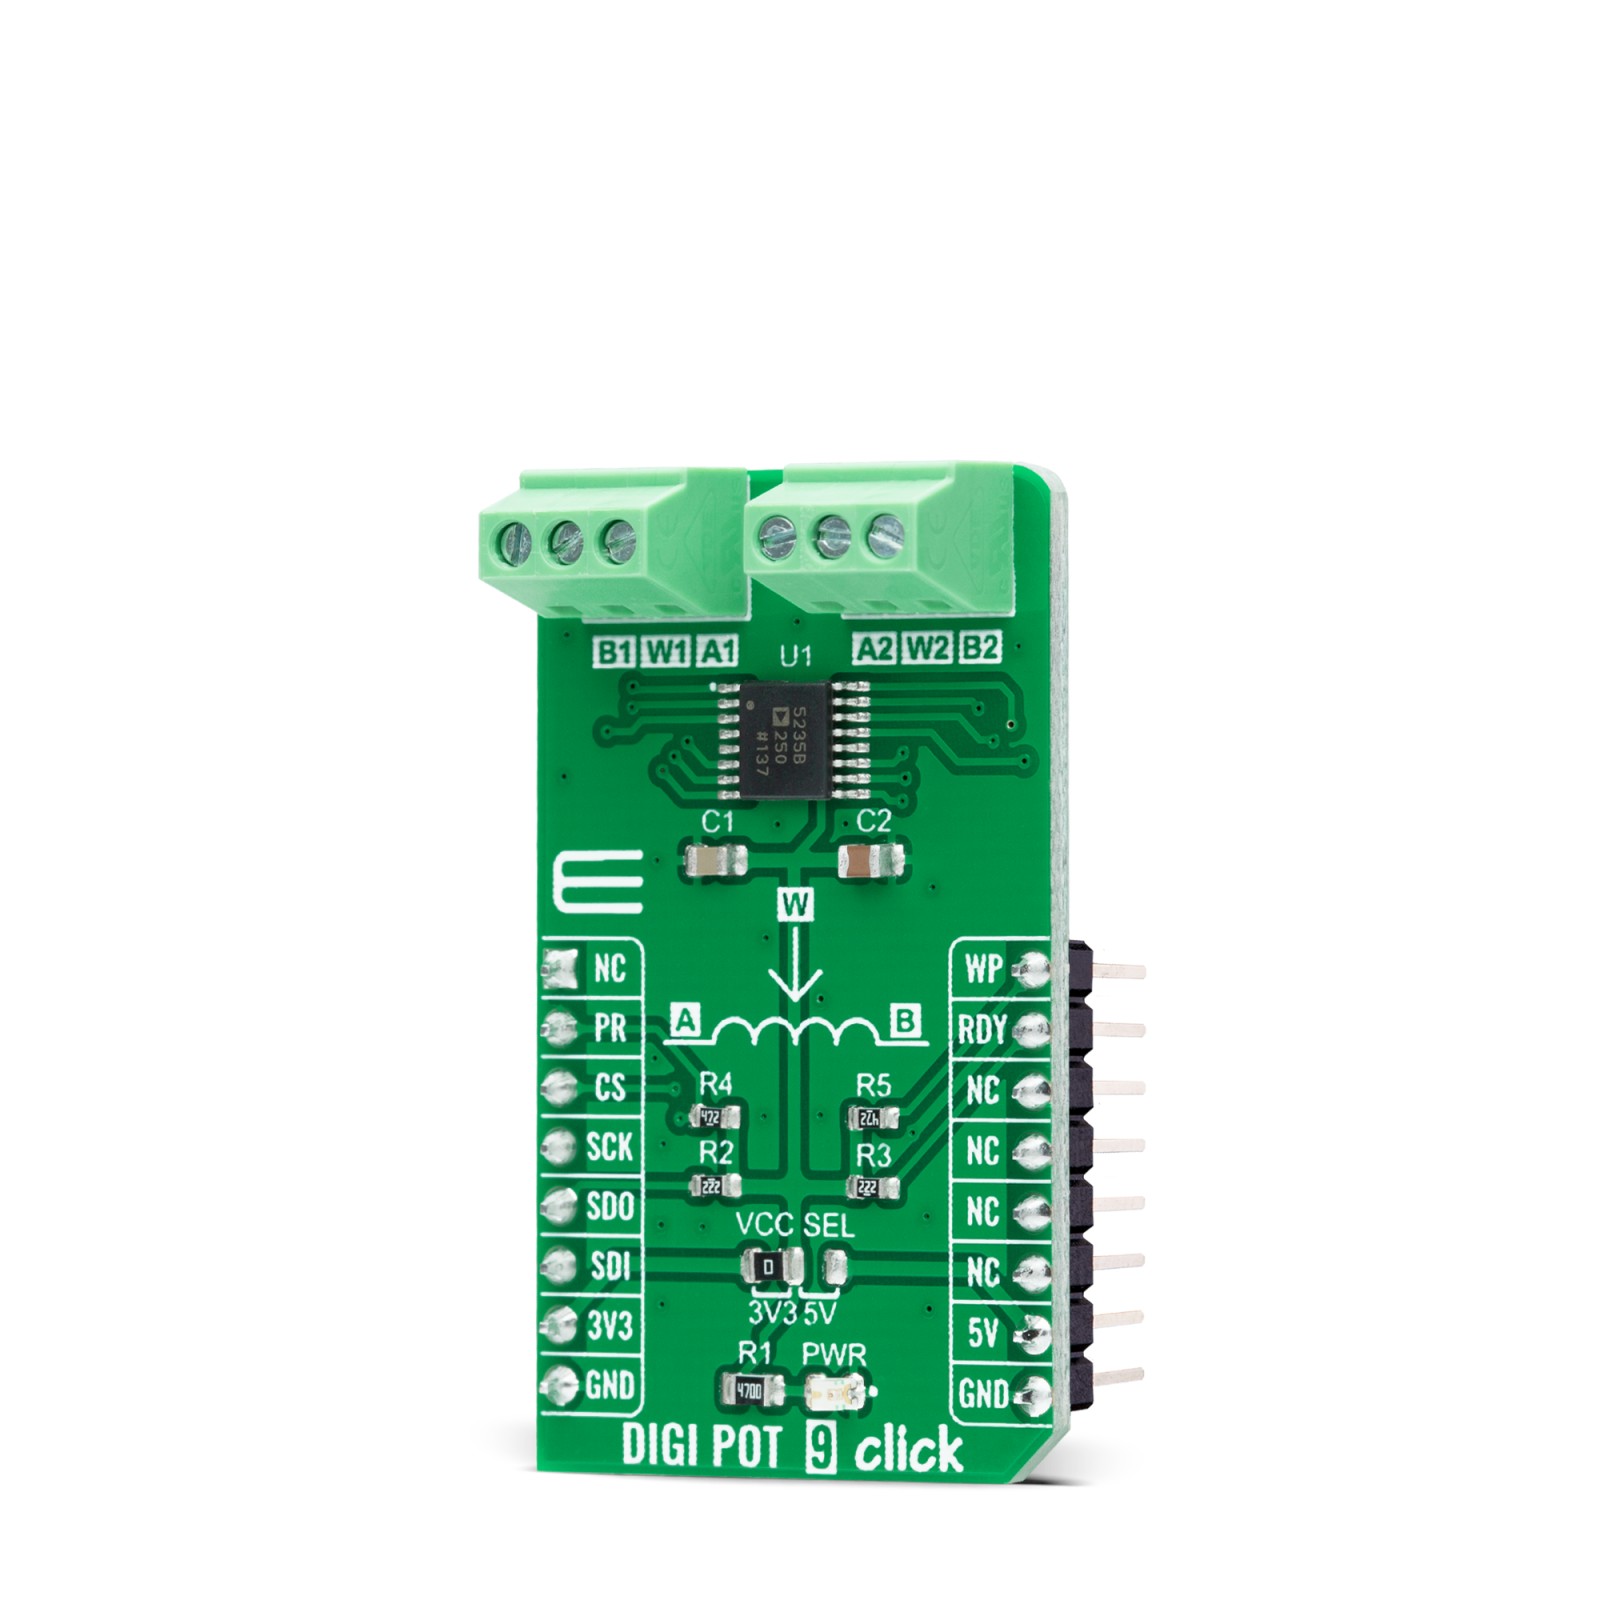
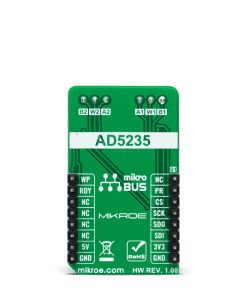
DIGI POT 9 Click as its foundation uses the AD5235, a digital potentiometer that operates as a proper variable resistor from Analog Devices. The resistor wiper position is determined by the RDAC register contents, that act as a scratchpad register, allowing unlimited changes of resistance settings. The scratchpad register can be programmed with any position setting using the standard SPI serial interface by loading the 24-bit data-word. The nominal resistance of the RDAC between terminal A and terminal B (RAB) is 250kΩ with 1024 positions (10-bit resolution).
This Click board™ communicates with MCU through a standard SPI interface and operates at clock rates up to 10MHz, supporting the two most common SPI modes, SPI Mode 0 and 3. In the format of the data-word, the first four bits are commands, the following four bits are addresses, and the last 16 bits are data. When a specified value is set, this value can be stored in a corresponding EEMEM register for user-defined information such as memory data for other components, look-up table, or system identification information. During subsequent power-ups, the wiper setting is automatically loaded to that value. The device performs the same electronic adjustment function as a mechanical potentiometer with enhanced resolution, solid-state reliability, and superior low-temperature coefficient performance.
An additional feature of this board represents optional write-protect and hardware override preset signals, routed to the PWM and RST pins of the mikroBUS™ socket, and labeled as WP and PR. Hardware override preset feature refreshes the scratchpad register with the current contents of the EEMEM register. Factory default loads midscale until EEMEM is loaded with a new user-set value. On the other hand, the write-protect signal disables any changes to the scratchpad register contents, except for the EEMEM setting. Therefore, write-protect can be used to provide a hardware EEMEM protection feature. Also, it uses a ready RDY pin, routed to the INT pin of the mikroBUS™ socket, used for EEMEM instruction completion indication.
This Click board™ can operate with both 3.3V and 5V logic voltage levels selected via the VCC SEL jumper. This way, it is allowed for both 3.3V and 5V capable MCUs to use the communication lines properly. However, the Click board™ comes equipped with a library that contains easy-to-use functions and an example code that can be used, as a reference, for further development.
Specifications
Type
Digital potentiometer
Applications
Can be used as mechanical potentiometer replacements, voltage-to-current conversions, gain and offset adjustment, and many other applications
On-board modules
AD5235 – digital potentiometer that operates as a proper variable resistor from Analog Devices
Key Features
Dual-channel, 1024-position resolution, 250 kΩ nominal resistance, SPI-compatible serial interface, nonvolatile memory stores wiper settings, 100 years of typical data retention, and more
Interface
SPI
Feature
No ClickID
Compatibility
mikroBUS™
Click board size
M (42.9 x 25.4 mm)
Input Voltage
3.3V or 5V
Pinout diagram
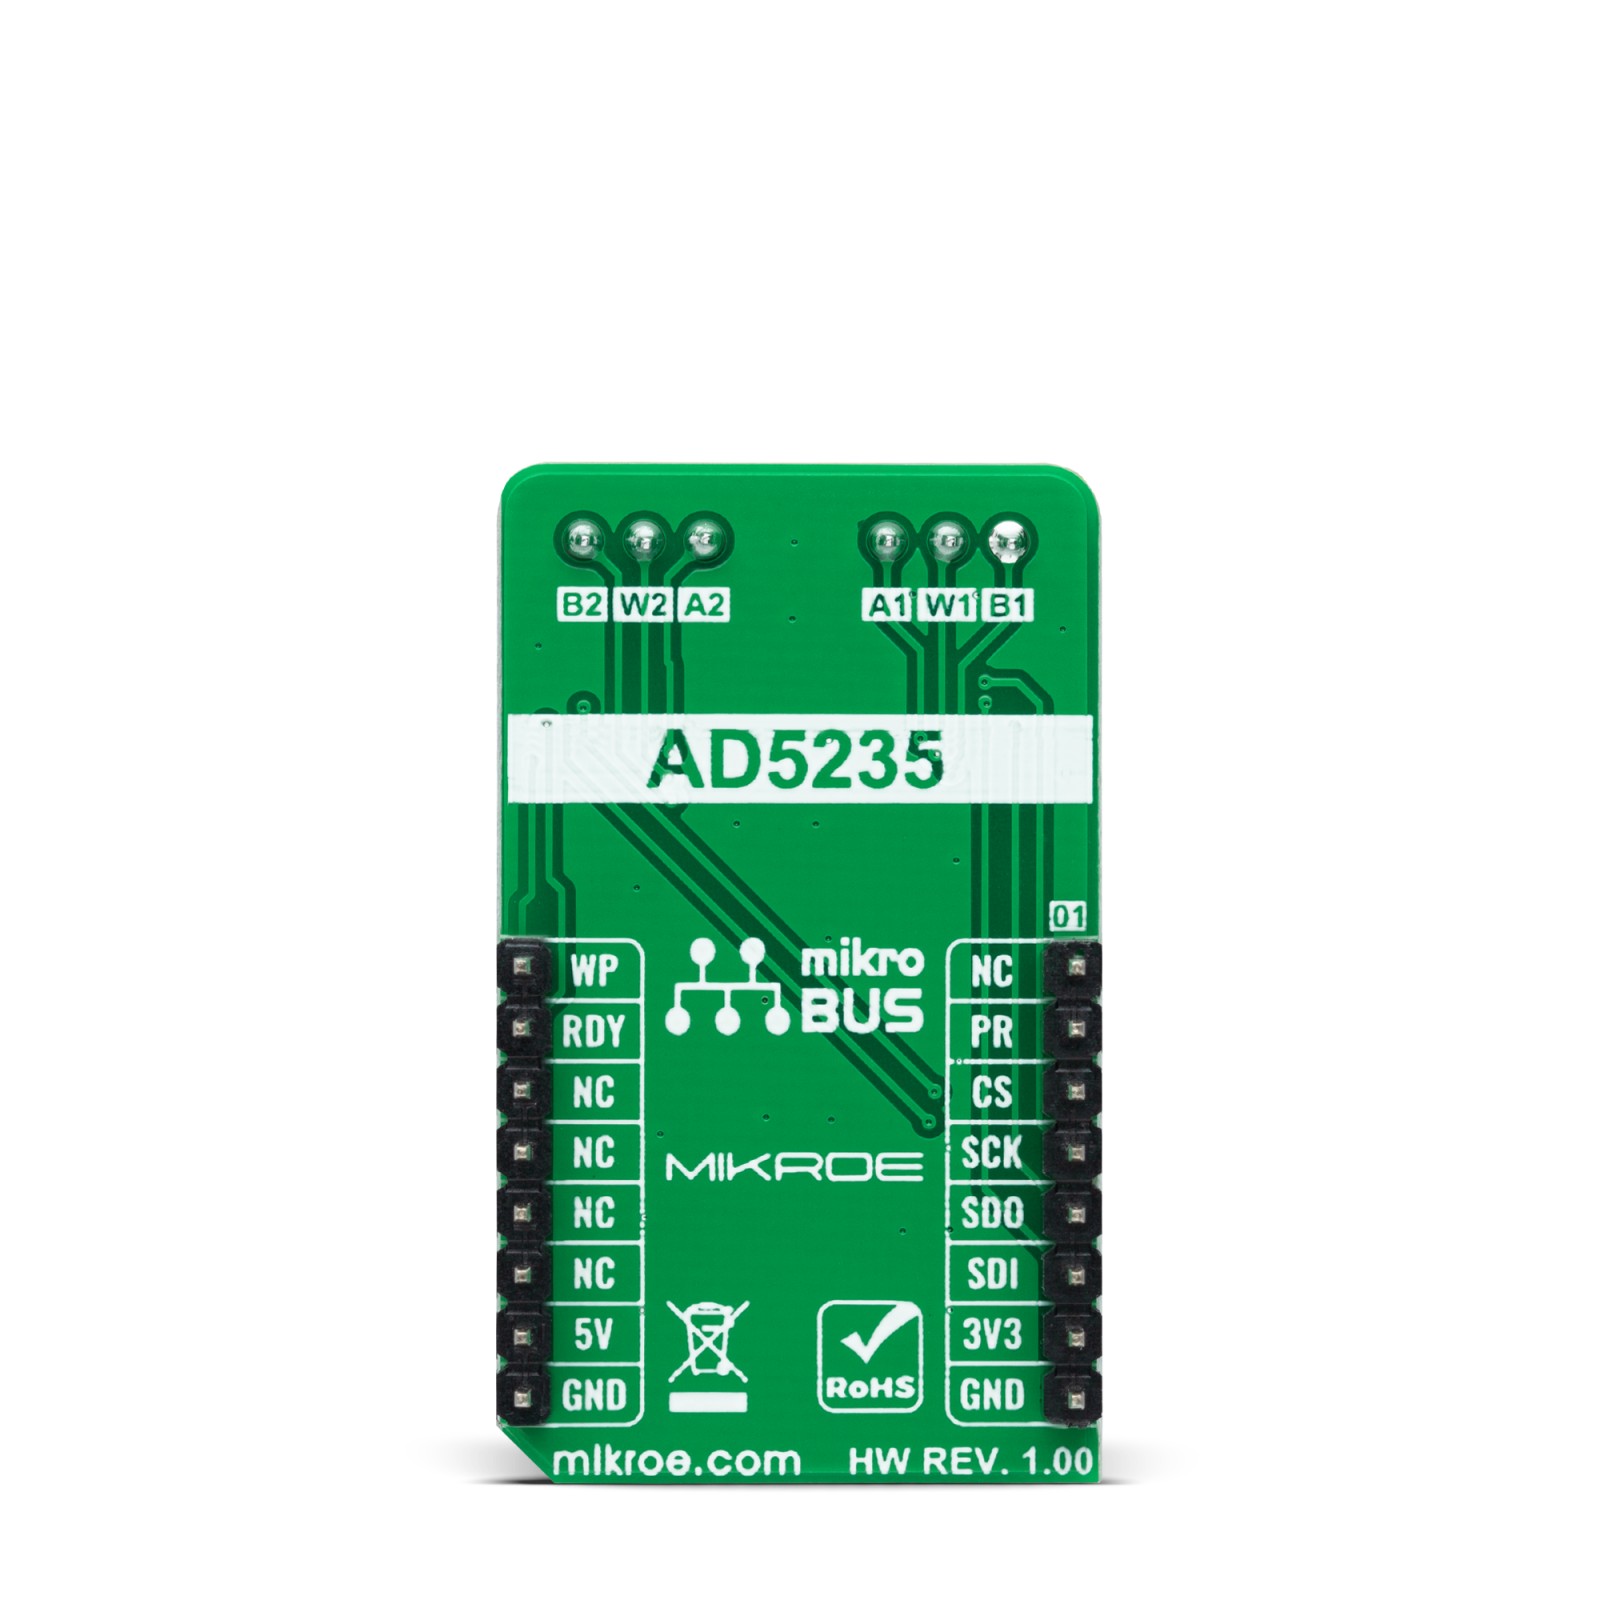
This table shows how the pinout on DIGI POT 9 Click corresponds to the pinout on the mikroBUS™ socket (the latter shown in the two middle columns).
Onboard settings and indicators
Label | Name | Default | Description |
---|---|---|---|
LD1 | PWR | – | Power LED Indicator |
JP1 | VCC SEL | Left | Logic Level Voltage Selection 3V3/5V: Left position 3V3, Right position 5V |
DIGI POT 9 Click electrical specifications
Description | Min | Typ | Max | Unit |
---|---|---|---|---|
Supply Voltage | 3.3 | – | 5 | V |
Nominal Resistance | – | 250 | – | kΩ |
Number of Taps | – | – | 1024 | – |
Operating Temperature Range | -40 | +25 | +85 | °C |
Software Support
We provide a library for the DIGI POT 9 Click as well as a demo application (example), developed using MikroElektronika compilers. The demo can run on all the main MikroElektronika development boards.
Package can be downloaded/installed directly from NECTO Studio Package Manager(recommended way), downloaded from our LibStock™ or found on Mikroe github account.
Library Description
This library contains API for DIGI POT 9 Click driver.
Key functions
-
digipot9_generic_write
This function writes two data bytes to the selected command and address by using SPI serial interface. -
digipot9_generic_read
This function reads two data bytes from the selected command and address by using SPI serial interface. -
digipot9_set_wiper_1
This function sets wiper 1 to desired value.
Example Description
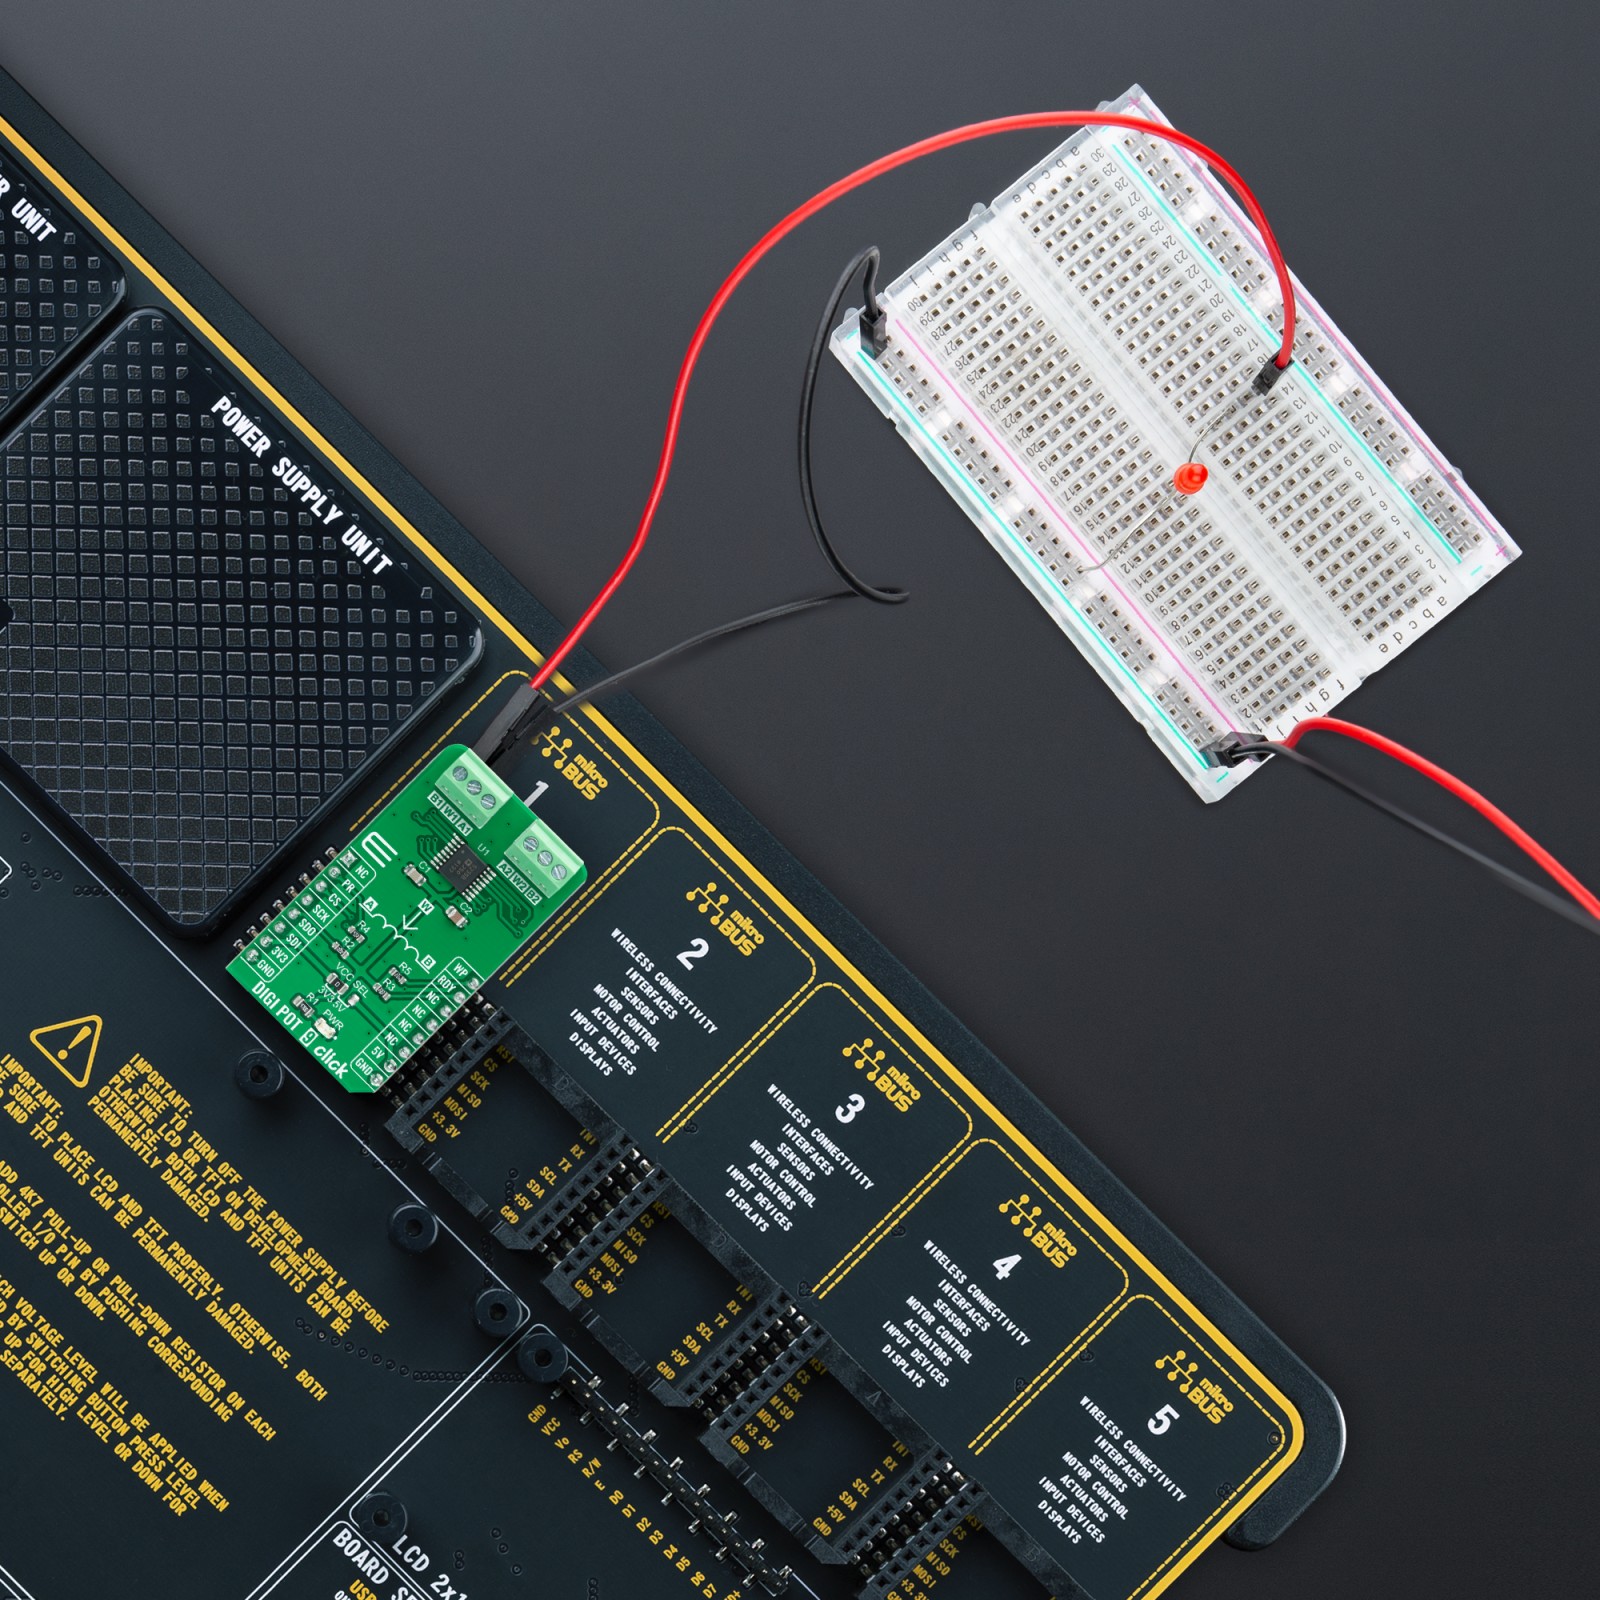
This example demonstrates the use of DIGI POT 9 Click board™.
void application_task ( void )
{
for ( uint16_t cnt = DIGIPOT9_WIPER_ZERO_SCALE; cnt <= DIGIPOT9_WIPER_FULL_SCALE; cnt += 50 )
{
digipot9_set_wiper_1 ( &digipot9, cnt );
digipot9_set_wiper_2 ( &digipot9, cnt );
log_printf( &logger, " * Wipers position set to %u *rn", cnt );
Delay_ms( 1000 );
}
}
The full application code, and ready to use projects can be installed directly from NECTO Studio Package Manager(recommended way), downloaded from our LibStock™ or found on Mikroe github account.
Other Mikroe Libraries used in the example:
- MikroSDK.Board
- MikroSDK.Log
- Click.DIGIPOT9
Additional notes and informations
Depending on the development board you are using, you may need USB UART click, USB UART 2 Click or RS232 Click to connect to your PC, for development systems with no UART to USB interface available on the board. UART terminal is available in all MikroElektronika compilers.
mikroSDK
This Click board™ is supported with mikroSDK – MikroElektronika Software Development Kit. To ensure proper operation of mikroSDK compliant Click board™ demo applications, mikroSDK should be downloaded from the LibStock and installed for the compiler you are using.
For more information about mikroSDK, visit the official page.