How does it work?
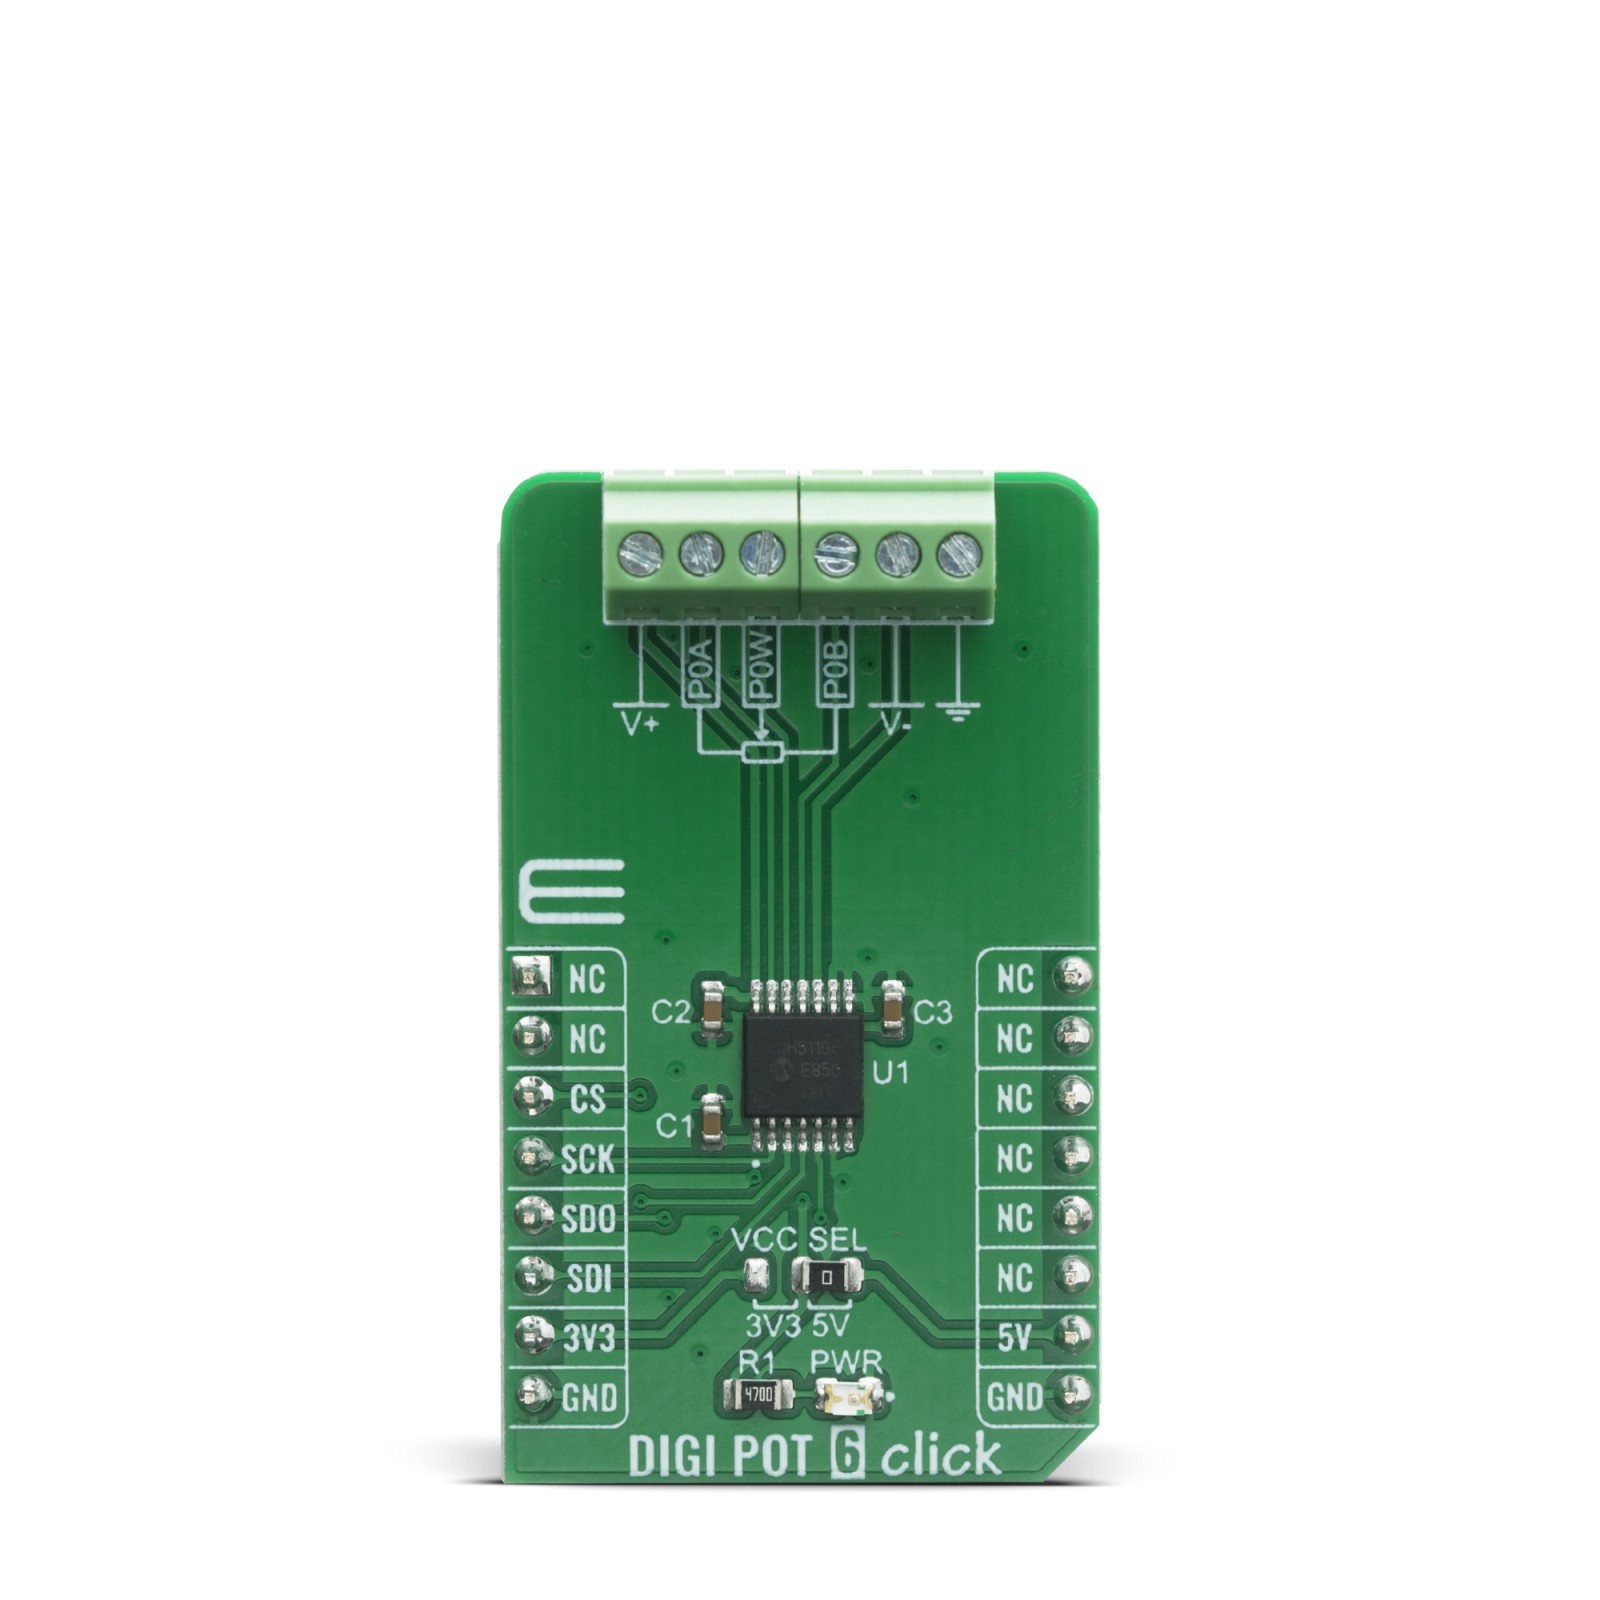
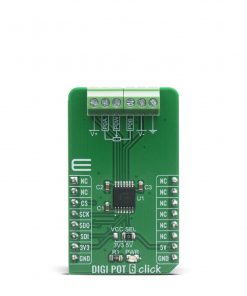
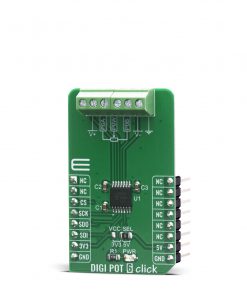
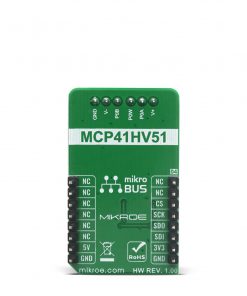
DIGI POT 6 Click as its foundation uses the MCP41HV51, 8-bit dual power rails digital potentiometer with SPI serial interface and volatile memory from Microchip. It has a wide operating voltage range, analog from 10 to 36V and digital from 2.7 to 5.5V or implemented as dual-rail (±18V) for systems requiring wide signal swing or high power-supply voltages. It supports resistor configurations of 255 resistors and 256 steps and high terminal/wiper current, including the ability to sink/source up to 25mA on all terminal pins for driving larger loads.
The resistor network of the MCP41HV51 has an 8-bit resolution where each resistor network allows Zero-Scale to Full-Scale connections. All these features combined with an extended temperature range make the MCP41HV51 well suited for a broad range of high-voltage and high-temperature applications, including those in the industrial, automotive, and audio markets.
DIGI POT 6 click communicates with MCU using the SPI serial interface with a maximum frequency of 10MHz and supports the two most common SPI modes, 0 and 3. This Click board™ also has three terminals labeled as P0A, P0B, and P0W, with an internal architecture that comprises various resistances and switches. The resistance between terminals A and B, RAB, commonly called the “end-to-end” resistance, provides RAB resistance options up to 100 kΩ. In contrast, the wiper terminal, P0W, is digitally programmable to access any 2n tap points on the resistor string.
This Click board™ can operate with both 3.3V and 5V logic voltage levels selected via the VCC SEL jumper. This way, it is allowed for both 3.3V and 5V capable MCUs to properly use the SPI communication lines. However, the Click board™ comes equipped with a library containing easy-to-use functions and an example code that can be used, as a reference, for further development.
Specifications
Type
Digital potentiometer
Applications
Can be used for precision calibration of set point thresholds, adjustable power supplies, adjustable gain amplifiers and offset trimming, and more.
On-board modules
MCP41HV51 – 8-bit dual power rails digital potentiometer with SPI serial interface and volatile memory from Microchip.
Key Features
Wide operating voltage range, configurable resistance options, Zero-Scale to Full-Scale wiper operation, low wiper resistance, and more.
Interface
SPI
Feature
No ClickID
Compatibility
mikroBUS™
Click board size
M (42.9 x 25.4 mm)
Input Voltage
3.3V or 5V
Pinout diagram
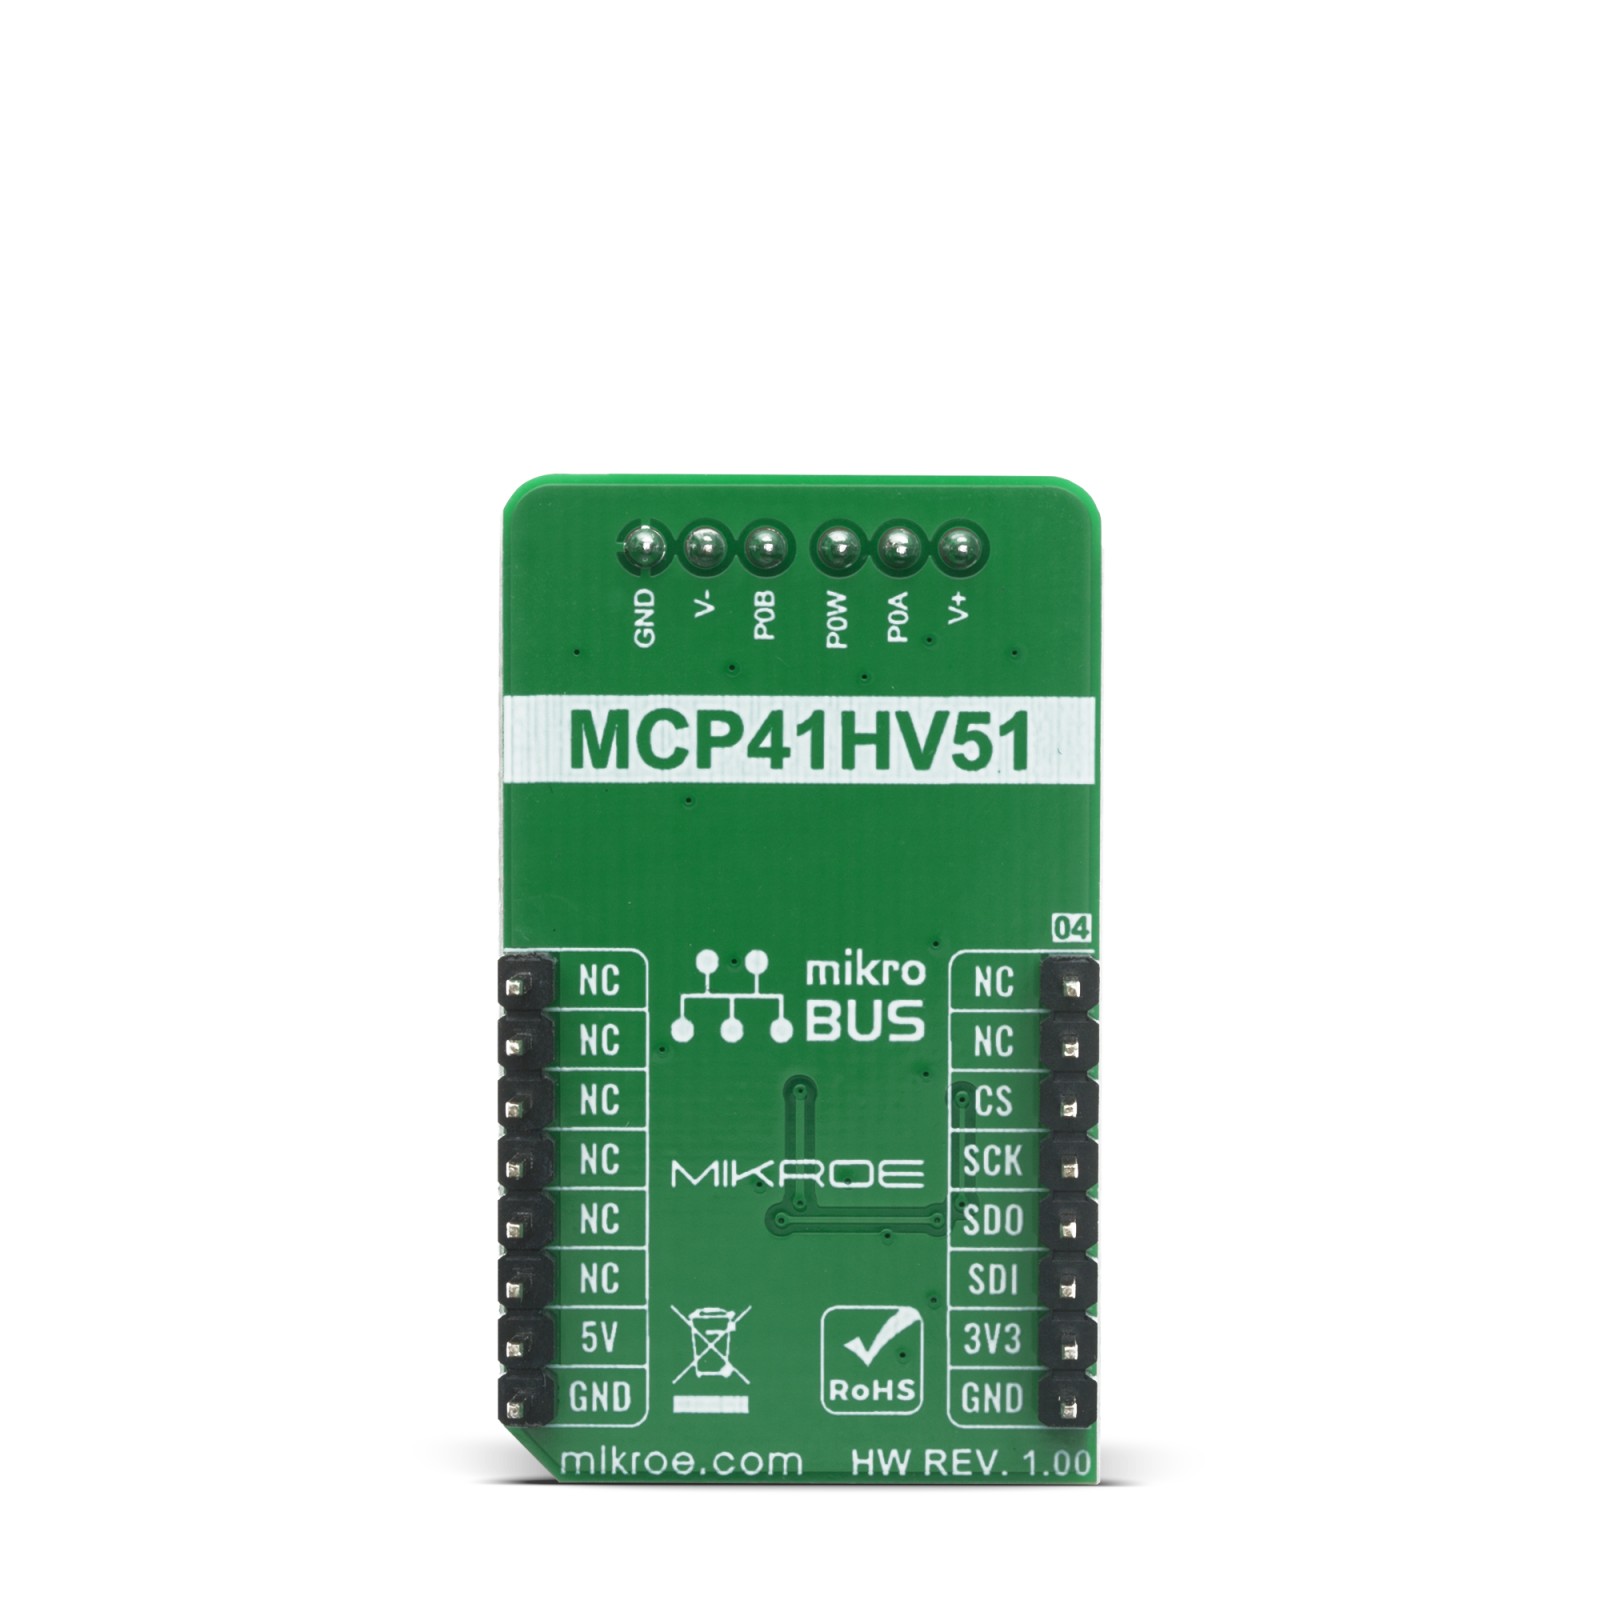
This table shows how the pinout on DIGI POT 6 click corresponds to the pinout on the mikroBUS™ socket (the latter shown in the two middle columns).
Onboard settings and indicators
Label | Name | Default | Description |
---|---|---|---|
LD1 | PWR | – | Power LED Indicator |
JP1 | VCC SEL | Right | Power Supply Voltage Selection 3V3/5V, left position 3V3, right position 5V |
DIGI POT 6 Click electrical specifications
Description | Min | Typ | Max | Unit |
---|---|---|---|---|
Digital Supply Voltage | 3.3 | – | 5 | V |
Analog Supply Voltage | 10 | – | 36 | V |
Maximum Output Current | – | – | 25 | mA |
Operating Temperature Range | -40 | +25 | +125 | °C |
Software Support
We provide a library for the DIGI POT 6 Click on our LibStock page, as well as a demo application (example), developed using MikroElektronika compilers. The demo can run on all the main MikroElektronika development boards.
Library Description
The library covers necessary functions that enable the usage of the DIGI POT 6 Click board™. User can read and write data to and from Volatile Wiper 0 and Volatile TCON Register or issue increment and decrement commands to Volatile Wiper 0. User can also Connect/Disconnect Resistor 0 Terminal A, Resistor 0 Terminal B, Resistor 0 Wiper and Resistor 0 Hardware Configuration Control.
Key functions:
void digipot6_write_data ( uint8_t reg_adr, uint8_t wr_byte )
– Function is used to write single byte of data into user defined register.uint8_t digipot6_read_data ( uint8_t reg_adr );
– Function is used to read single byte of data from user defined register.void digipot6_set_r0hw ( uint8_t state );
– Function is used to force Resistor 0 into the “shutdown” configuration.
Examples description
The application is composed of three sections :
- System Initialization – Initializes SPI module and LOG structures.
- Application Initialization – Initalizes SPI and device drivers, wakes up the device and connects terminal A, terminal B and wiper to the resistor 0 network.
- Application Task – Demonstrates use of DIGI POT 6 Click board™ by setting wiper to step 0, then going through the steps, fifteen at a time and displaying data via USART terminal.
void application_task ( ) { digipot6_write_data( DIGIPOT6_VOLATILE_WIPER_0, 0x00 ); for ( cnt = 0; cnt <= 255; cnt += 15 ) { digipot6_write_data( DIGIPOT6_VOLATILE_WIPER_0, cnt ); Delay_ms( 10 ); wiper_val = digipot6_read_data( DIGIPOT6_VOLATILE_WIPER_0 ); ByteToStr( wiper_val, log_txt ); mikrobus_logWrite( " Wiper step : ", _LOG_TEXT ); Ltrim( log_txt ); mikrobus_logWrite( log_txt, _LOG_LINE ); Delay_ms( 1000 ); } mikrobus_logWrite( "------------------------", _LOG_LINE ); Delay_ms( 1000 ); }
The full application code, and ready to use projects can be found on our LibStock page.
Other mikroE Libraries used in the example:
- SPI
- UART
- Conversions
Additional notes and informations
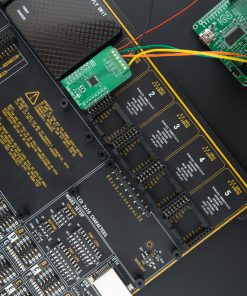
Depending on the development board you are using, you may need USB UART click, USB UART 2 click or RS232 click to connect to your PC, for development systems with no UART to USB interface available on the board. The terminal available in all MikroElektronika compilers, or any other terminal application of your choice, can be used to read the message.
mikroSDK
This Click board™ is supported with mikroSDK – MikroElektronika Software Development Kit. To ensure proper operation of mikroSDK compliant Click board™ demo applications, mikroSDK should be downloaded from the LibStock and installed for the compiler you are using.
For more information about mikroSDK, visit the official page.