DHT22 2 Click
R455.00 ex. VAT
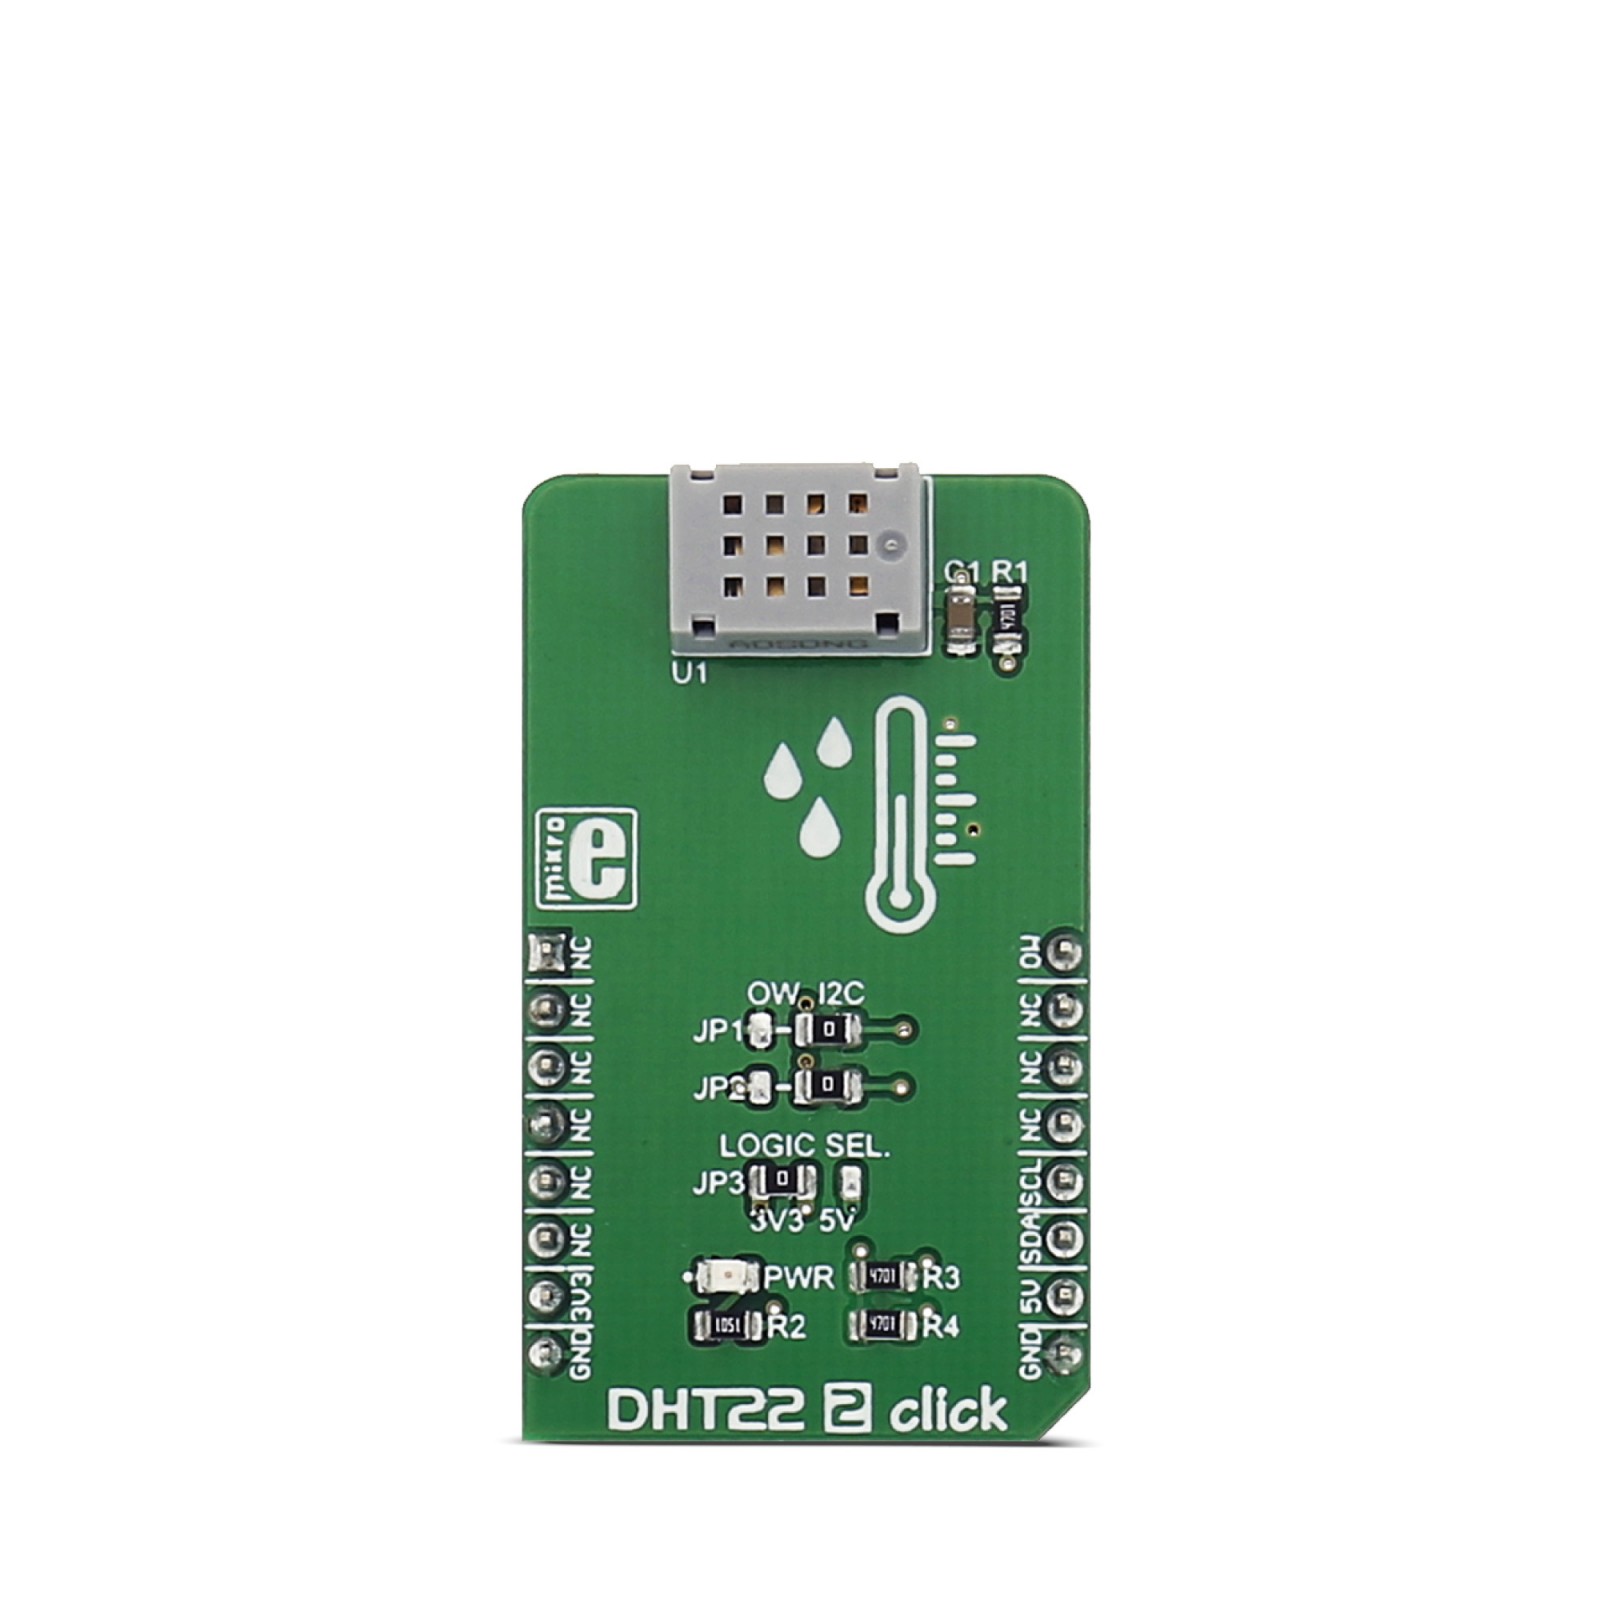
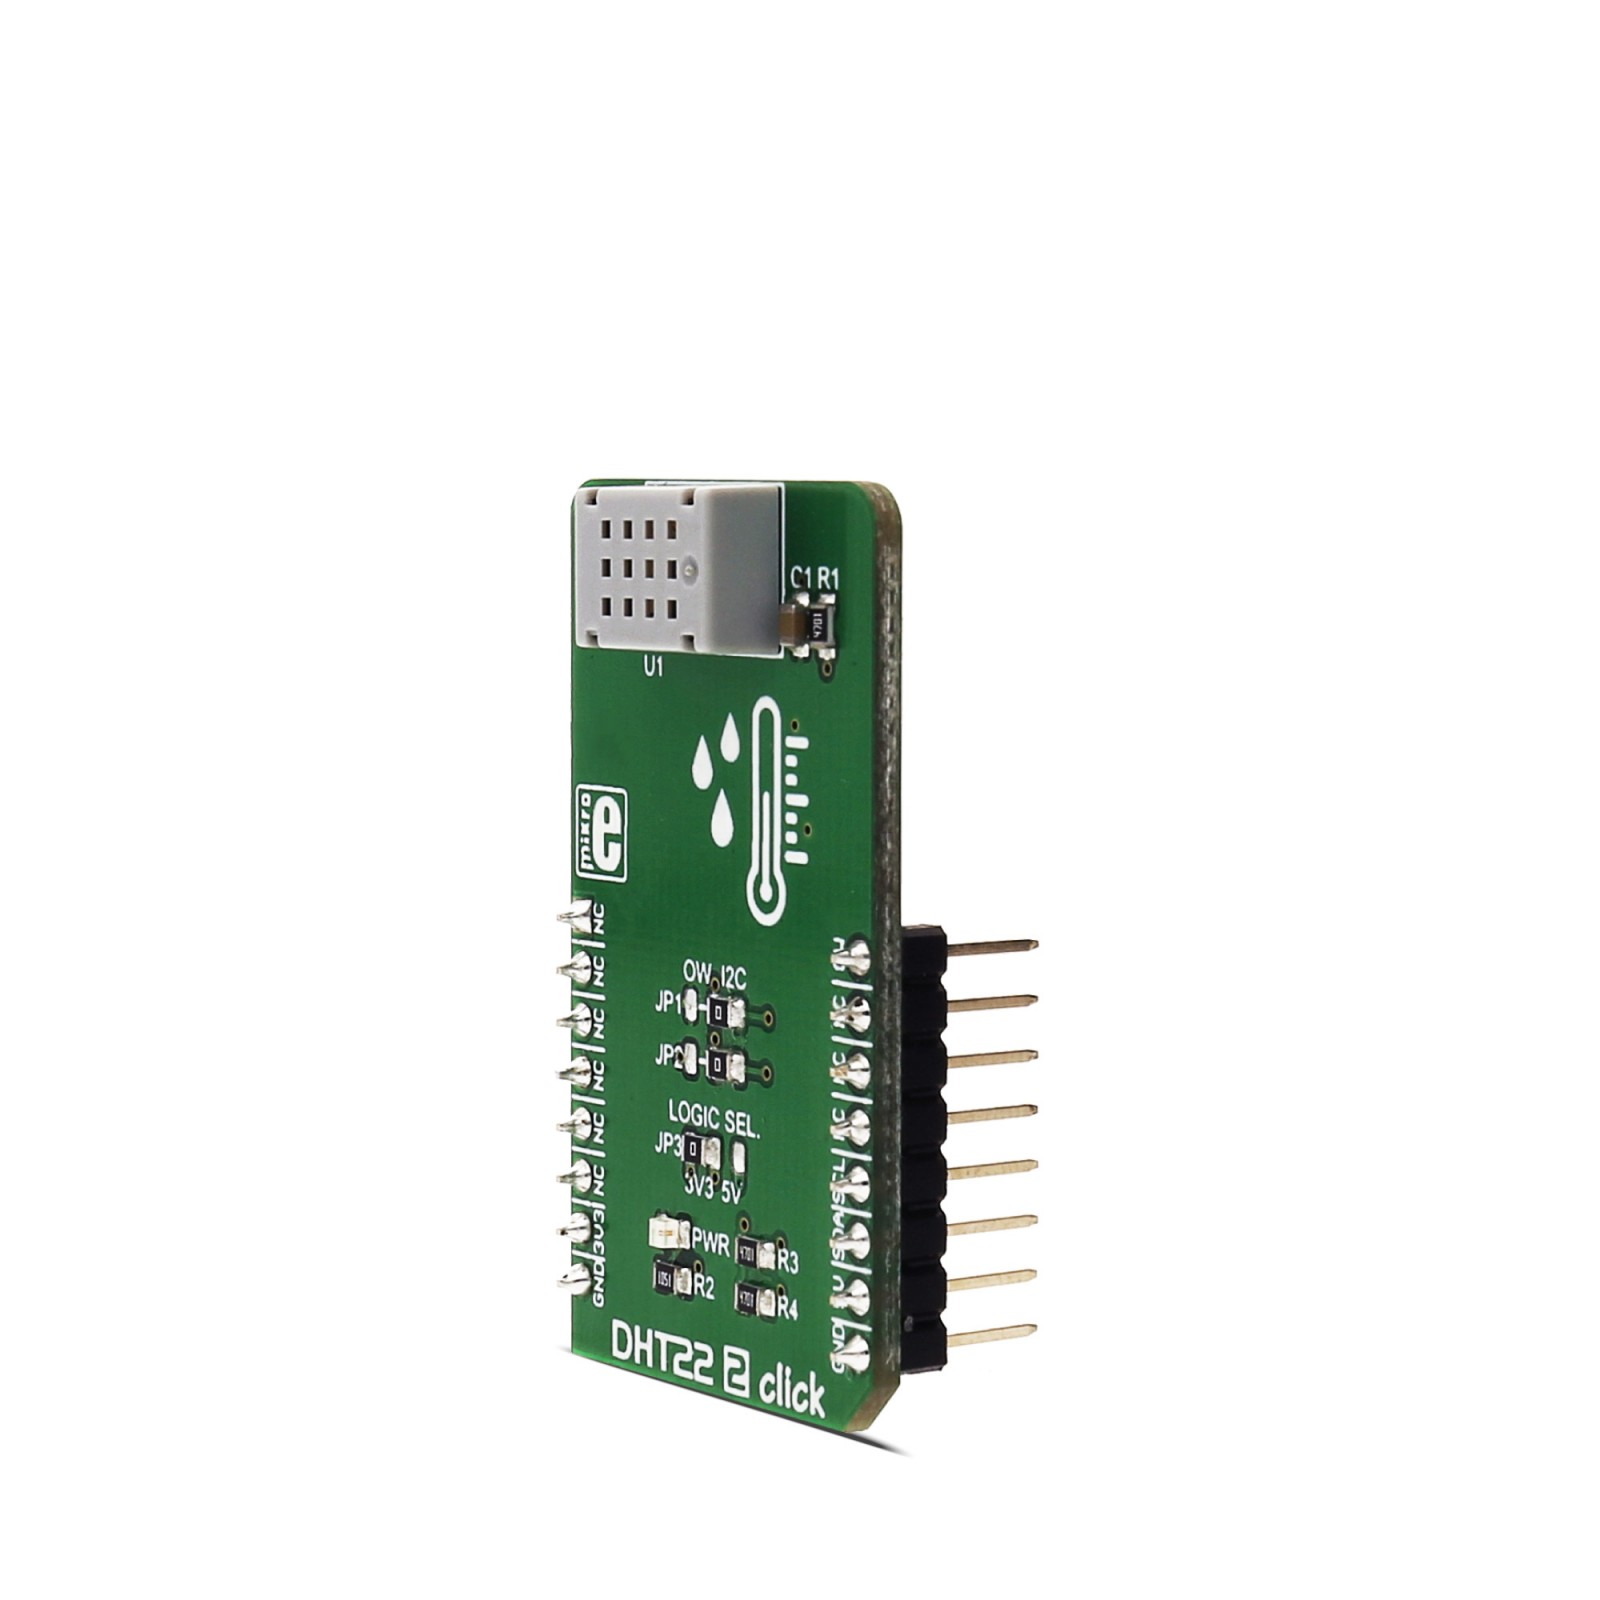
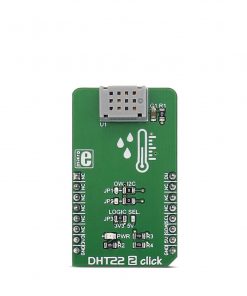
DHT22 2 click is used for measuring the environmental temperature and relative humidity. It uses the AM2322 sensor, with very accurate thermal and humidity measuring capabilities. It can use either 1-Wire or I2C protocol to communicate with the integrated circuit.
Attributes like the ultra-small size, low power consumption,data signal transmission distance up to 20 meters, make this sensor the perfect choice for all kinds of applications that require measurement of the temperature and humidity.
Stock: Lead-time applicable.
| 5+ | R432.25 |
| 10+ | R409.50 |
| 15+ | R386.75 |
| 20+ | R372.19 |
DHT22 2 click is used for measuring the environmental temperature and relative humidity. It uses the CM2322 sensor, with very accurate thermal and humidity measuring capabilities. It can use either 1-Wire or I2C protocol to communicate with the integrated circuit.
Attributes like the ultra-small size, low power consumption, data signal transmission distance up to 20 meters, make this sensor the perfect choice for all kinds of applications that require measurement of the temperature and humidity.
How does the click work?
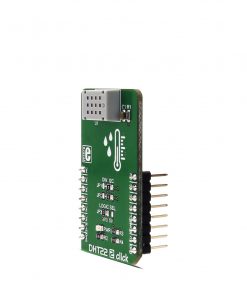
The sensor used on this click is CM2322. This sensor contains humidity and temperature measurement elements, compensated and calibrated in the accurate calibration chamber. The calibration coefficient is saved in the OTP memory of an integrated MCU. The integrated MCU also provides I2C or 1-Wire interface, selectable by the onboard SMD jumper selectors. The operating voltage can also be selected by the onboard SMD jumper..jpg)
Typical temperature accuracy is ±0.3°C, while relative humidity accuracy is 2% RH, with the resolution of 0.1 for both measured properties.
I2C/1-Wire interface is used to communicate with the host MCU, sending the measurement data every 2 seconds. Proprietary data collecting techniques are used to average the sampled values, after which the result is sent via the I2C/1-Wire bus.
Specifications
Type
Temperature & humidity
Applications
Weather stations, HVAC systems, humidity regulators and so on
On-board modules
CM2322 sensor with very accurate thermal and humidity measuring capabilities
Key Features
Great measuring accuracy: ±0.3°C, ±2%RH at 25°C, ultra-small size, low power consumption, signal transmission distance up to 20 meters.
Interface
1-Wire,I2C
Feature
No ClickID
Compatibility
mikroBUS™
Click board size
M (42.9 x 25.4 mm)
Input Voltage
3.3V or 5V
Pinout diagram
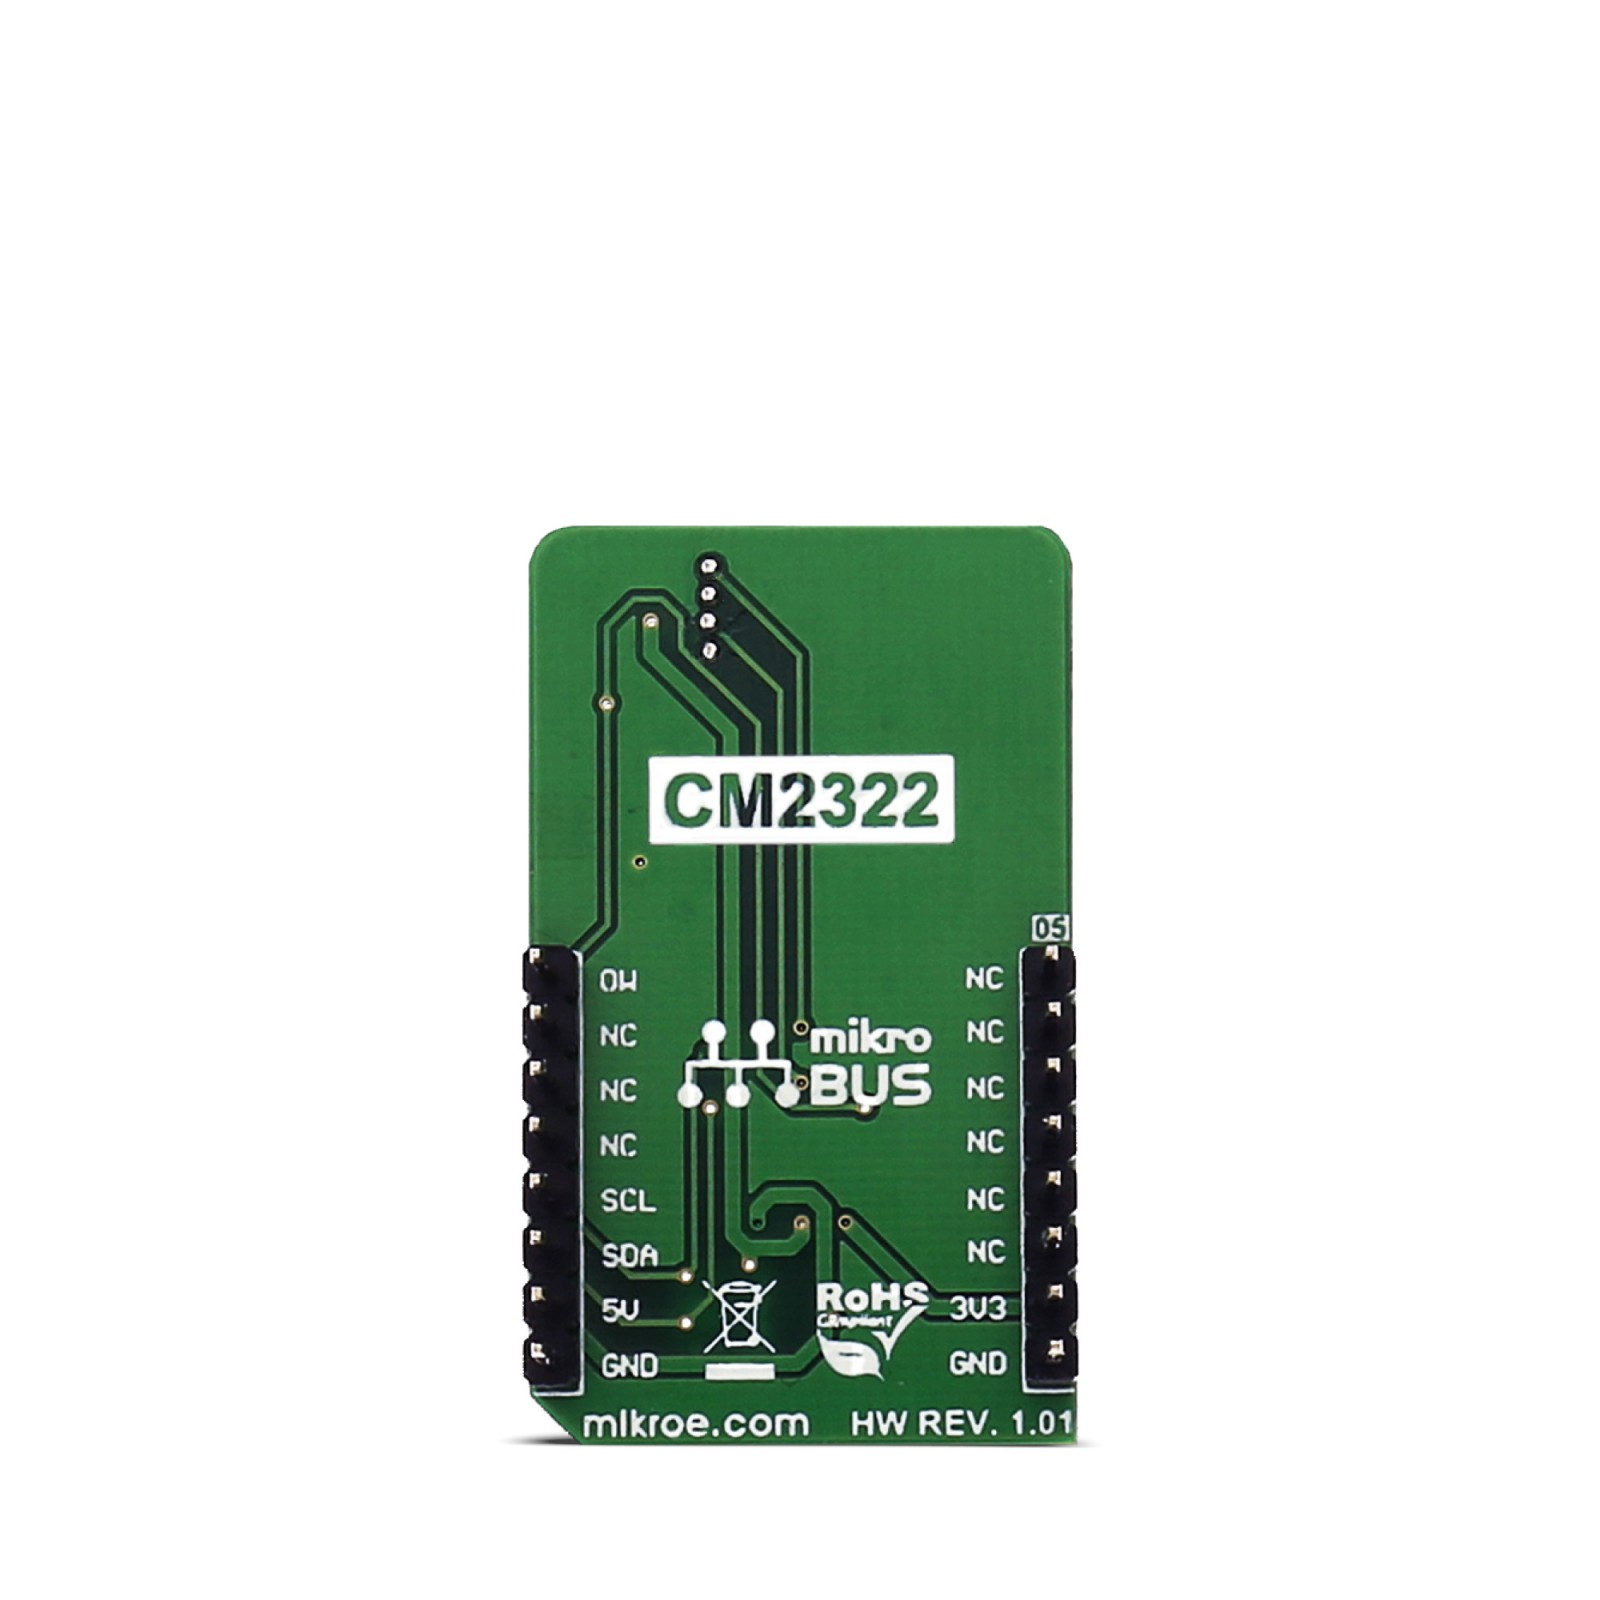
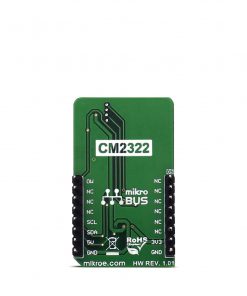
This table shows how the pinout on DHT22 2 click corresponds to the pinout on the mikroBUS™ socket (the latter shown in the two middle columns).
DHT22 2 click maximum ratings
| Description | Min | Typ | Max | Unit |
|---|---|---|---|---|
| Logic voltage level | 3.3 | 5 | 5.5 | V |
| SCL clock frequency | 100 | kHz | ||
| Measuring range (T) | -40 | +80 | °C | |
| Measuring range (RH) | 0% | 99% | RH |
Onboard settings and indicators
| Label | Name | Default | Description |
|---|---|---|---|
| JP1 | OW/SCL | Right | Digital interface selection. Left position 1-Wire, right position I2C. |
| JP2 | OW/SDA | Right | Digital interface selection. Left position 1-Wire, right position I2C. |
| JP3 | LOGIC SEL | Left | Logic level voltage selection. Left position 3.3V, right position 5V. |
| PWR | Power LED | – | Power LED indicates that the click is powered on |
Software Support
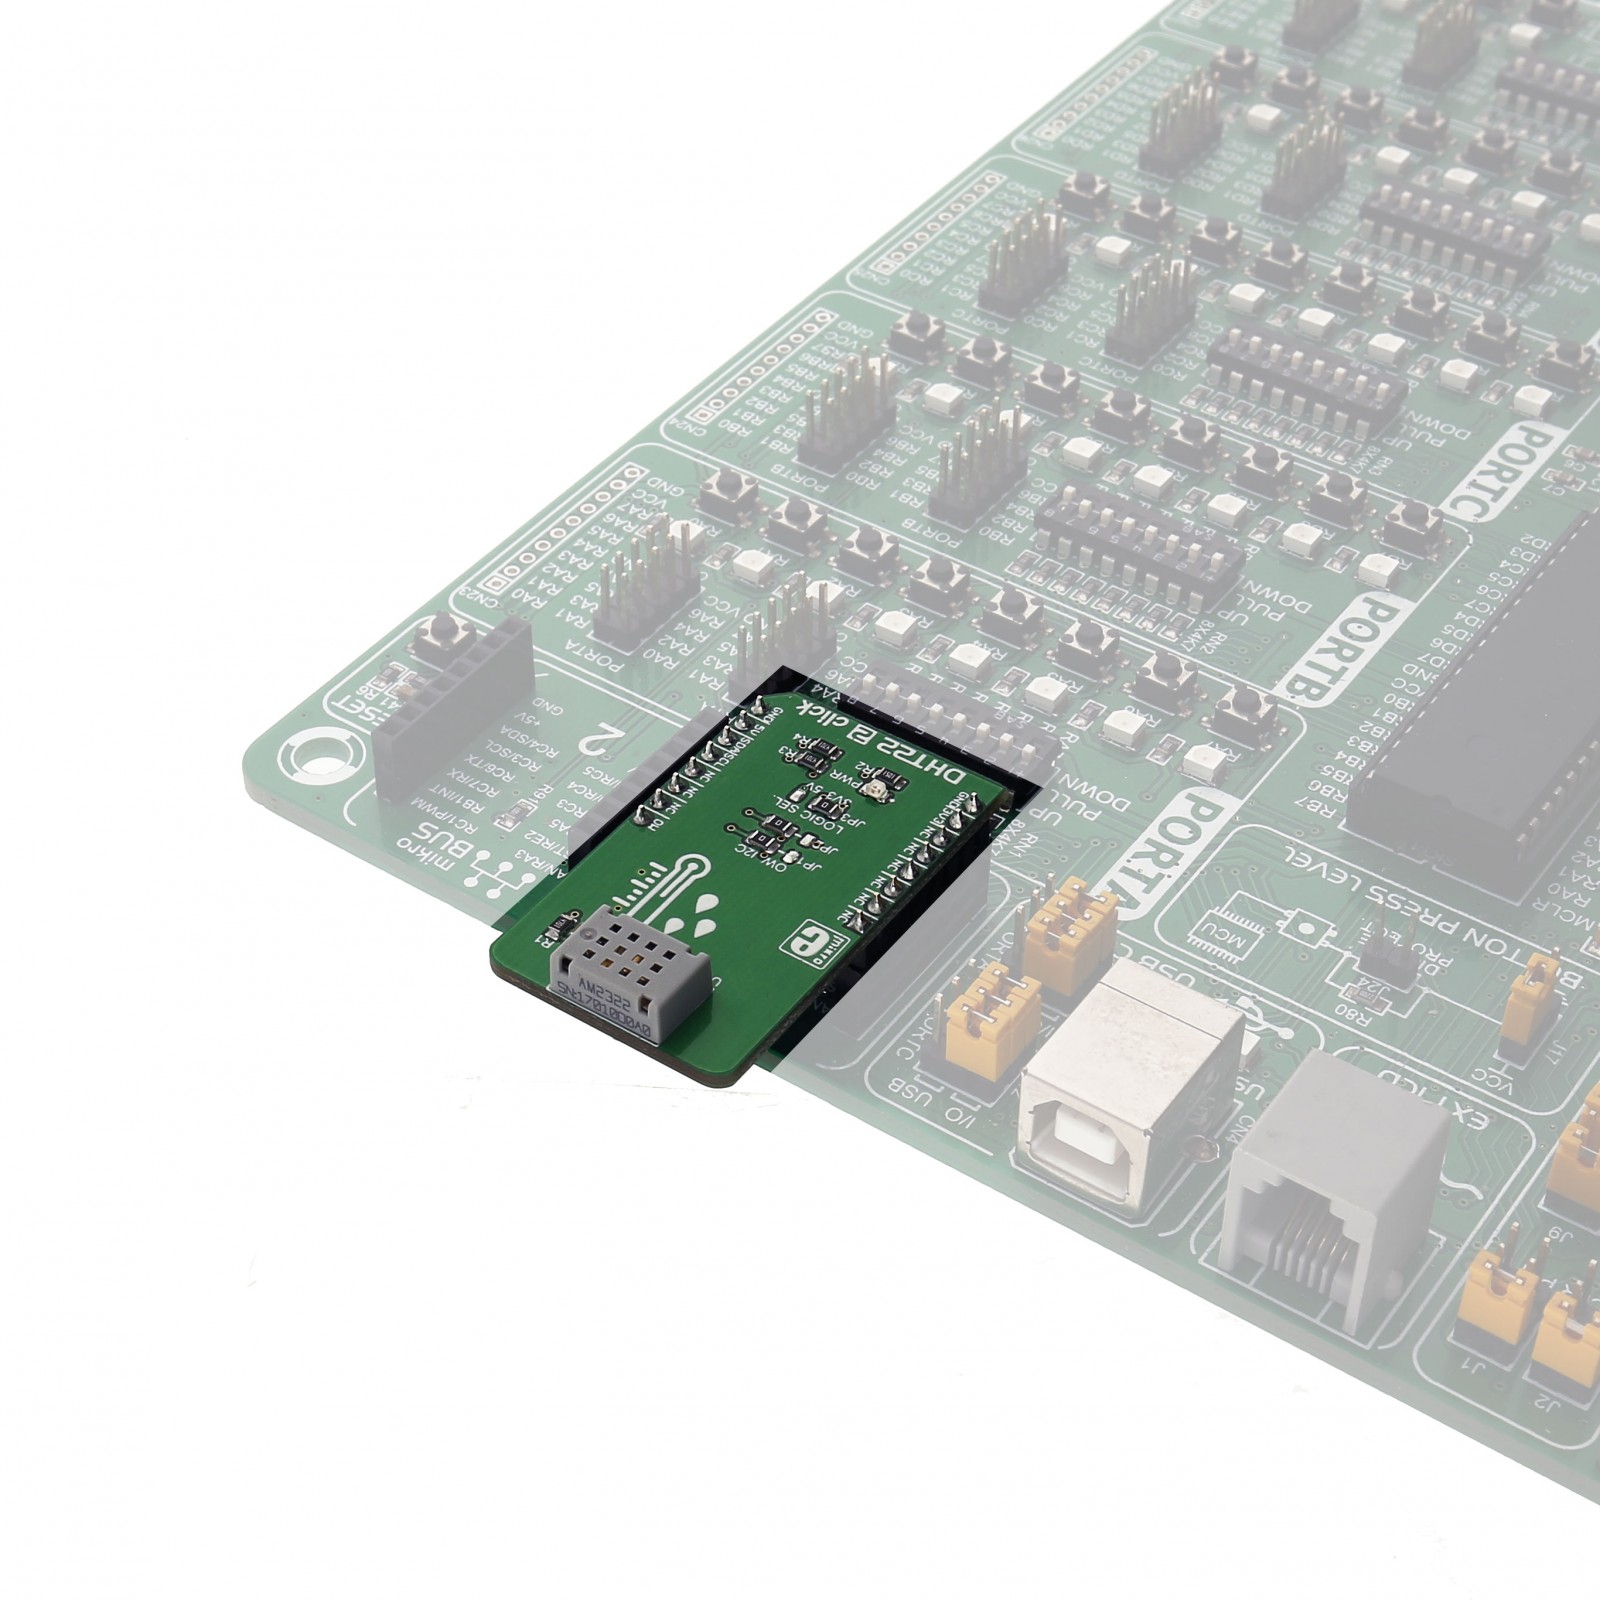
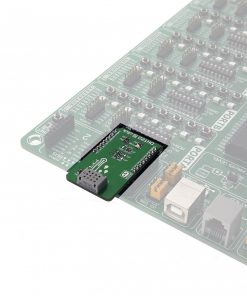
We provide a library for the DHT22 2 click on our LibStock page, as well as a demo application (example), developed using MikroElektronika compilers. The demo can run on all the main MikroElektronika development boards.
Library description
Library contains key functions used to read temperature and humidity data from the DHT22 2 click.
float DHT22_2_getTemperature();– Function for reading temperature from sensor
float DHT22_2_getHumidity()– Function for reading humidity from sensor
Examples Description
The example uses the library functions to read the temperature and humidity from the sensor and sends the data to the user, via the UART interface. The two functions use I2C interface to communicate with the MCU. Both of these functions return data in floating format, which only needs to be converted to a string with the compiler function FloatToString, before it is sent to the UART module. After that, the temperature and the humidity data can be viewed using the UART terminal.
void applicationTask()
{
     temp = DHT22_2_getTemperature();
     humidity = DHT22_2_getHumidity();
     FloatToStr(temp,output);
     UART1_Write_Text("Temperature: ");
     UART1_Write_Text(output);
     UART1_Write_Text("°C");
     UART1_Write(13);
     UART1_Write(10);
     UART1_Write_Text("Humidity: ");
     FloatToStr(humidity,output);
     UART1_Write_Text(output);
     UART1_Write_Text("%");
     UART1_Write(13);
     UART1_Write(10);
     Delay_ms(1000);
}
The full application code, and ready to use projects can be found on our LibStock page.
Other mikroE Libraries used in the example:
- UART
- I2C
Additional notes and information
Depending on the development board you are using, you may need USB UART click, USB UART 2 click or RS232 click to connect to your PC, for development systems with no UART to USB interface available on the board. The terminal available in all MikroElektronika compilers, or any other terminal application of your choice, can be used to read the message.
Resources
Downloads
| Weight | 20 g |
|---|---|
| Brand | MikroElektronika |

