How does it work?
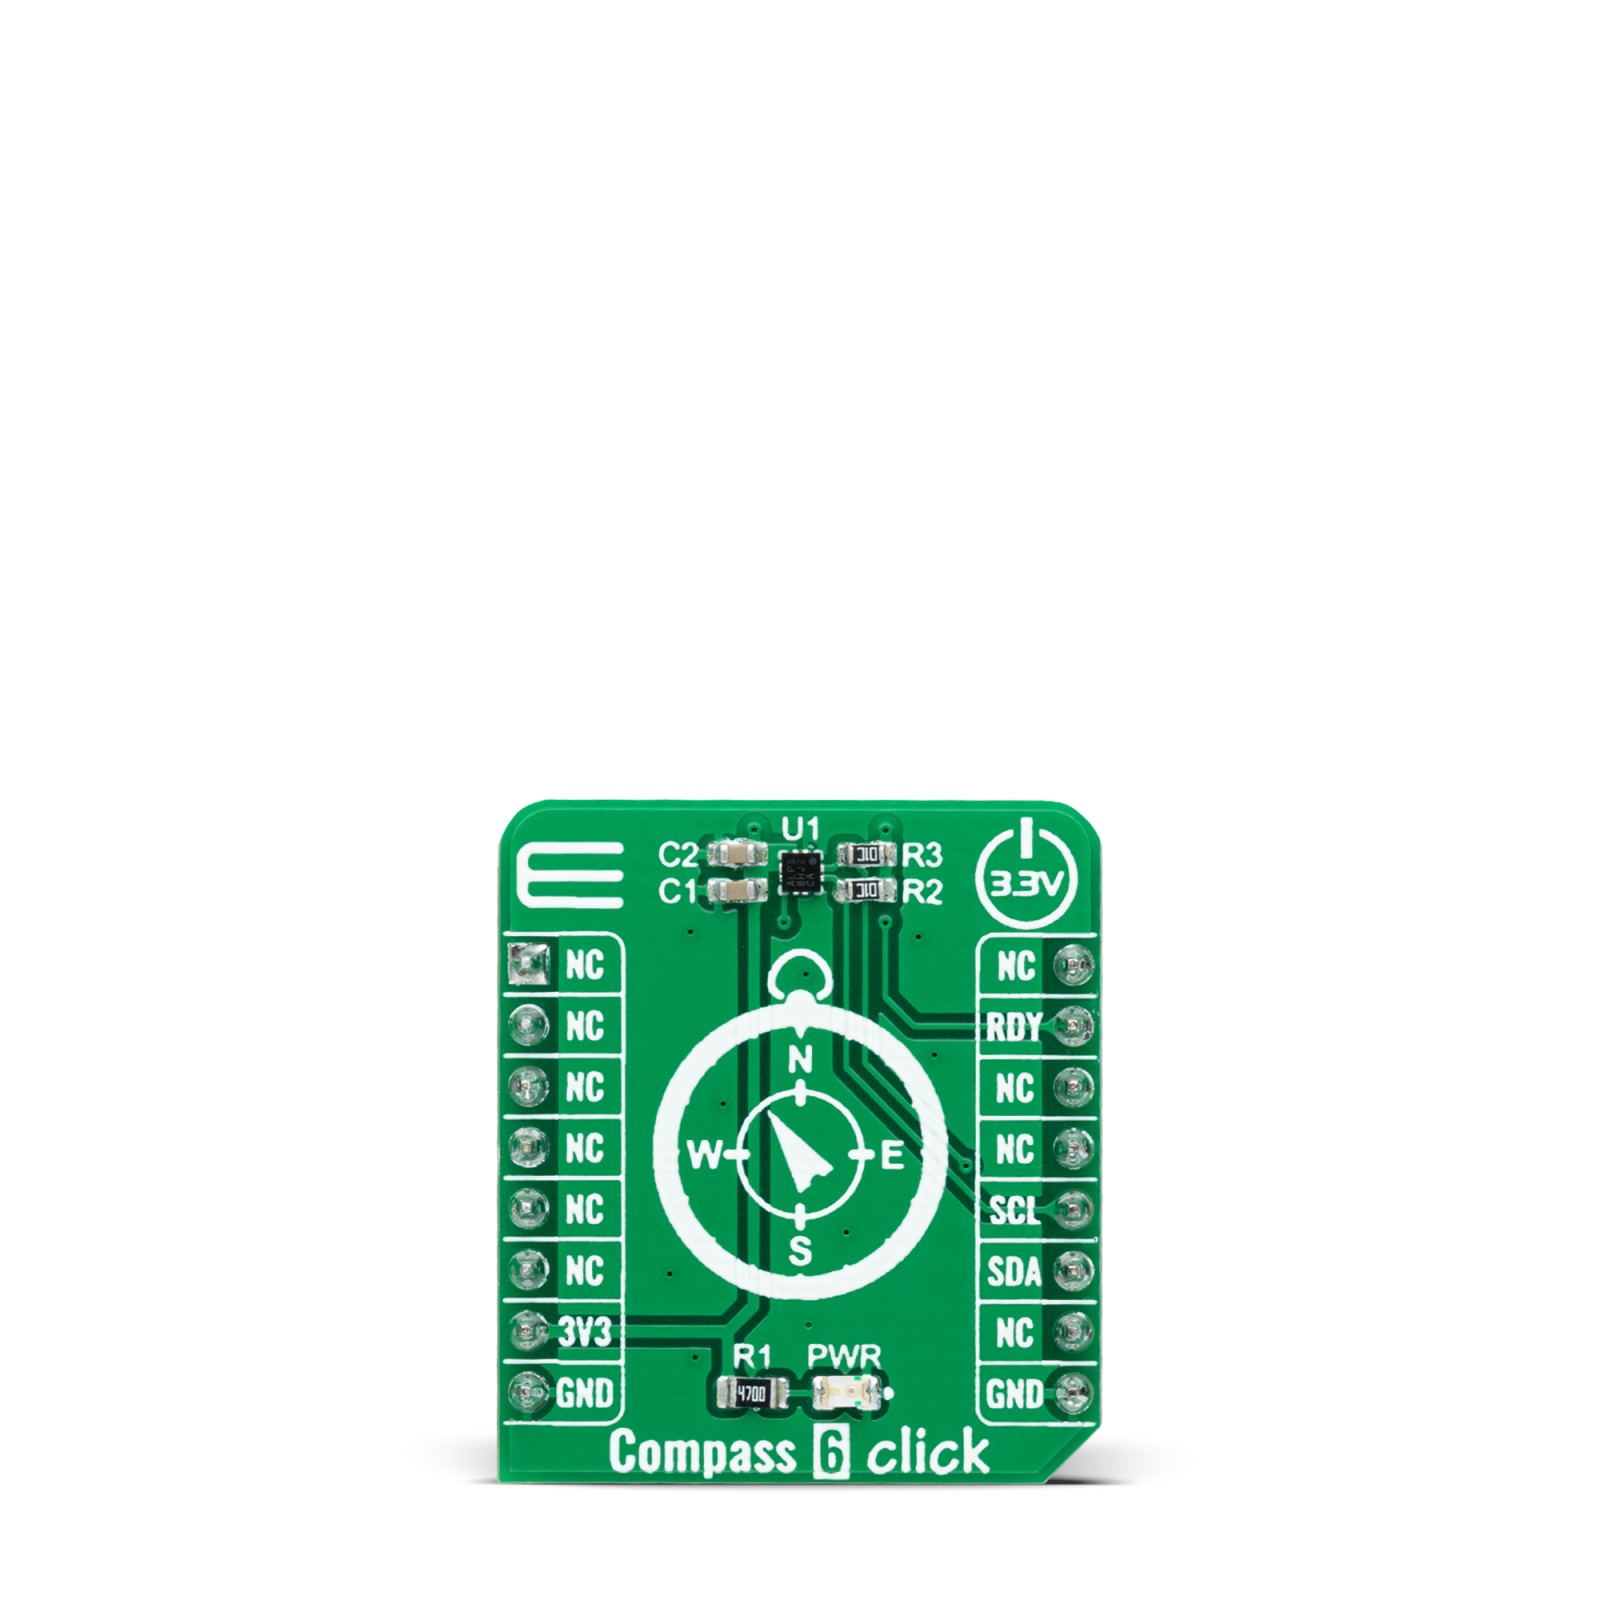
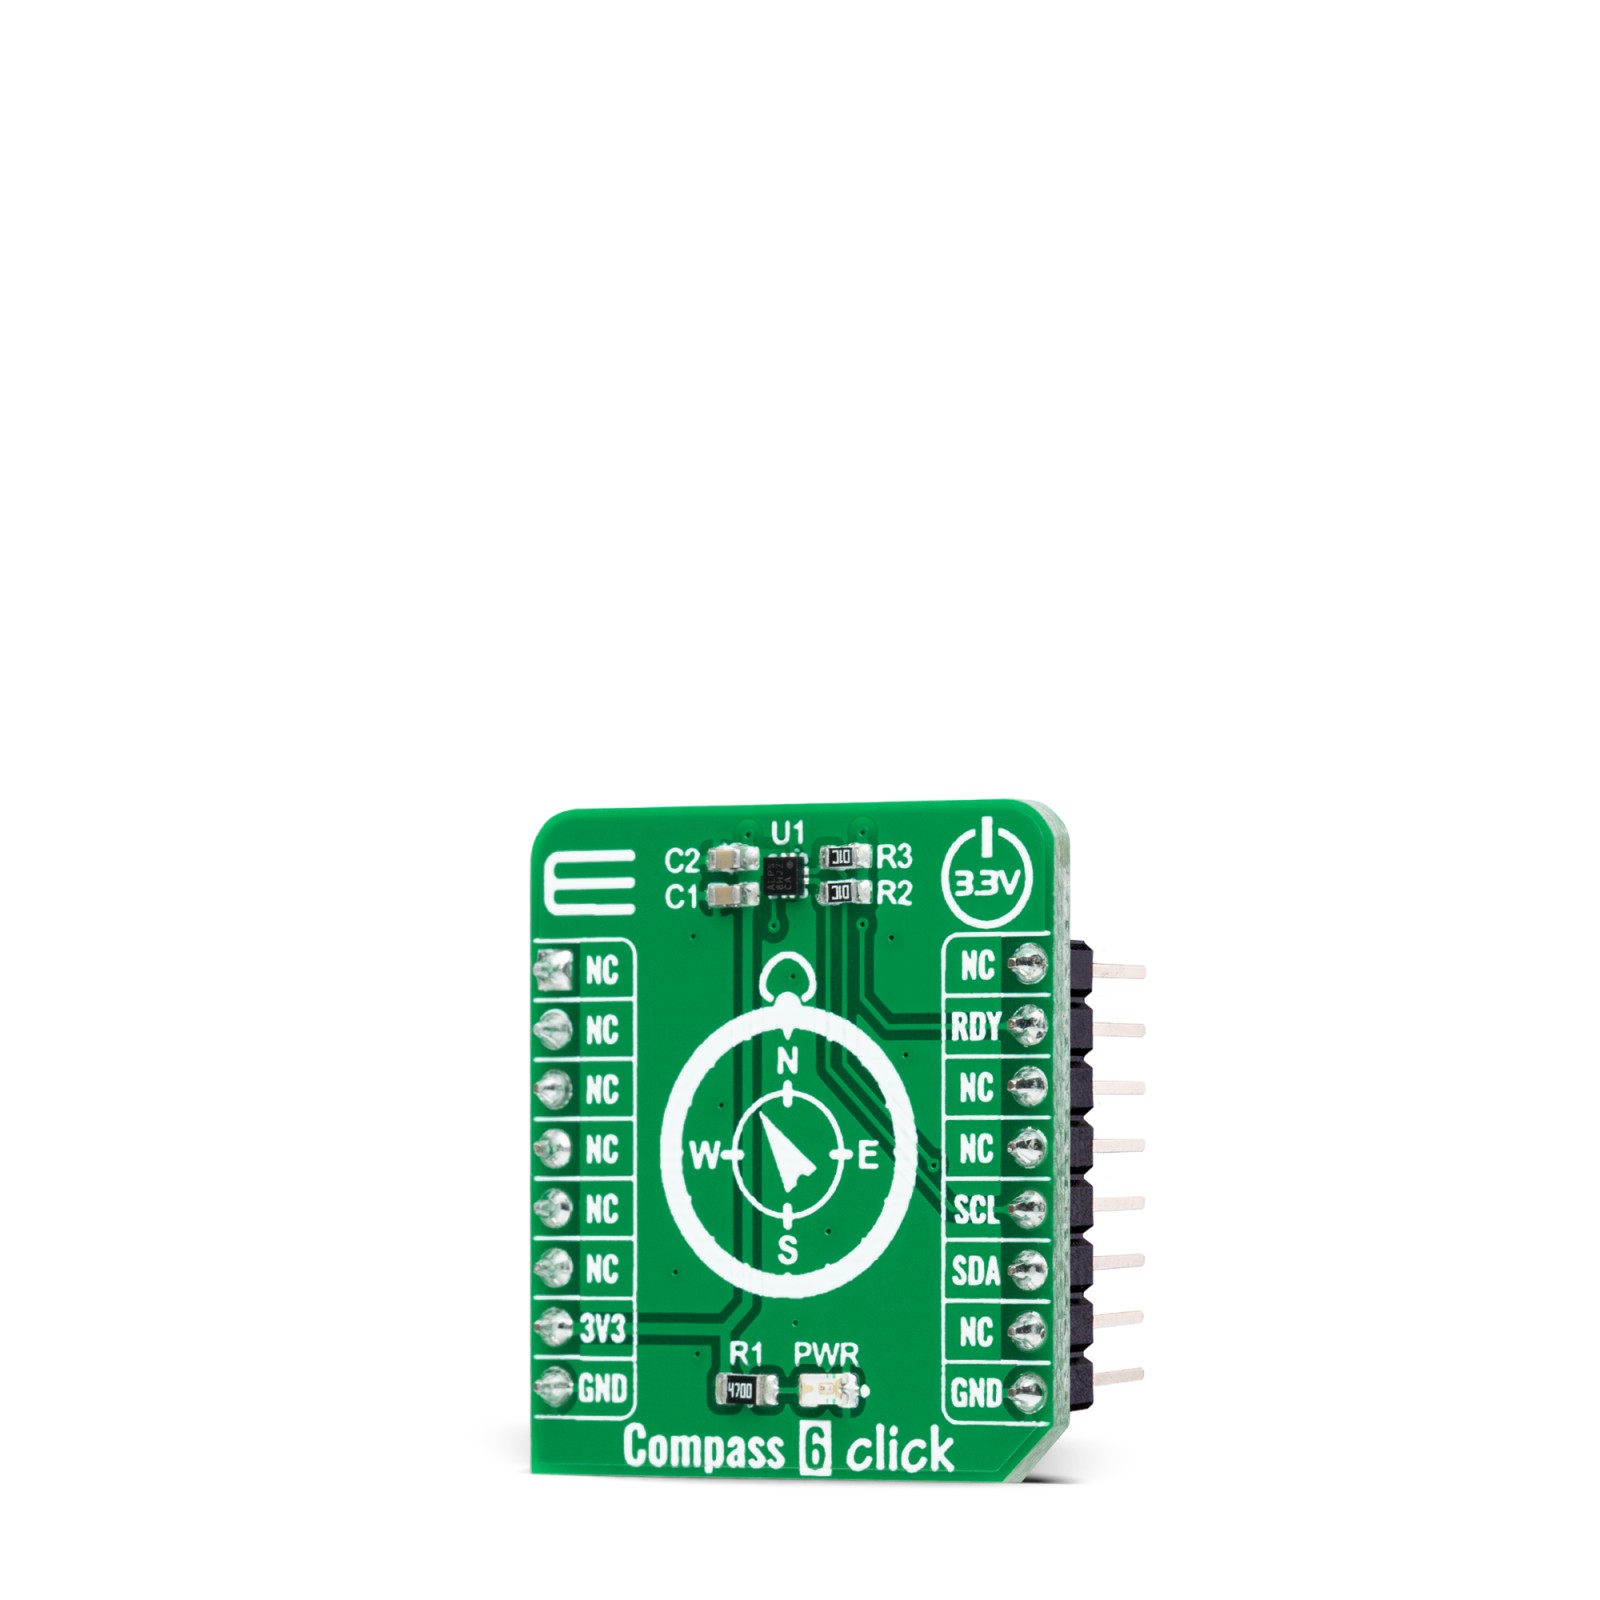
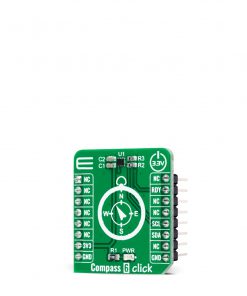
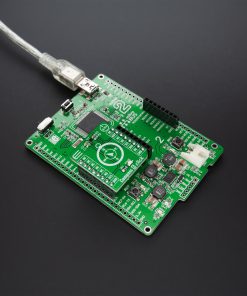
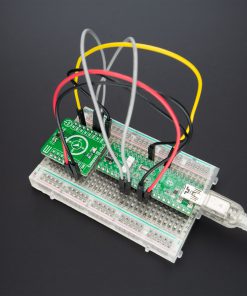
Compass 6 Click as its foundation uses the HSCDTD008A, a high-sensitivity three-axis terrestrial magnetism sensor from ALPS Alpine. It comes with an integrated drive circuit, signal processing circuit, and serial interface block, allowing low noise and high resolution. The HSCDTD008A can measure magnetic field strengths of ±2.4mT on each of its three axes and provides an output resolution of 0.15µT/LSB. This Click board™ represents a perfect choice for implementation in applications such as an electronic compass.
At the beginning of the operation, all internal circuits and registers are set to the default state by turning the power ON. The operating mode is set to a low-power Standby mode automatically by Power-On reset. In addition to the Standby mode, this sensor also has an Active mode for power control accessible through a register command. The active mode has two states: the force state that starts measurement and outputs data by register command, and the Normal state, which performs measurement and outputs data using the internal timer trigger.
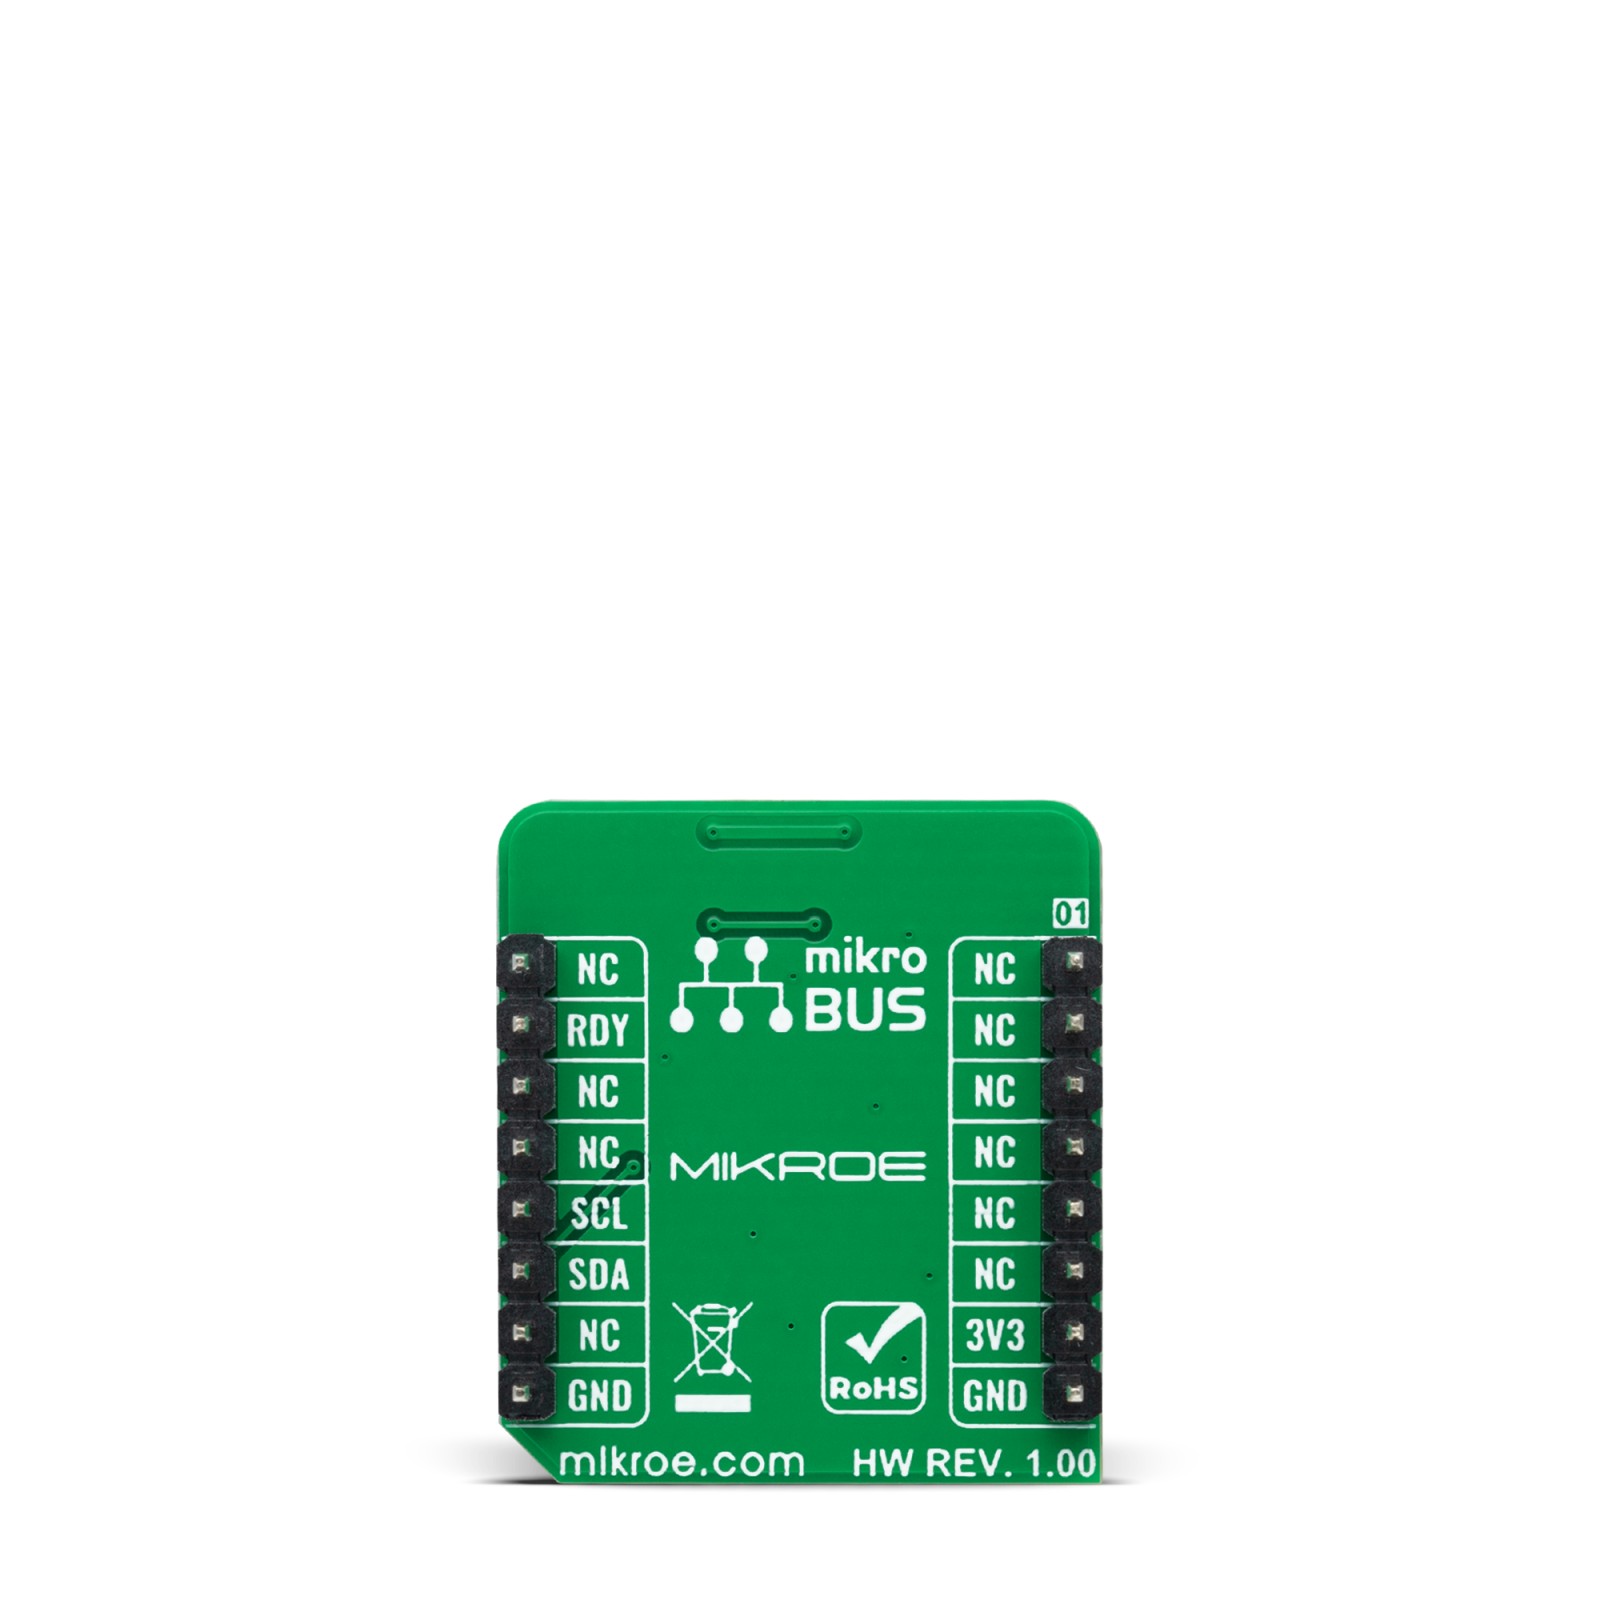
Compass 6 Click communicates with MCU using the standard I2C 2-Wire interface to read data and configure settings, supporting Standard Mode operation with a clock frequency of 100kHz, Fast Mode up to 400kHz, and Fast Mode Plus up to 1MHz, in addition to the High-Speed Mode. It also features an additional ready signal, labeled as RDY and routed on the INT pin of the mikroBUS™ socket, that informs when new measured results for the host are updated.
This Click board™ can be operated only with a 3.3V logic voltage level. The board must perform appropriate logic voltage level conversion before use with MCUs with different logic levels. However, the Click board™ comes equipped with a library containing functions and an example code that can be used, as a reference, for further development.
Specifications
Type
Compass,Magnetic
Applications
Can be used in compact electronic equipment and works well in robotic applications because of its terrestrial magnetism detection function
On-board modules
HSCDTD008A – high-sensitivity three-axis terrestrial magnetism sensor from ALPS Alpine
Key Features
Low power consumption, 3-axis magnetic sensor, 0.15μT/LSB resolution, high sensitivity, data ready function, low noise, high resolution, and more
Interface
I2C
Feature
No ClickID
Compatibility
mikroBUS™
Click board size
S (28.6 x 25.4 mm)
Input Voltage
3.3V
Pinout diagram
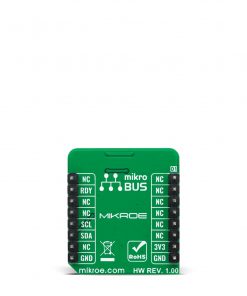
This table shows how the pinout on Compass 6 Click corresponds to the pinout on the mikroBUS™ socket (the latter shown in the two middle columns).
Onboard settings and indicators
Label | Name | Default | Description |
---|---|---|---|
LD1 | PWR | – | Power LED Indicator |
Compass 6 Click electrical specifications
Description | Min | Typ | Max | Unit |
---|---|---|---|---|
Supply Voltage | – | 3.3 | – | V |
Measurement Range | – | ±2.4 | – | mT |
Output Resolution | – | 0.15 | – | μT/LSB |
Operating Temperature Range | -40 | +25 | +85 | °C |
Software Support
We provide a library for the Compass 6 Click as well as a demo application (example), developed using MikroElektronika compilers. The demo can run on all the main MikroElektronika development boards.
Package can be downloaded/installed directly from NECTO Studio Package Manager(recommended way), downloaded from our LibStock™ or found on Mikroe github account.
Library Description
This library contains API for Compass 6 Click driver.
Key functions:
compass6_cfg_setup
– Config Object Initialization function.compass6_init
– Initialization function.compass6_default_cfg
– Click Default Configuration function.
Examples description
This example is a showcase the ability of the device to read 3 axis data of magnetic raw value when data is ready.
void application_task ( void ) { if ( compass6_data_ready( &compass6 ) ) { compass6_axes_t axes_data; compass6_get_axes_data( &compass6, &axes_data ); log_printf( &logger, " > X: %drn", axes_data.x ); log_printf( &logger, " > Y: %drn", axes_data.y ); log_printf( &logger, " > Z: %drn", axes_data.z ); log_printf( &logger, "*********************rn" ); Delay_ms( 500 ); } }
The full application code, and ready to use projects can be installed directly from NECTO Studio Package Manager(recommended way), downloaded from our LibStock™ or found on Mikroe github account.
Other Mikroe Libraries used in the example:
- MikroSDK.Board
- MikroSDK.Log
- Click.Compass6
Additional notes and informations
Depending on the development board you are using, you may need USB UART click, USB UART 2 click or RS232 click to connect to your PC, for development systems with no UART to USB interface available on the board. The terminal available in all MikroElektronika compilers, or any other terminal application of your choice, can be used to read the message.
mikroSDK
This Click board™ is supported with mikroSDK – MikroElektronika Software Development Kit. To ensure proper operation of mikroSDK compliant Click board™ demo applications, mikroSDK should be downloaded from the LibStock and installed for the compiler you are using.
For more information about mikroSDK, visit the official page.