Charger 13 Click
R320.00 ex. VAT
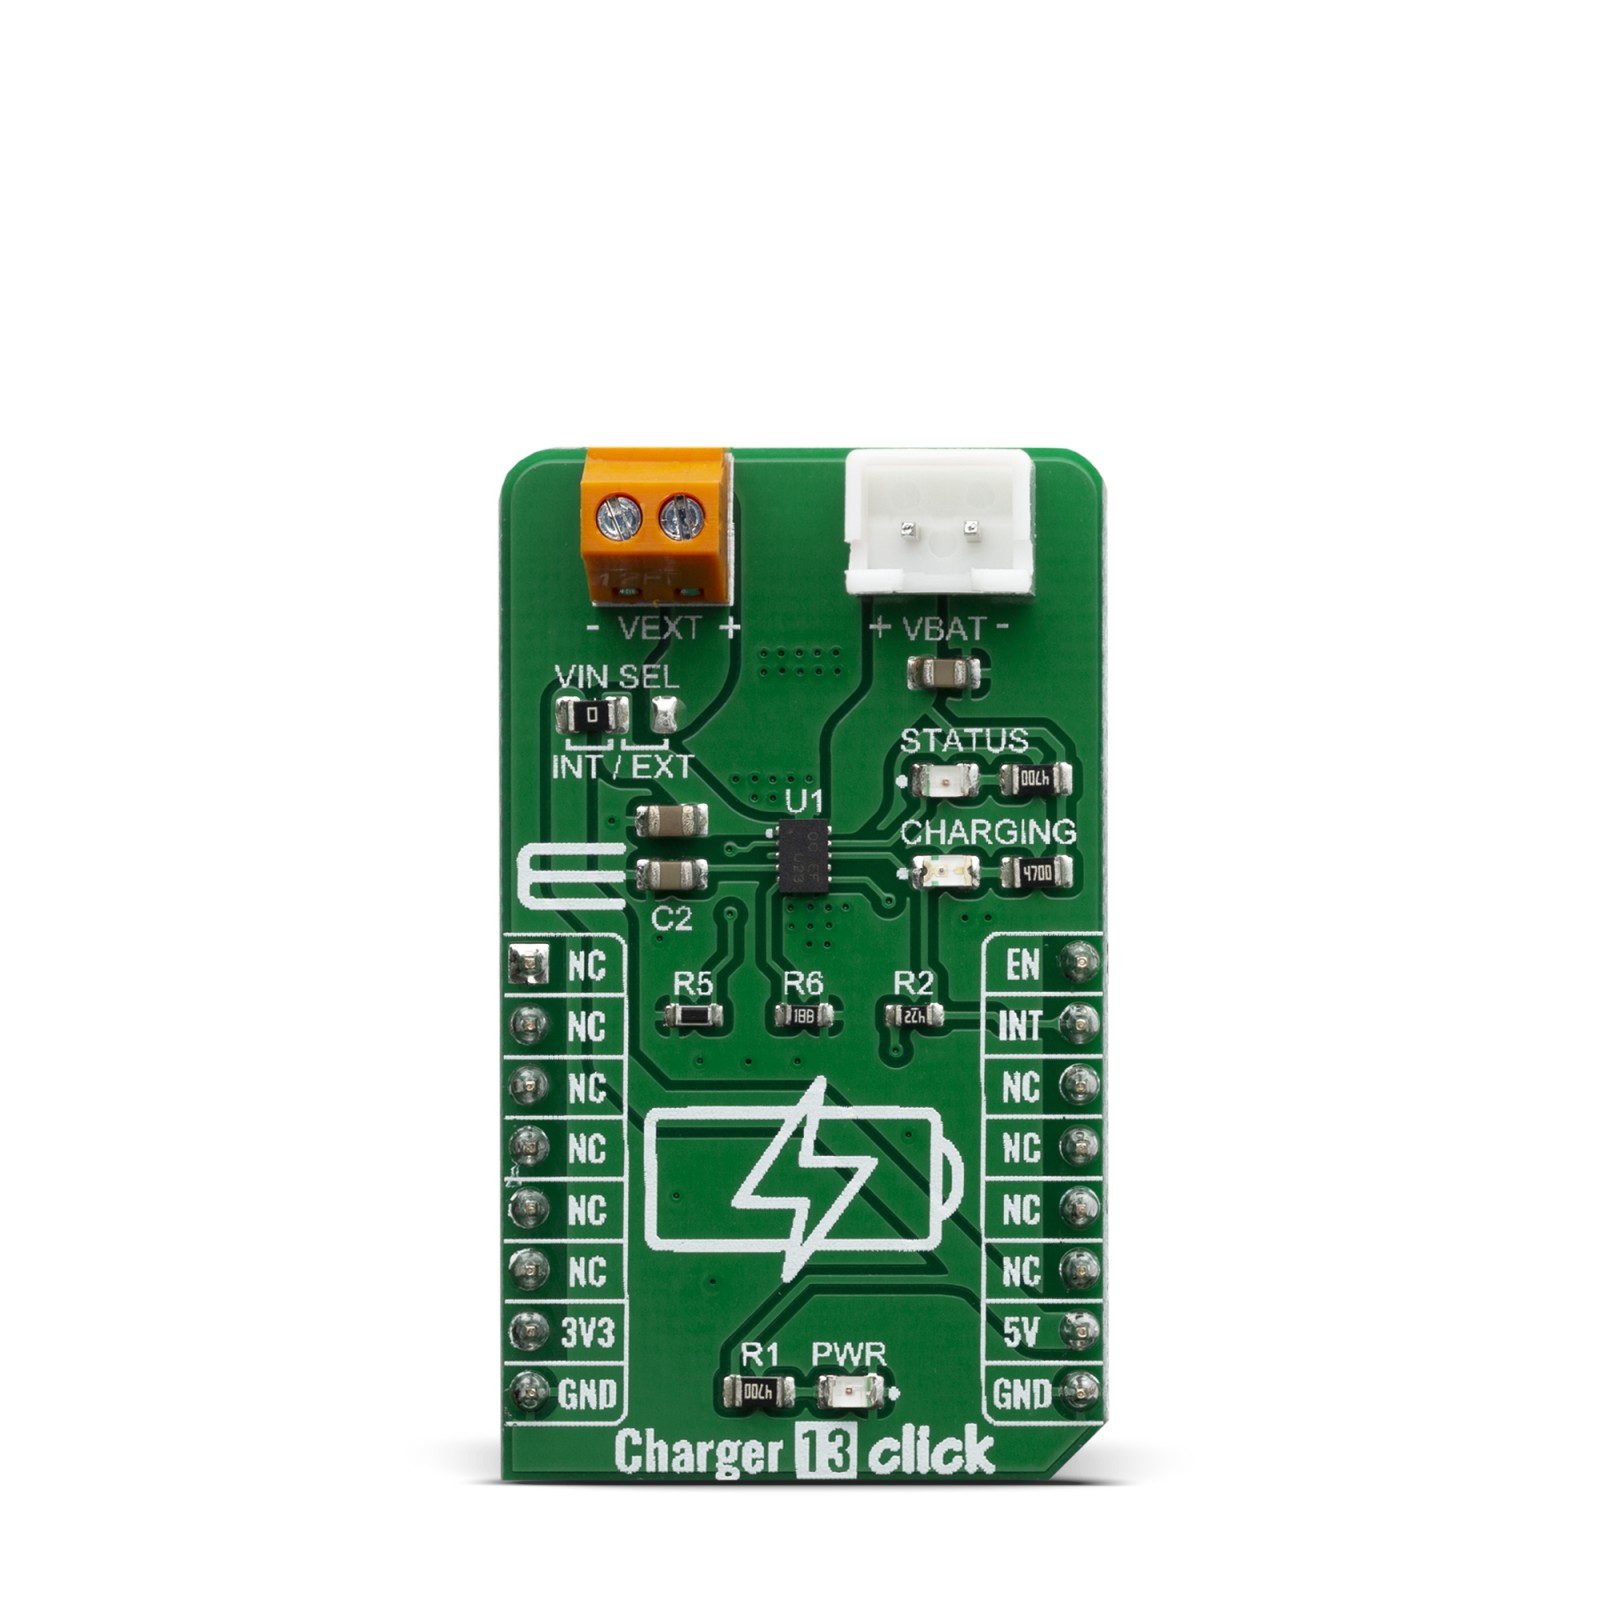
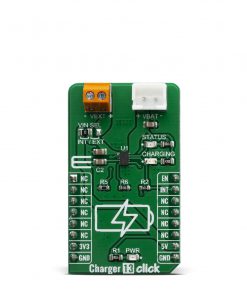
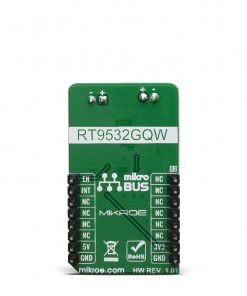
Charger 13 Click is a single lithium-ion (Li+) cell battery charger. This click can be used for Low-Cost Li-Ion battery chargers, or Power Tools, toys, backup energy storage solutions, etc. Charger 13 click is based on the RT9532GQW battery charger IC, which has some extra features enabling charging without too much hassle. This IC has an internal switching-mode regulation with input current limiting, allowing it to use an external power supply from a cheap wall adapter, rated up to 28V. On the board, there is a Power LED and two extra LED’s which can be used for charging indications.
Charger 13 click is supported by a mikroSDK compliant library, which includes functions that simplify software development. This Click board™ comes as a fully tested product, ready to be used on a system equipped with the mikroBUS™ socket.
Stock: Lead-time applicable.
| 5+ | R304.00 |
| 10+ | R288.00 |
| 15+ | R272.00 |
| 20+ | R261.76 |
Charging of the Li+ battery cell is a demanding task that requires a very accurate current and voltage monitoring and limiting. In addition, it also requires specific charging conditions, depending on the battery level (constant current mode, constant voltage mode). Li+ batteries contain flammable chemical compounds and can easily be ignited. The RT9532GQW IC closely monitors the battery voltage and current during the charging process, ensuring safe and reliable operation. Charger 13 click is a perfect solution for the development of multiple Li+ battery cell charging applications, offering a set of connectors, pins, and LED indicators, allowing fast and easy prototyping.
How does it work?
Charger 13 click is based on the RT9532GQW – fully integrated single cell Li-ion battery charger IC ideal for portable applications. The RT9532 optimizes the charging task by using a control algorithm including pre-charge mode, fast charge mode and constant voltage mode. The input voltage range of the VIN pin can be as high as 28V. When the input voltage exceeds the Over Voltage Protection (OVP) threshold, it will turn off the charging MOSFET to avoid overheating of the chip. Along with its small physical size, the low number of external components makes this IC ideally suitable for various applications. The 4.2V factory preset reference voltage simplifies design.
.jpg)
The RT9532GQW IC is designed with reliability in mind: the IC prevents draining the battery below the critical level, offers prequel charging (for deeply depleted batteries), features an overvoltage protection, charging status monitoring and so on. The Click board™ itself is equipped with a set of indicators used to monitor both charging process and power distribution.
- CHARGE LED indicates the charge-in-progress status.
- STATUS LED indicates power status during the charging process.
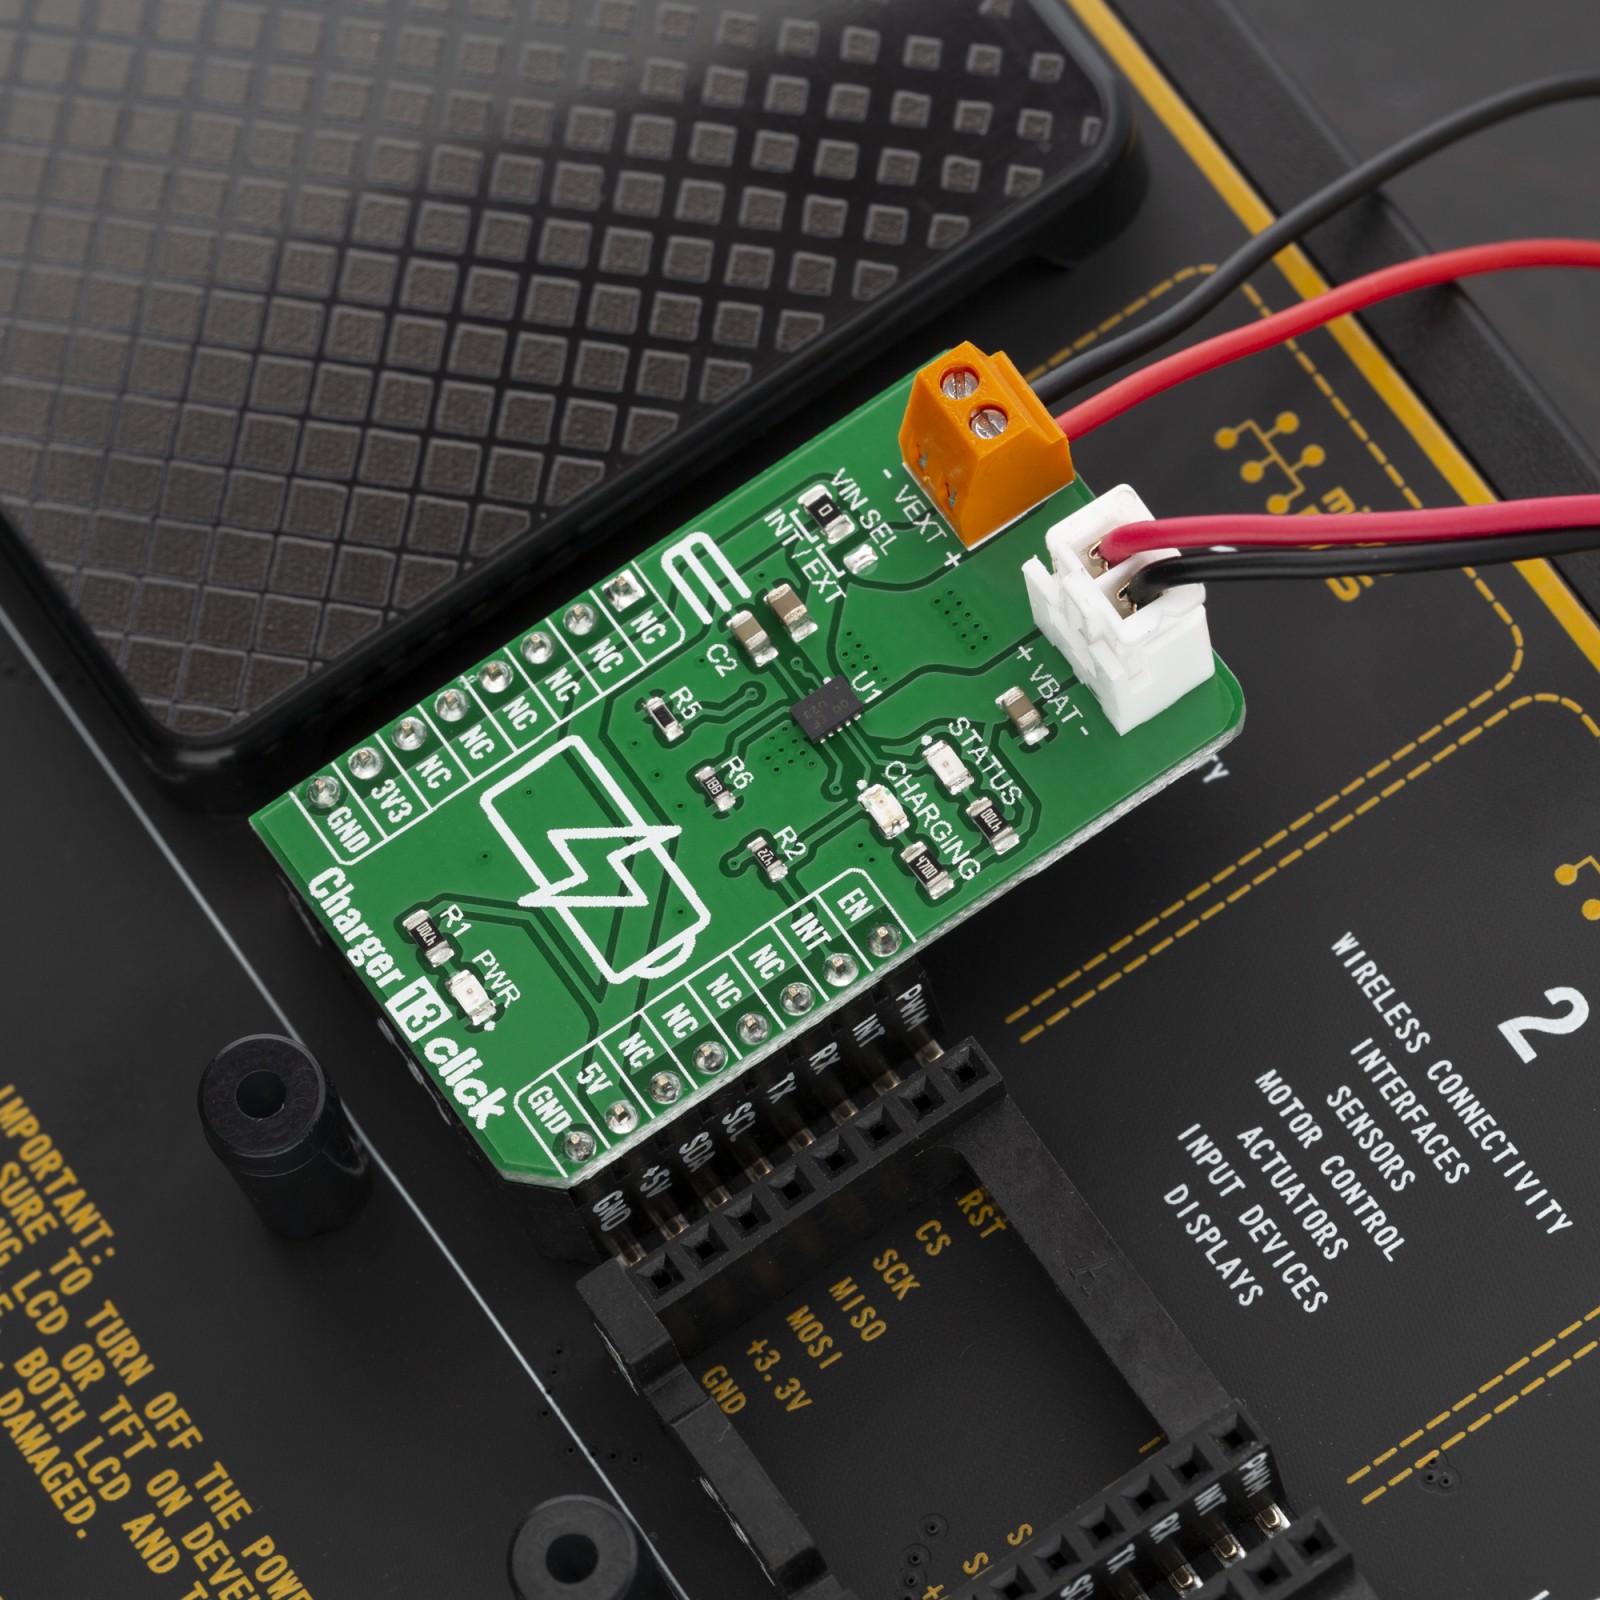
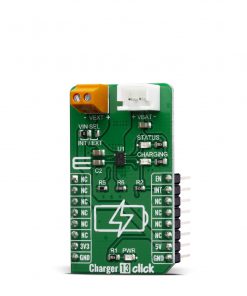
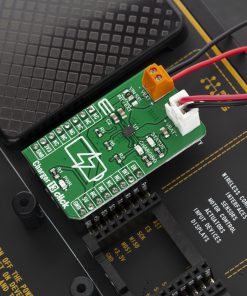
On the left side of the click board is an input screw terminal (VEXT) with corresponding markings, where the external voltage as high as 28V can be applied. The power supply for the RT9532GQW can be selected via the VIN SEL jumper, allowing a choice between external power from the VEXT terminal or 5V internal from the mikroBUS™ power rail. The connector on the right side is reserved for a Li-Ion battery with GND and VBAT+ markings. When connected to power source, the green STATUS LED will indicate it, while the red – CHARGING LED will indicate the charging in progress and will turn off once the battery charging is finished.
The voltage range which can be used to power up the Charger 13 click, allows for it to work with both 3.3V and 5V capable MCUs. It can be selected by soldering a small SMD jumper, labeled as VCC SEL to the correct position.
Specifications
Type
Battery charger
Applications
Charger 13 is a perfect choice for development lithium-ion (Li+) cell battery charging applications.
On-board modules
RT9532GQW, a highly Integrated, linear battery charger from Richtek
Key Features
Intelligent, constant-current, constant voltage (CCCV), under voltage lockout and over voltage protection, temperature-regulated battery charger
Interface
GPIO
Feature
No ClickID
Compatibility
mikroBUS™
Click board size
M (42.9 x 25.4 mm)
Input Voltage
3.3V,5V
Pinout diagram
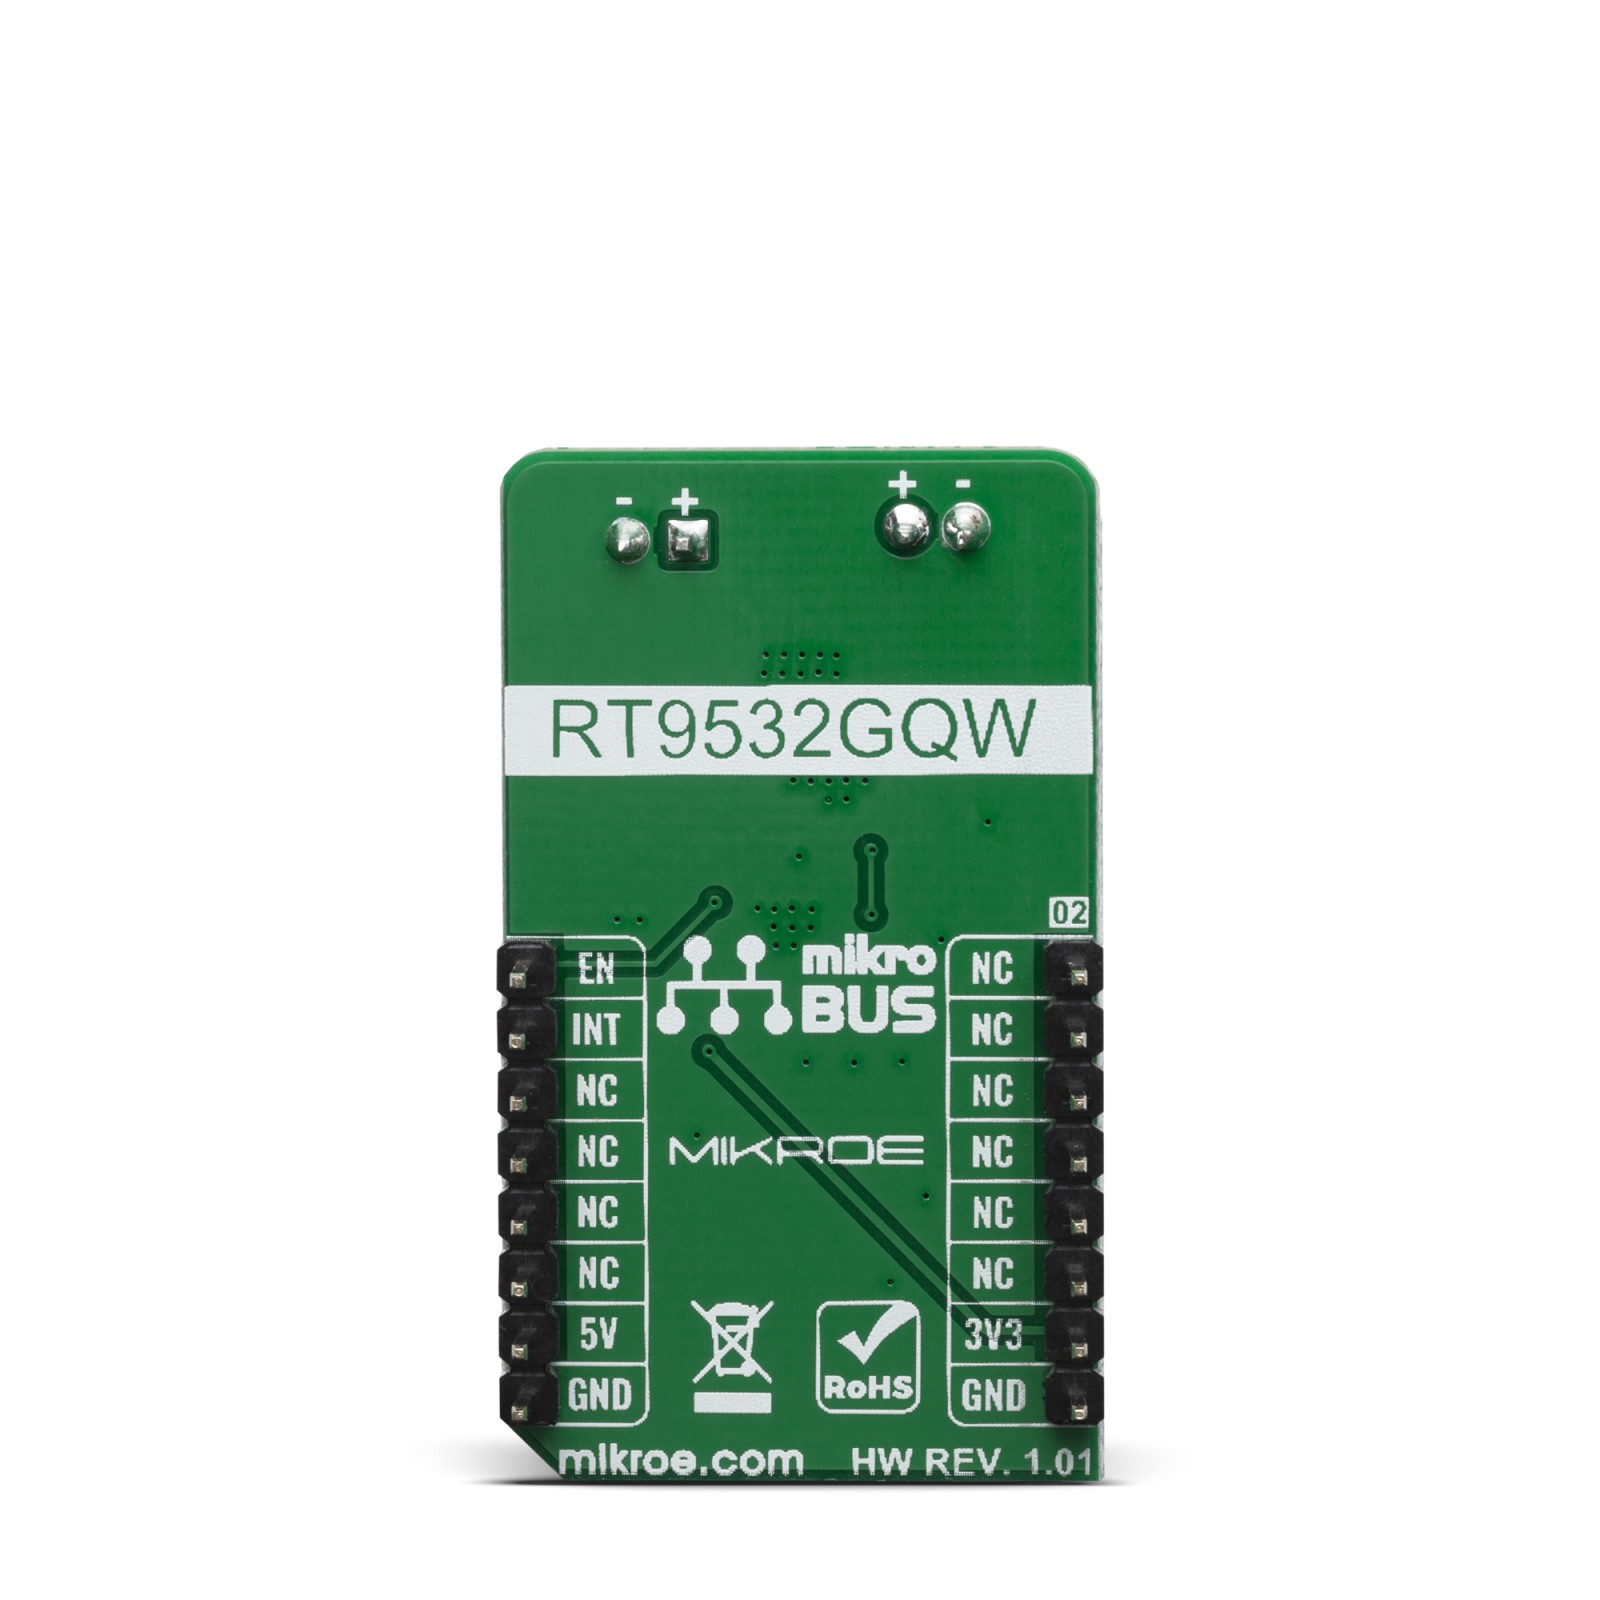
This table shows how the pinout on Charger 13 click corresponds to the pinout of the mikroBUS™ socket (the latter shown in the two middle columns).
Onboard settings and indicators
| Designator | Name | Default Position | Default Options | Description |
|---|---|---|---|---|
| JP1 | VIN SEL | Left | 5V | Power Supply Selection Jumper INT/EXT, left position INT, right position EXT |
| LD1 | STATUS | – | – | Power Status LED indicator |
| LD2 | CHARGING | – | – | Charging Status LED indicator |
| LD3 | PWR | – | – | Power LED Indicator |
Software Support
We provide a library for the Charger 13 click on our LibStock page, as well as a demo application (example), developed using MikroElektronika compilers. The demo can run on all the main MikroElektronika development boards.
Library Description
The library covers all the necessary functions to control Charger 13 Click board. The library contains a function which enables or disable charging and check battery charging states.
Key functions:
void charger13_enable()– Enable the charging function.void charger13_disable()– Disable the charging function.uint8_t charger13_check()– Check battery charging function
Examples description
The application is composed of three sections :
- System Initialization – Initializes GPIO and LOG structures, sets INT pin as input and PWM pin as output and start to write log.
- Application Initialization – Initialization driver enable’s – GPIO, also write log.
- Application Task – (code snippet) This is an example which demonstrates the use of Charger 13 click board. This example shows the automatic control of the Charger 13 click, waits for valid user input and executes functions based on a set of valid commands and check the battery charge status. Results are being sent to the Usart Terminal where you can track their changes. All data logs on usb uart for approximately every 1 sec when the data value changes.
- Commands : ‘E’ – Enable charging; ‘D’ – Disable charging;
void applicationTask()
{
    char receivedData;

    if ( UART_Rdy_Ptr() )
    {
        receivedData = UART_Rd_Ptr();

        switch ( receivedData )
        {
            case 'E' :
            {
                if ( enableFlag == 0 )
                {
                    enableFlag = 1;
                    charger13_enable();
                    mikrobus_logWrite( "Charging Status : Enabled", _LOG_LINE );
                    mikrobus_logWrite( "-------------------------", _LOG_LINE );
                }
                break;
            }
            case 'D' :
            {
                if ( enableFlag == 1 )
                {
                    enableFlag = 0;
                    charger13_disable();
                    mikrobus_logWrite( "Charging Status : Disable", _LOG_LINE );
                    mikrobus_logWrite( "-------------------------", _LOG_LINE );
                }
                break;
            }
        }
    }

    if ( charger13_check() != chargerFlag )
    {
        chargerFlag = charger13_check();

        if ( chargerFlag == 0 )
        {
            mikrobus_logWrite( "   Battery is charging   ", _LOG_LINE );
            mikrobus_logWrite( "-------------------------", _LOG_LINE );
        }
        else
        {
            mikrobus_logWrite( " Battery does not charge ", _LOG_LINE );
            mikrobus_logWrite( "-------------------------", _LOG_LINE );
        }
    }
}
The full application code, and ready to use projects can be found on our LibStock page.
Other mikroE Libraries used in the example:
- UART
Additional notes and informations
Depending on the development board you are using, you may need USB UART click, USB UART 2 click or RS232 click to connect to your PC, for development systems with no UART to USB interface available on the board. The terminal available in all MikroElektronika compilers, or any other terminal application of your choice, can be used to read the message.
mikroSDK
This Click board™ is supported with mikroSDK – MikroElektronika Software Development Kit. To ensure proper operation of mikroSDK compliant Click board™ demo applications, mikroSDK should be downloaded from the LibStock and installed for the compiler you are using.
For more information about mikroSDK, visit the official page.
Resources
Downloads
| Weight | 18 g |
|---|---|
| Brand | MikroElektronika |

