CAN FD 4 Click
R530.00 ex. VAT
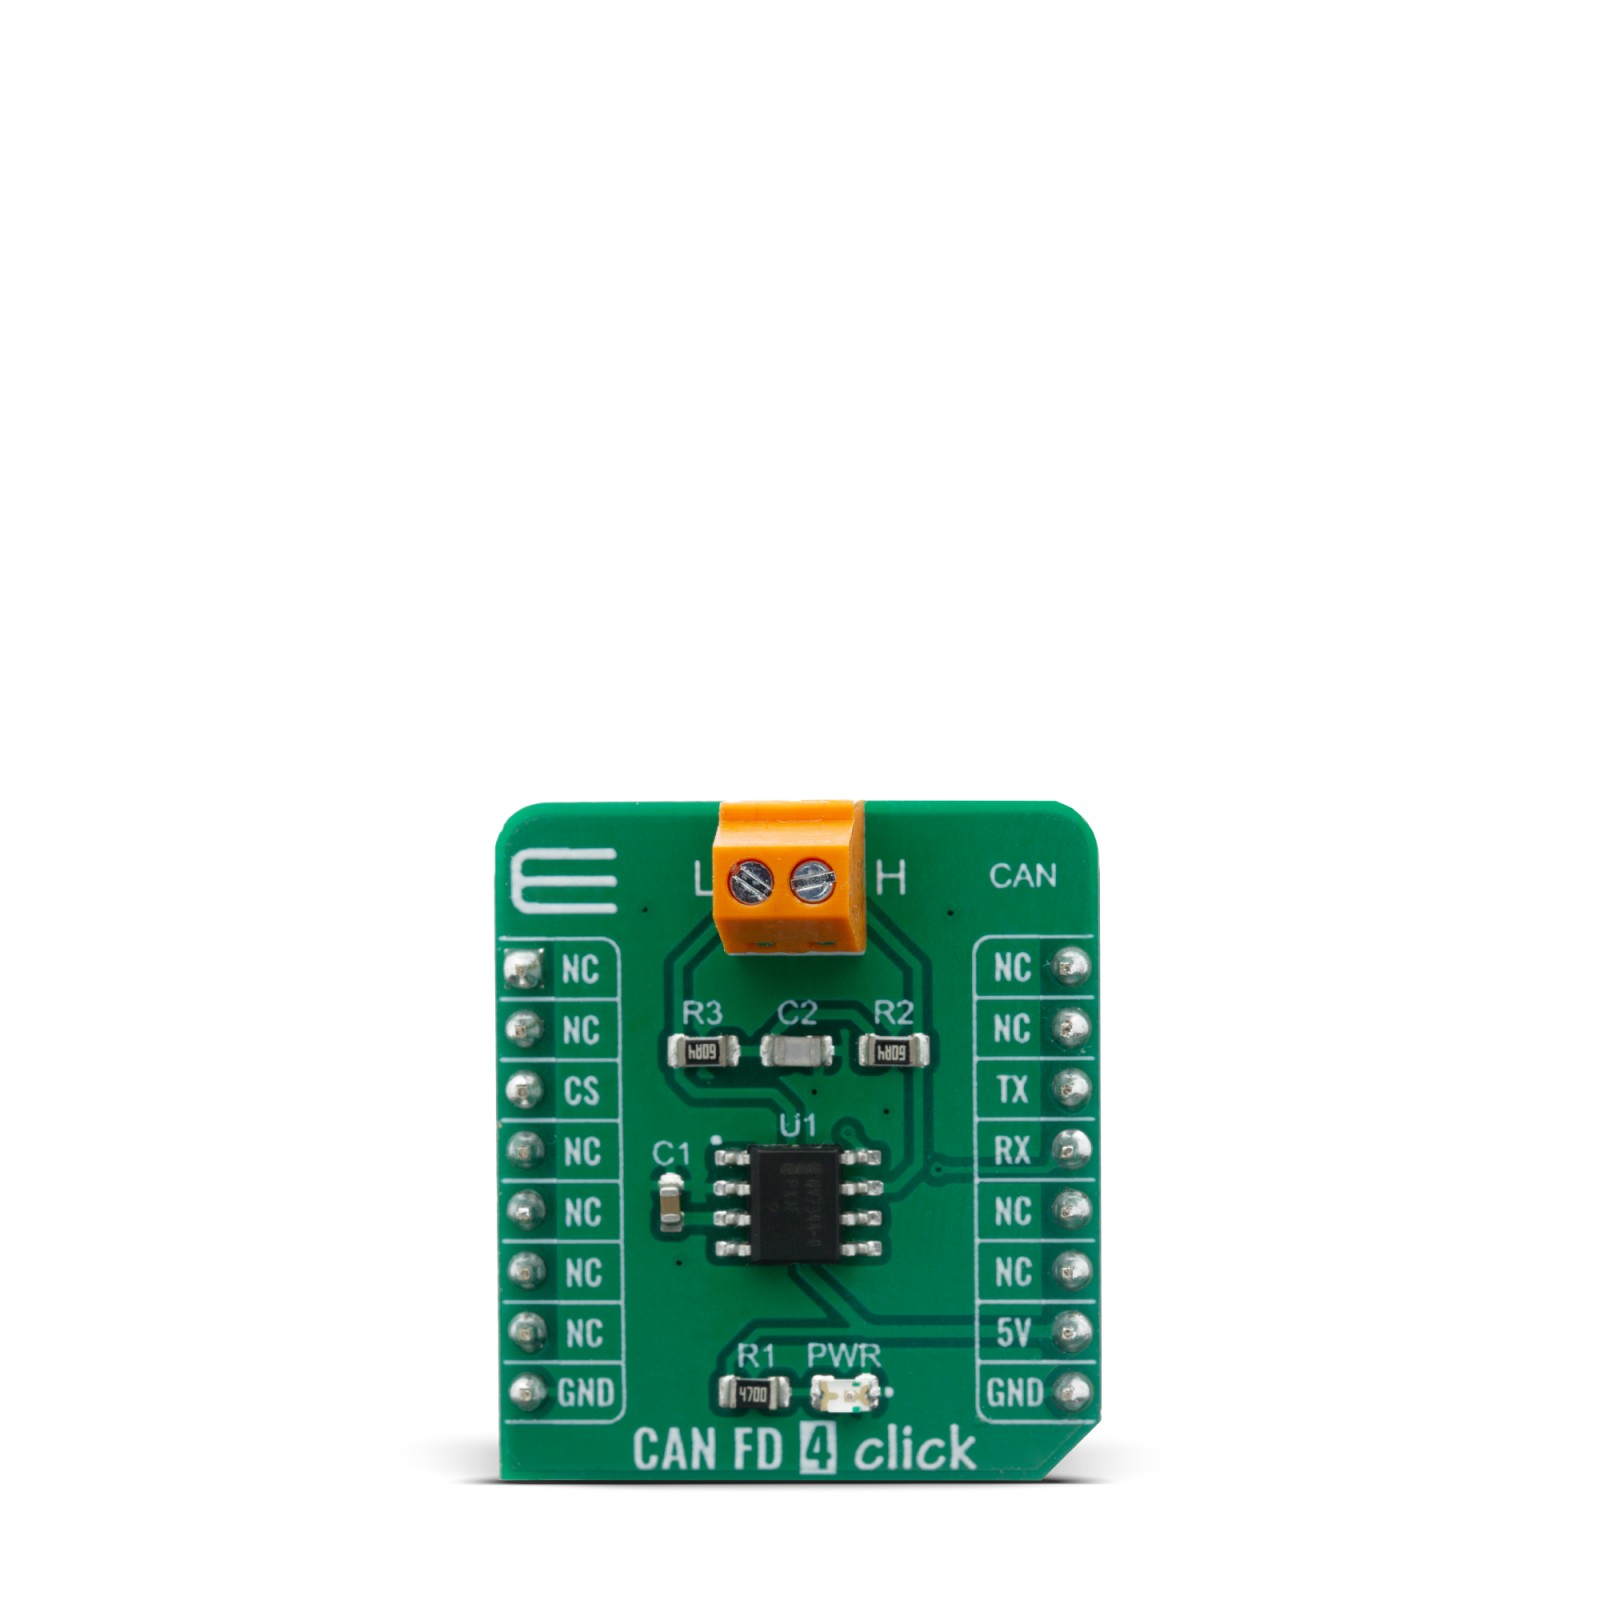
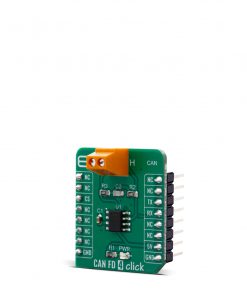
The CAN FD 4 Click is a Click board™ that features the NCV7344D10R2G, a Controller Area Network (CAN) transceiver, from onsemi. This Click board™ provides differential transmit capability to the bus and differential receive capability to the CAN controller. The CAN FD 4 click can be used for various applications such as automotive and industrial networks.
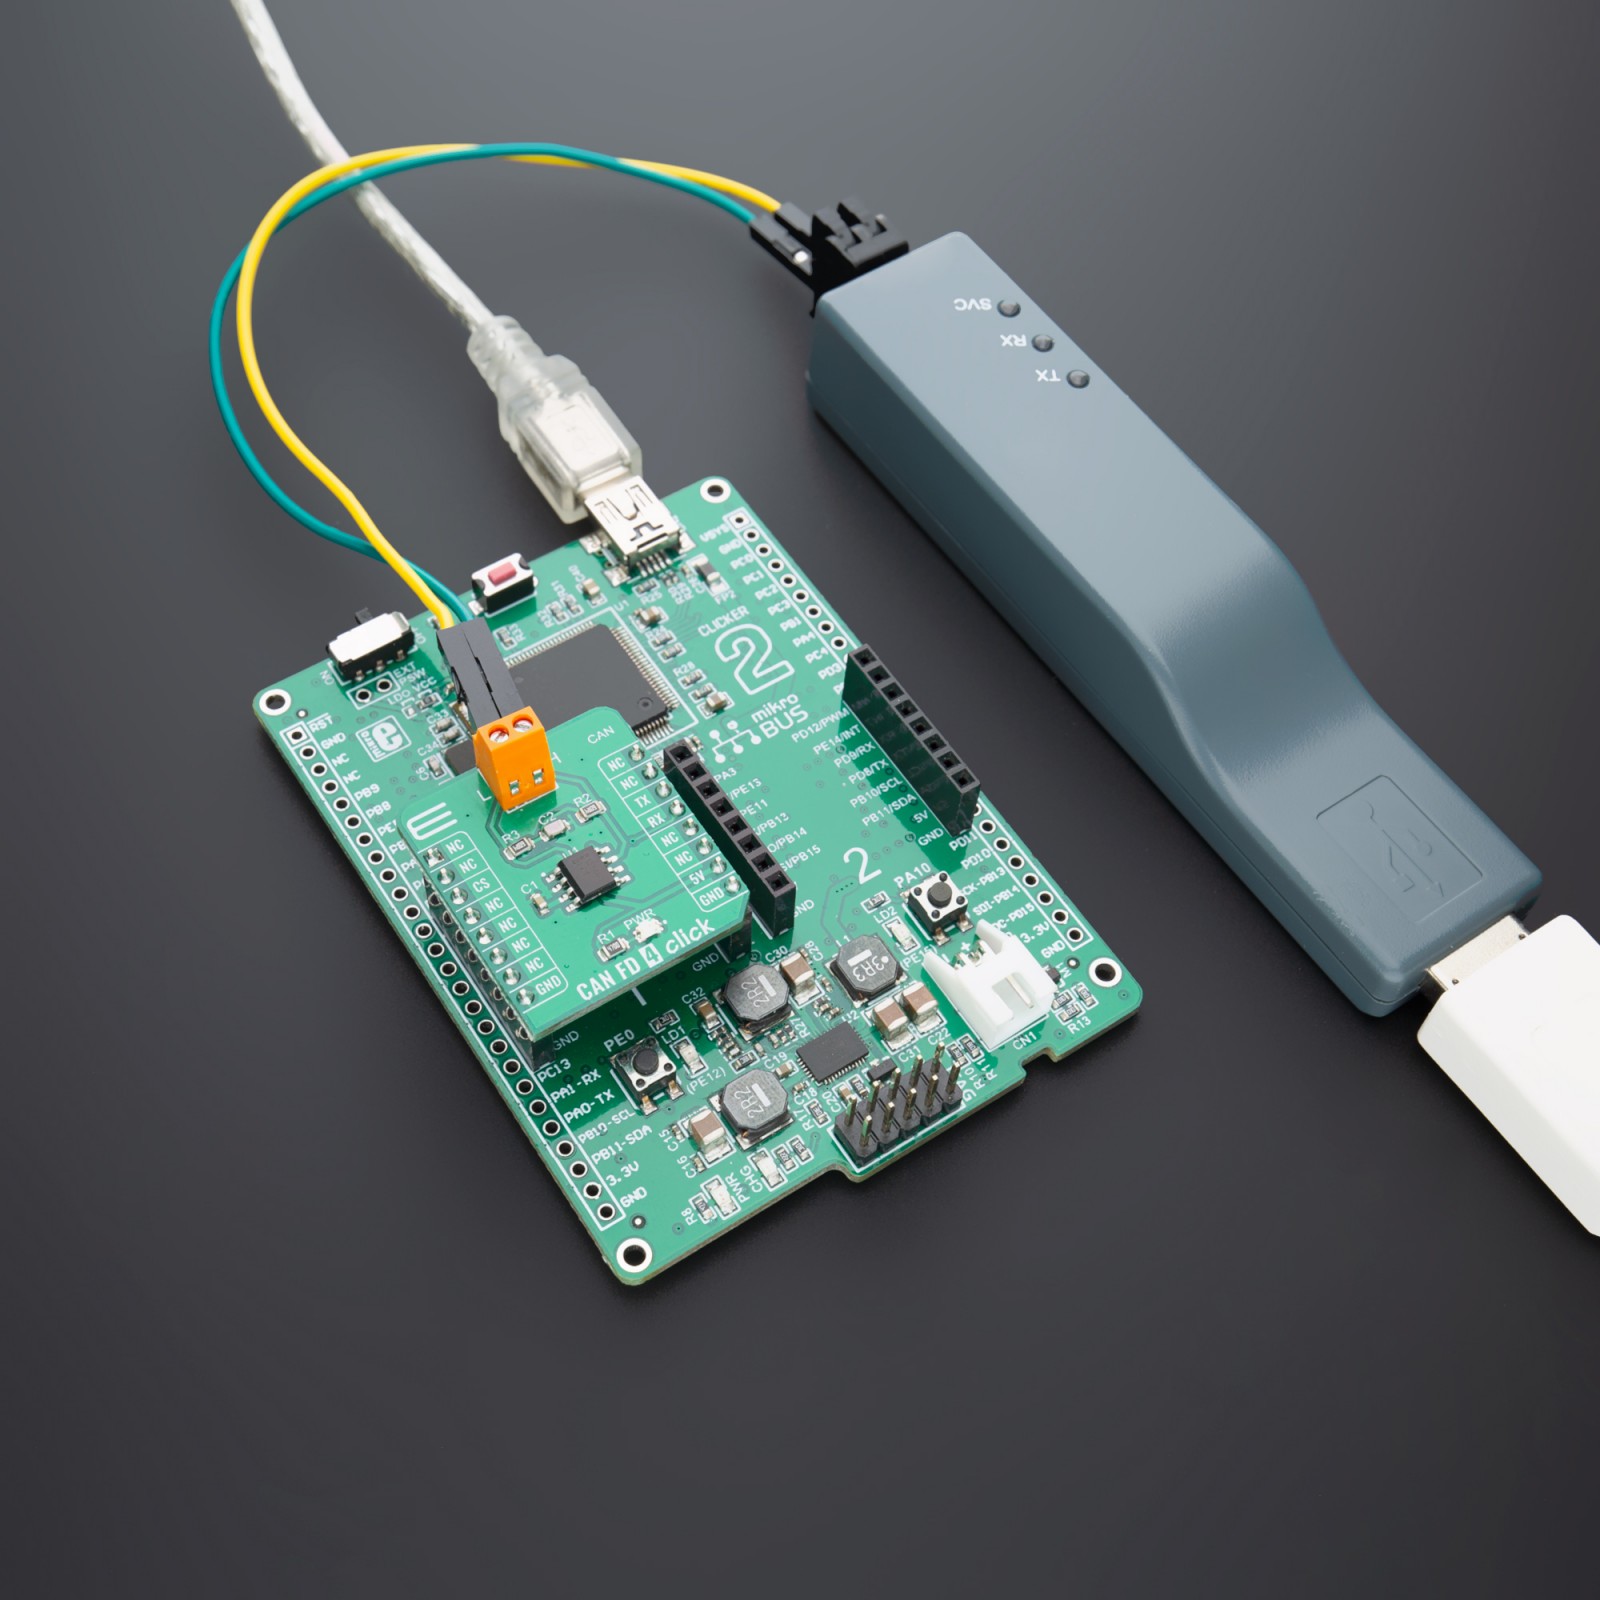
The CAN FD 4 click is supported by a mikroSDK compliant library, which includes functions that simplify software development. This Click board™ comes as a fully tested product, ready to be used on a system equipped with the mikroBUS™ socket.
Stock: Lead-time applicable.
| 5+ | R503.50 |
| 10+ | R477.00 |
| 15+ | R450.50 |
| 20+ | R433.54 |
How does it work?
The CAN FD 4 click is based on the NCV7344D10R2G, is a complete CAN protocol controller and the physical bus, from onsemi. The Click board™ guarantees additional timing parameters to ensure robust communication at data rates beyond 1 Mbps to cope with CAN flexible data rate requirements (CAN FD). These features make the CAN FD 4 click an good choice for all types of high speed – controller area network (HS−CAN) networks.
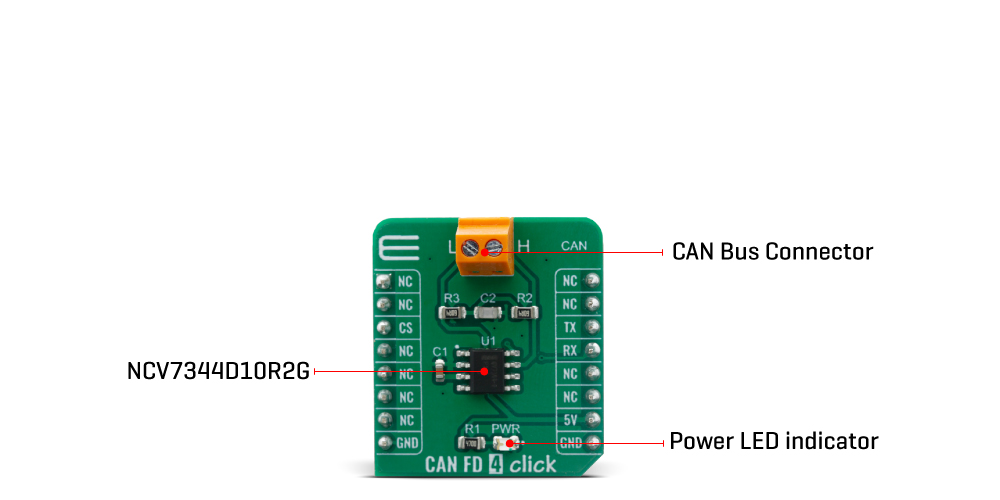
The CAN FD 4 click provides two operation modes, these modes are selectable pin CS.
First option is normal mode (when CS pin is LOW), where the transceiver is able to communicate via the bus line.The signals are transmitted and received to the CAN controller via the pins TxD and RxD. The slopes on the bus lines outputs are optimized to give low EME. Second option is when CS pin is HIGH, and the CAN FD 4 click is in Standby mode. In standby mode both the transmitter and receiver are disabled and a very low−power differential receiver monitors the bus lines for CAN bus activity.When a wake−up request is detected by the low−power differential receiver, the signal is first filtered and then verified as a valid wake signal after a time period of twake_filt, the RxD pin is driven low by the transceiver (following the bus) to inform the controller of the wake−up request.
High speed CAN (HS CAN) is a serial bus system that connects microcontrollers, sensors and actuators for realtime control applications. Compatible with ISO 11898-2 (2016) describes the use of the Controller Area Network (CAN) within road vehicles. According to the 7-layer OSI reference model the physical layer of a HS CAN bus system specifies the data transmission from one CAN node to all other available CAN nodes within the network. The CAN transceiver is part of the physical layer.
This Click Board™ is designed to be operated only with 5V logic level. A proper logic voltage level conversion should be performed before the Click board™ is used with MCUs with logic levels of 3.3V.
Specifications
Type
CAN,CAN FD
Applications
HS CAN networks in automotive applications and HS CAN networks in industrial applications
On-board modules
NCV7344D10R2G, Controller Area Network (CAN) transceiver from onsemi
Key Features
Automotive and Industrial Networks
Interface
UART
Feature
No ClickID
Compatibility
mikroBUS™
Click board size
S (28.6 x 25.4 mm)
Input Voltage
5V
Pinout diagram
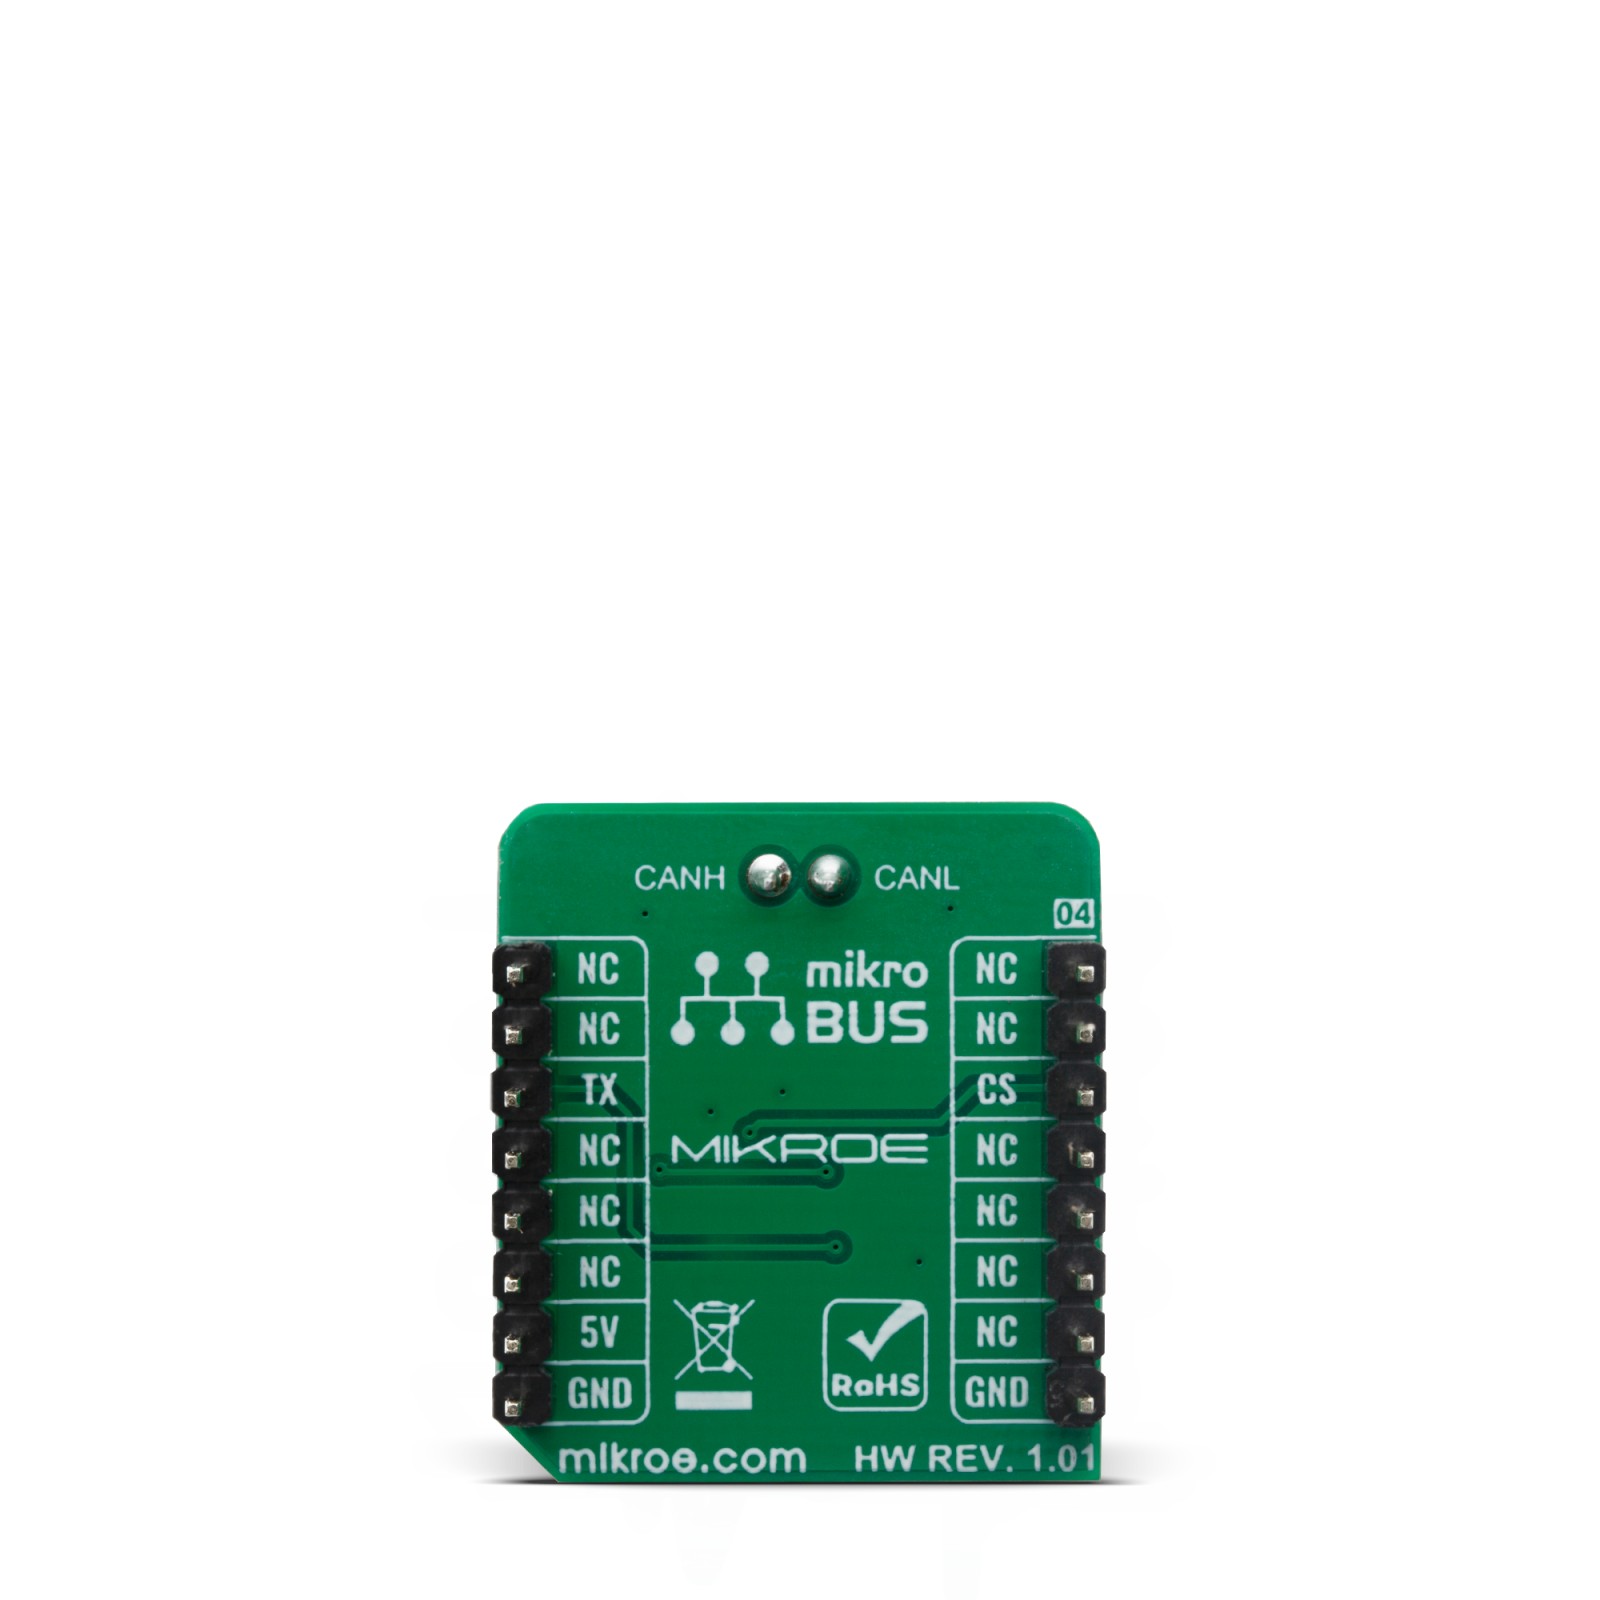
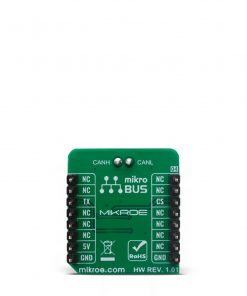
This table shows how the pinout on CAN FD 4 click corresponds to the pinout on the mikroBUS™ socket (the latter shown in the two middle columns).
Onboard settings and indicators
| Label | Name | Default | Description |
|---|---|---|---|
| LD1 | PWR | – | Power LED Indicator |
Software Support
We provide a library for the CAN FD 4 Click on our LibStock page, as well as a demo application (example), developed using MikroElektronika compilers. The demo can run on all the main MikroElektronika development boards.
Library Description
Library provides functions for communication via UART module, and a function for controlling cs pin, which sets device mode.
Key functions:
void canfd4_write_byte ( uint8_t input )– Writes single byte of datauint8_t canfd4_read_byte( )– Reads single byte of datauint8_t canfd4_byte_ready ( )– Checks if new data ic received
Examples description
The application is composed of three sections :
- System Initialization – Intializes UART module
- Application Initialization – Driver intialization
- Application Task – Choose one mode (read or write) of task. If you reading it checks if data is ready to be read and then reads one byte and if you are wiriting send data via UART.
void application_task ( )
{
    char tmp;
    uint8_t drdy_flag;

    if ( app_mode == APP_MODE_RECEIVER )
    {
        // RECEIVER - UART polling

        drdy_flag = canfd4_byte_ready( );

        if ( 1 == drdy_flag )
        {
            tmp = canfd4_read_byte( );
            mikrobus_logWrite( &tmp, _LOG_BYTE );
        }
    }
    else
    {
        // TRANSMITER - TX each 2 sec

        for ( tmp = 0; tmp < 9; tmp++ )
        {
            canfd4_write_byte( demo_message_data[ tmp ] );
            mikrobus_logWrite( ">> MESSAGE SENT <<", _LOG_LINE );
        }
        Delay_ms(2000);
    }
}
The full application code, and ready to use projects can be found on our LibStock page.
Other mikroE Libraries used in the example:
- UART
Additional notes and informations
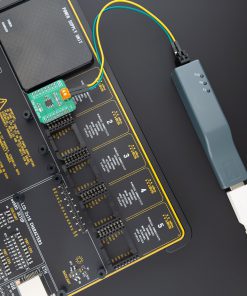
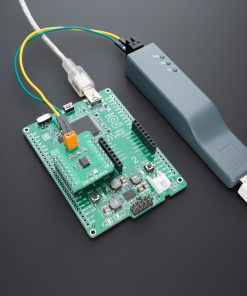
Depending on the development board you are using, you may need USB UART click, USB UART 2 click or RS232 click to connect to your PC, for development systems with no UART to USB interface available on the board. The terminal available in all MikroElektronika compilers, or any other terminal application of your choice, can be used to read the message.
mikroSDK
This Click board™ is supported with mikroSDK – MikroElektronika Software Development Kit. To ensure proper operation of mikroSDK compliant Click board™ demo applications, mikroSDK should be downloaded from the LibStock and installed for the compiler you are using.
For more information about mikroSDK, visit the official page.
Resources
Downloads
| Weight | 18 g |
|---|---|
| Brand | MikroElektronika |

