Brushless 30 Click
R1,500.00 ex. VAT
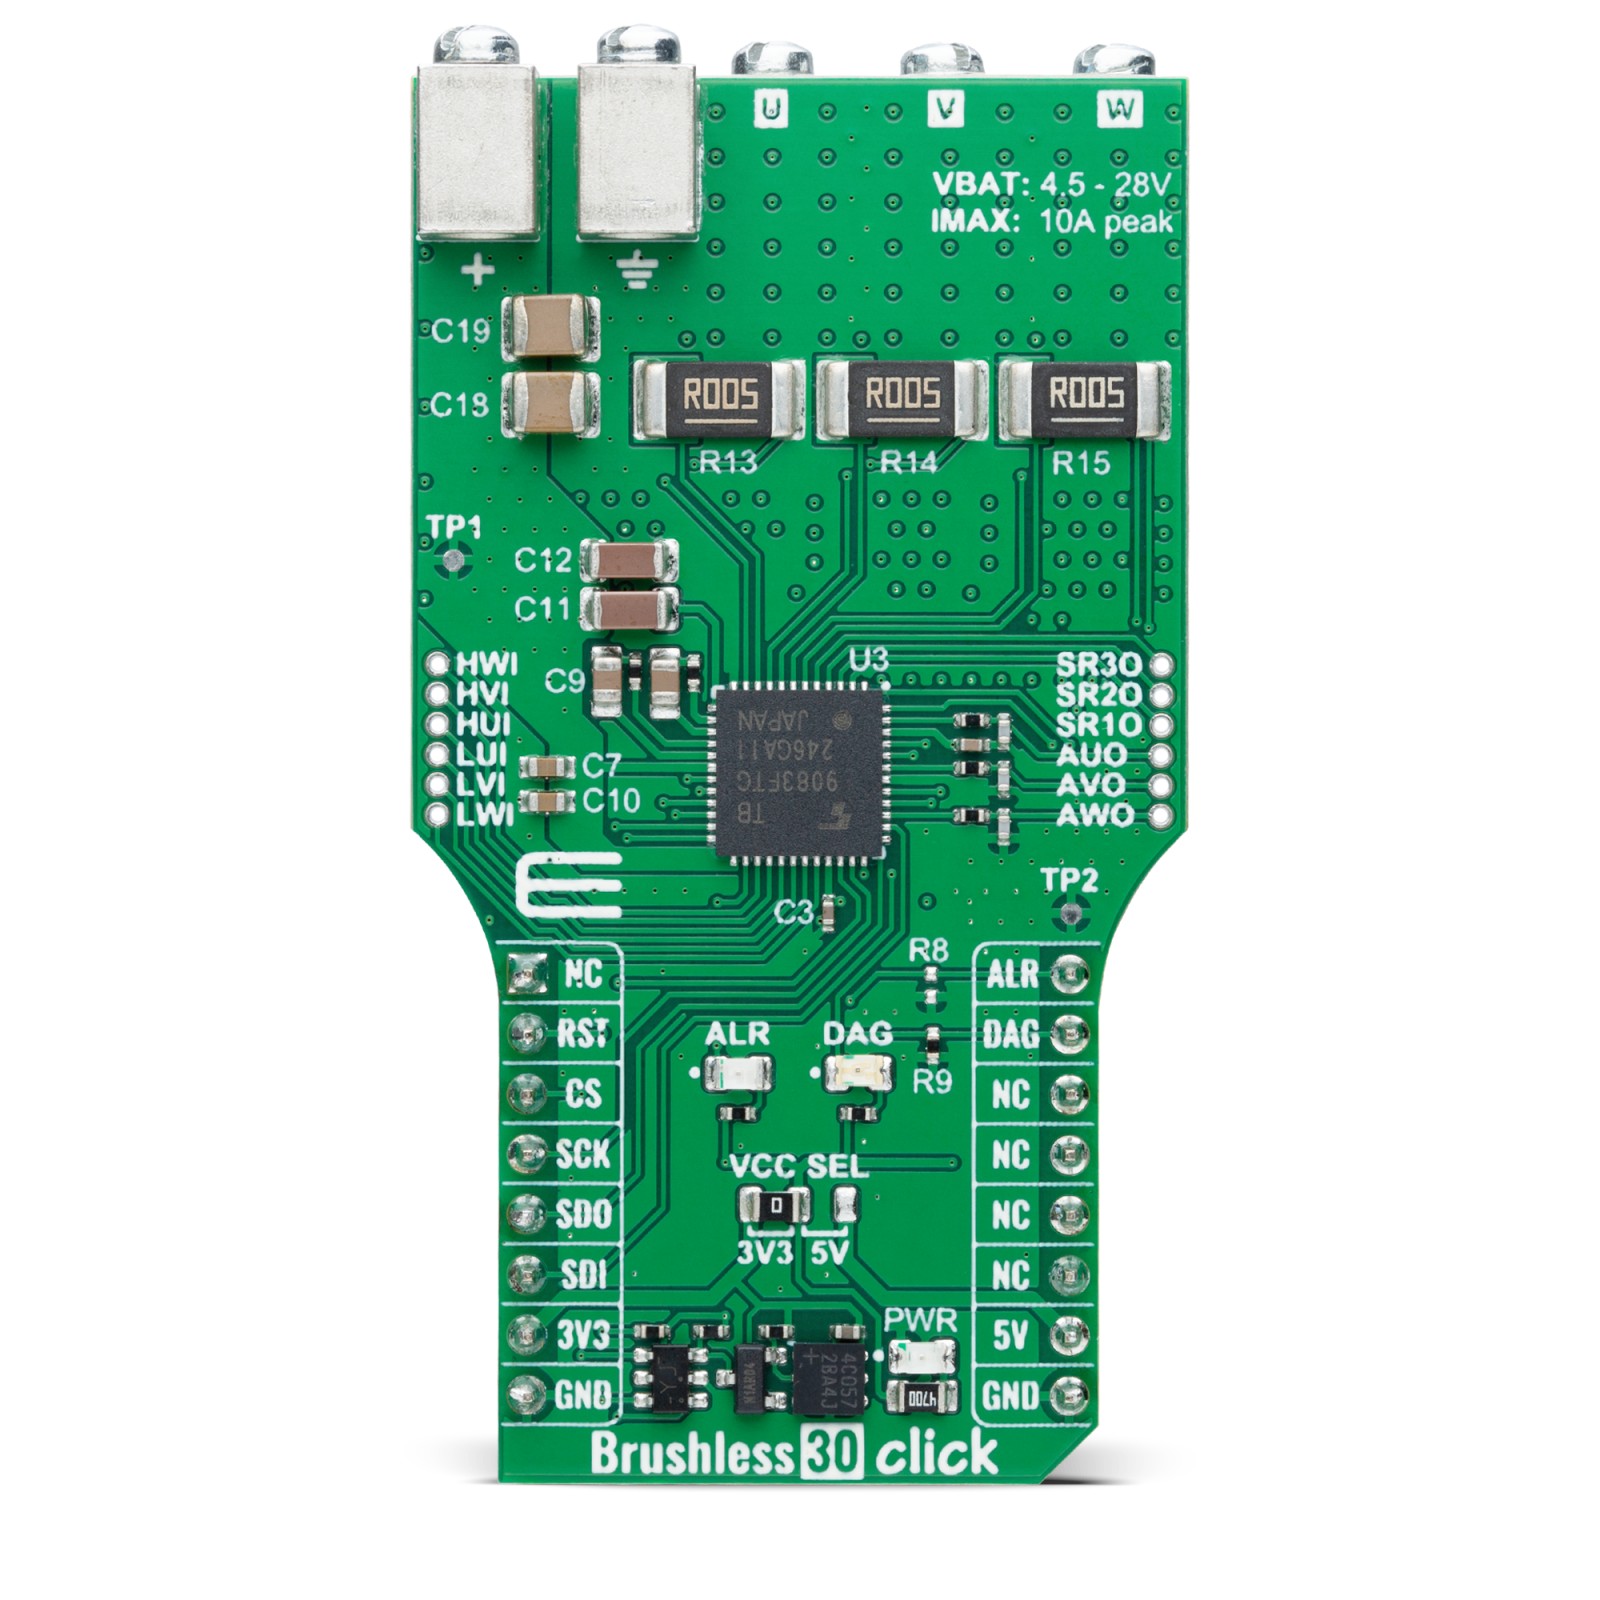
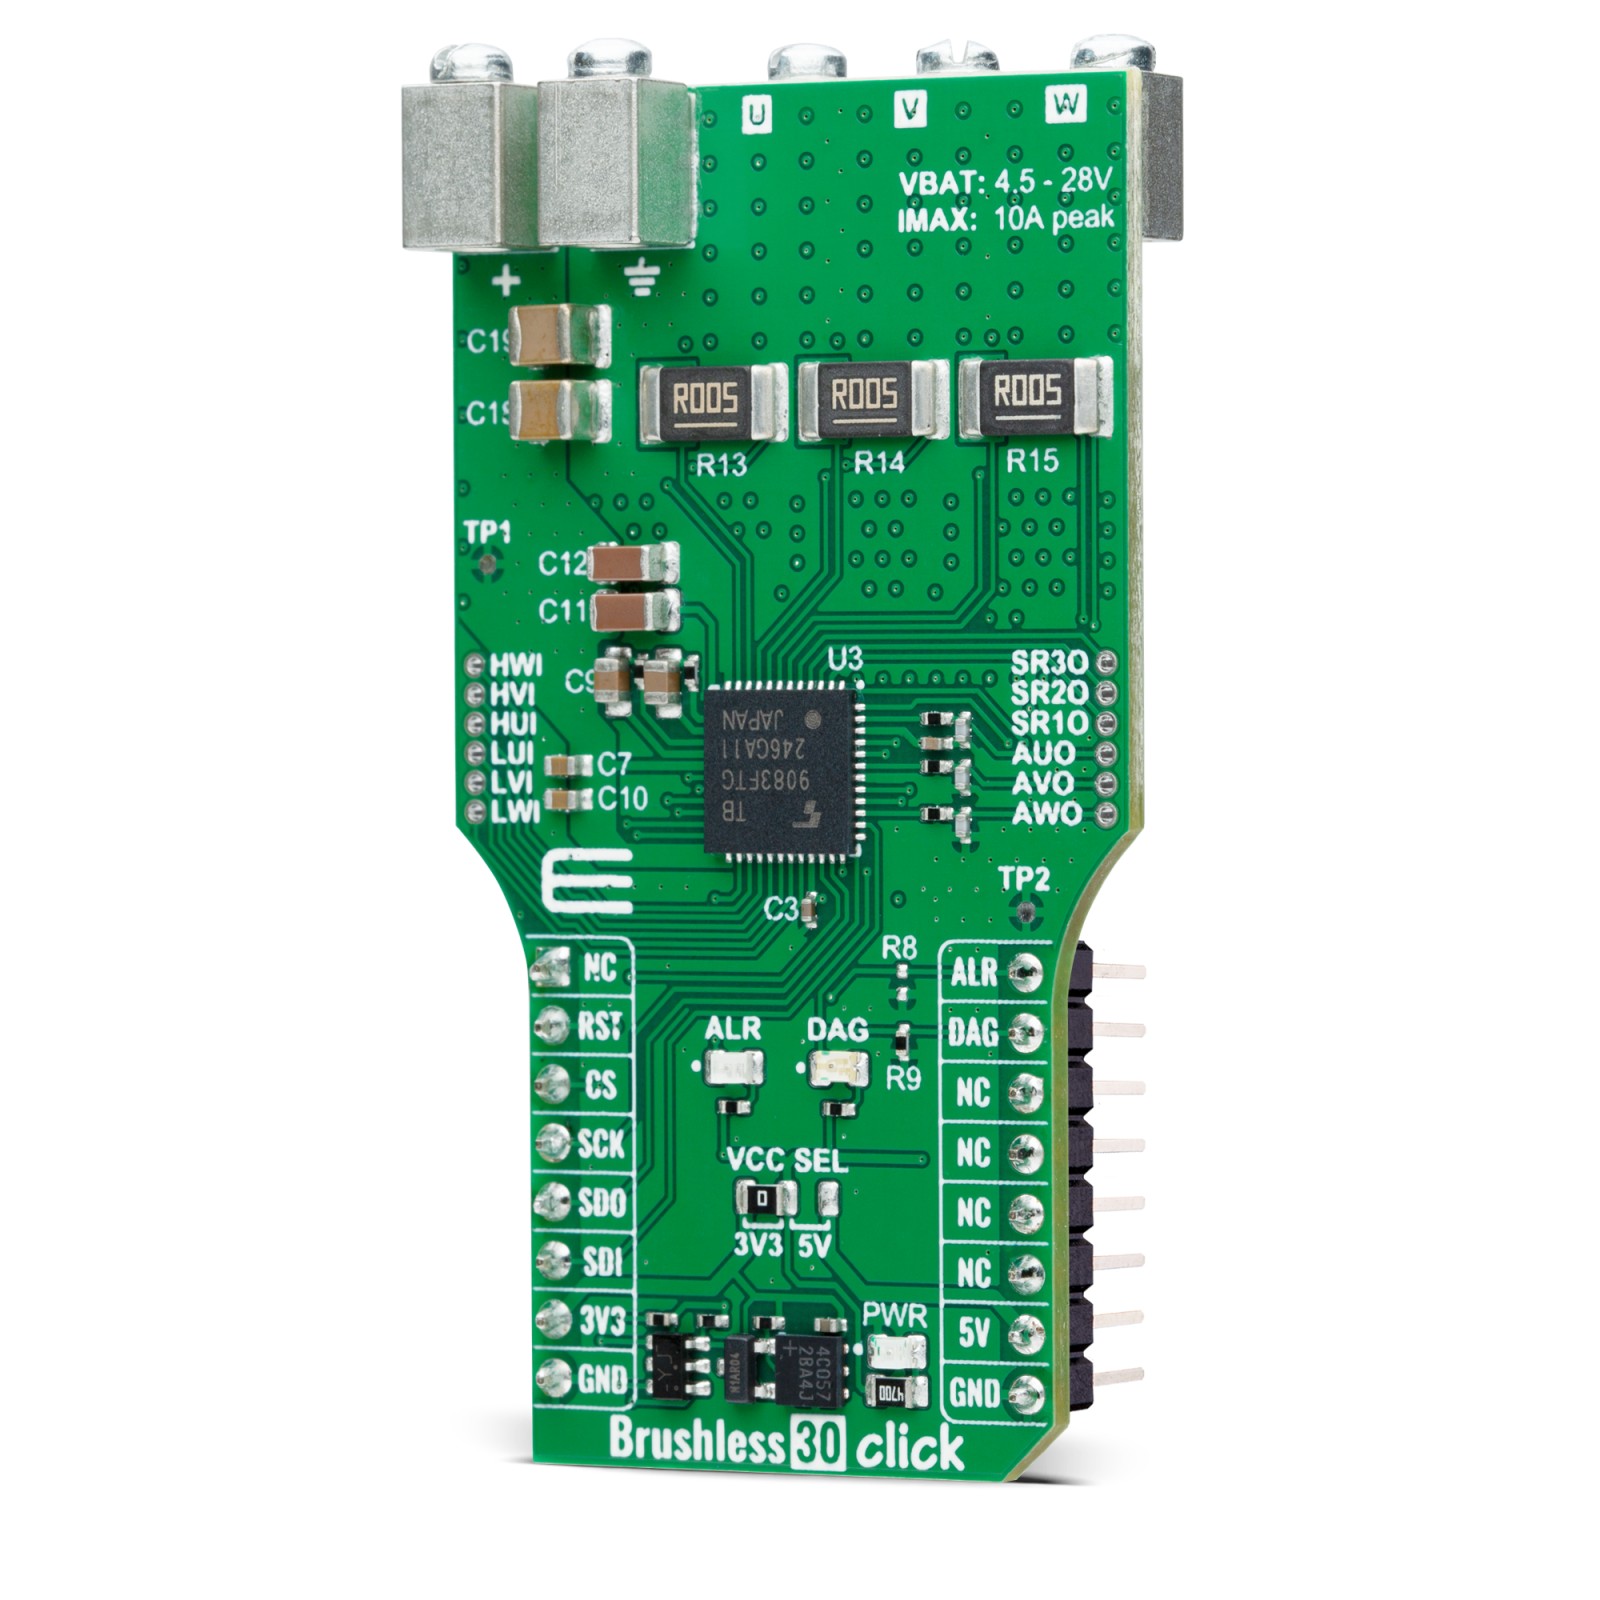
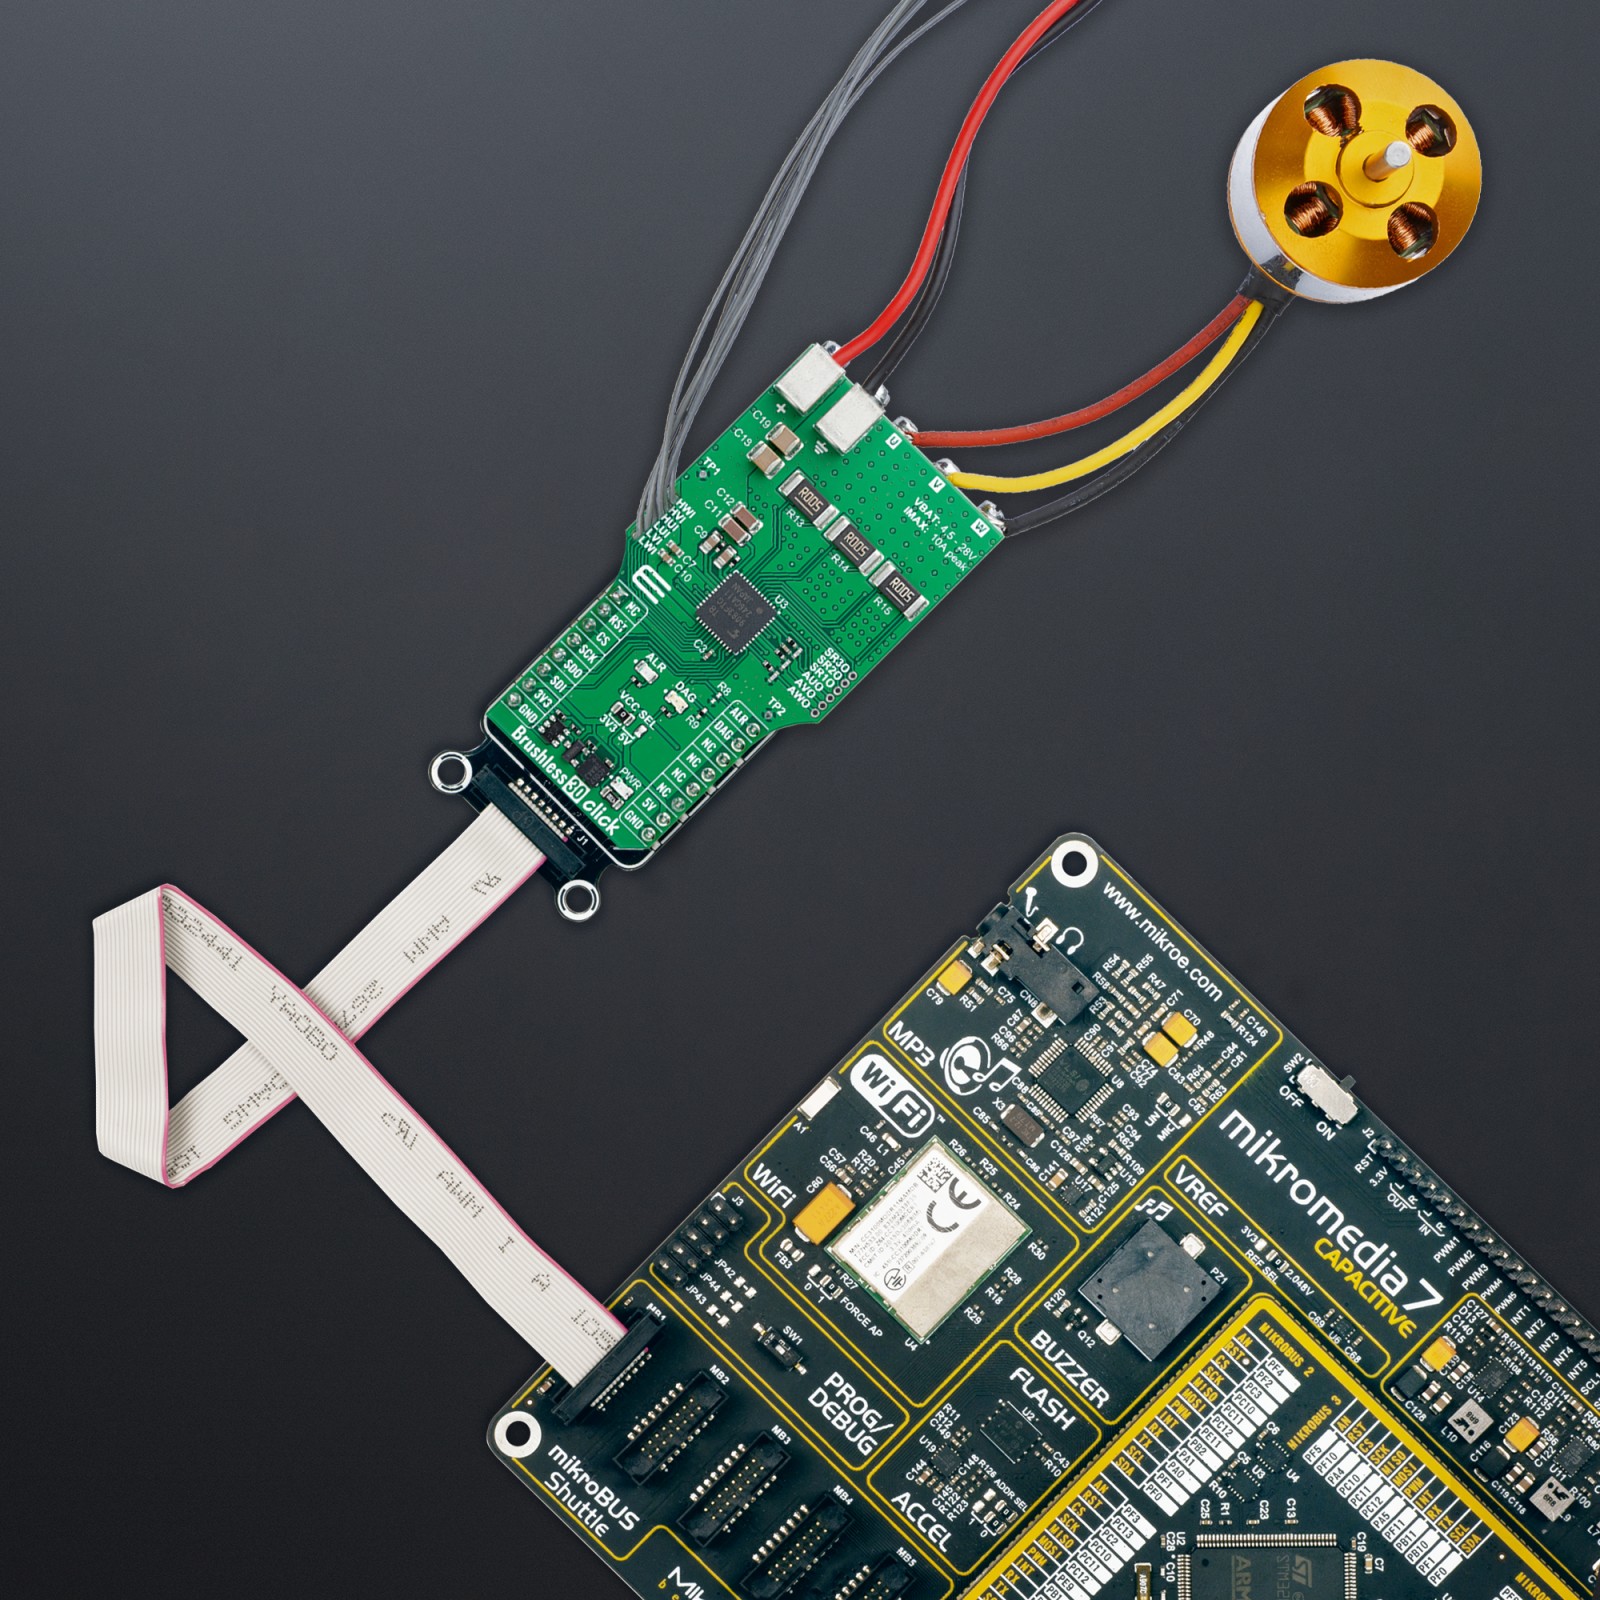
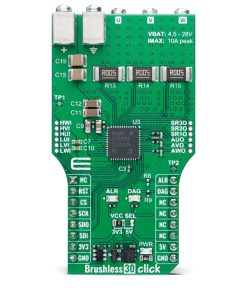
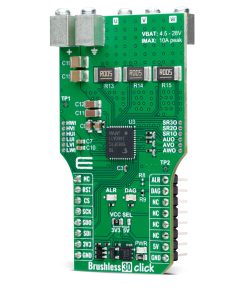
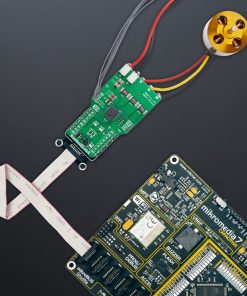
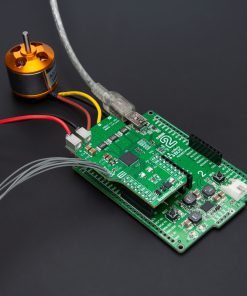
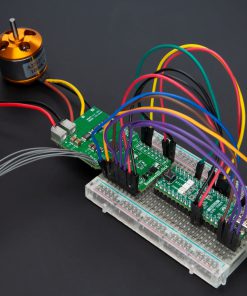
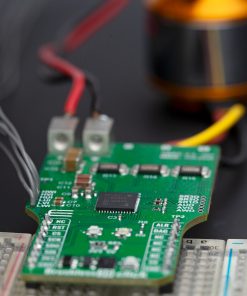
Brushless 30 Click is a compact add-on board for precise and reliable control of brushless motors. This board features the TB9083FTG, a gate-driver IC from Toshiba Semiconductor, known for its robust performance in automotive environments. It also includes additional header pins for 6 PWM inputs , safety relays and current sense amplifiers. Comprehensive error detection capabilities, as required from automotive devices, are included. Brushless 30 Click is ideal for demanding automotive applications such as electric power steering (EPS), powered brakes, and automotive pumps where high-precision motor control is crucial.
Brushless 30 Click is fully compatible with the mikroBUS™ socket and can be used on any host system supporting the mikroBUS™ standard. It comes with the mikroSDK open-source libraries, offering unparalleled flexibility for evaluation and customization. What sets this Click board™ apart is the groundbreaking ClickID feature, enabling your host system to seamlessly and automatically detect and identify this add-on board.
Stock: Lead-time applicable.
| 5+ | R1,425.00 |
| 10+ | R1,350.00 |
| 15+ | R1,275.00 |
| 20+ | R1,227.00 |
How does it work?
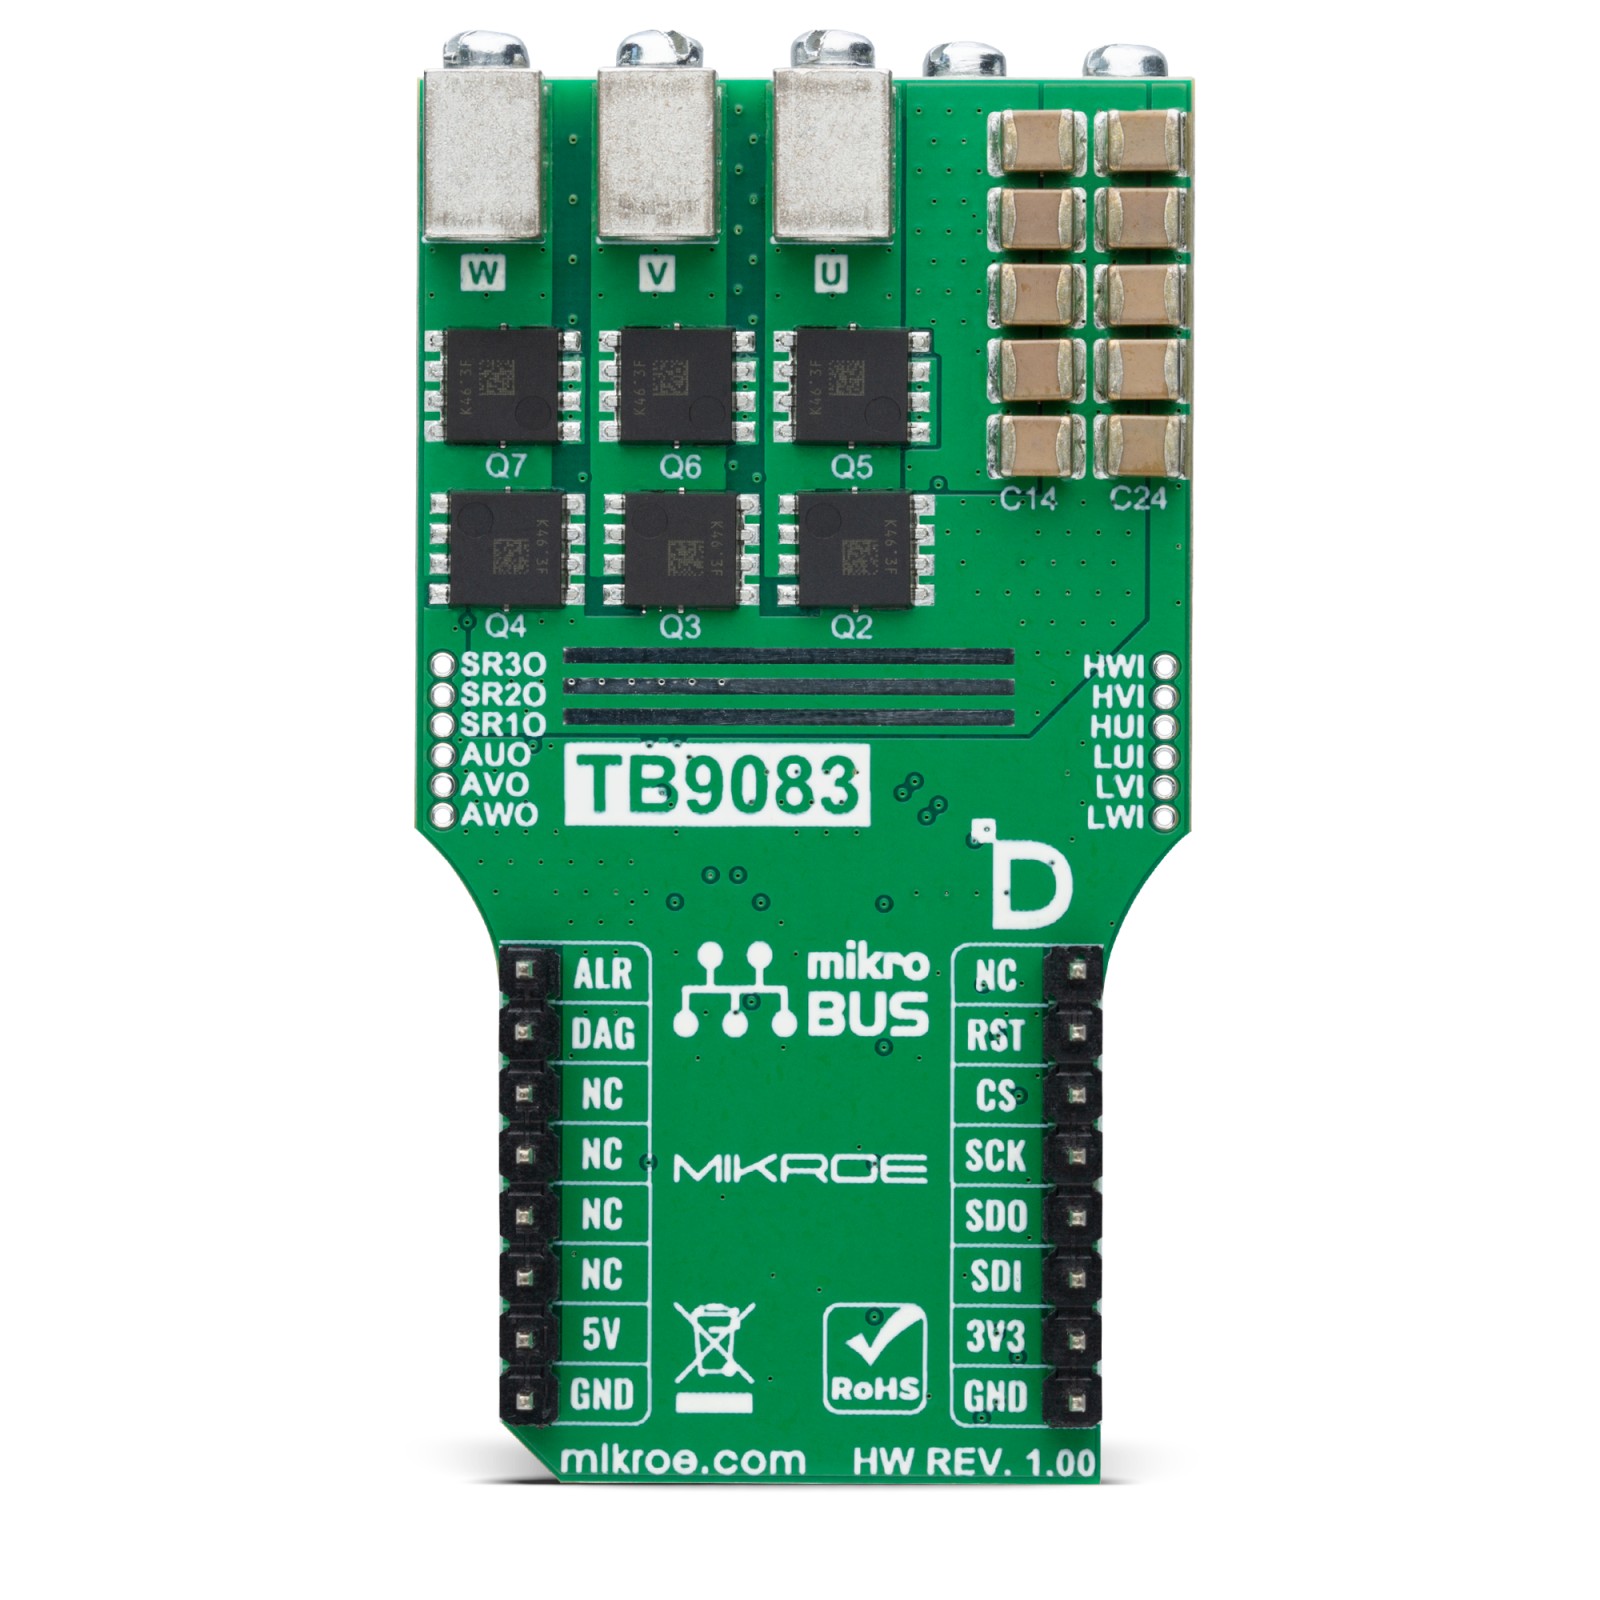
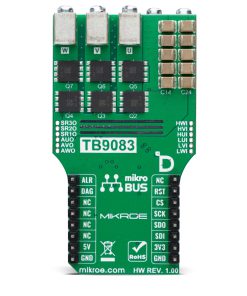
Brushless 30 Click is based on the TB9083FTG, a gate-driver IC from Toshiba Semiconductor, specifically made for automotive environments and qualified under AEC-Q100 and AEC-Q006 standards. This Click board™ leverages the TB9083FTG’s capabilities, featuring a three-phase BLDC pre-driver that controls brushless motors through six onboard external MOSFETs (TPH1R104PB). Additionally, it integrates a safety relay pre-driver, ensuring an added layer of protection. The TB9083FTG also incorporates a built-in charge pump, adjustable current sense amplifiers for each motor phase oscillator circuits, and an SPI communication interface, enabling easy configuration and communication with the host MCU. To ensure reliable performance, the TB9083FTG also offers multiple error detection features, including undervoltage, overvoltage, overtemperature, and external MOSFET protection, making Brushless 30 Click a reliable choice for demanding automotive motor control applications such as electric power steering (EPS), powered brakes, and pumps.

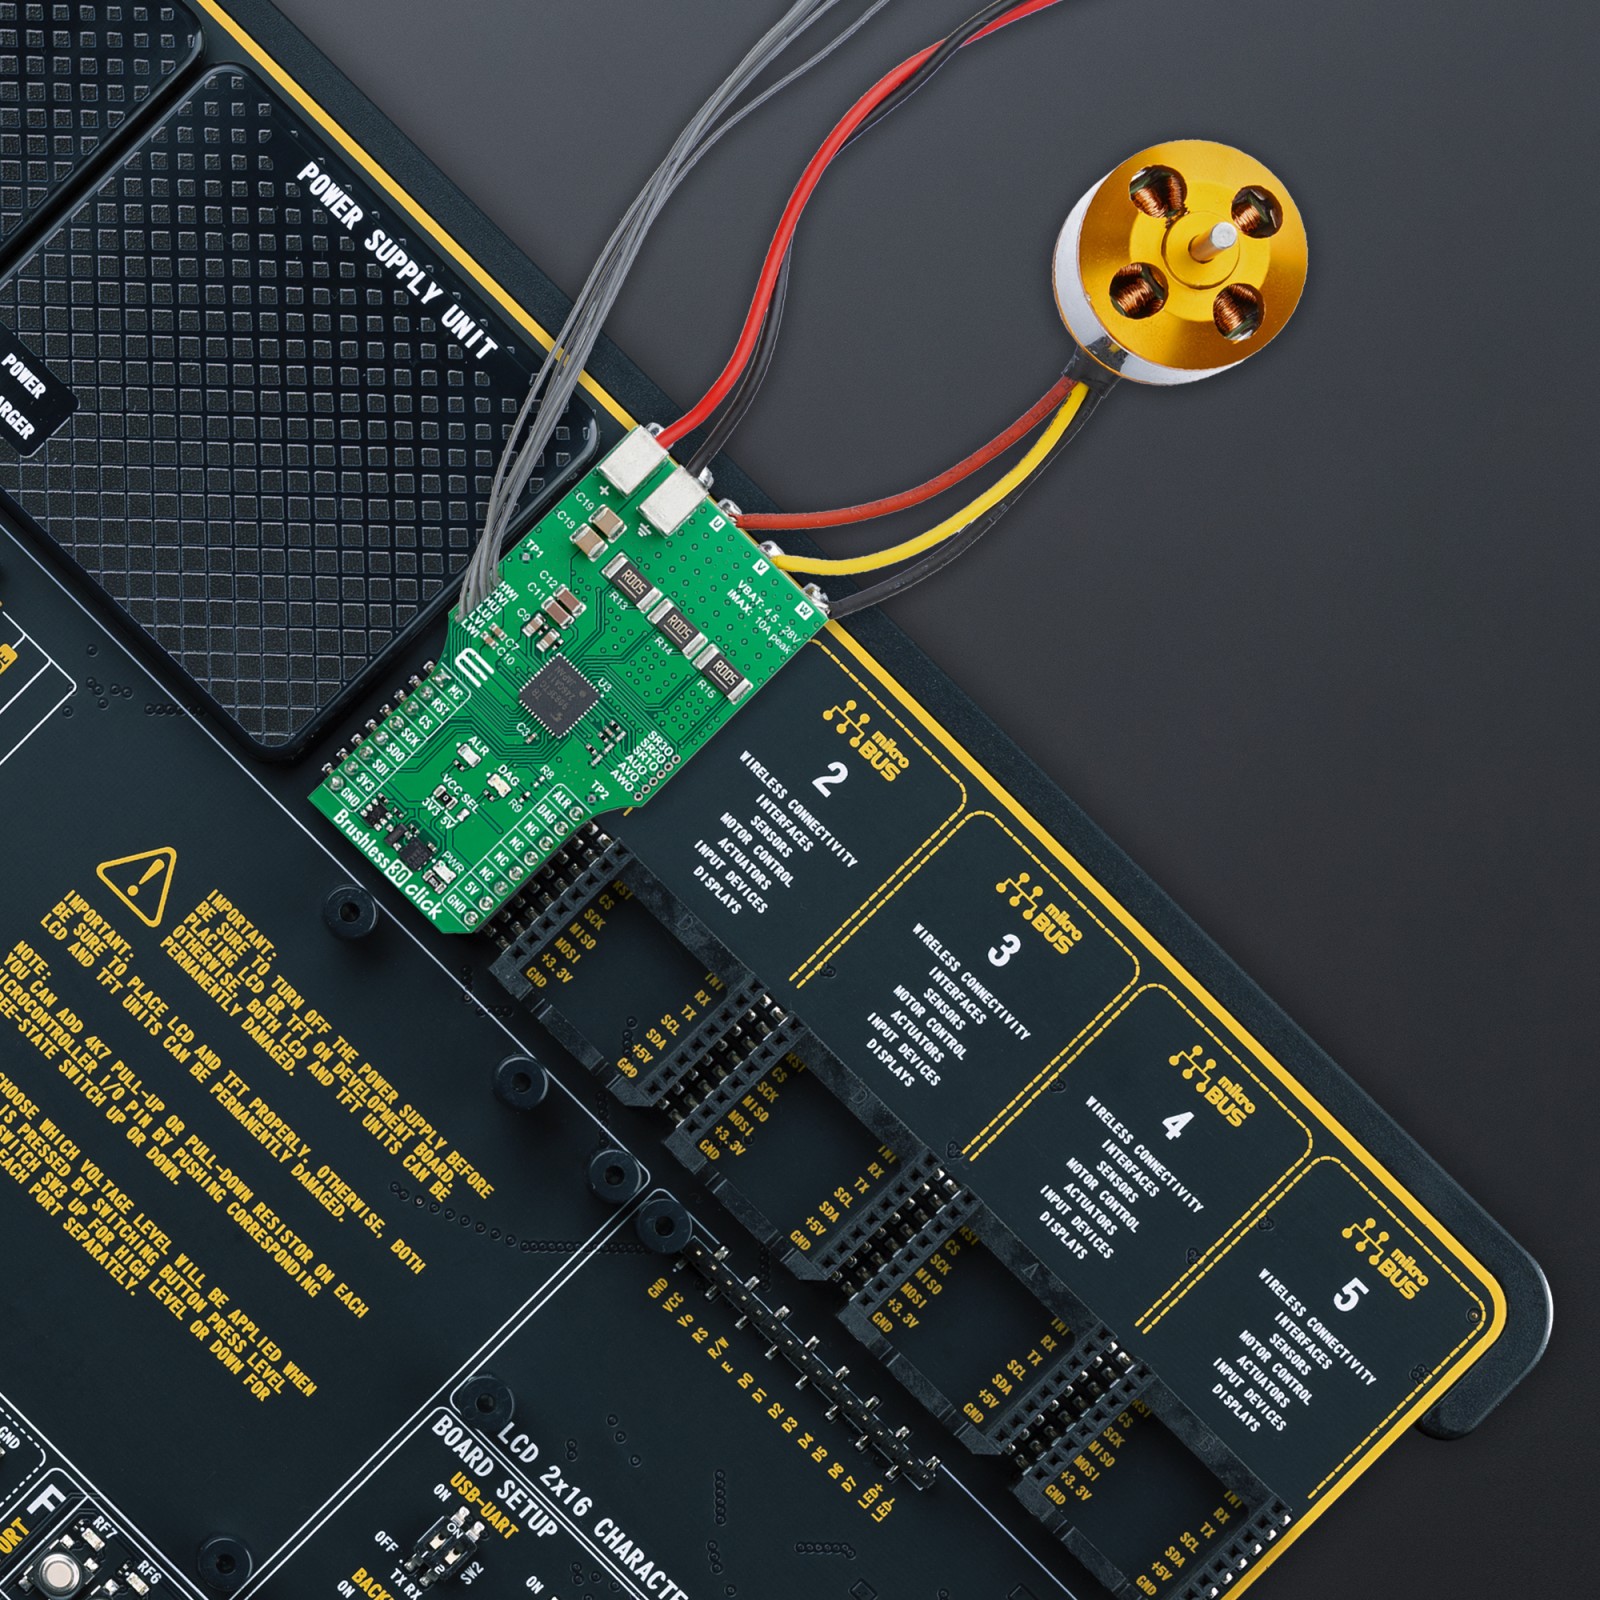
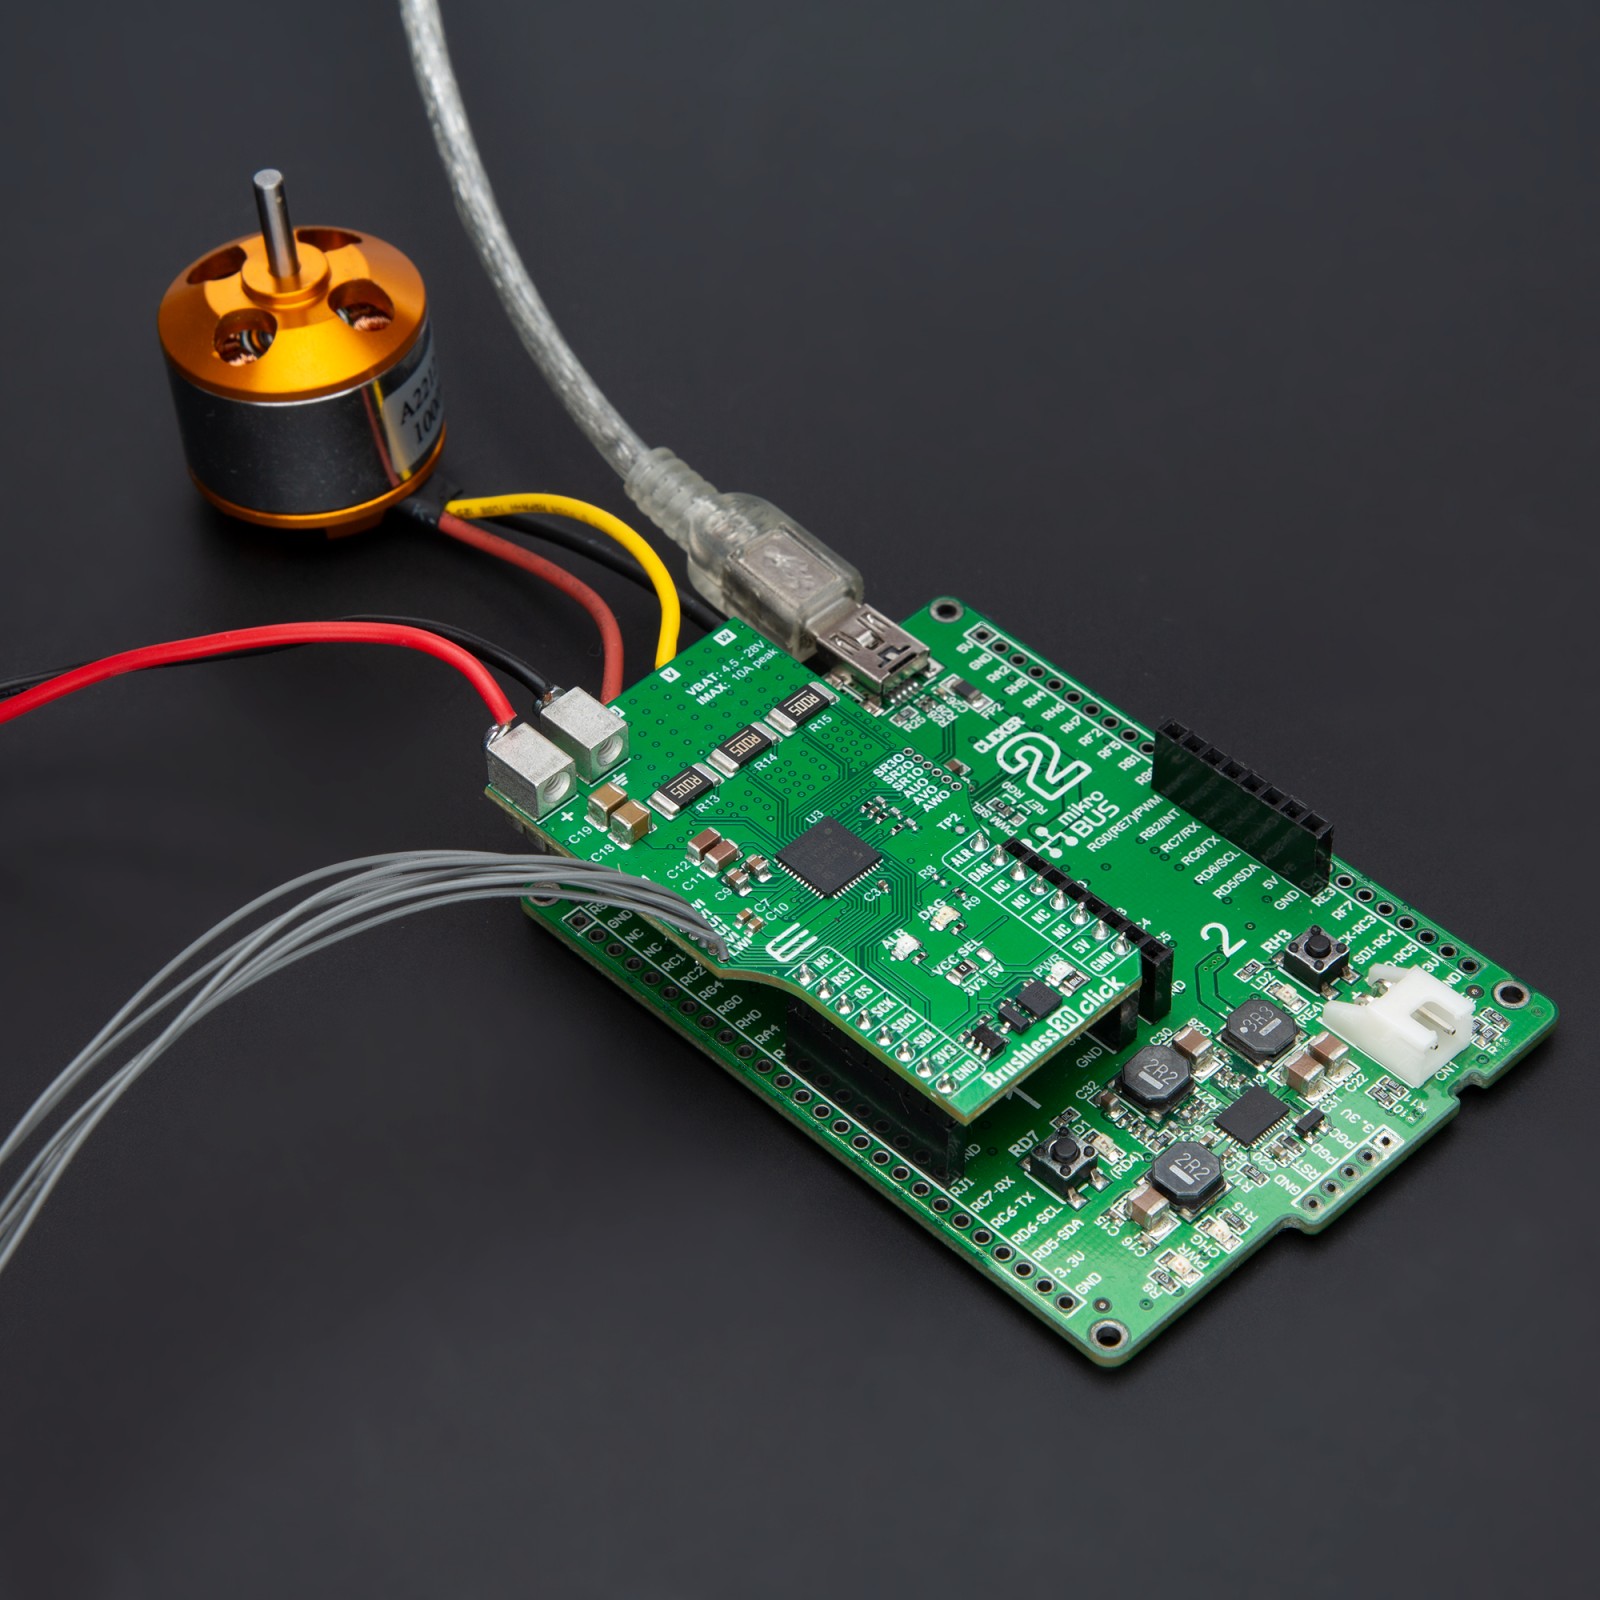
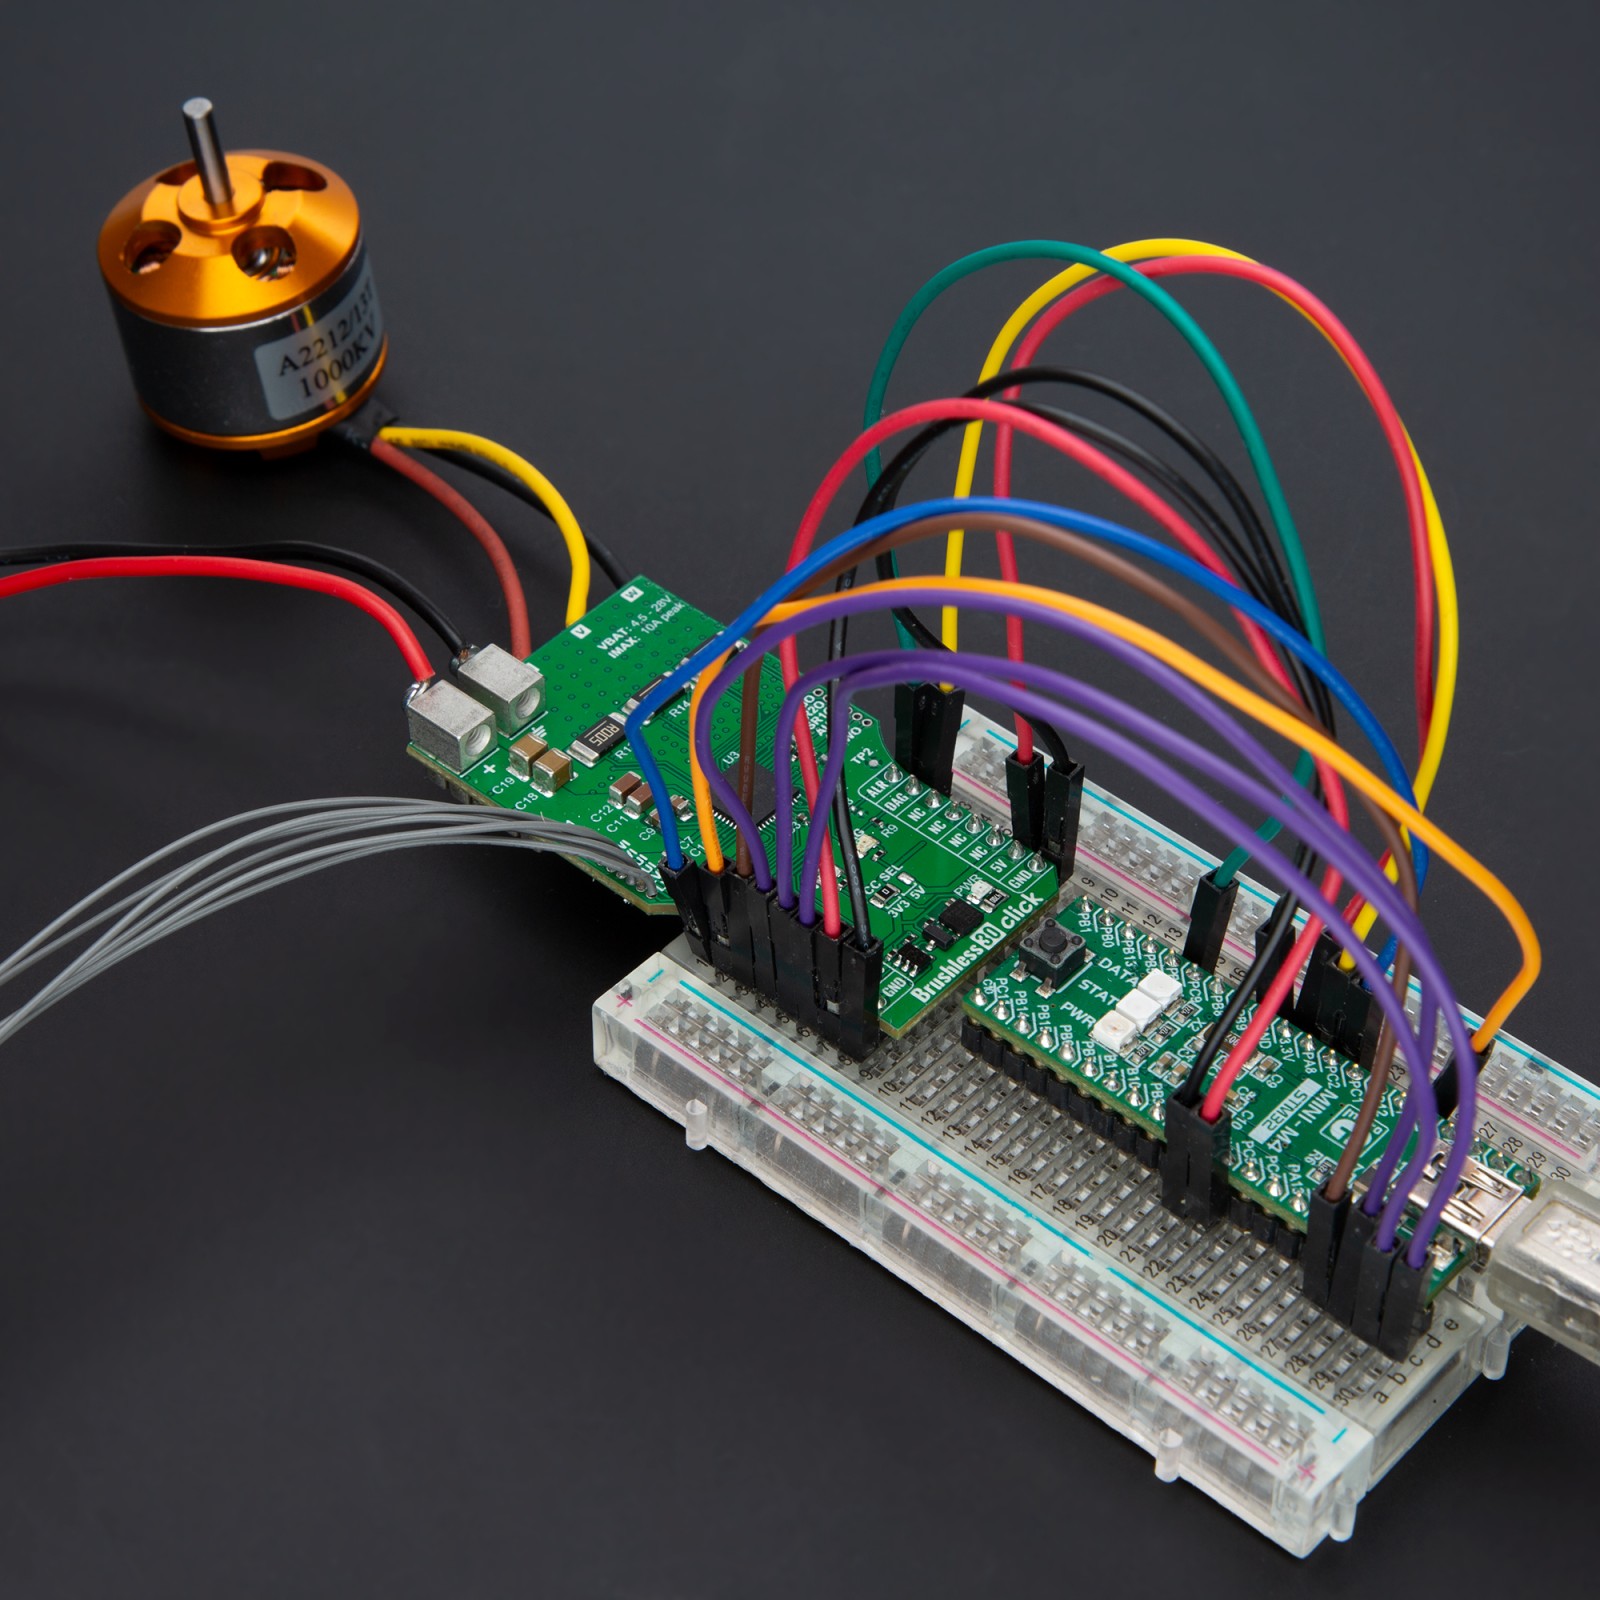
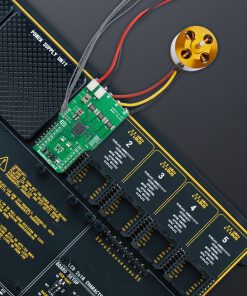
This Click board™ is designed to support a wide range of external power supplies, accepting input voltages from 4.5V to 28V through terminals on the board’s front side. It can deliver a peak output current of up to 10A, providing robust power for driving BLDC motors connected to the terminals on the bottom side. The board includes dedicated pins via the unpopulated J1 connector for the connection of the 6 PWM signals, provided by the driving device, required to drive the BLDC motor connected to the terminals of the Brushless 30 Click board™.
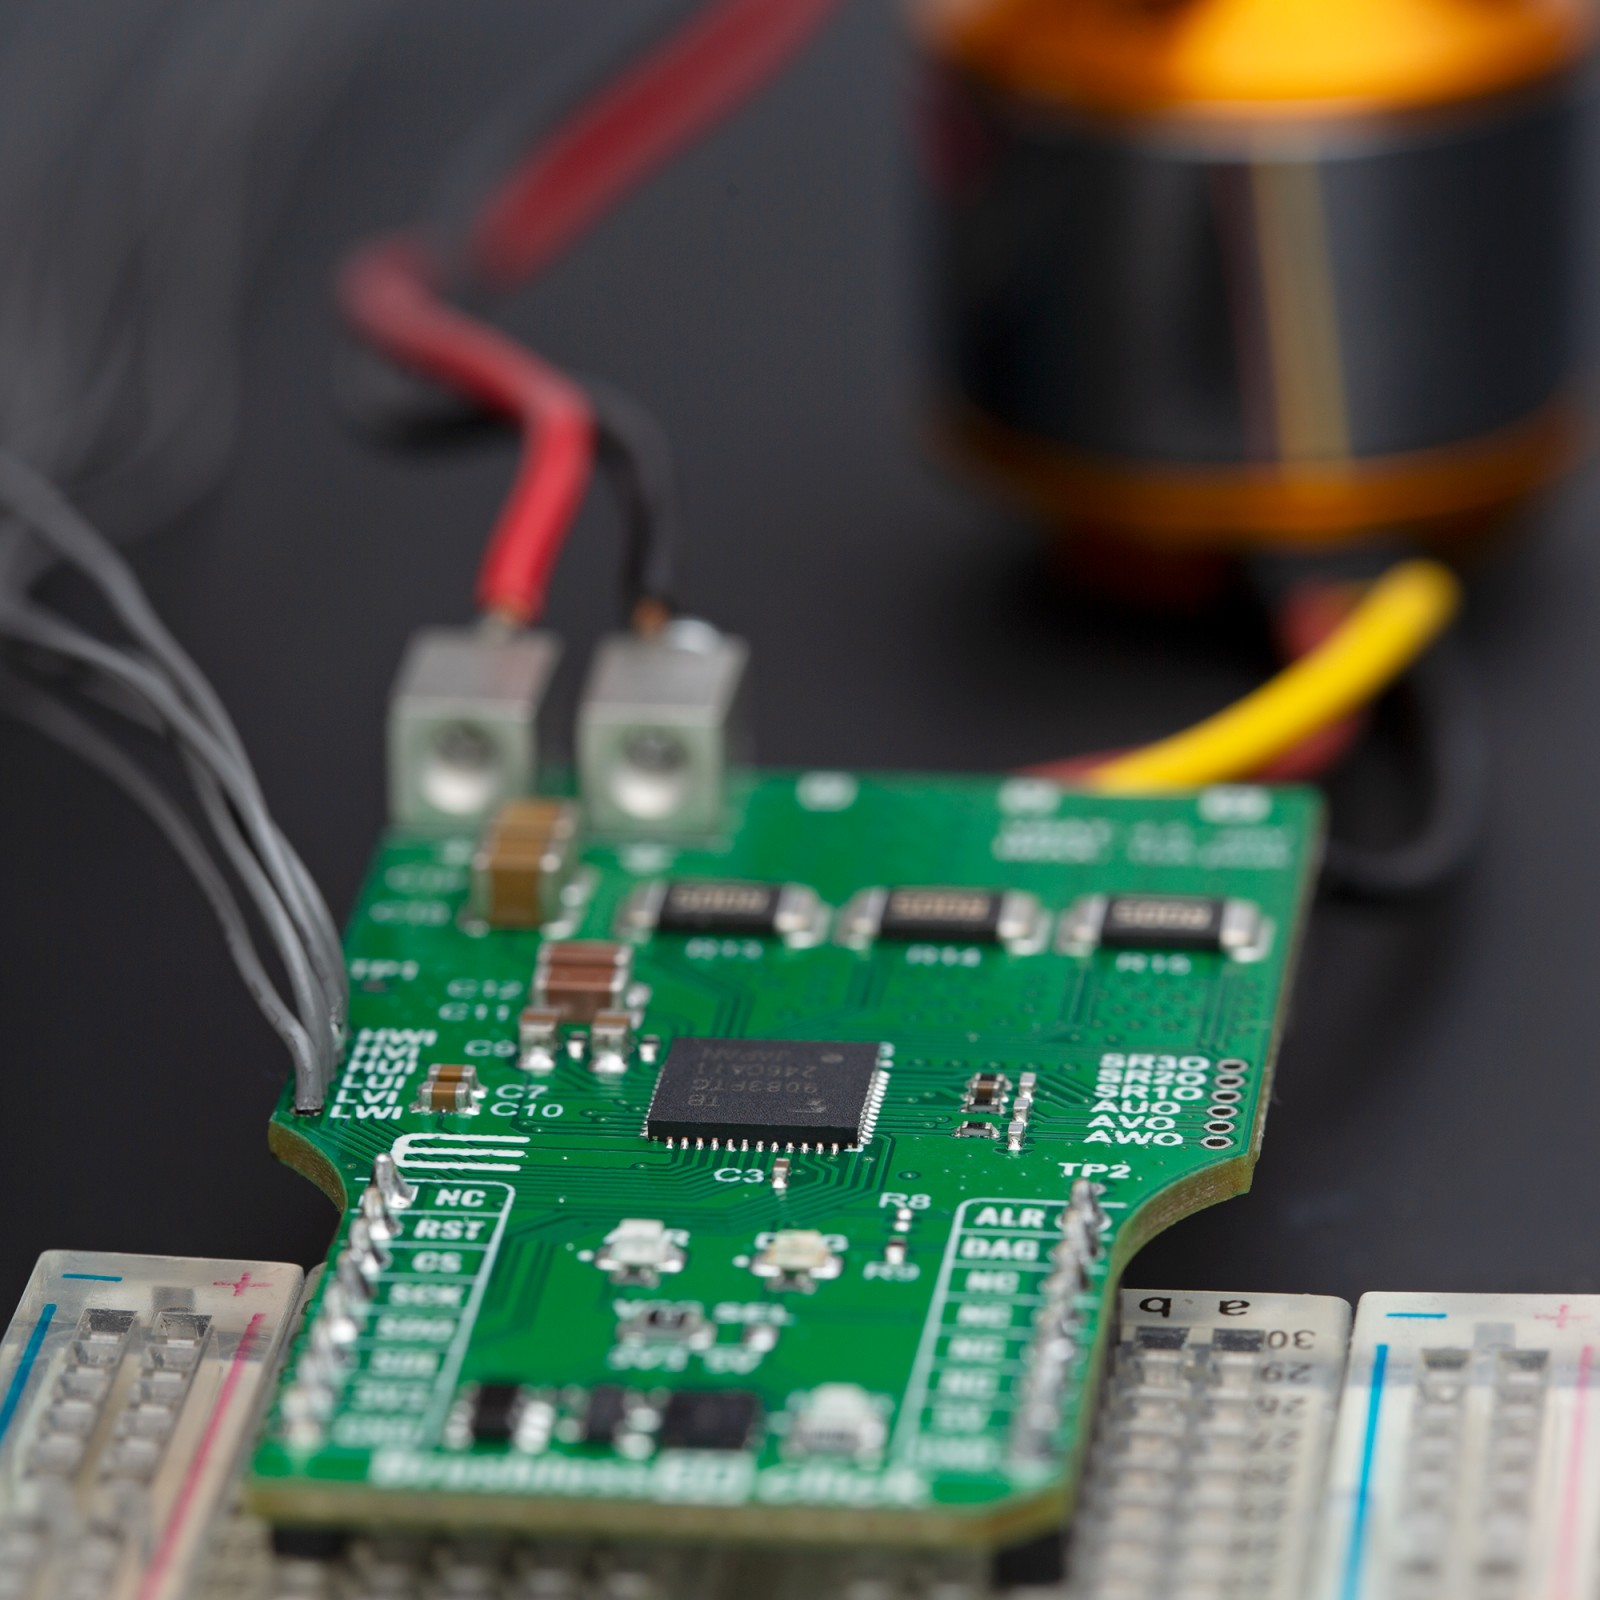
As previously mentioned, Brushless 30 Click communicates with the host MCU through a 4-wire SPI interface, supporting a maximum clock frequency of 2MHz, ensuring fast and reliable data transfer. The SPI interface allows for the modification of settings, such as trigger thresholds and response actions. In addition to the interface pins, the board also uses two other pins on the mikroBUS™ socket. The ALR pin is used to turn ON or OFF the motor drive and the safety pre-driver circuit. i.e. in case an abnormality situation is detected. This pin is connected to a red ALR LED indicator that provides visual alerts for such conditions. Similarly, the DAG pin functions as a diagnostic output of the TB9083FTG, offering information on whether the an error condition has been detected.. This pin is linked to an orange DAG LED indicator, which visually signals the diagnostic status.
Besides the J1 header, this board includes several other unpopulated headers offering additional functionality. The AxO (J3) header is connected to the current detector circuit, which features three motor current detector amplifiers. These outputs can amplify the differential voltage caused by the current passing through the shunt resistor connected to the motor drive, providing precise current measurements. The SRxO (J4) header is linked to the safety relay pre driver, which controls the power or motor relay connected to this unpopulated header. The safety relay pre-driver circuit is managed through the CP_RLY_CTRL SPI register and includes a built-in 500Ω resistor and a backflow prevention diode to protect against reverse connections.
This Click board™ can operate with either 3.3V or 5V logic voltage levels selected via the VCC SEL jumper. This way, both 3.3V and 5V capable MCUs can use the communication lines properly. Also, this Click board™ comes equipped with a library containing easy-to-use functions and an example code that can be used as a reference for further development.
Specifications
Type
Brushless
Applications
Ideal for electric power steering (EPS), powered brakes, and automotive pumps
On-board modules
TB9083FTG – automotive gate-driver IC from Toshiba Semiconductor
Key Features
Qualified under AEC-Q100 and AEC-Q006 standards, safety relay pre-driver with multiple error detection, broad range of external power supply, peak output current of up to 10A, SPI interface, 6 PWM inputs, alarm and diagnostic indicators, and more
Interface
SPI
Feature
ClickID
Compatibility
mikroBUS™
Click board size
L (57.15 x 25.4 mm)
Input Voltage
3.3V or 5V,External
Pinout diagram
This table shows how the pinout on Brushless 30 Click corresponds to the pinout on the mikroBUS™ socket (the latter shown in the two middle columns).
Onboard settings and indicators
| Label | Name | Default | Description |
|---|---|---|---|
| LD1 | PWR | – | Power LED Indicator |
| LD2 | DAG | – | Diagnostic LED Indicator |
| LD3 | ALR | – | Alarm LED Indicator |
| JP1 | VCC SEL | Left | Power Voltage Level Selection 3V3/5V: Left position 3V3, Right position 5V |
Brushless 30 Click electrical specifications
| Description | Min | Typ | Max | Unit |
|---|---|---|---|---|
| Supply Voltage | 3.3 | – | 5 | V |
| External Power Supply | 4.5 | – | 28 | V |
| Output Current | – | – | 10 | A |
Software Support
We provide a library for the Brushless 30 Click as well as a demo application (example), developed using MIKROE compilers. The demo can run on all the main MIKROE development boards.
Package can be downloaded/installed directly from NECTO Studio Package Manager (recommended), downloaded from our LibStock™ or found on MIKROE github account.
Library Description
This library contains API for Brushless 30 Click driver.
Key functions
-
brushless30_write_regThis function writes a data word to the selected register by using SPI serial interface. -
brushless30_read_regThis function reads a data word from the selected register by using SPI serial interface. -
brushless30_get_diag_pinThis function returns the DIAG pin logic state.
Example Description
This example configures the Brushless 30 Click and makes it ready for the motor control over 6 PWM input signals.
void application_task ( void )
 {
     uint16_t status = 0;
     if ( !brushless30_get_diag_pin ( &brushless30 ) )
     {
         if ( BRUSHLESS30_OK == brushless30_read_reg ( &brushless30, BRUSHLESS30_REG_STAT1, &status ) )
         {
             if ( status )
             {
                 log_printf( &logger, " STAT1: 0x%.4Xrn", status );
                 if ( BRUSHLESS30_OK == brushless30_write_reg ( &brushless30, BRUSHLESS30_REG_STAT1, status ) )
                 {
                     log_printf( &logger, " STAT1: clearedrn" );
                 }
             }
         }

         if ( BRUSHLESS30_OK == brushless30_read_reg ( &brushless30, BRUSHLESS30_REG_STAT2, &status ) )
         {
             if ( status )
             {
                 log_printf( &logger, " STAT2: 0x%.4Xrn", status );
                 if ( BRUSHLESS30_OK == brushless30_write_reg ( &brushless30, BRUSHLESS30_REG_STAT2, status ) )
                 {
                     log_printf( &logger, " STAT2: clearedrn" );
                 }
             }
         }

         Delay_ms ( 1000 );
     }
 }
The full application code, and ready to use projects can be installed directly from NECTO Studio Package Manager (recommended), downloaded from our LibStock™ or found on MIKROE github account.
Other MIKROE Libraries used in the example:
- MikroSDK.Board
- MikroSDK.Log
- Click.Brushless30
Additional notes and informations
Depending on the development board you are using, you may need USB UART click, USB UART 2 Click or RS232 Click to connect to your PC, for development systems with no UART to USB interface available on the board. UART terminal is available in all MIKROE compilers.
mikroSDK
This Click board™ is supported with mikroSDK – MIKROE Software Development Kit. To ensure proper operation of mikroSDK compliant Click board™ demo applications, mikroSDK should be downloaded from the LibStock and installed for the compiler you are using.
For more information about mikroSDK, visit the official page.
Resources
Downloads
| Weight | 27 g |
|---|---|
| Brand | MikroElektronika |

