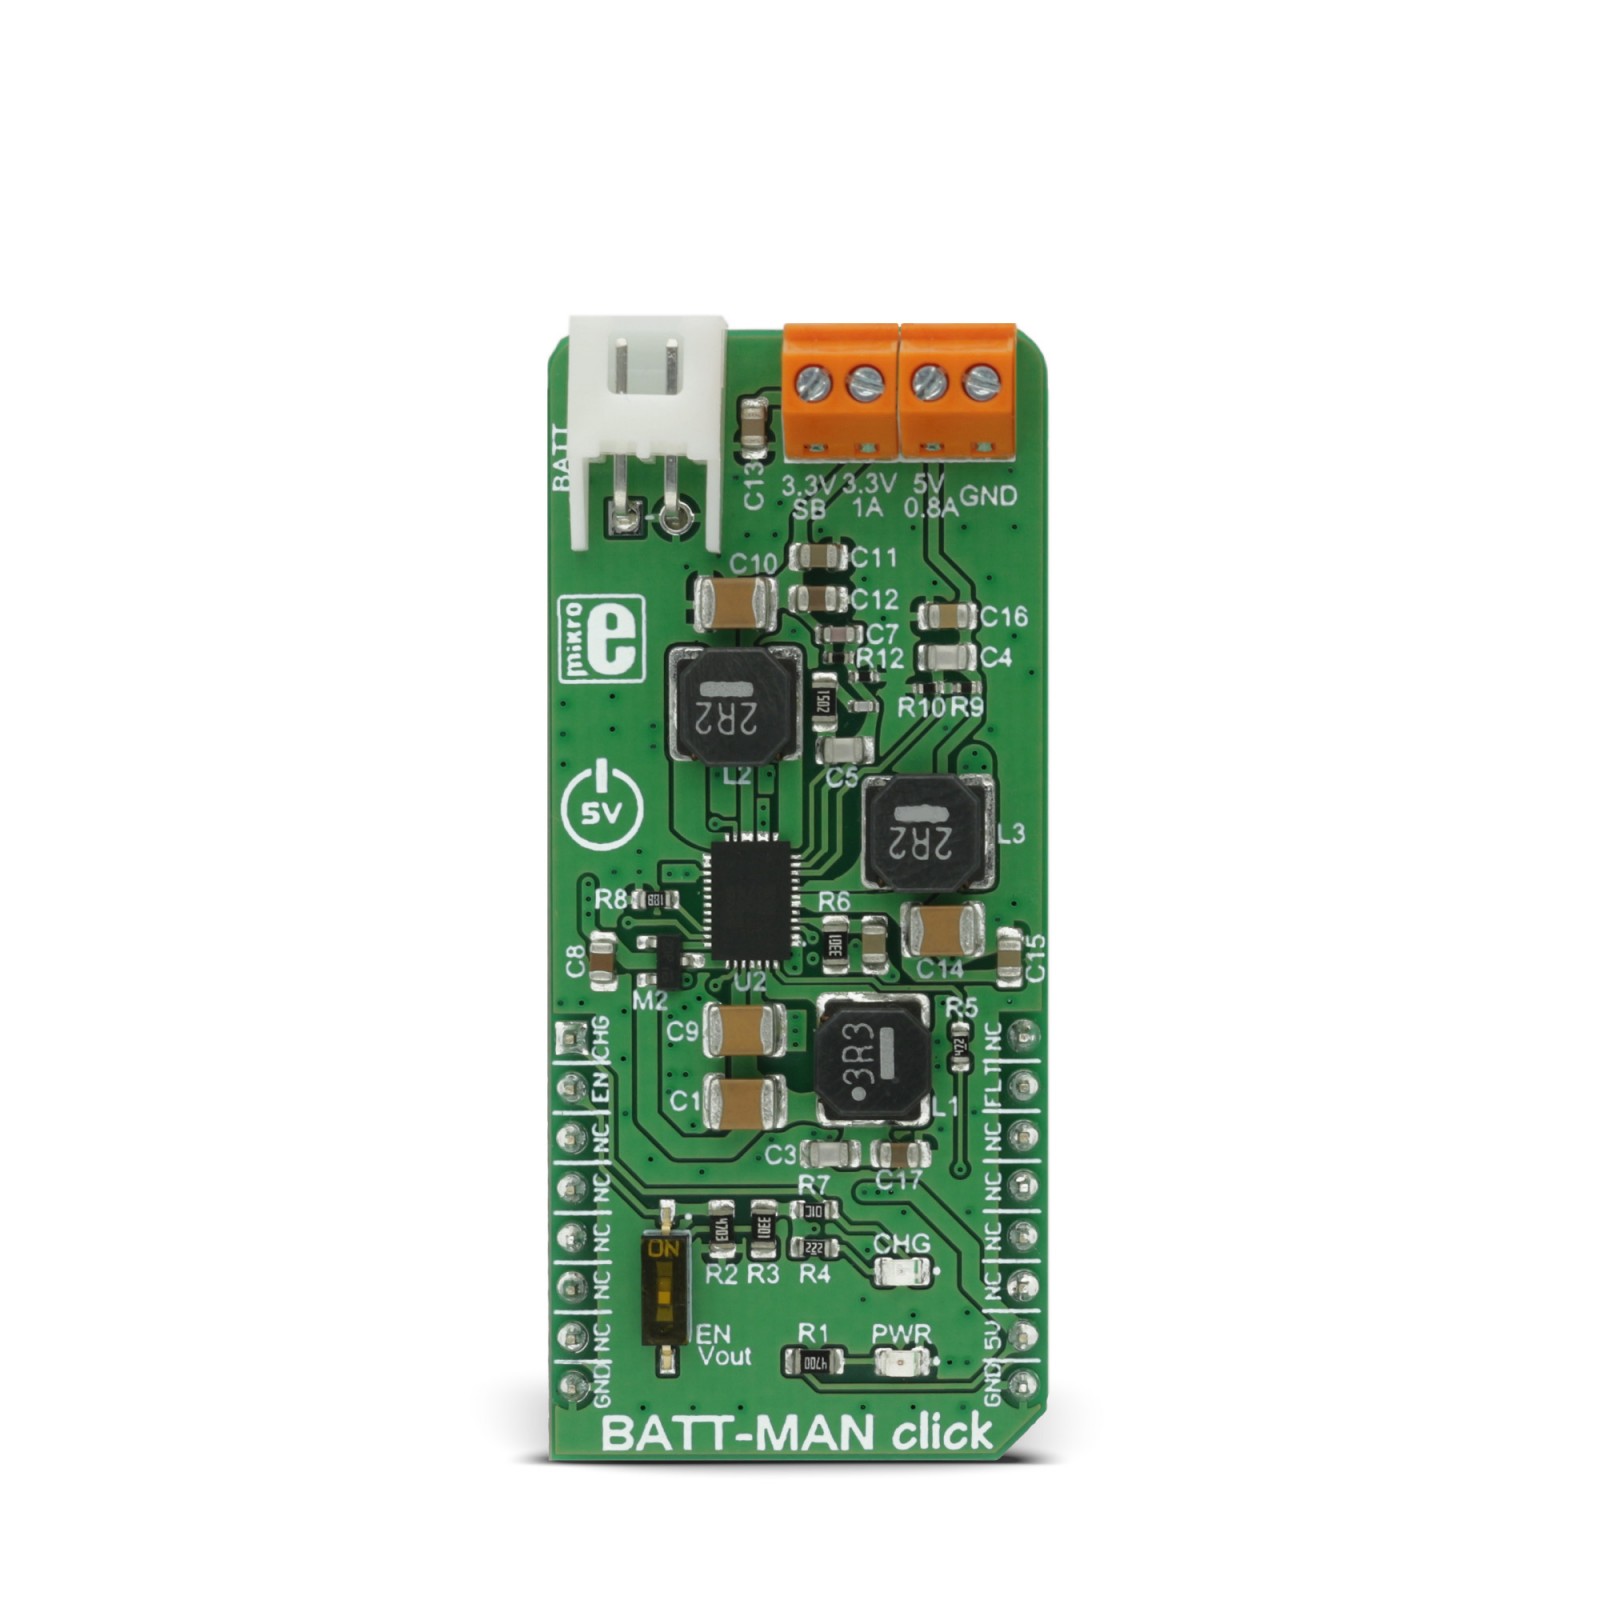
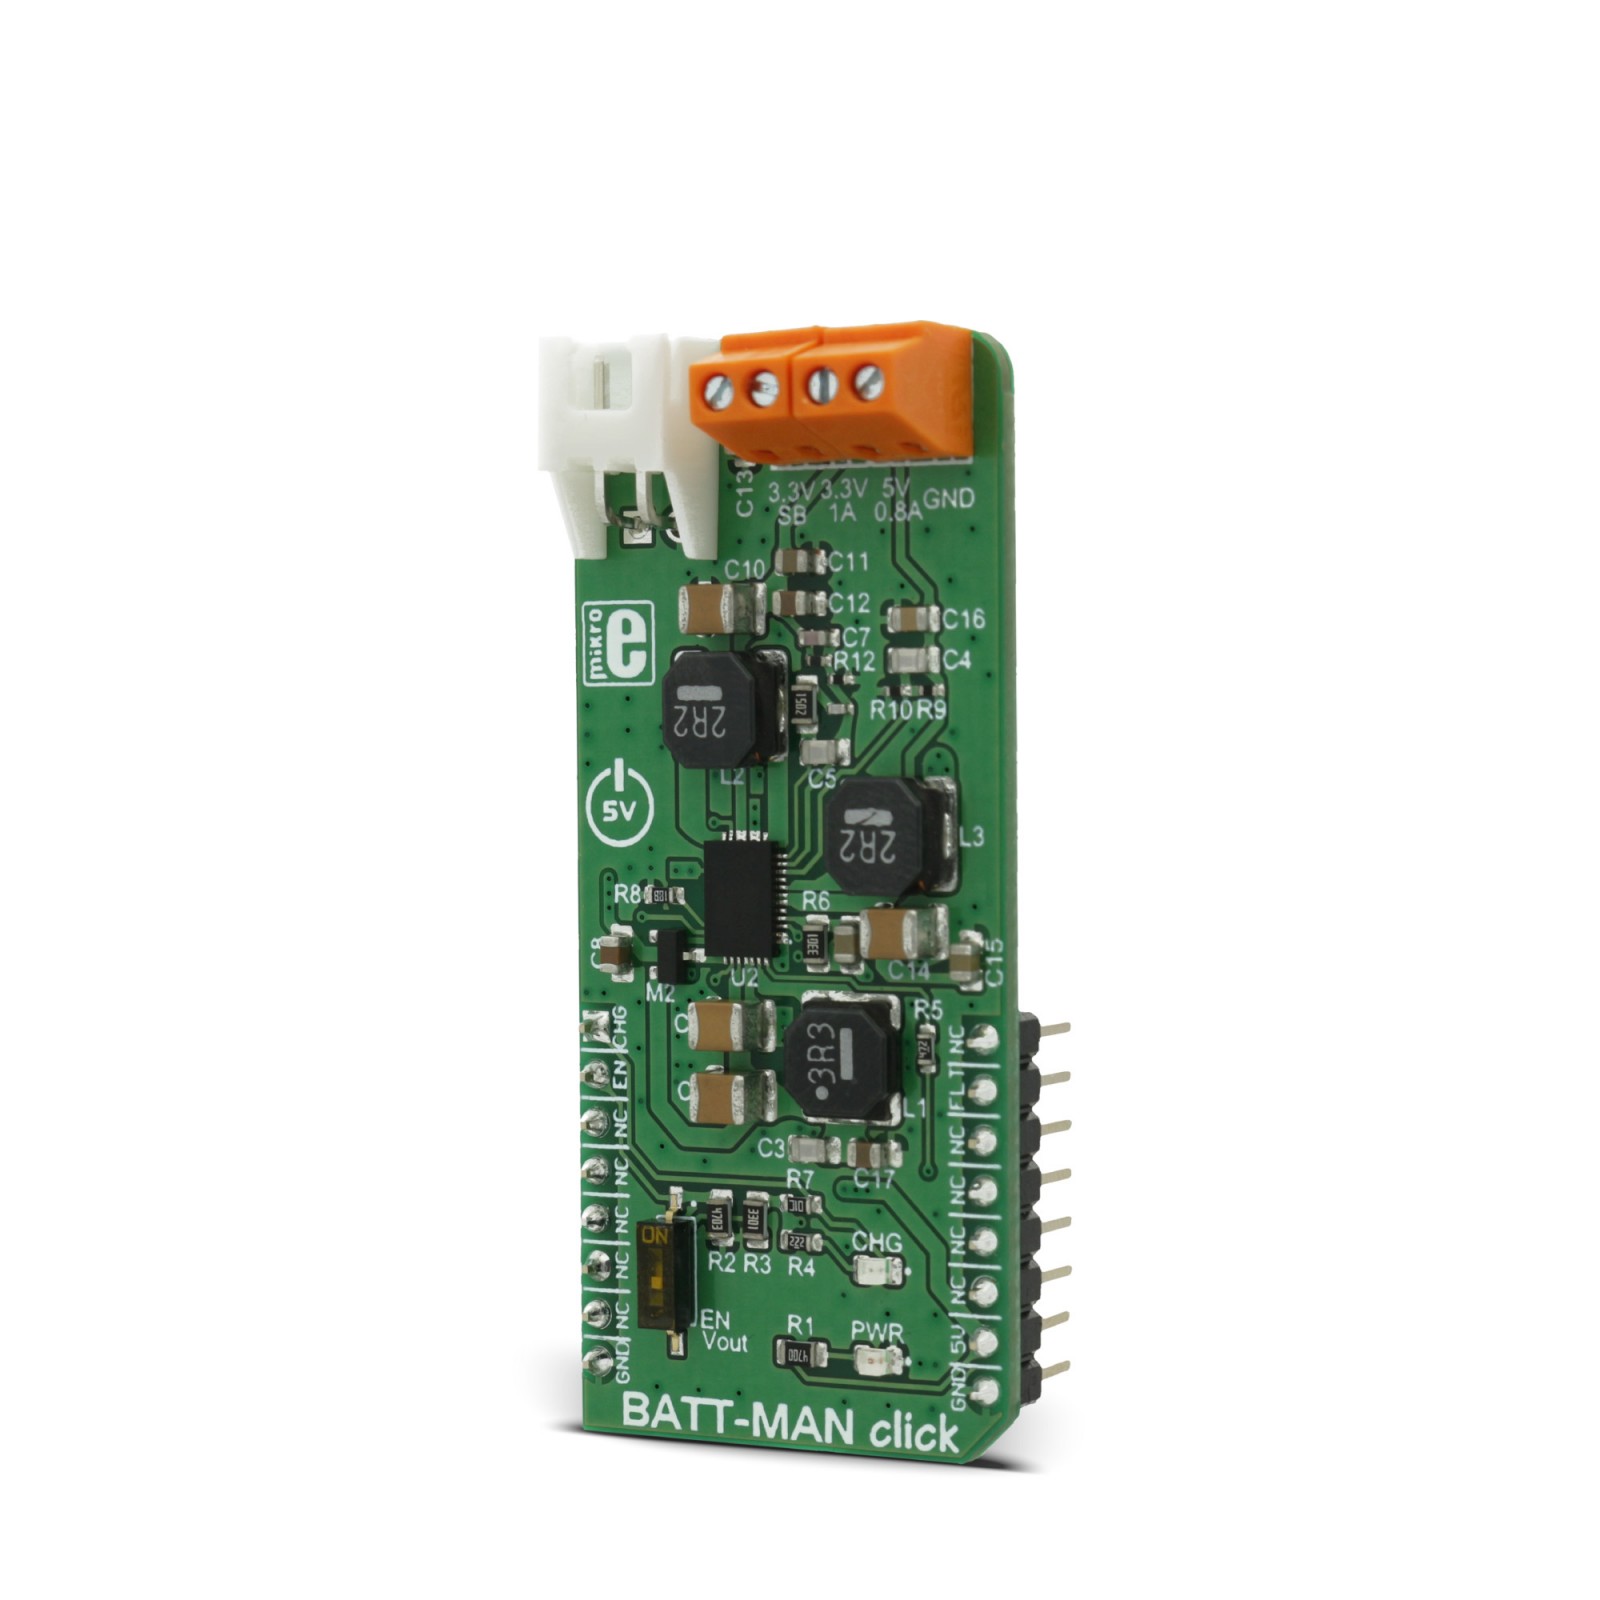
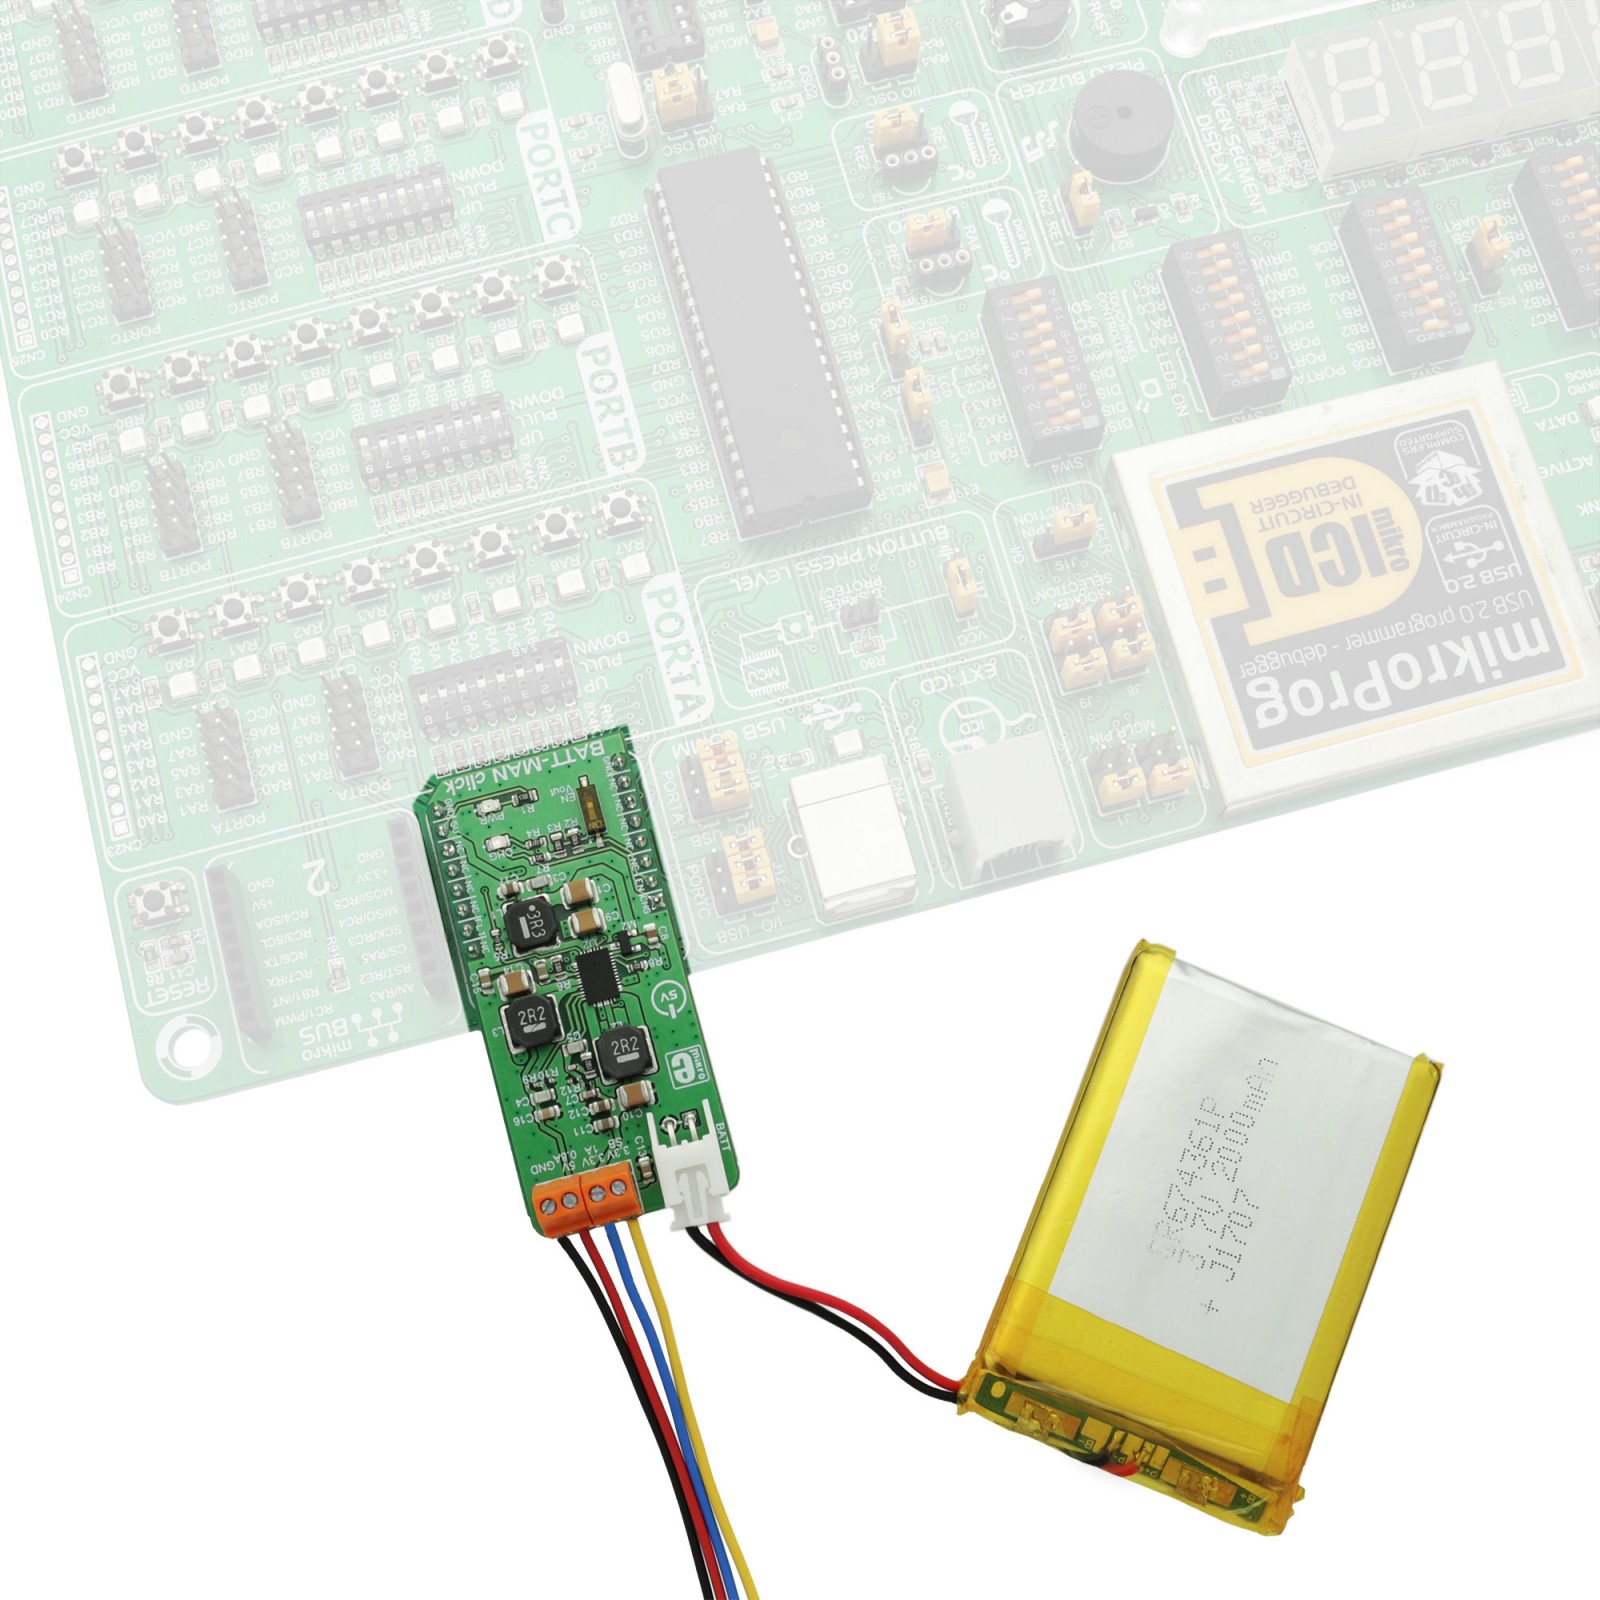
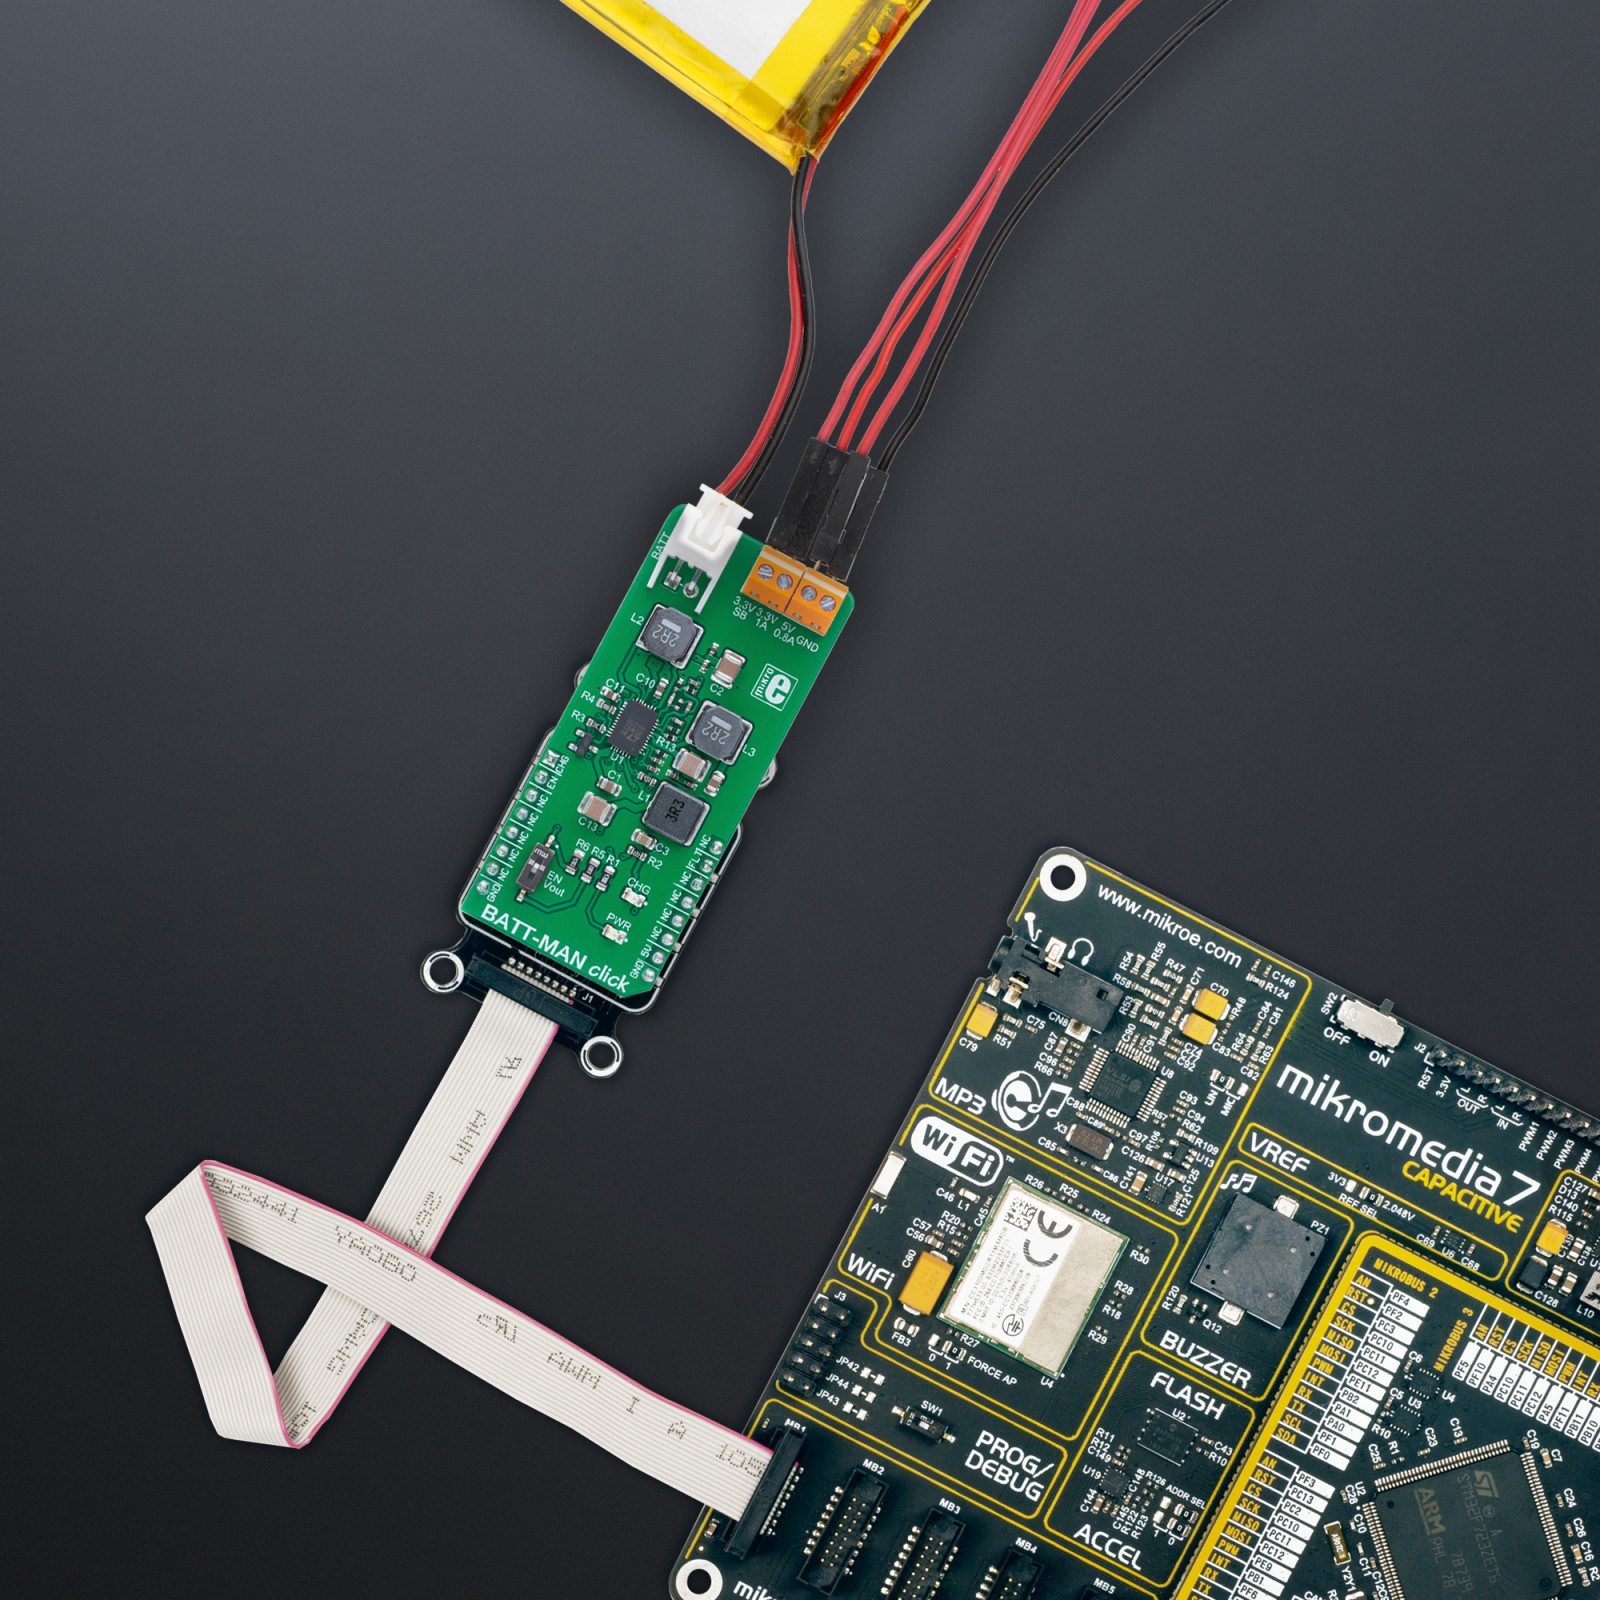
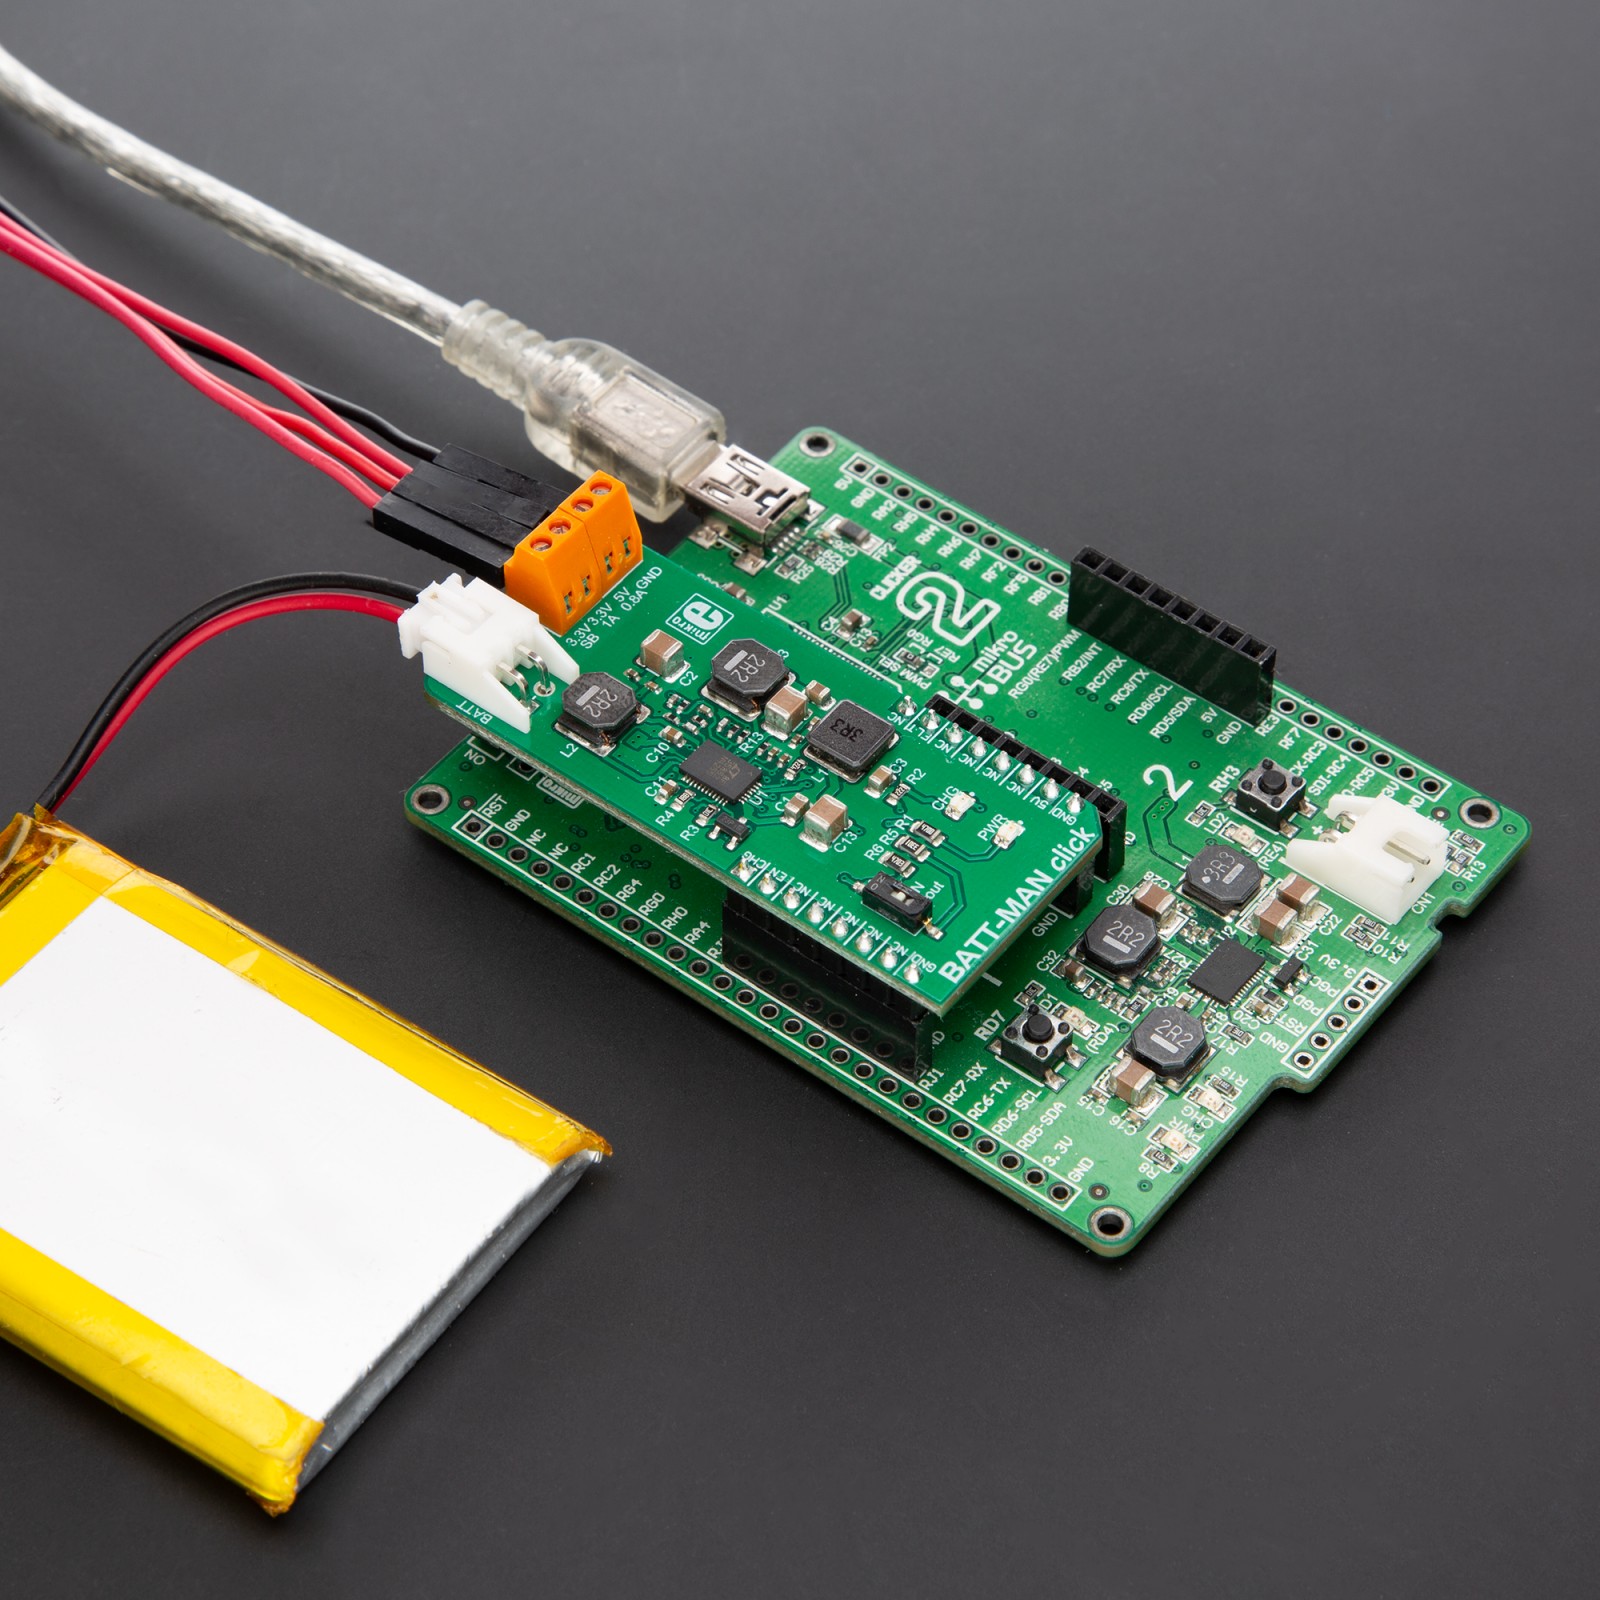
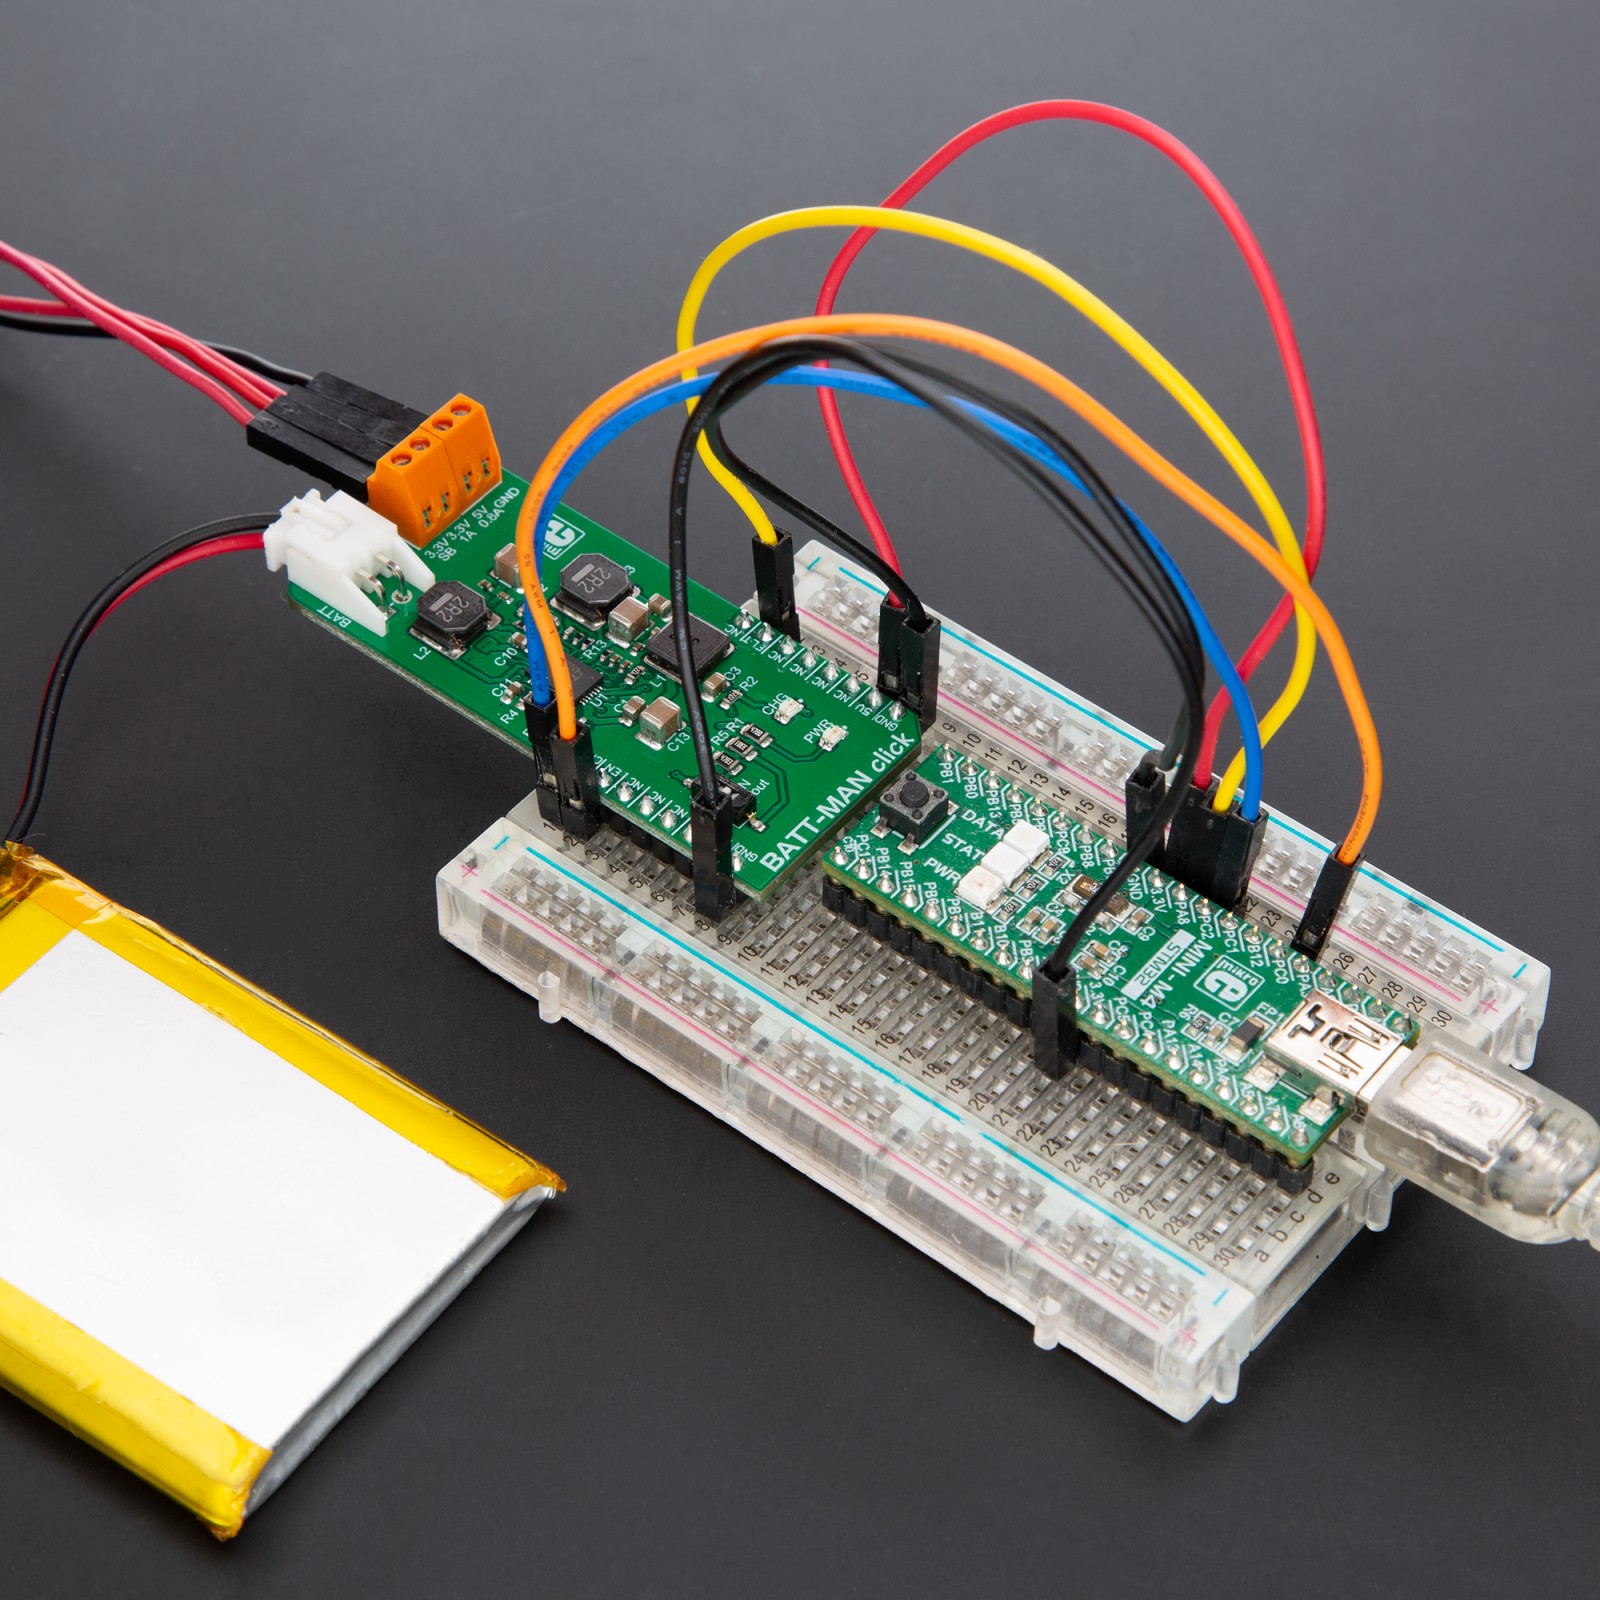
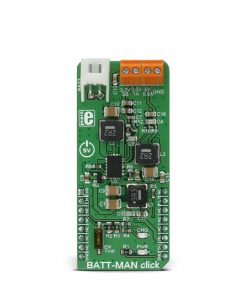
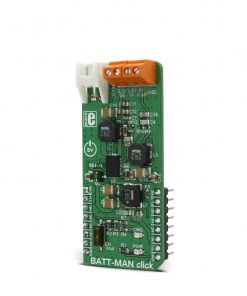
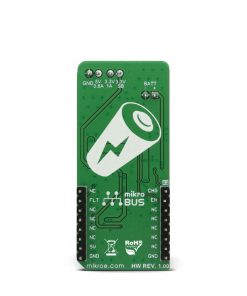
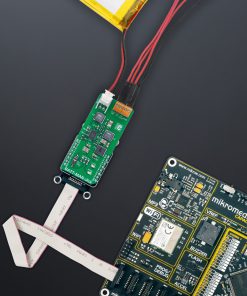
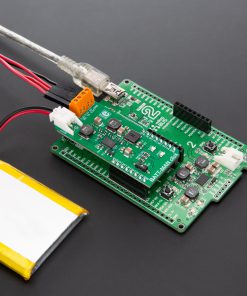
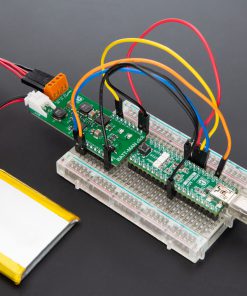
BATT-MAN click is a very versatile battery operated power manager. When powered via mikroBUS™, it will charge the connected Li-Ion/Li-Po 3.7V battery, while providing the output voltage on all its outputs at the same time. The interesting feature of this device is that it can provide additional current to the connected load if the current provided from the mikroBUS™ socket is not enough. This is possible by utilizing the connected battery and by employing intelligent power routing algorithms of BATT-MAN click.
This click has several output voltage options – it can charge the connected battery from the mikroBUS™ power rails and it is very efficient when it comes to using 5V rail of mikroBUS™. It also has an EN Vout switch (SW1) that is used to enable the BATT-MAN click power outputs, even when the click is not connected to mikroBUS™. This allows for the click board™ to be used as the standalone battery-powered voltage regulator. BATT-MAN click can be used as a very efficient 5V battery charger and as a power supply for various portable devices and applications.
How does it work?
The core component of BATT-MAN click is the LTC3586, a high-efficiency power manager with boost, buck-boost, and dual buck converters from Analog Devices. It includes a high-efficiency current limited switching PowerPath™ manager with automatic load prioritization which employs the Bat-Track™ adaptive output control technology, battery charger and four synchronous switching regulators (two bucks, one buck-boost, and one boost). The LTC3586 has a working mode that sets the PowerPath™ manager never to exceed 1A of the input current.
As soon as the device is plugged into the mikroBUS™ socket, it will detect a presence of the voltage from the 5V rail, on the input pins (VBUS). PowerPath™ switching regulator will deliver power from VBUS to VOUT via the SW pin. The VOUT is used to drive external loads through the switching regulators, along with the integrated battery charger. If this combined current draw does not exceed the internally set current threshold, the voltage at the VOUT pin (VSYS on the included schematic) will be held at about 0.3V above the battery voltage level – thanks to the Bat-Track™ technology, keeping the losses across the battery charger to a minimum. If the combined current draw is large enough, the current available for the charger will be reduced, in order to provide more current for the connected load. The PowerPath™ manager will always ensure that the connected load has the priority over the battery charging. Only the excess power will be used for the charger section of the device.
The provided internal ideal diode and the ideal diode controller allow the battery power to be used for the output. Whenever the VSYS drops under the VBAT level or the load requires more current than it is currently available from the input switching regulator, the additional power will be pulled from the battery via the ideal diode. This allows the continuous power output for the connected external load, as long as the connected battery is charged. The internal ideal diode is supplemented by the external MOSFET transistor, which is controlled by a dedicated GATE pin of the LTC3586 IC.
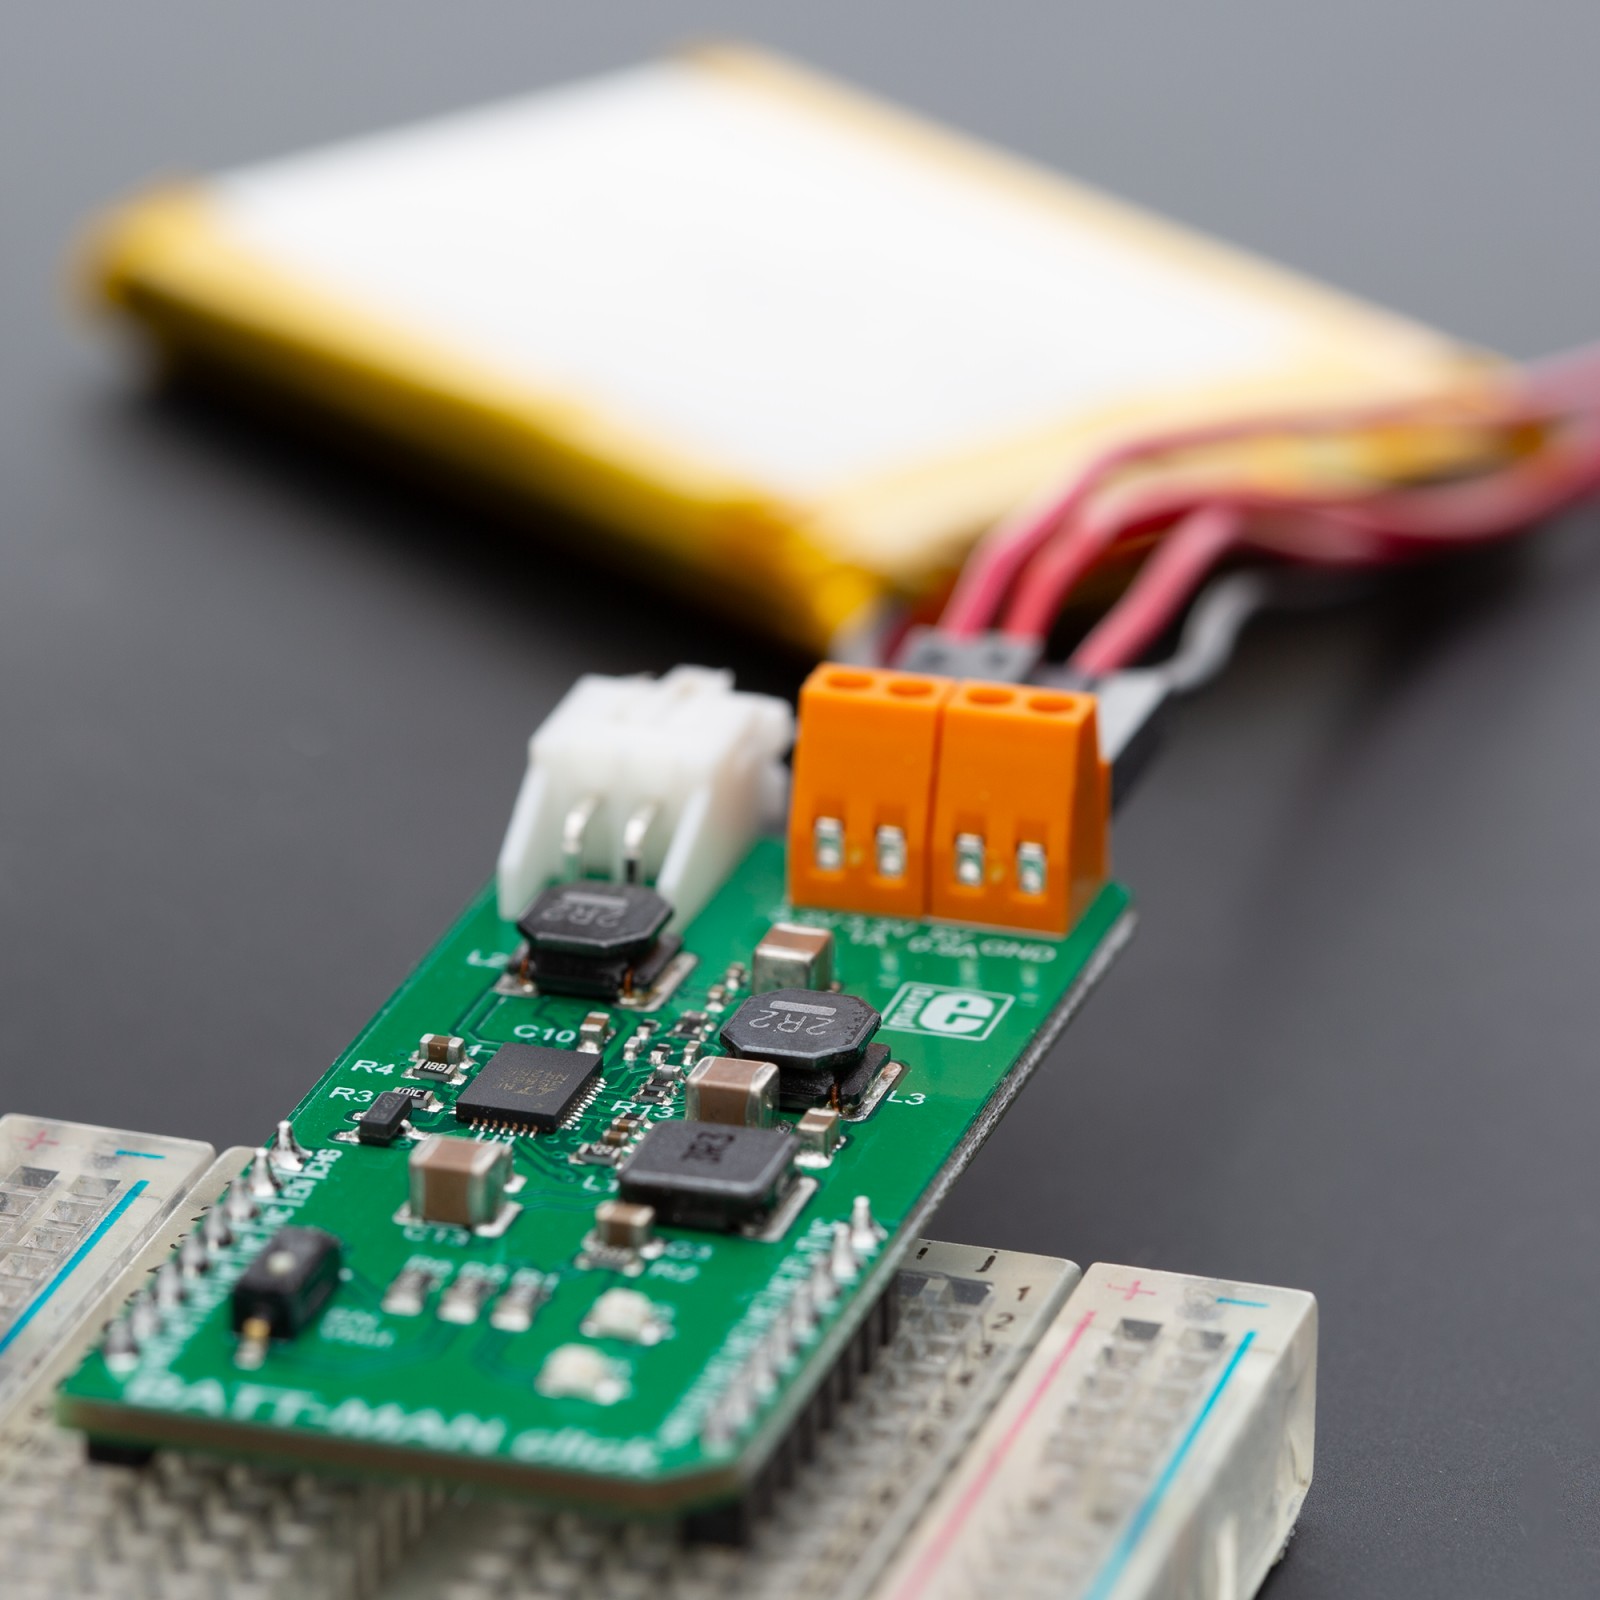
There are several outputs available on BATT-MAN click. There is one LDO output voltage, regulated to 3.3V. This is a very low current output and it can provide about 30mA of current. This output is always on and it is intended only for very light loads. The second regulated 3.3V output is a high current output and it can provide up to 1A of current. Heavier loads can be connected to this output. Finally, a 5V regulated output can provide up to 800mA of current and it is also meant for heavier loads. All these voltage connectors are accessed through the onboard screw terminals, for an easy connection.
The battery charging section has all the features required for optimized charging and prolonged battery life, including a constant current/voltage battery charger with automatic recharge, automatic termination by safety timer, low voltage trickle charging and bad cell detection. The battery float voltage is set to 4.2V, which is perfectly suited for the LiPo batteries available at MikroElektronika online shop. The battery charging section also features the #CHRG pin, that is used to indicate the charging state of the battery. It can signalize several states of the battery: charging, not charging and unresponsive/damaged battery. This is an open drain output and it is pulled HIGH to the 3.3V provided from the low current LDO regulator. When the battery is charging, this pin is pulled to a LOW state and the red LED indicator on BATT-MAN click is lit. When the battery is not charging, the LED is powered off. If the connected battery is damaged, a 6.1Hz modulation signal is applied to the charge indicator LED. The #CHRG pin is routed to the mikroBUS™ AN pin.
The #FAULT pin is used to indicate an error on the output voltages. If the feedback voltage of the integrated buck/boost converters fails to reach the 8% of the internal reference voltage within 14ms, this pin will be pulled low to indicate the error, and switching regulators will be shut off. The #FAULT pin is bidirectional, which means that pulling this pin LOW externally will also disable the switching regulators. This pin is routed to the mikroBUS™ INT pin and it is pulled HIGH to the 3.3V provided from the low current LDO regulator.
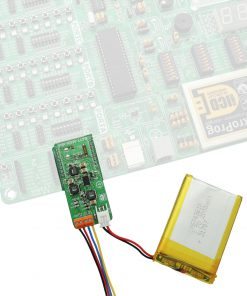
The device can be turned on by the onboard EN Vout switch (SW1), even in the absence of the power from the mikroBUS™ 5V rail. In this case, the connected external LiPo battery is mandatory. EN pins of the switching regulators are routed to the mikroBUS™ RST pin, allowing the MCU to shut down the device. If the switch is in the closed position, it will pull the RST line of the mikroBUS™ to a HIGH level via the 3K3 resistor. If the MCU sets the RST pin to a LOW logic level, the switch position will be superseded by the RST pin, and the logic state of the RST pin will become LOW.
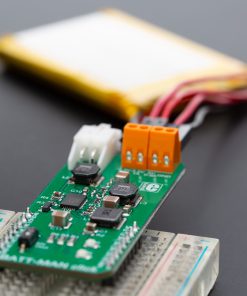
Besides the onboard screw terminals used to connect the external load, the click board™ also has a standard 2.54mm pitch battery connector, used to connect the LiPo battery.
Specifications
Type
Buck-Boost
Applications
BATT-MAN click can be used as a very efficient 5V battery charger and as a power supply for various portable devices and applications.
On-board modules
LTC3586, High-Efficiency USB Power Manager with Boost, Buck-Boost and Dual Bucks
Key Features
BATT-MAN features very good efficiency and input overcurrent protection, also it features full-fledged battery charger and 3 regulated outputs.
Interface
GPIO
Feature
No ClickID
Compatibility
mikroBUS™
Click board size
L (57.15 x 25.4 mm)
Input Voltage
5V
Pinout diagram
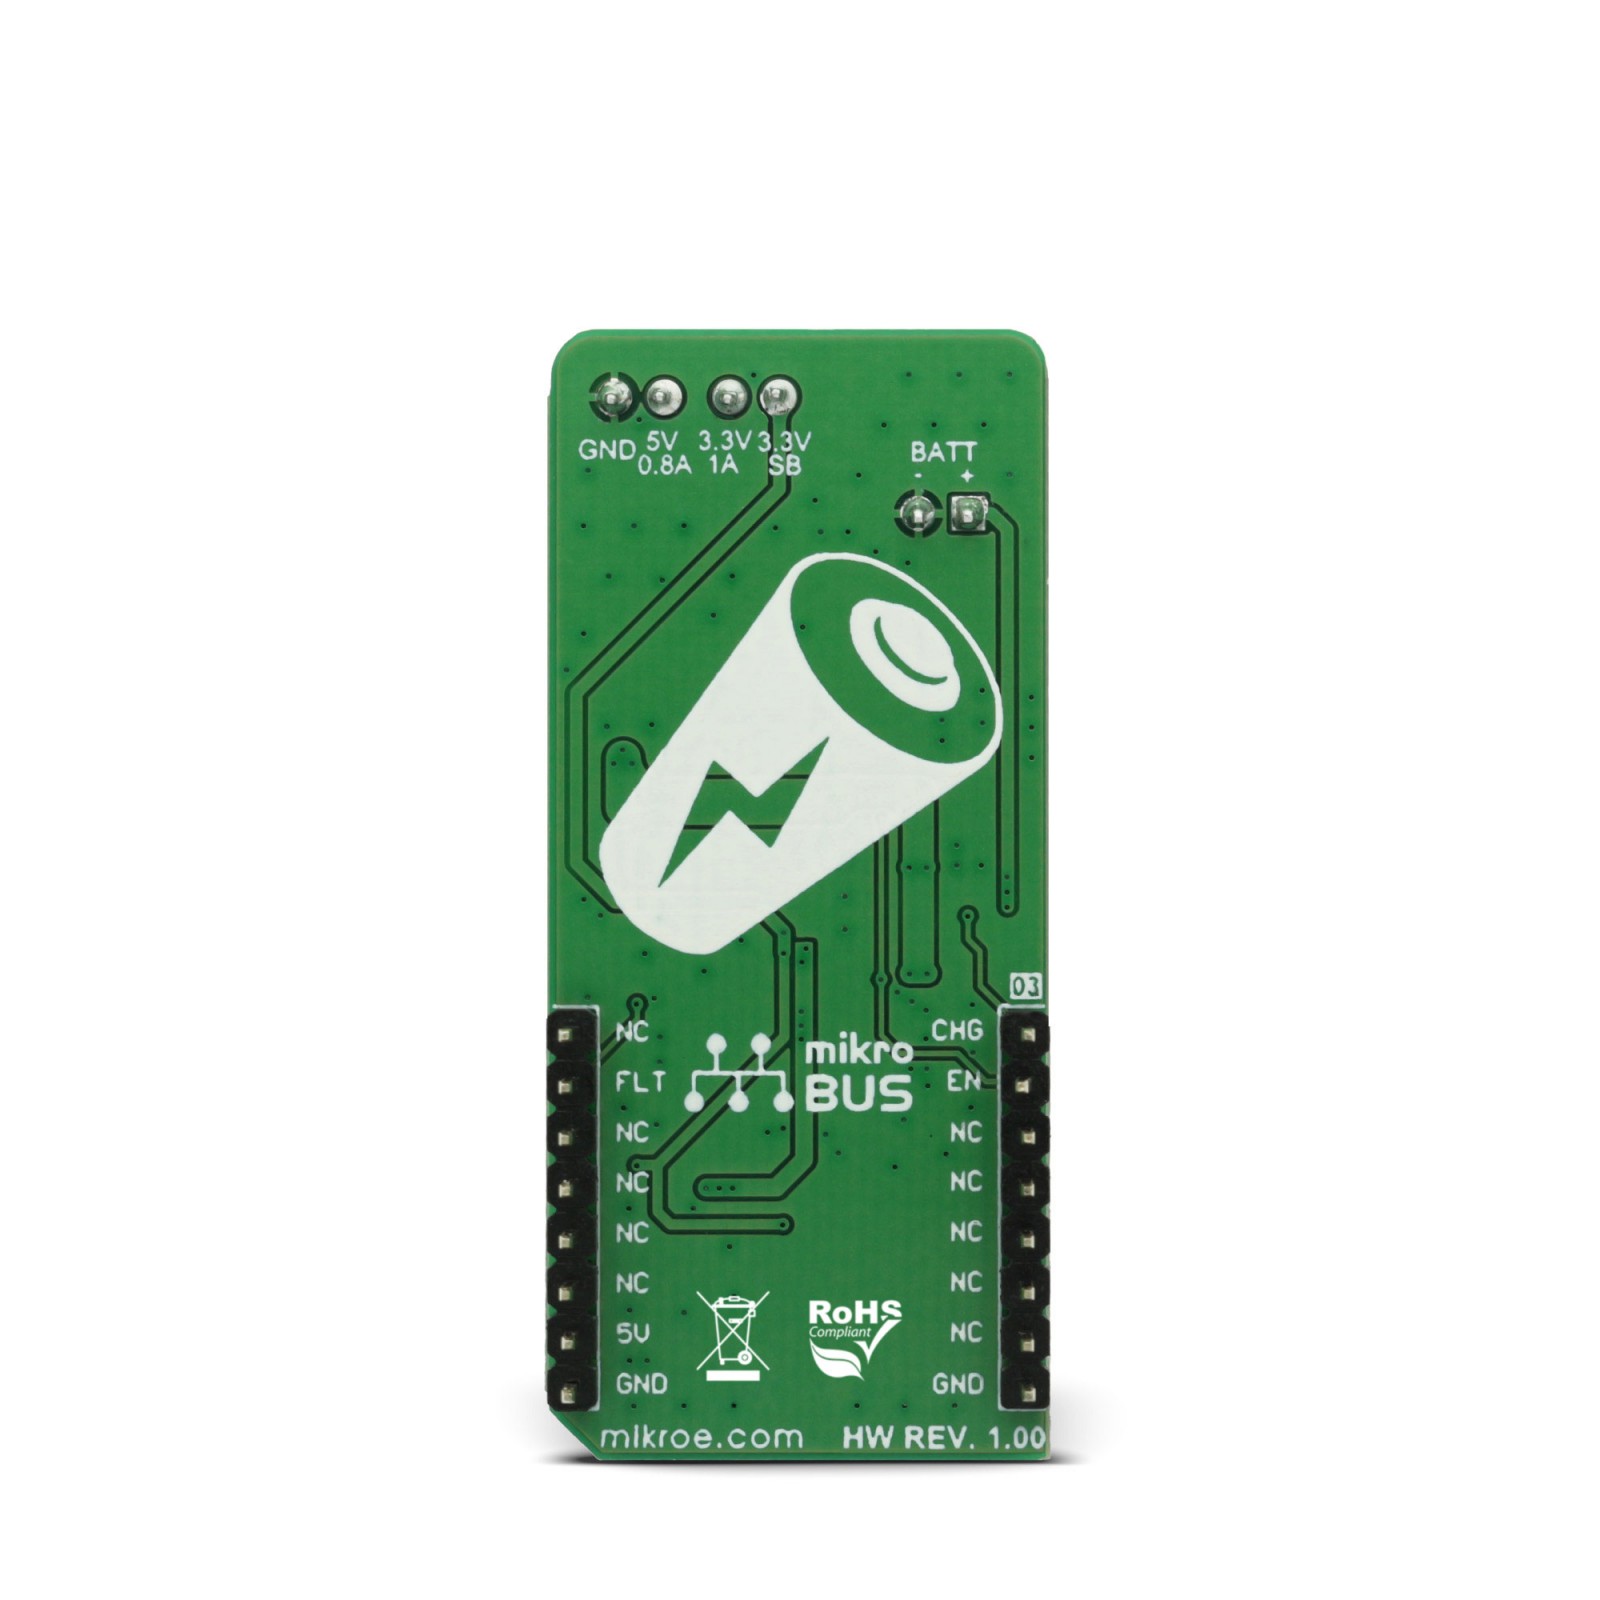
This table shows how the pinout on BATT-MAN click corresponds to the pinout on the mikroBUS™ socket (the latter shown in the two middle columns).
BATT-MAN click electrical specifications
Description | Min | Typ | Max | Unit |
---|---|---|---|---|
3.3V current | 950 | 1000 | 1500 | mA |
5V current | 800 | 850 | 1200 | mA |
3.3V SB current | 20 | 30 | 50 | mA |
Onboard settings and indicators
Label | Name | Default | Description |
---|---|---|---|
LD1 | PWR | – |
Power LED indicator
|
LD2 | CHG | – | Charging LED indicator |
SW1 | EN Vout | OFF | Enables switching regulator output, up position OFF, down position ON |
TB1 | TB1 | – | Screw terminal for connecting external load |
TB2 | TB2 | – | Screw terminal for connecting external load |
CN1 | BATT | – | Li-Ion/Li-Po Battery connector |
Software Support
We provide a library for BATT-MAN click on our LibStock page, as well as a demo application (example), developed using MikroElektronika compilers. The demo can run on all the main MikroElektronika development boards.
Library Description
This library contains a single function for BATT-MAN click control.
Key functions
void battman_setEnable(uint8_t state)
– Enables or disables click board™ operation
Examples Description
The demo application is composed of three sections:
- System Initialization – Initializes pin direction and logger utility.
- Application Initialization – Initializes click driver.
- Application Task (Code snippet) – Alternates between enabled and disabled state.
void applicationTask() { battman_setEnable(1); mikrobus_logWrite("Click enabled.",_LOG_LINE); Delay_ms(10000); mikrobus_logWrite("Click disabled.",_LOG_LINE); battman_setEnable(0); Delay_ms(10000); }
The full application code, and ready to use projects can be found on our LibStock page.
Other MikroElektronika libraries used in the example:
- UART
Additional notes and information
Depending on the development board you are using, you may need USB UART click, USB UART 2 click or RS232 click to connect to your PC, for development systems with no UART to USB interface available on the board. The terminal available in all MikroElektronika compilers, or any other terminal application of your choice, can be used to read the message.