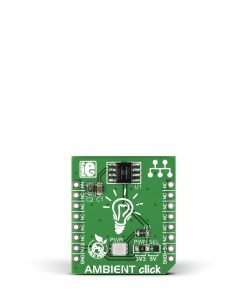
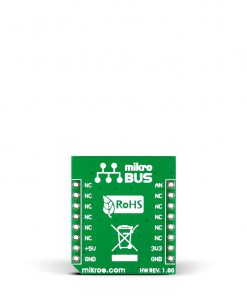
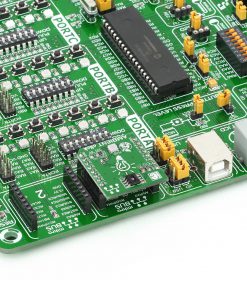
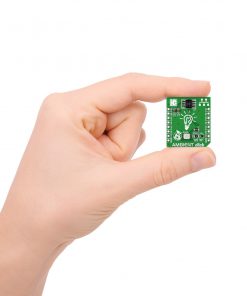
How does it work?
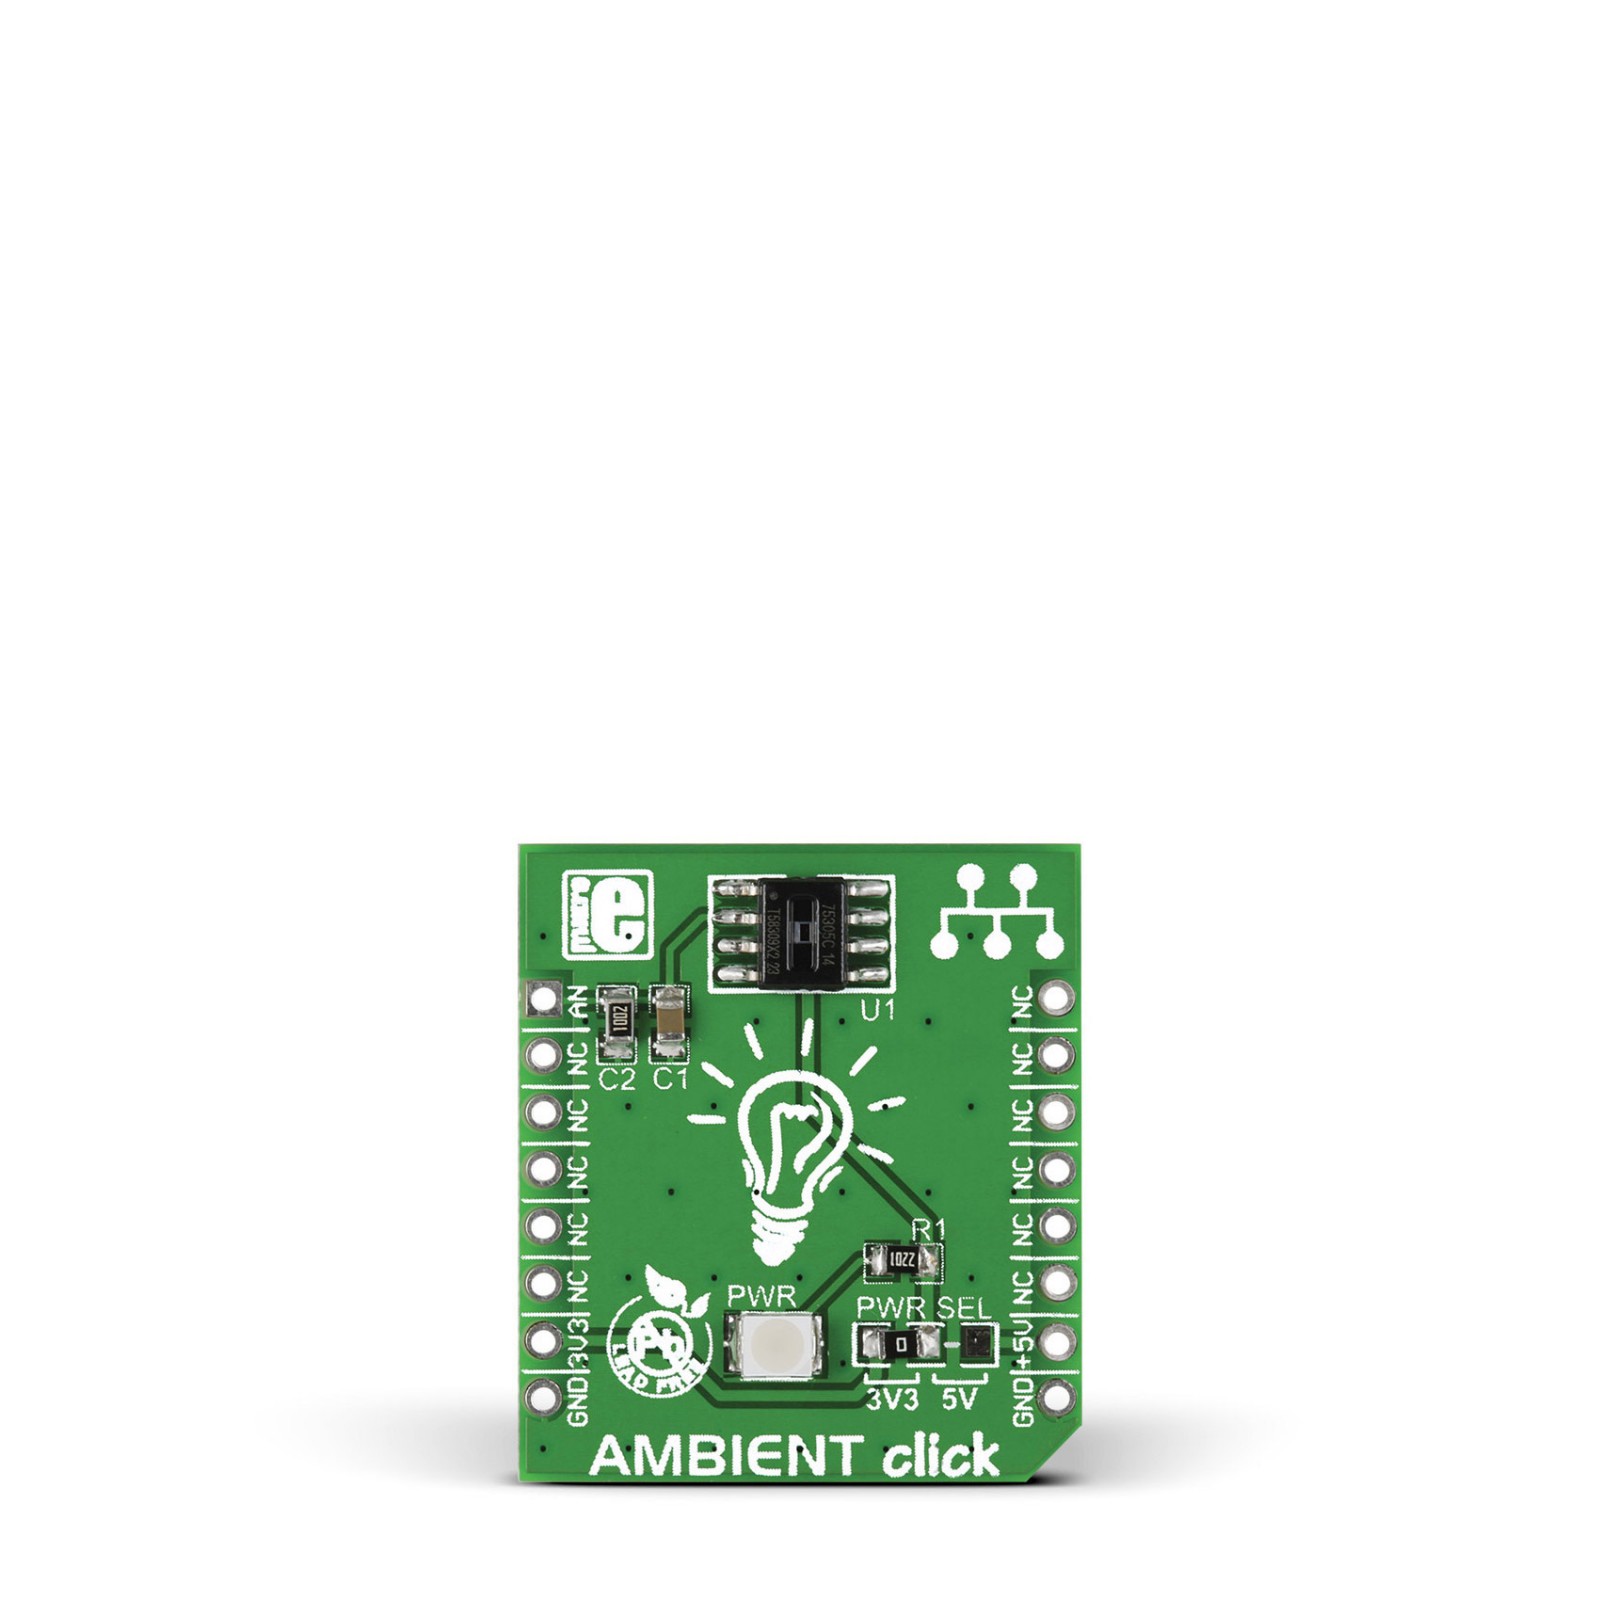
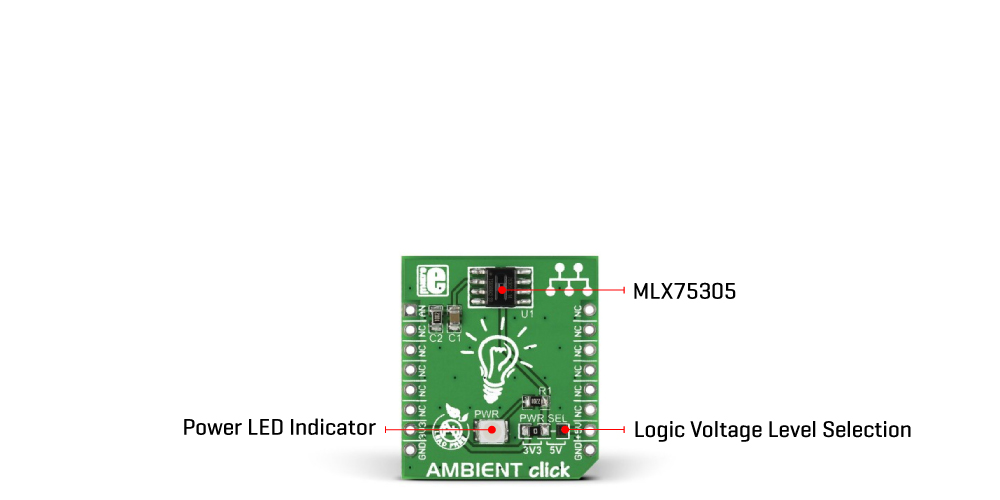
Ambient Click is based on the MLX75305, a light-to-voltage SensorEyeC™ from Melexis Technologies. The MLX75305 is the second member of the SensorEyeC™ series of optical sensors specifically designed for high-volume automotive, industrial, and consumer applications. It includes a photodiode, a transimpedance amplifier to convert and amplify the photocurrent of the photodiode, and an open drain output buffer stage which gives a voltage value that varies linearly with incident light, available on the AN pin of the mikroBUS™ socket.
An internal configuration like this guarantees stable light responsivity over time and temperature and drastically improves noise behavior compared to designs that use discrete photodiodes. Covering a spectral bandwidth from 500nm up to 1000nm, the MLX75305 maintains ±2% linearity across its whole output voltage range with a typical responsiveness of 70mV/(µW/cm²). Its unique features make it suitable for measuring ambient light or controlling LED light in LCD backlight dimming applications.
This Click board™ can operate with both 3.3V and 5V logic voltage levels selected via the PWR SEL jumper. This way, it is allowed for both 3.3V and 5V capable MCUs to use the communication lines properly. However, the Click board™ comes equipped with a library containing easy-to-use functions and an example code that can be used, as a reference, for further development.
Specifications
Type
Optical
Applications
Can be used for high-volume automotive, industrial, and consumer applications
On-board modules
MLX75305 – light-to-voltage SensorEyeC™ from Melexis Technologies
Key Features
Converts light intensity to voltage, high linearity, open drain output voltage output, stable performance over temperature, and more
Interface
Analog
Feature
No ClickID
Compatibility
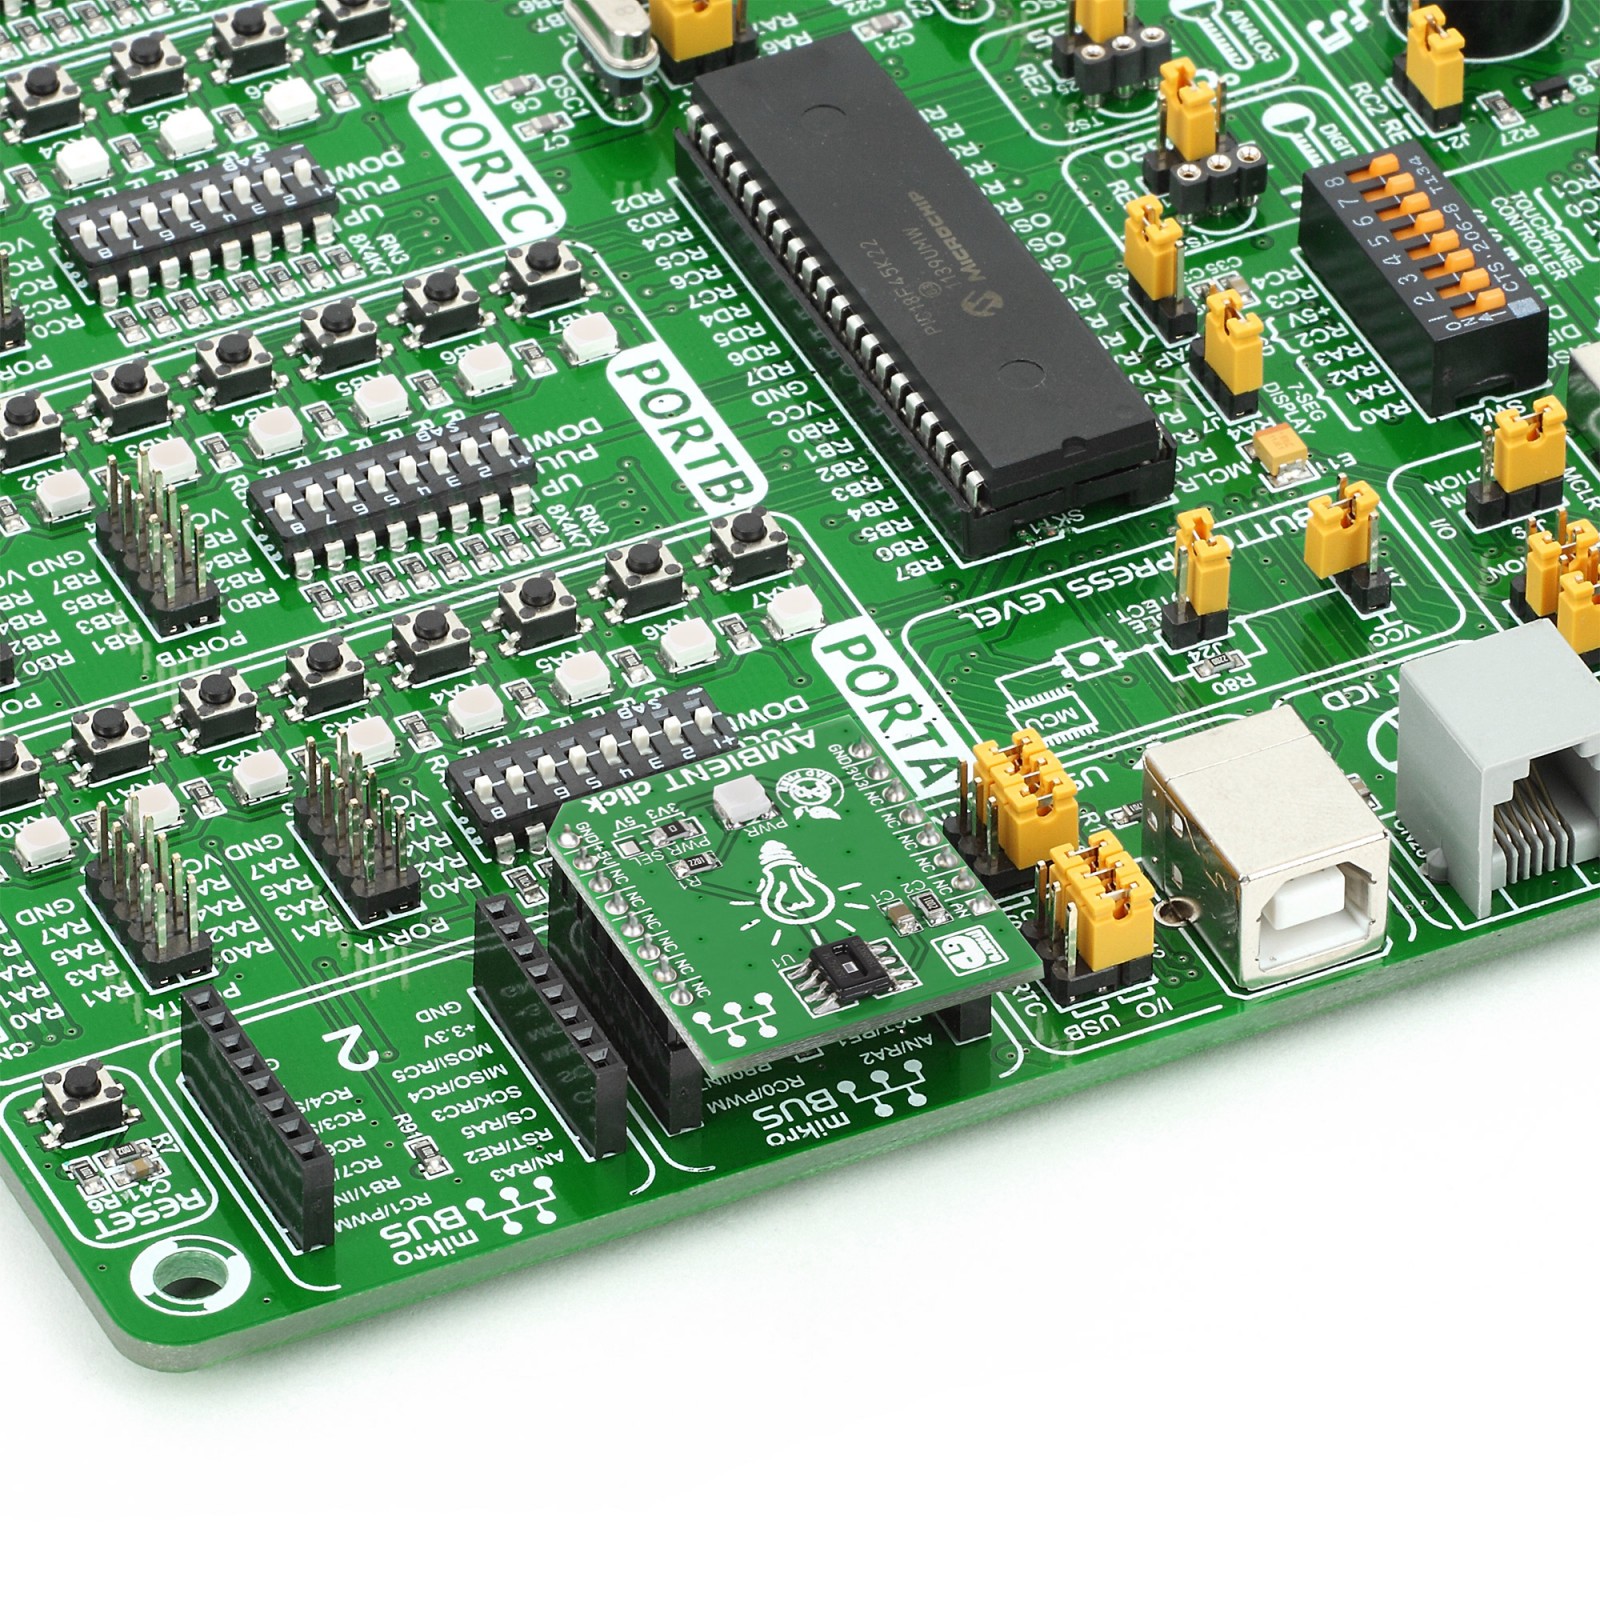
mikroBUS™
Click board size
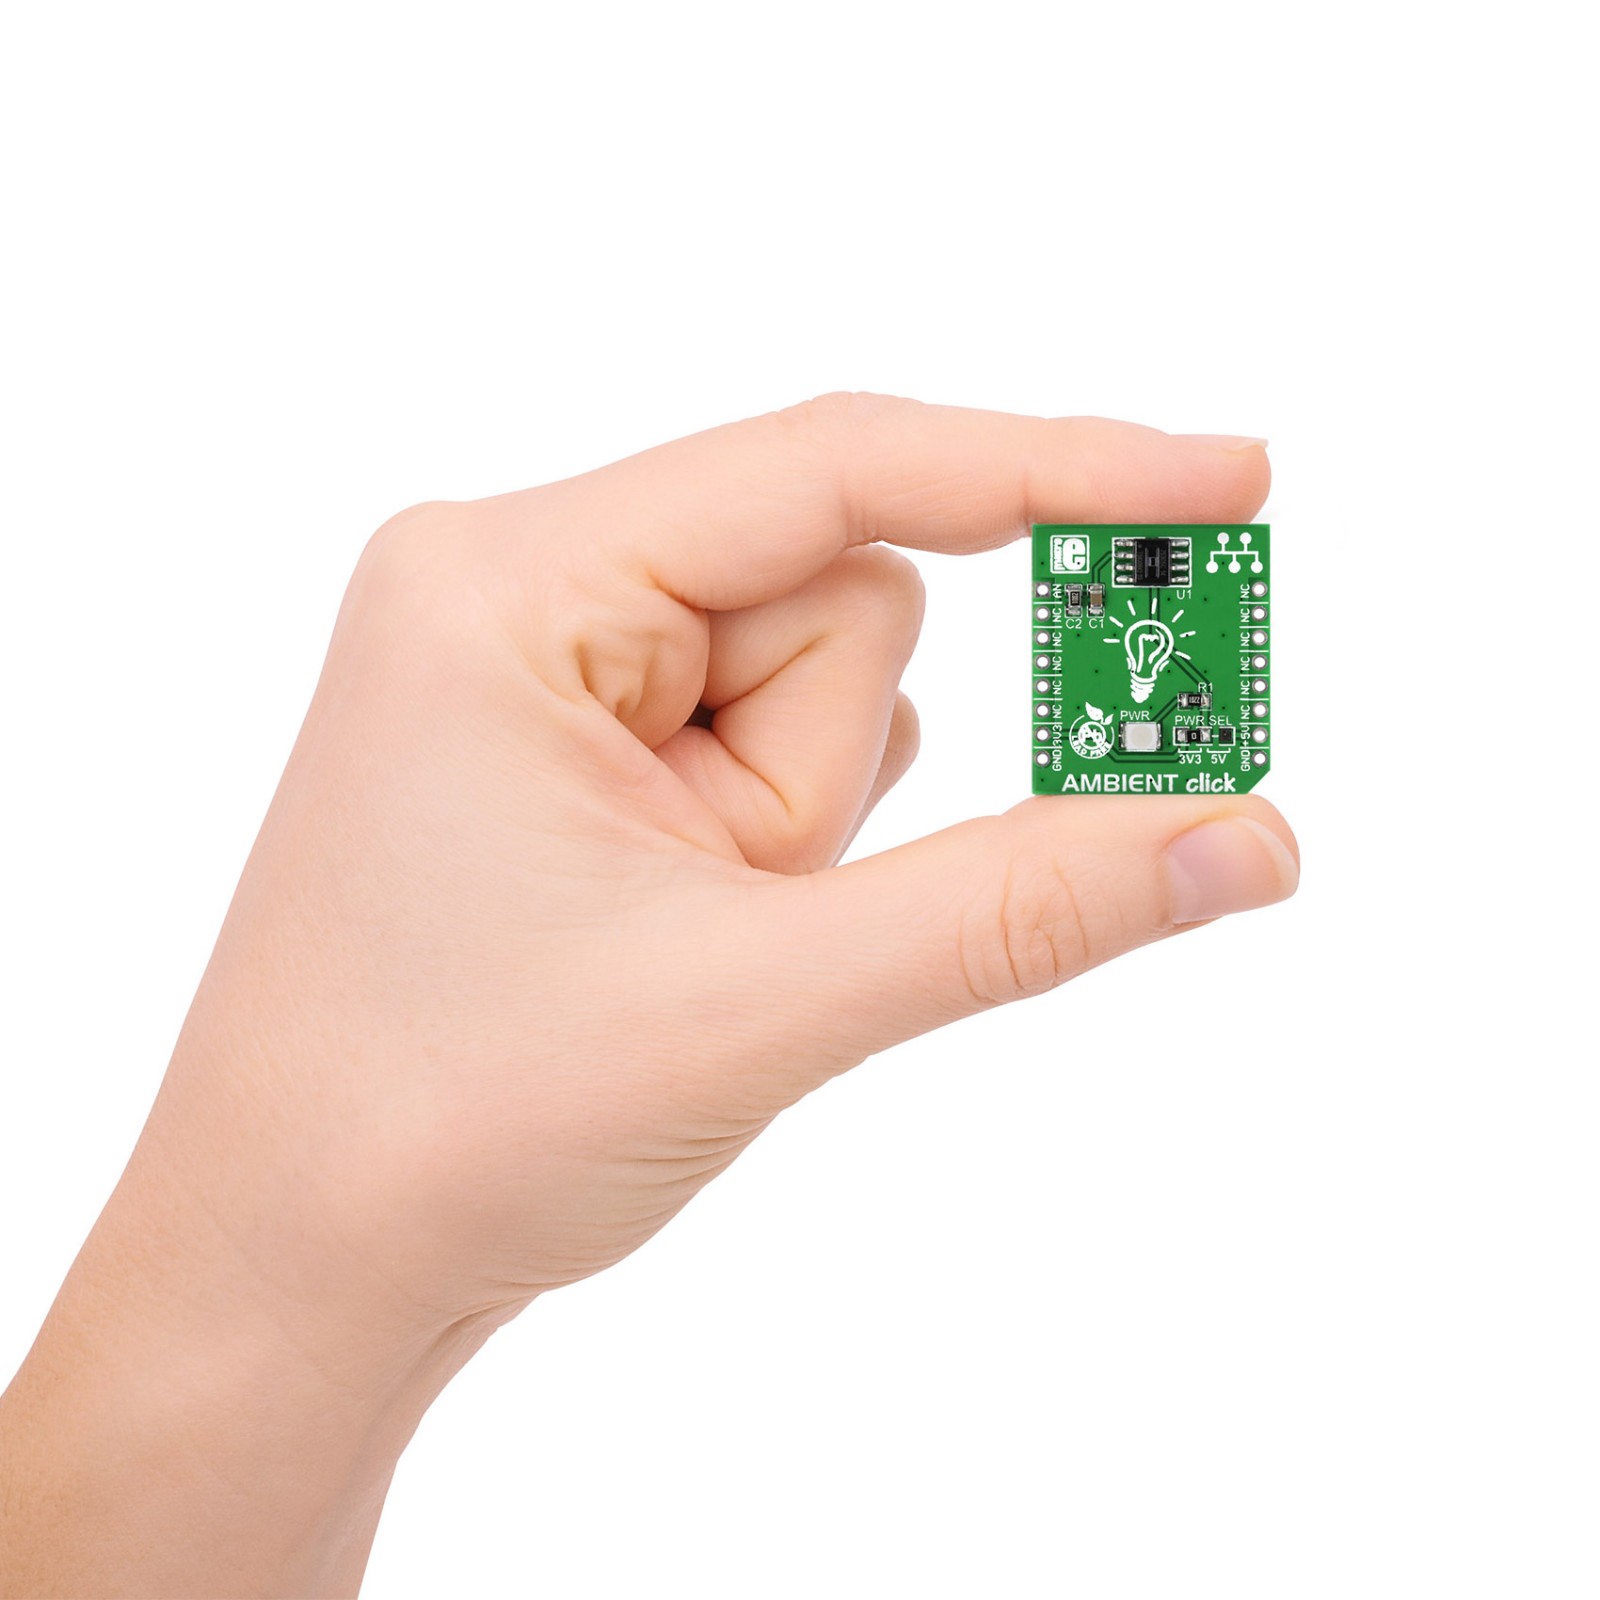
S (28.6 x 25.4 mm)
Input Voltage
3.3V or 5V
Pinout diagram
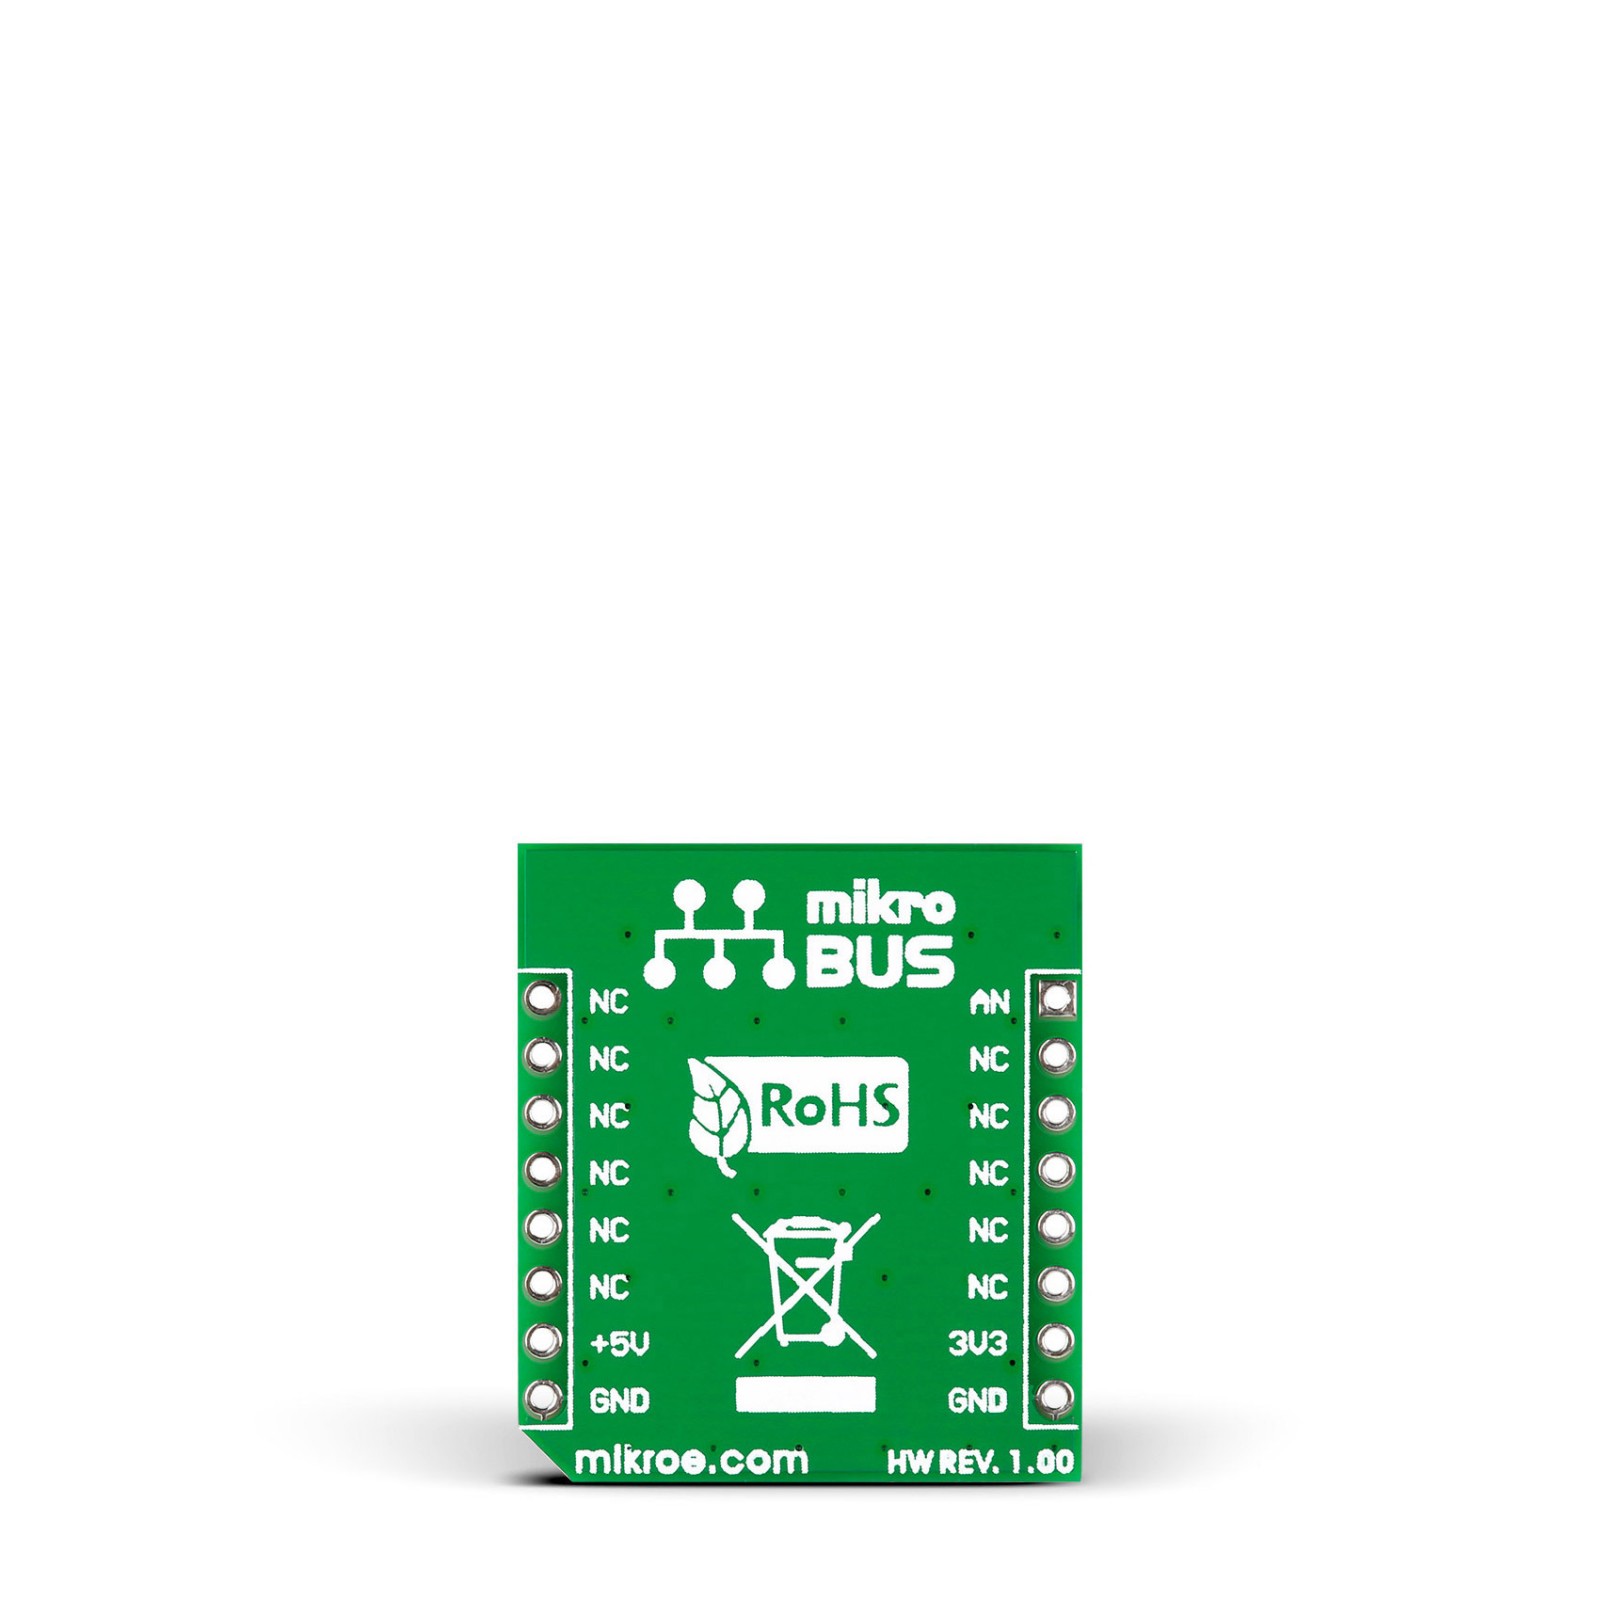
This table shows how the pinout on Ambient Click corresponds to the pinout on the mikroBUS™ socket (the latter shown in the two middle columns).
Onboard settings and indicators
Label | Name | Default | Description |
---|---|---|---|
LD1 | PWR | – | Power LED Indicator |
JP1 | PWR SEL | Left | Logic Level Voltage Selection 3V3/5V: Left position 3V3, Right position 5V |
Ambient Click electrical specifications
Description | Min | Typ | Max | Unit |
---|---|---|---|---|
Supply Voltage | 3.3 | – | 5 | V |
Spectral Response | 500 | – | 1000 | nm |
Peak Wavelength | – | 850 | – | nm |
Software Support
We provide a library for the Ambient Click as well as a demo application (example), developed using Mikroe compilers. The demo can run on all the main Mikroe development boards.
Package can be downloaded/installed directly from NECTO Studio Package Manager(recommended), downloaded from our LibStock™ or found on Mikroe github account.
Library Description
This library contains API for Ambient Click driver.
Key functions
-
Generic read function.
-
Calculate light intensity function.
Example Description
This application turns light intensity into voltage.
void application_task ( void )
{
ambient_data_t tmp;
// Task implementation.
tmp = ambient_generic_read ( &ambient );
light = ambient_calculate_light_intensity( &ambient, value_adc, AMBIENT_VCC_3_3, AMBIENT_RES_12_BIT );
log_printf( &logger, "** ADC value : [DEC]- %d, [HEX]- 0x%x rn", tmp, tmp );
log_printf( &logger, "Light Intensity: %d uW/cm2 rn",light );
Delay_ms( 1000 );
}
The full application code, and ready to use projects can be installed directly from NECTO Studio Package Manager(recommended), downloaded from our LibStock™ or found on Mikroe github account.
Other Mikroe Libraries used in the example:
- MikroSDK.Board
- MikroSDK.Log
- Click.Ambient
Additional notes and informations
Depending on the development board you are using, you may need USB UART click, USB UART 2 Click or RS232 Click to connect to your PC, for development systems with no UART to USB interface available on the board. UART terminal is available in all Mikroe compilers.
mikroSDK
This Click board™ is supported with mikroSDK – Mikroe Software Development Kit. To ensure proper operation of mikroSDK compliant Click board™ demo applications, mikroSDK should be downloaded from the LibStock and installed for the compiler you are using.
For more information about mikroSDK, visit the official page.