How does it work?
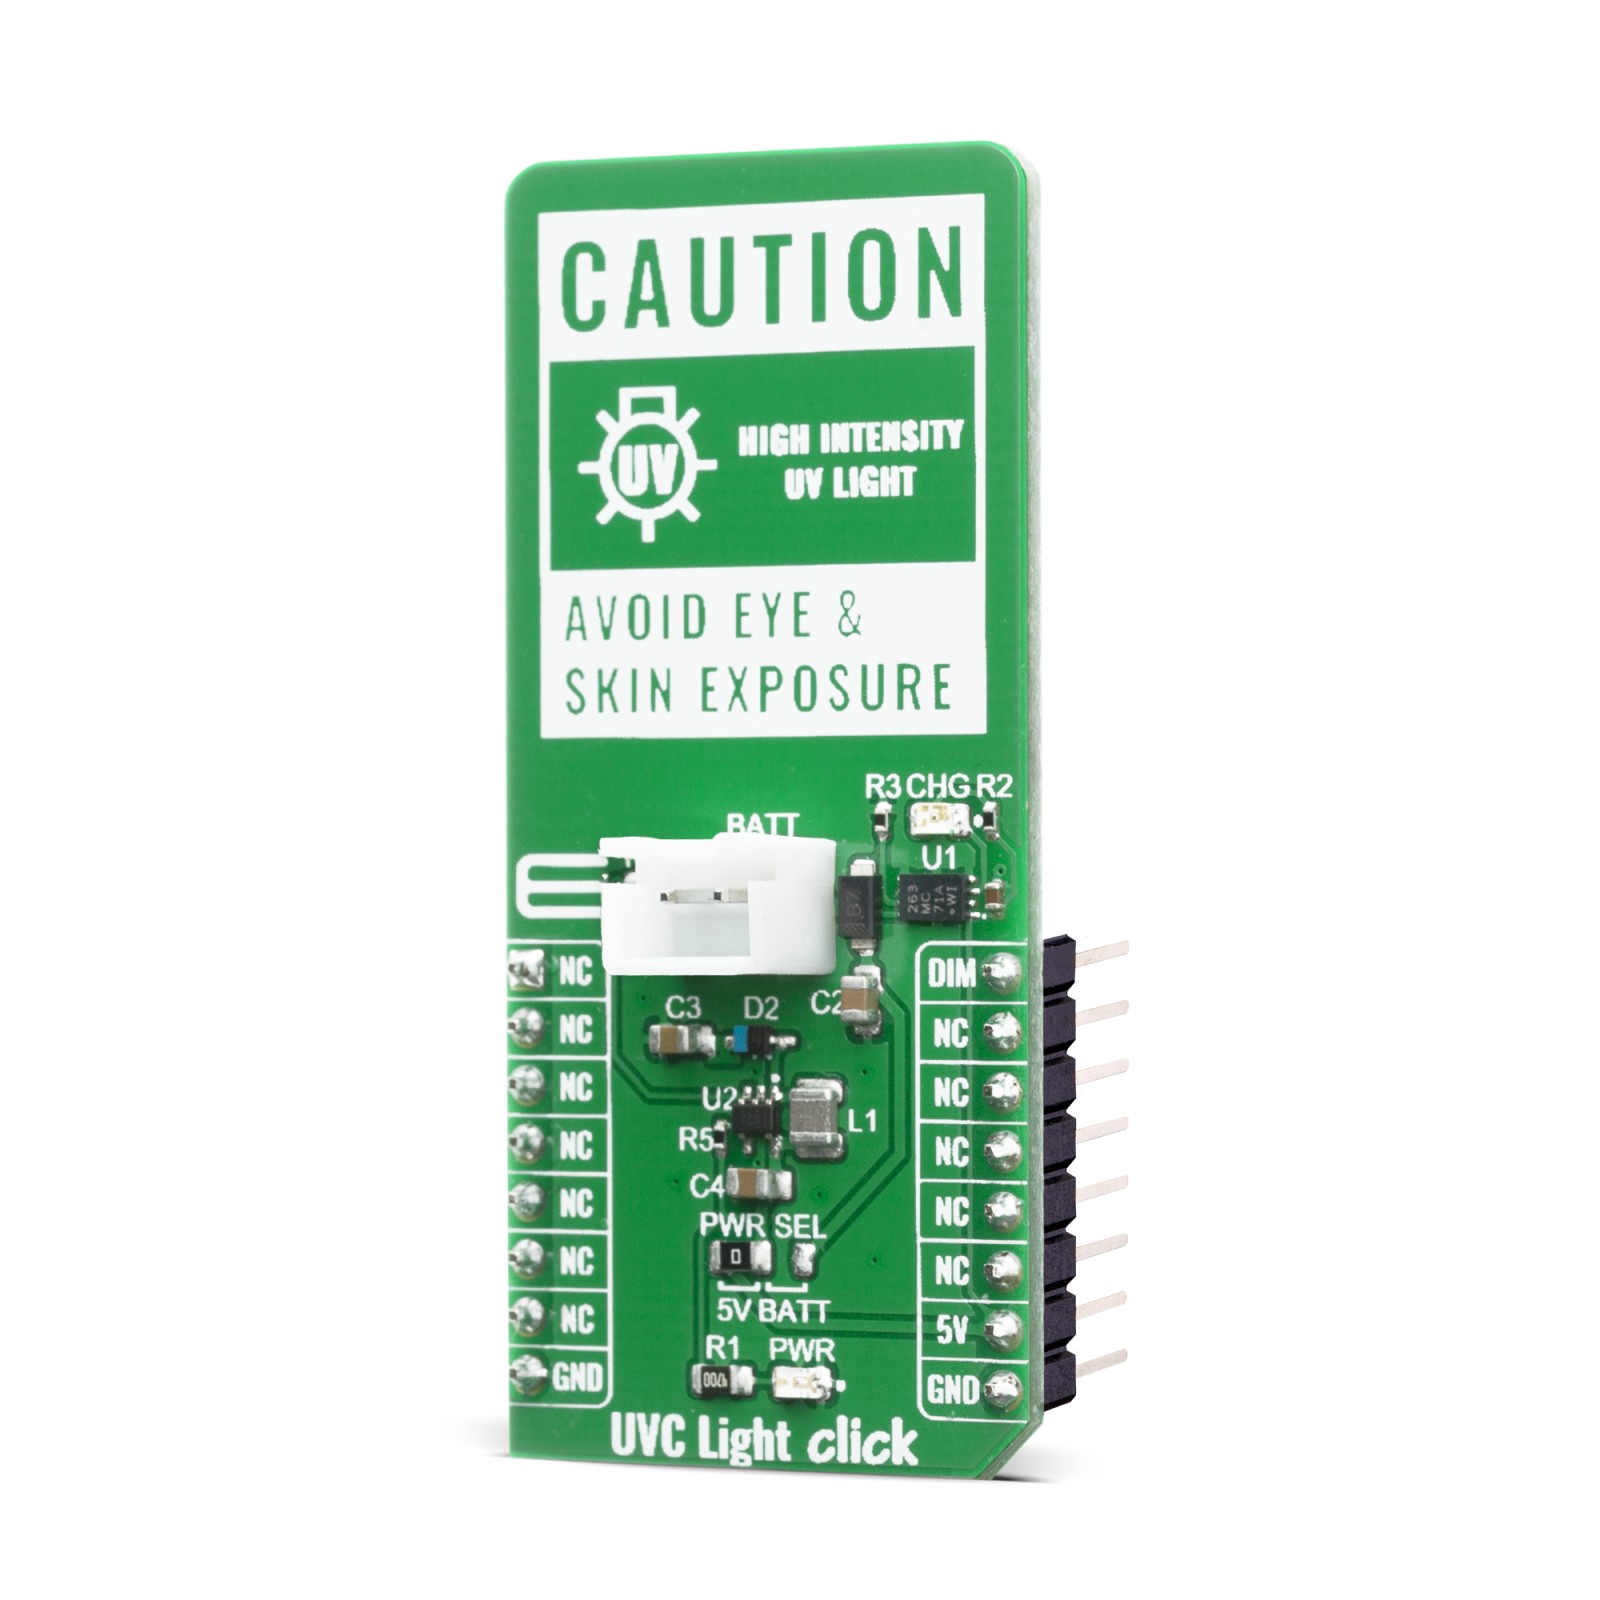
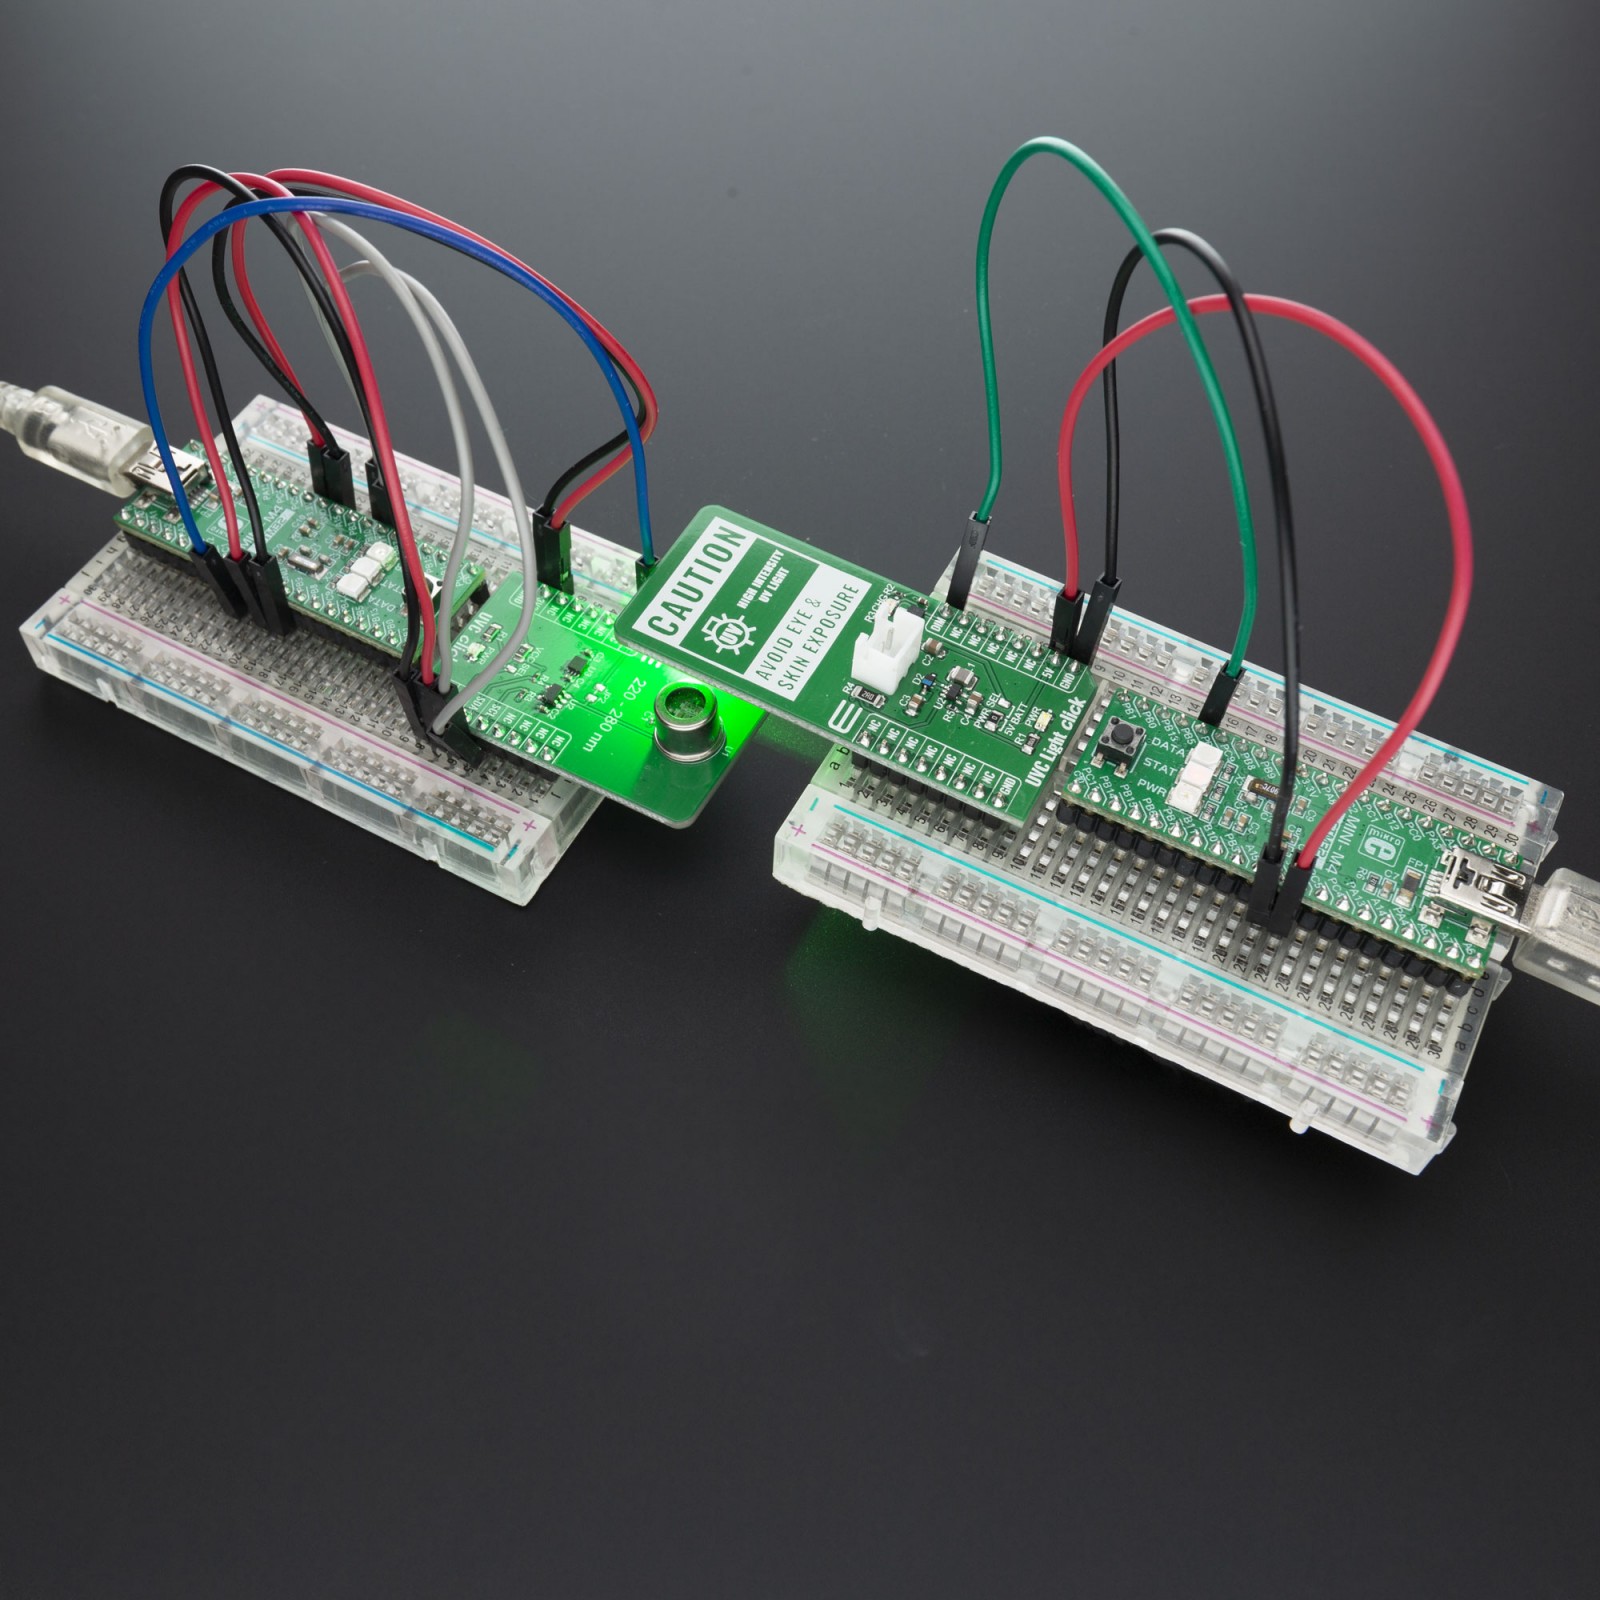
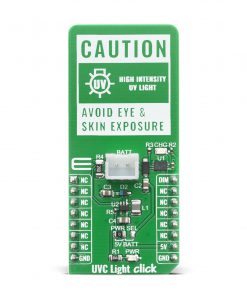
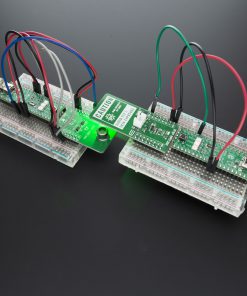
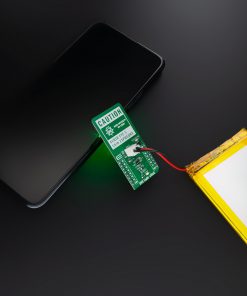
UVC Light Click board™ includes uses two 0.7W, 275nm LEDs and one green LED that allow users to see approximate area where UVC light is shinning since these UV wavelengths are not visible to human eye and should avoid direct exposure to eye.
The reason UVC Light Click can be used as desinfection tool is that UV light in the range of 200 nm to 300 nm it is absorbed by DNA, RNA, and proteins. Absorption by proteins can lead to rupture of cell walls and death of the organism. Absorption by DNA or RNA (specifically by thymine bases) is known to cause inactivation of the DNA or RNA double helix strands through the formation of thymine dimers. If enough of these dimers are created in DNA, the DNA replication process is disrupted, and the cell cannot replicate.
It is widely accepted that it is not necessary to kill pathogens with UV light, but rather apply enough UV light to prevent the organism from replicating. The UV doses required to prevent replication are orders of magnitude lower than required to kill, making the cost of UV treatment to prevent infection commercially viable.
UVC Light Click is implementing TPS61169 LED driver with PWM brightness control to drive LEDs in series and MC34671 battery charger to allow charging of battery when Click board™ is inserted in mikroBUS™ socket, CHG LED will indicate the charging in progress and will turn off once the battery charging is finished. When PWR SEL jumper is repositioned to the right position you can use UVC Light Click standalone if no dimming is necessary or high mobility is needed.
Specifications
Type
LED Drivers,UVC Light
Applications
Disinfection, chemical and biological analysis and many more
On-board modules
3535UVC1W, TPS61169
Key Features
Deep Ultraviolet LED, Flat View Angle, Peak Wavelength at 275nm
Interface
GPIO
Feature
No ClickID
Compatibility
mikroBUS™
Click board size
L (57.15 x 25.4 mm)
Input Voltage
5V
Pinout diagram
This table shows how the pinout on UVC Light Click corresponds to the pinout on the mikroBUS™ socket (the latter shown in the two middle columns).
Onboard settings and indicators
Label | Name | Default | Description |
---|---|---|---|
PWR | LD1 | – | Power LED Indicator |
PWR SEL | JP1 | Left | Power Supply Voltage Selection 5V/Battery, left position 5V, right position battery |
CHG | LD5 | – | Charging Status LED. CHG LED will indicate the charging in progress and will turn off once the battery charging is finished. |
Technical specification
Characteristic | Value |
---|---|
Peak wavelength | 275nm |
Spectra half-width | 15nm |
UVC LEDs power dissipation | 1.4W |
Software Support
We provide a library for the UVC Light Click on our LibStock page, as well as a demo application (example), developed using MikroElektronika compilers. The demo can run on all the main MikroElektronika development boards.
Library Description
The library contains basic PVM LED control functions.
Key functions:
uint32_t uvclight_pwmInit(uint16_t freq)
– PWM init functionsvoid uvclight_pwmSetDuty(uint16_t duty)
– PWM set duty cycle
Examples description
The application is composed of three sections :
- Application Initialization – Initialize PWM module and sets frequency
- Application Task – Increases and decreases the pwm duty cycle.
void application_task ( ) { int32_t duty_cycle; for ( duty_cycle = 0; duty_cycle < pwm_max_duty; duty_cycle+= pwm_degree ) { uvclight_pwm_set_duty( duty_cycle ); Delay_ms( 10 ); } Delay_ms( 500 ); for ( duty_cycle = pwm_max_duty; duty_cycle >= 0; duty_cycle-= pwm_degree ) { uvclight_pwm_set_duty( duty_cycle ); Delay_ms( 10 ); } Delay_ms( 500 ); }
The full application code, and ready to use projects can be found on our LibStock page.
Other mikroE Libraries used in the example:
- PWM Library
Additional notes and informations
Depending on the development board you are using, you may need USB UART click, USB UART 2 click or RS232 click to connect to your PC, for development systems with no UART to USB interface available on the board. The terminal available in all MikroElektronika compilers, or any other terminal application of your choice, can be used to read the message.
mikroSDK
This Click board™ is supported with mikroSDK – MikroElektronika Software Development Kit. To ensure proper operation of mikroSDK compliant Click board™ demo applications, mikroSDK should be downloaded from the LibStock and installed for the compiler you are using.
For more information about mikroSDK, visit the official page.