Ammonia Click
R1,400.00 ex. VAT
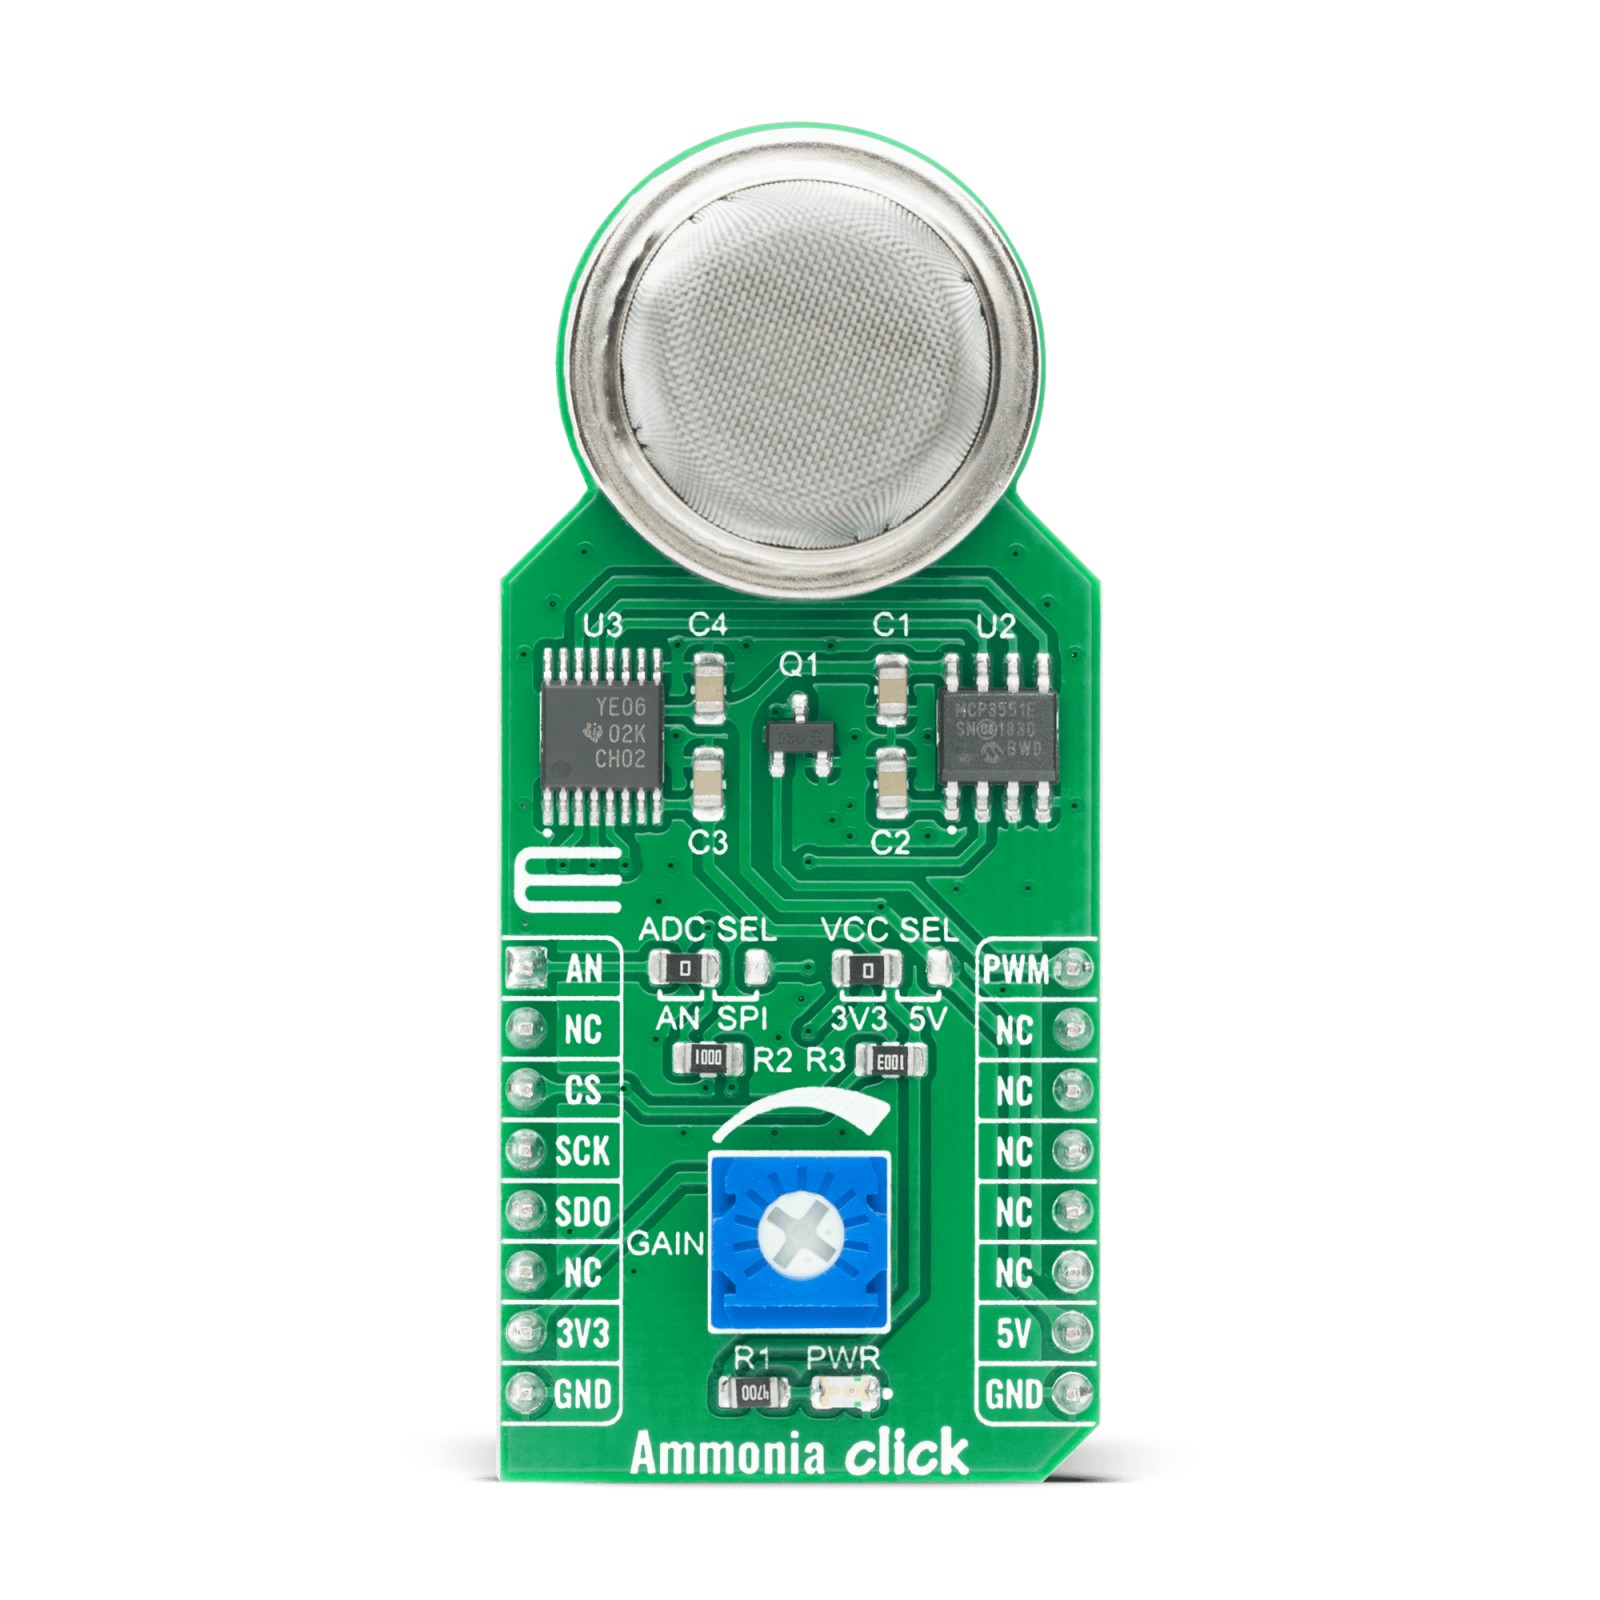
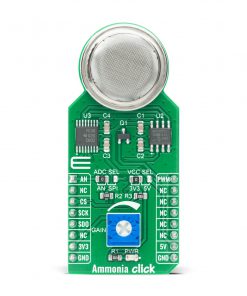
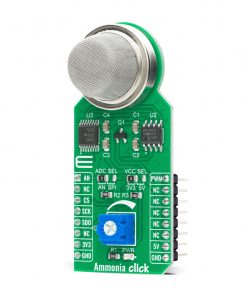
Ammonia Click is an Ammonia detection (NH3) sensor, based on the MQ-137 gas sensor. This gas sensor has a sensitive layer made of SnO2, which changes its resistance when exposed to ammonia. The sensor is able to sense NH3 concentration in the range of 5 ppm to 200 ppm. This Click board™ is also equipped with a trimmer potentiometer, used to adjust the sensitivity and offset of the MQ-137 sensor, making it well suited for the detection of ammonia, which may cause severe health disorders in the human body.
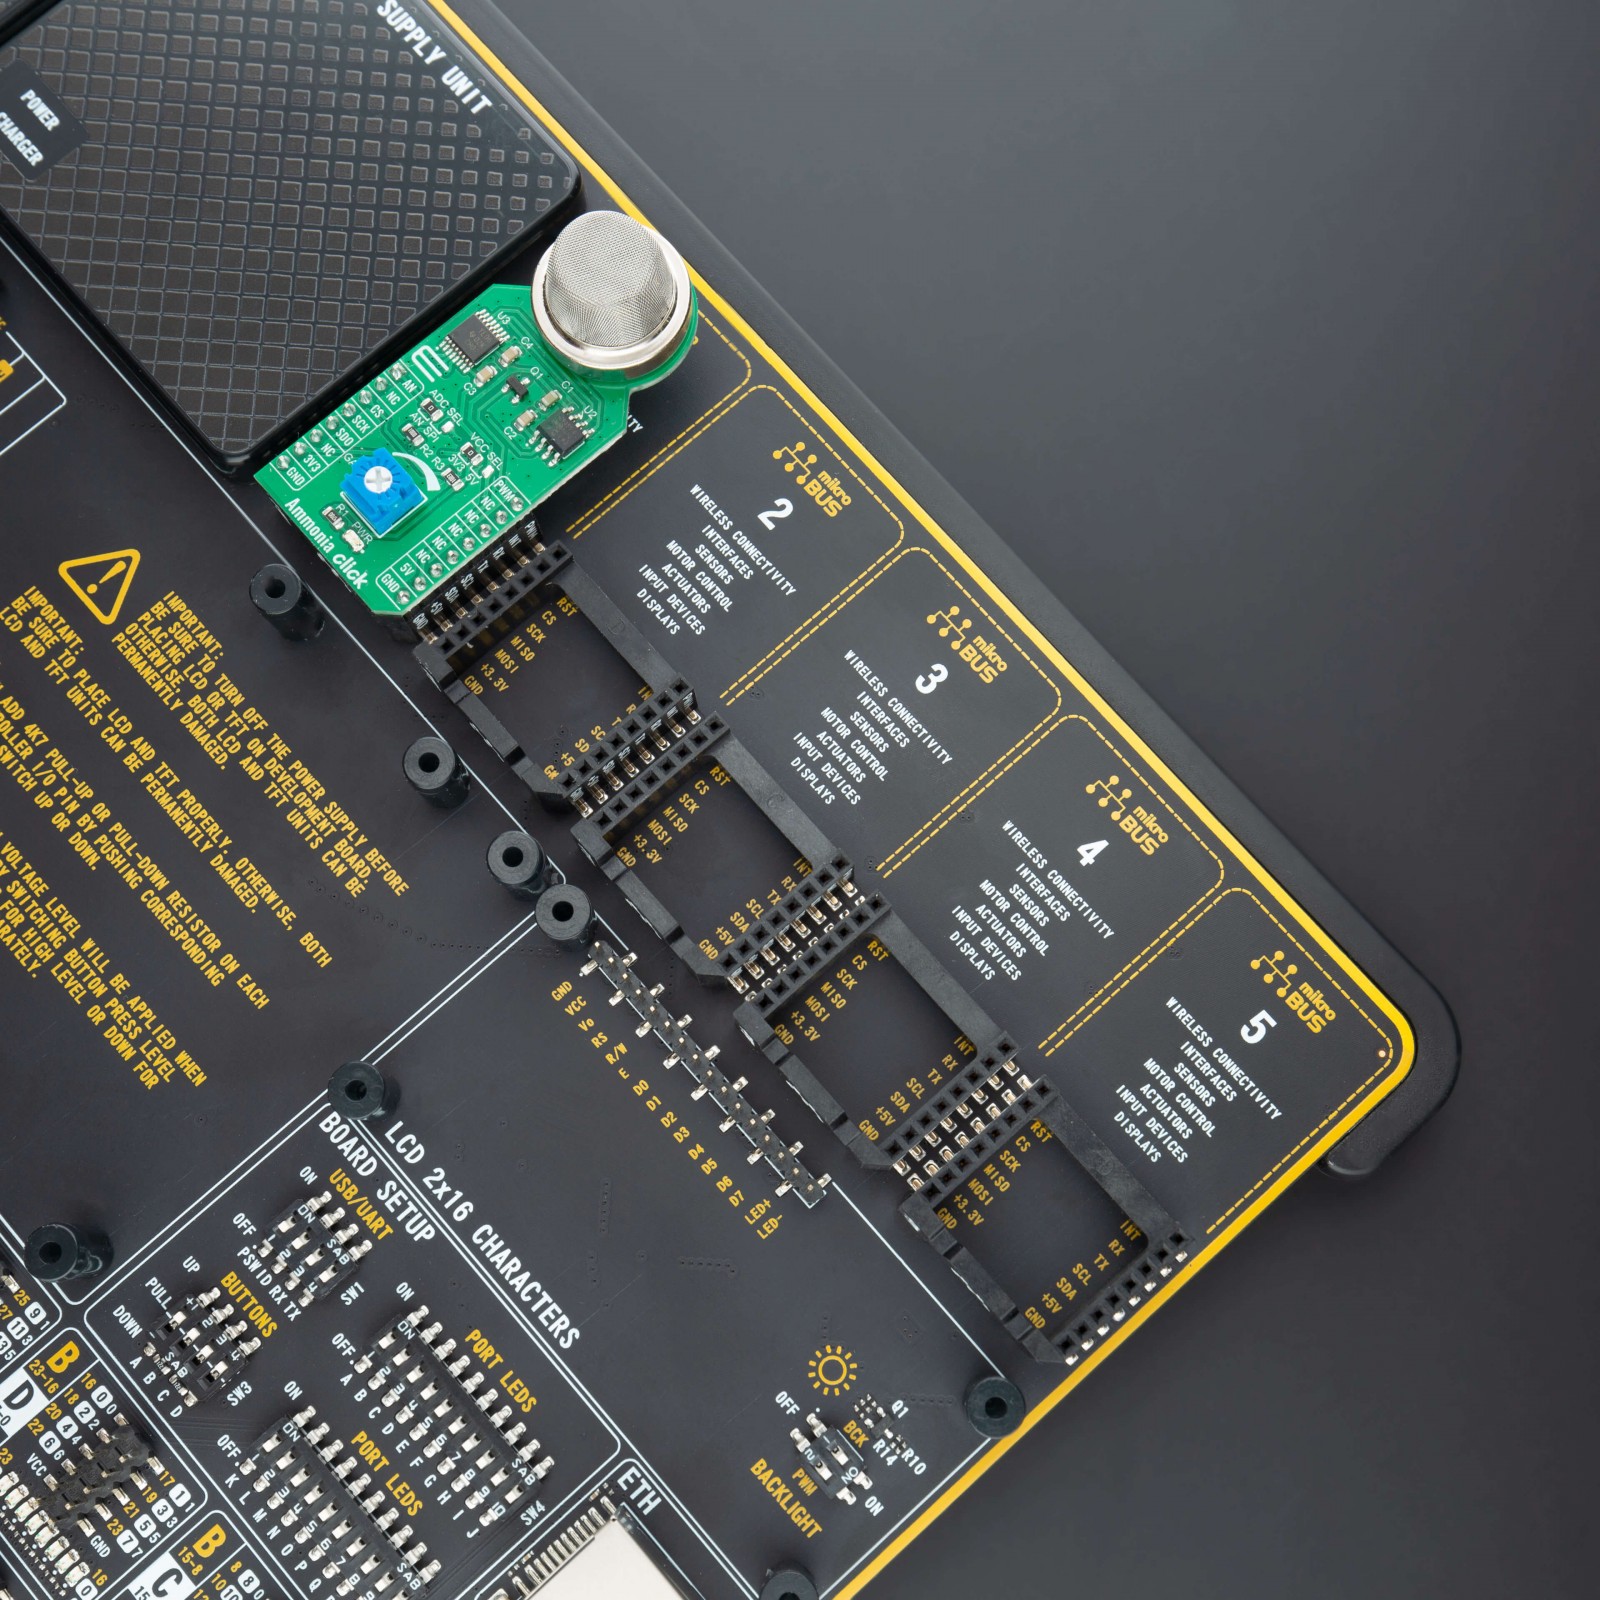
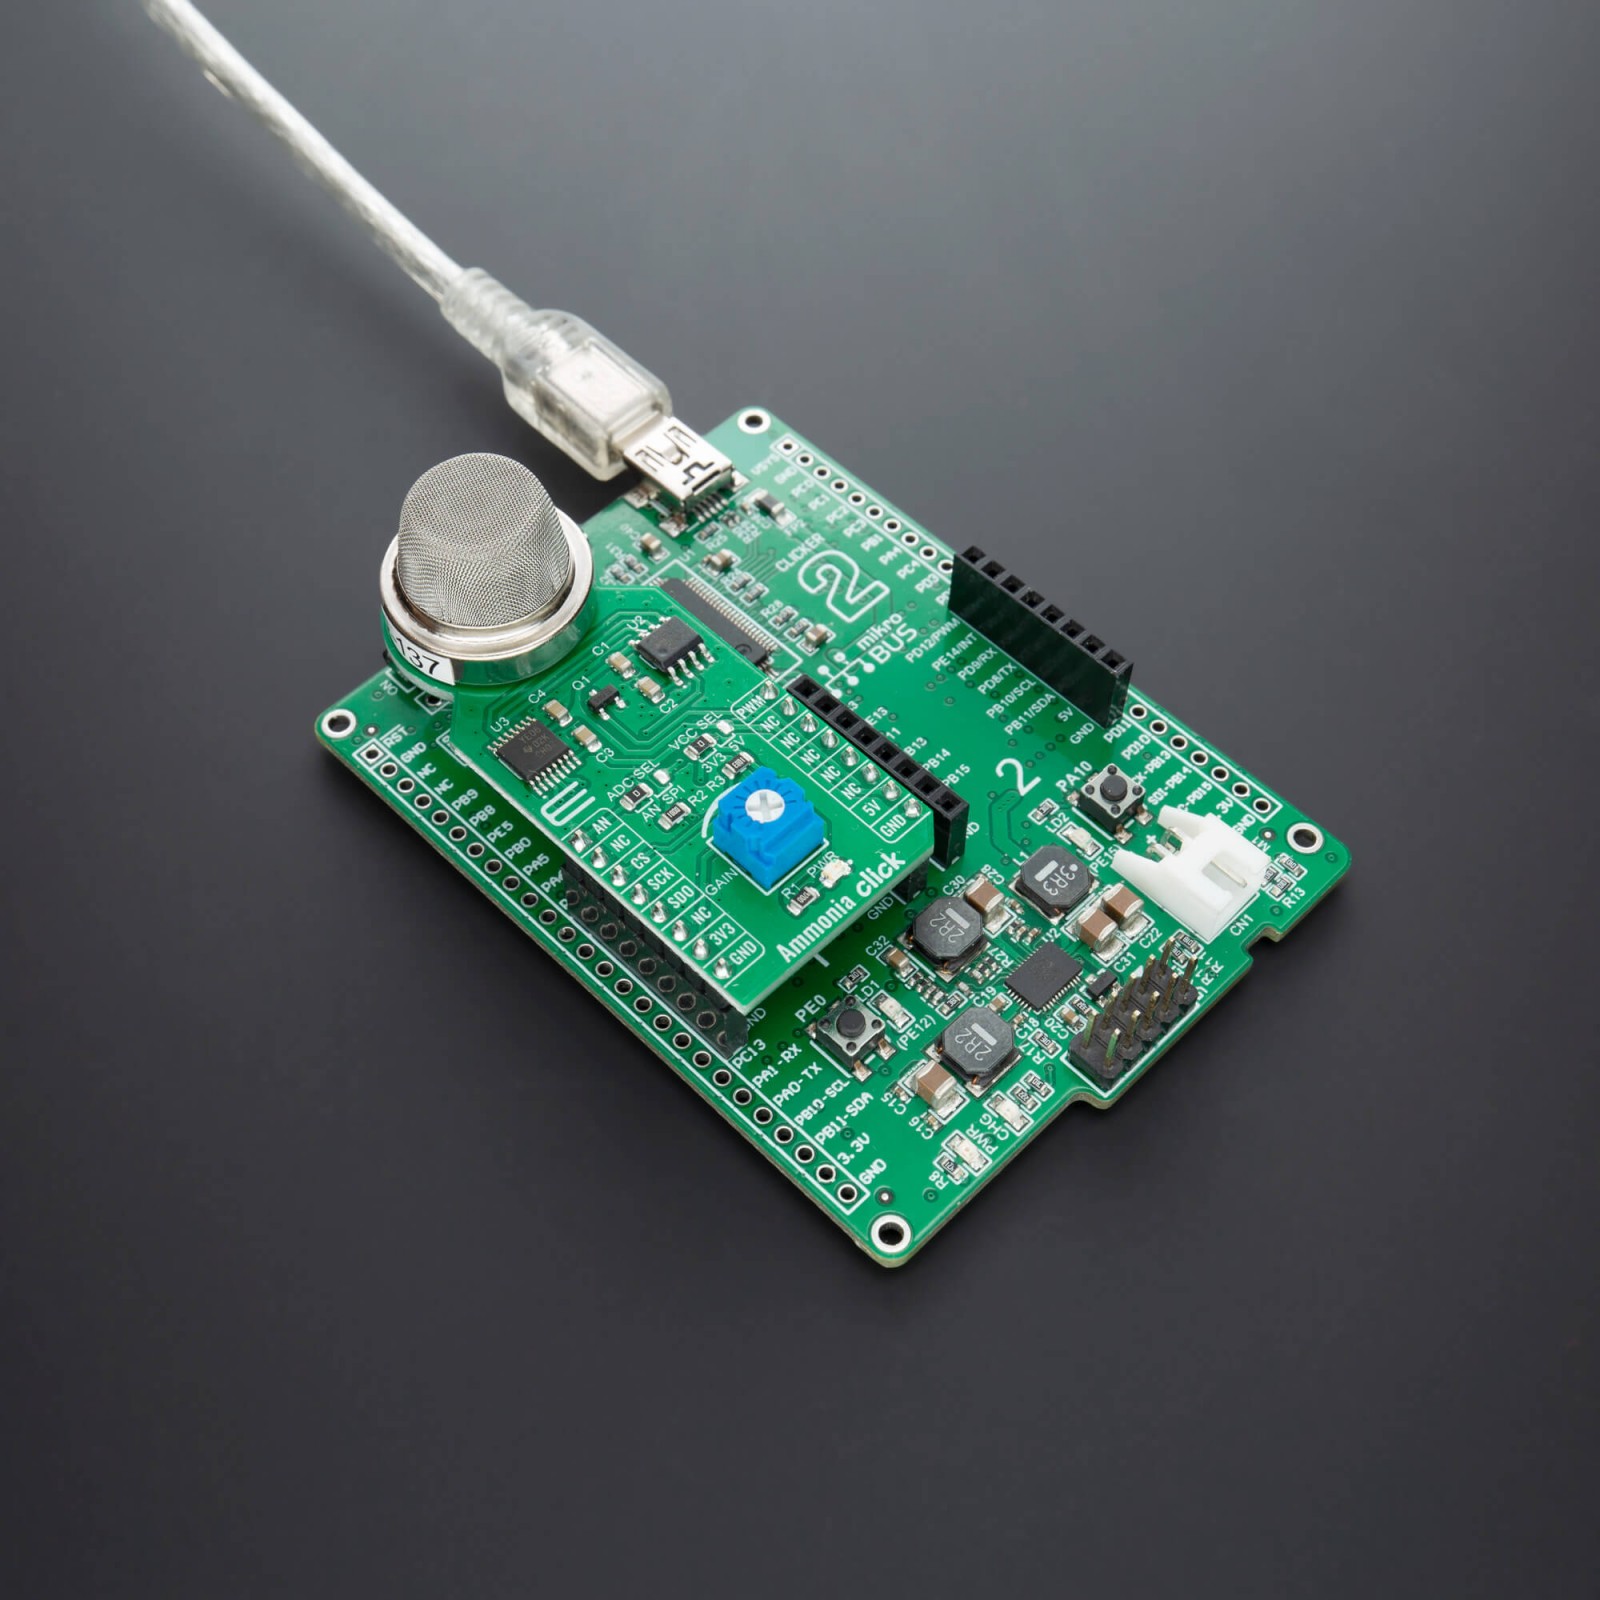
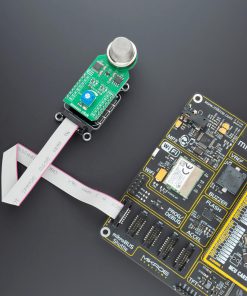
Ammonia Click is supported by a mikroSDK compliant library, which includes functions that simplify software development. This Click board™ comes as a fully tested product, ready to be used on a system equipped with the mikroBUS™ socket.
Stock: Lead-time applicable.
| 5+ | R1,330.00 |
| 10+ | R1,260.00 |
| 15+ | R1,190.00 |
| 20+ | R1,145.20 |
How does it work?
Ammonia Click uses the MQ-137 gas sensor from Winsen Sensor, which uses the SnO2 (tin-oxide) alloy, which decreases its resistance while exposed to the NH3 gas. The greater the NH3 concentration is, the more conductive this material becomes. This can be utilized to obtain the NH3 concentration readings. The sensor itself contains a small heating element, connected to 5V power supply. For lower power consumption the heater element can be controlled via a MOSFET power switch, connected to the PWM pin on the mikroBUS™ socket. It needs to be preheated for minimum 24h before it can perform as specified. The sensor is protected against particles and mechanical damage by a stainless mesh, however, exposing to excessive moisture and corrosive gases can damage the inner structure.

The measuring circuit consists of the MQ-137 sensor, a power source and a load resistor (RL) between the output pin and GND. The sensor with its internal resistance forms a voltage divider with the load resistor. The RL is designed as a variable resistor, allowing the output voltage to be trimmed to the desired value. The calibration should be performed in controlled conditions, as the resistance of the sensor is affected by both the ambient temperature and humidity. The sensor can be used to measure relative NH3 concentration change without an accurate calibrating, which is useful for building applications that can be used as warning systems. The middle tap of the sensor RL voltage divider is routed to an SMD jumper labeled as ADC SEL. This jumper can be used to redirect the measuring voltage either to the ADC for sampling or to the AN pin, so it can be used in an external circuitry (external ADC or some other form of measurement signal conditioning).
The MCP3551, a 22bit sigma-delta ADC from Microchip is used to sample the output of the sensor when selected by the ADC SEL jumper. This ADC converts the input voltage with a very high resolution of 22 bits and low noise, to a digital data, which can be obtained via the SPI interface of the Click board™. This ADC uses the reference voltage which is the same as the power supply voltage, and in this case, it is powered by 5V from the mikroBUS™ power rail. The reference voltage is used to calculate the value of the input voltage based on data received from the SPI bus, by using the following formula:
VSENS = DATA x VREF / FS
VREF is the same as the power supply for this circuit, which means VREF = 5V, and the highest number written with 22 bits (FS) is 4,194,303. DATA is the 22-bit conversion value. As already mentioned, the ADC uses a 5V power supply. Therefore, this board needs a level conversion circuitry in order to be interfaced with 3.3V MCUs. This Click board™ uses the TXB0106 IC, a 6-bit bidirectional level shifting IC from Texas Instruments, which is used to shift communication logic voltage levels from 5V to 3.3V. The voltage shift depends on the reference voltage on the VCCA pin, which can be selected with the SMD jumper, labeled as the VCC SEL.
Specifications
Type
Gas
Applications
It can be used in different Ammonia concentration detectors for air quality control, or for gas leak detection.
On-board modules
Ammonia Click uses the MQ-137, a high accuracy Ammonia sensor, from Hanwei Electronics.
Key Features
5 ppm to 200 ppm range of NH3 concentration sensing, integrated PWM-controlled heating element, protected against particles and mechanical damage.
Interface
Analog,GPIO,SPI
Feature
No ClickID
Compatibility
mikroBUS™
Click board size
L (57.15 x 25.4 mm)
Input Voltage
3.3V or 5V
Pinout diagram
This table shows how the pinout on Ammonia Click corresponds to the pinout on the mikroBUS™ socket (the latter shown in the two middle columns).
Onboard settings and indicators
| Label | Name | Default | Description |
|---|---|---|---|
| LD1 | PWR | – | Power LED Indicator |
| JP1 | VCC SEL | Left | Power Supply Voltage Selection 3V3/5V, left position 3v3, right position 5v |
| JP2 | ADC SEL | Left | Analog signal routing selection: left position – signal is routed to the AN pin, right position – signal is routed to the on board ADC. |
| P1 | GAIN | – | Sensitivity and offset adjustment of the MQ-137 sensor |
Software Support
We provide a library for the Ammonia Click on our LibStock page, as well as a demo application (example), developed using MikroElektronika compilers. The demo can run on all the main MikroElektronika development boards.
Library Description
The library covers all the necessary functions to control Ammonia click board. User can, turn heater on or off and read ADC value.
Key functions:
void ammonia_heater ( uint8_t state );– Function is used to turn the heater on or off.uint32_t ammonia_data_read ( );– Function is used to read ADC value.uint32_t ammonia_adc_read( );– Function reads ADC values.
Examples description
The application is composed of three sections :
- System Initialization – Initializes SPI module, LOG structure, sets CS and PWM pins as output and MISO and AN pins as input.
- Application Initialization – Initalizes SPI or ADC driver, turns on the heater, and makes an initial log.
- Application Task – (code snippet) This is an example that shows the capabilities of the ADC 9 click by reading ADC value and displaying it via UART.
void application_task ( )
{
    if ( interface_sel == AMMONIA_INTF_SPI )
    {
        spi_value = ammonia_data_read( );

        LongWordToStr( spi_value, log_txt );
        Ltrim( log_txt );
        mikrobus_logWrite( "ADC value: ", _LOG_TEXT );
        mikrobus_logWrite( log_txt, _LOG_LINE );
    }
    else
    {
        adc_value = ammonia_adc_read( );

        WordToStr( adc_value, log_txt );
        Ltrim( log_txt );
        mikrobus_logWrite( "ADC value: ", _LOG_TEXT );
        mikrobus_logWrite( log_txt, _LOG_LINE );
    }
    mikrobus_logWrite( "--------------------", _LOG_LINE );
    Delay_ms( 1000 );
}
The full application code, and ready to use projects can be found on our LibStock page.
Other mikroE Libraries used in the example:
- I2C
- ADC
- UART
- Conversions
Additional notes and informations
Depending on the development board you are using, you may need USB UART click, USB UART 2 click or RS232 click to connect to your PC, for development systems with no UART to USB interface available on the board. The terminal available in all MikroElektronika compilers, or any other terminal application of your choice, can be used to read the message.
mikroSDK
This Click board™ is supported with mikroSDK – MikroElektronika Software Development Kit. To ensure proper operation of mikroSDK compliant Click board™ demo applications, mikroSDK should be downloaded from the LibStock and installed for the compiler you are using.
For more information about mikroSDK, visit the official page.
Resources
Downloads
| Weight | 23 g |
|---|---|
| Brand | MikroElektronika |

