How does it work?
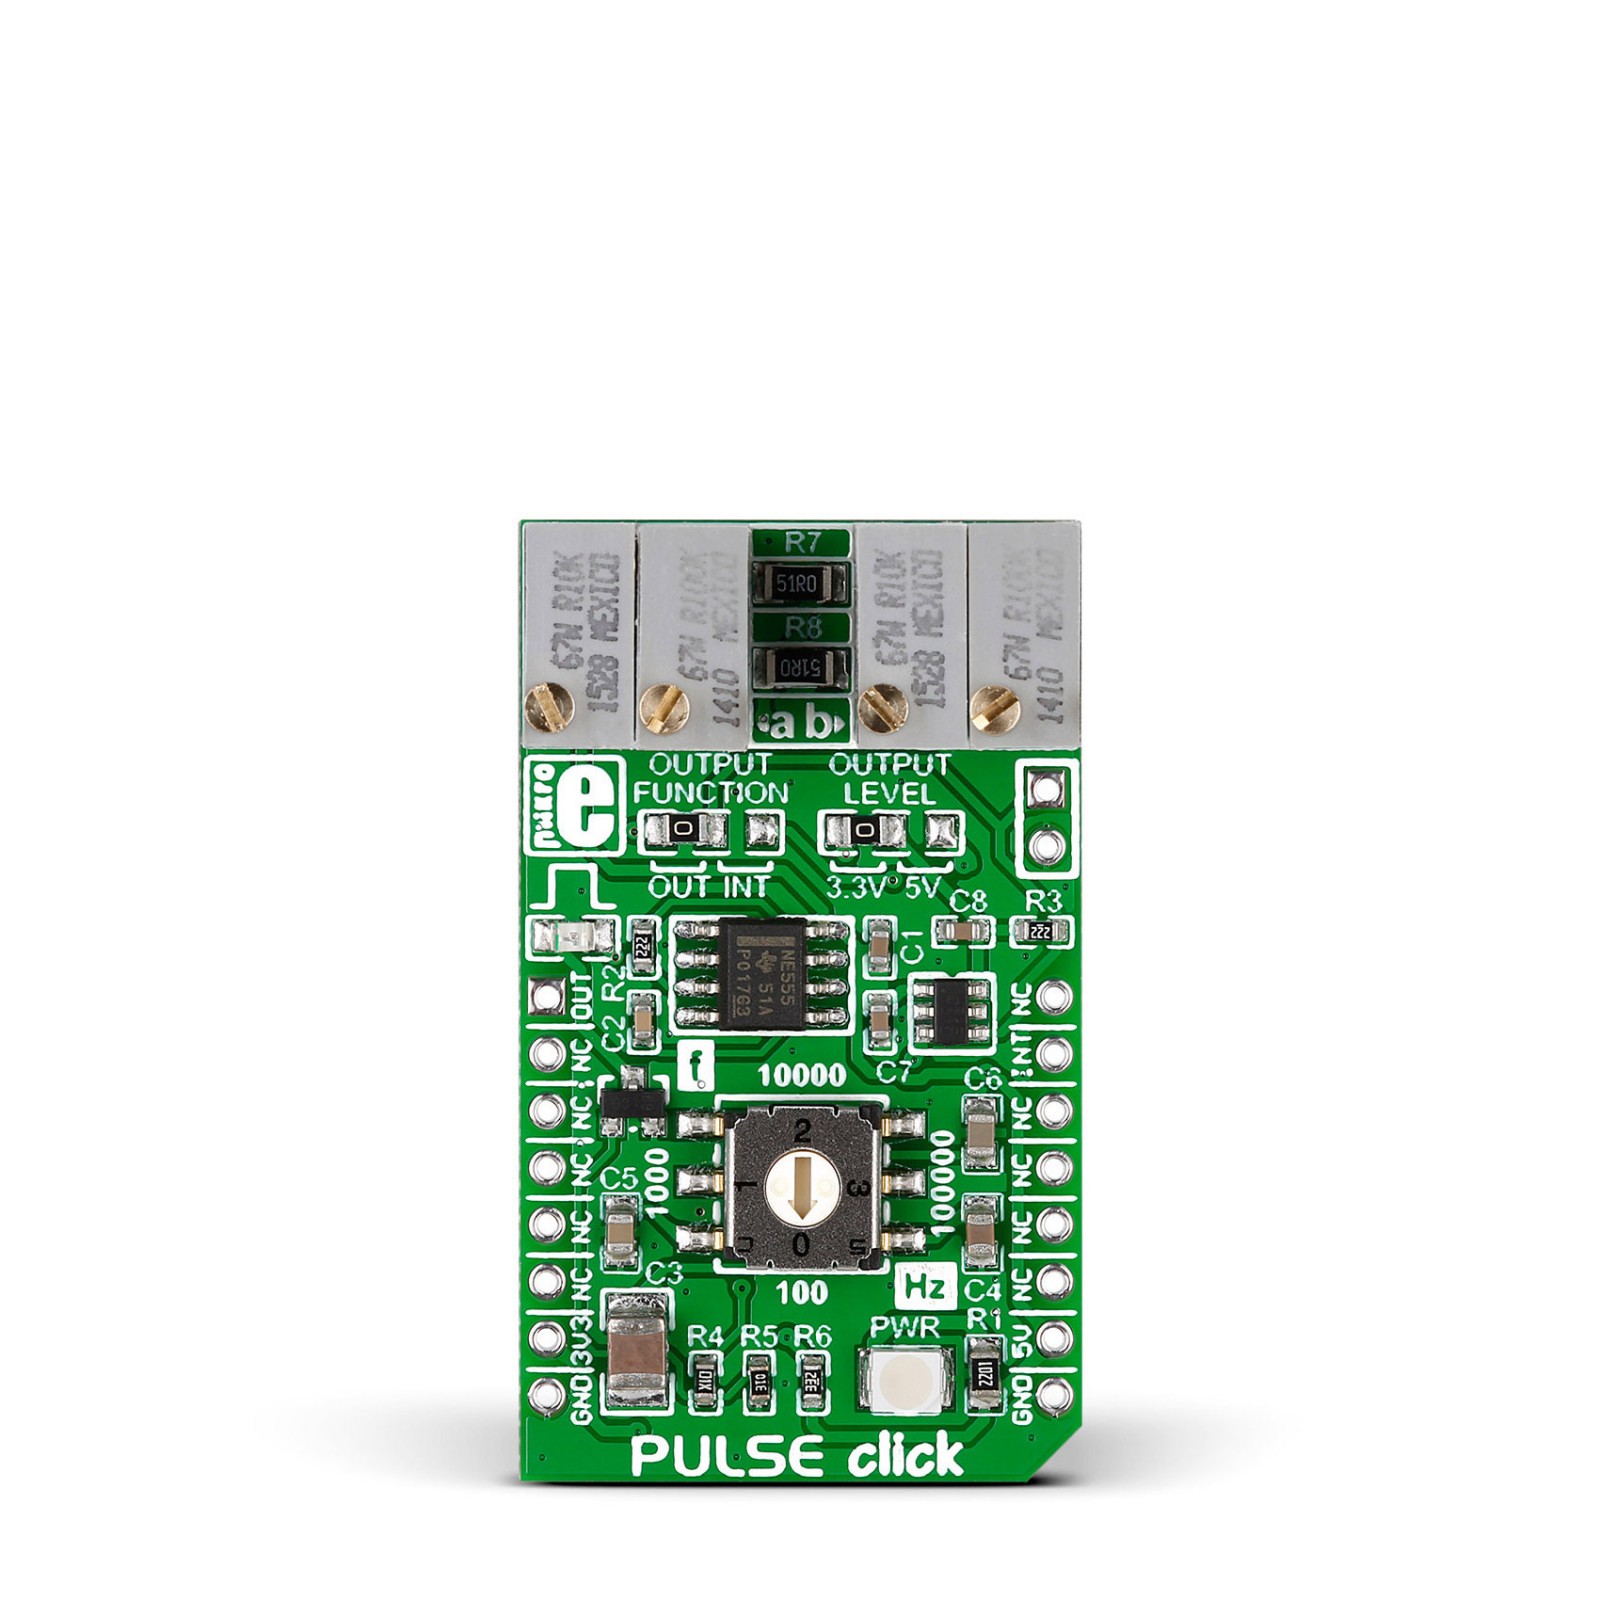
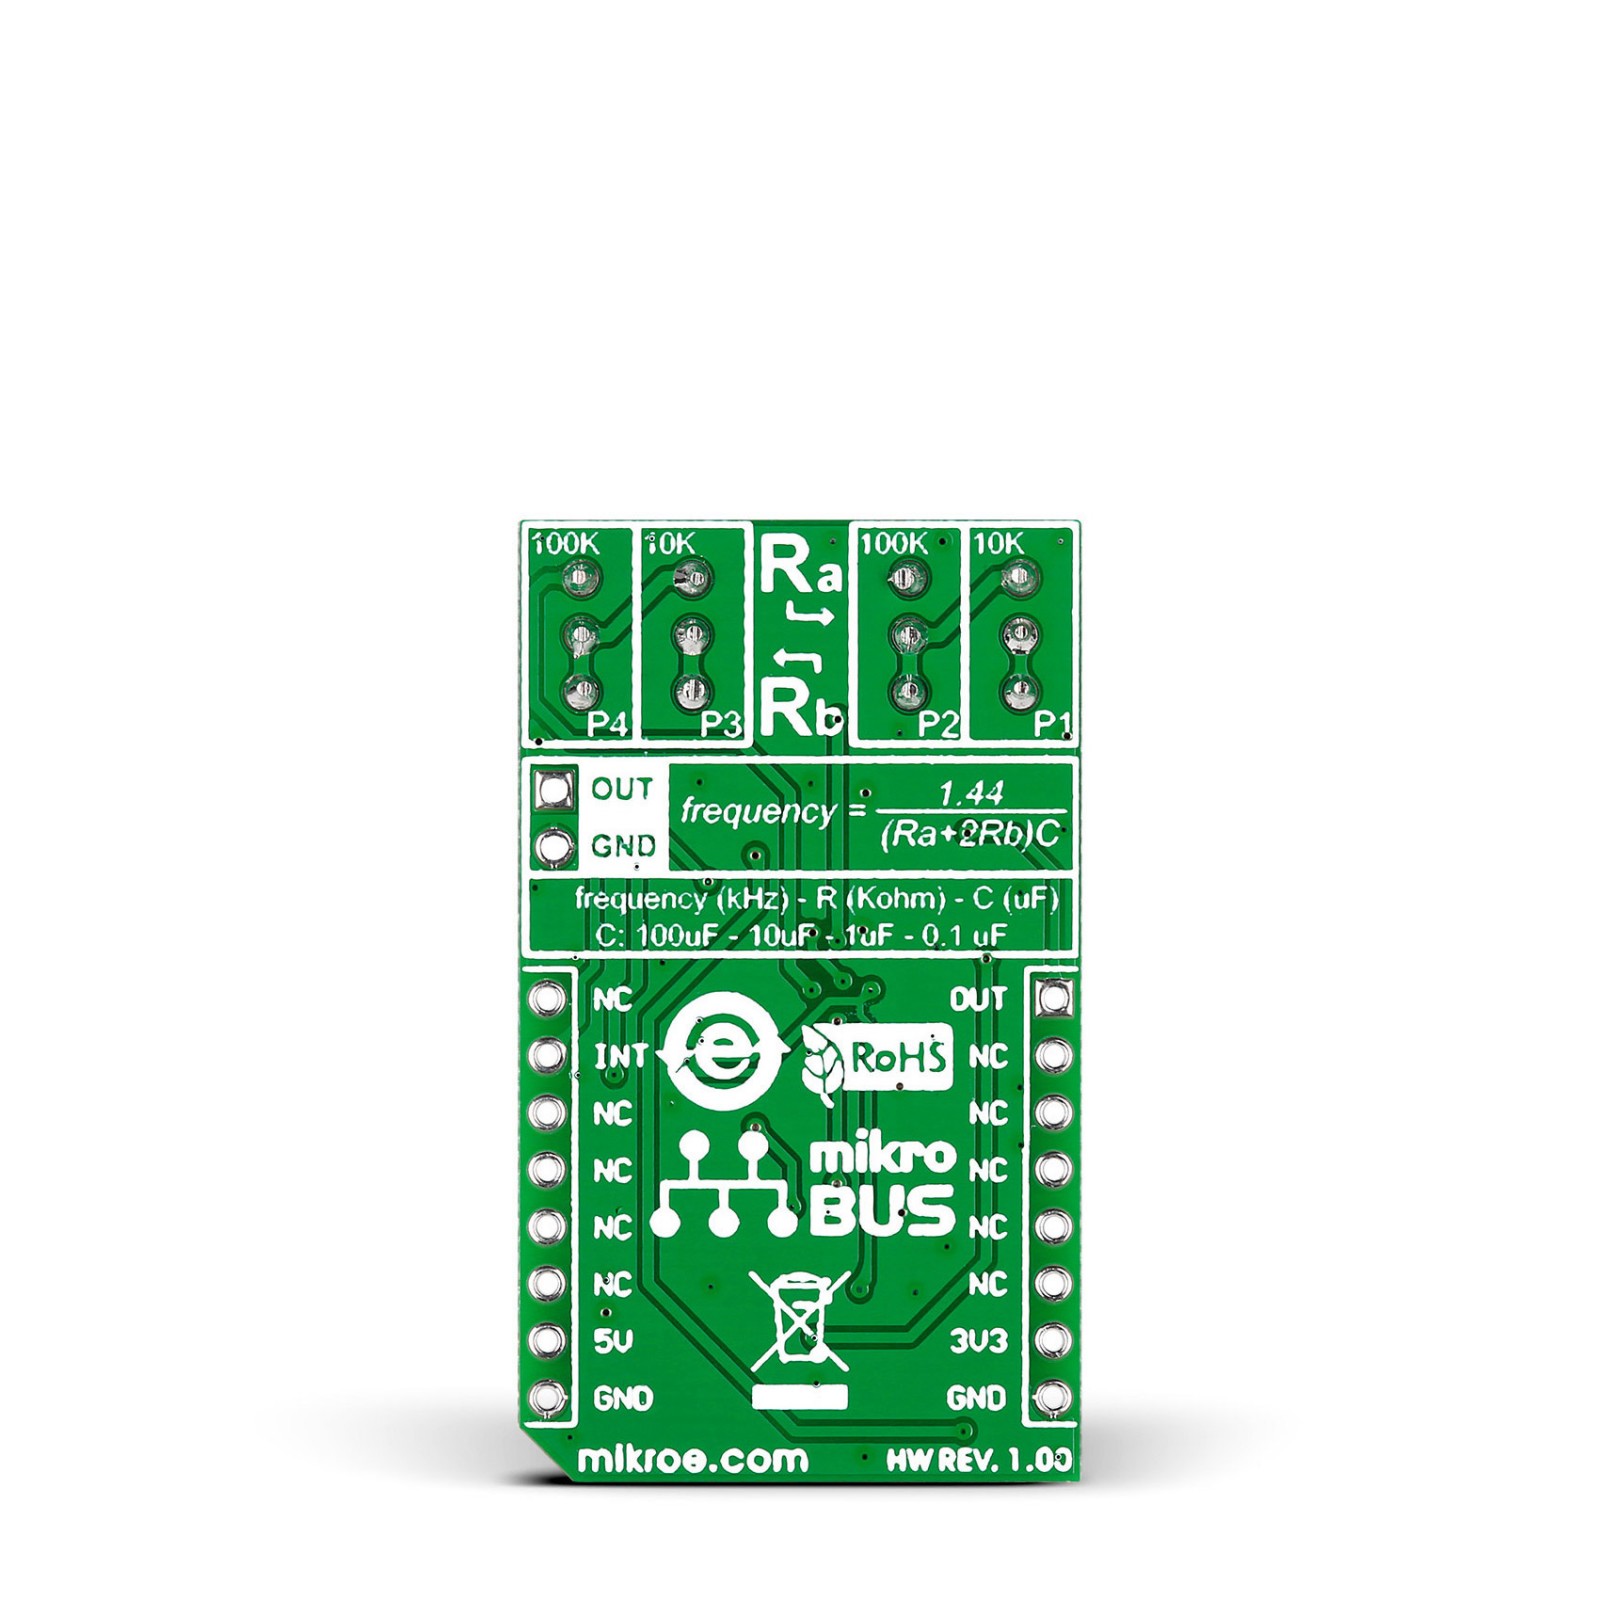
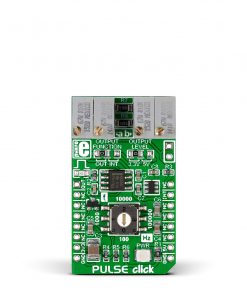
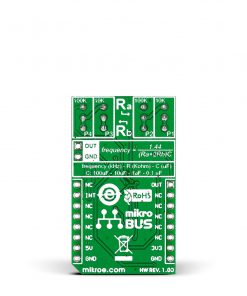
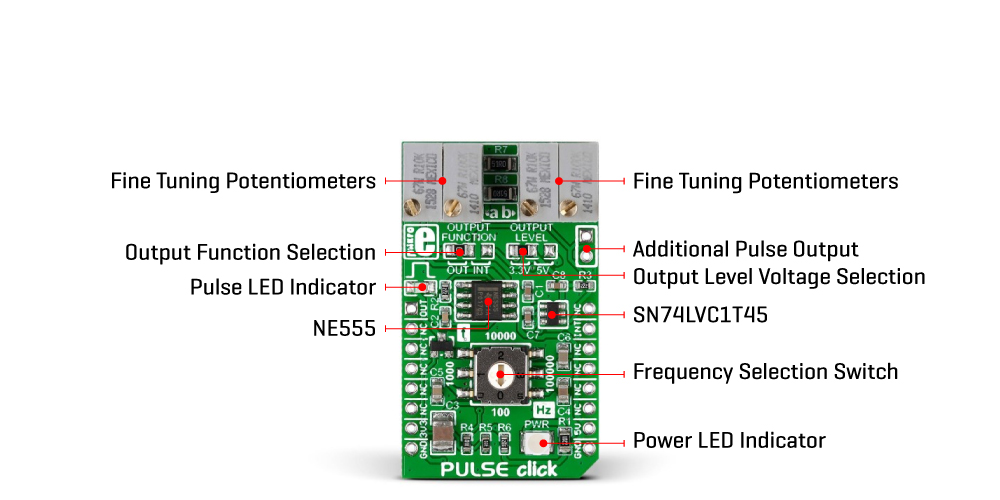
Pulse Click is based on the NE555, a precision timer from Texas Instruments. The NE555 is a well-known piece of silicon and features timing from milliseconds to hours, astable or monostable operation, adjustable duty cycle, and more. The Pulse Click features several potentiometers and a switch for adjusting the desired frequency. The frequency selector switch has four positions, starting from the six-o-clock position and moving clockwise in quarters, thus selecting one position from 0 up to 100Hz, 1 up to 1KHz, 2 up to 10KHz, and 3 up to 100KHz. After choosing the appropriate position, you can move to onboard A and B side potentiometers to fine-tune the desired frequency. Over those four potentiometers, you can go in fine steps from its start point up to final value.
The output of this Click board™ can be configured as an interrupt on the INT pin of the mikroBUS™ socket or as a digital output over an OUT pin. The user must select the proper OUTPUT FUNCTION jumper as an OUT or INT, where OUT as a general-purpose analog/digital output is set by default. In addition, this board features a pulse LED indicator and an HD1 2-pin header if the user wants to use the output of this board in some other way than via the mikroBUS™ pin.
This Click board™ can work on 3.3V and 5V but the output voltage must be set over the OUTPUT LEVEL jumper between those two voltages, as the 3.3V is set by default. For this purpose, the Pulse Click caries an SN74LVC1T45, a single-bit dual-supply bus transceiver with configurable voltage translation and 3-state outputs from Texas Instruments. However, the Click board™ comes equipped with a library containing easy-to-use functions and an example code that can be used, as a reference, for further development.
Specifications
Type
Clock generator
Applications
Can be used for generating a pulse with precise frequency control for equipment testing and similar purposes
On-board modules
NE555 – a precision timer from Texas Instruments
SN74LVC1T45 – a single-bit dual-supply bus transceiver with configurable voltage translation and 3-state outputs from Texas Instruments
Key Features
Selectable output over a switch, four potentiometers for setting up frequency, output as an interrupt or as a digital output, additional pulse output, pulse LED indicator, highly accurate, low power consumption, and more
Interface
GPIO
Feature
No ClickID
Compatibility
mikroBUS™
Click board size
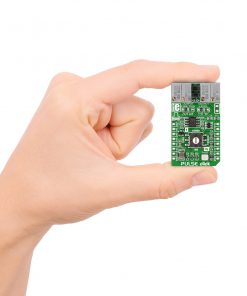
M (42.9 x 25.4 mm)
Input Voltage
3.3V or 5V
Pinout diagram
This table shows how the pinout on PULSE Click corresponds to the pinout on the mikroBUS™ socket (the latter shown in the two middle columns).
Onboard settings and indicators
Label | Name | Default | Description |
---|---|---|---|
LD1 | PWR | – | Power LED Indicator |
LD2 | – | – | Pulse LED Indicator |
J1 | Output Function | Left | Output Function Selection OUT/INT: Left Position OUT, Right Position INT |
J2 | Output Level | Left | Output Level Voltage Selection 3V3/5V: Left position 3V3, Right position 5V |
PULSE Click electrical specifications
Description | Min | Typ | Max | Unit |
---|---|---|---|---|
Supply Voltage | 3.3 | – | 5 | V |
Output Frequency Range | 0 | – | 100 | kHz |
Software Support
We provide a library for the HAPTIC Click as well as a demo application (example), developed using Mikroe compilers. The demo can run on all the main Mikroe development boards.
Package can be downloaded/installed directly from NECTO Studio Package Manager (recommended), downloaded from our LibStock™ or found on Mikroe github account.
Library Description
This library contains API for HAPTIC Click driver.
Key functions
-
Enable the device function.
-
Disable the device function.
-
Sets the Haptic click to desired mode function.
Example Description
This application generate vibrations from the lower frequency range of the audio input.
void application_task ( void )
{
// Nothing to do here...
}
The full application code, and ready to use projects can be installed directly from NECTO Studio Package Manager (recommended), downloaded from our LibStock™ or found on Mikroe github account.
Other Mikroe Libraries used in the example:
- MikroSDK.Board
- MikroSDK.Log
- Click.Haptic
Additional notes and informations
Depending on the development board you are using, you may need USB UART click, USB UART 2 Click or RS232 Click to connect to your PC, for development systems with no UART to USB interface available on the board. UART terminal is available in all Mikroe compilers.
mikroSDK
This Click board™ is supported with mikroSDK – Mikroe Software Development Kit. To ensure proper operation of mikroSDK compliant Click board™ demo applications, mikroSDK should be downloaded from the LibStock and installed for the compiler you are using.
For more information about mikroSDK, visit the official page.