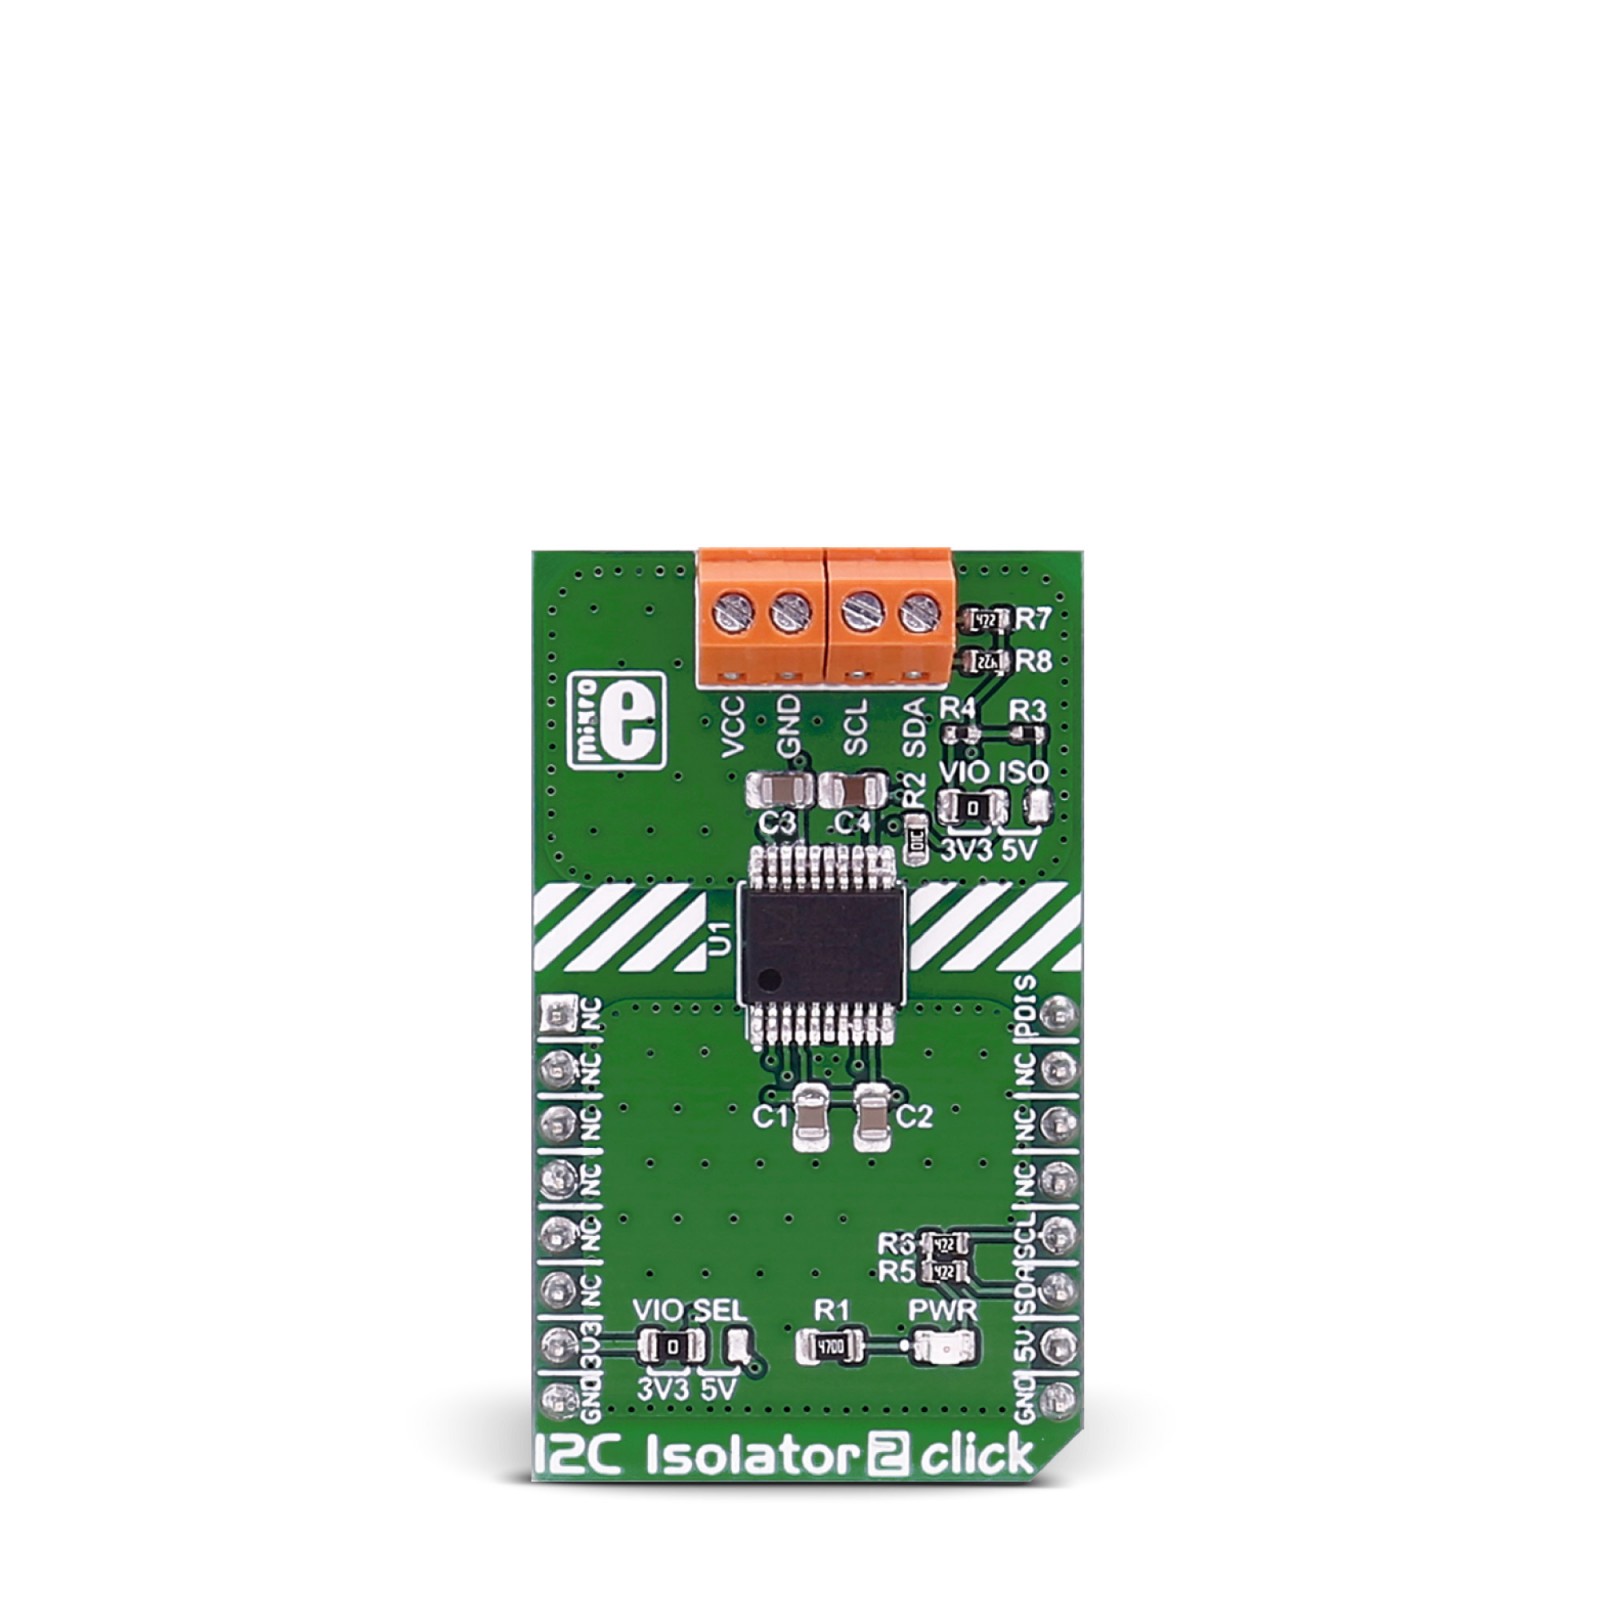
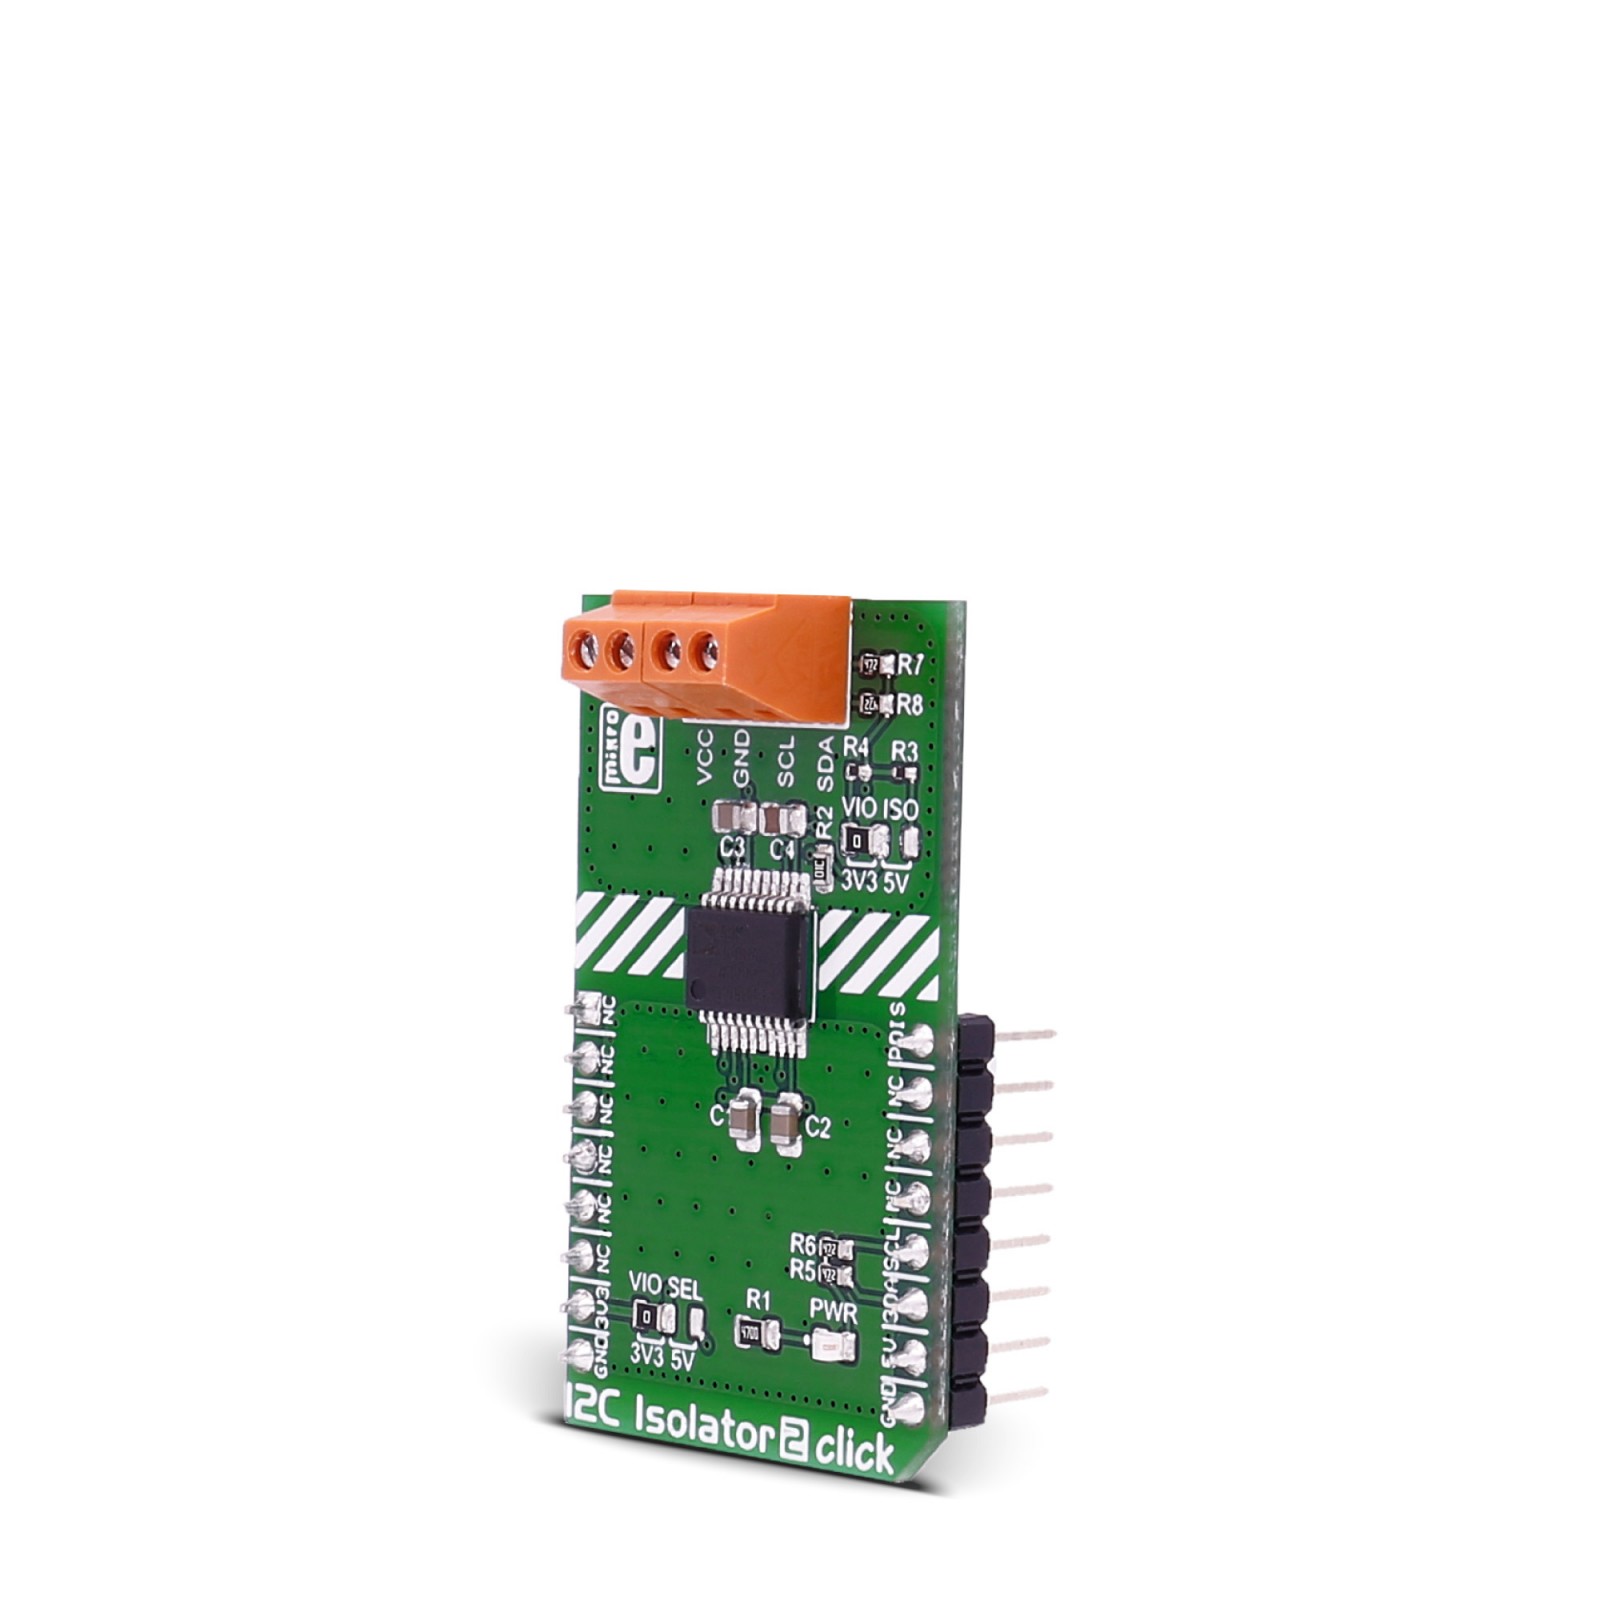
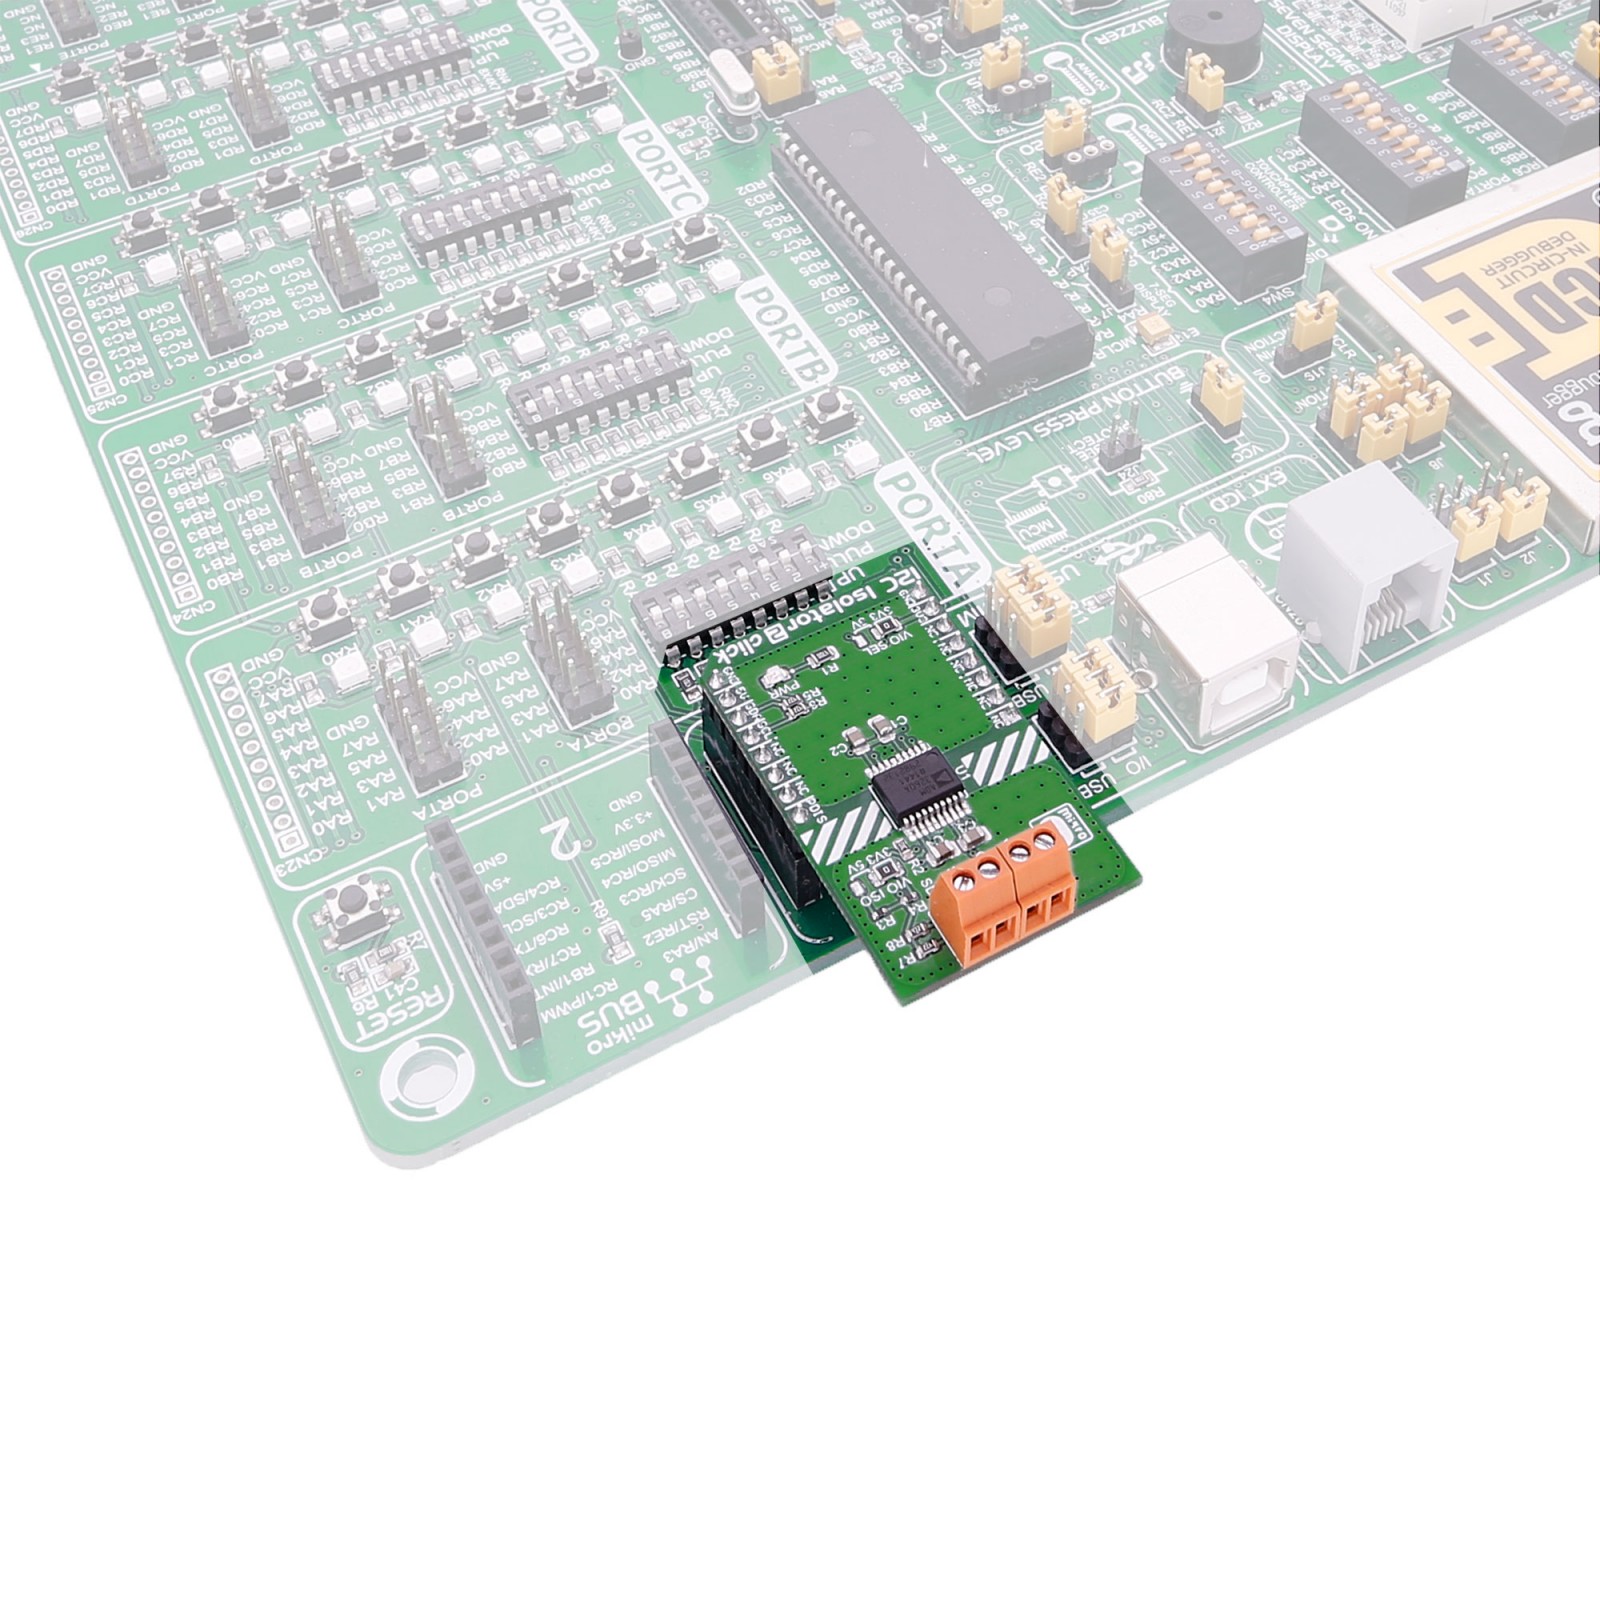
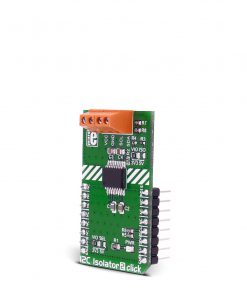
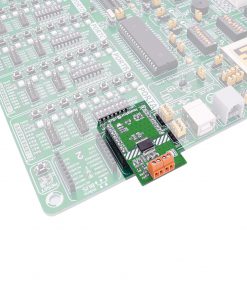
I2C Isolator 2 click provides I2C lines and power isolation for slave devices. It carries the ADM3260 dual I2C isolator with an integrated DC-to-DC converter, from Analog Devices. I2C Isolator 2 click is designed to run on either 3.3V or 5V power supply. The click communicates with the target microcontroller over an I2C interface with additional functionality provided by the PWM pin on the mikroBUS™ line.
ADM3260 features
The ADM3260 is a hot-swappable digital and power isolator with two nonlatching, bidirectional communication channels, supporting a complete isolated I2C interface, and an integrated isolated dc-to-dc converter, supporting up to 150 mW of isolated power conversion.
The bidirectional I2C channels eliminate the need for splitting I2C signals into separate transmit and receive signals for use with standalone optocouplers.
How it works
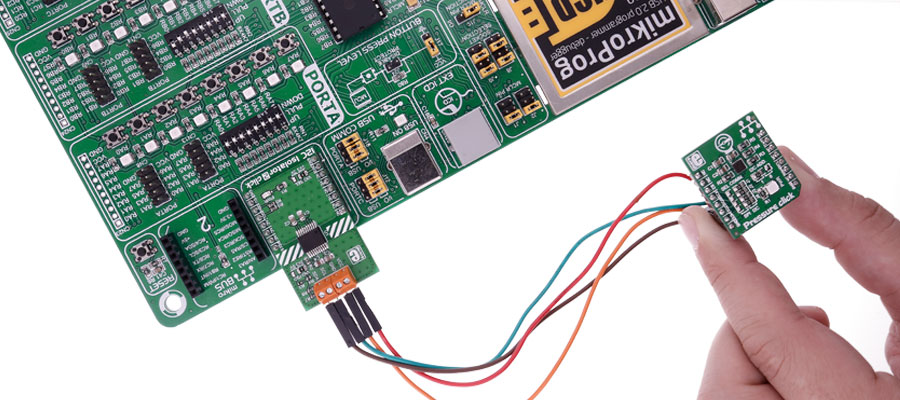
The screw terminal on the board can be connected to I2C and power connections of an I2C slave device.
Specifications
Type
I2C
Applications
Isolated I2C, SMBus, and PMBus interfaces, multilevel I2C interfaces, central office switching, telecommunication and data communication equipment, etc
On-board modules
ADM3260 dual I2C isolator
Key Features
up to 150 mW output power
Interface
I2C,GPIO
Compatibility
mikroBUS
Click board size
M (42.9 x 25.4 mm)
Input Voltage
3.3V or 5V
Pinout diagram
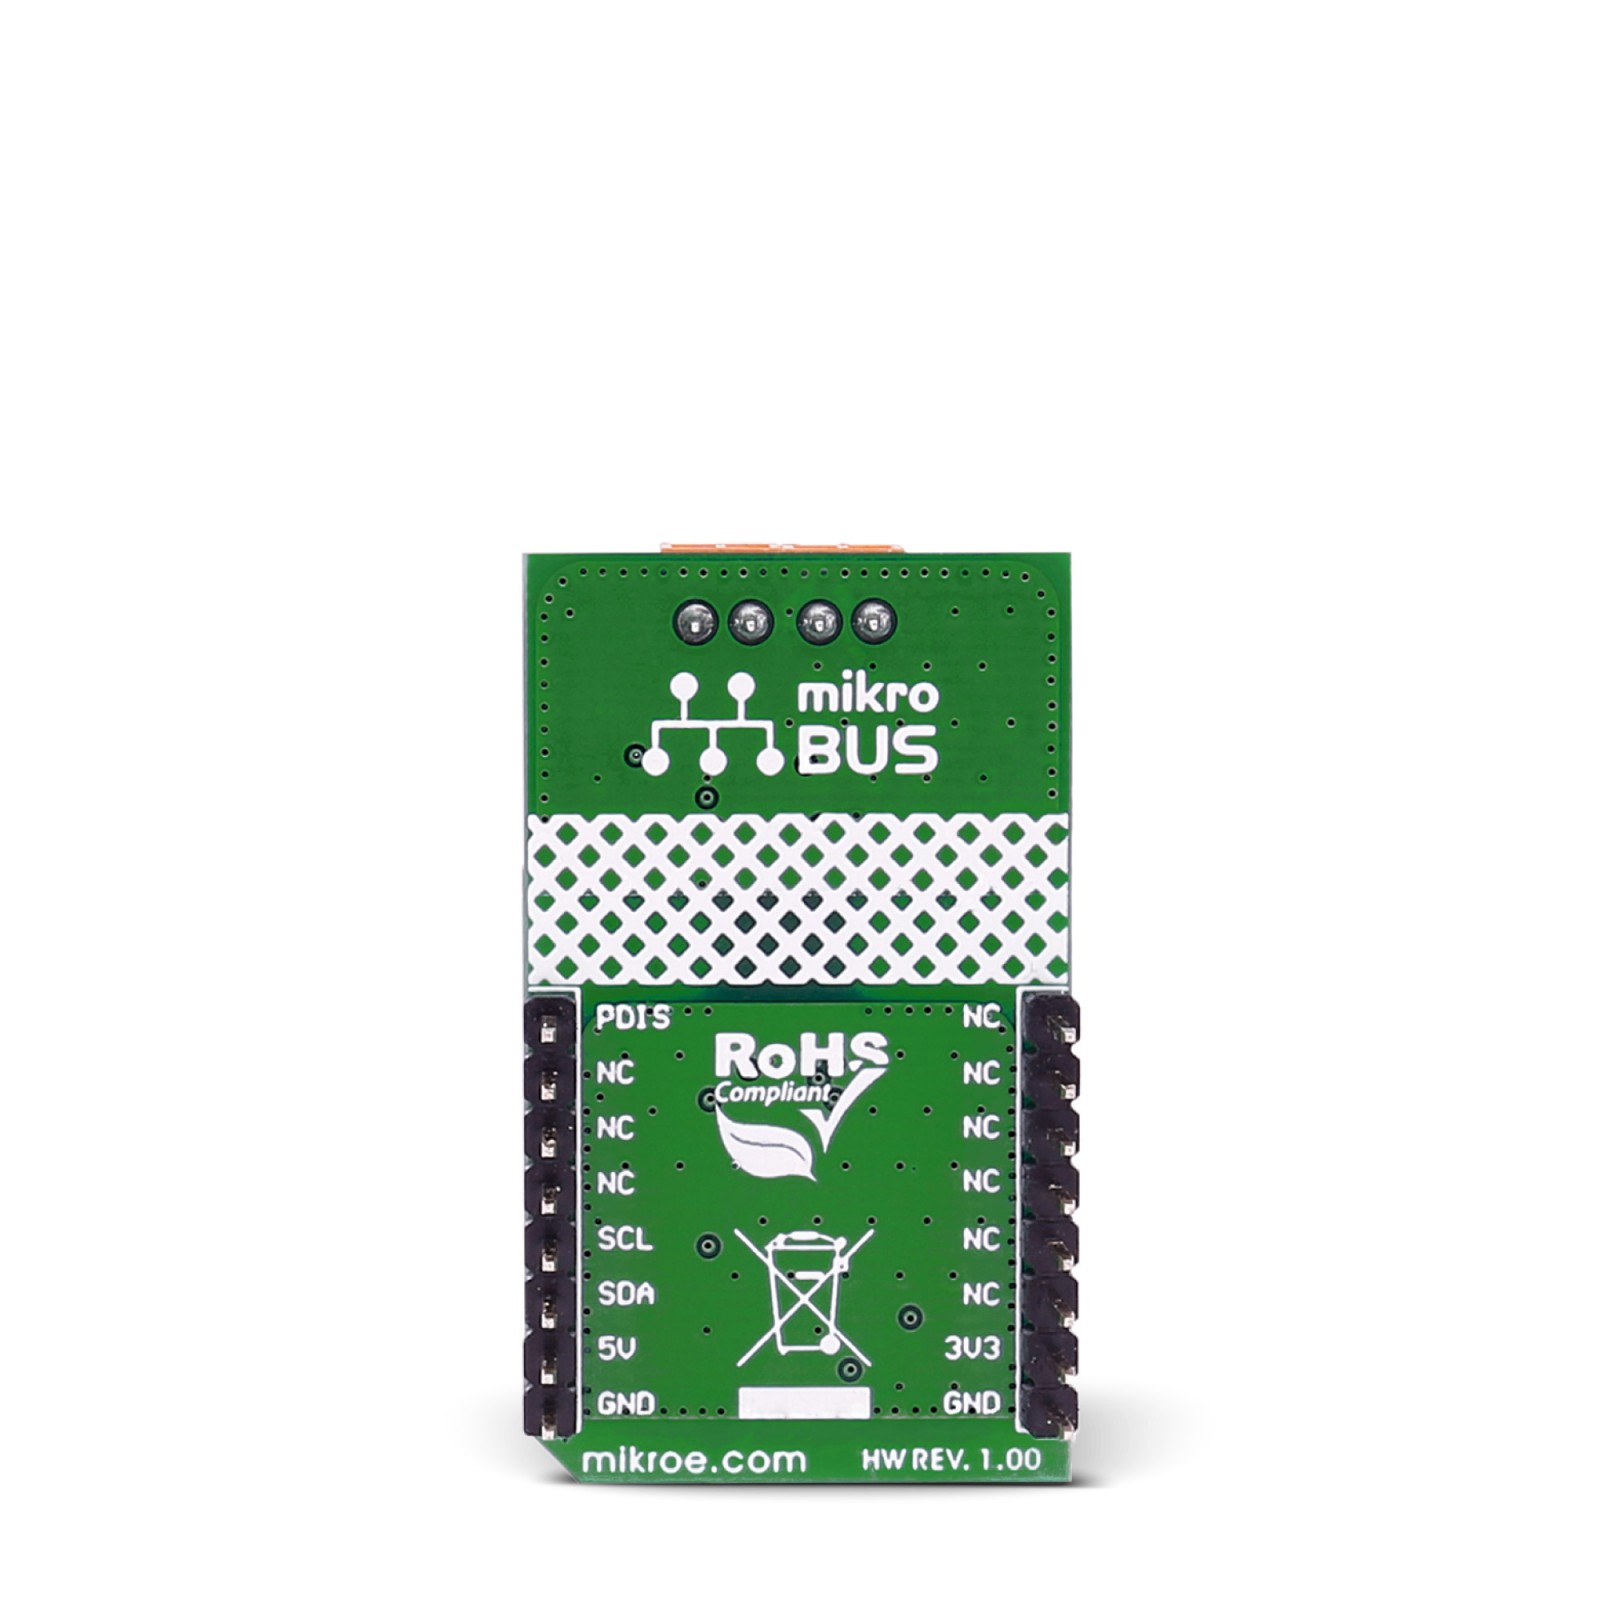
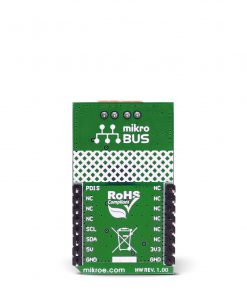
This table shows how the pinout on I2C Isolator 2 click corresponds to the pinout on the mikroBUS™ socket (the latter shown in the two middle columns).
Jumpers and Settings
Designator | Name | Default Position | Default Option | Description |
---|---|---|---|---|
JP1 | VIO SEL. | Left | 3V3 | Power Supply Voltage Selection 3V3/5V, left position 3V3, right position 5V |
JP2 | VIO ISO | Left | 3V3 | Isolated Power Supply Voltage Selection 3V3/5V, left position 3V3, right position 5V |
Buttons and LEDs
Designator | Name | Type | Description |
---|---|---|---|
CN1 | SCREW TERMINAL | VCC, GND isolated connection. | |
CN2 | SCREW TERMINAL | SCL SDA isolated connection |
Programming
Code snippet
The following code snippet is an example of a read sequence using I2C.
1 I2C1_Start(); // issue I2C start signal 2 I2C1_Wr(0xA2); // send byte via I2C (device address + W) 3 I2C1_Wr(2); // send byte (data address) 4 I2C1_Repeated_Start(); // issue I2C signal repeated start 5 I2C1_Wr(0xA3); // send byte (device address + R) 6 LATB = I2C1_Rd(0); // Read the data (NO acknowledge) 7 I2C1_Stop(); // issue I2C stop signal