LDC1101 Click
R620.00 ex. VAT
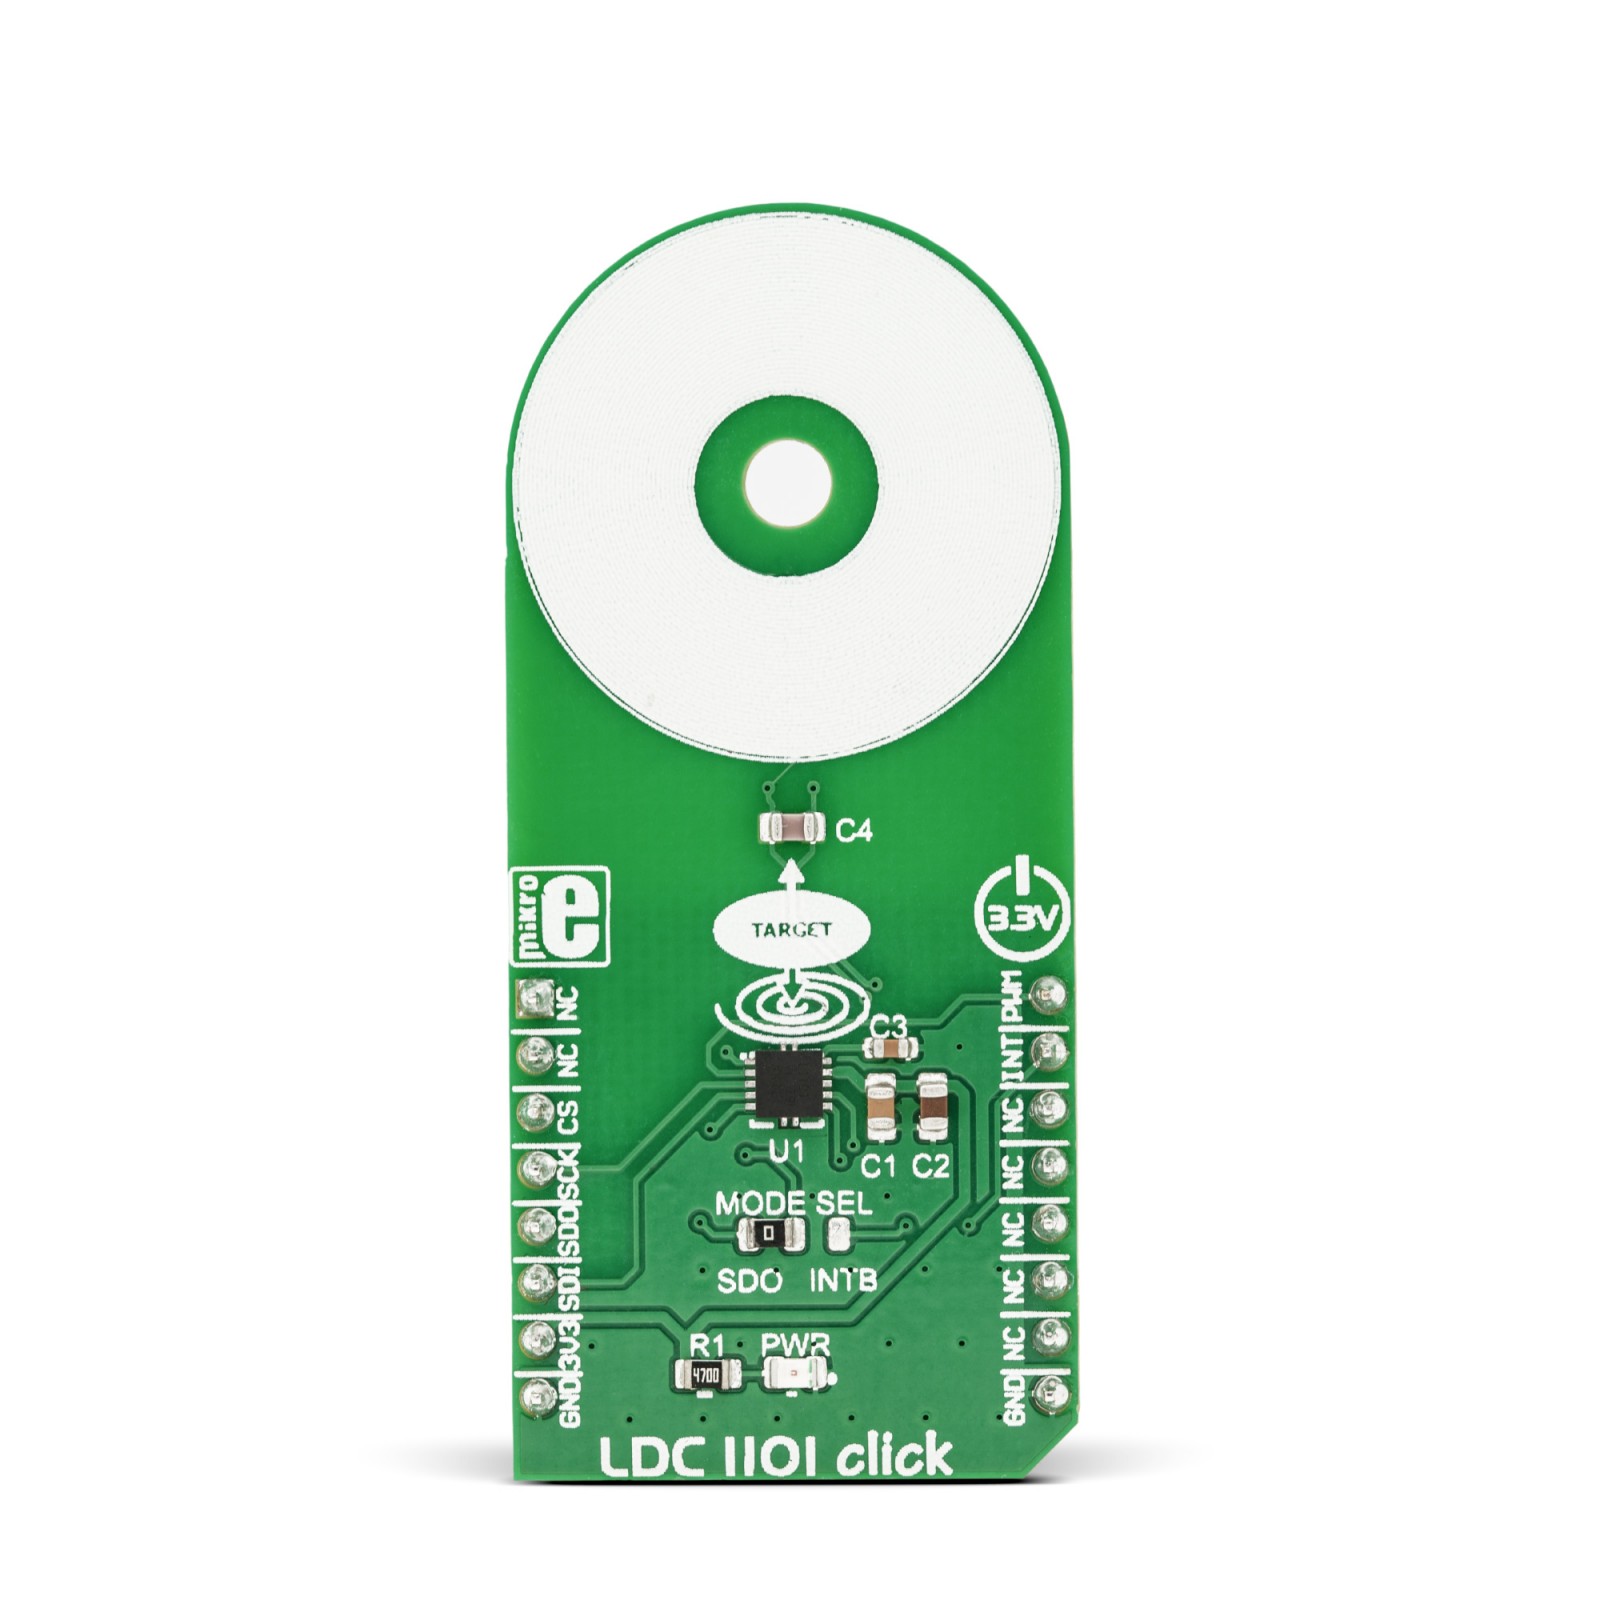
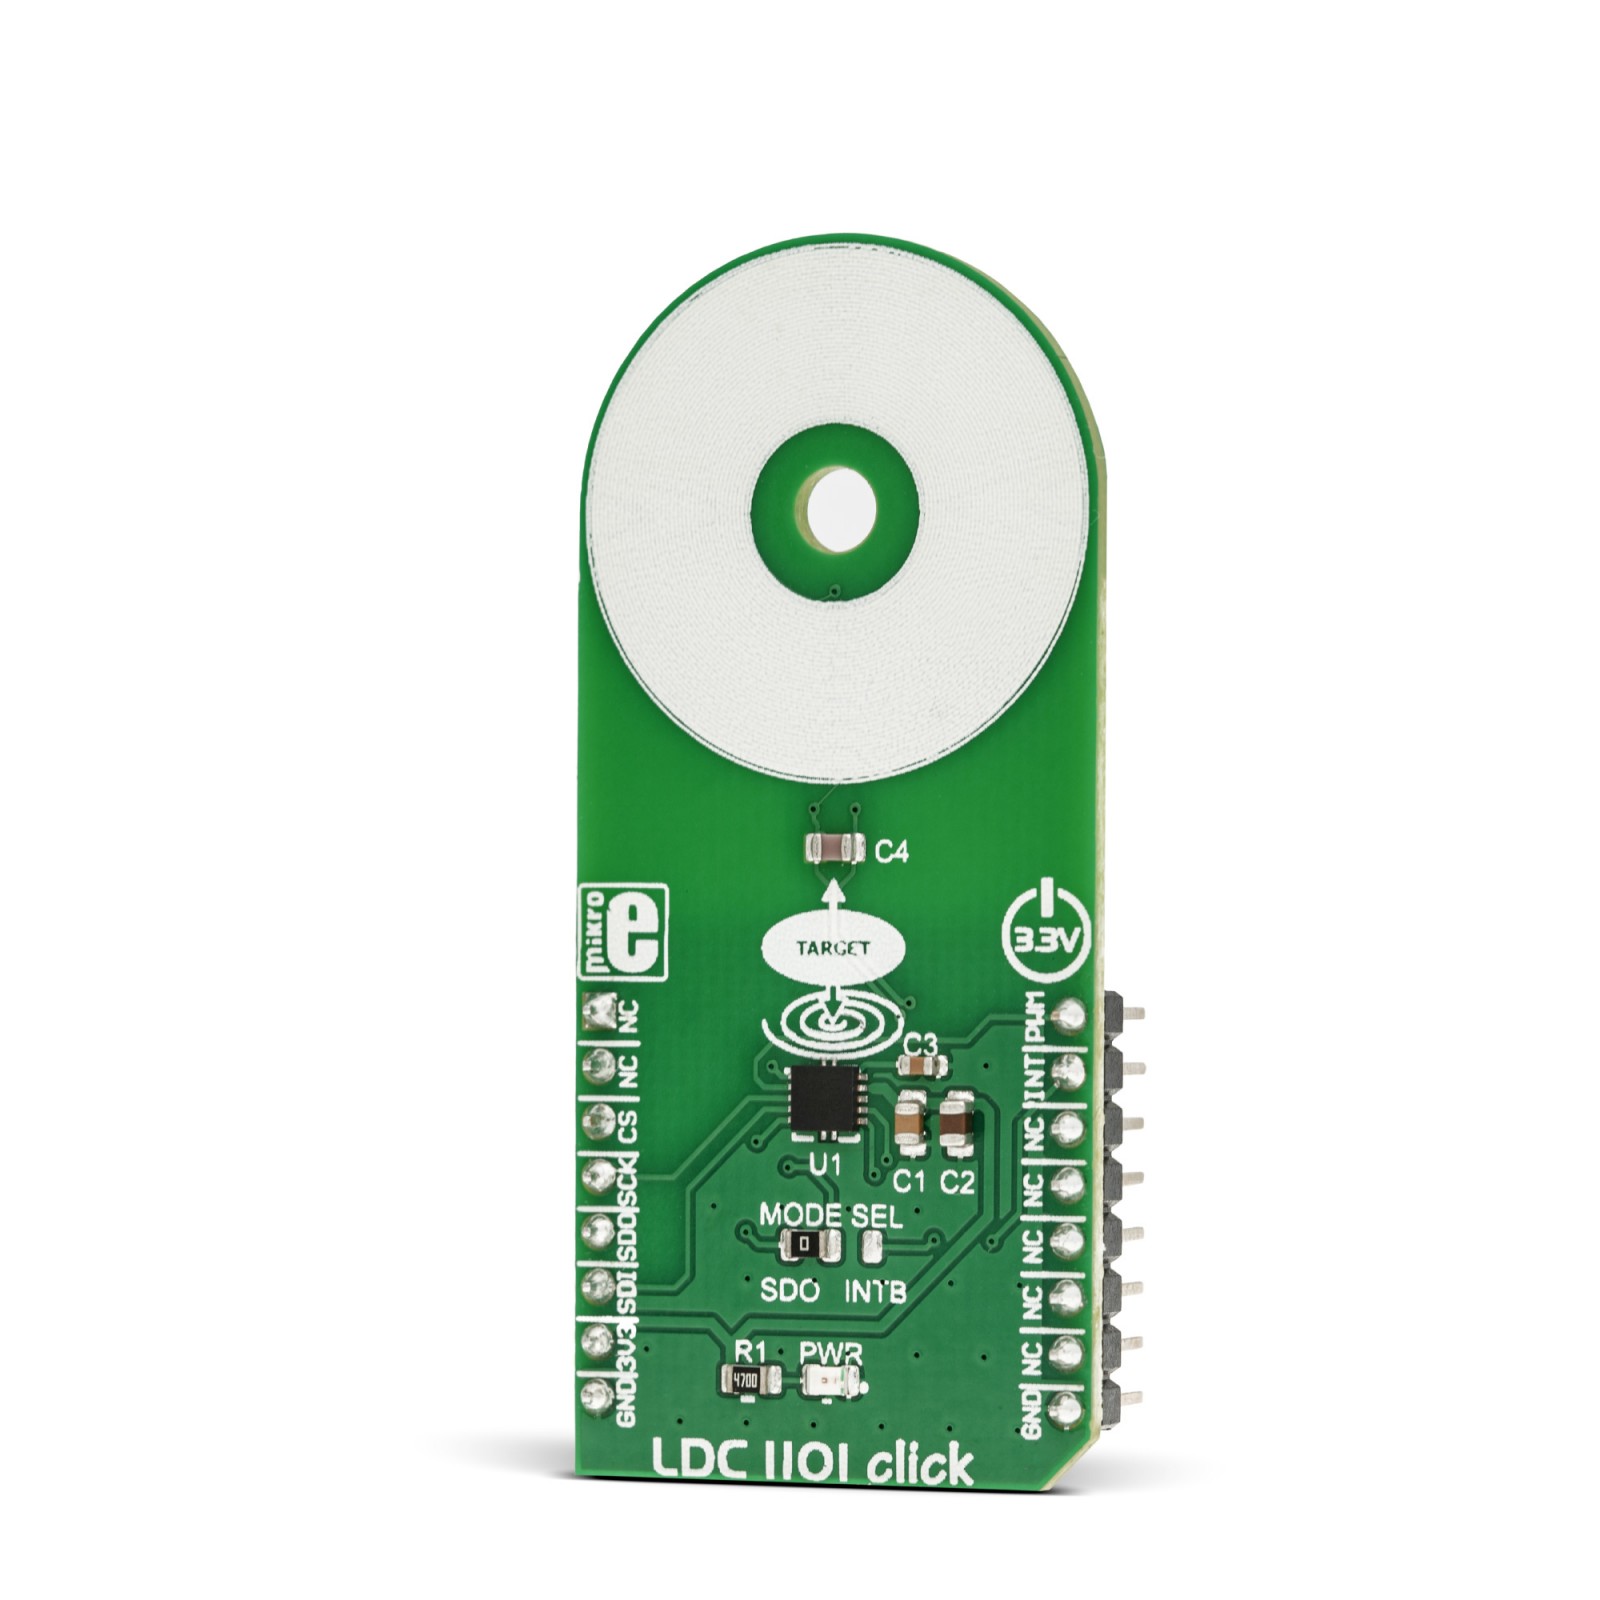
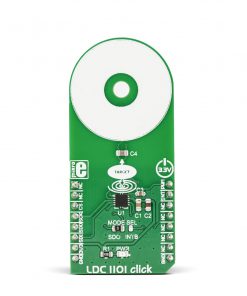
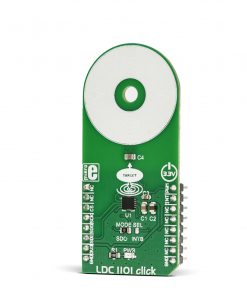
LDC1101 click is an inductance-to-digital converter Click Board™. It is designed for a range of different applications, based on the inductivity measurements. You can use it to detect the position, rotation, or motion of an object. LDC1101 carries the LDC1101, the integrated, high-resolution, high-speed, inductance-to-digital converter. The converter allows both the inductance and the impedance to be measured. The fast impedance + inductance (RP+L) mode offers separate 16-bit readings for both parameters, while the high-resolution inductance (LHR) mode offers a single reading with a resolution of 24 bits.
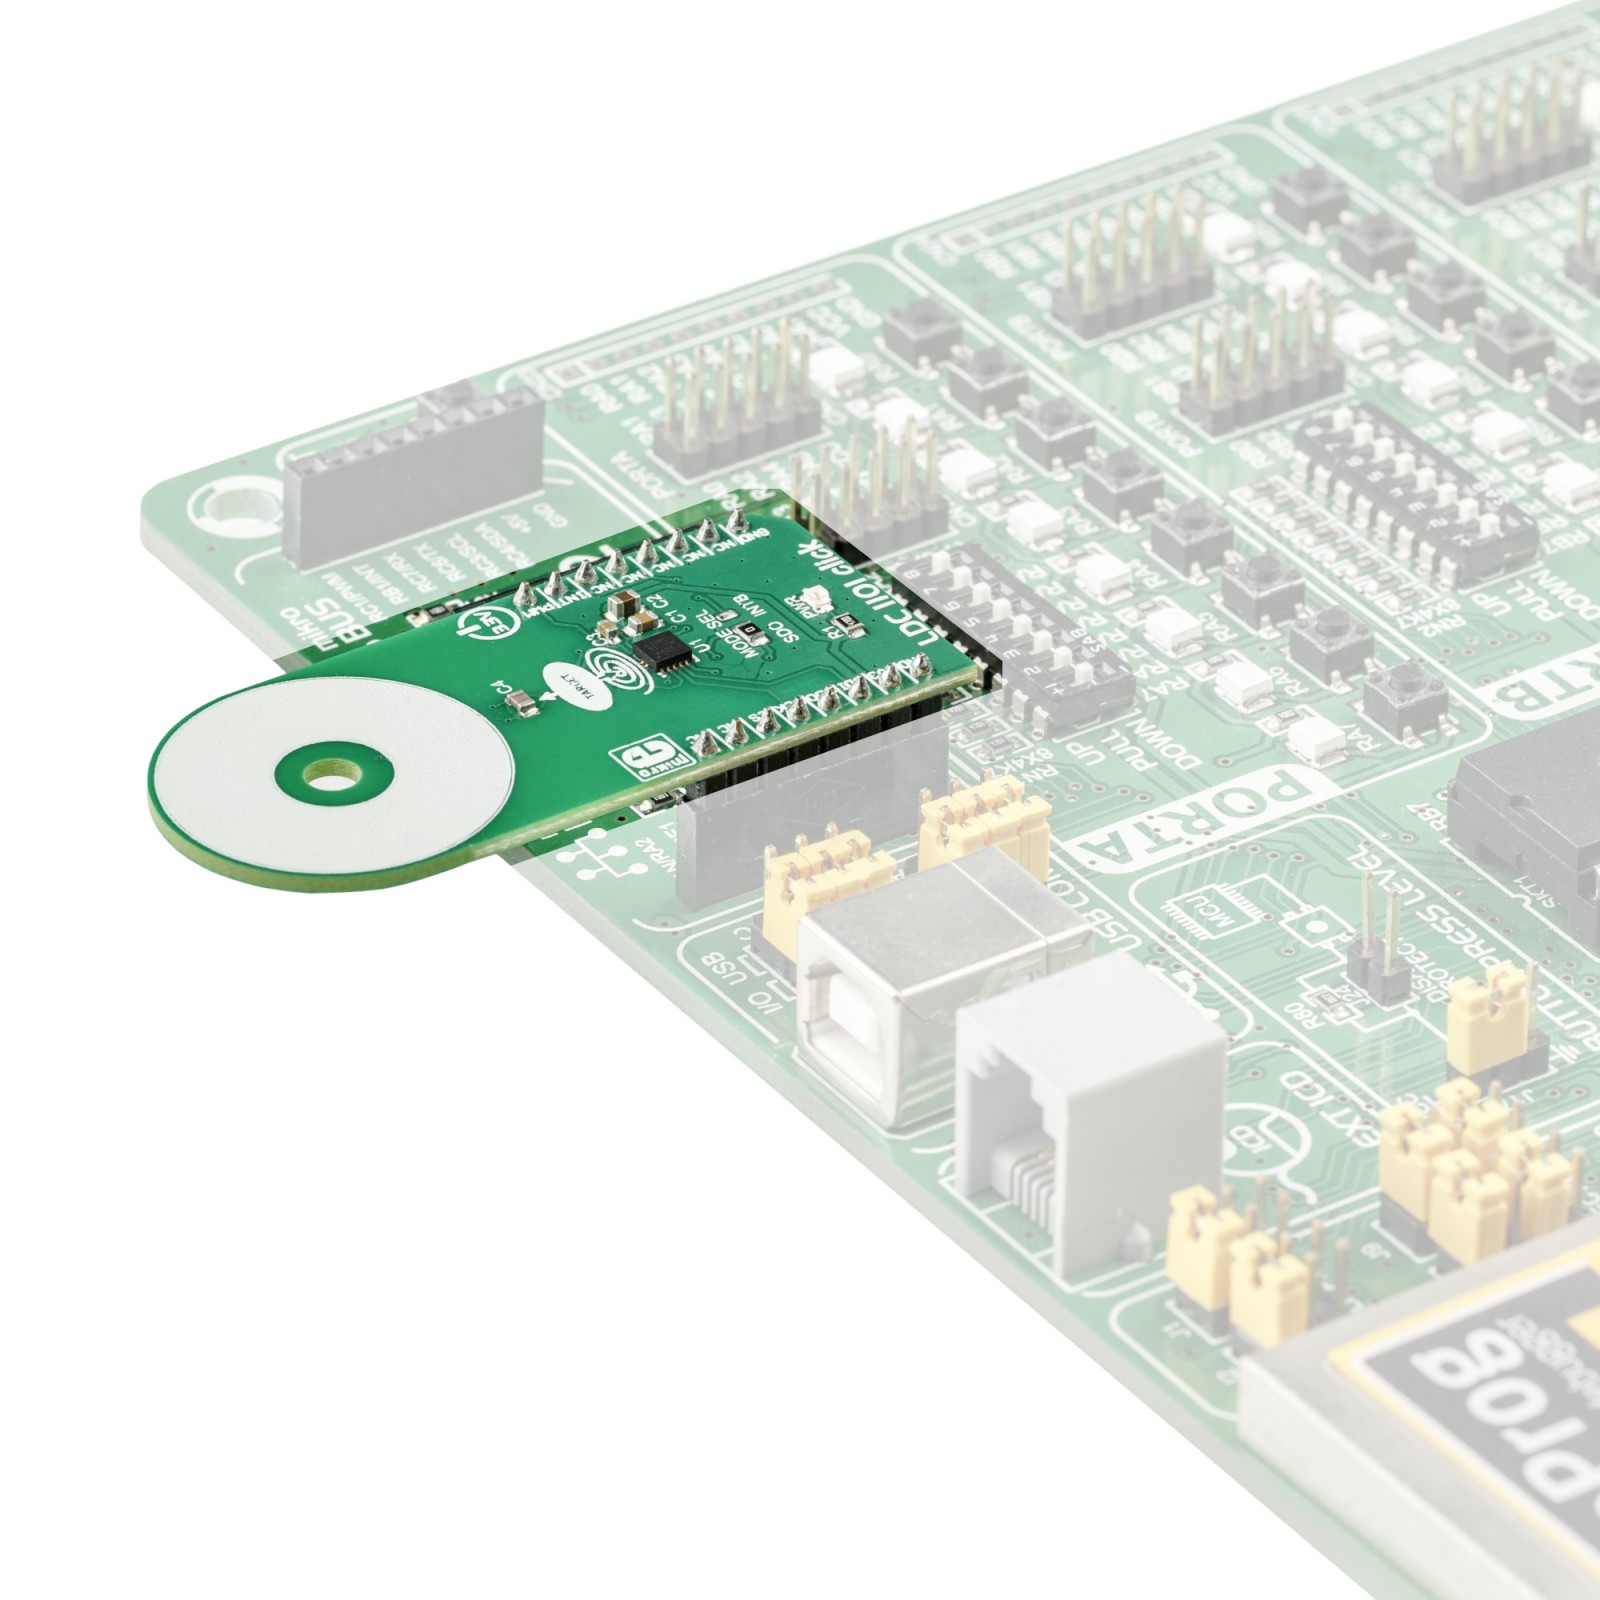
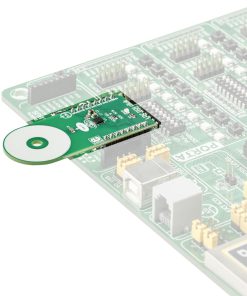
It comes in the package which also includes the mikroSDK™ software and a library with all the functions. The Click board™ comes as a fully tested and approved prototype, making it a reliable device ready to use on the development board.
Stock: Lead-time applicable.
| 5+ | R589.00 |
| 10+ | R558.00 |
| 15+ | R527.00 |
| 20+ | R507.16 |
Featuring a wide LC sensor frequency range, LDC1101 is capable of sensing a broad range of conductive materials. Thanks to the inheritably accurate and robust sensing technology, it can do so even in harsh industrial environments. A programmable threshold-driven interrupt engine (adjustable during the run-time) allows the LTC1101 click to be used for high-speed object counting, motor speed sensing, for developing various buttons, keypads and other types of HMI-based applications. Finally, its ability to sense both impedance and inductance properties makes it possible to develop metal composition and metal detection applications.
How does it work?
The main component of the click is the LDC1101, an integrated high-resolution, high-speed inductance-to-digital converter, by Texas Instruments. This IC is a very versatile inductance converter, used for fast, short-range, contactless position, rotation, or motion of an object. Due to the used technology which allows very precise and reliable inductivity sensing even in harsh environments, the LDC1101 is well-suited to be used both in industrial and in automotive applications. The LDC1101 uses the standard SPI interface to be interfaced with the host MCU.

Two sensing cores work independently. One core offers a fast impedance and inductance (RP+L) readings with 16-bit resolution, while the other core offers high-resolution 24-bit readings of the inductance (LHR). While the RP+L is capable of running without the input clock, the LHR mode requires a clock signal at the CLKIN pin. Therefore, the CLKIN pin is routed to the mikroBUS™ PWM pin. Without the valid clock at this pin, the LHR mode will not be available.
The LDC 1101 offers two low power modes: Shutdown mode, and Sleep mode. In both modes, the IC does not actively run any conversions. While in the Shutdown mode, all the sections of the LDC1101 are turned off, so the least current is consumed. The logic section of the LDC1101 becomes active while in Sleep mode, and this mode is used to configure the working parameters. Configuring the IC is only valid when in Sleep mode. The Active mode uses the most power as the entire IC becomes operational.
The main working principle is based on measuring the parameters of the LC oscillator, formed by a PCB copper trace and a capacitor: when a conductive object approaches, it becomes magnetically coupled with the LC oscillator, driven by the LDC1101 IC. The LDC1101 then measures the amount of energy it needs to provide, in order to sustain the oscillation. The power loss of the oscillator circuit is proportional to the impedance of the conducting object, which is then sampled and becomes available as a digital value. Since the impedance value is affected by the distance of the object, it can be used to determine the object’s distance from the LC oscillator. Similarly, having a fixed, known distance of the conductive object, and by measuring the impedance (and inductance) parameters, it is possible to determine its composition. The PCB copper trace becomes an impedance sensor in this case.
In the case when more accurate inductance sensing is required, the LHR mode is a better choice. Unlike the impedance, the inductivity of a conductive object is not affected by its temperature that much. By utilizing the ability of the LDC1101 to measure the resonant frequency of the LC oscillator it is also possible to accurately measure the distance of an object. The resonant frequency of the LC oscillator is affected by the conductive object which becomes magnetically coupled with it. The resonant frequency of the LC oscillator is a function of the inductance, so by measuring the change in the resonant frequency, it is possible to calculate the influence of the conductive object, and therefore to calculate its distance, very accurately. However, to use the LHR mode, an accurate clock signal is required on the mikroBUS™ PWM pin.
An integrated interrupt engine allows various events to be reported to the host MCU. For example, it is important to read the data before the result is corrupted by another conversion cycle. The interrupt can be triggered at the end of the conversion cycle for the RP+L mode, as well as for the LHR mode so that the MCU can fetch the data before the next conversion is started. The LDC1101 can also trigger an interrupt when a threshold is exceeded: if the conversion data is below or above the configured thresholds for both the inductance and the impedance parameters, an interrupt event will be triggered. Depending on the interrupt type, the INTB pin of the LDC1101 will be driven to a LOW logic level in case of an interrupt. This pin is multiplexed with the SDO pin, so there is a certain procedure to be followed when using this pin as the interrupt output: besides configuring the SDO/INTB pin as the interrupt pin, an onboard SMD jumper needs to be switched to the appropriate position, routing the interrupt signal to the INT pin of the mikroBUS™.
Specifications
Type
Inductance
Applications
It can be used for high-speed object counting, motor speed sensing, for developing various buttons, keypads and other types of HMI-based applications. Utilizing the ability to sense both impedance and inductance properties, it is possible to develop metal composition and metal detection applications.
On-board modules
LDC1101, an integrated high-resolution, high-speed inductance-to-digital converter, by Texas Instruments
Key Features
Two independent cores, one that outputs 16-bit inductance and impedance data, and the other that outputs 24-bit inductance data. Wide operating frequency range allows many kinds of objects to be sensed. Reliable sensing even in harsh environments
Interface
SPI
Feature
No ClickID
Compatibility
mikroBUS™
Click board size
M (42.9 x 25.4 mm)
Input Voltage
3.3V
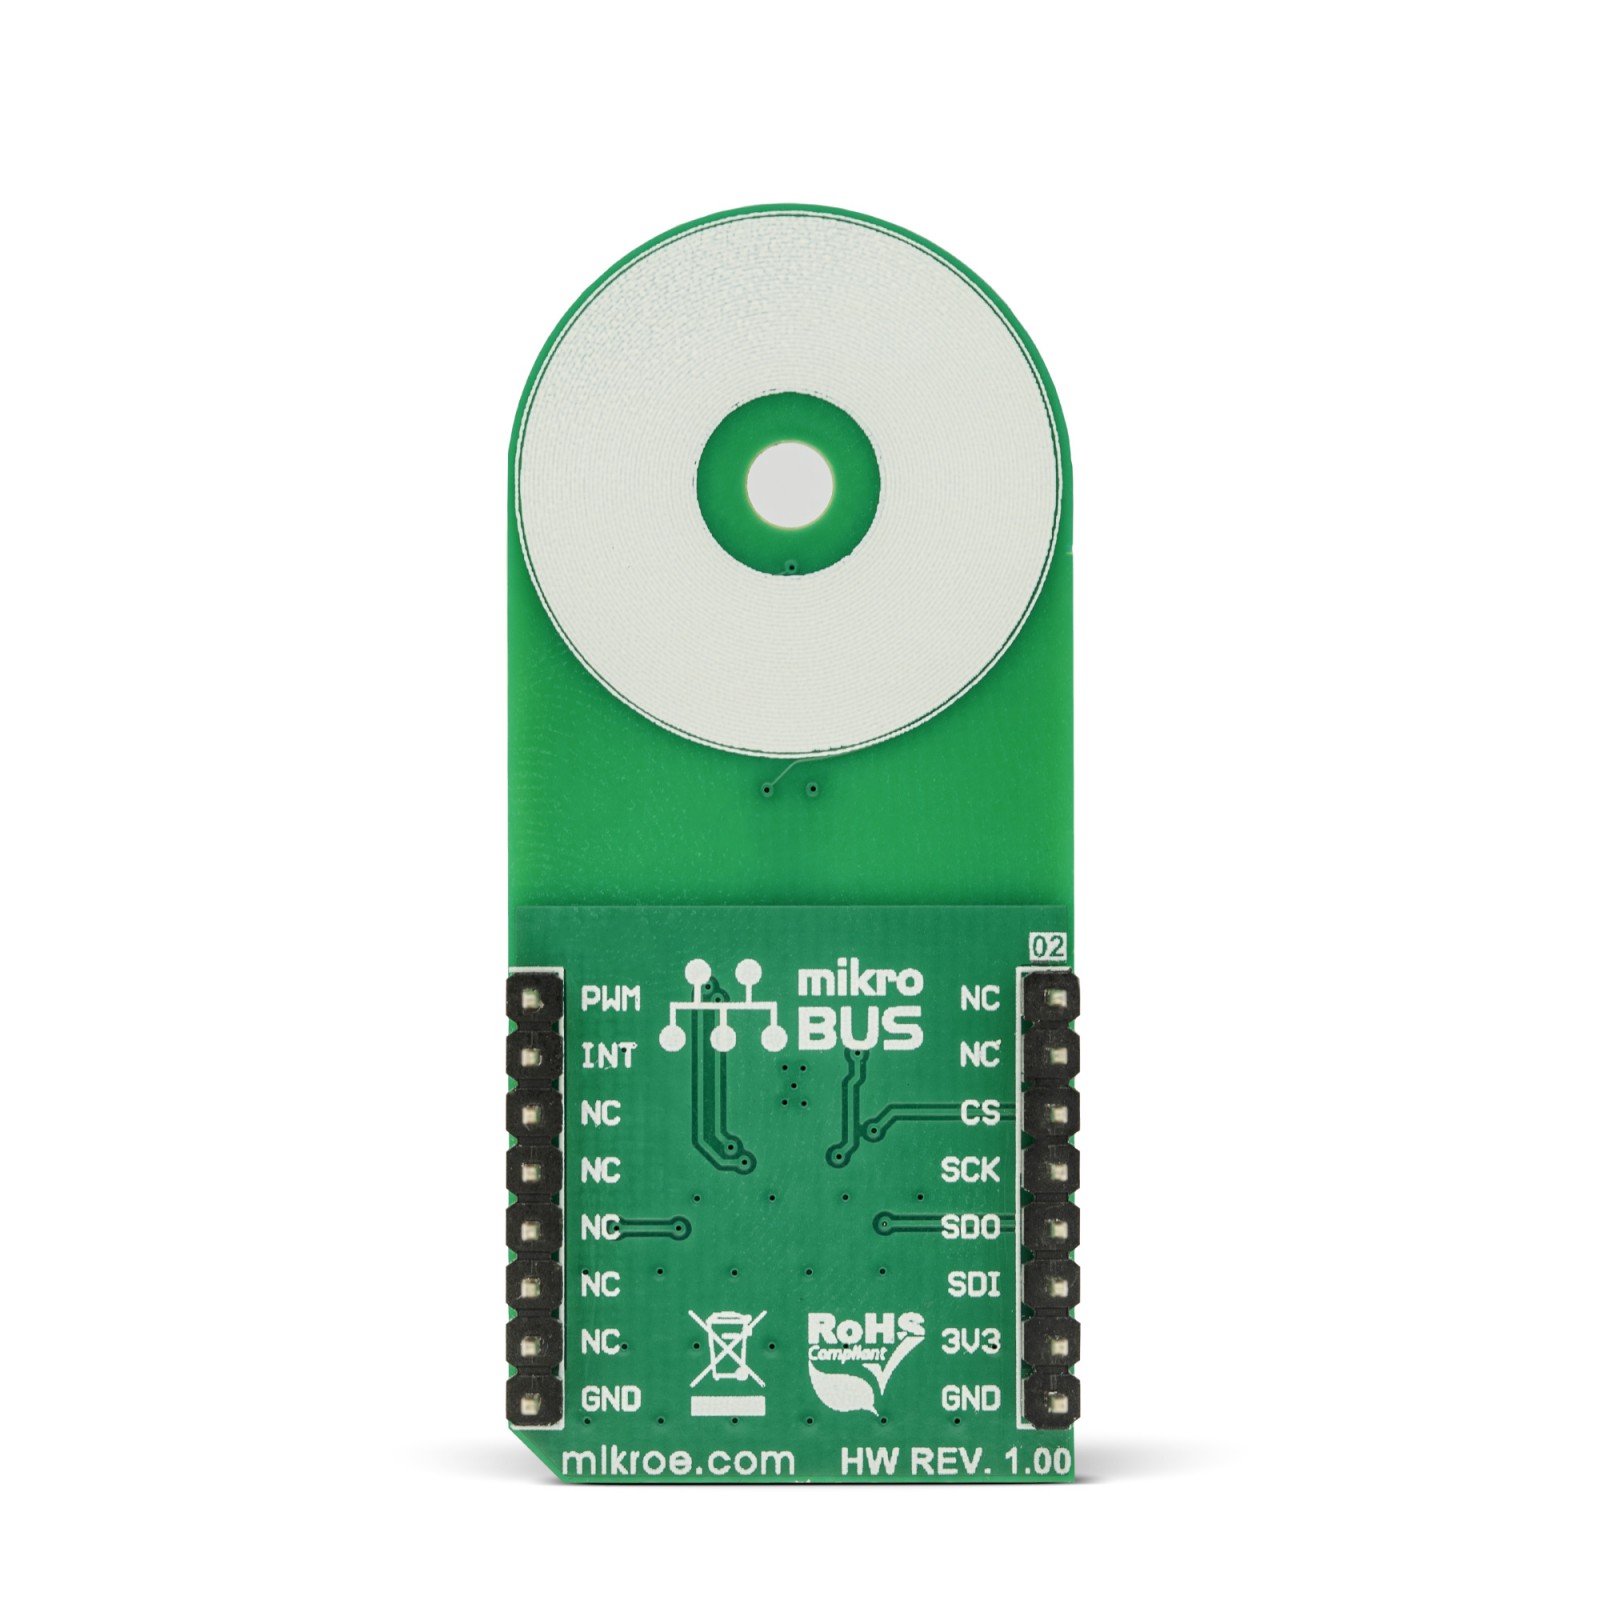
Pinout diagram
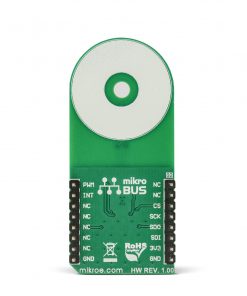
This table shows how the pinout on LDC1101 Click corresponds to the pinout on the mikroBUS™ socket (the latter shown in the two middle columns).
Onboard settings and indicators
| Label | Name | Default | Description |
|---|---|---|---|
| LD1 | PWR | – | Power LED indicator |
| JP1 | MODE SEL | Left | SDO/INTB pin mode selection: left position (SDO) – SPI Serial Data OUT on SDO pin, right position (INTB) – interrupt reporting on the INT pin |
We provide a library for the LDC1101 click on our LibStock page, as well as a demo application (example), developed using MikroElektronika compilers. The demo can run on all the main MikroElektronika development boards.
Library Description
The library initializes and defines the SPI bus driver and drivers that offer a choice for writing data in address and reading data from address. The library includes function for read RP data and L data. The user also has the function for initializes chip, funstion for go to RP mode or L mode, Function for set porew mode and function for read interrupt state.
Key functions:
uint8_t ldc1101_init()- Functions for initialization chip
void ldc1101_setPowerMode(uint8_t mode)- Functions for settings power mode
void ldc1101_goTo_RPmode()- Functions for go to RP mode
uint16_t ldc1101_getRPData()- Functions for reads RP data
Examples description
The application is composed of the three sections :
- System Initialization – Initializes I2C module and sets CS pin as OUTPUT and PWM and INT pin INPUT
- Application Initialization – Driver initialization, standard configurations and start measurement
- Application Task – (code snippet) – Reads RP data and logs data to USBUART every 100 ms.
- note: Example demonstrates measurement of inductance change depending on the linear motion of the metal object. Induction of the linear metal position depends on the type of metal and the configuration.
void applicationTask()
{
    RP_Data = ldc1101_getRPData();
    IntToStr(RP_Data, demoText);
    mikrobus_logWrite(" Inductive Linear Position :", _LOG_TEXT);
    mikrobus_logWrite(demoText, _LOG_LINE);
    Delay_100ms();
}
The full application code, and ready to use projects can be found on our LibStock page.
Other mikroE Libraries used in the example:
SPIUART
Additional notes and information
Depending on the development board you are using, you may need USB UART click, USB UART 2 click or RS232 click to connect to your PC, for development systems with no UART to USB interface available on the board. The terminal available in all MikroElektronika compilers, or any other terminal application of your choice, can be used to read the message.
mikroSDK
This click board is supported with mikroSDK - MikroElektronika Software Development Kit. To ensure proper operation of mikroSDK compliant click board demo applications, mikroSDK should be downloaded from the LibStock and installed for the compiler you are using.
For more information about mikroSDK, visit the official page.
Resources
Downloads
| Weight | 19 g |
|---|---|
| Brand | MikroElektronika |

