NINA-W152 Click
R870.00 ex. VAT
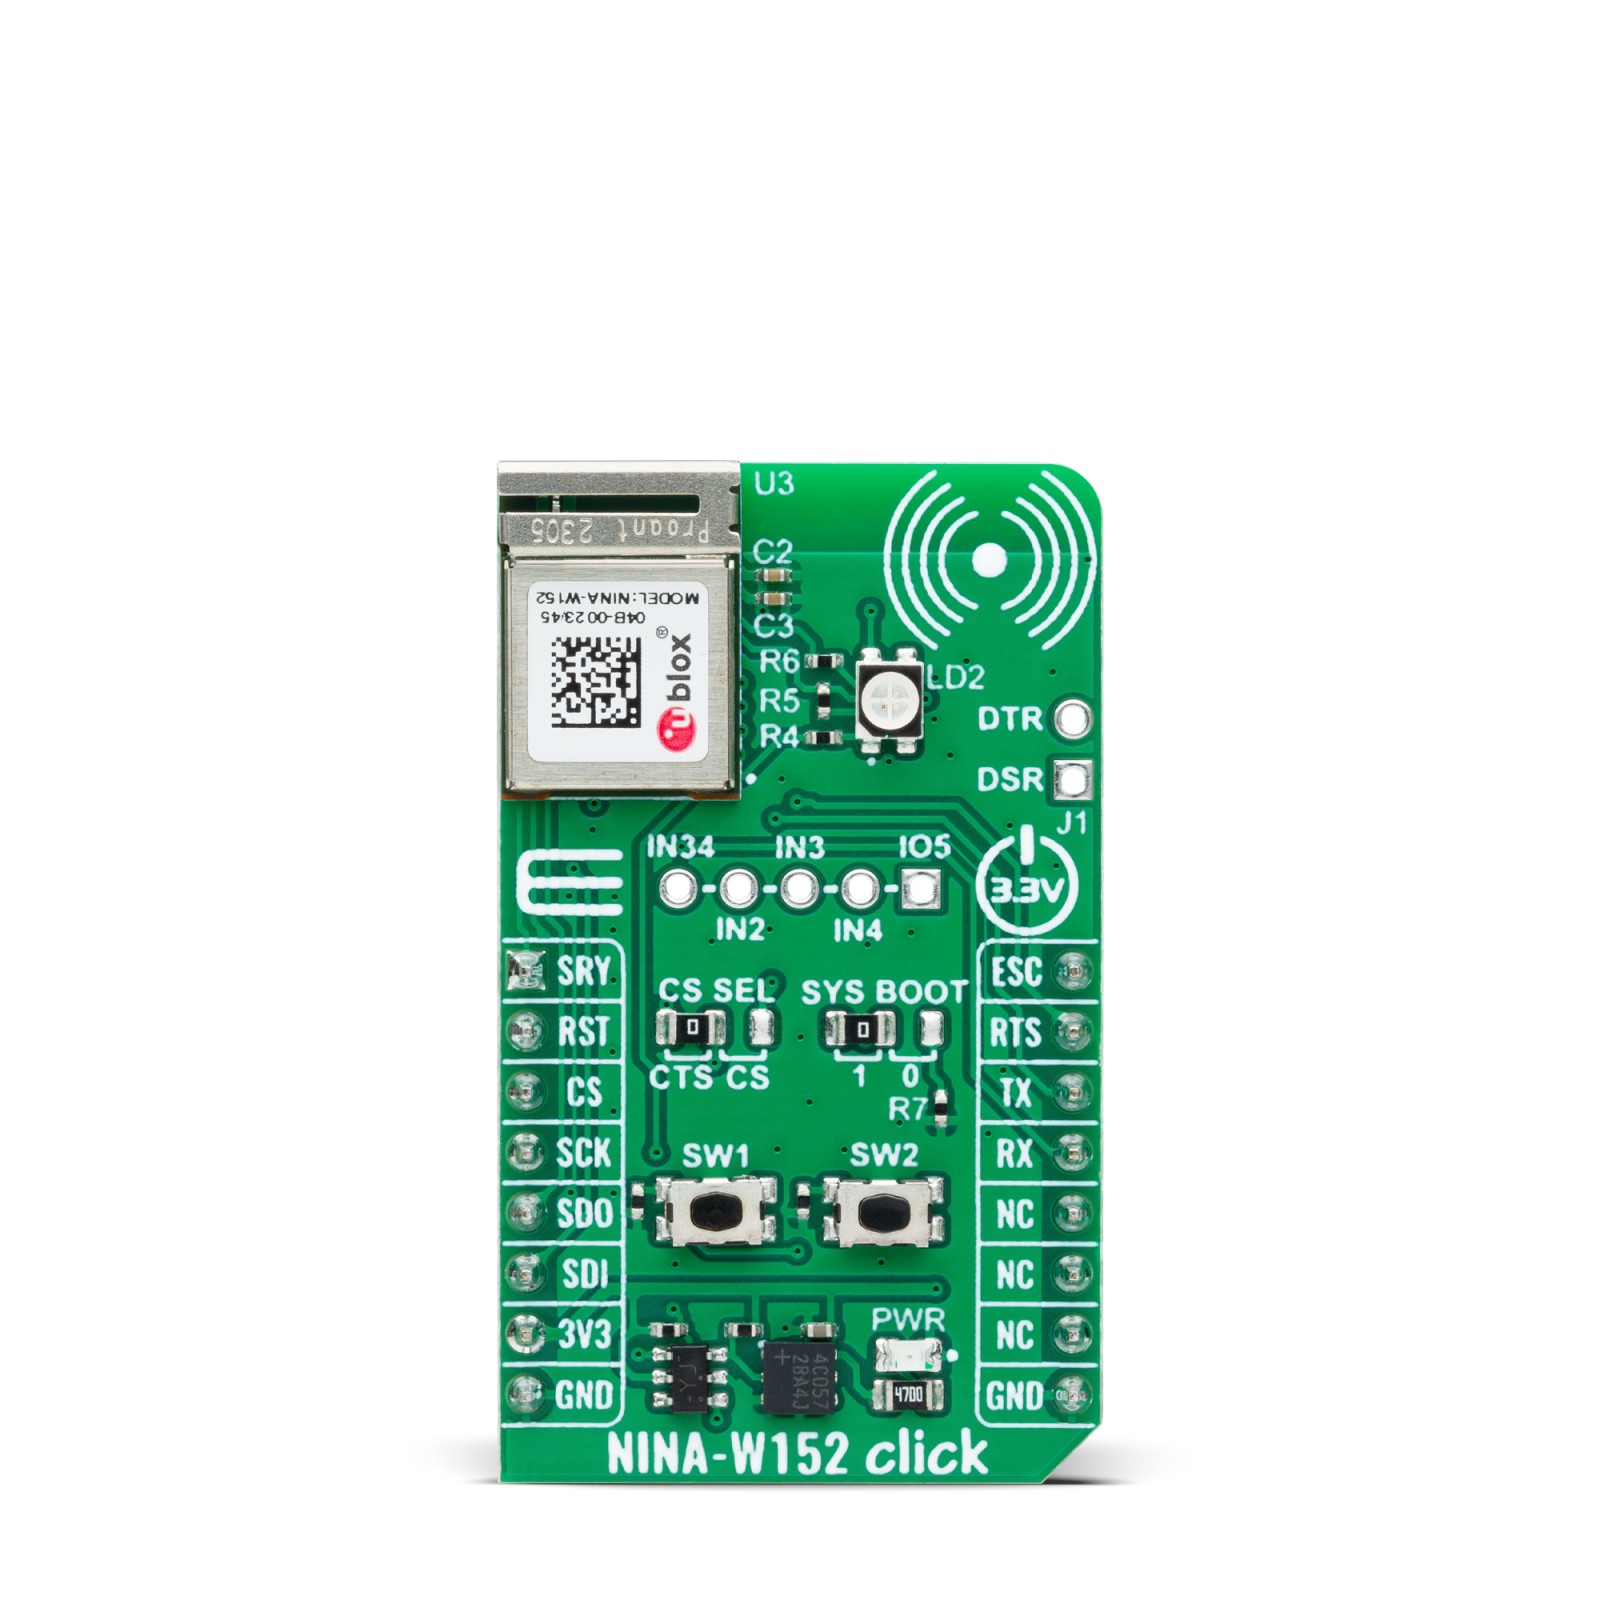
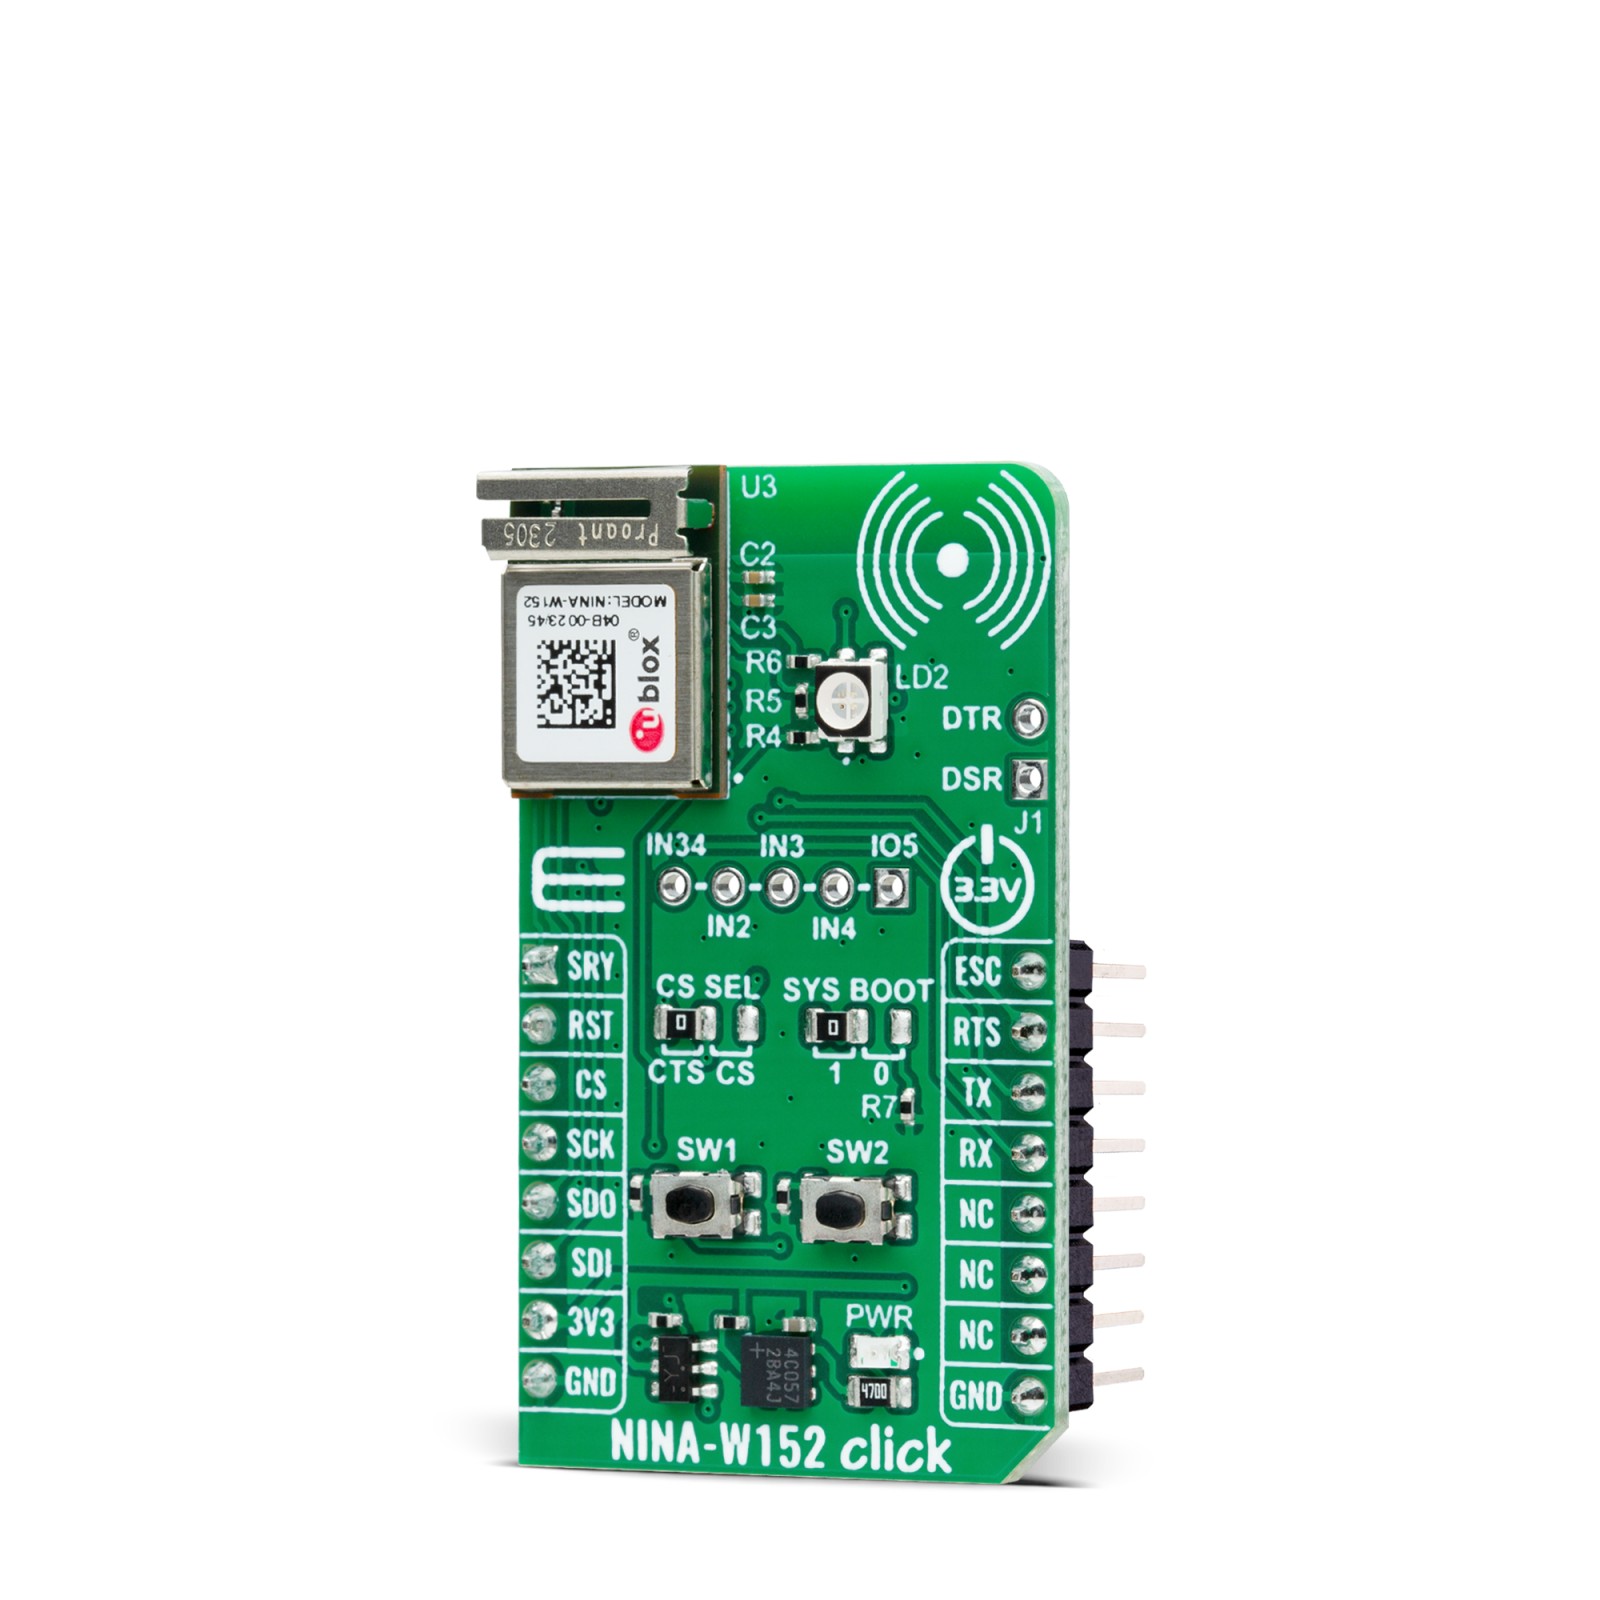
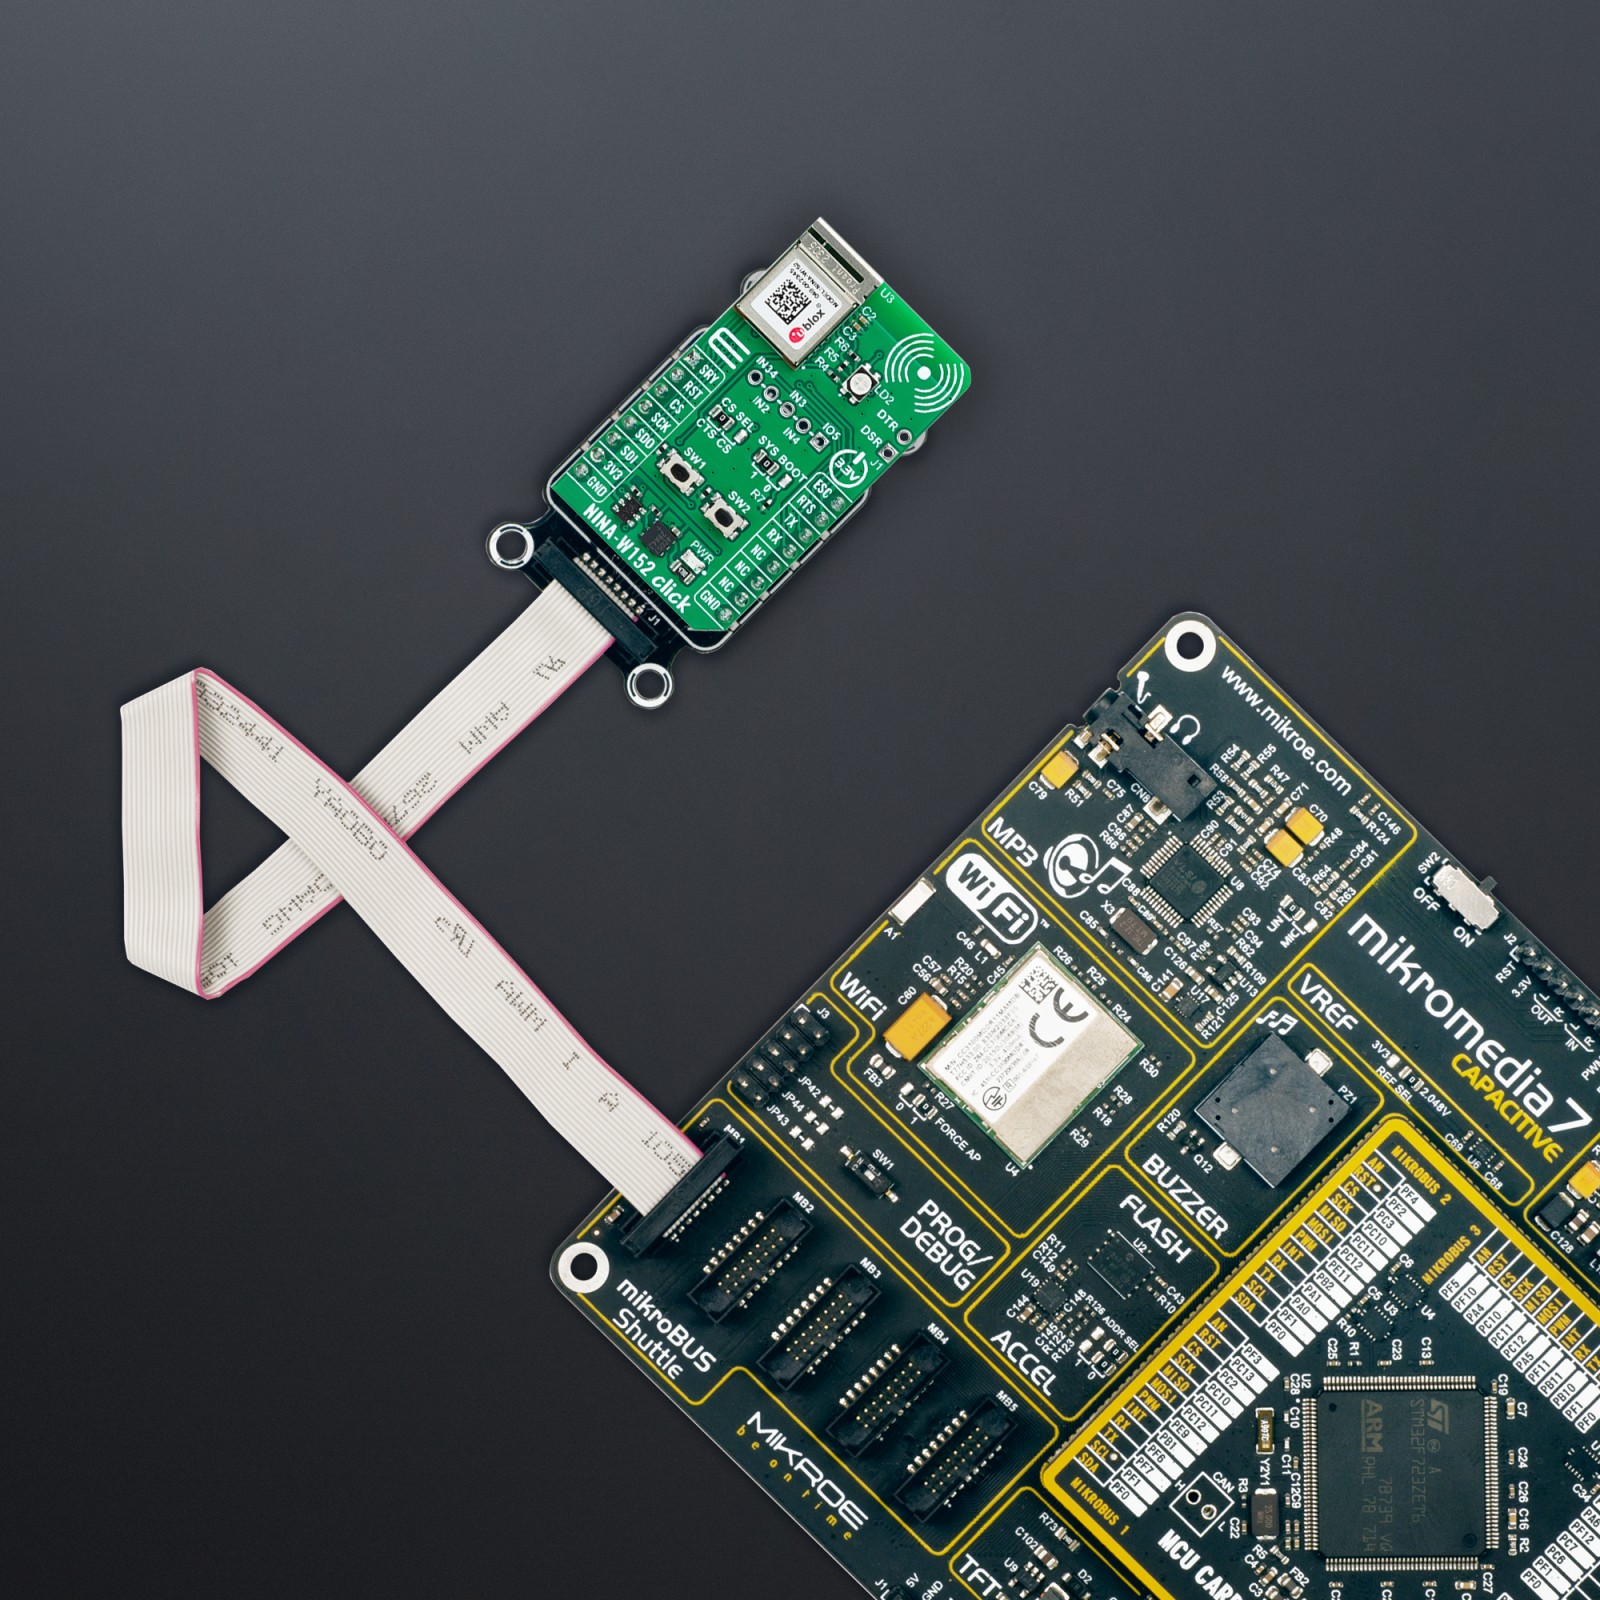
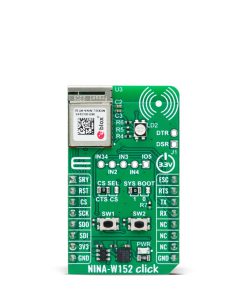
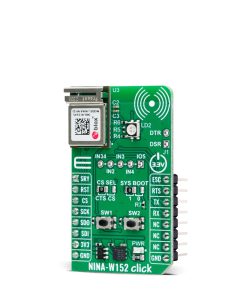
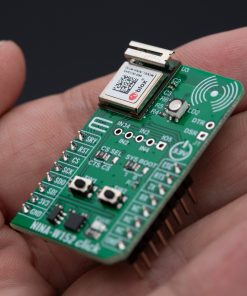
NINA-W152 Click is a compact add-on board designed for seamless integration of Wi-Fi and Bluetooth communication into your projects. Based on the NINA-W152 multi-radio module from u-blox, this Click board™ provides dual-mode wireless connectivity, including Wi-Fi 802.11b/g/n and Bluetooth BR/EDR v4.2+EDR and Bluetooth Low Energy v4.2. It features an internal PIFA antenna for optimal performance and supports communication through UART and SPI interfaces, with secure boot and enterprise-level security protocols (WPA2/WPA3) ensuring reliable operation. The board is ideal for telematics, industrial automation, connected buildings, wireless sensors, and medical devices, where secure and efficient wireless communication is crucial.
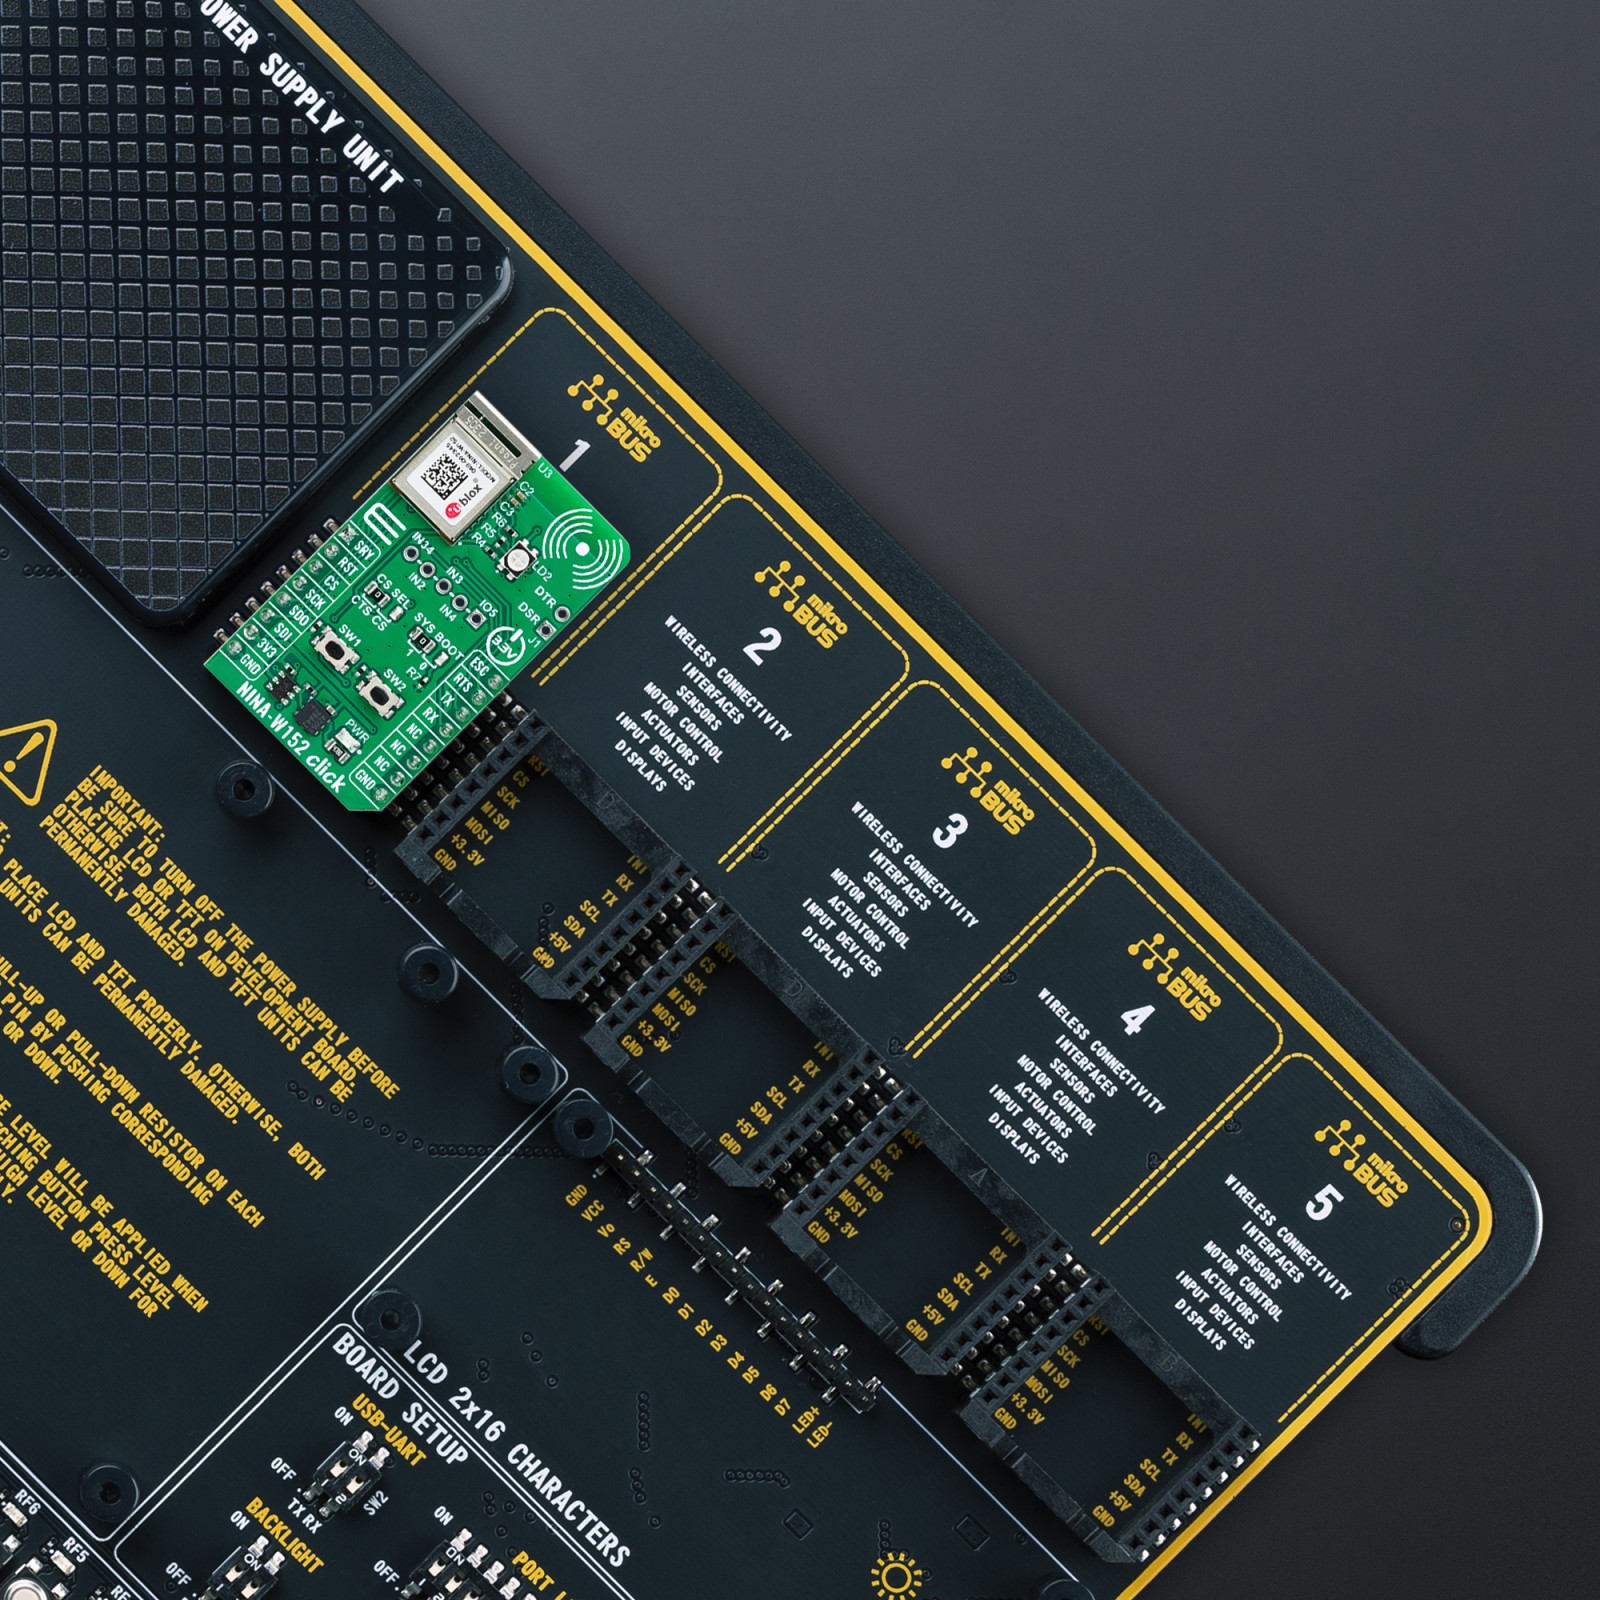
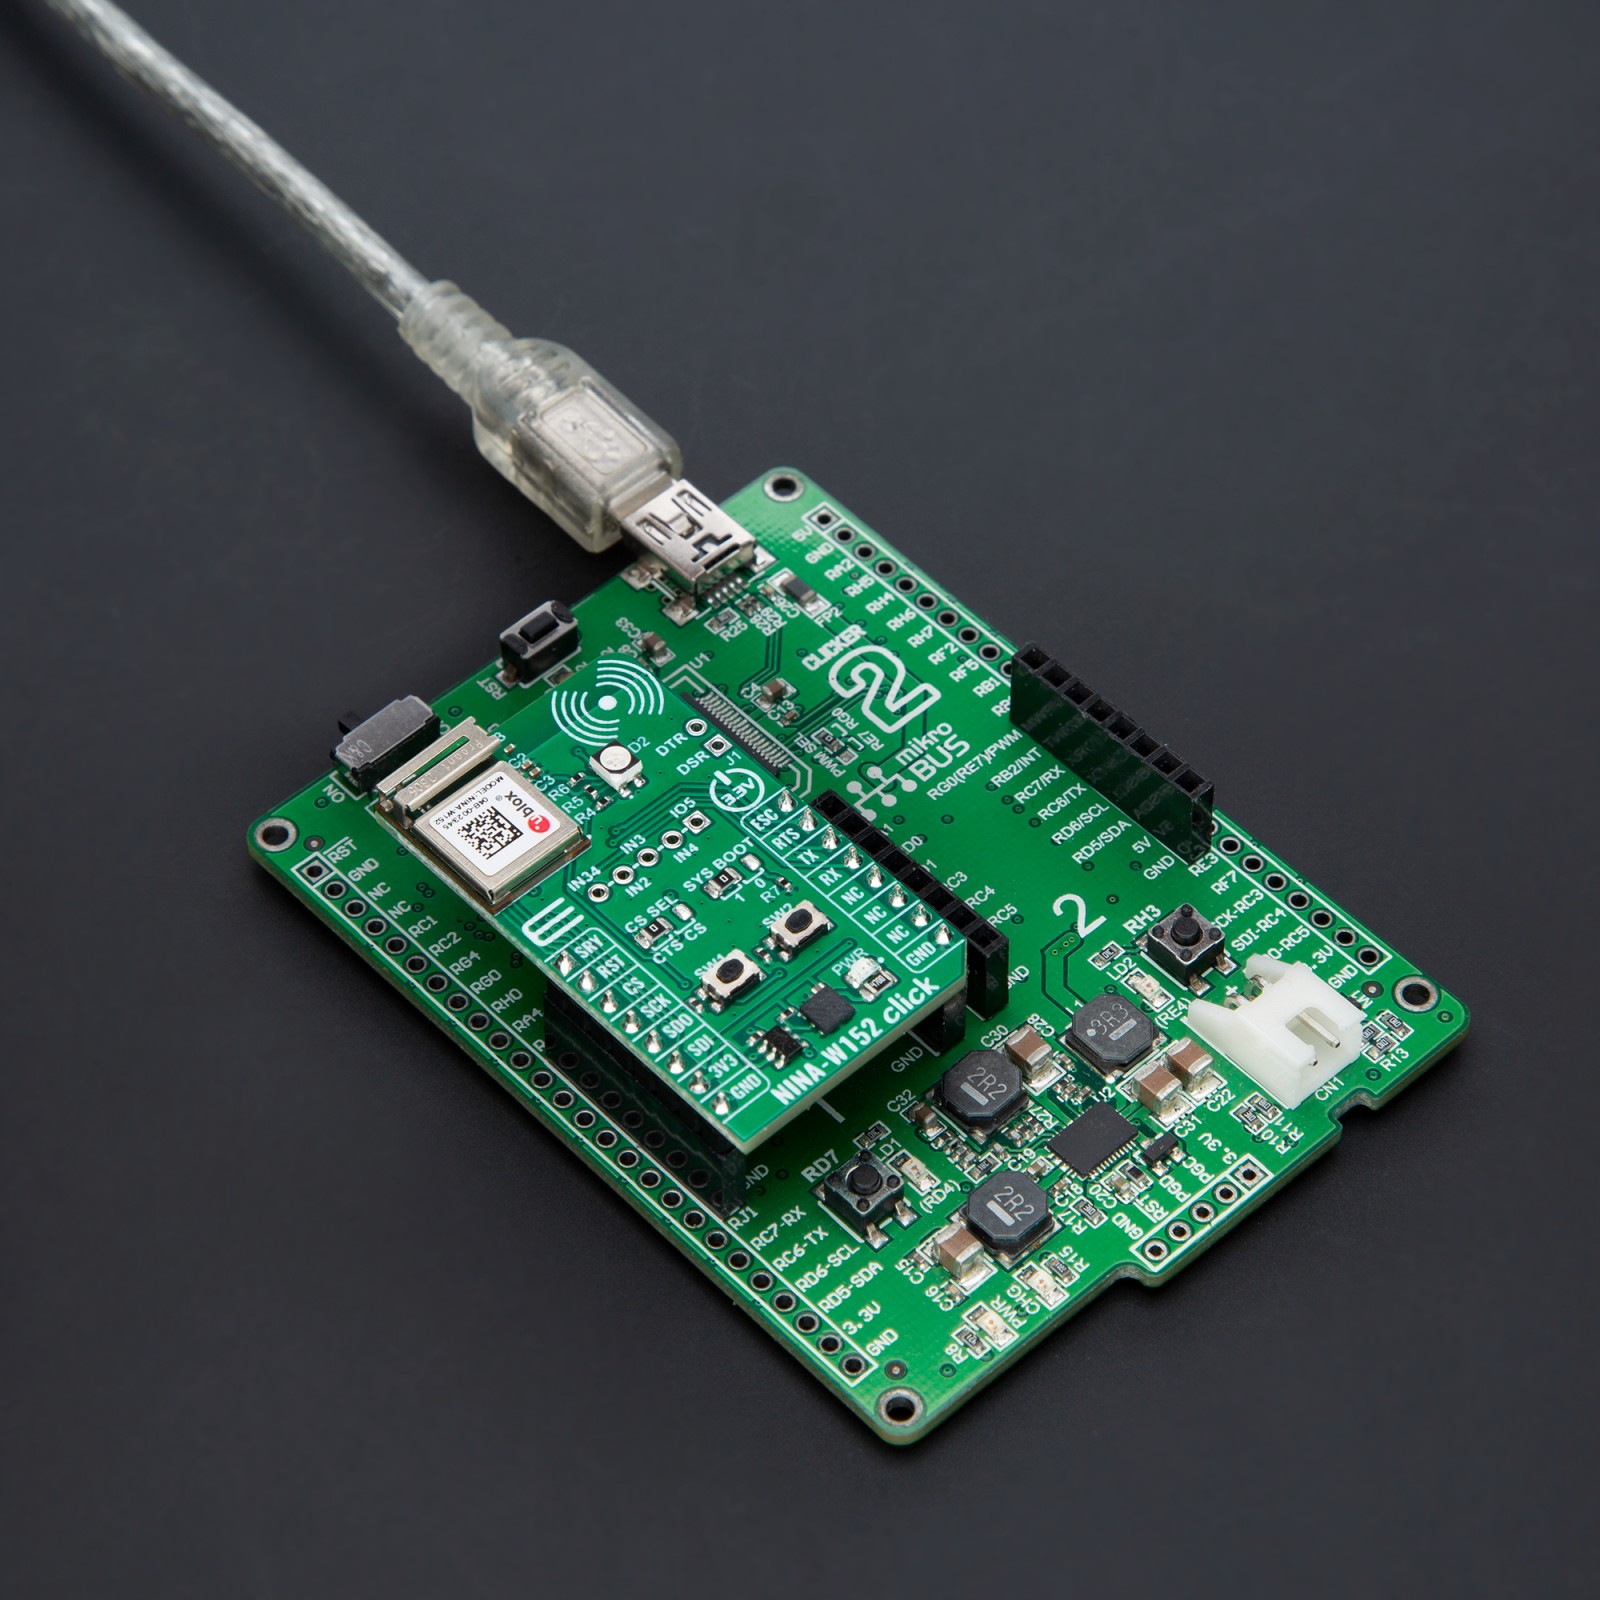
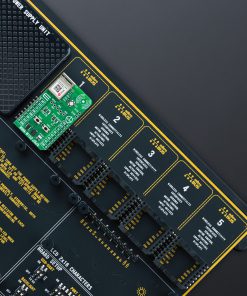
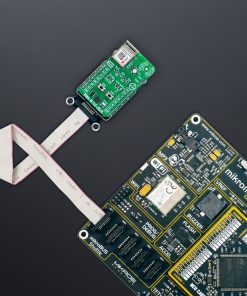
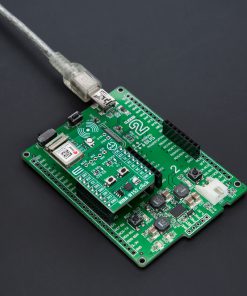
NINA-W152 Click is fully compatible with the mikroBUS™ socket and can be used on any host system supporting the mikroBUS™ standard. It comes with the mikroSDK open-source libraries, offering unparalleled flexibility for evaluation and customization. What sets this Click board™ apart is the groundbreaking ClickID feature, enabling your host system to seamlessly and automatically detect and identify this add-on board.
Stock: Lead-time applicable.
| 5+ | R826.50 |
| 10+ | R783.00 |
| 15+ | R739.50 |
| 20+ | R711.66 |
How does it work?
NINA-W152 Click is based on the NINA-W152, a professional-grade multi-radio module from u-blox. This module has Wi-Fi and Bluetooth capabilities, integrating Wi-Fi 802.11b/g/n and dual-mode Bluetooth (Bluetooth BR/EDR v4.2+EDR and Bluetooth Low Energy v4.2) within a compact form factor. The internal PIFA antenna ensures optimal performance, allowing the module to operate simultaneously on both Wi-Fi and Bluetooth. This dual-mode operation makes it an excellent choice for acting as a gateway between Bluetooth and Wi-Fi or Ethernet networks. Certified across multiple regions, including the UK, US, Canada, Japan, Taiwan, South Korea, Australia, Brazil, and South Africa, the NINA-W152 complies with RED standards, making it suitable for global deployment.

Security is a key feature of the NINA-W152. It supports secure boot, ensuring the module only operates with authentic u-blox software. Additionally, it provides robust end-to-end security on the wireless link, utilizing the latest 802.11i standards (WPA2/WPA3) and enterprise security protocols, making it ideal for secure IoT applications in telematics, industrial automation, connected buildings, wireless sensors, point-of-sale systems, and medical devices.
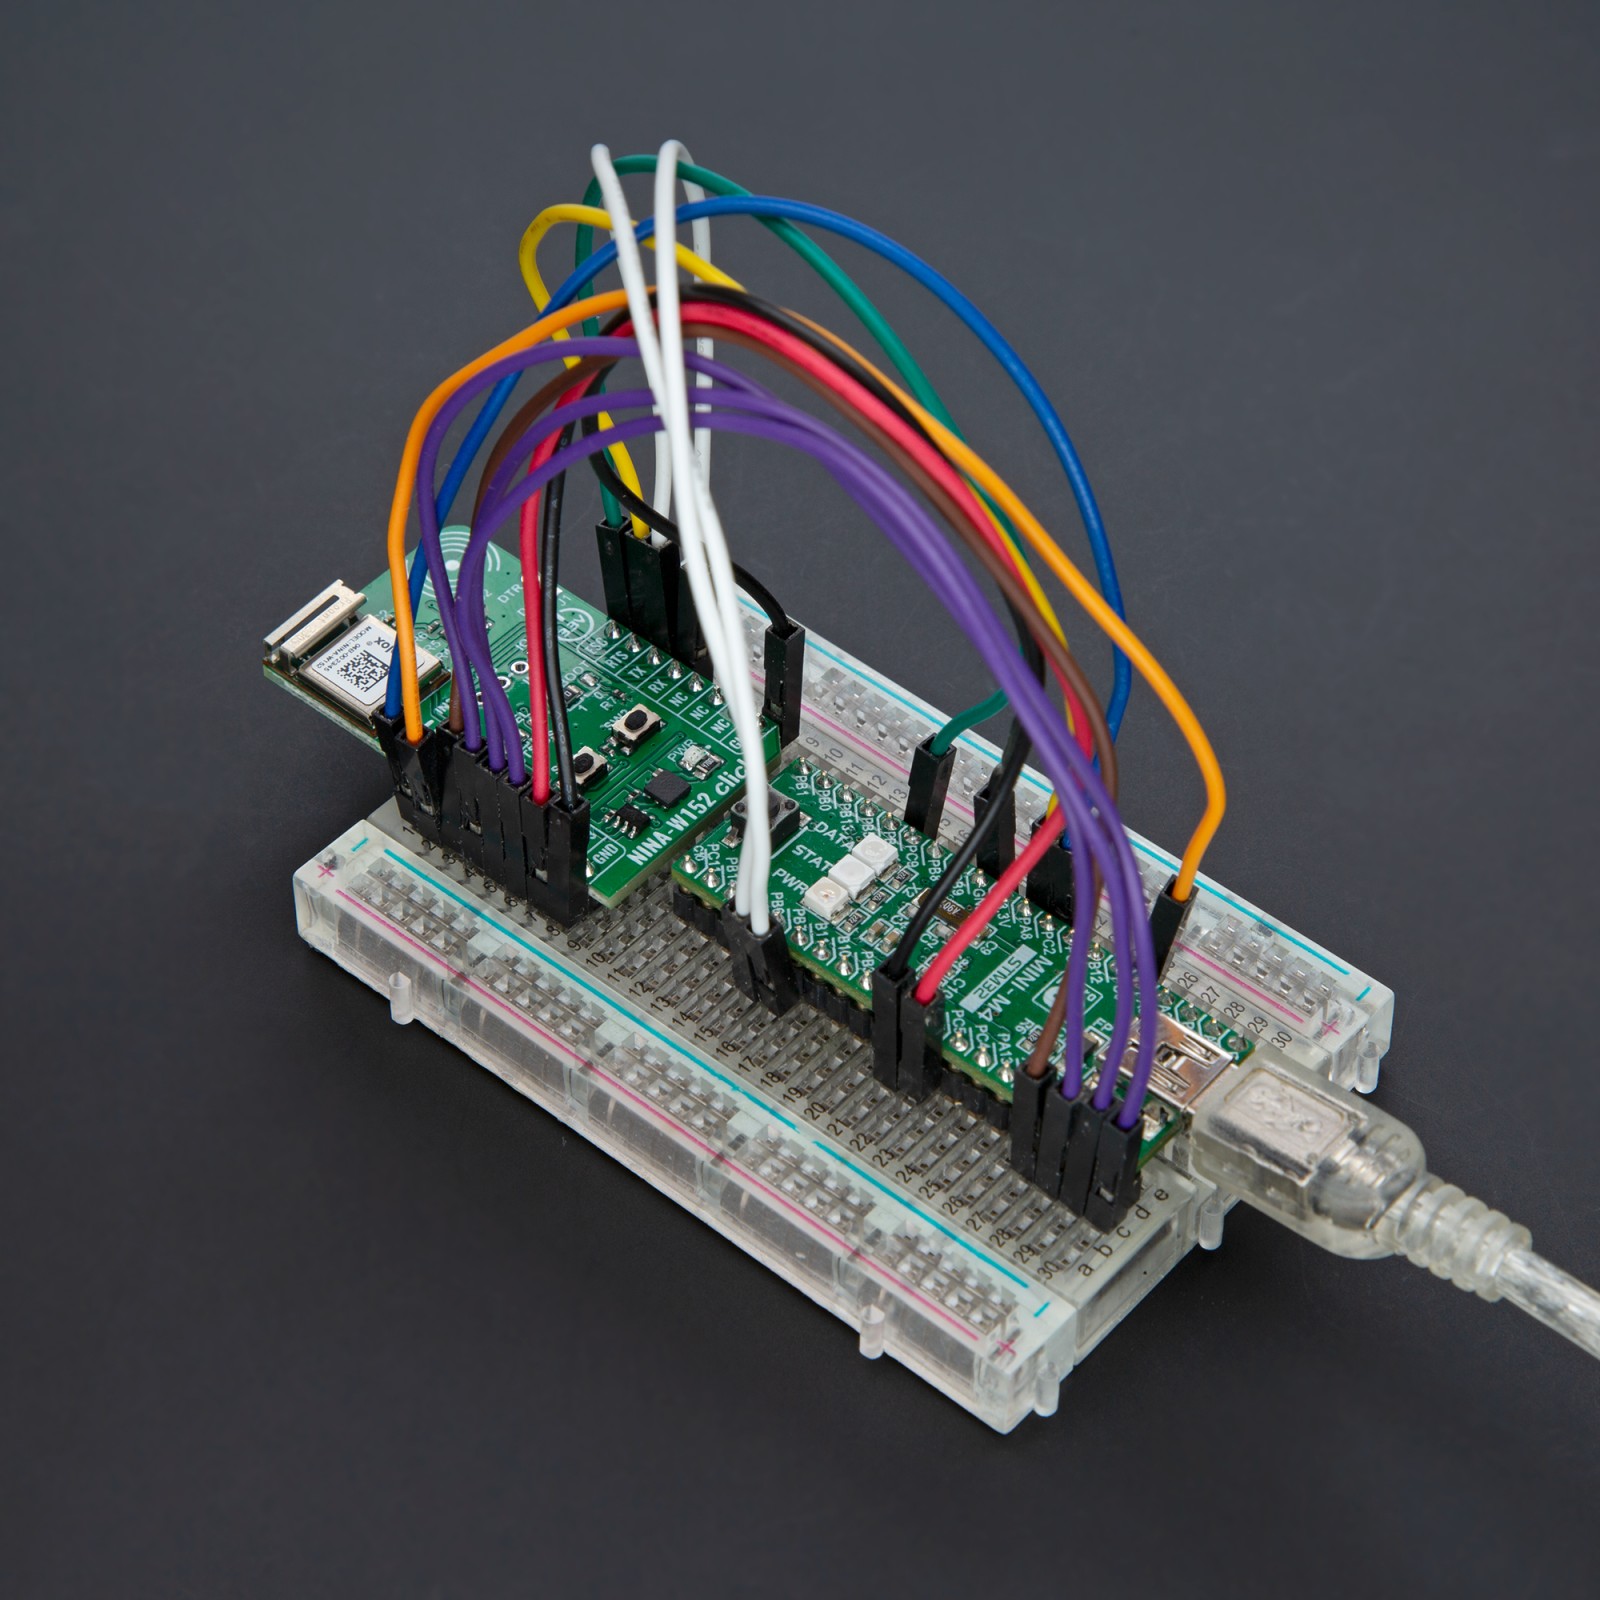
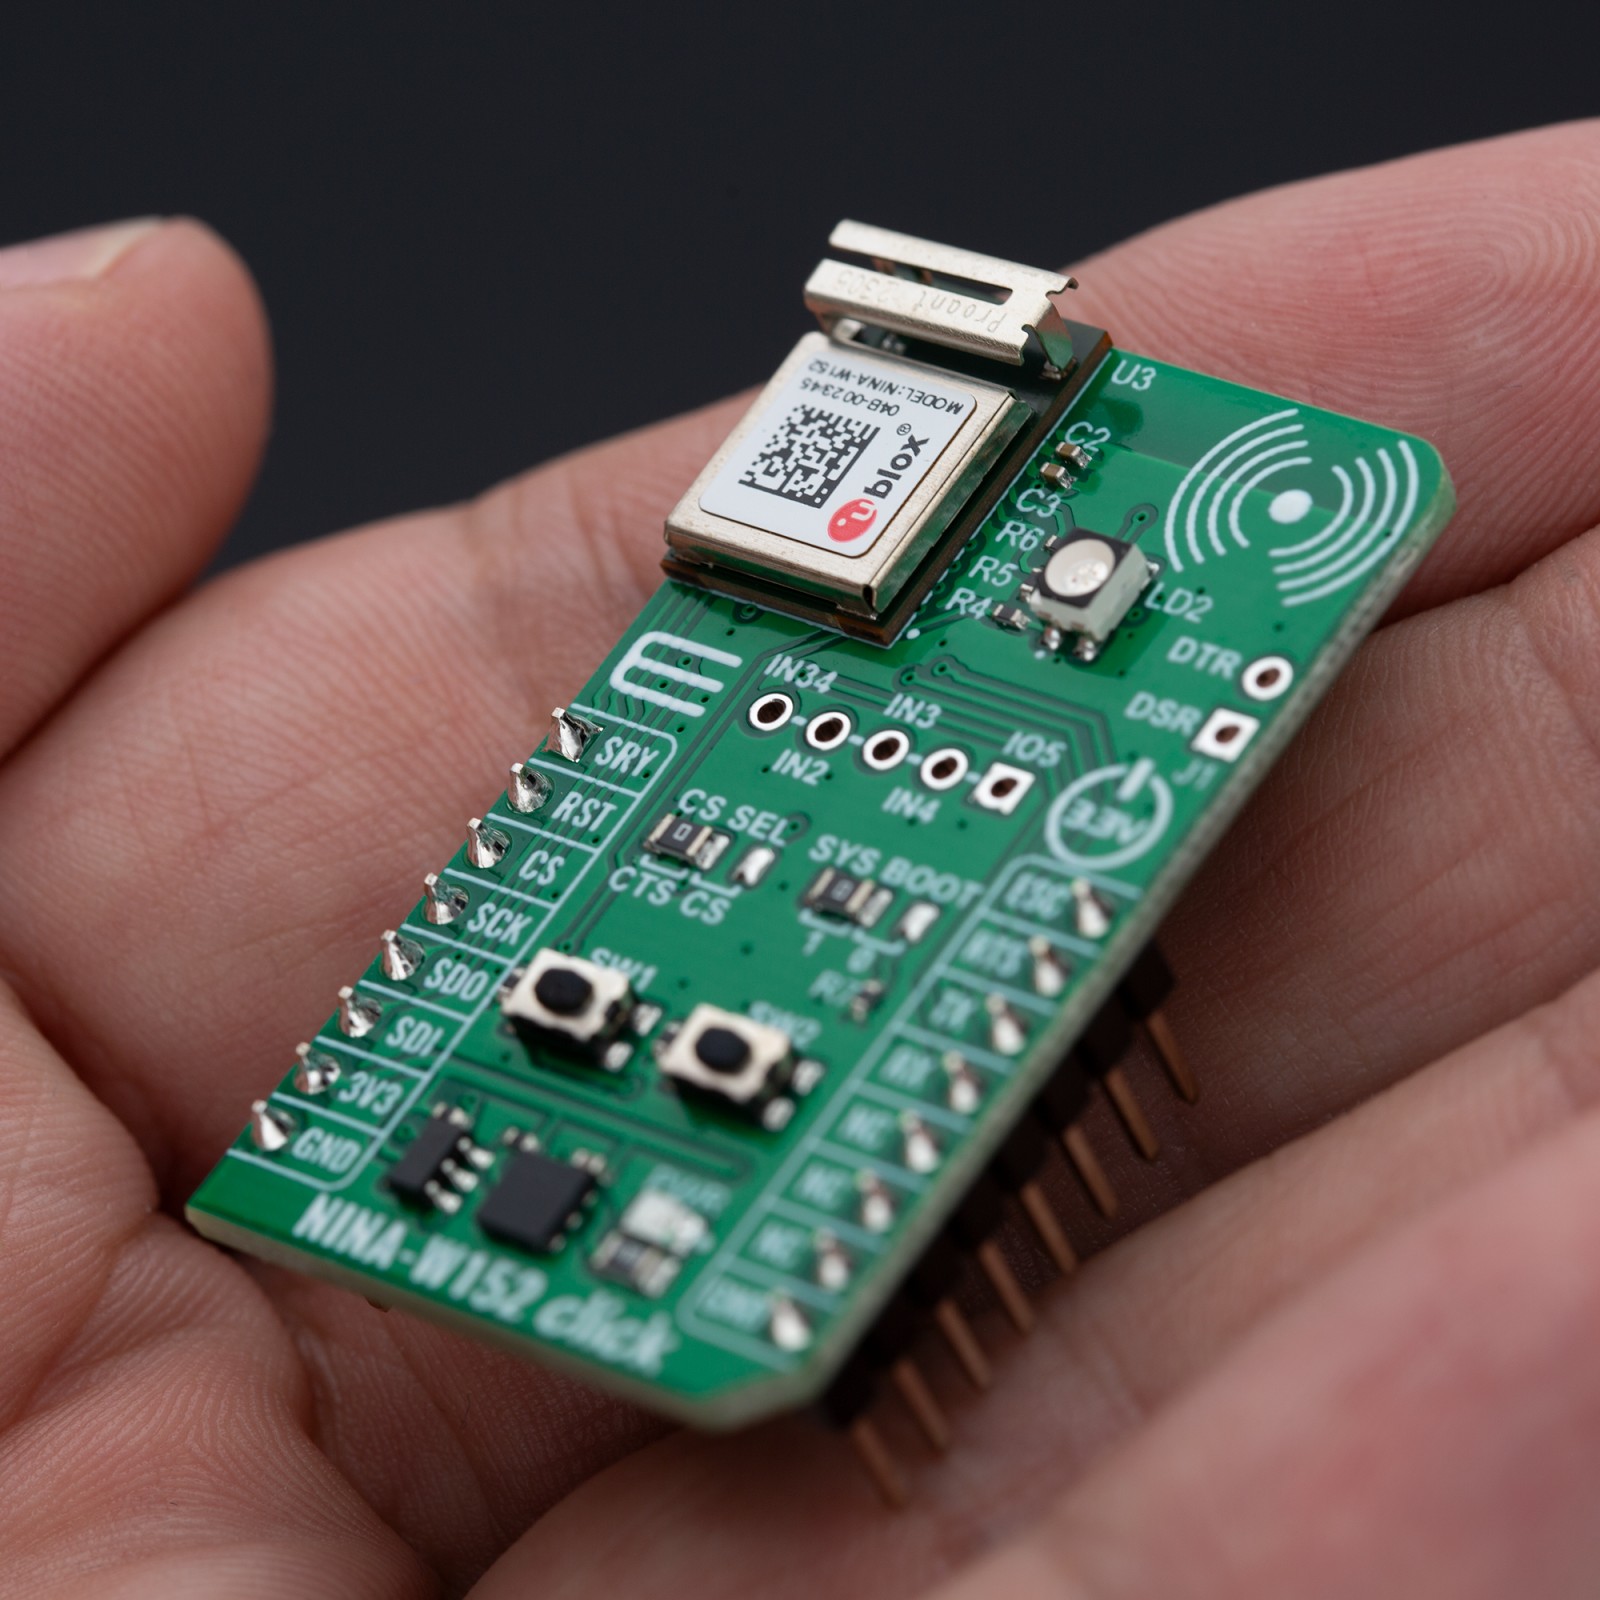
This Click board™ establishes communication between the NINA-W152 and the host MCU through a UART interface, using standard UART RX and TX pins and hardware flow control via CTS and RTS pins. The default communication speed is set at 115200bps, ensuring efficient data exchange. The host MCU configures wireless communication and other features using high-level AT commands, making it easy to manage without requiring in-depth knowledge of Wi-Fi and Bluetooth protocols. Additionally, the board includes an SPI interface with a maximum clock speed of 10MHz, allowing the NINA-W152 to operate exclusively in “SPI peripheral mode,” where the host MCU, running in “SPI host mode,” sends commands to the NINA module. To properly use the CS pin, users must select the appropriate interface (UART or SPI) and determine whether the CS pin will function as the UART CTS or SPI Chip Select pin. This is achieved by setting the CS SEL jumper to the correct position.
In addition to the standard interface pins, the module uses other mikroBUS™ pins, such as the SRY pin, which acts as an SPI data-ready output, and the reset pin (RST) for module resetting. The NINA-W152 software extends the UART interface beyond the usual RX, TX, CTS, and RTS signals by including the DSR (Data Set Ready) and DTR (Data Terminal Ready) pins, available on the unpopulated J1 header. These pins manage the state of the NINA-W152-04B. Depending on the configuration, the DSR pin can enter command mode, disconnect or toggle the connectable status, enable or disable the rest of the UART interface, or enter/leave Sleep/Stop operation modes. This functionality is also accessible via the ESC pin on the mikroBUS™ socket.
Additional features on this board include the SYS BOOT jumper, which selects the system boot mode based on its position. Position 1 is for normal boot from internal flash, while position 0 is for ESP boot mode (factory boot). The board also features SW1 and SW2 buttons for system control. When both buttons are pressed simultaneously, the module enters bootloader mode. If this state is maintained for over 10 seconds without sending commands to the bootloader via UART, the u-connectXpress application will automatically boot, restoring the module settings to their factory defaults. Pressing only the SW1 button will restore the UART serial settings to their default values.
This board also features an unpopulated J2 header with four general-purpose input pins and one general-purpose I/O pin. Additionally, the Click board™ includes a user-configurable RGB LED indicator labeled LD2, which indicates various module statuses.
This Click board™ can be operated only with a 3.3V logic voltage level. The board must perform appropriate logic voltage level conversion before using MCUs with different logic levels. Also, it comes equipped with a library containing functions and an example code that can be used as a reference for further development.
Specifications
Type
WiFi+BLE
Applications
Ideal for telematics, industrial automation, connected buildings, wireless sensors, and medical devices
On-board modules
NINA-W152 – professional-grade multi-radio WiFi/BLE module from u-blox
Key Features
Supports Wi-Fi 802.11b/g/n in the 2.4GHz ISM band, dual-mode Bluetooth BR/EDR v4.2+EDR and Bluetooth Low Energy v4.2, internal PIFA antenna, UART/SPI interface, security features, global certification, system control functions, and more
Interface
SPI,UART
Feature
ClickID
Compatibility
mikroBUS™
Click board size
L (57.15 x 25.4 mm)
Input Voltage
3.3V
Pinout diagram
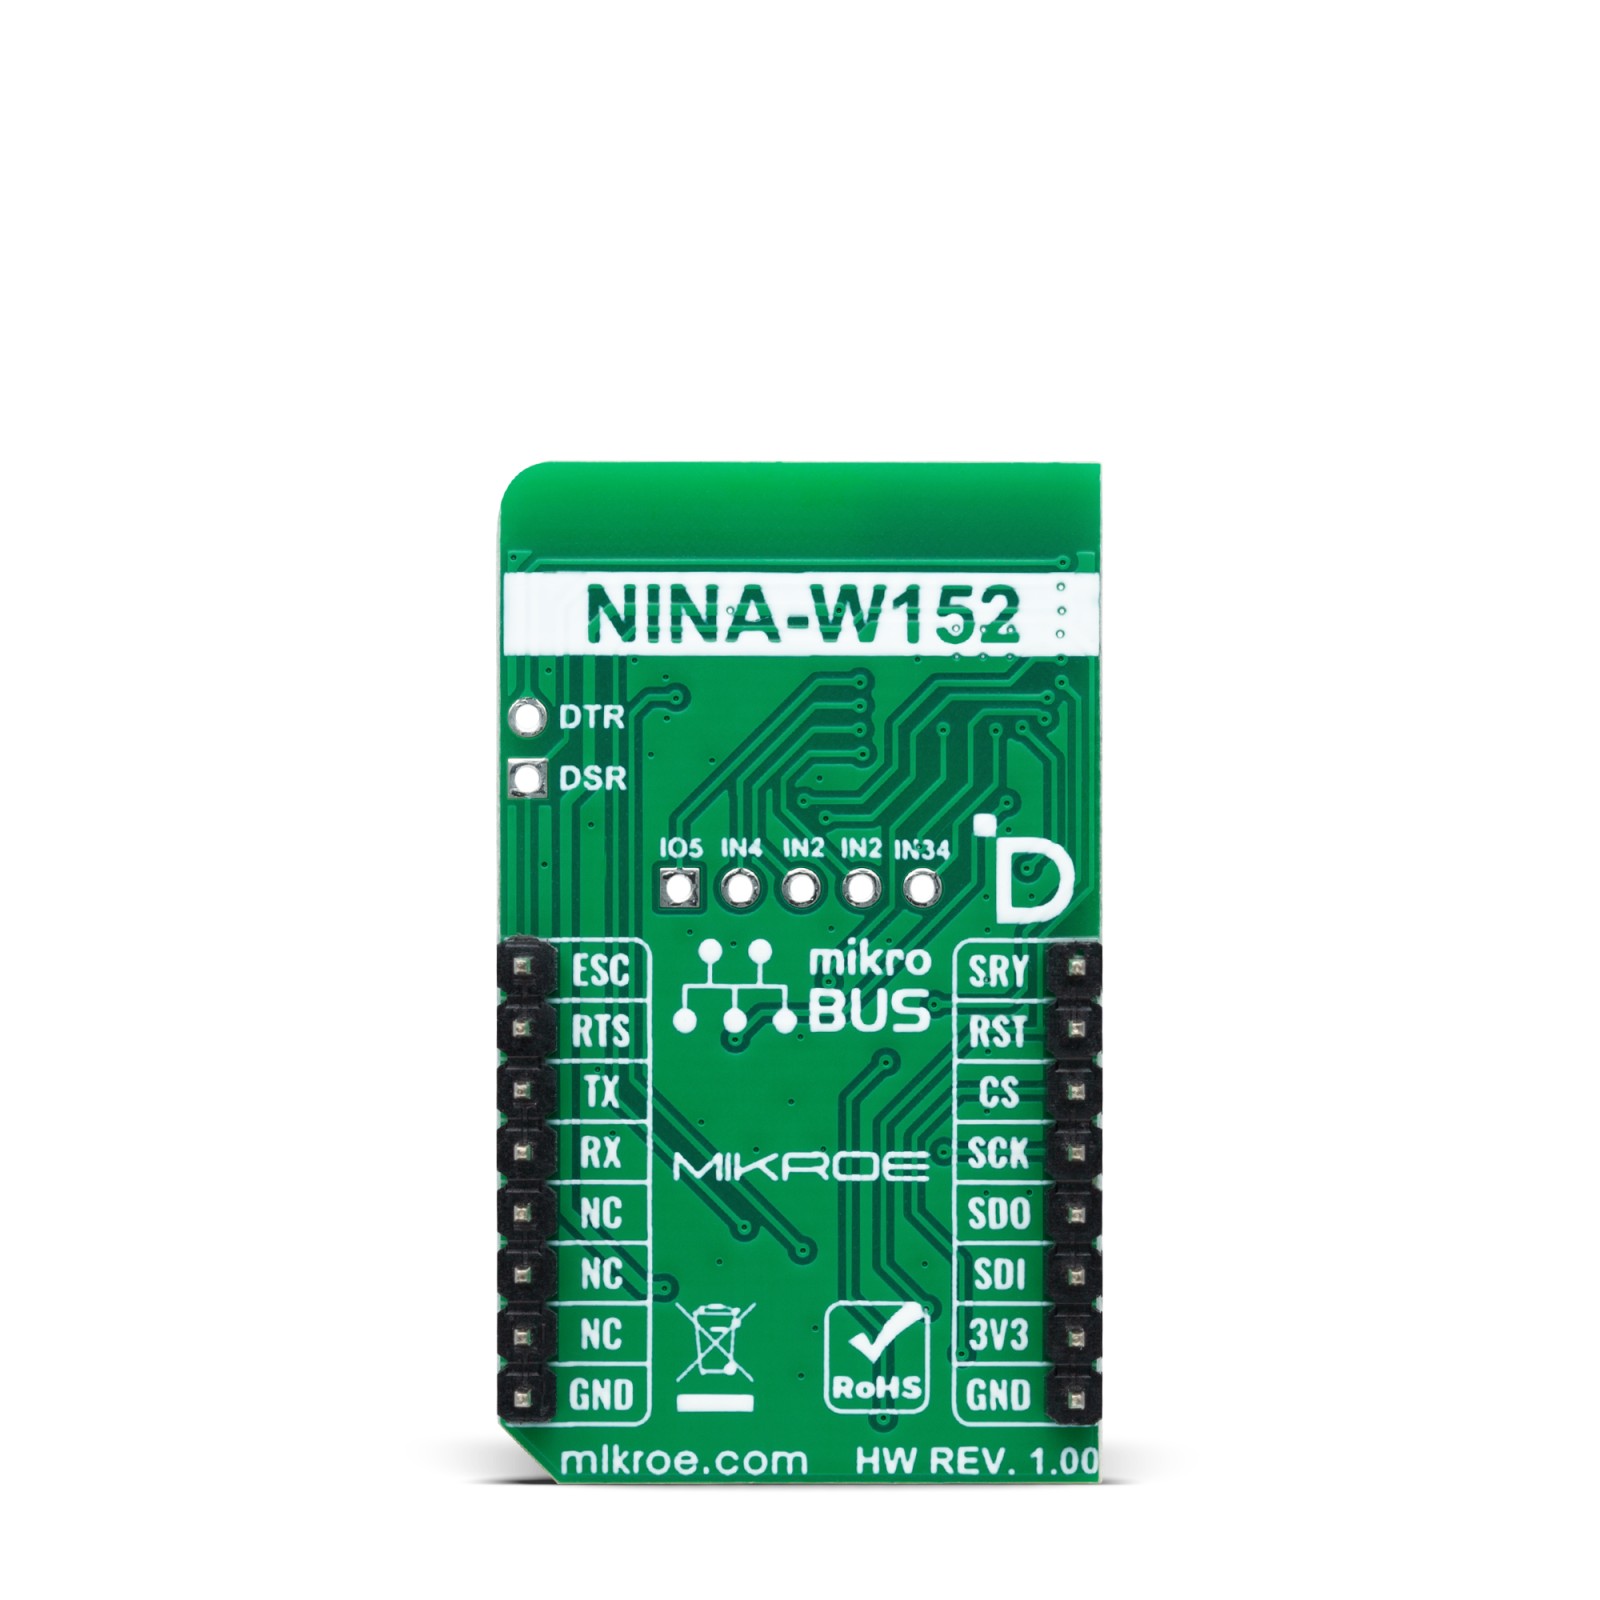
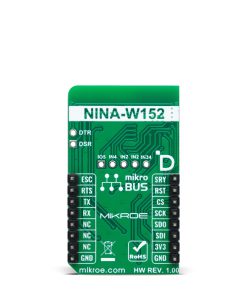
This table shows how the pinout on NINA-W152 Click corresponds to the pinout on the mikroBUS™ socket (the latter shown in the two middle columns).
Onboard settings and indicators
| Label | Name | Default | Description |
|---|---|---|---|
| LD1 | PWR | – | Power LED Indicator |
| LD2 | LD2 | – | Module Status RGB LED Indicator |
| JP1 | CS SEL | Left | CS Pin Function Selection CTS/CS: Left position CTS, Right position CS |
| JP2 | SYS BOOT | Left | Boot Mode Selection 1/0: Left position 1, Right position 0 |
| T1-T2 | SW1-SW2 | – | System Control Buttons |
NINA-W152 Click electrical specifications
| Description | Min | Typ | Max | Unit |
|---|---|---|---|---|
| Supply Voltage | – | 3.3 | – | V |
| WiFi Operating Range | – | 2.4 | – | GHz |
| WiFi Output Power | – | +15 | – | dBm |
| WiFi Sensitivity | – | -96 | – | dBm |
| Bluetooth Operating Range | – | 2.4 | – | GHz |
| Bluetooth Output Power | – | +5 | – | dBm |
| Bluetooth Sensitivity | – | -88 | – | dBm |
Software Support
We provide a library for the NINA-W152 Click as well as a demo application (example), developed using MIKROE compilers. The demo can run on all the main MIKROE development boards.
Package can be downloaded/installed directly from NECTO Studio Package Manager (recommended), downloaded from our LibStock™ or found on MIKROE github account.
Library Description
This library contains API for NINA-W152 Click driver.
Key functions
-
ninaw152_reset_deviceThis function resets the device by toggling the RST pin state. -
ninaw152_send_cmdThis function sends a specified command to the click module. -
ninaw152_send_cmd_with_parThis function sends a command with specified parameter to the click module.
Example Description
Application example shows device capability of connecting to a WiFi network and sending TCP/UDP messages to an echo server, or processing data from a connected BT device.
void application_task ( void )
 {
     switch ( app_state )
     {
         case NINAW152_POWER_UP:
         {
             if ( NINAW152_OK == ninaw152_power_up( &ninaw152 ) )
             {
                 app_state = NINAW152_CONFIGURE_CONNECTION;
                 log_printf( &logger, ">>> APP STATE - CONFIGURE CONNECTION <<<rnn" );
             }
             break;
         }
         case NINAW152_CONFIGURE_CONNECTION:
         {
             if ( NINAW152_OK == ninaw152_config_connection( &ninaw152 ) )
             {
                 app_state = NINAW152_WAIT_FOR_CONNECTION;
                 log_printf( &logger, ">>> APP STATE - CHECK CONNECTION <<<rnn" );
             }
             break;
         }
         case NINAW152_WAIT_FOR_CONNECTION:
         {
             if ( NINAW152_OK == ninaw152_check_connection( &ninaw152 ) )
             {
                 app_state = NINAW152_EXAMPLE;
                 log_printf( &logger, ">>> APP STATE - EXAMPLE <<<rnn" );
             }
             break;
         }
         case NINAW152_EXAMPLE:
         {
             ninaw152_example( &ninaw152 );
             break;
         }
         default:
         {
             log_error( &logger, " APP STATE." );
             break;
         }
     }
 }
The full application code, and ready to use projects can be installed directly from NECTO Studio Package Manager (recommended), downloaded from our LibStock™ or found on MIKROE github account.
Other MIKROE Libraries used in the example:
- MikroSDK.Board
- MikroSDK.Log
- Click.NINAW152
Additional notes and informations
Depending on the development board you are using, you may need USB UART click, USB UART 2 Click or RS232 Click to connect to your PC, for development systems with no UART to USB interface available on the board. UART terminal is available in all MIKROE compilers.
mikroSDK
This Click board™ is supported with mikroSDK – MIKROE Software Development Kit. To ensure proper operation of mikroSDK compliant Click board™ demo applications, mikroSDK should be downloaded from the LibStock and installed for the compiler you are using.
For more information about mikroSDK, visit the official page.
Resources
Downloads
| Weight | 18 g |
|---|---|
| Brand | MikroElektronika |

