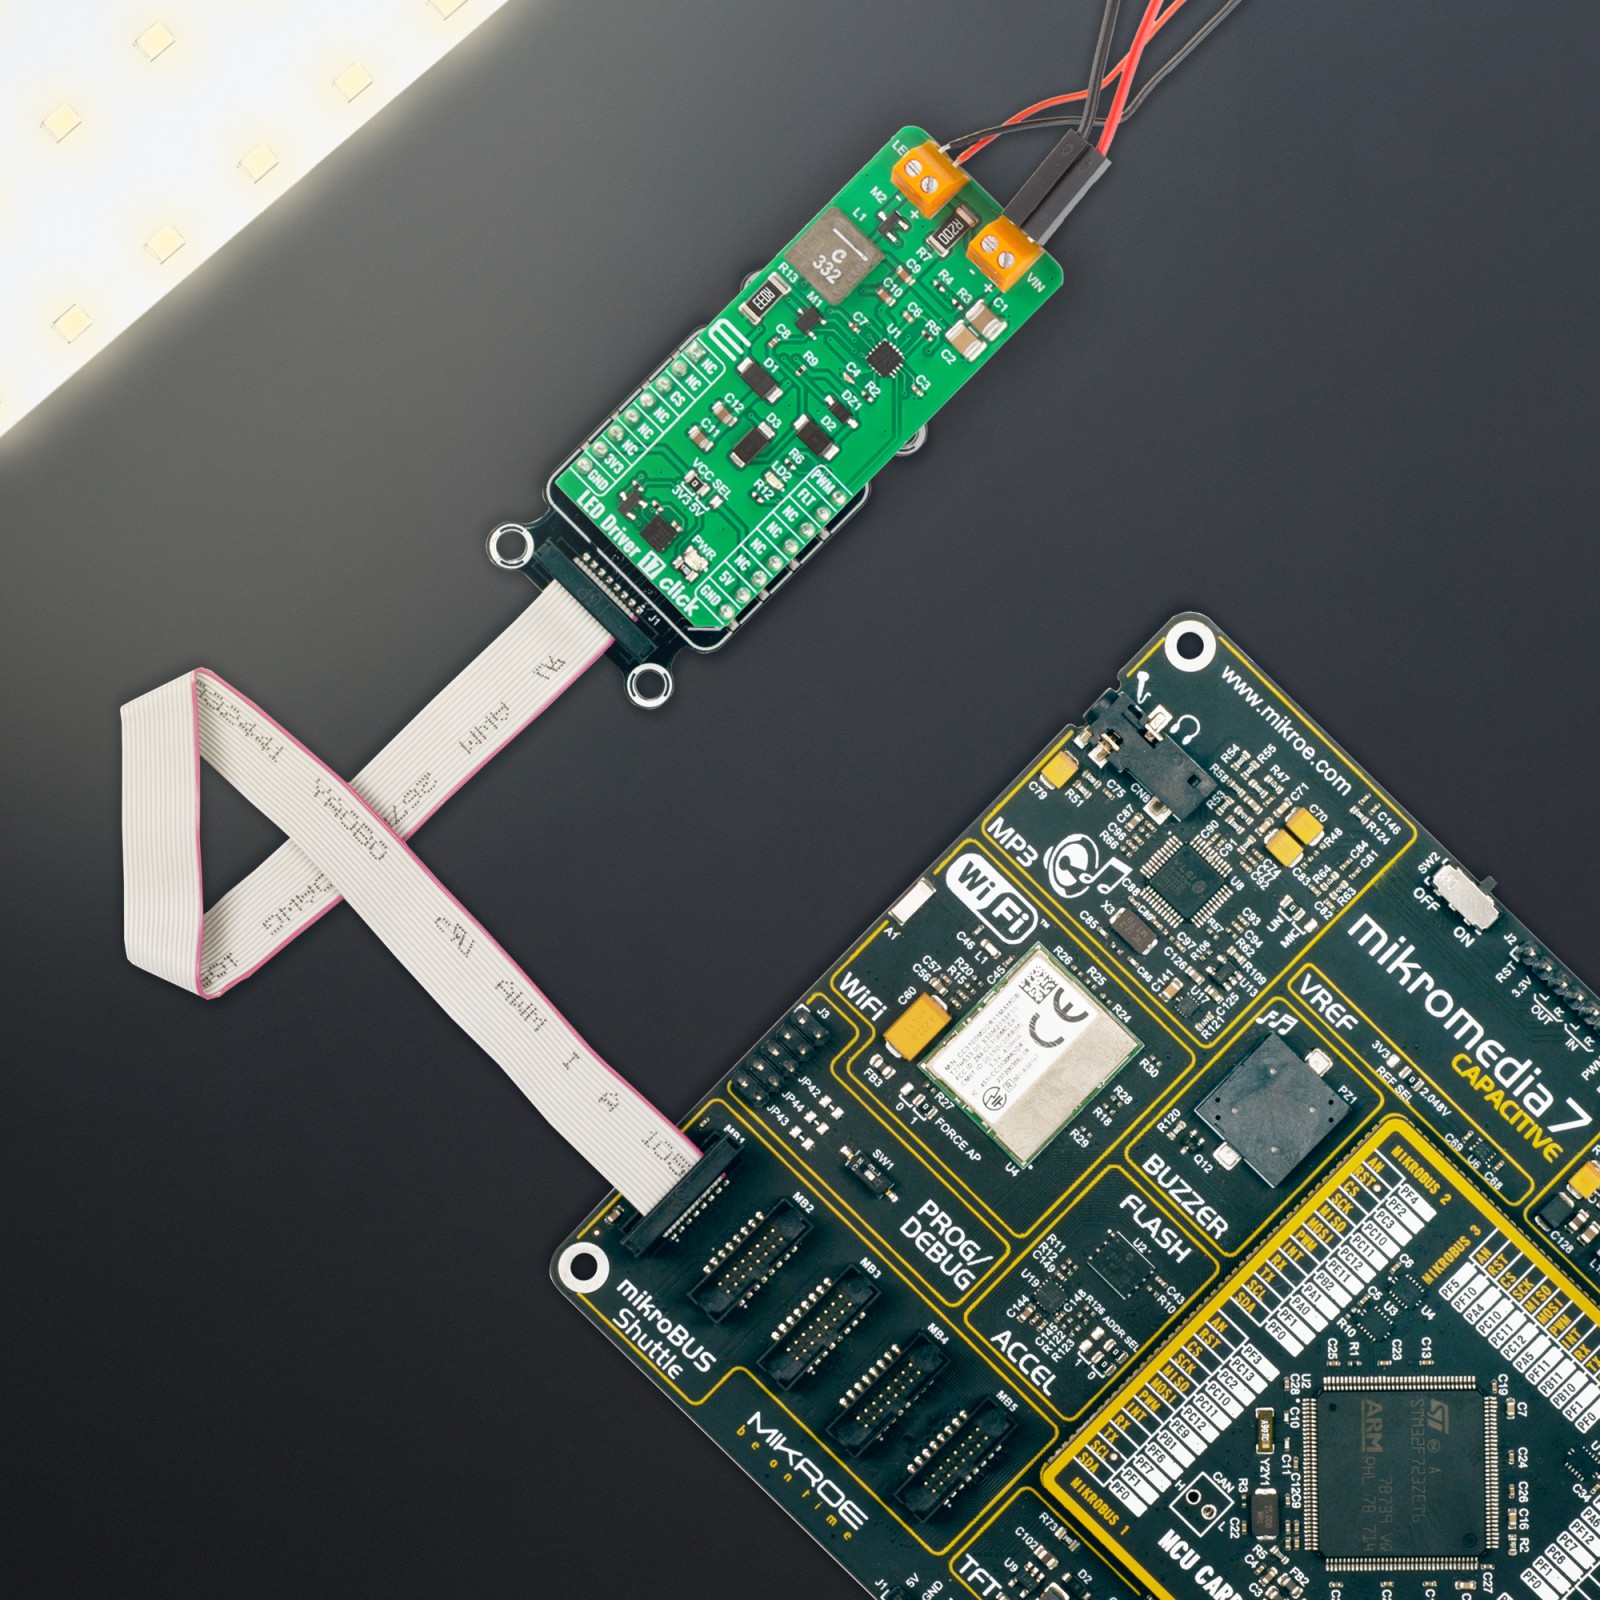
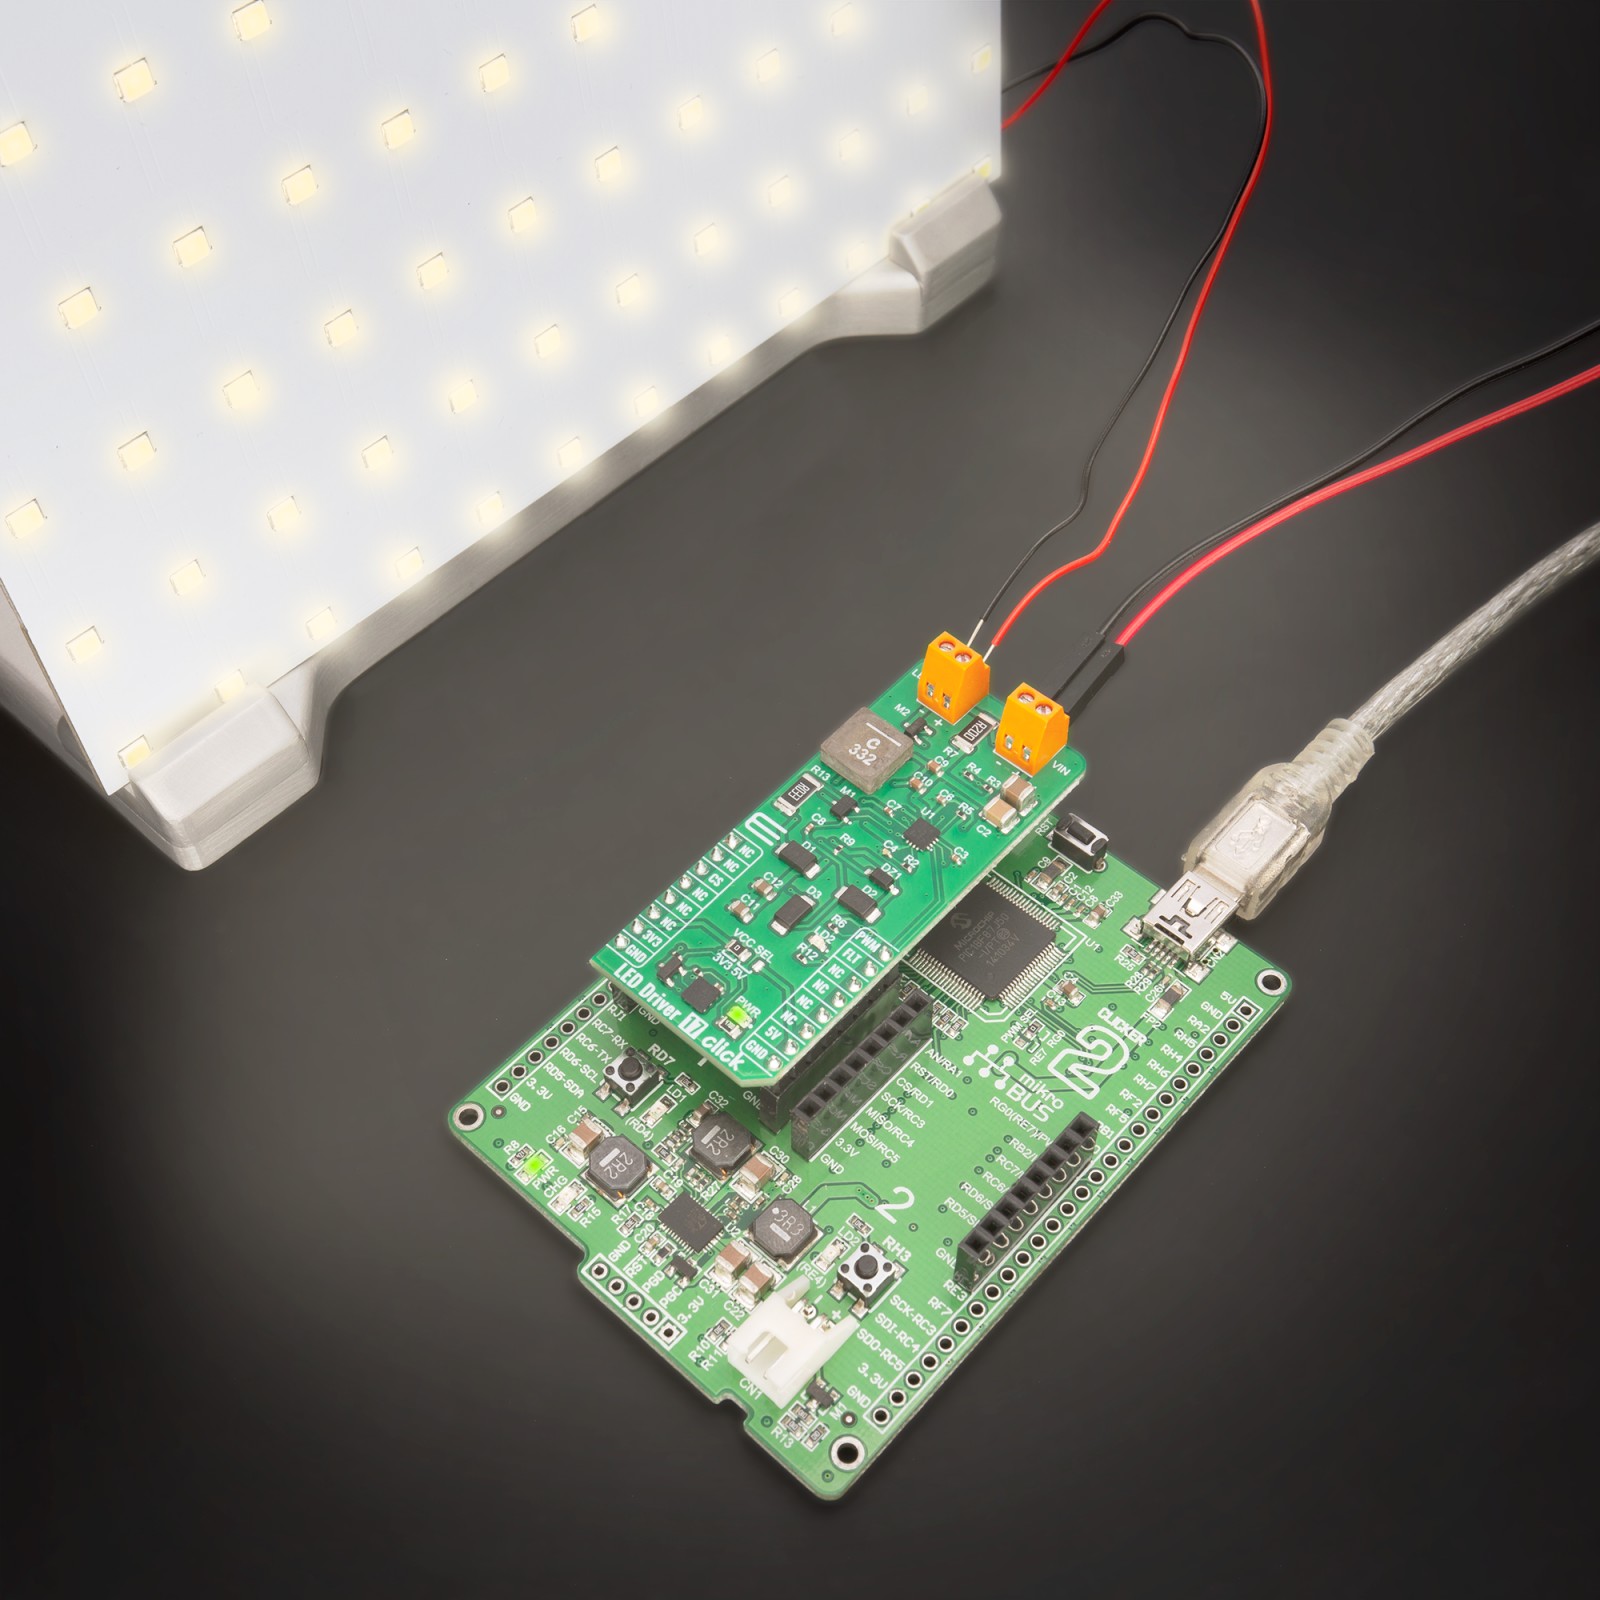
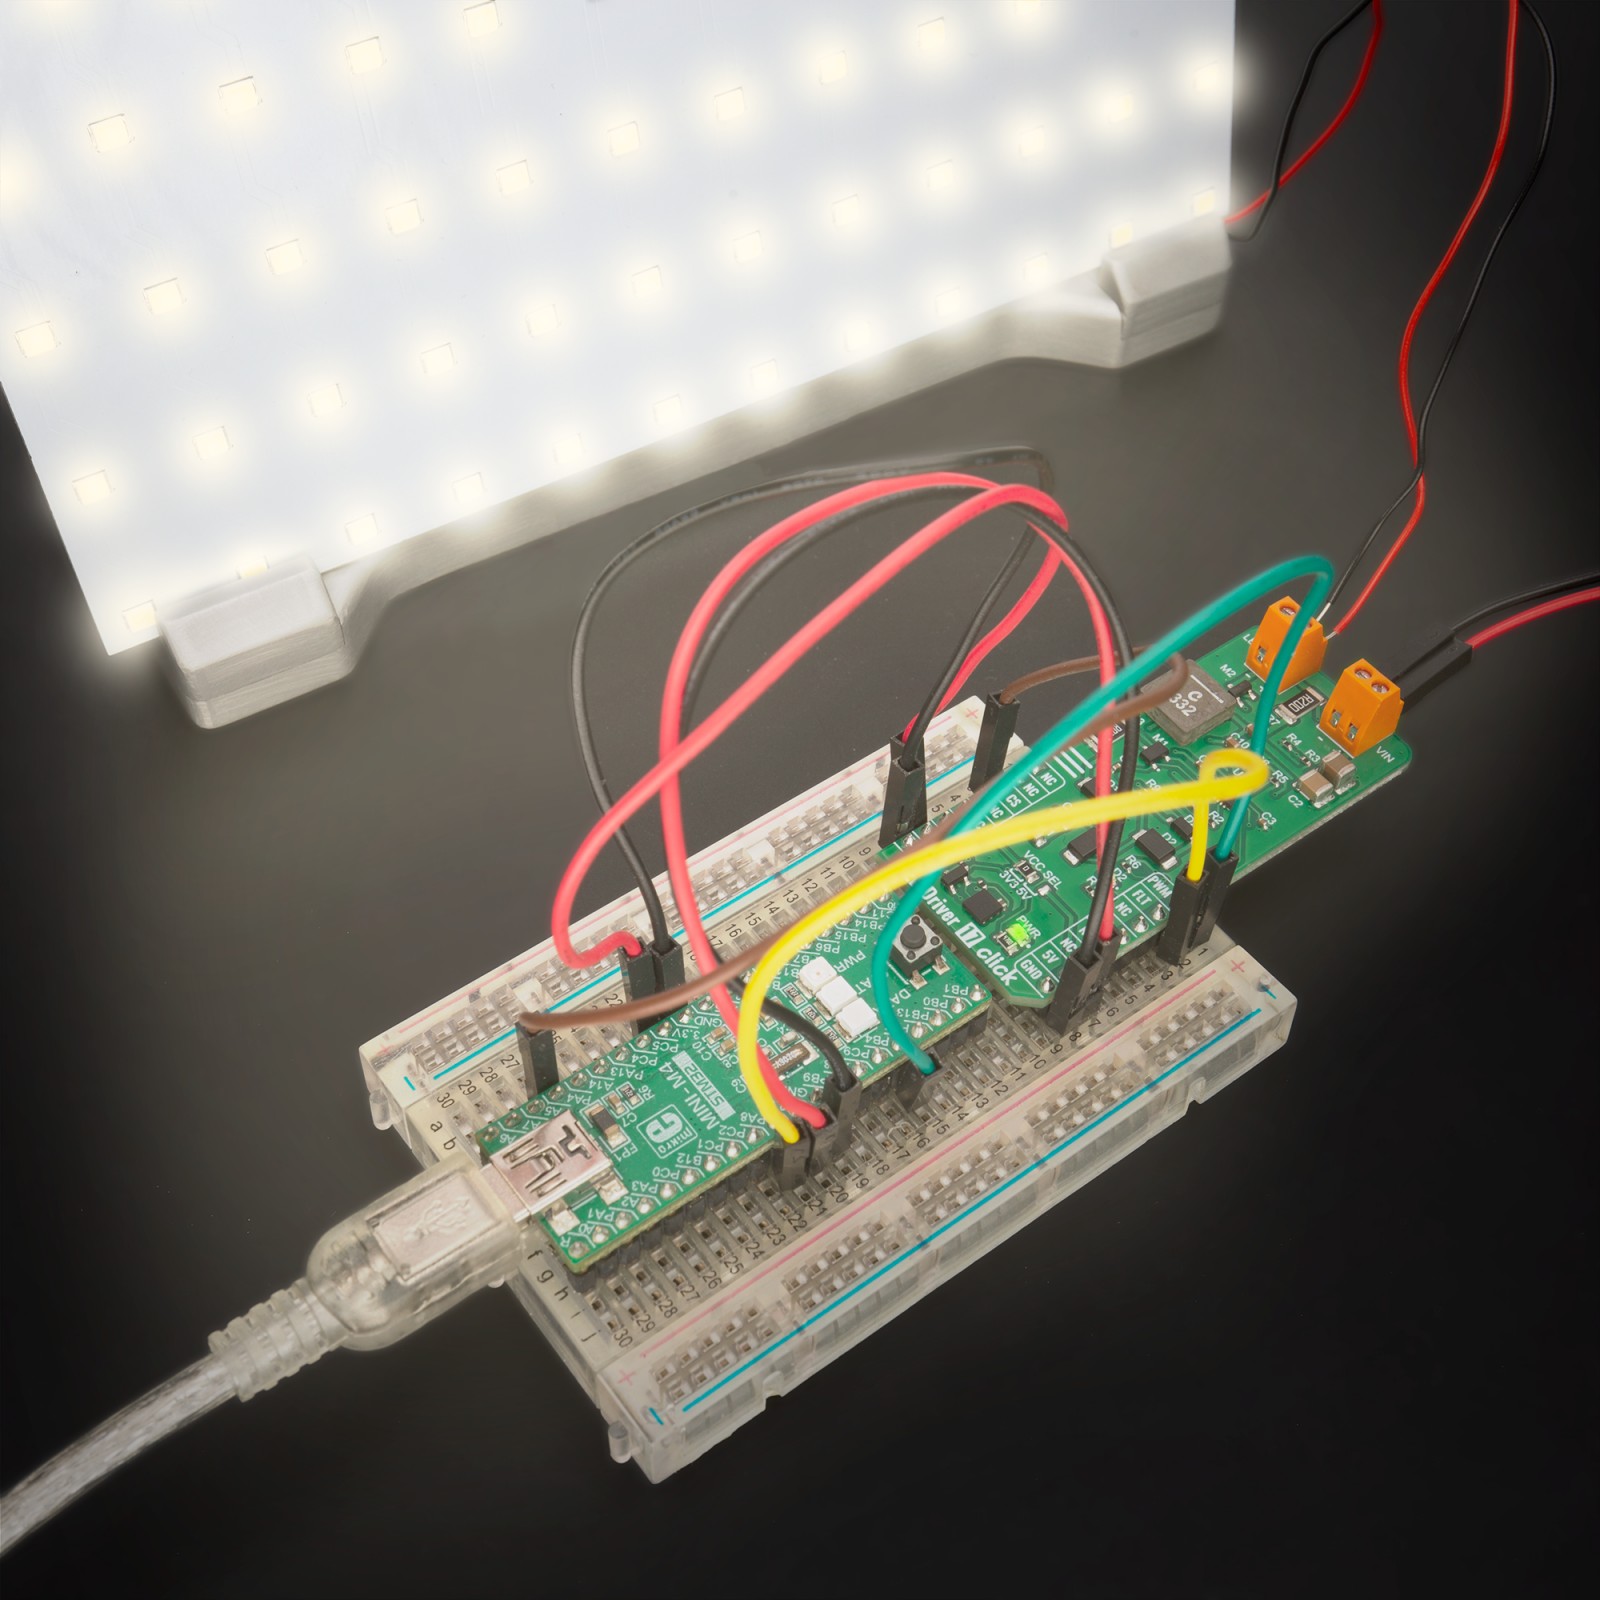
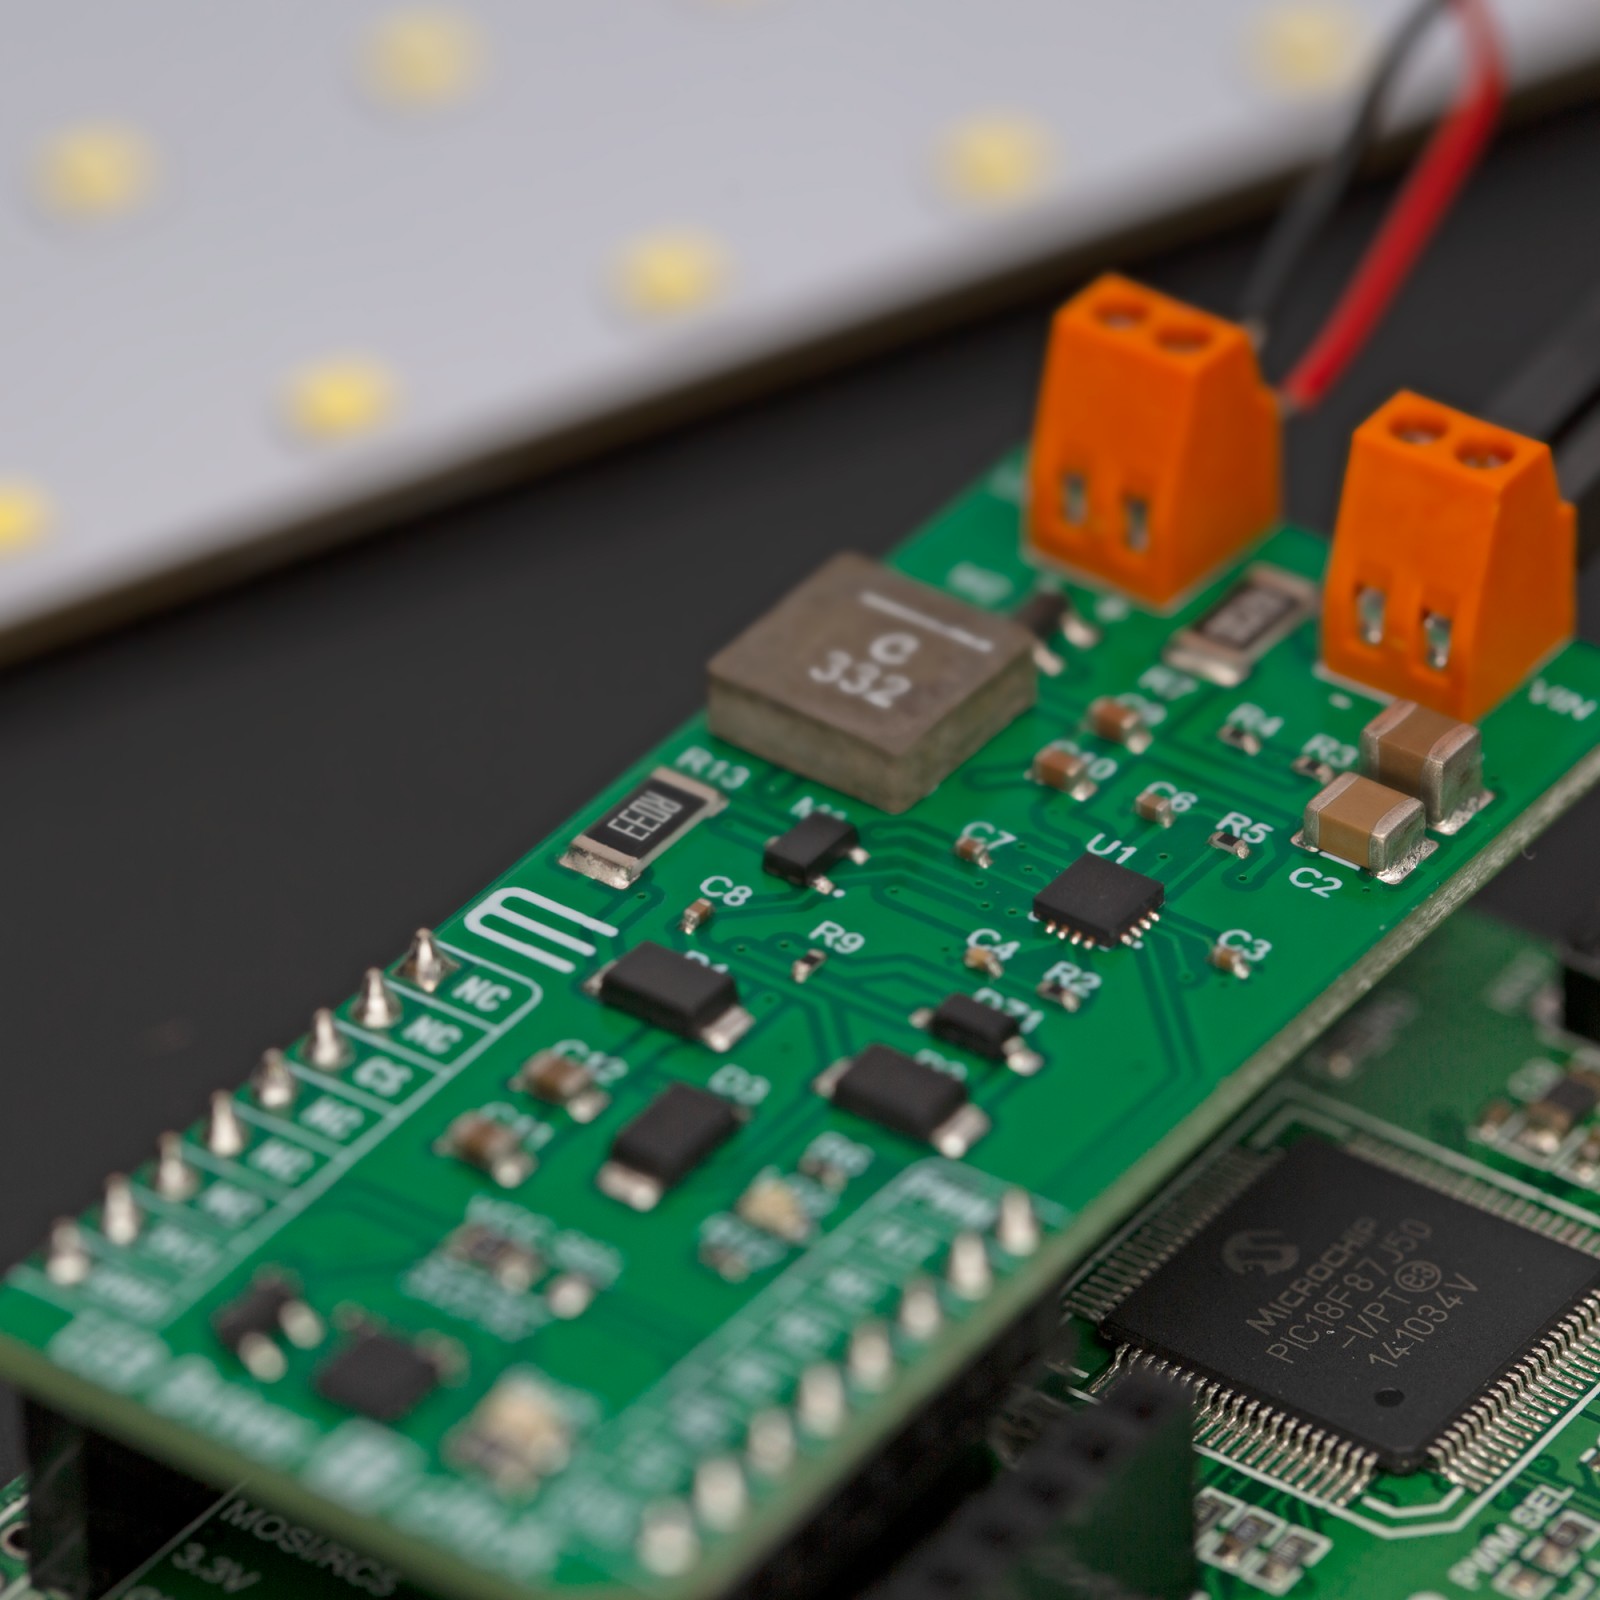
How does it work?
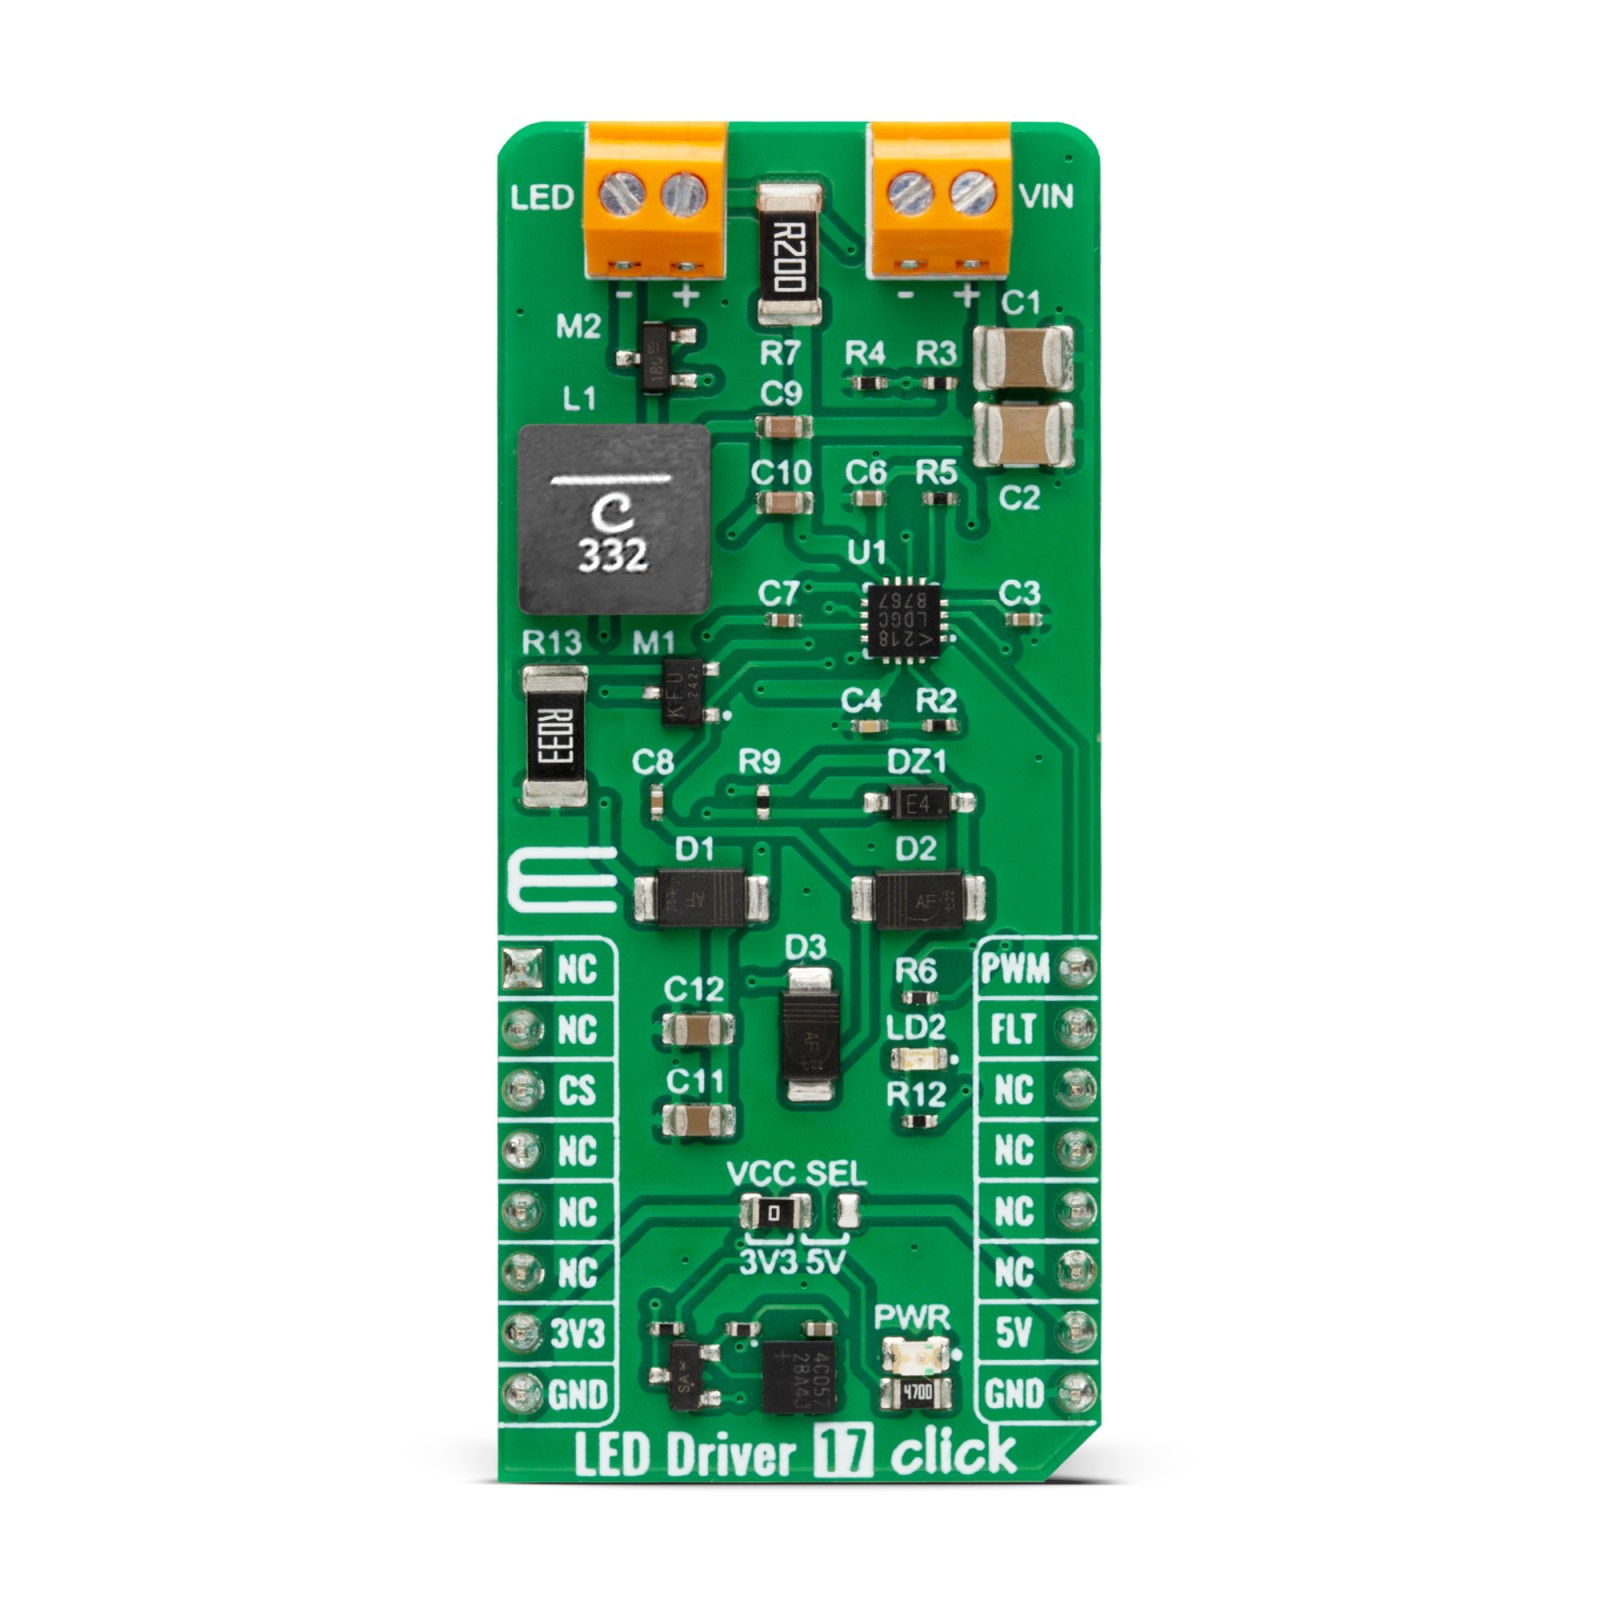
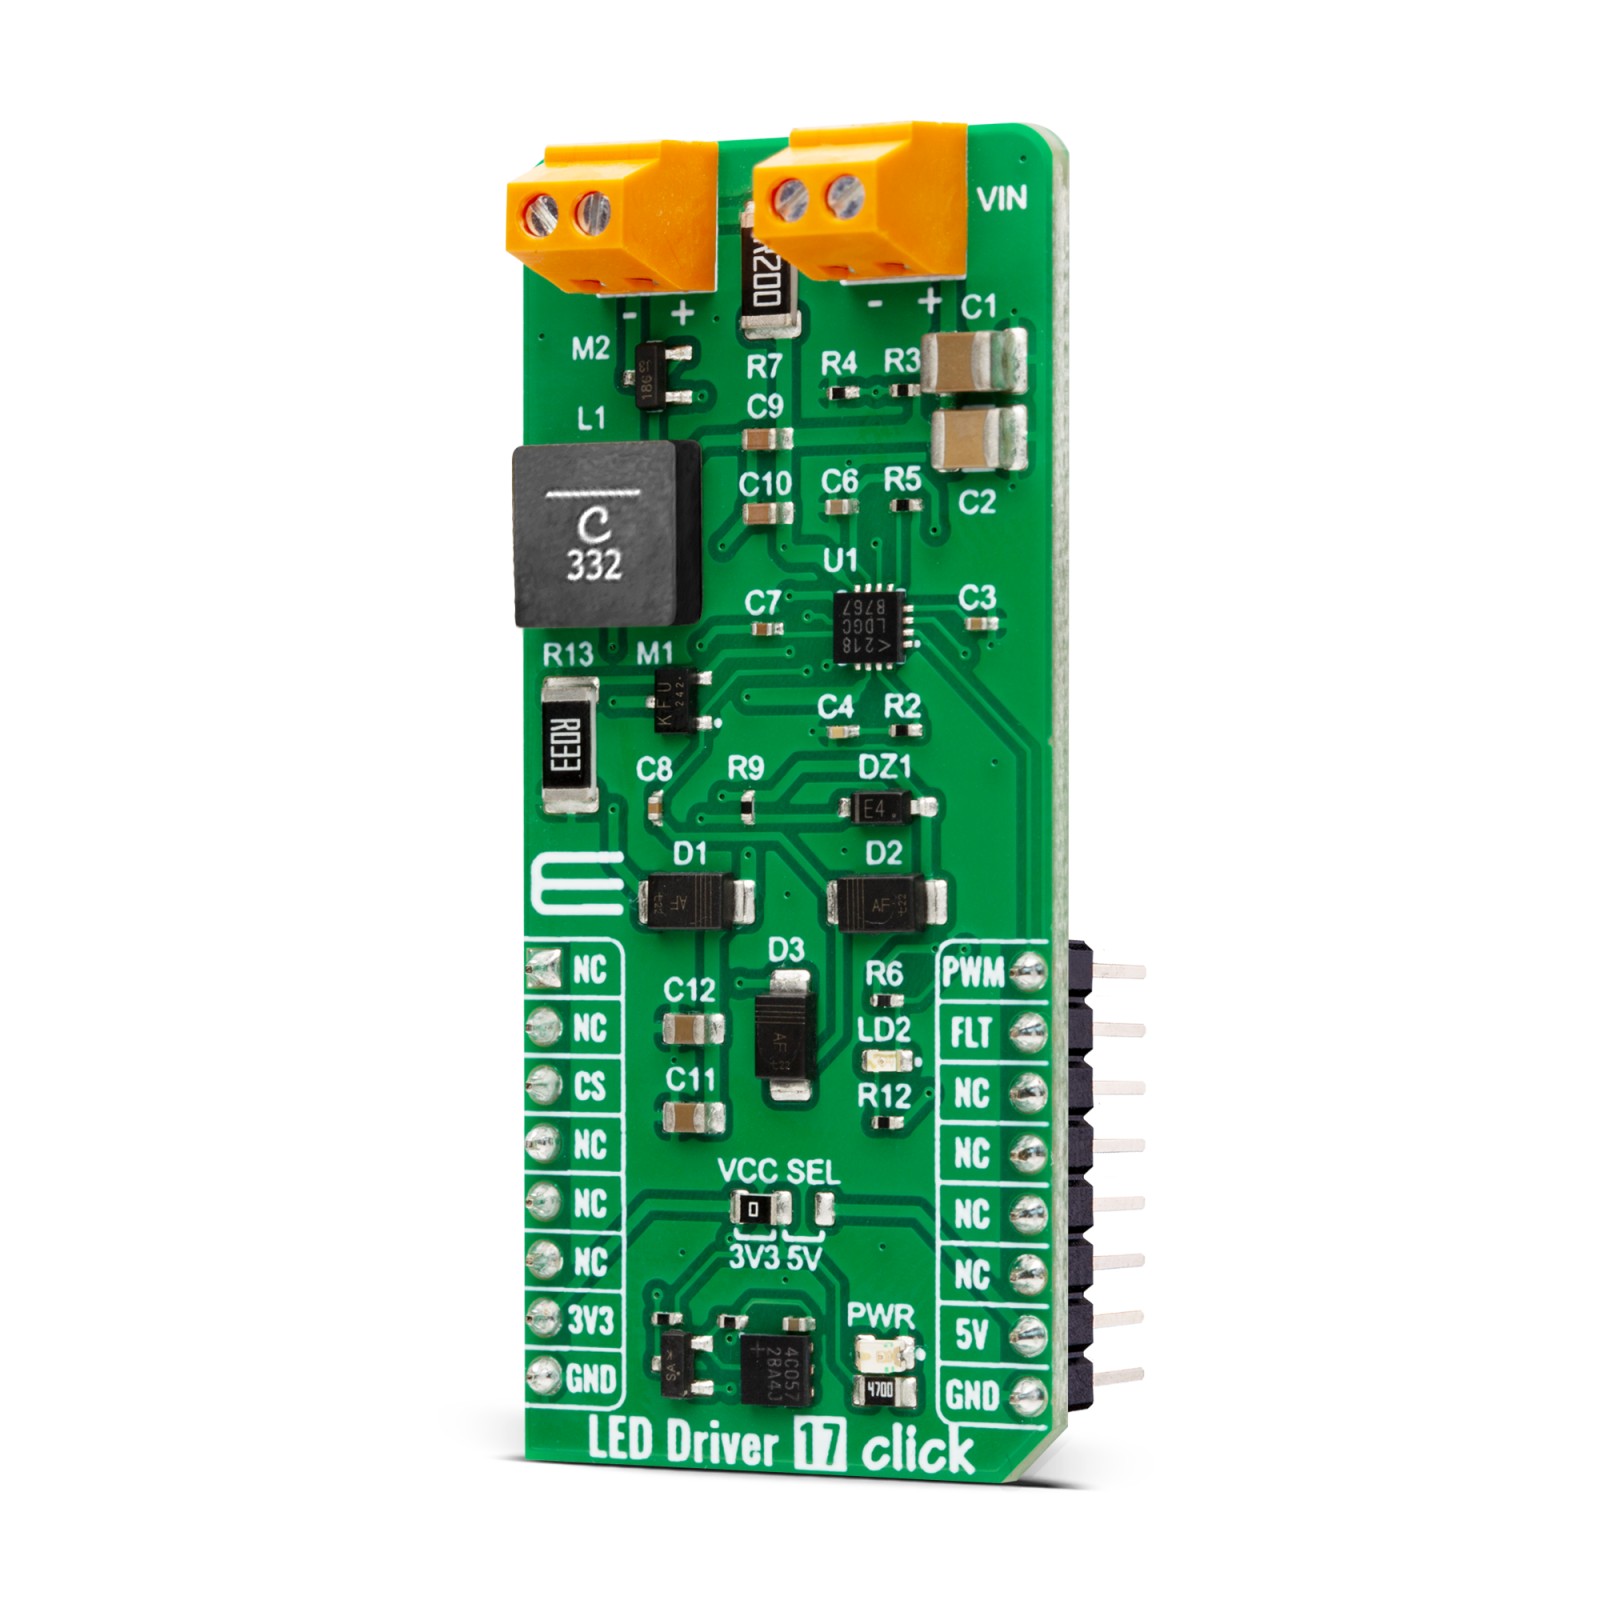
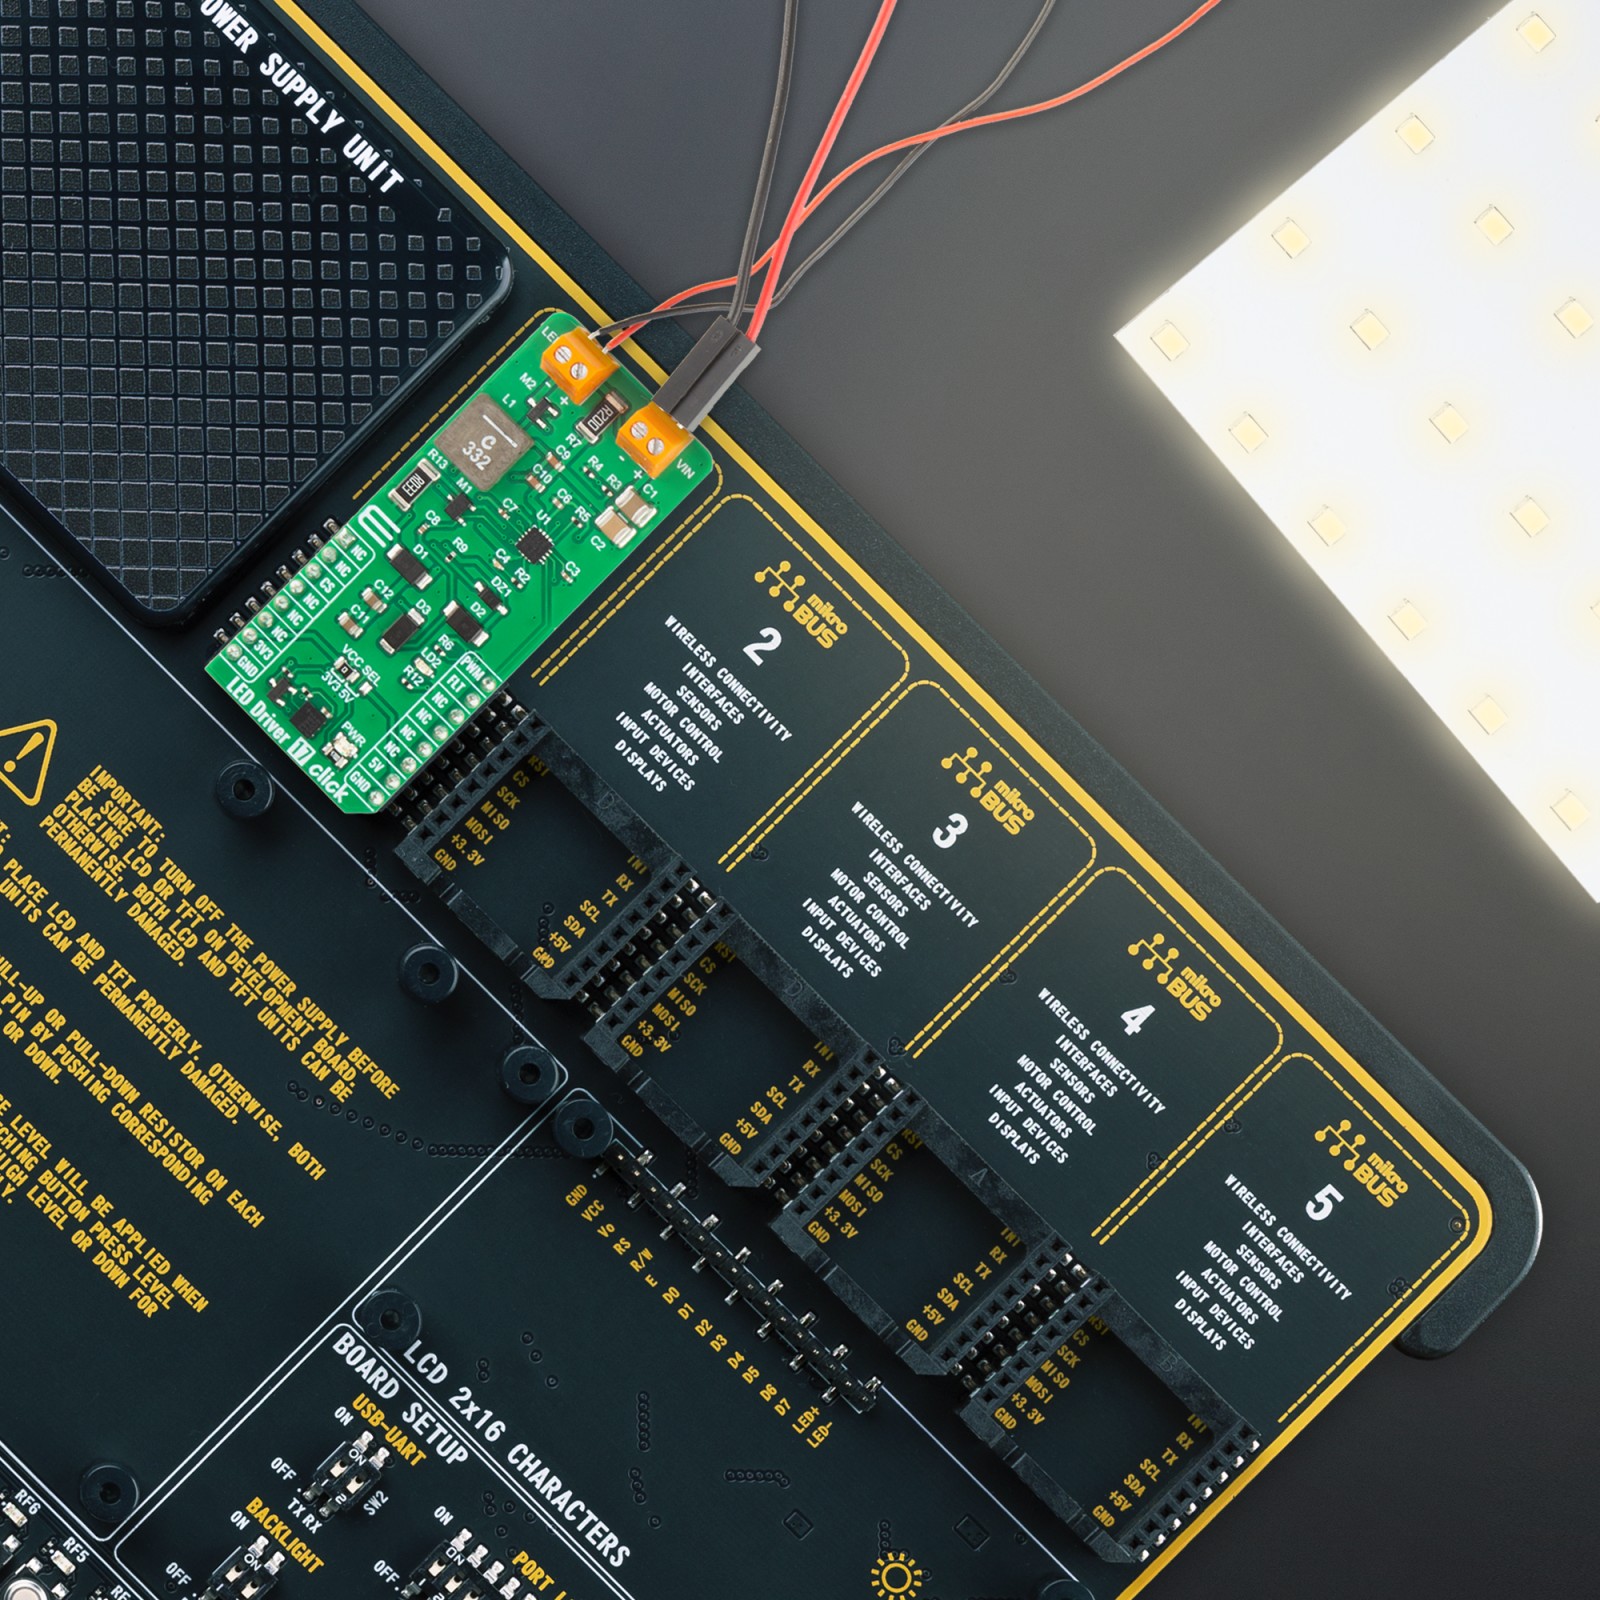
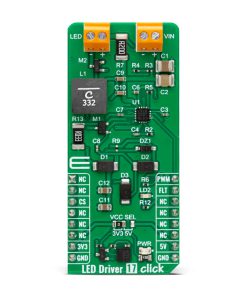
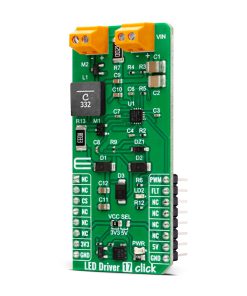
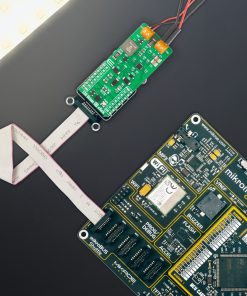
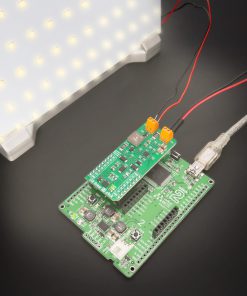
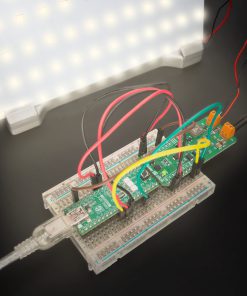
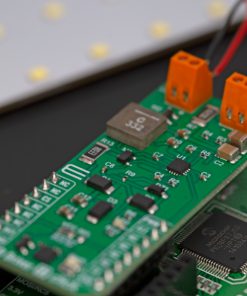
LED Driver 17 Click is based on the LT3755, a highly efficient DC/DC controller from Analog Devices. This Click board™ is designed as a Buck mode LED driver with the ability to output 500mA, offering, in addition, PWM dimming functionality. The LTR3755, a highly efficient DC/DC controller, operates as a constant-current source, features onboard low-side external N-channel power MOSFETs, which are driven from an internal regulated supply, and it is capable of driving high-power 16V LEDs. Due to its high efficiency and reliable protection features, this board can be used in applications that require consistent and precise LED lighting control. It can also be used in applications that demand high power output, such as commercial and industrial lighting.
In terms of connectivity, this solution is designed to be controlled via the PWM pin of the mikroBUS™ socket to provide LED dimming control with ratios of up to 3000:1. In addition, the LT3755 also has a frequency adjust pin that allows the user to program the switching frequency from 100kHz to 1MHz. This feature is performed via an onboard R5 resistor, with the 800kHz set as the default value to optimize efficiency and performance.
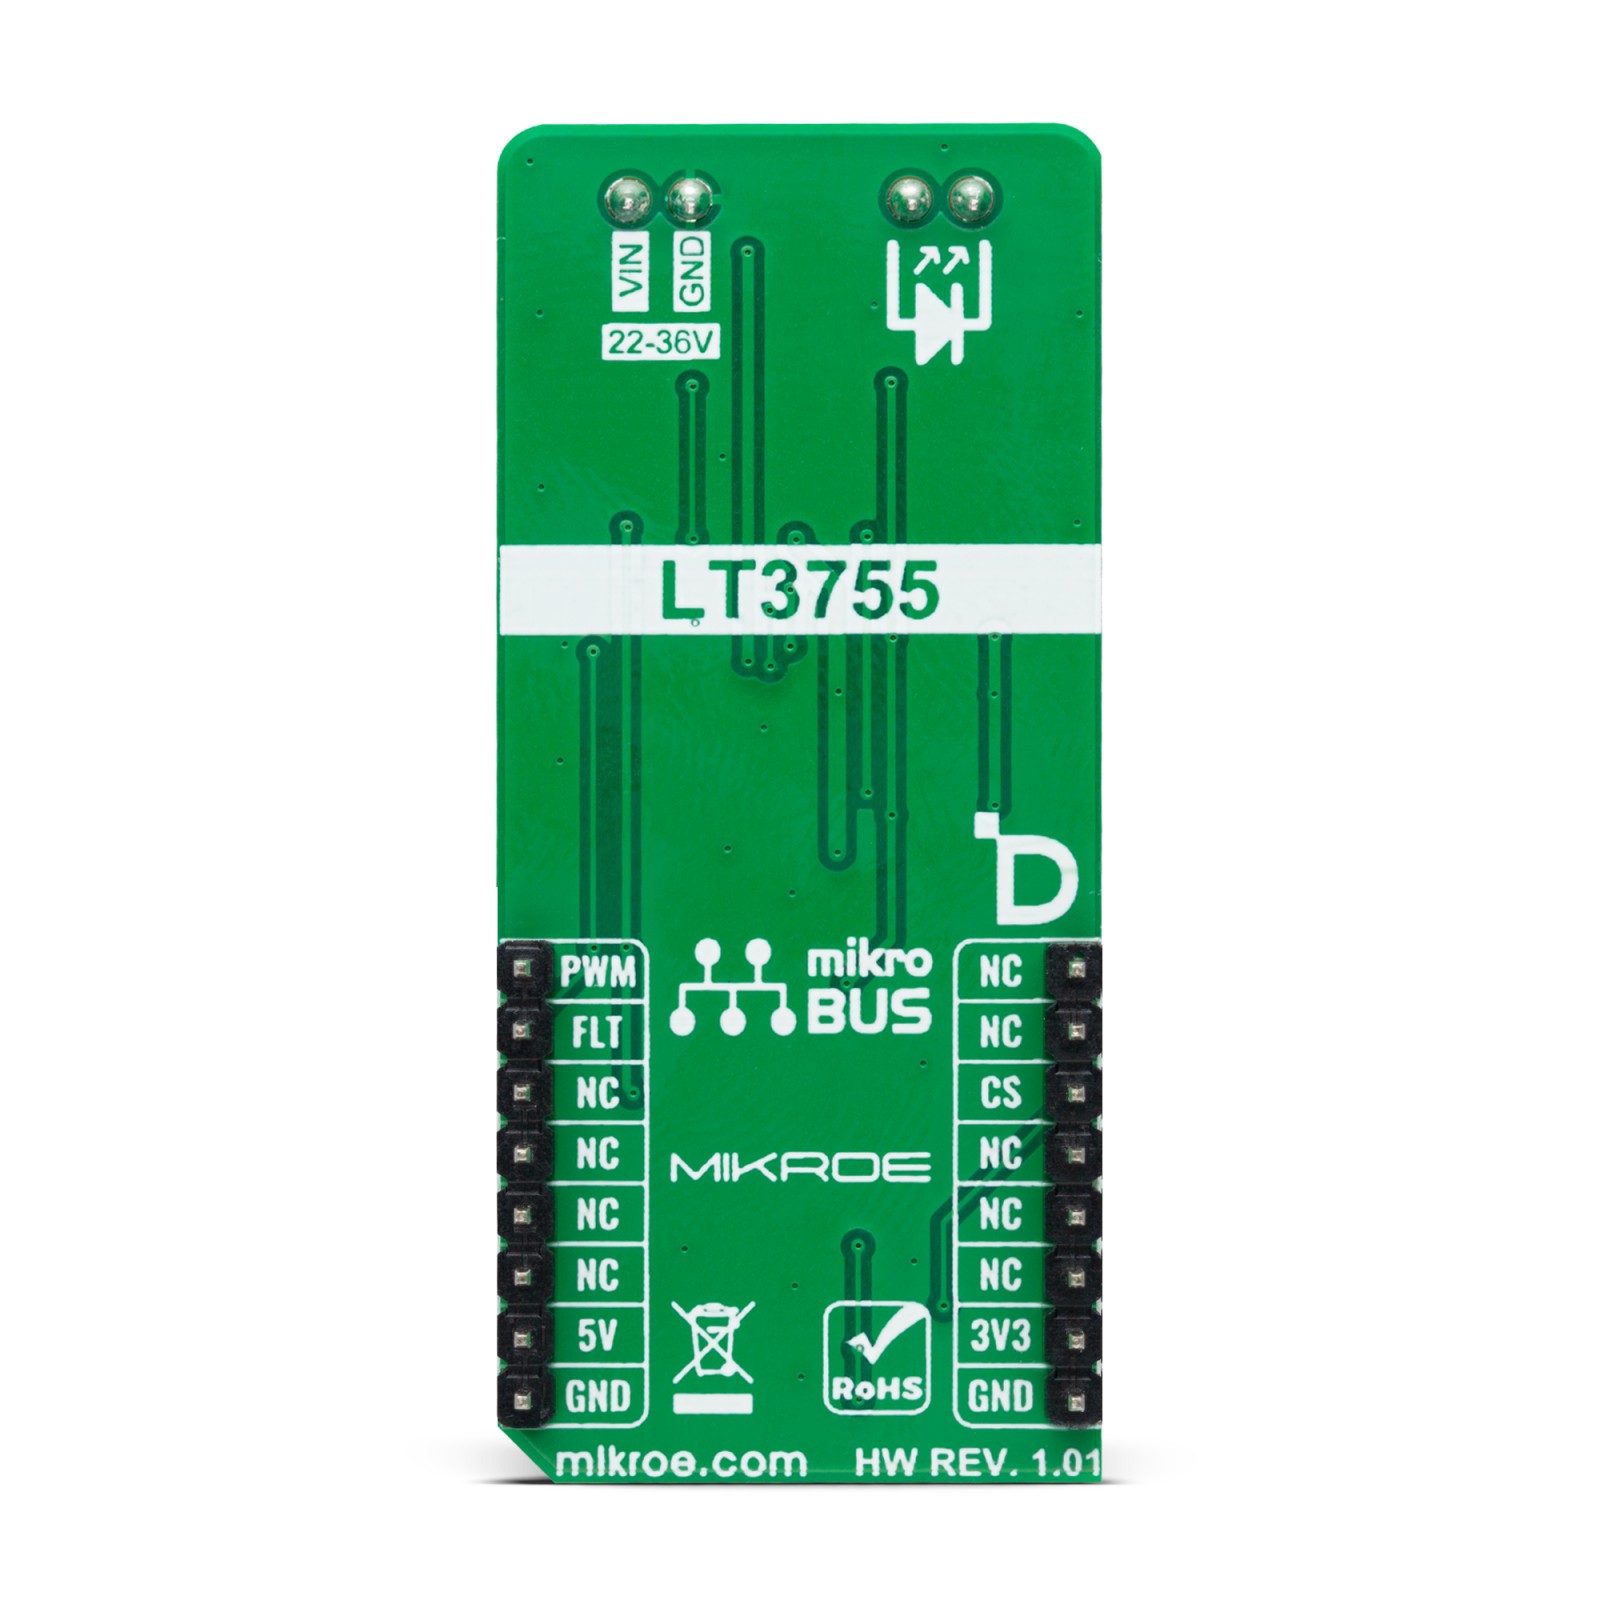
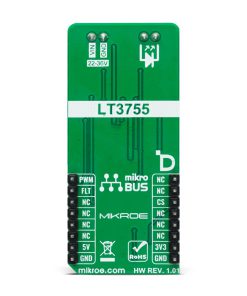
Other than the PWM pin, this Click board™ also features a fault pin labeled FLT, which is routed to the default interrupt INT position of the mikroBUS™ socket. This fault pin indicates any fault conditions to an external system, including overvoltage and overcurrent protection. Besides information via the mikroBUS™ socket, the fault signal is visually indicated via a red LED labeled LD2. This LED Driver 17 Click supports an external power supply for the driver, which can be connected to the input terminal labeled VIN and should be within the range of 22V to 36V.
This Click board™ can operate with either 3.3V or 5V logic voltage levels selected via the VCC SEL jumper. This way, both 3.3V and 5V capable MCUs can use the communication lines properly. However, the Click board™ comes equipped with a library containing easy-to-use functions and an example code that can be used, as a reference, for further development.
Specifications
Type
LED Drivers
Applications
Can be used for applications that demand high power output, such as commercial and industrial lighting
On-board modules
LTR3755 – DC/DC controller from Analog Devices
Key Features
Buck mode LED driver, 500mA, PWM dimming, wide input voltage supply, output voltage suitable for 16V high power LEDs, protection features, adjustable switching frequency, fault detection and indication, and more
Interface
PWM
Feature
ClickID
Compatibility
mikroBUS™
Click board size
L (57.15 x 25.4 mm)
Input Voltage
3.3V or 5V
Pinout diagram
This table shows how the pinout on LED Driver 17 Click corresponds to the pinout on the mikroBUS™ socket (the latter shown in the two middle columns).
Onboard settings and indicators
Label | Name | Default | Description |
---|---|---|---|
LD1 | PWR | – | Power LED Indicator |
LD2 | LD2 | – | Fault LED Indicator |
JP1 | VCC SEL | Left | Logic Level Voltage Selection 3V3/5V: Left position 3V3, Right position 5V |
LED Driver 17 Click electrical specifications
Description | Min | Typ | Max | Unit |
---|---|---|---|---|
Supply Voltage | 3.3 | – | 5 | V |
Input Voltage Range | 22 | – | 36 | V |
Output Current | – | 500 | – | mA |
Software Support
We provide a library for the LED Driver 17 Click as well as a demo application (example), developed using MIKROE compilers. The demo can run on all the main MIKROE development boards.
Package can be downloaded/installed directly from NECTO Studio Package Manager (recommended), downloaded from our LibStock™ or found on Mikroe github account.
Library Description
This library contains API for LED Driver 17 Click driver.
Key functions
-
leddriver17_get_fault_pin
This function returns the fault (FLT) pin logic state. -
leddriver17_set_duty_cycle
This function sets the PWM duty cycle in percentages ( Range[ 0..1 ] ).
Example Description
This example demonstrates the use of LED Driver 17 Click board™ by changing the LEDs dimming level.
void application_task ( void )
{
static int8_t duty_cnt = 1;
static int8_t duty_inc = 1;
float duty = duty_cnt / 10.0;
if ( !leddriver17_get_fault_pin ( &leddriver17 ) )
{
log_printf( &logger, " Fault detected!rn" );
}
leddriver17_set_duty_cycle ( &leddriver17, duty );
log_printf( &logger, " Duty: %u%%rnn", ( uint16_t ) ( duty_cnt * 10 ) );
Delay_ms( 500 );
if ( 10 == duty_cnt )
{
duty_inc = -1;
}
else if ( 0 == duty_cnt )
{
duty_inc = 1;
}
duty_cnt += duty_inc;
}
The full application code, and ready to use projects can be installed directly from NECTO Studio Package Manager (recommended), downloaded from our LibStock™ or found on Mikroe github account.
Other Mikroe Libraries used in the example:
- MikroSDK.Board
- MikroSDK.Log
- Click.LEDDriver17
Additional notes and informations
Depending on the development board you are using, you may need USB UART click, USB UART 2 Click or RS232 Click to connect to your PC, for development systems with no UART to USB interface available on the board. UART terminal is available in all MIKROE compilers.
mikroSDK
This Click board™ is supported with mikroSDK – MIKROE Software Development Kit. To ensure proper operation of mikroSDK compliant Click board™ demo applications, mikroSDK should be downloaded from the LibStock and installed for the compiler you are using.
For more information about mikroSDK, visit the official page.