Ultrasonic 5 Click
R1,000.00 ex. VAT
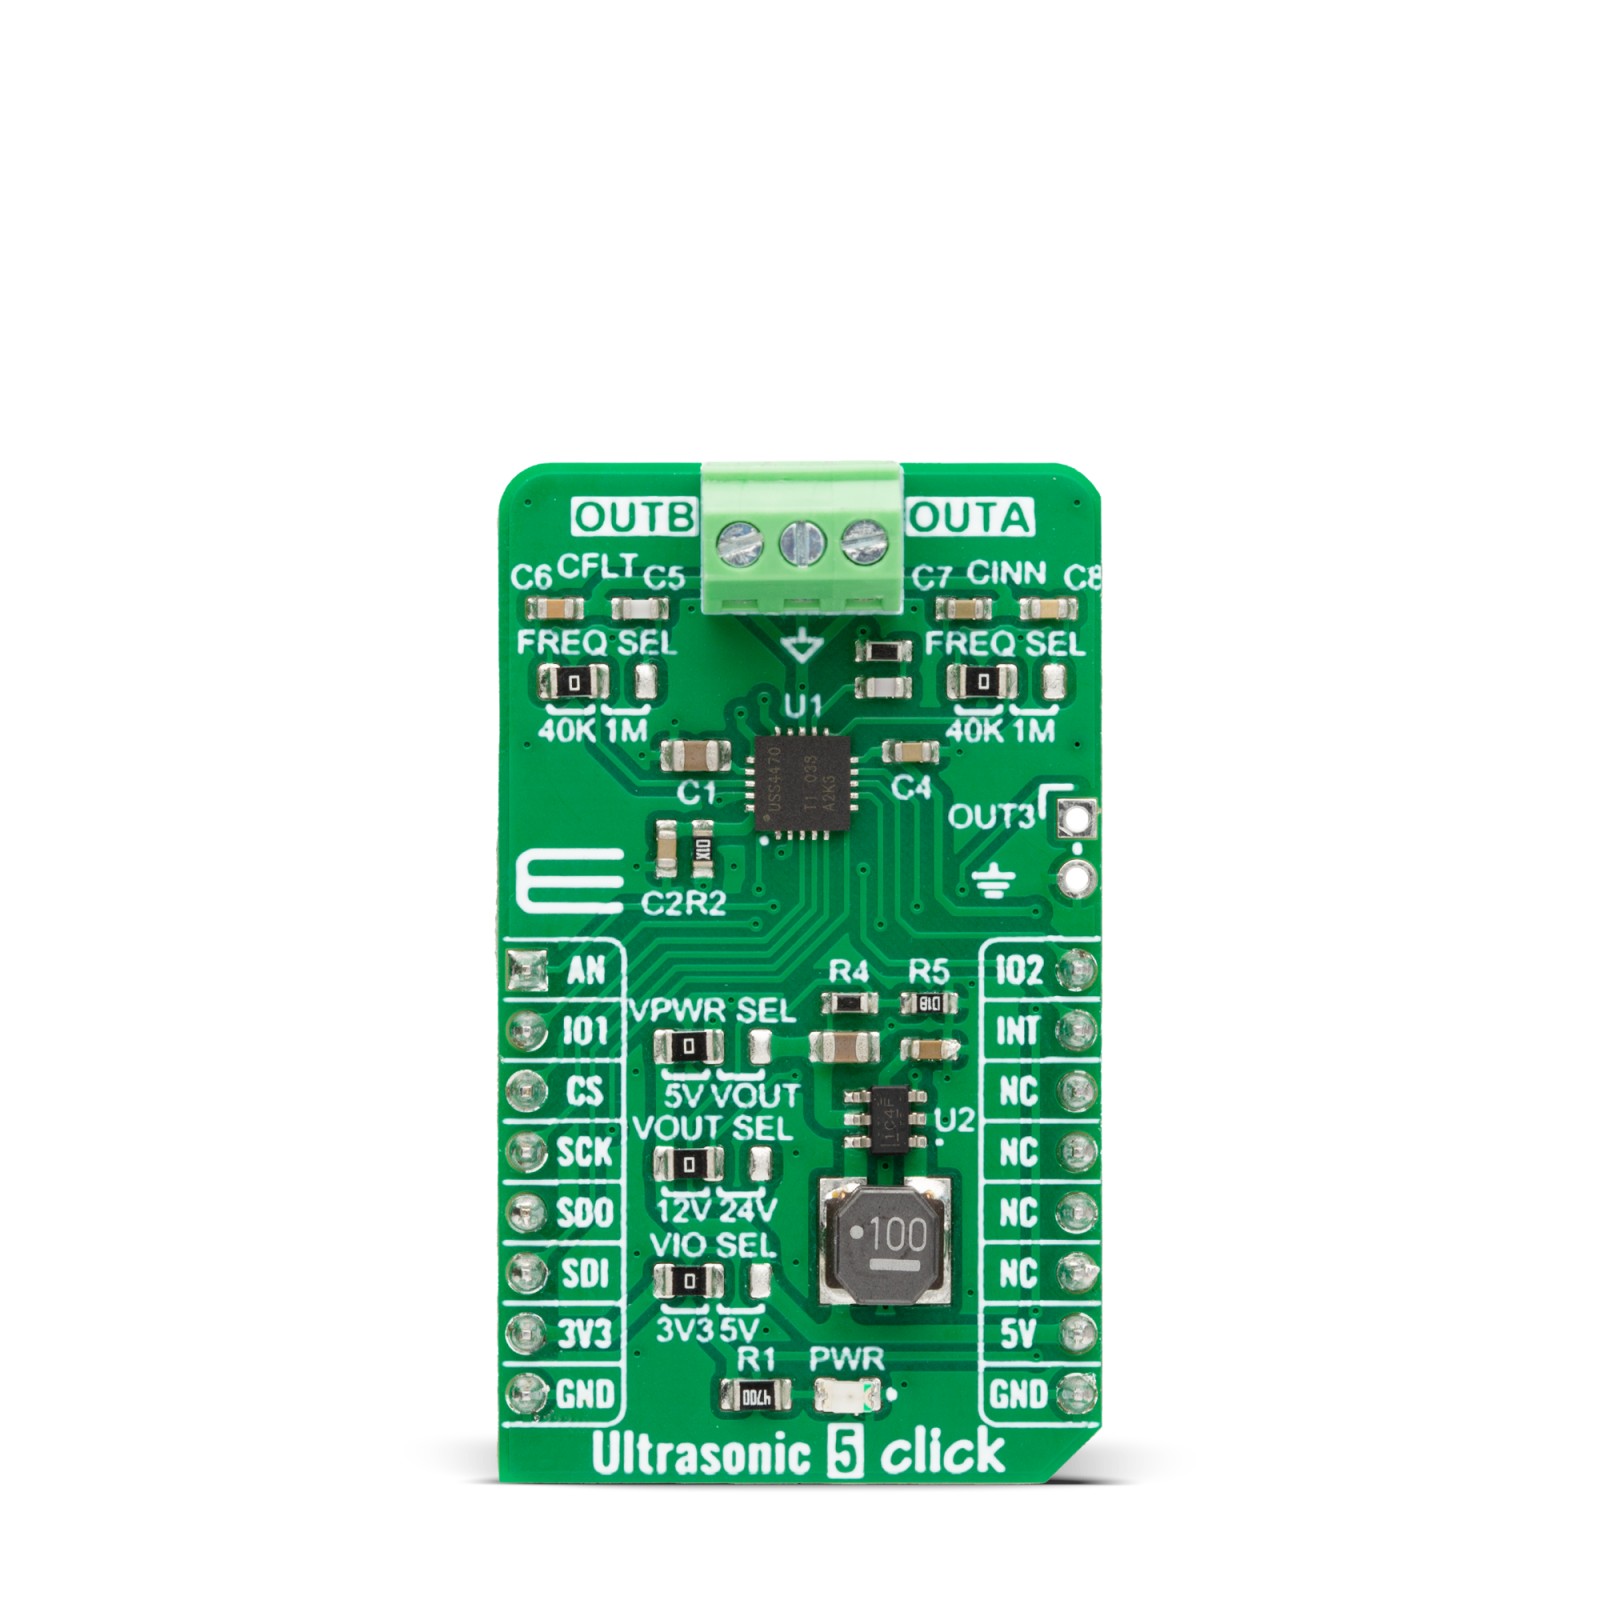
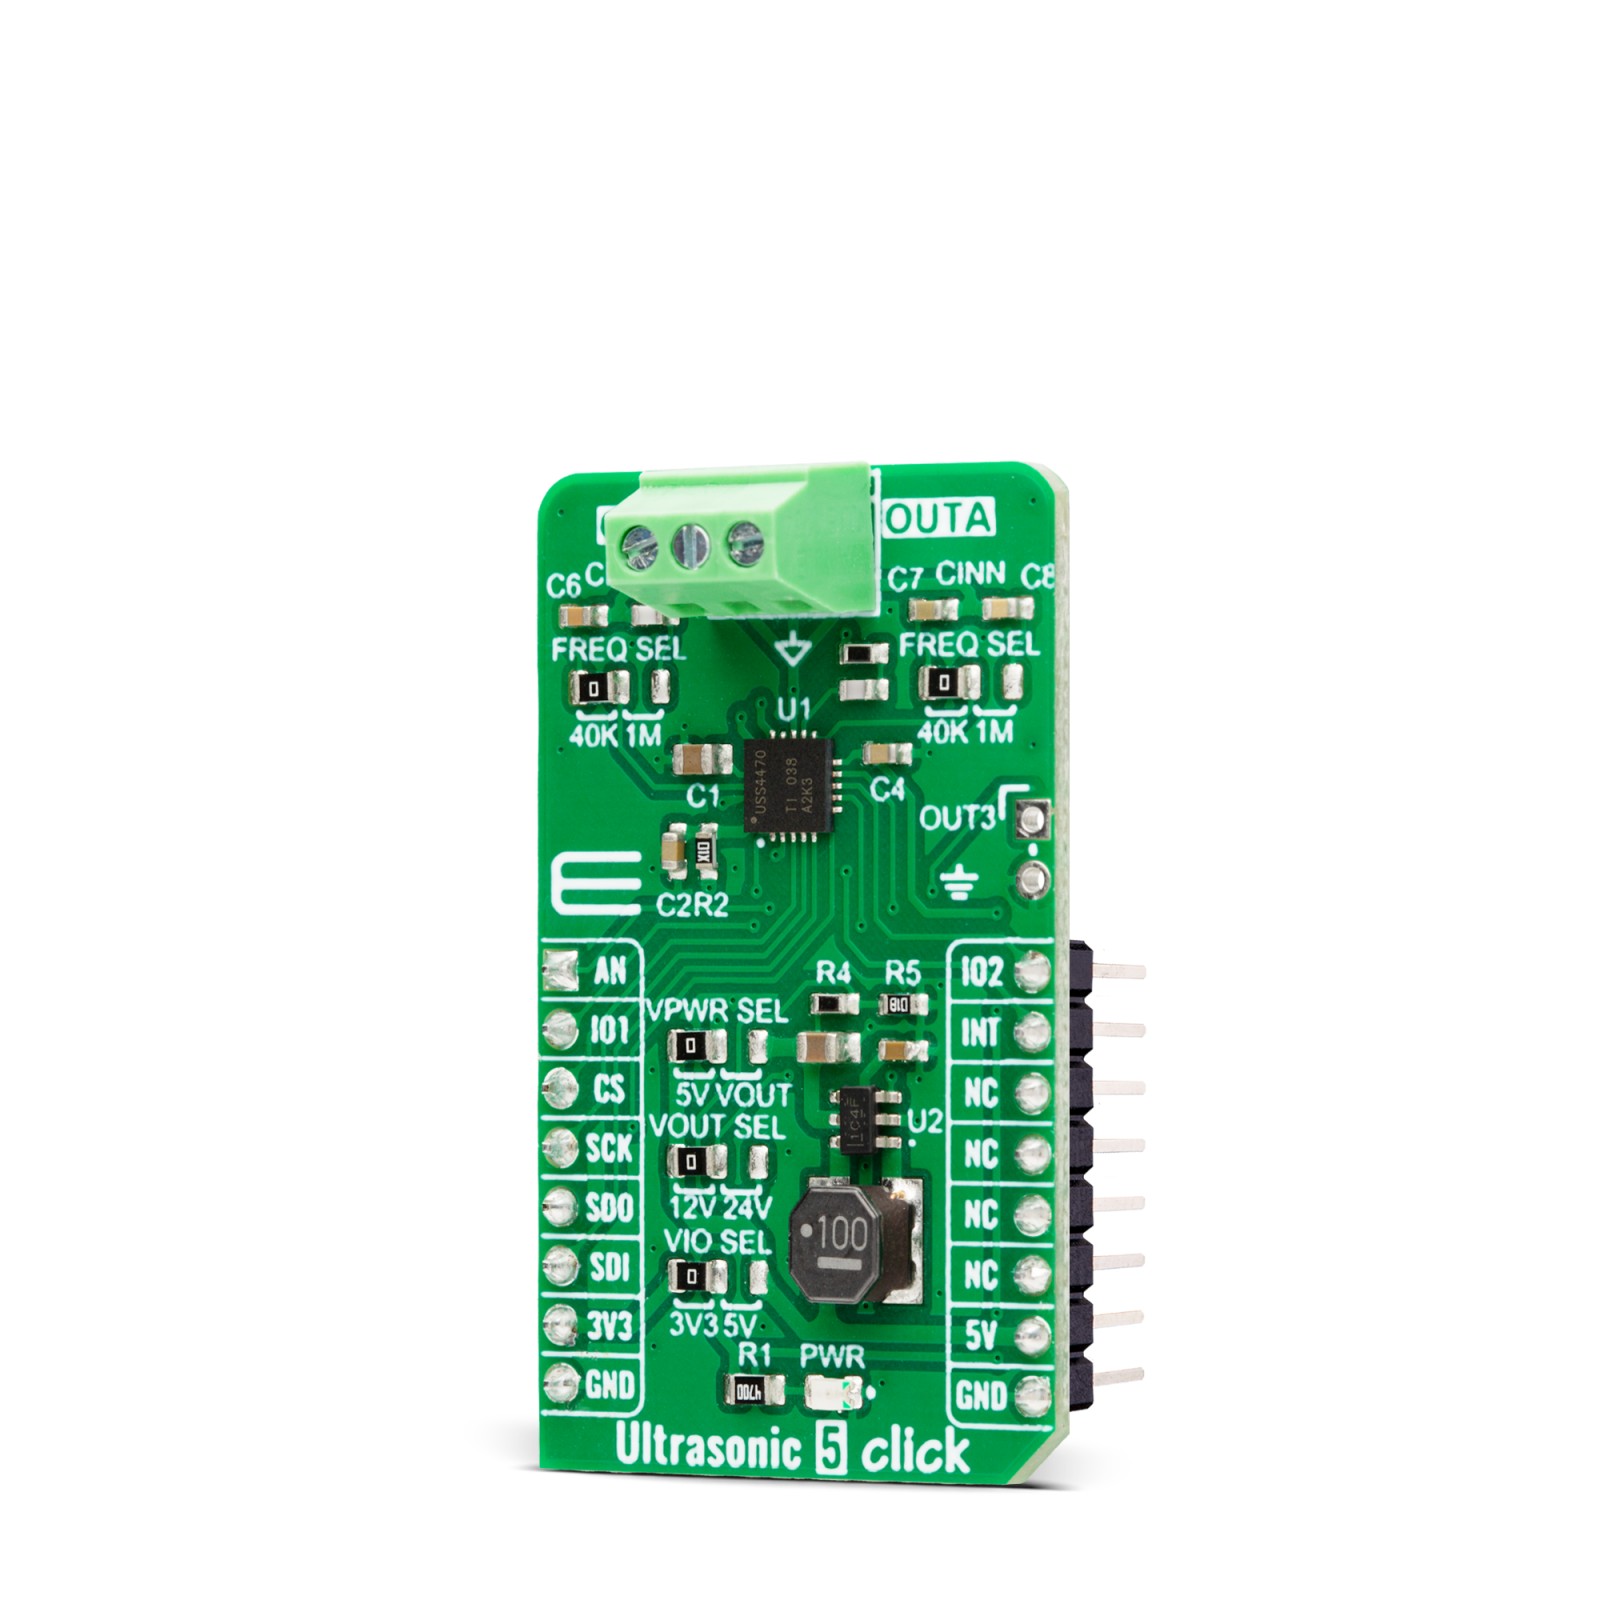
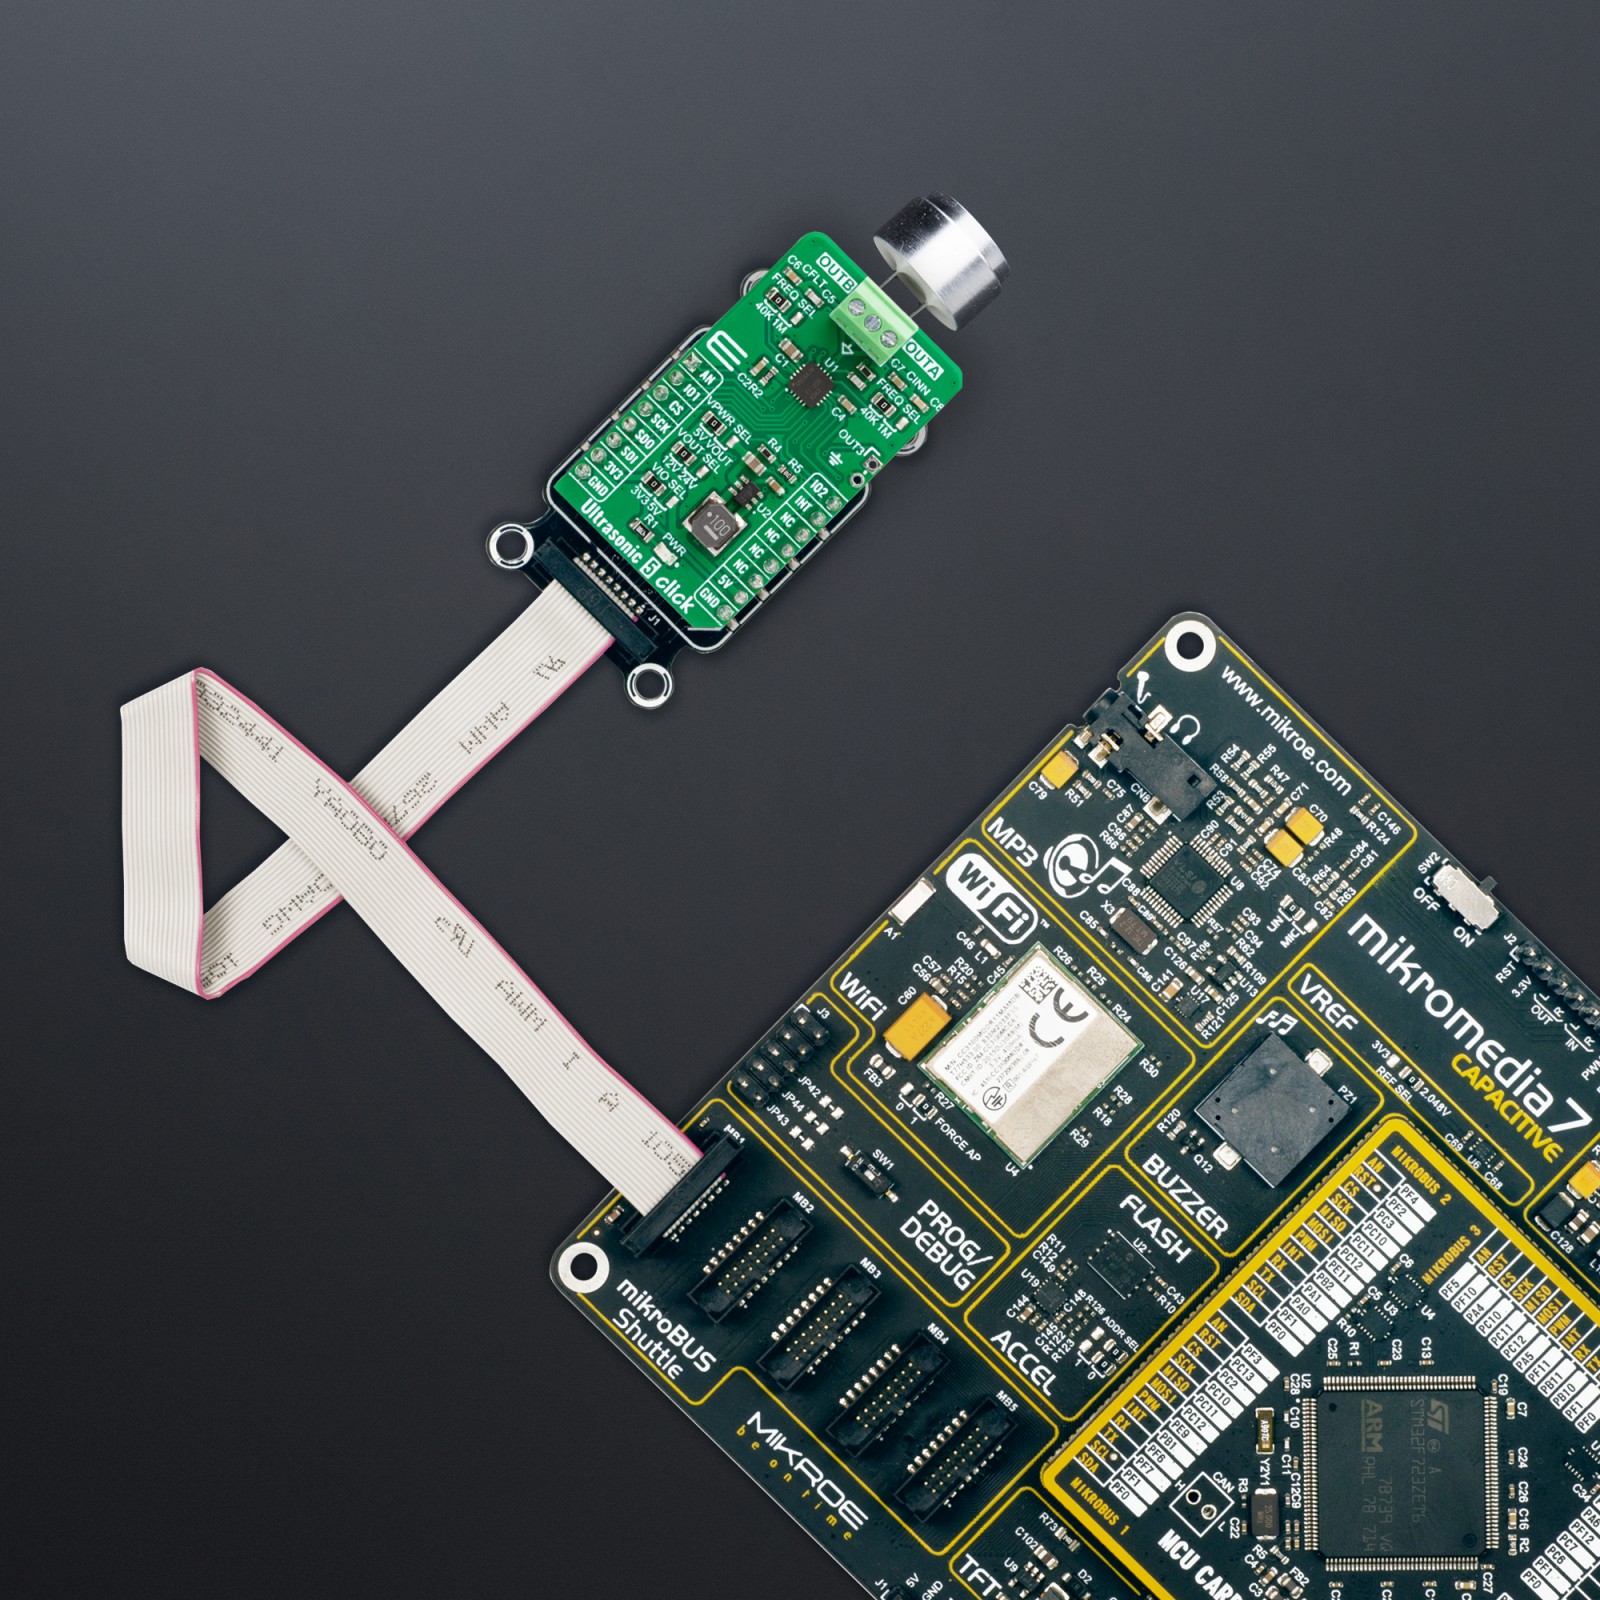
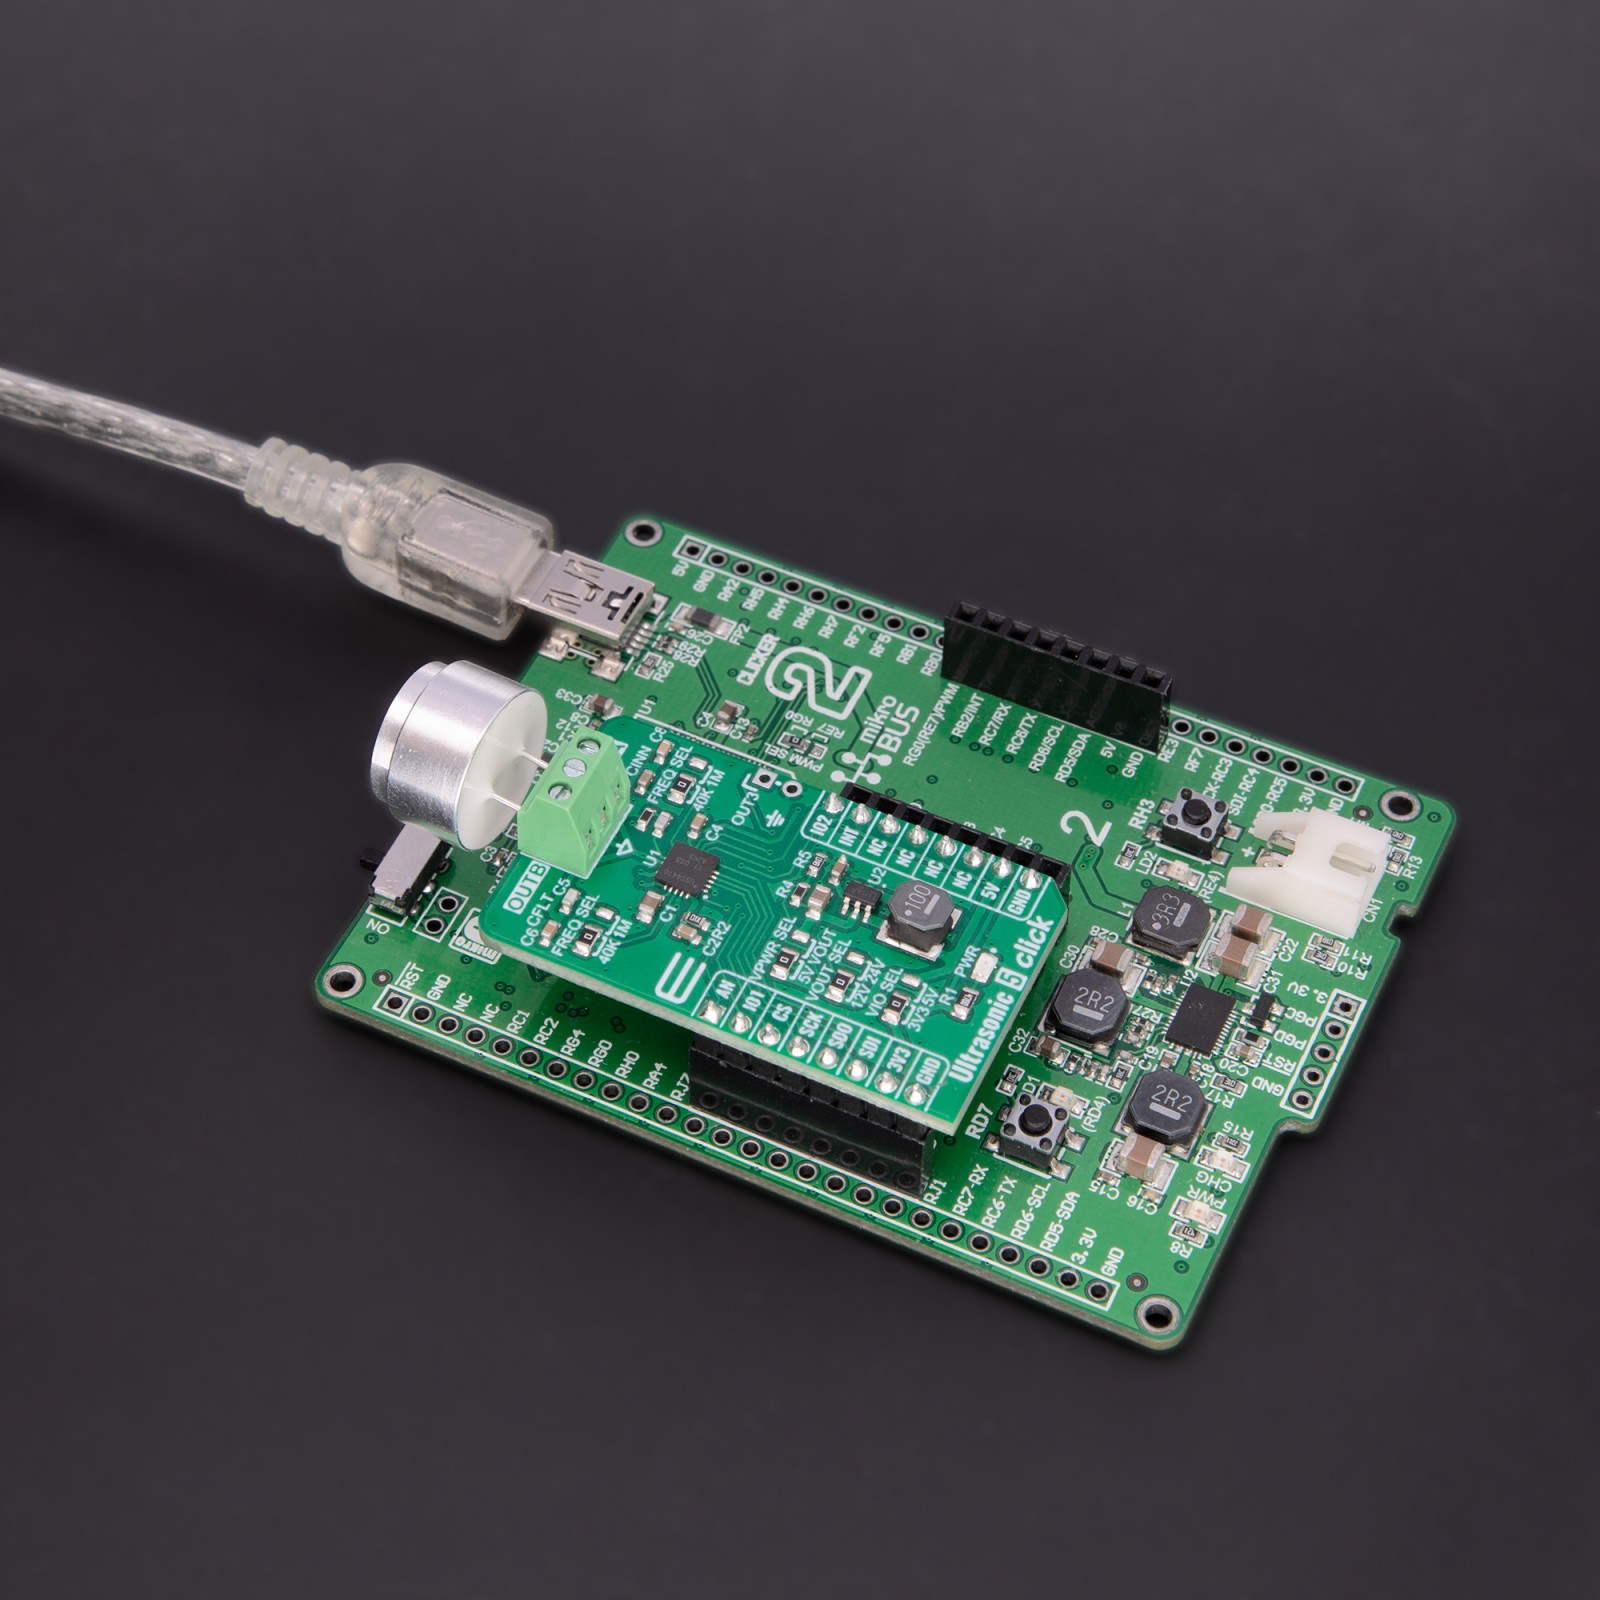
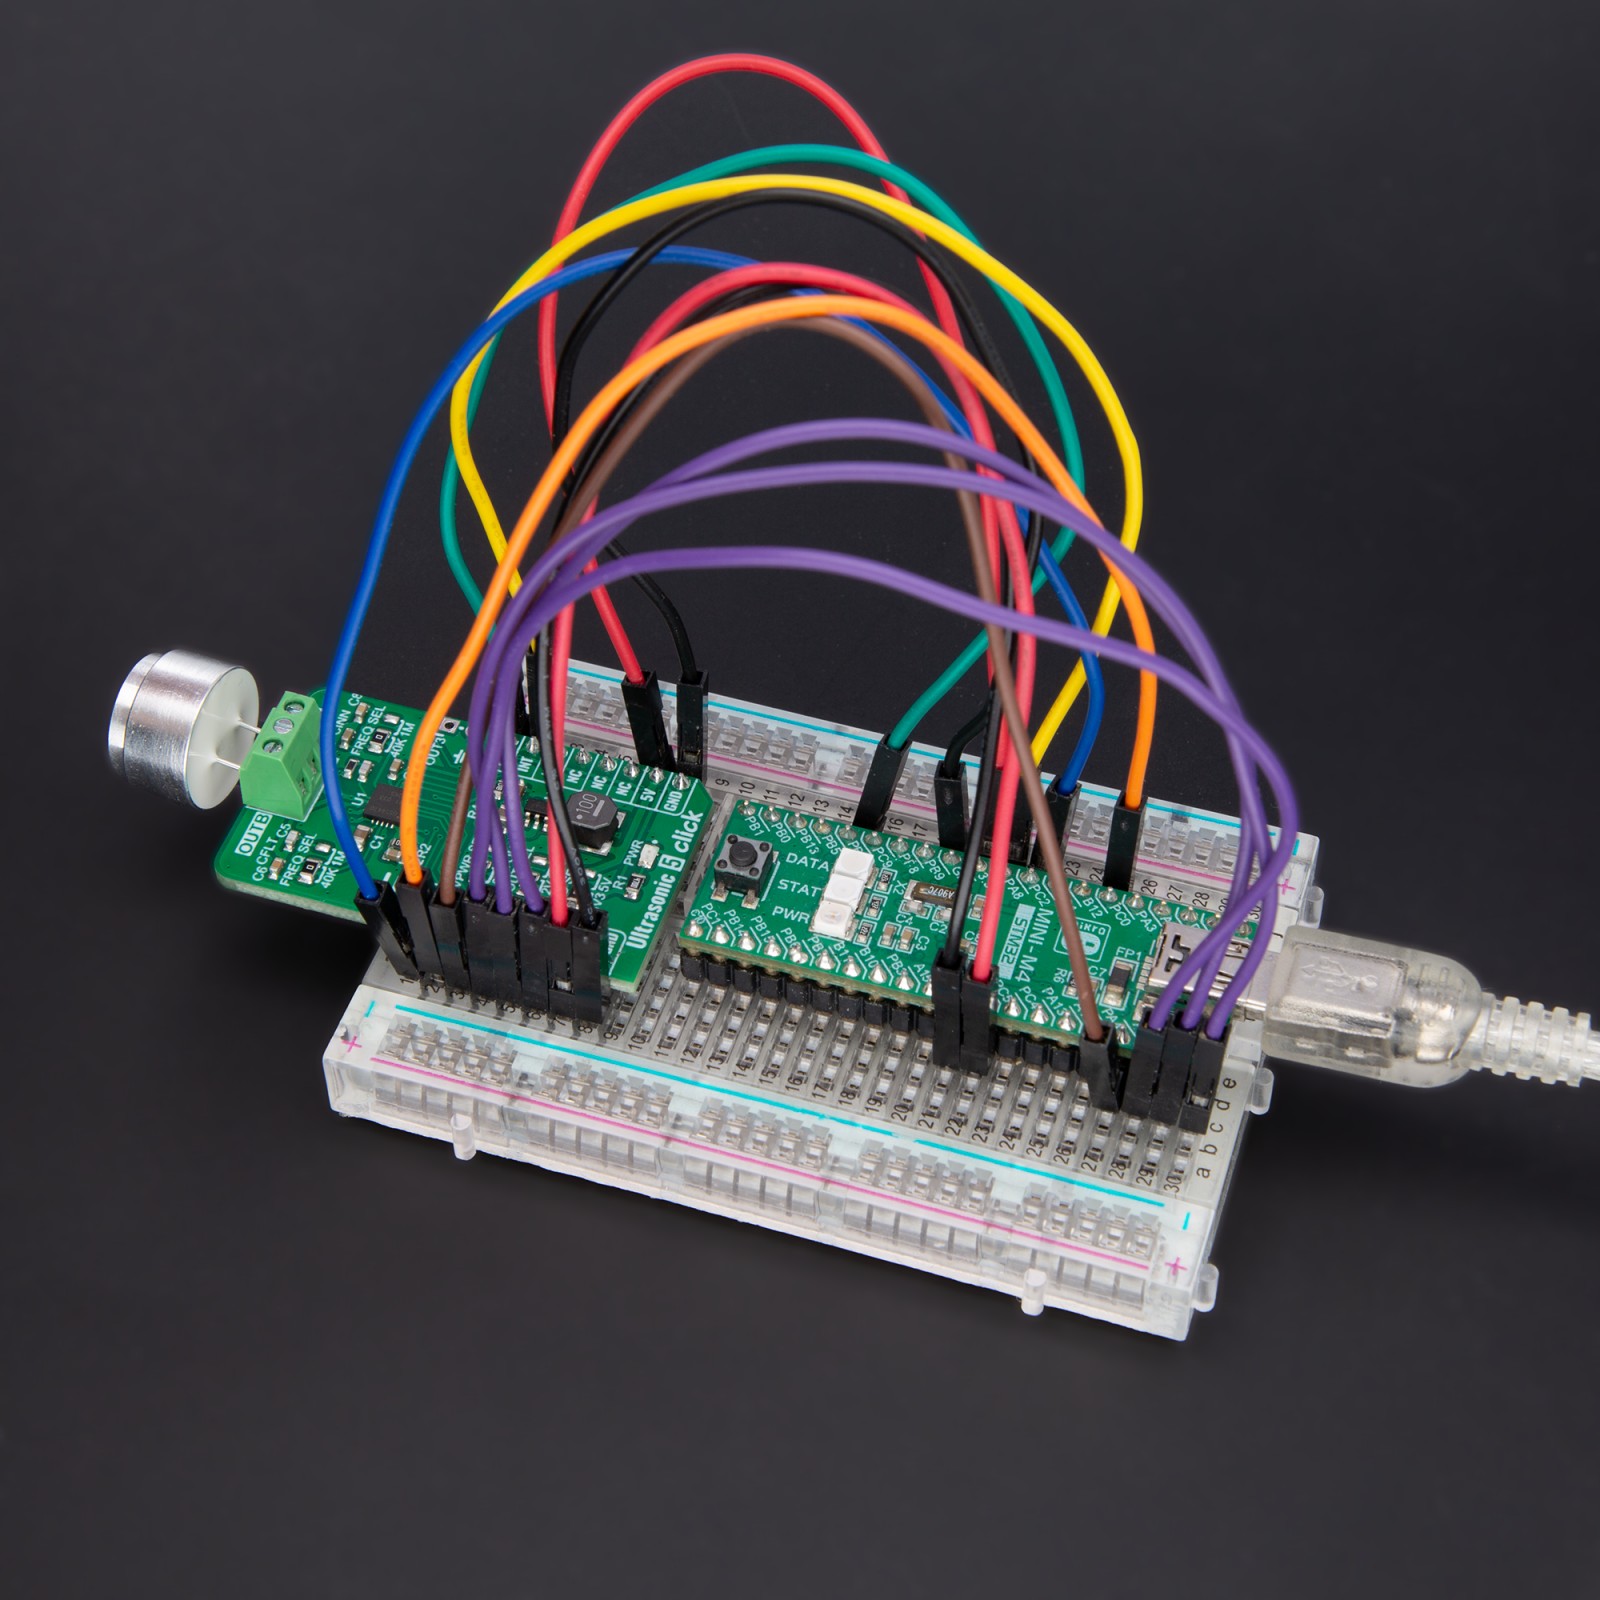
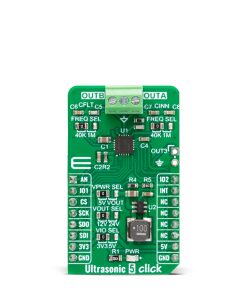
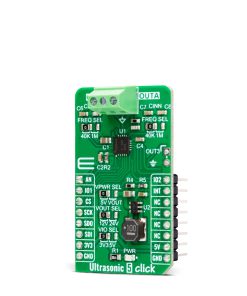
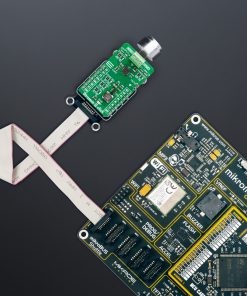
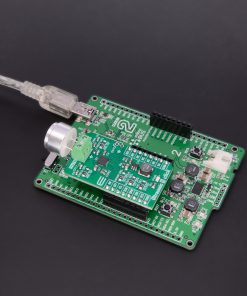
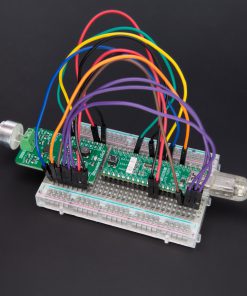
Ultrasonic 5 Click is a compact add-on board that contains circuits for processing the ultrasonic sensor’s output. This board features the TUSS4470, a transformer-drive ultrasonic sensor IC with a logarithmic amplifier from Texas Instruments. In addition to the high selectability of the power supply of the IC itself, this board also allows you to choose between 40kHz and 1MHz operating frequency, with a signal zero crossing comparator as an option. The ultrasonic sensor, the UTR-1440K from PUI Audio, also comes in the same package with this Click board™. This Click board™ makes the perfect solution for the development of distance measuring applications, fluid flow and fluid-level systems, ultrasonic clearing systems, detecting glass breakage, and more.
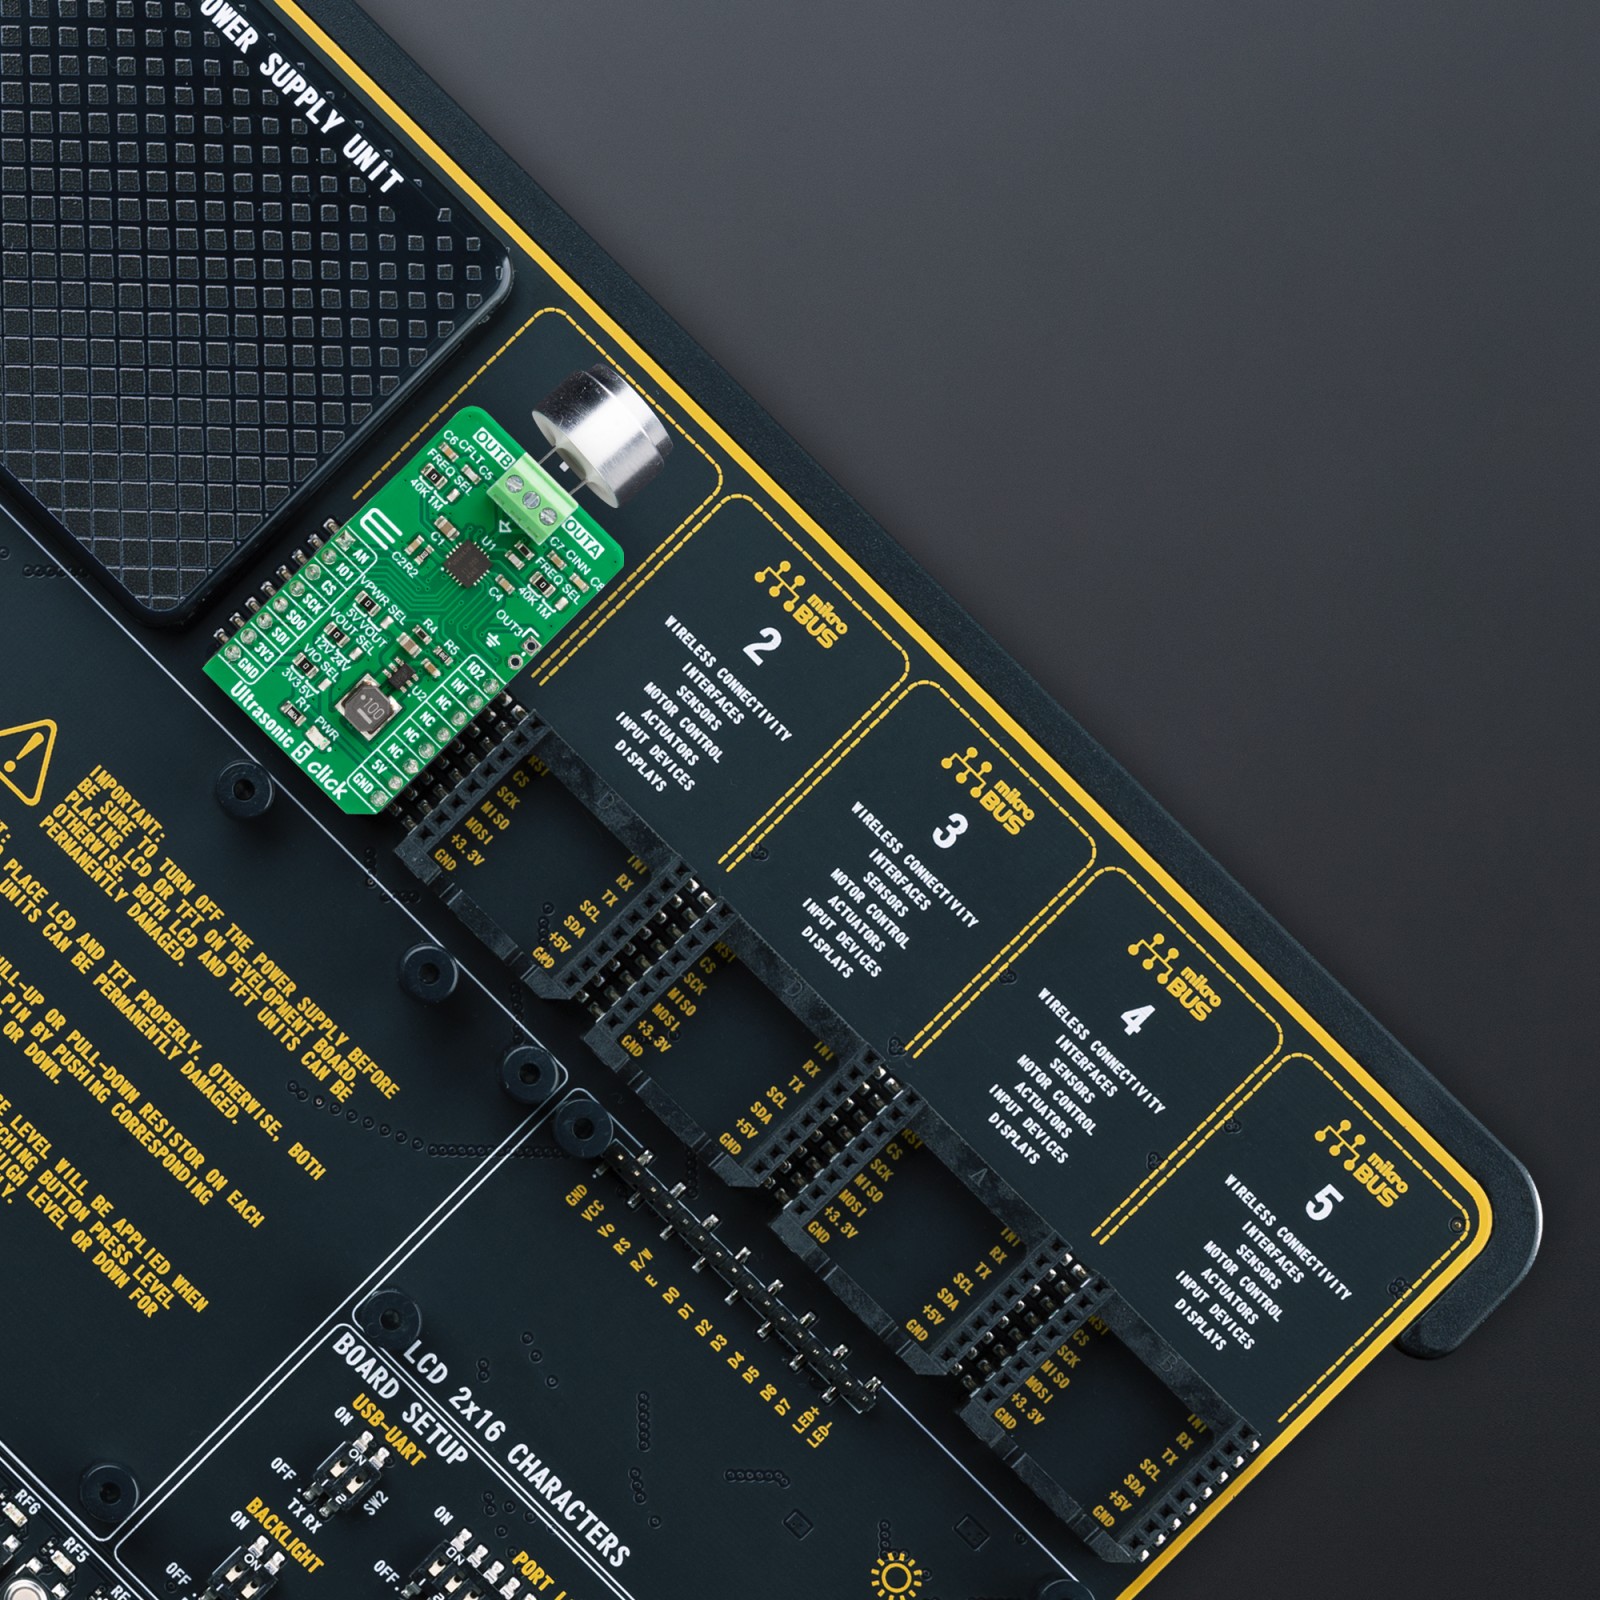
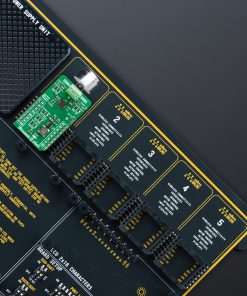
Ultrasonic 5 Click is supported by a mikroSDK compliant library, which includes functions that simplify software development. This Click board™ comes as a fully tested product, ready to be used on a system equipped with the mikroBUS™ socket.
Stock: Lead-time applicable.
| 5+ | R950.00 |
| 10+ | R900.00 |
| 15+ | R850.00 |
| 20+ | R818.00 |
How does it work?
Ultrasonic 5 Click is based on the TUSS4470, a transformer-drive ultrasonic sensor IC with a logarithmic amplifier from Texas Instruments. This highly integrated driver and receiver IC is designed especially for ultrasonic transducers operating in a range of 40KHz up to 1MHz, with pre-driver mode. It has three configurable drive stages: a direct drive using an internal H-bridge for transducer excitation, a pre-driver configuration to use an internal H-bridge to drive external FETs for the higher current drive, and configurable burst patterns over the SPI interface. Also, it has a configurable bandpass filter, wide-band logarithmic amplifier, and first-stage adjustable low-noise amplifier.
.jpg)
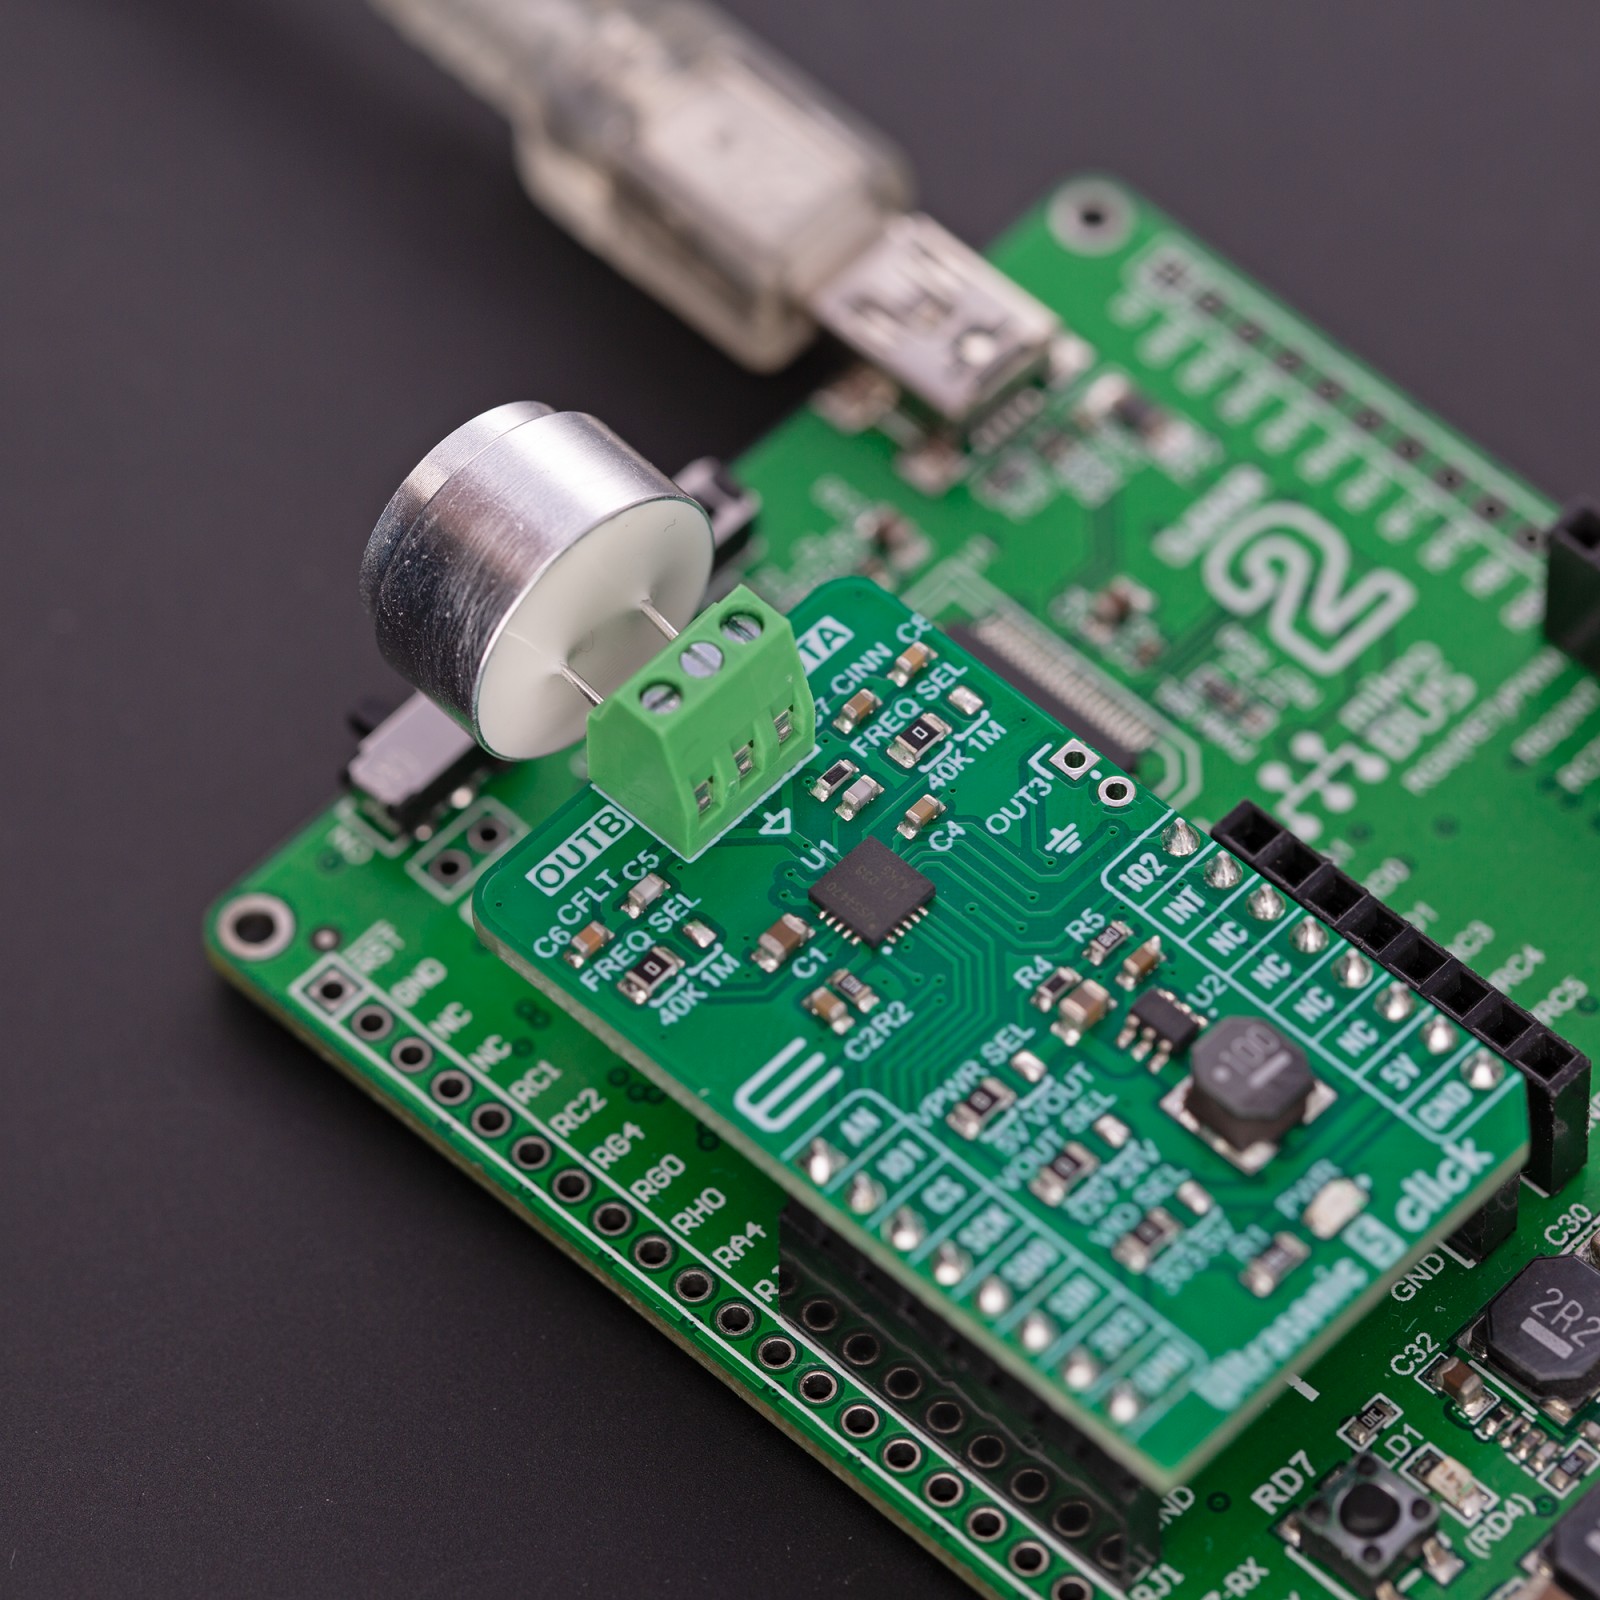
The cut-off frequency of the low-pass filter can be set over the left frequency selection FREQ SEL jumper with options 40K and 1M, where the 40K(Hz) is set by default. The negative transducer receive path has a frequency selection FREQ SEL jumper on the right side with the same values as the left FREQ SEL jumper. It is also set to 40K as default. It is possible to select some other frequency for both sides by replacing the CINN capacitors (C7, C8) and the CFLT capacitors (C5, C6).
Users can choose a burst pattern from an integrated pulse generator to feed the output driver. There are 4 IO_MODEs that supply the desired frequency through an external clock. This enables you to supply a highly precise clock calibrated to the center frequency of the transducer to enable the highest sound pressure level generation.
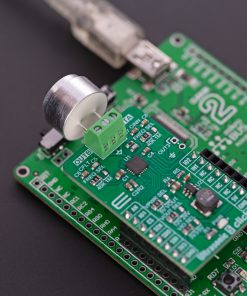
Ultrasonic 5 Click has a 3-pin terminal (OUTB, GND, OUTA) to connect with the ultrasonic sensor (one UTR-1440K ultrasonic sensor comes with the board). The UTR-1440K ultrasonic sensor comes in an aluminum housing, and its terminal material is tin-plated copper. Its echo sensitivity is ≥200 millivolts. In addition, a zero-crossing signal output (OUT3 header) can be used to validate the frequency of the received echo signal to provide robustness against interference from other signals. It is derived from a row amplified input signal from a particular stage as it is demodulated in the log amp block.
The ultrasonic sensor can work on different voltages. Over the VPWR SEL jumper, you can power the transformer-drive IC and the ultrasonic sensor itself with 5V or higher voltages by setting the VOUT option. The 5V from the mikroBUS™ socket power rail is set by default. If you want to use 12V or 24V to power the sensor and the IC, you must set the VOUT option and choose an appropriate voltage over the VOUT SEL just below (12V is set by default). The TLV61046A, an output voltage boost converter with a power diode and isolation switch from Texas Instruments, provides the 12V and 24V voltages.
Ultrasonic 5 Click uses a standard 4-Wire SPI interface to communicate with the host MCU and provide full-duplex communication. The demodulated echo analog output of the IC is available on the AN pin. The echo interrupt signal is available on the INT pin, which goes HIGH logic when the signal on the demodulated echo analog output pin crosses a defined threshold. The configurable burst patterns can be chosen over the IO1 and IO2 pins.
This Click board™ can operate with either 3.3V or 5V logic voltage levels selected via the VIO SEL jumper. This way, both 3.3V and 5V capable MCUs can use the communication lines properly. Also, this Click board™ comes equipped with a library containing easy-to-use functions and an example code that can be used, as a reference, for further development.
Specifications
Type
Miscellaneous
Applications
Can be used for the development of distance measuring applications, fluid flow and fluid-level systems, ultrasonic clearing systems, detecting glass breakage, and more
On-board modules
TUSS4470 – transformer-drive ultrasonic sensor IC with a logarithmic amplifier from Texas Instruments
Key Features
Pre-driver mode, wide transducer frequencies, configurable drive stages, configurable burst patterns, configurable bandpass filter, zero-crossing comparator, interrupt on a programable threshold, high sensitivity, onboard voltage boost converter, and more
Interface
SPI
Feature
No ClickID
Compatibility
mikroBUS™
Click board size
M (42.9 x 25.4 mm)
Input Voltage
3.3V or 5V
Pinout diagram
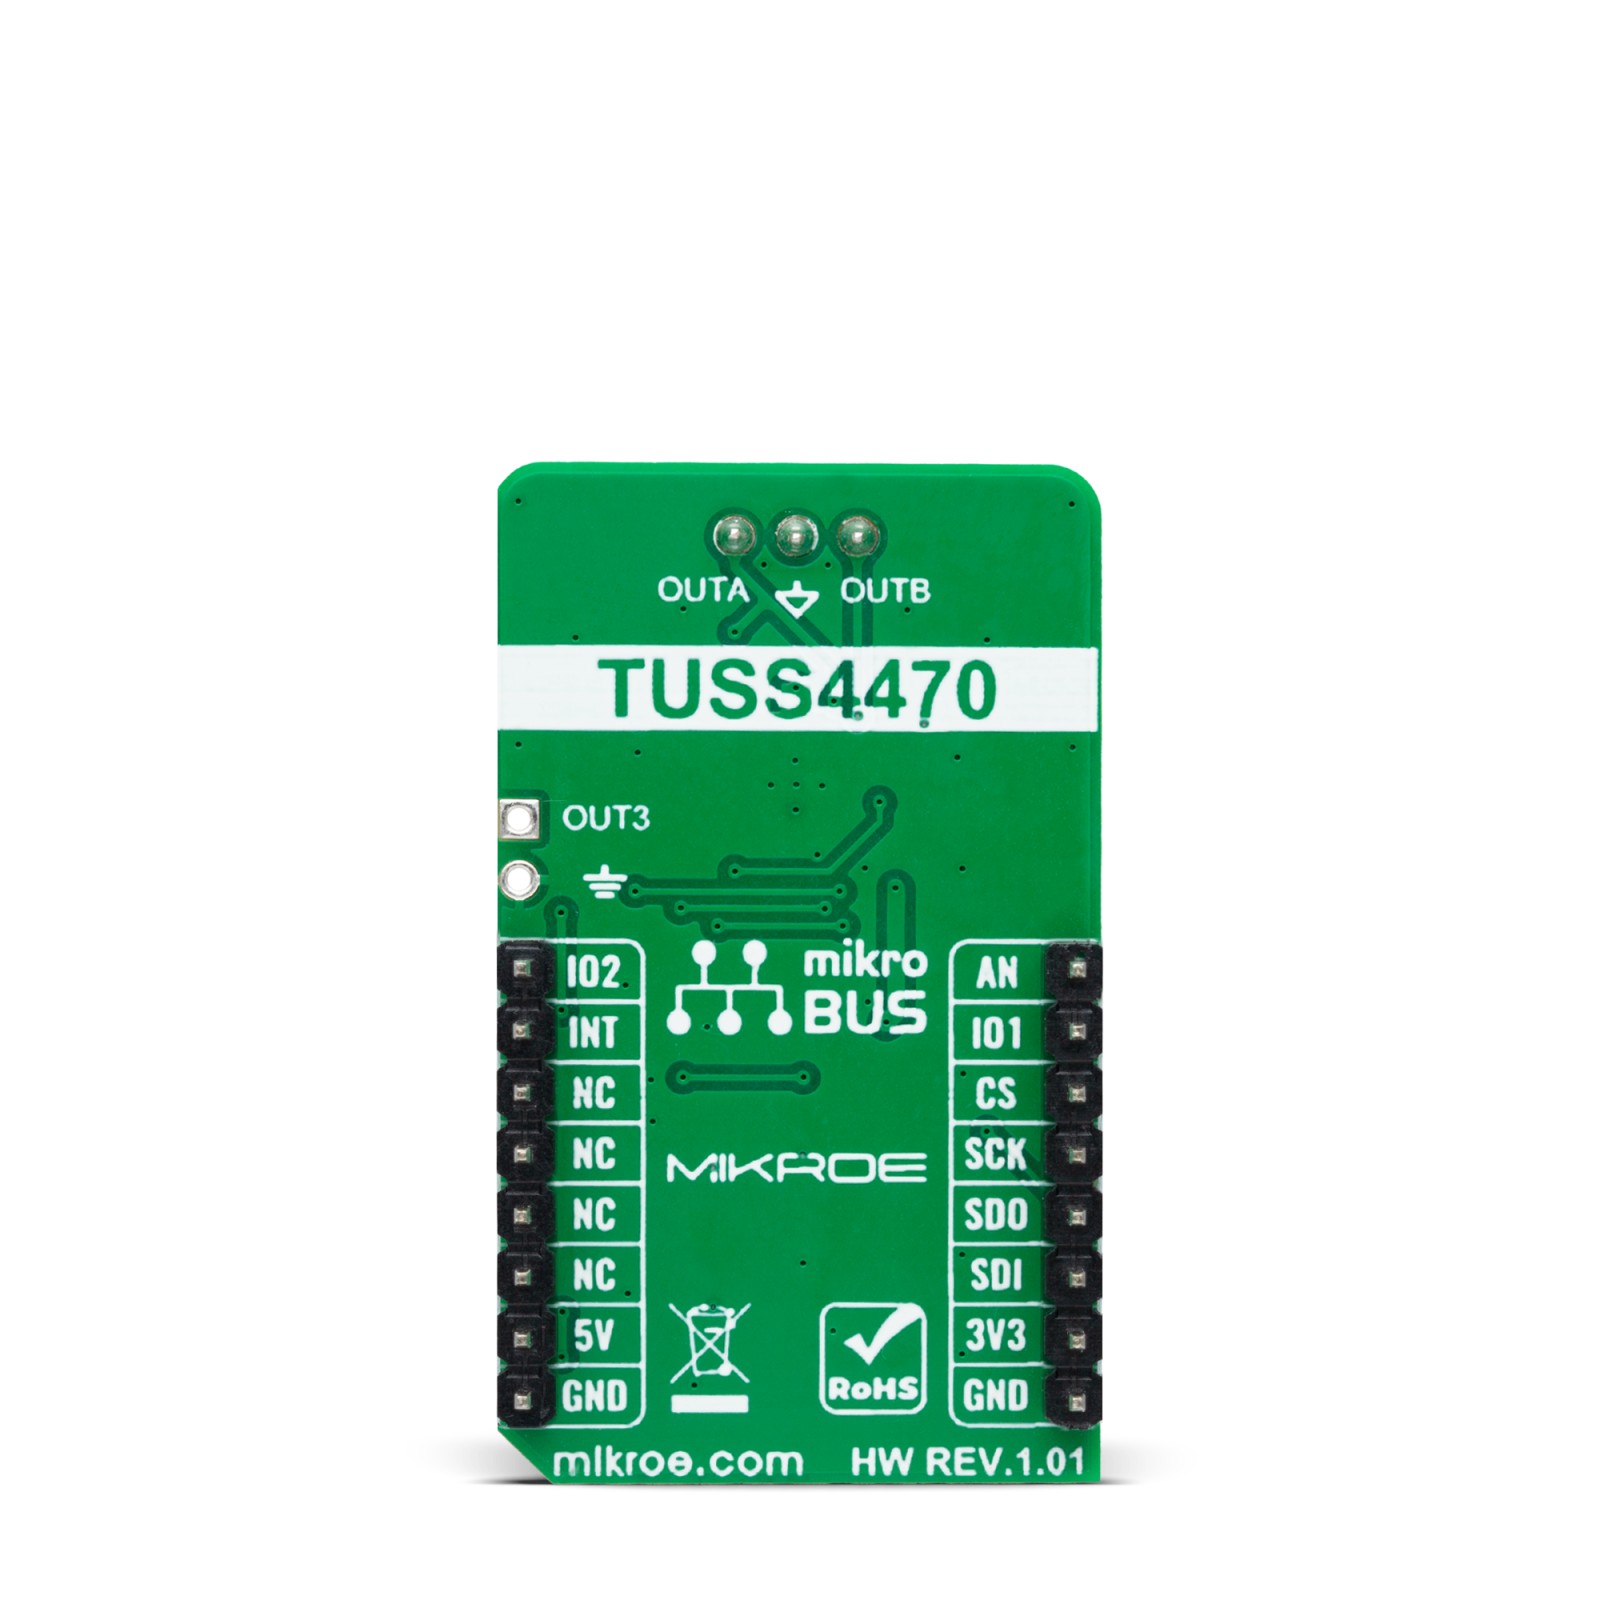
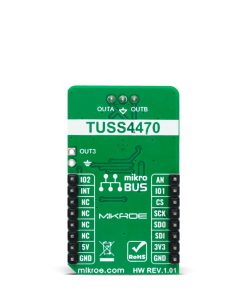
This table shows how the pinout on Ultrasonic 5 Click corresponds to the pinout on the mikroBUS™ socket (the latter shown in the two middle columns).
Onboard settings and indicators
| Label | Name | Default | Description |
|---|---|---|---|
| LD1 | PWR | – | Power LED Indicator |
| JP1 | VIO SEL | – | Logic Level Voltage Selection 3V3/5V: Left position 3V3, Right position 5V |
| JP2 | VPWR SEL | Left | Power Supply Voltage Selection 5V/VOUT: Left position 5V, Right position VOUT |
| JP3 | FREQ SEL | Left | Filter Frequency Selection 40K/1M: Left position 40K, Right position 1M |
| JP4 | FREQ SEL | Left | Transducer Receive Frequency Selection 40K/1M: Left position 40K, Right position 1M |
| JP5 | VOUT SEL | Left | Boost Output Voltage Selection 12V/24V: Left position 12V, Right position 24V |
Ultrasonic 5 Click electrical specifications
| Description | Min | Typ | Max | Unit |
|---|---|---|---|---|
| Supply Voltage | 3.3 | – | 5 | V |
| Ultrasonic Transducer Supply Voltage | 5 | – | 24 | V |
| Transducer Frequency Range | 40 | – | 1000 | MHz |
Software Support
We provide a library for the Ultrasonic 5 Click as well as a demo application (example), developed using MikroElektronika compilers. The demo can run on all the main MikroElektronika development boards.
Package can be downloaded/installed directly from NECTO Studio Package Manager (recommended), downloaded from our LibStock™ or found on Mikroe github account.
Library Description
This library contains API for Ultrasonic 5 Click driver.
Key functions
-
ultrasonic5_clear_io1_pinThis function clears the IO1 pin to low logic state. -
ultrasonic5_pwm_startThis function starts the PWM module output. -
ultrasonic5_read_an_pin_voltageThis function reads results of AD conversion of the AN pin and converts them to proportional voltage level.
Example Description
This example demonstrates the use of Ultrasonic 5 Click board™ by reading the measurements from the connected ultrasonic sensor and displaying it on a Serial Plot.
void application_task ( void )
 {
     float voltage = 0;
     // Burst generation / Start measurement
     ultrasonic5_set_duty_cycle ( &ultrasonic5, ULTRASONIC5_DEF_DYTY );
     ultrasonic5_pwm_start( &ultrasonic5 );
     ultrasonic5_clear_io1_pin ( &ultrasonic5 );
     Delay_500us ( );
     ultrasonic5_set_io1_pin ( &ultrasonic5 );
     ultrasonic5_pwm_stop( &ultrasonic5 );
     // Read and log the next 200 ADC samples which we will plot on a Serial Plotter
     for ( uint16_t cnt = 0; cnt < 200; cnt++ )
     {
         if ( ULTRASONIC5_OK == ultrasonic5_read_an_pin_voltage ( &ultrasonic5, &voltage ) )
         {
             log_printf( &logger, "%.3frn", voltage );
         }
     }
 }
The full application code, and ready to use projects can be installed directly from NECTO Studio Package Manager (recommended), downloaded from our LibStock™ or found on Mikroe github account.
Other Mikroe Libraries used in the example:
- MikroSDK.Board
- MikroSDK.Log
- Click.Ultrasonic5
Additional notes and informations
Depending on the development board you are using, you may need USB UART click, USB UART 2 Click or RS232 Click to connect to your PC, for development systems with no UART to USB interface available on the board. UART terminal is available in all MikroElektronika compilers.
mikroSDK
This Click board™ is supported with mikroSDK – MikroElektronika Software Development Kit. To ensure proper operation of mikroSDK compliant Click board™ demo applications, mikroSDK should be downloaded from the LibStock and installed for the compiler you are using.
For more information about mikroSDK, visit the official page.
Resources
Downloads
| Weight | 19 g |
|---|---|
| Brand | MikroElektronika |

