How does it work?
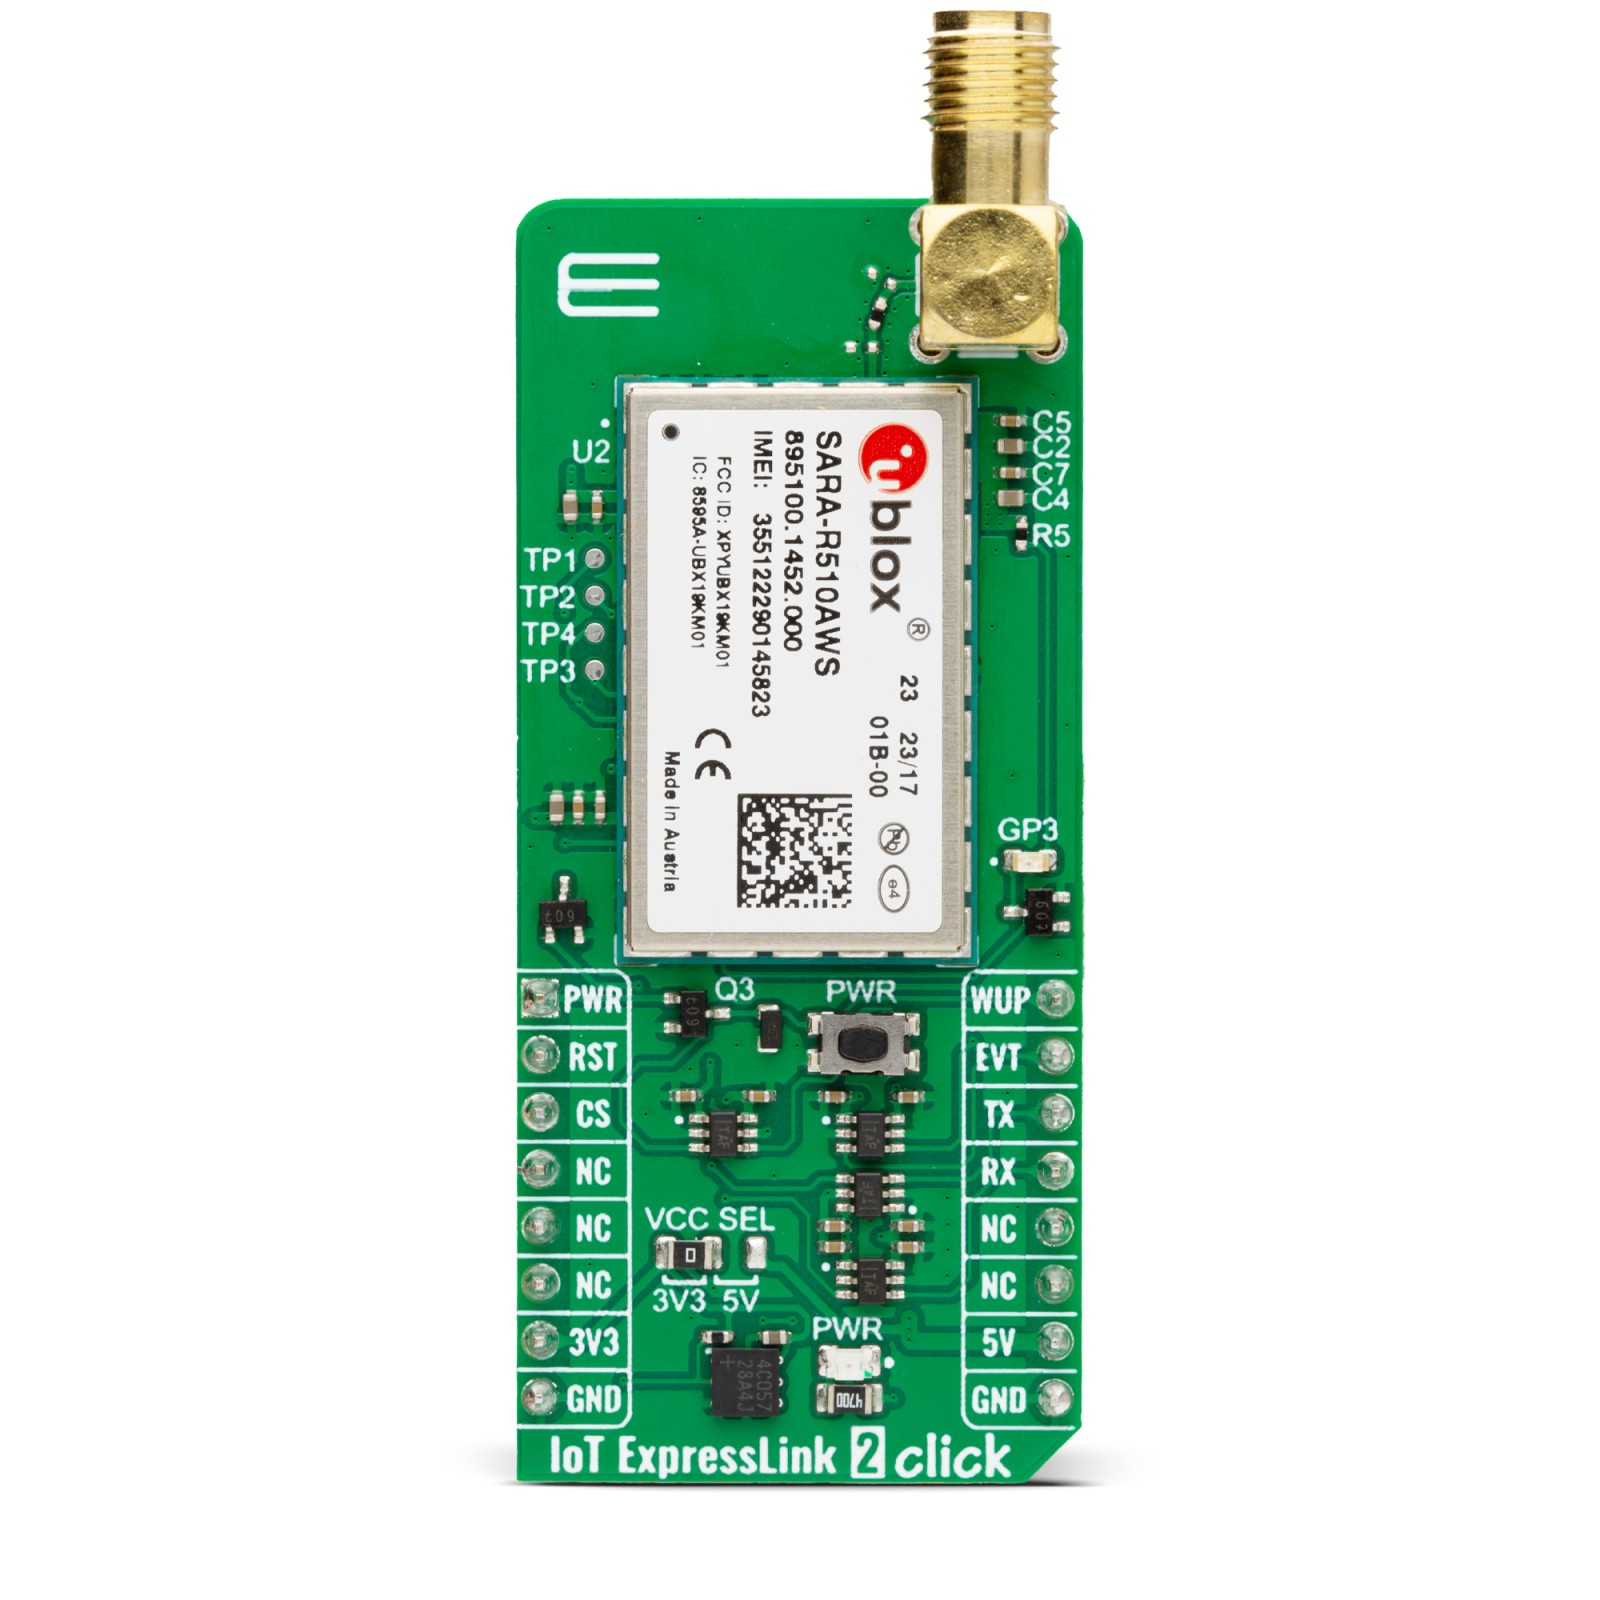
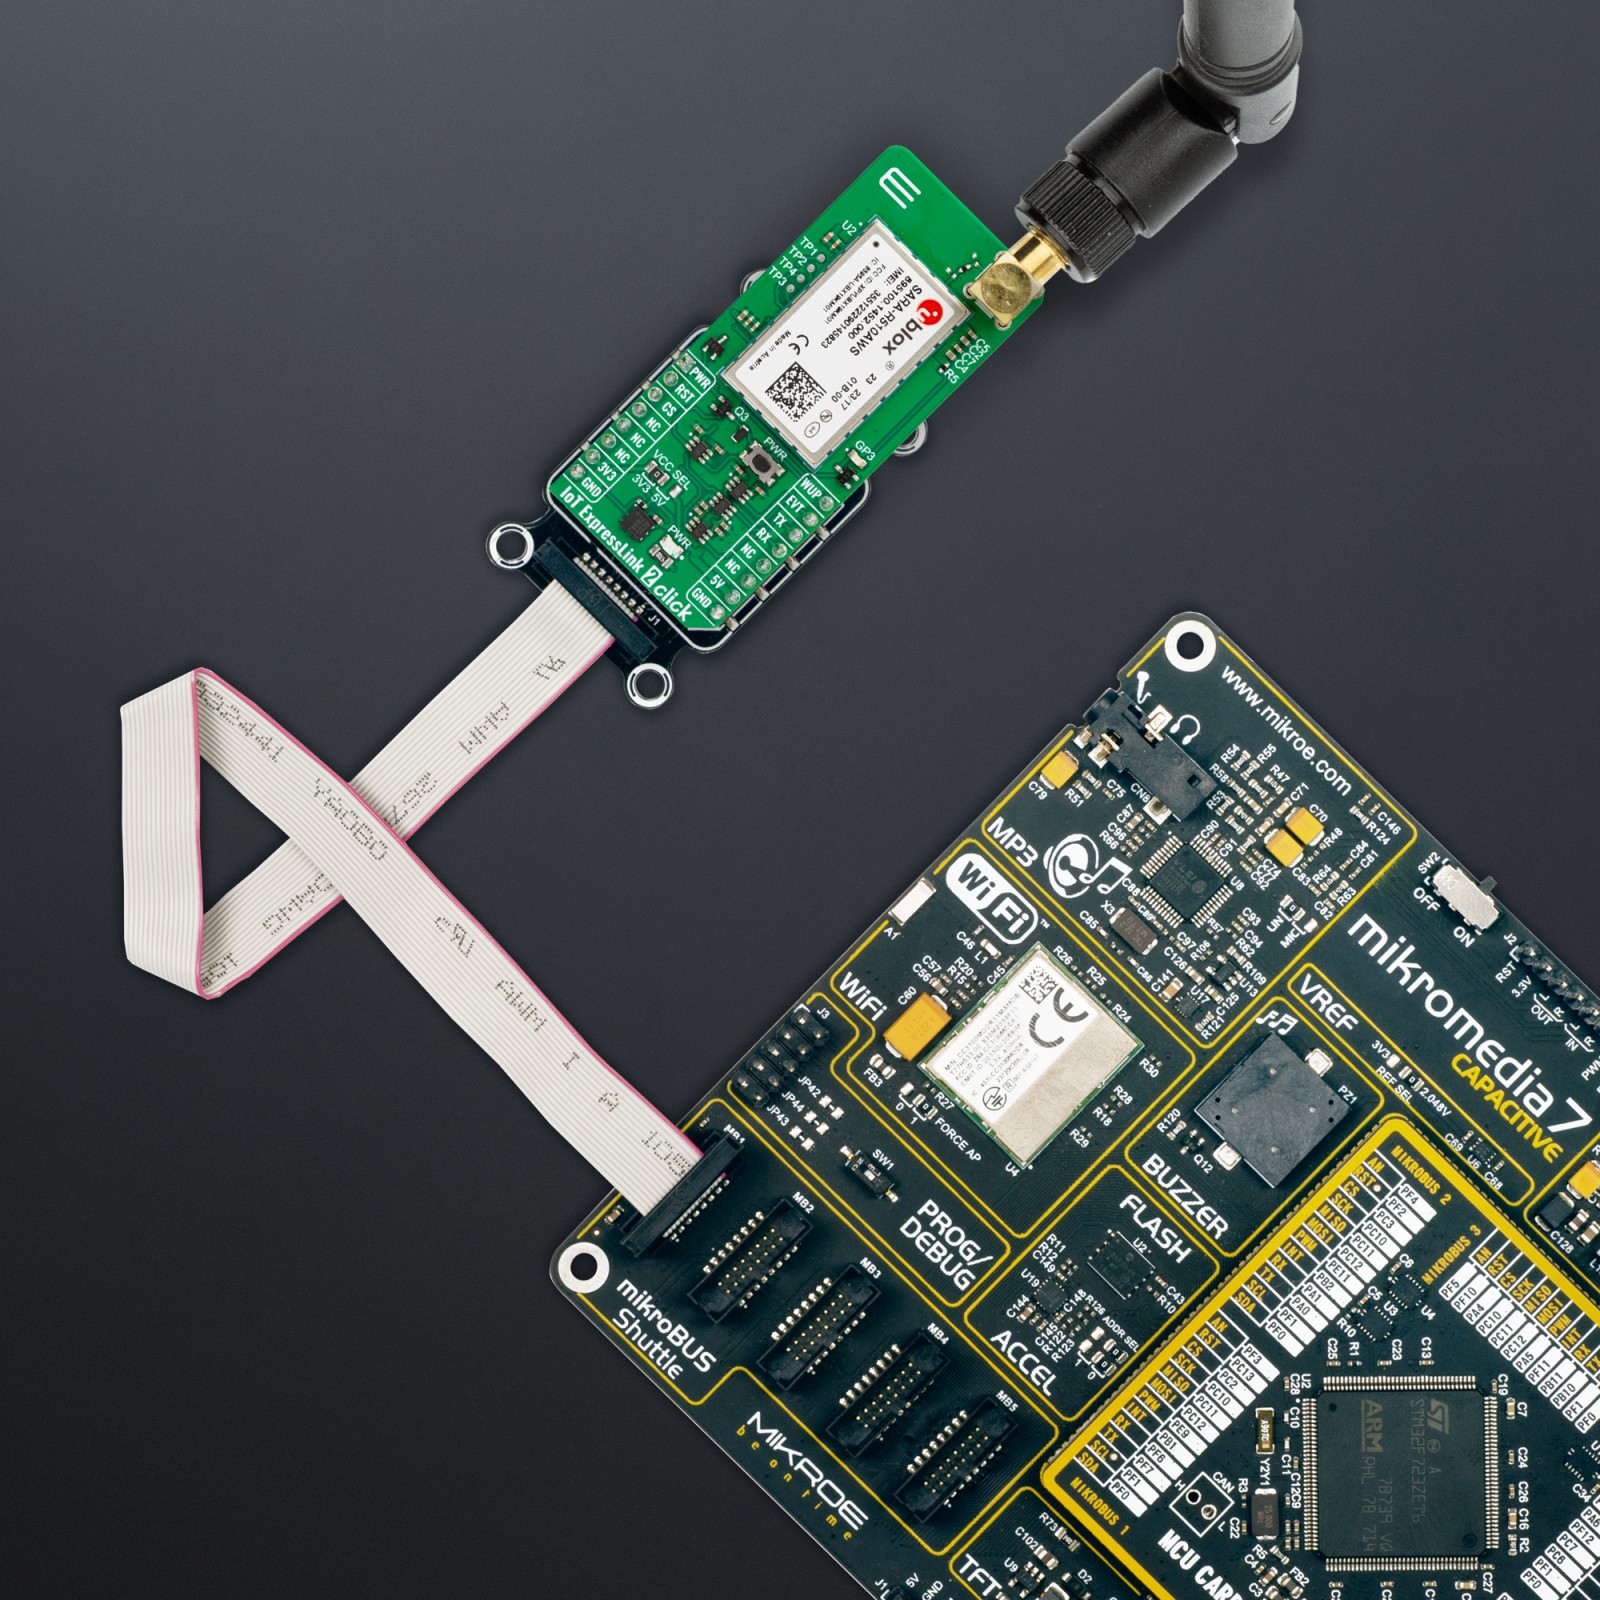
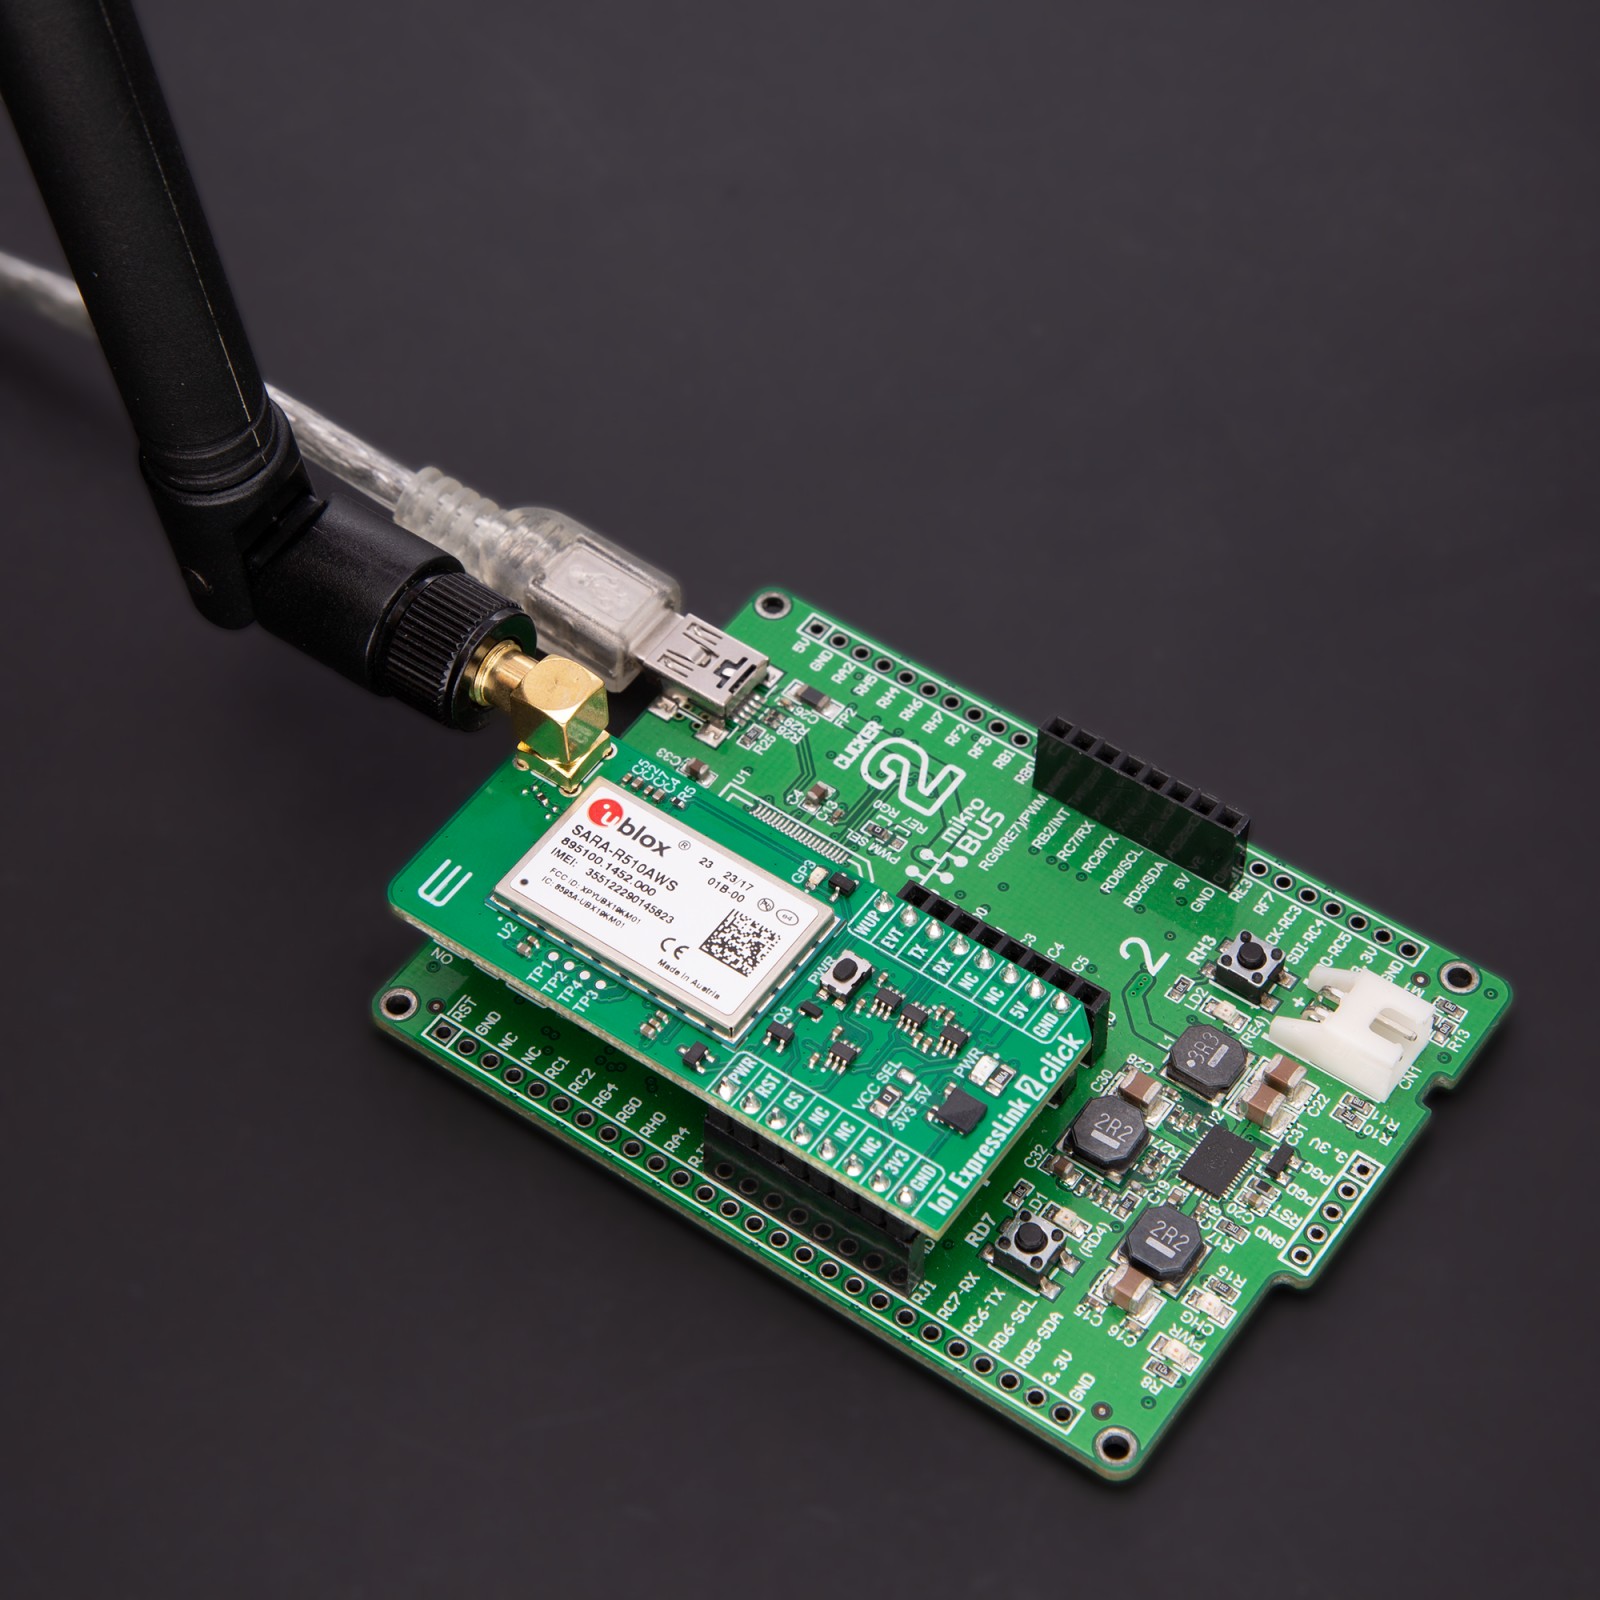
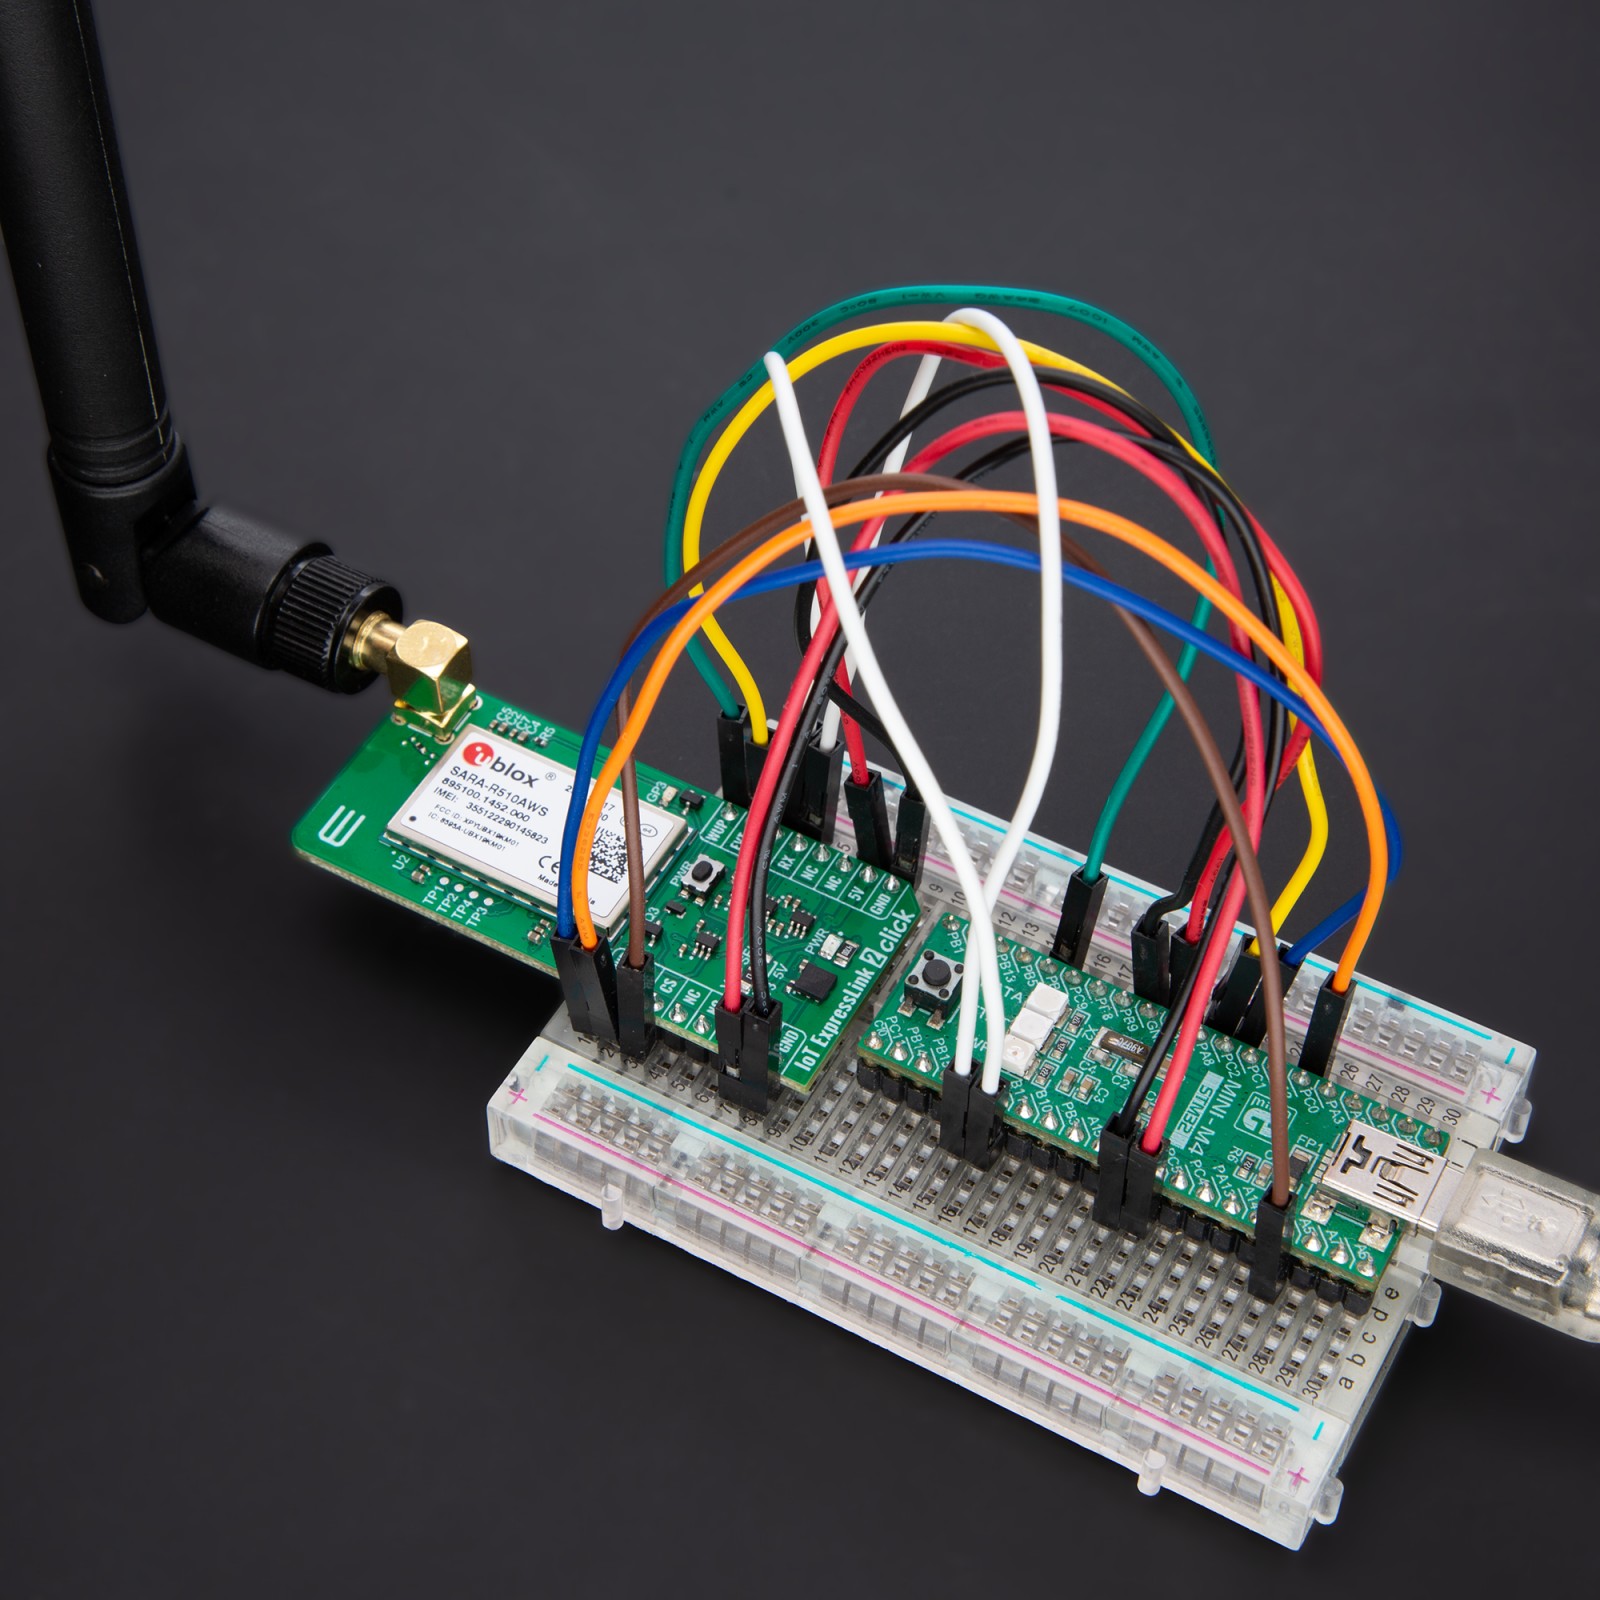
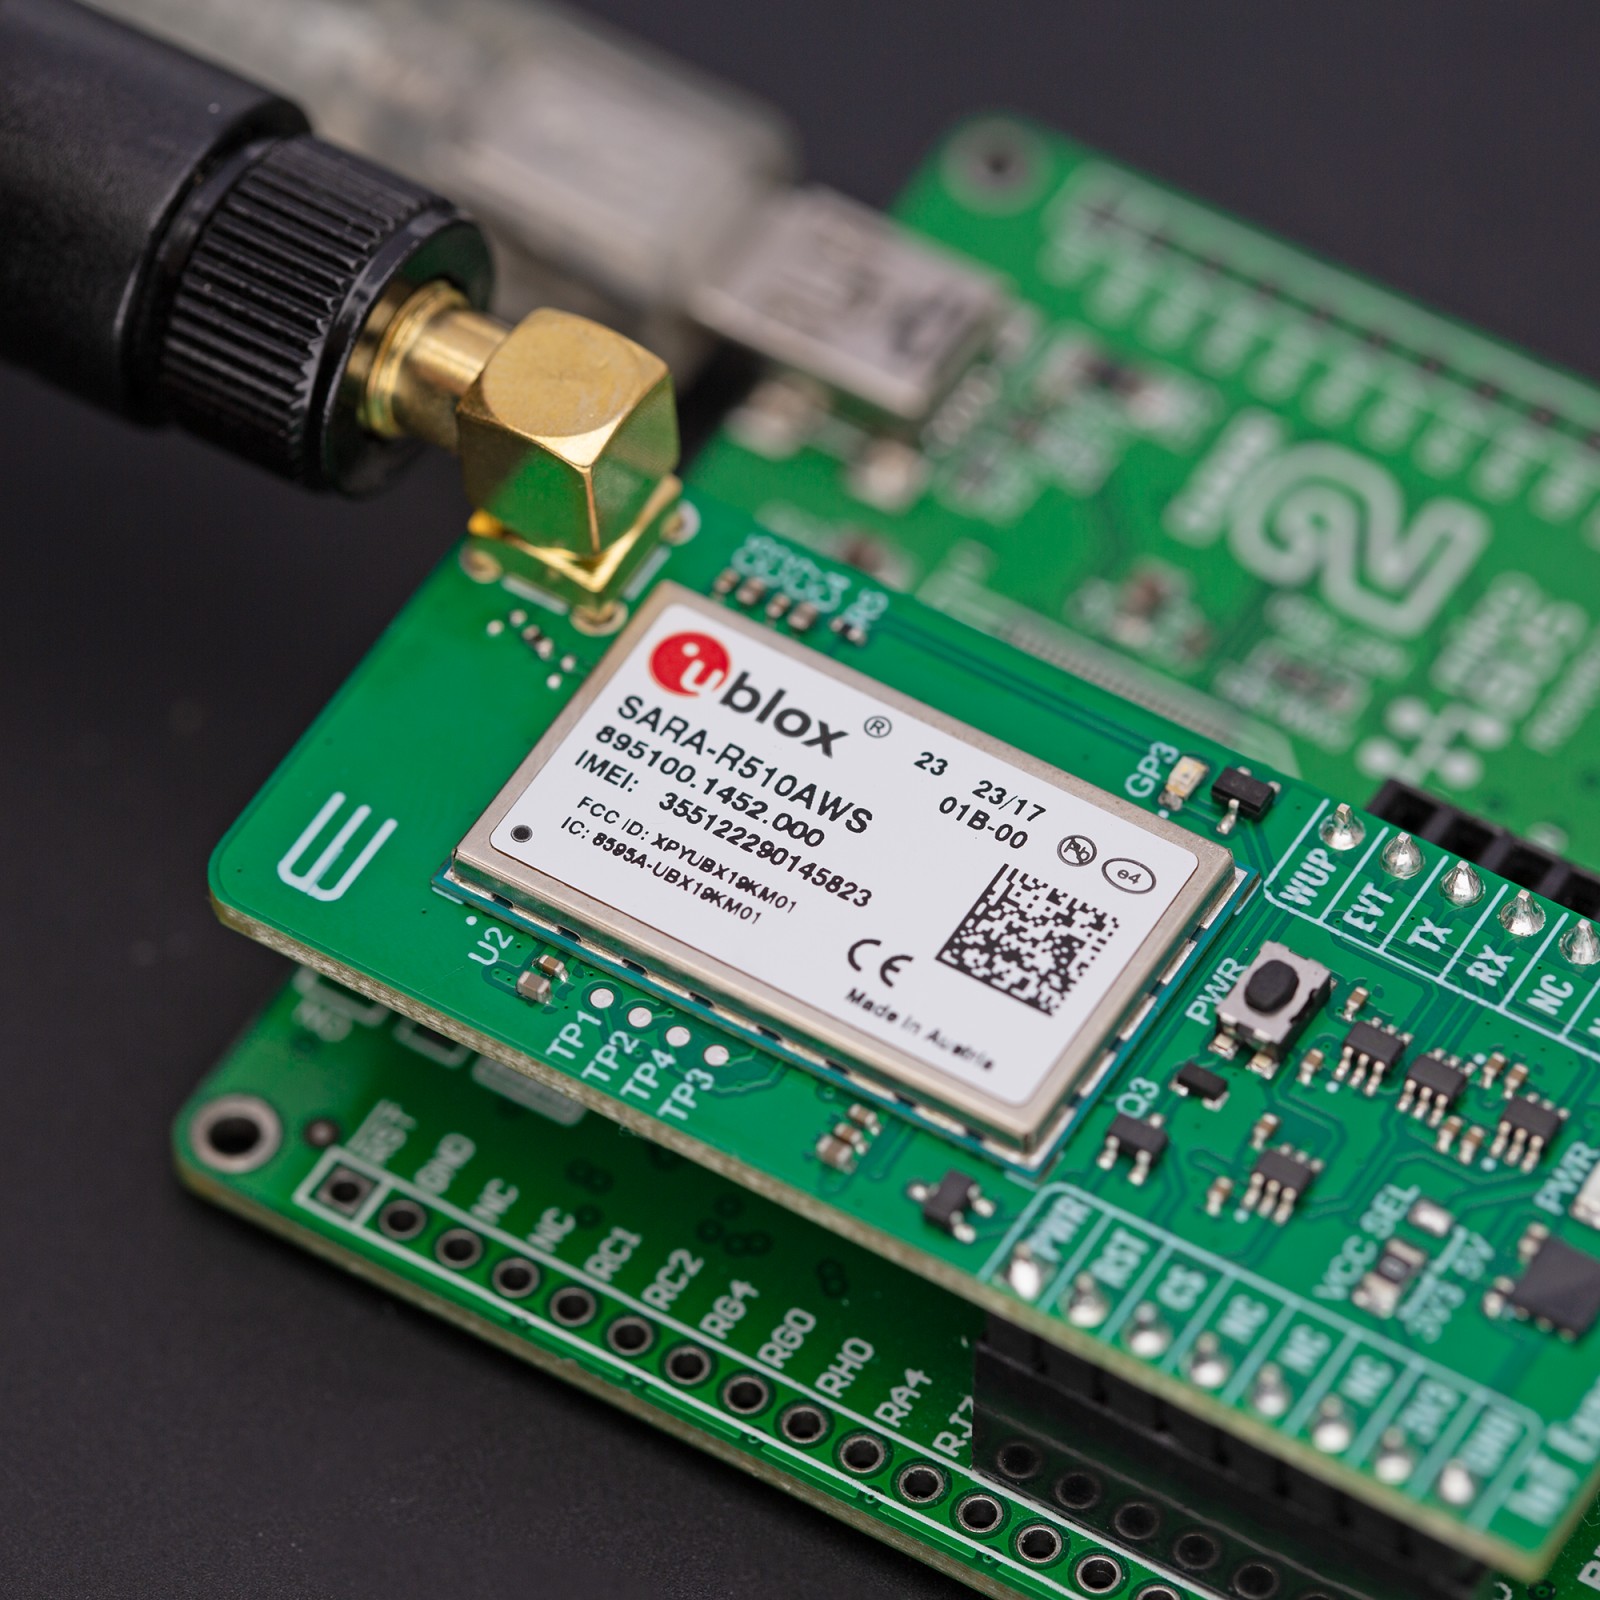
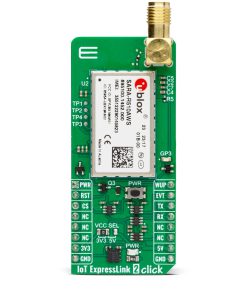
IoT ExpressLink 2 Click is based on the SARA-R510AWS, an LTE-M AWS IoT EsxpressLink module from u-blox. The embedded AWS IoT ExpressLink certified software provides a new tailored AT command set that paves the way to AWS cloud access straight out of the box, significantly accelerating time-to-market. It features direct AWS IoT cloud access secured with a hardware-based root of trust, secure boot, uFOTA, FOAT, host OTA, ultra-low sleep, and more. The module provides access to an AWS service without requiring the user to integrate any additional API on the host MCU. Every single step is handled inside the module.
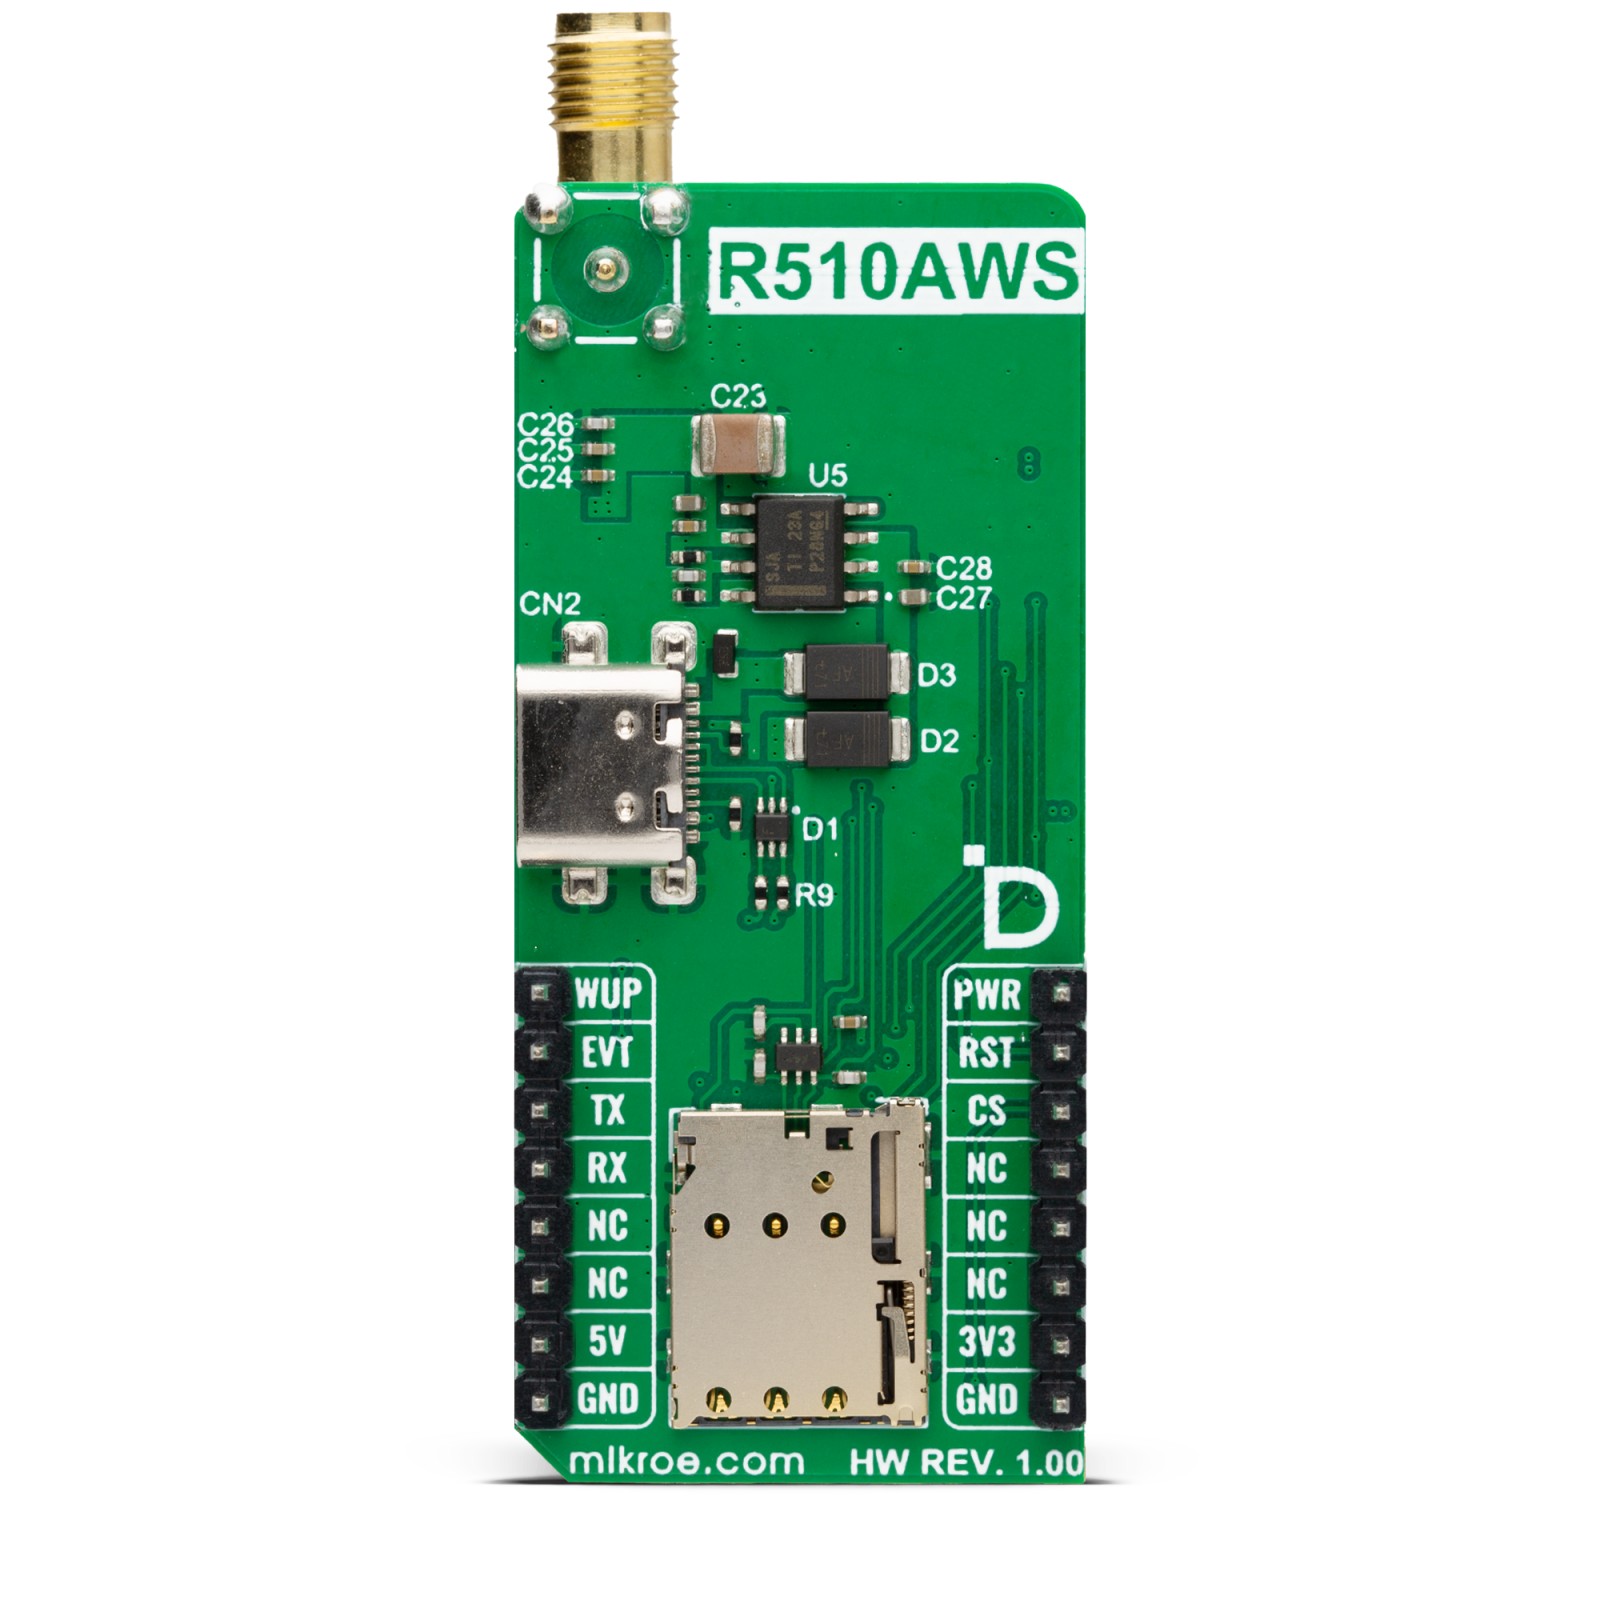
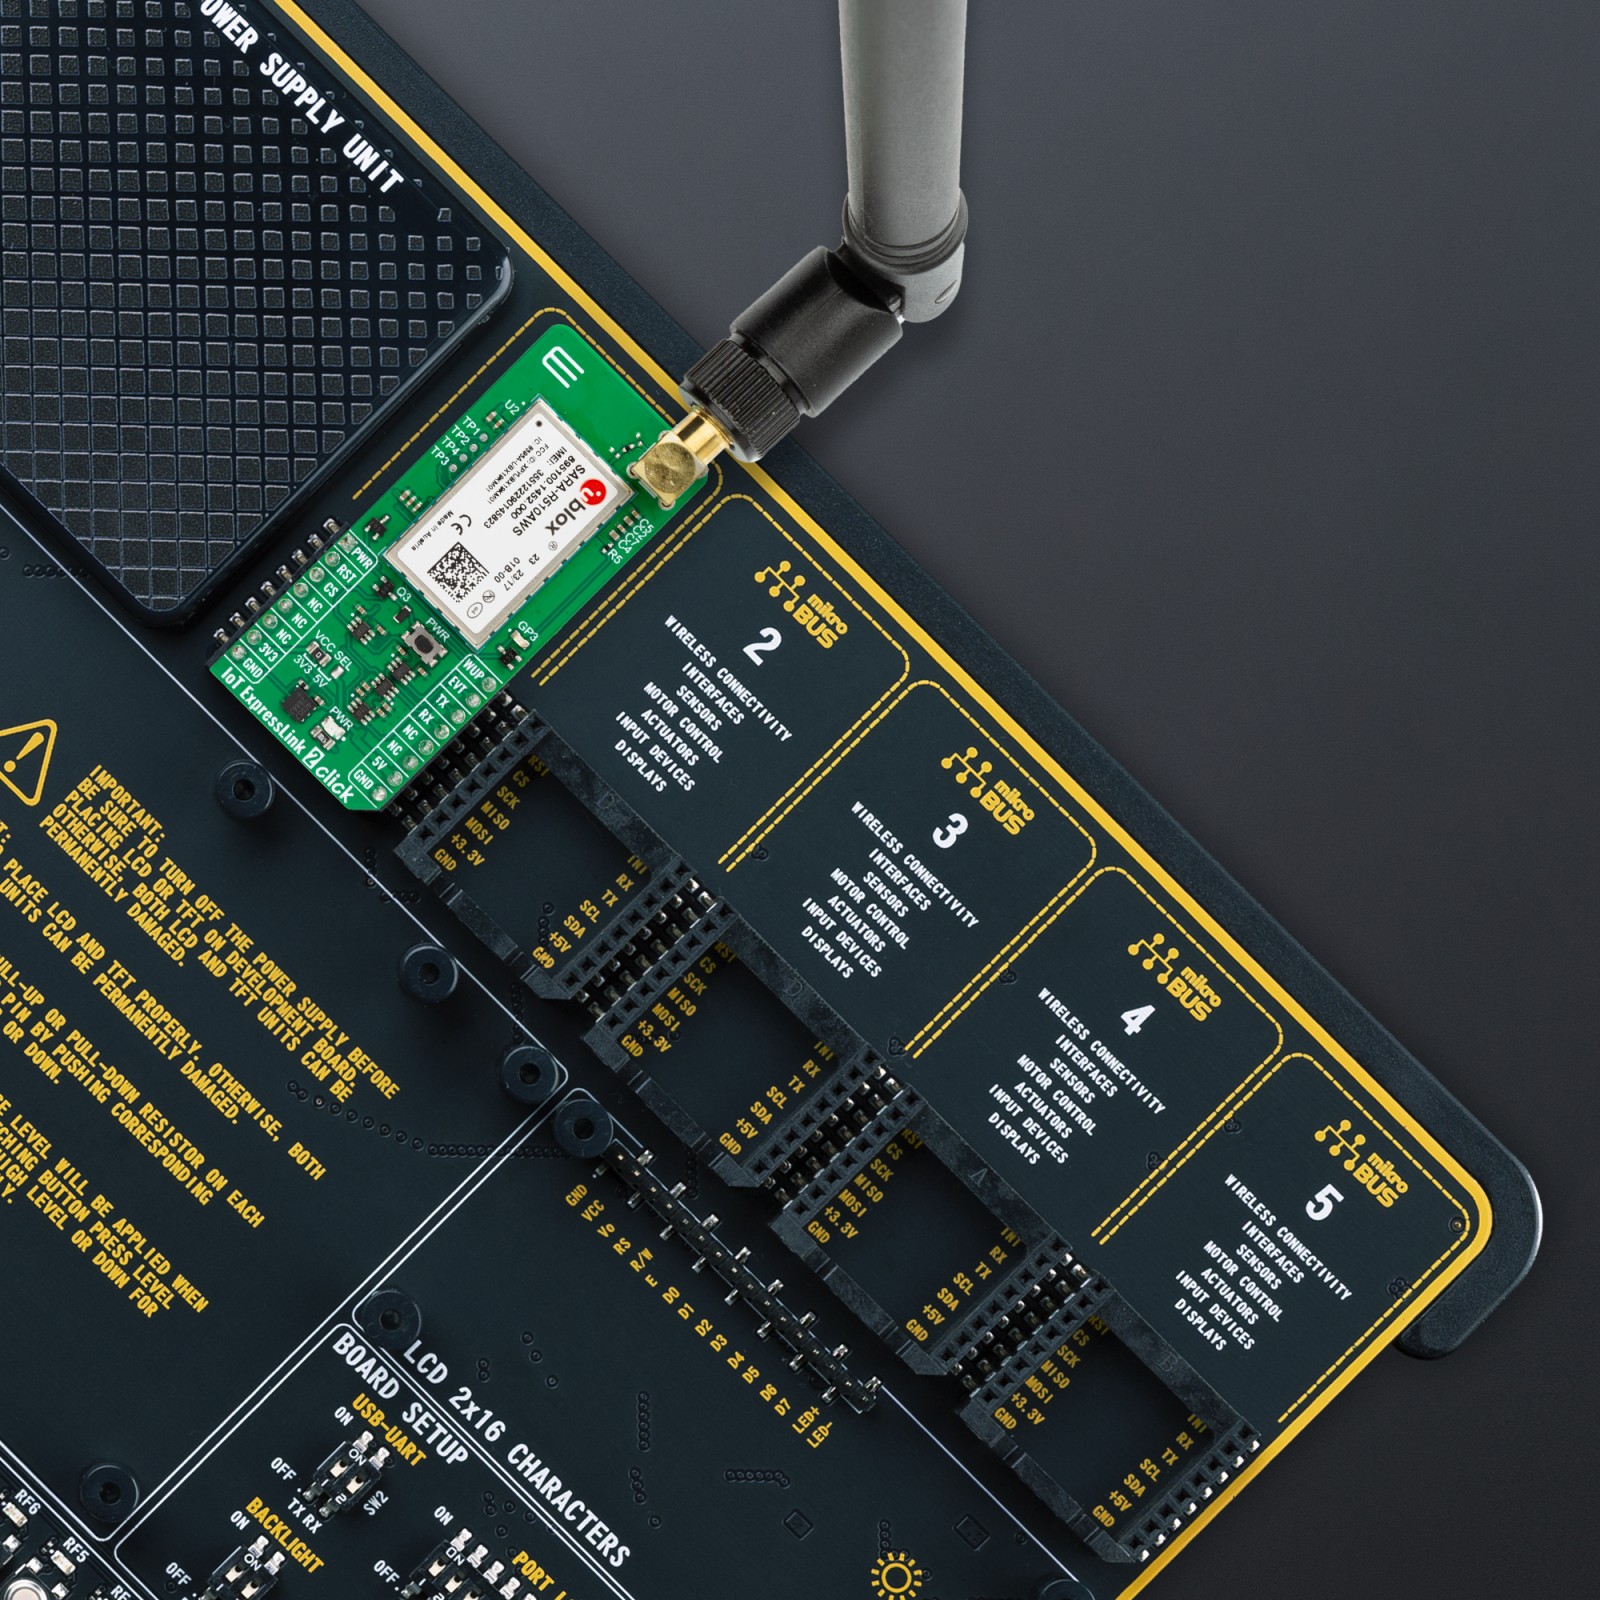
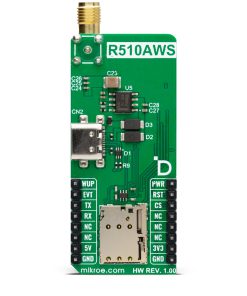
The module features TCP/IP, MQTT, and TLS/DTLS protocols. Some u-blox-supported compatible services are CellLocate and Zero Touch Provisioning for AWS IoT ExpressLink. By using Cat M1 half-duplex, it can achieve 375kbit/s DL and 1200 kbit/s UL. The module possesses the SMA antenna connector, which can be used to connect the appropriate antenna that MIKROE offers for improved range and received signal strength. The Micro SIM card holder on the back of the Click board™ is used to install a micro-SIM card. This device cannot be used without a valid SIM card, which allows connection to the cellular network. Both 1.8V and 3V (U)SIM card types are supported.
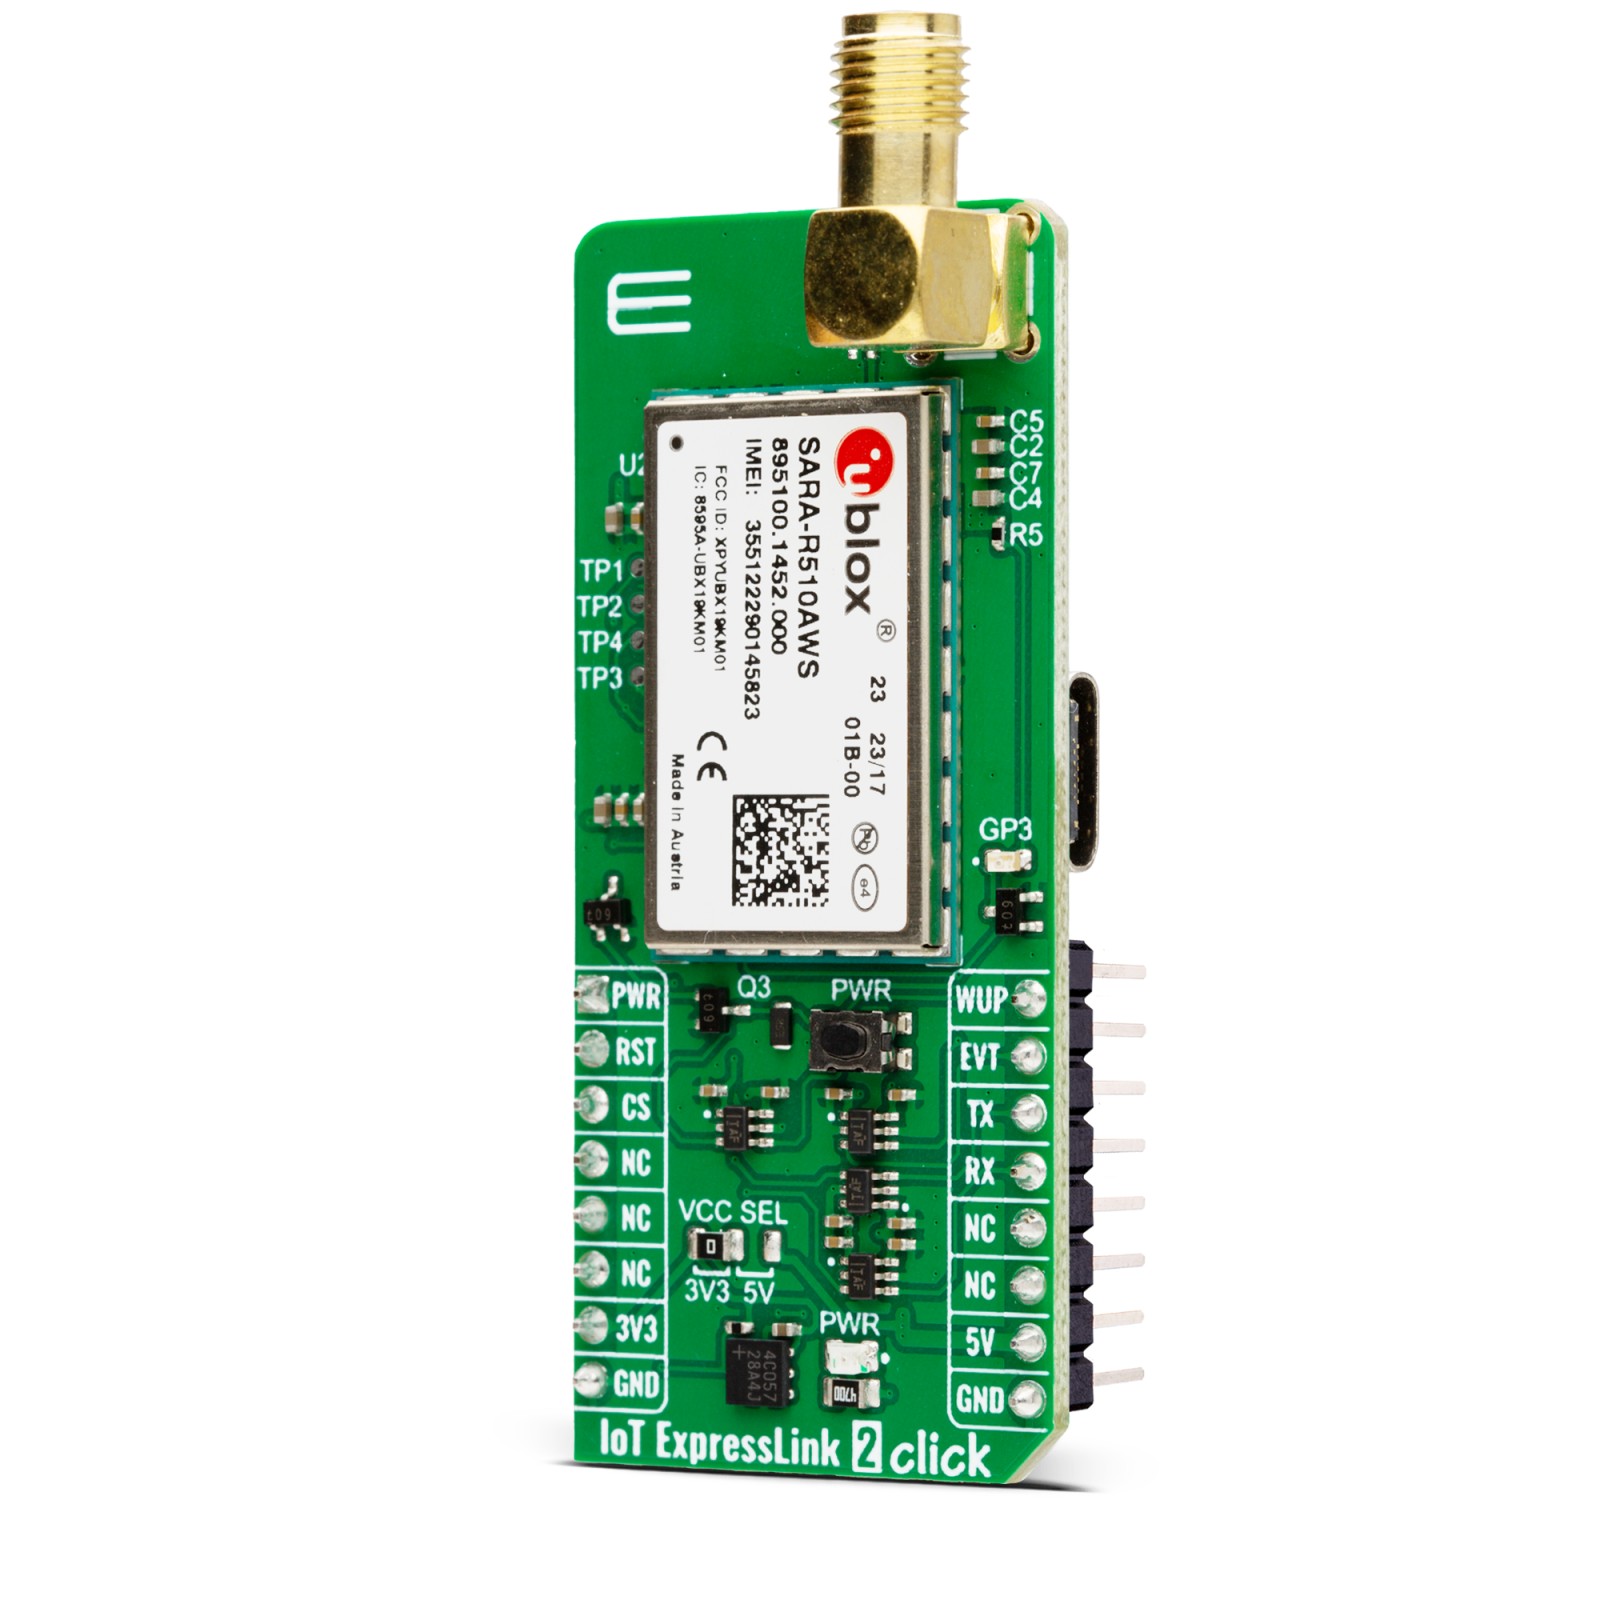
Onboard, a PWR key allows you to power on the device. There are four test pads for testing purposes. One is the Power On, while the rest are reset, TXD, and RXD of the Sara module. There is a yellow LED that represents the asynchronous event flag. The module supports a high-speed USB 2.0 compliant interface available over the USB C connector. The USB interface supports a maximum of 480Mbit/s of data rate. The module itself acts as a USB device and can be connected to any USB host. The USB interface is available for diagnostic purposes only. The module can be powered over the USB C connector or the 5V of the mikroBUS™ socket. It uses the TPS7A7002 for voltage regulation, a very low input and dropout 3A regulator from Texas Instruments.
IoT ExpressLink 2 Click uses a standard 2-Wire USRT interface to communicate with the host MCU, with a fixed 115200kbps baud rate. Besides the onboard PWR key, you can power the device over the PWR pin. The WUP pin is configured as a low-power sleep state wakeup pin. The RST is for resetting the device. Also, besides the mentioned yellow LED, the event flags can be monitored over the EVT pin.
This Click board™ can operate with either 3.3V or 5V logic voltage levels selected via the VCC SEL jumper. This way, both 3.3V and 5V capable MCUs can use the communication lines properly. Also, this Click board™ comes equipped with a library containing easy-to-use functions and an example code that can be used as a reference for further development.
Specifications
Type
Cloud Routers,LTE IoT
Applications
Can be used for the development of smart homes, industrial automation, health care, consumer electronics, and many more
On-board modules
SARA-R510AWS – LTE-M AWS IoT EsxpressLink module from u-blox
Key Features
Direct AWS IoT cloud access secured with hardware-based root of trust, s upports a comprehensive set of 3GPP Rel. 14 features that are relevant for IoT applications, 5G ready upgradable over the software, micro-SIM card, SMA antenna, and more
Interface
UART,USB
Feature
ClickID
Compatibility
mikroBUS™
Click board size
L (57.15 x 25.4 mm)
Input Voltage
3.3V or 5V
Pinout diagram
This table shows how the pinout on IoT Expresslink 2 Click corresponds to the pinout on the mikroBUS™ socket (the latter shown in the two middle columns).
Onboard settings and indicators
Label | Name | Default | Description |
---|---|---|---|
LD1 | PWR | – | Power LED Indicator |
LD2 | GP3 | – | Event LED Indicator |
JP1 | ID COMM | Left | Logic Level Voltage Selection 3V3/5V: Left position 3V3, Right position 5V |
T1 | PWR | – | Power-on Button |
IoT Expresslink 2 Click electrical specifications
Description | Min | Typ | Max | Unit |
---|---|---|---|---|
Supply Voltage | 3.3 | – | 5 | V |
Cellular Operating Bands | 700 | – | 2100 | MHz |
Cellular Data Rate | – | – | 1200 | Kbit/s |
Software Support
We provide a library for the IoT ExpressLink 2 Click as well as a demo application (example), developed using MikroElektronika compilers. The demo can run on all the main MikroElektronika development boards.
Package can be downloaded/installed directly from NECTO Studio Package Manager (recommended), downloaded from our LibStock™ or found on Mikroe github account.
Library Description
This library contains API for IoT ExpressLink 2 Click driver.
Key functions
-
iotexpresslink2_power_on
This function performs the power on sequence. -
iotexpresslink2_send_cmd
This function send command string by using UART serial interface. -
iotexpresslink2_generic_read
This function reads a desired number of data bytes by using UART serial interface.
Example Description
This example demonstrates the use of IoT ExpressLink 2 Click board™ by connecting to the selected AWS account’s data endpoint and showcasing the messaging topic model through sending and receiving messages to/from AWS IoT console.
void application_task ( void )
{
// Send message on topic
log_printf( &logger, "Send message on topic: %srn", ( char * ) TOPIC_NAME );
strcpy ( app_buf, IOTEXPRESSLINK2_CMD_SEND );
strcat ( app_buf, TOPIC_NUM );
strcat ( app_buf, IOTEXPRESSLINK2_CMD_SEPARATOR );
strcat ( app_buf, TEXT_MESSAGE );
iotexpresslink2_send_cmd ( &iotexpresslink2, app_buf );
iotexpresslink2_read_response ( &iotexpresslink2, IOTEXPRESSLINK2_NORMAL_TIMEOUT );
Delay_ms ( 1000 );
// Retrieve the next message received on topic in the order of arrival.
log_printf( &logger, "Request next message pending on topic: %srn", ( char * ) TOPIC_NAME );
strcpy ( app_buf, IOTEXPRESSLINK2_CMD_GET );
strcat ( app_buf, TOPIC_NUM );
iotexpresslink2_send_cmd ( &iotexpresslink2, app_buf );
iotexpresslink2_read_response ( &iotexpresslink2, IOTEXPRESSLINK2_NORMAL_TIMEOUT );
Delay_ms ( 8000 );
}
The full application code, and ready to use projects can be installed directly from NECTO Studio Package Manager (recommended), downloaded from our LibStock™ or found on Mikroe github account.
Other Mikroe Libraries used in the example:
- MikroSDK.Board
- MikroSDK.Log
- Click.IoTExpressLink2
Additional notes and informations
Depending on the development board you are using, you may need USB UART click, USB UART 2 Click or RS232 Click to connect to your PC, for development systems with no UART to USB interface available on the board. UART terminal is available in all MikroElektronika compilers.
mikroSDK
This Click board™ is supported with mikroSDK – MikroElektronika Software Development Kit. To ensure proper operation of mikroSDK compliant Click board™ demo applications, mikroSDK should be downloaded from the LibStock and installed for the compiler you are using.
For more information about mikroSDK, visit the official page.