How does it work?
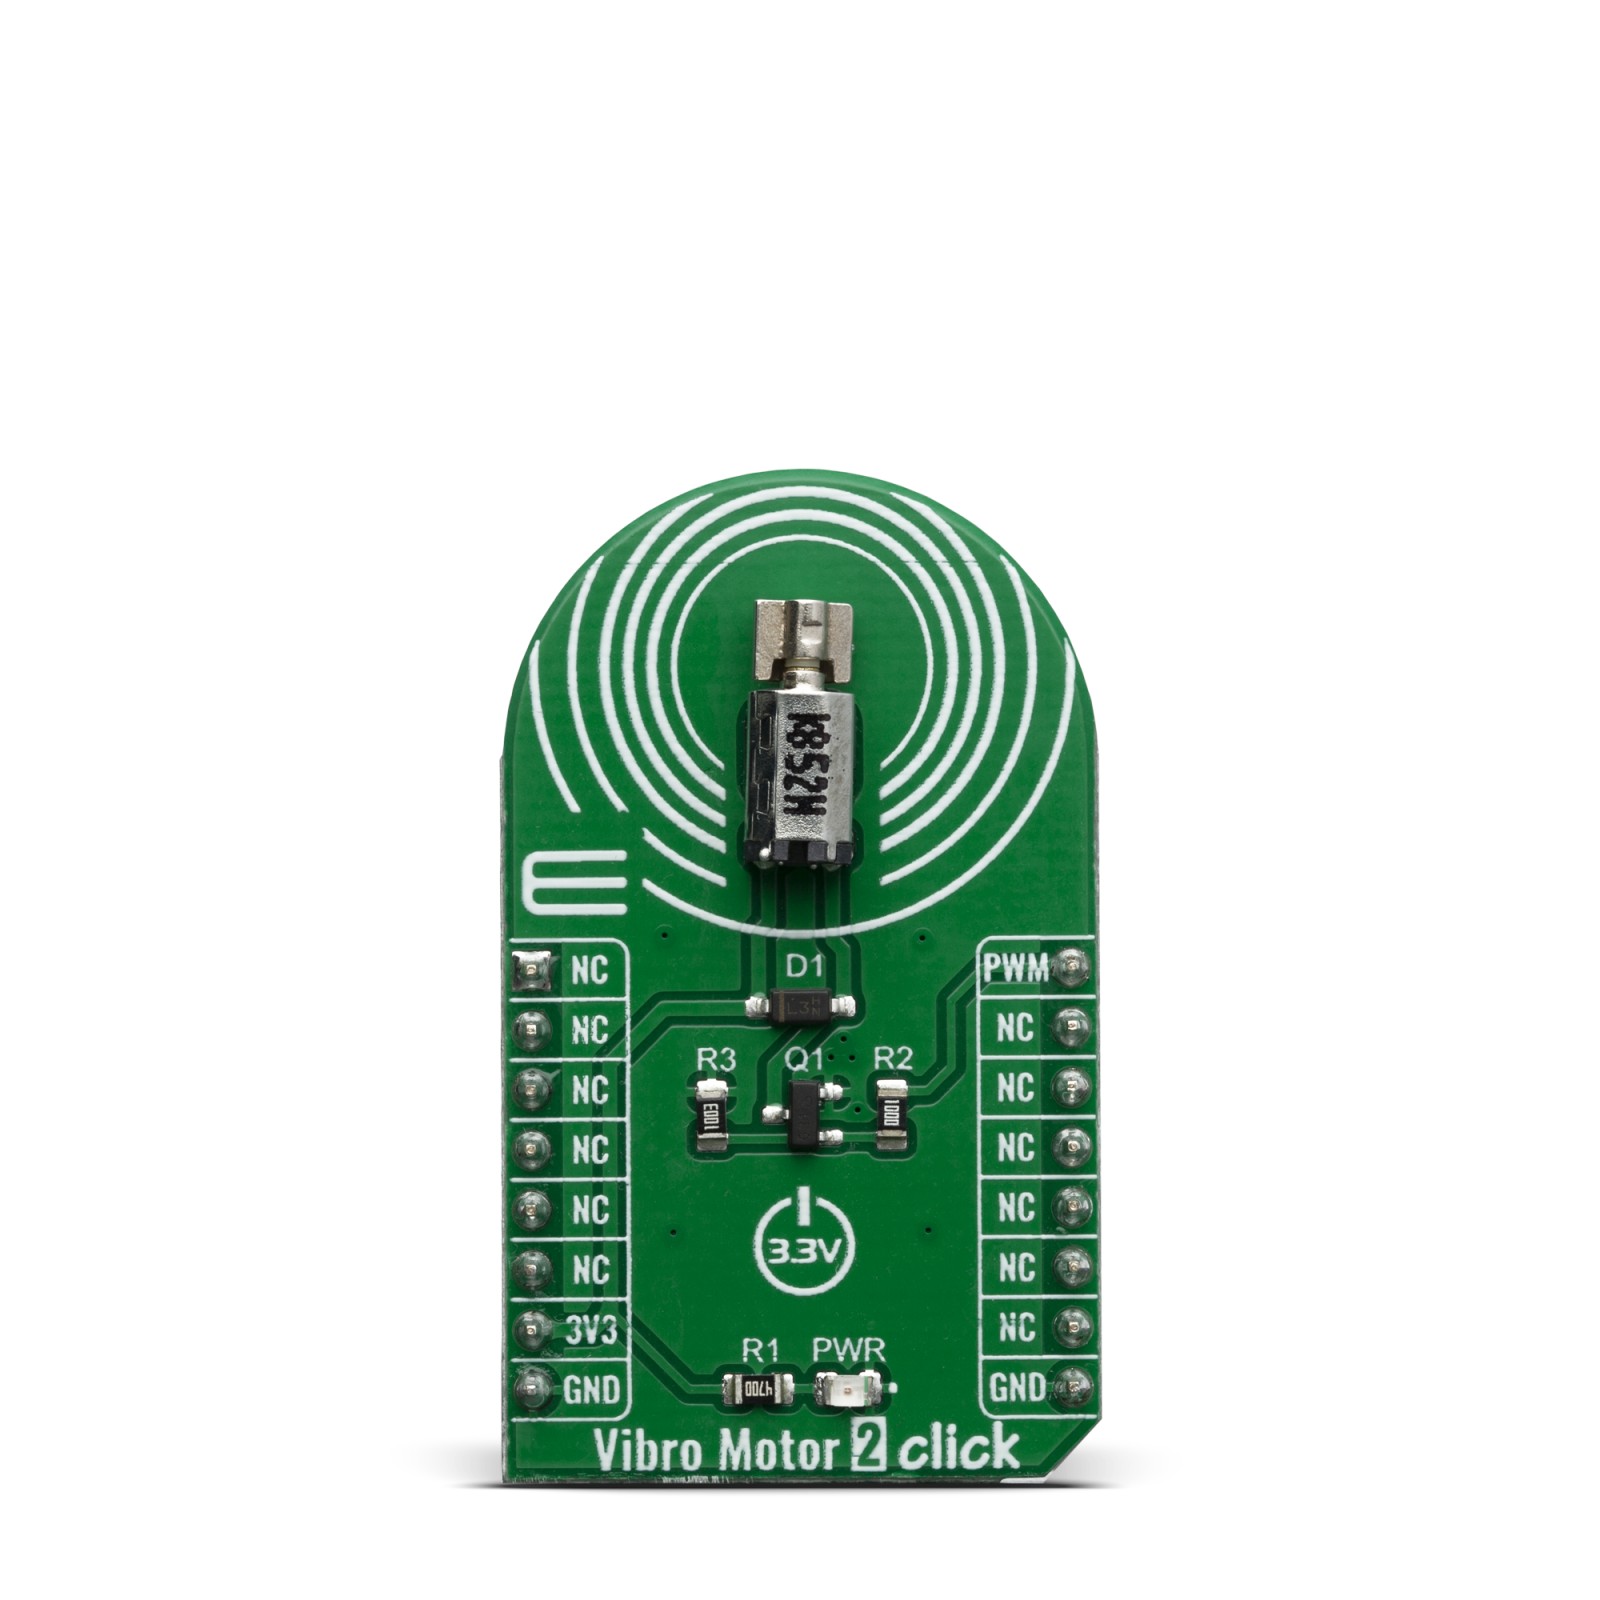
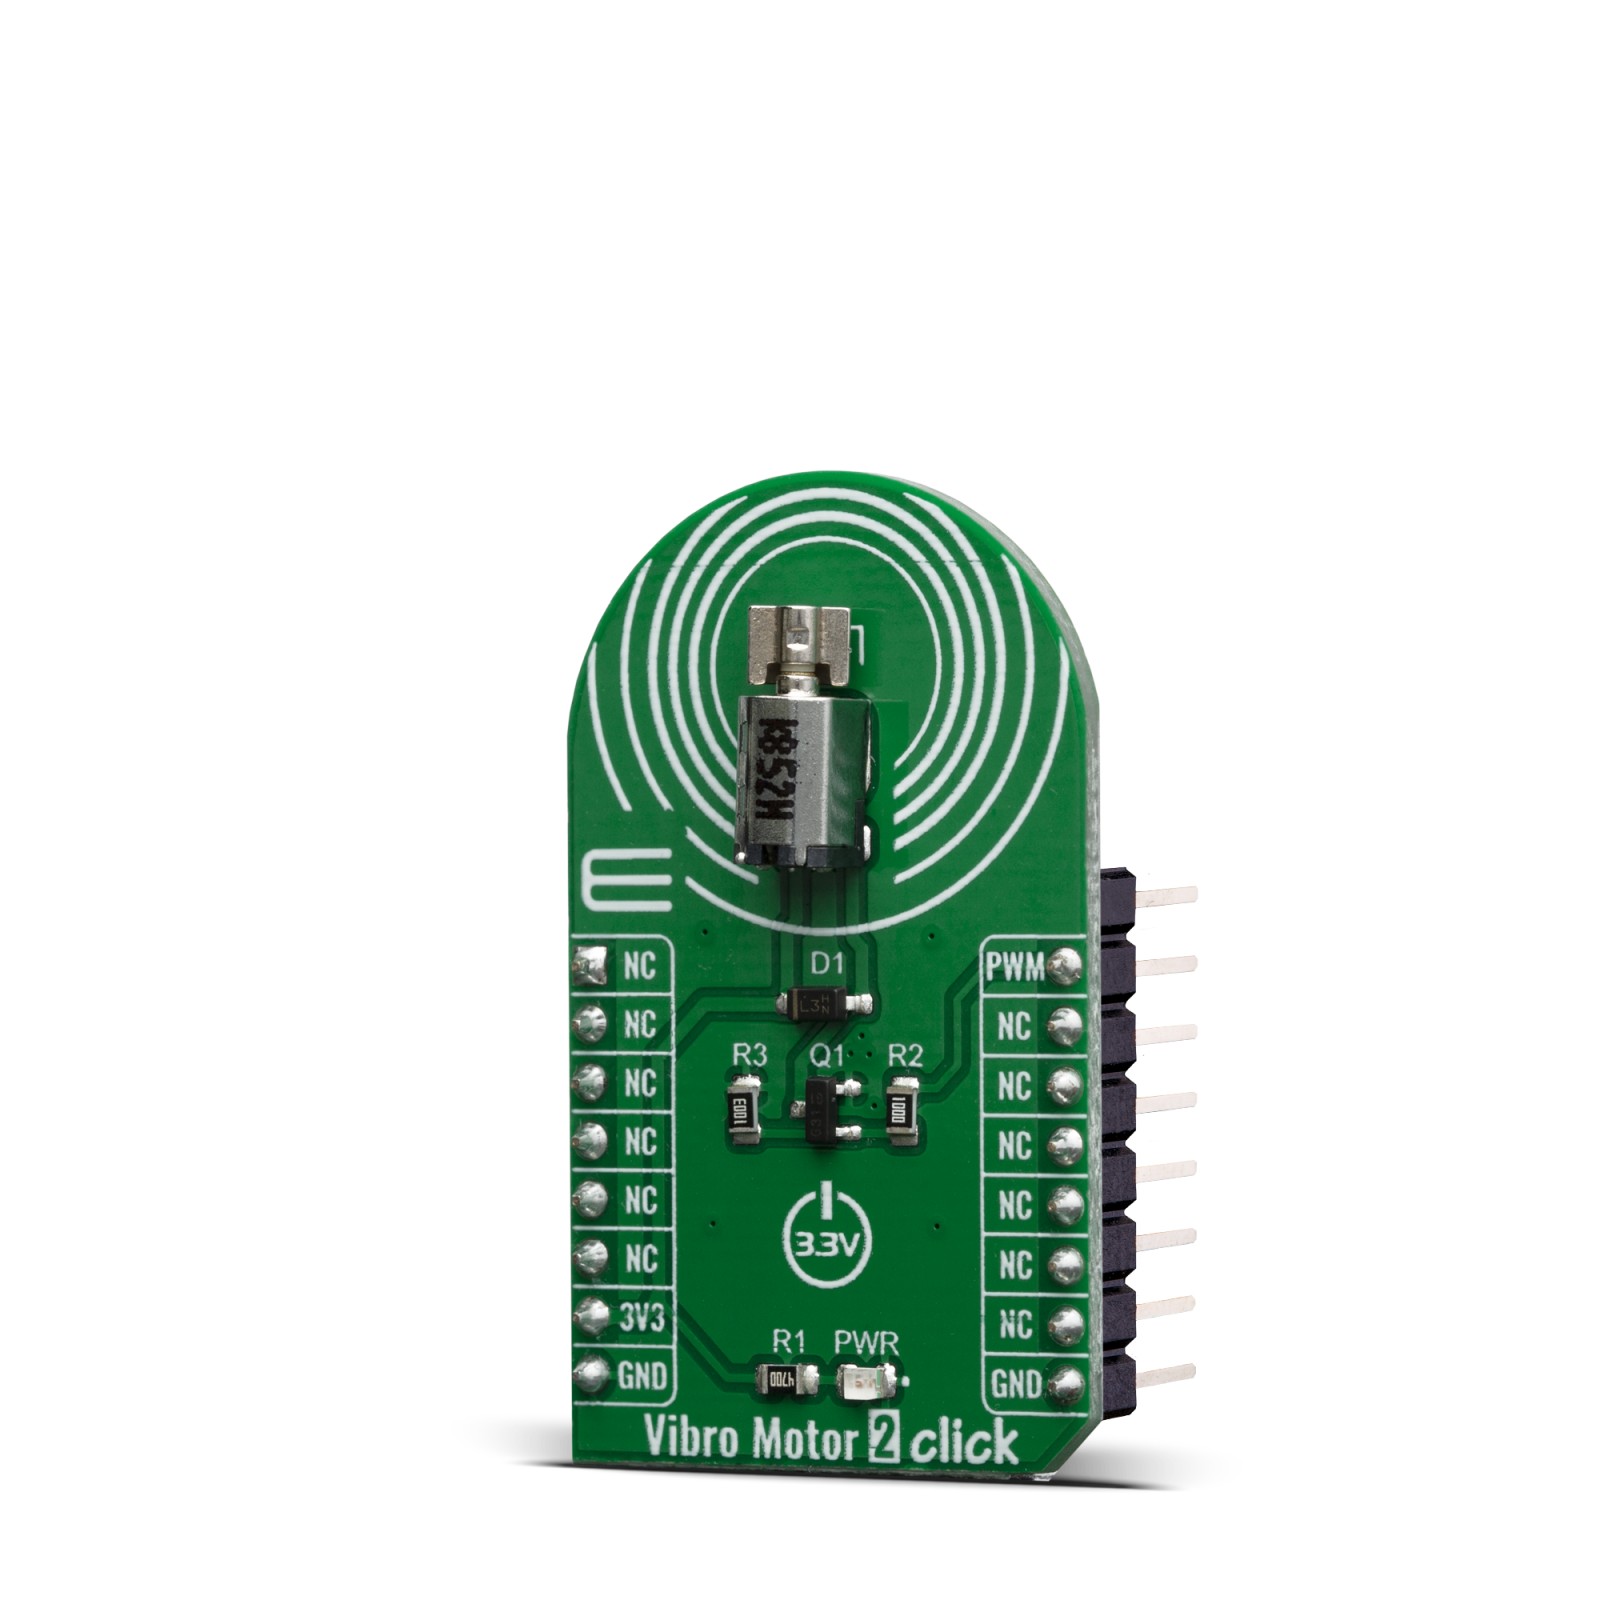
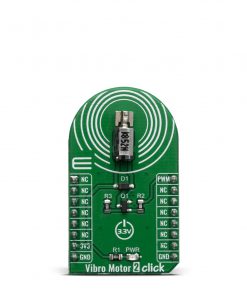
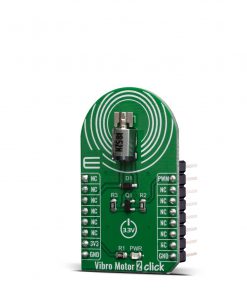
Vibro Motor 2 Click as its foundation uses the VZ43FC1B5640007L, a compact Eccentric Rotating Mass (ERM) motor that generates vibration/haptic feedback from Vybronics. This kind of motor contains a small eccentric weight on its rotor, so it also produces a vibration effect while rotating it. The VZ43FC1B5640007L draws a typical 100mA while creating a sizable vibration force of 0.91G and makes an excellent choice for applications requiring crisp haptic feedback and low power consumption. This Click board™ also uses the DMG3420U N-channel MOSFET to drive the ERM motor, since the MCU itself cannot provide enough power for the motor driving.
The gate of the MOSFET is driven by the PWM signal, routed to the PWM pin of the mikroBUS™ socket. The PWM signal toggles the MOSFET gate with pulses of a certain width. As a result, the current through the motor is varied depending on the pulse width of the PWM signal, which directly affects the speed of the motor, effectively controlling the vibration force that way. The circuit also contains a protection diode, which protects the transistor from the reverse voltage since the motor represents an inductive load. Turning off its current can produce a kickback voltage that can damage the transistor.
This Click board™ can be operated only with a 3.3V logic voltage level. The board must perform appropriate logic voltage level conversion before using MCUs with different logic levels. However, the Click board™ comes equipped with a library containing functions and an example code that can be used, as a reference, for further development.
Specifications
Type
Haptic
Applications
Can be used for many small handheld devices and for users who require crisp haptic feedback and low power consumption
On-board modules
VZ43FC1B5640007L – Eccentric Rotating Mass (ERM) motor that generates vibration/haptic feedback from Vybronics
Key Features
Low power consumption, vibration force of 0.9G, high reliability, excellent choice for crisp haptic feedback applications, PWM controlled, and more.
Interface
PWM
Feature
No ClickID
Compatibility
mikroBUS™
Click board size
M (42.9 x 25.4 mm)
Input Voltage
3.3V
Pinout diagram
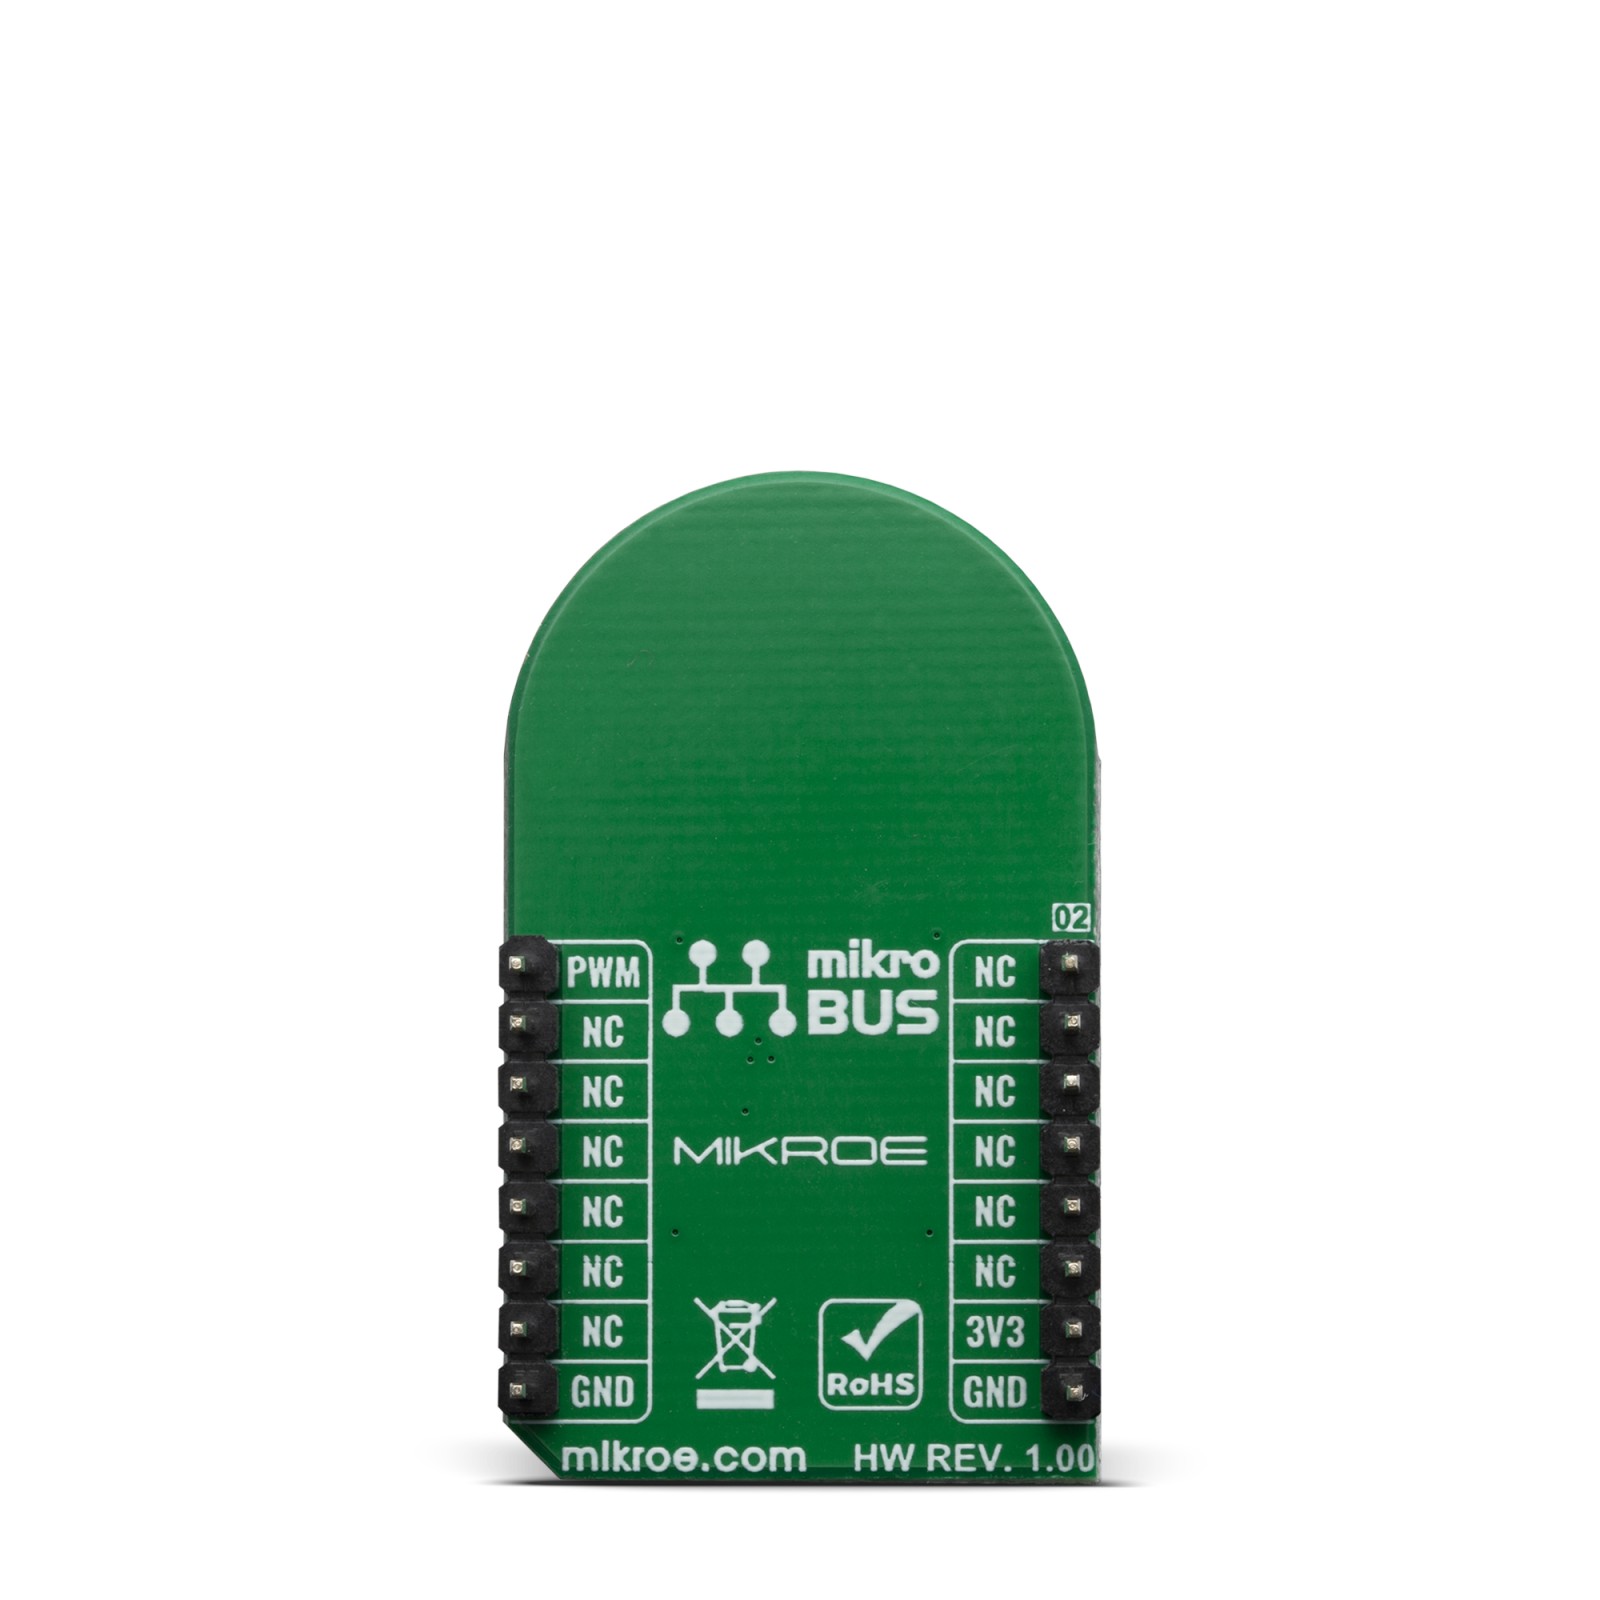
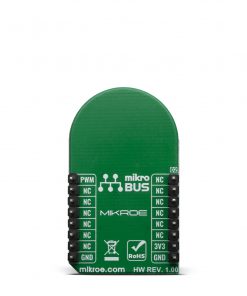
This table shows how the pinout on Vibro Motor 2 click corresponds to the pinout on the mikroBUS™ socket (the latter shown in the two middle columns).
Onboard settings and indicators
Label | Name | Default | Description |
---|---|---|---|
LD1 | PWR | – | Power LED indicator |
Vibro Motor 2 click electrical specifications
Description | Min | Typ | Max | Unit |
---|---|---|---|---|
Supply Voltage | – | +3.3 | – | V |
Rated ERM motor speed | 7500 | 10000 | 12500 | RPM |
Mechanical noise | – | – | 50 | dB |
Operating Temperature | -20 | +25 | +70 | °C |
Software Support
We provide a library for the Vibro Motor 2 click on our LibStock page, as well as a demo application (example), developed using MikroElektronika compilers. The demo can run on all the main MikroElektronika development boards.
Library Description
This library helps user to define the all necessary GPIOs to control vibro motor. For Vibro Motor 2 Click board user only needs PWM pin on MIKROBUS. For more details check documentation.
Key functions:
void vm2_gpioDriverInit( T_VM2_P gpioObj );
– This function initializes GPIO driver.
Examples description
The application is composed of three sections :
- System Initialization – Initializes peripherals and pins.
- Application Initialization – Initializes GPIO driver and PWM. Configures PWM to 20kHz frequency, calculates maximum duty ratio and starts PWM with duty ratio value 0.
- Application Task – (code snippet) – Allows user to enter desired command to control Vibro Motor 2 Click board. The command can be entered from the serial port. The possible commands are :
- characters from ‘1’ to ‘9’ to set duty ratio step (step = character * 5)
- character ‘0’ to set duty ratio step on value 100
- character ‘+’ to increment current duty ratio by selected step
- character ‘-‘ to decrement current duty ratio by selected step
- characters ‘e’ and ‘E’ to start Vibro Motor 2
- characters ‘d’ and ‘D’ to stop Vibro Motor 2
- characters ‘s’ and ‘S’ to check Vibro Motor 2 (PWM) status
void applicationTask() { rx_dat = UART_Rdy_Ptr(); if (rx_dat != _RX_NOT_READY) { rx_dat = UART_Rd_Ptr(); checkRx(); } }
Additional Functions :
- checkRx – Executes the command (entered by user) processing.
The full application code, and ready to use projects can be found on our LibStock page.
Other mikroE Libraries used in the example:
- Conversions
- C_String
- PWM
- UART
Additional notes and informations
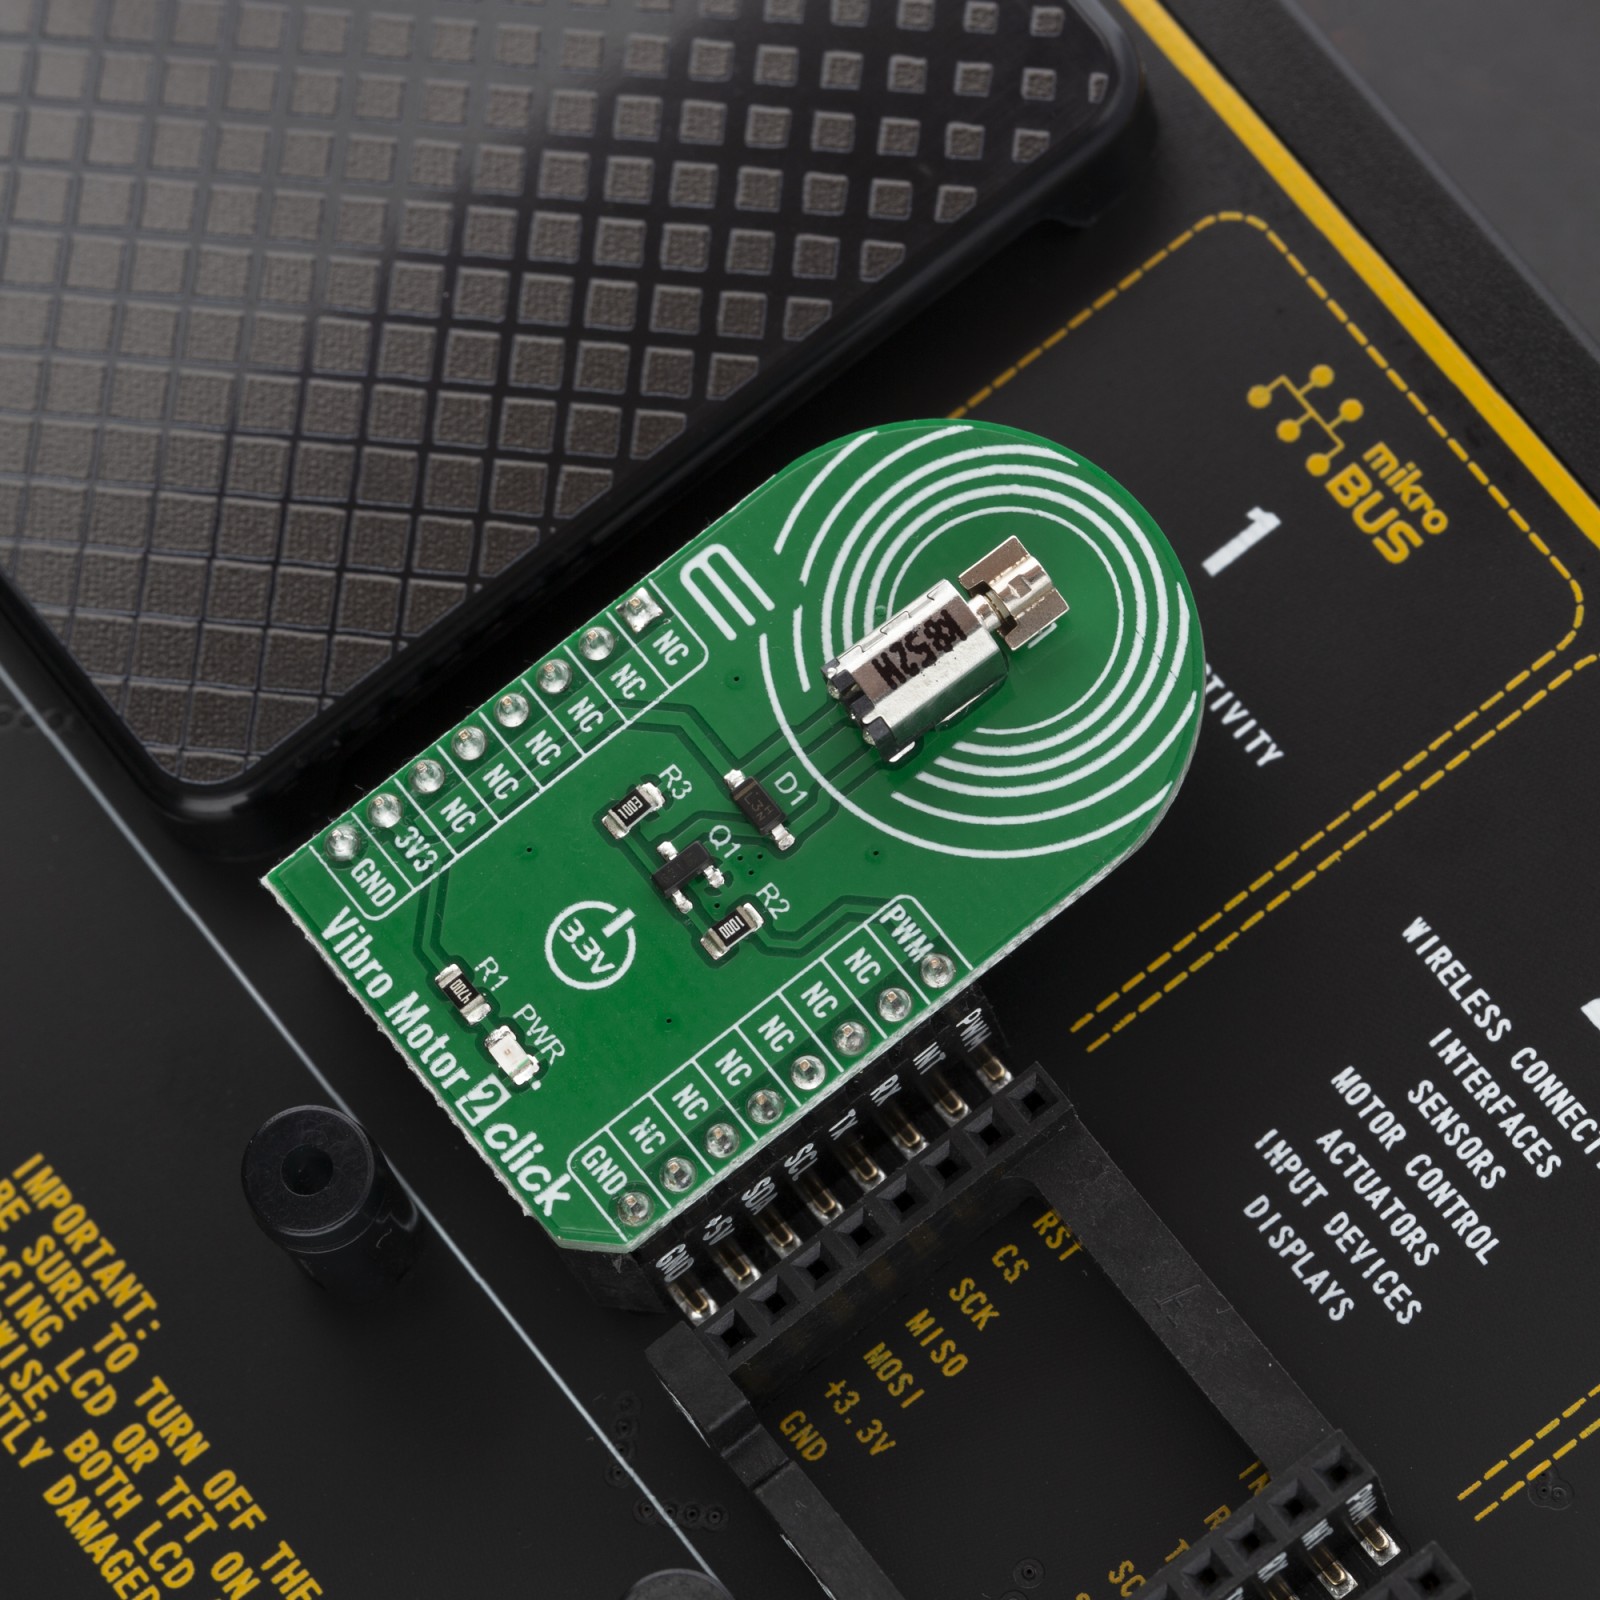
Depending on the development board you are using, you may need USB UART click, USB UART 2 click or RS232 click to connect to your PC, for development systems with no UART to USB interface available on the board. The terminal available in all MikroElektronika compilers, or any other terminal application of your choice, can be used to read the message.
mikroSDK
This Click board™ is supported with mikroSDK – MikroElektronika Software Development Kit. To ensure proper operation of mikroSDK compliant Click board™ demo applications, mikroSDK should be downloaded from the LibStock and installed for the compiler you are using.
For more information about mikroSDK, visit the official page.