How does it work?
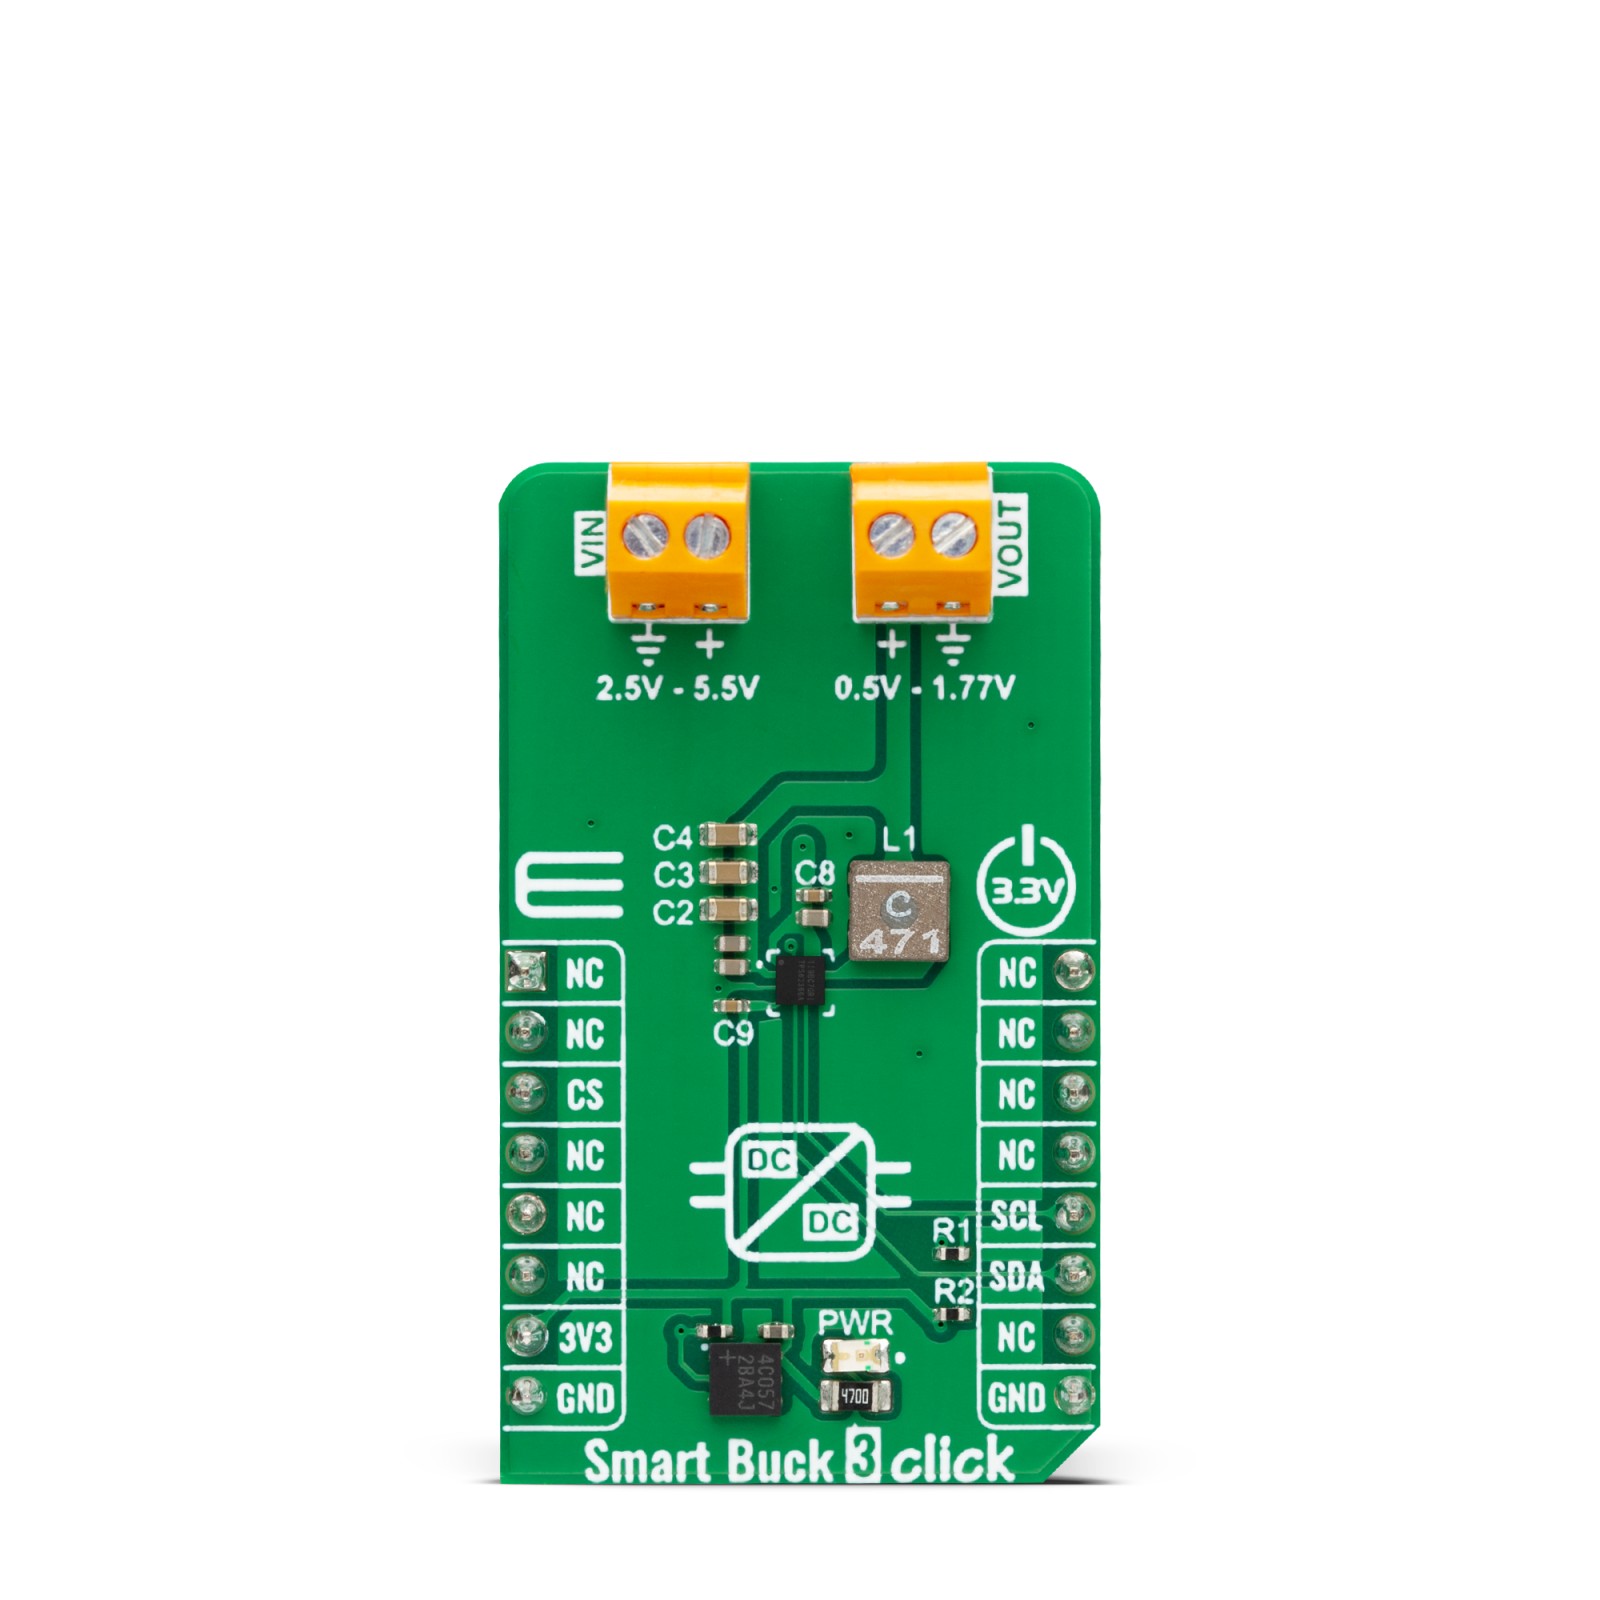
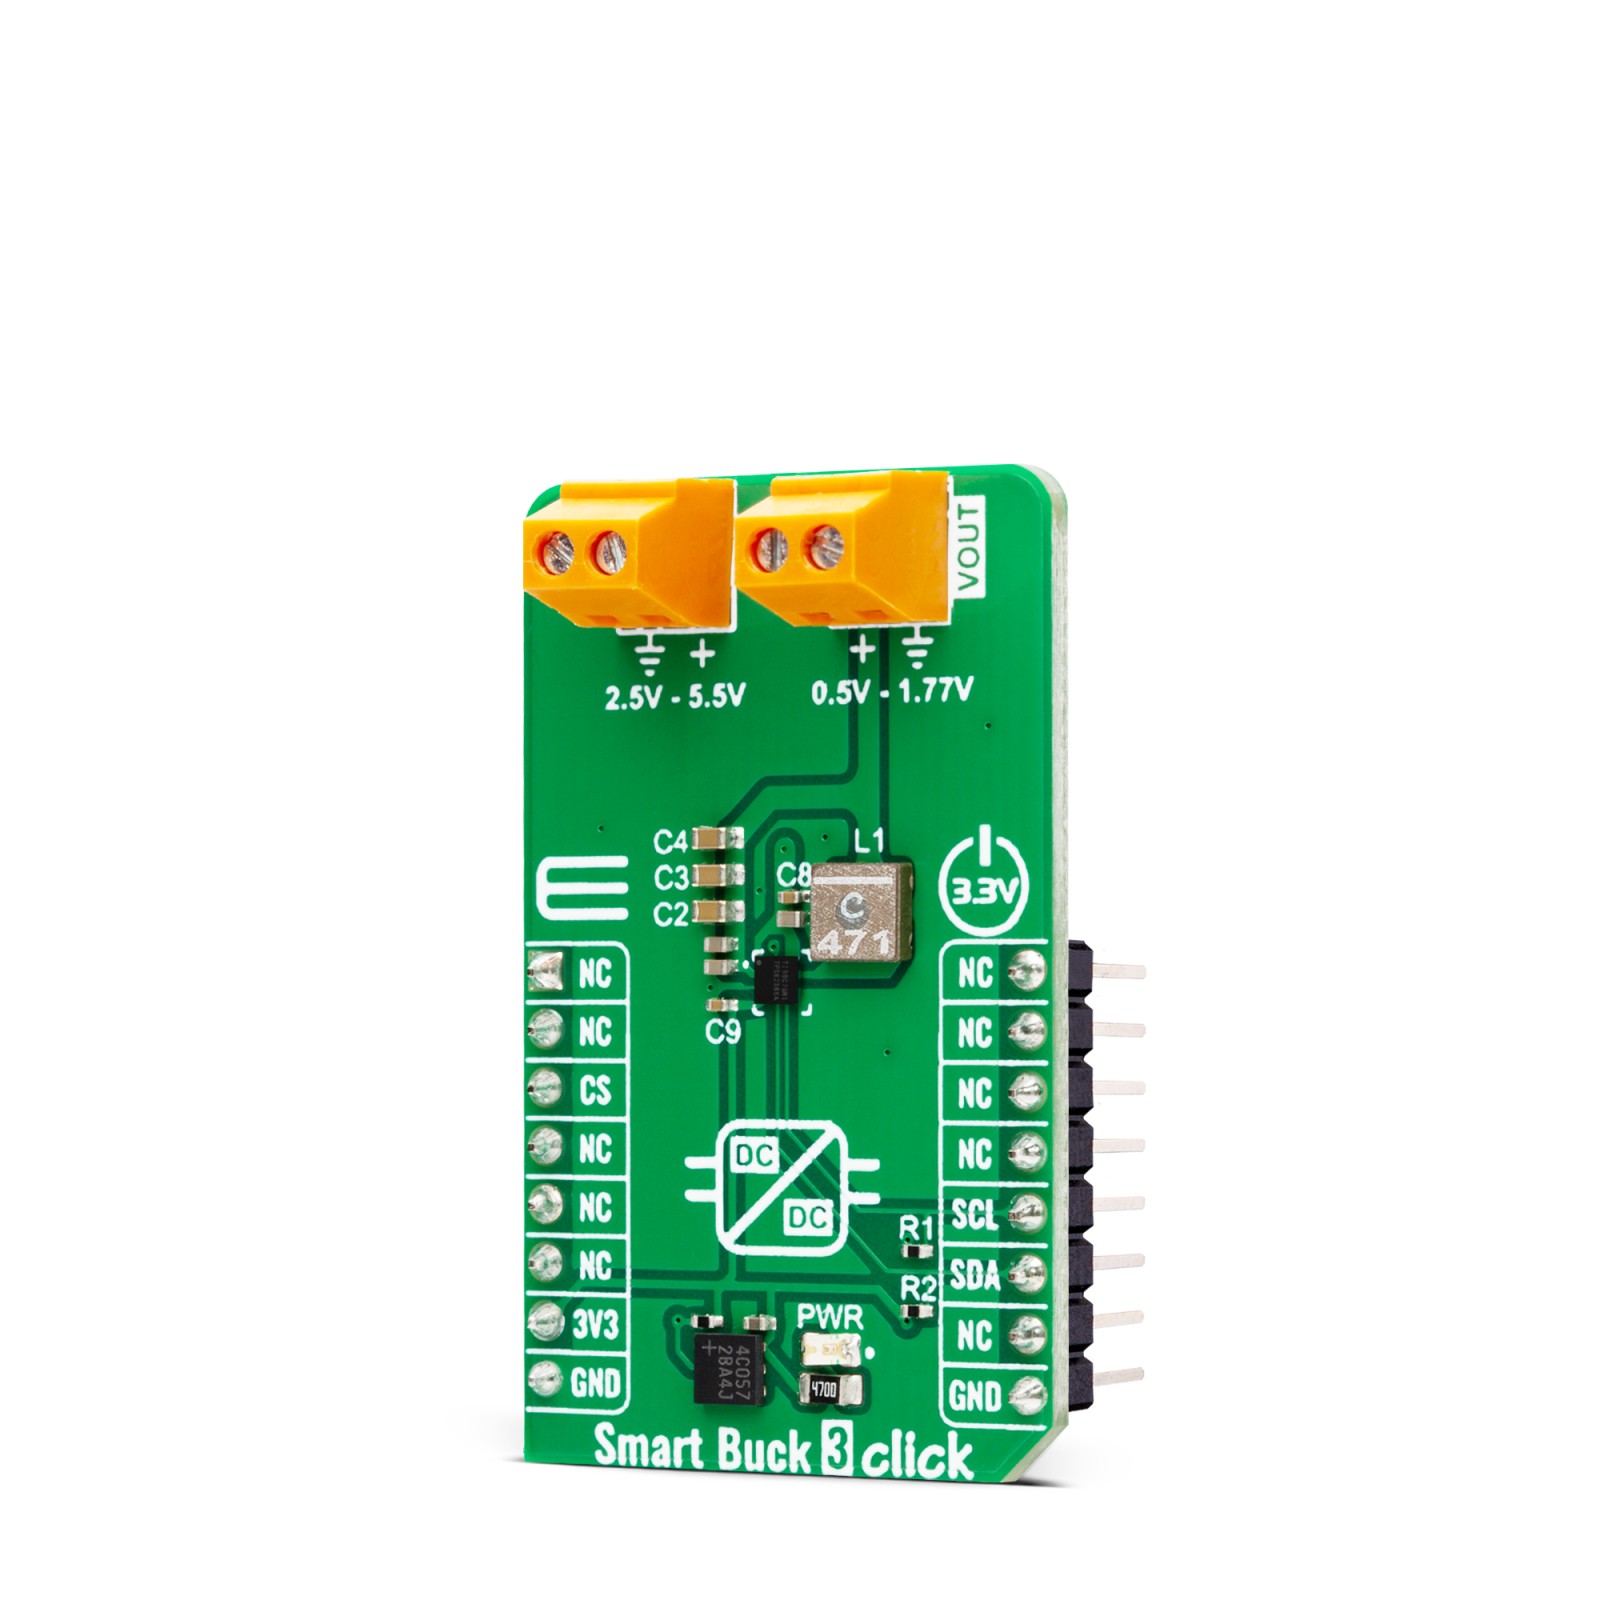
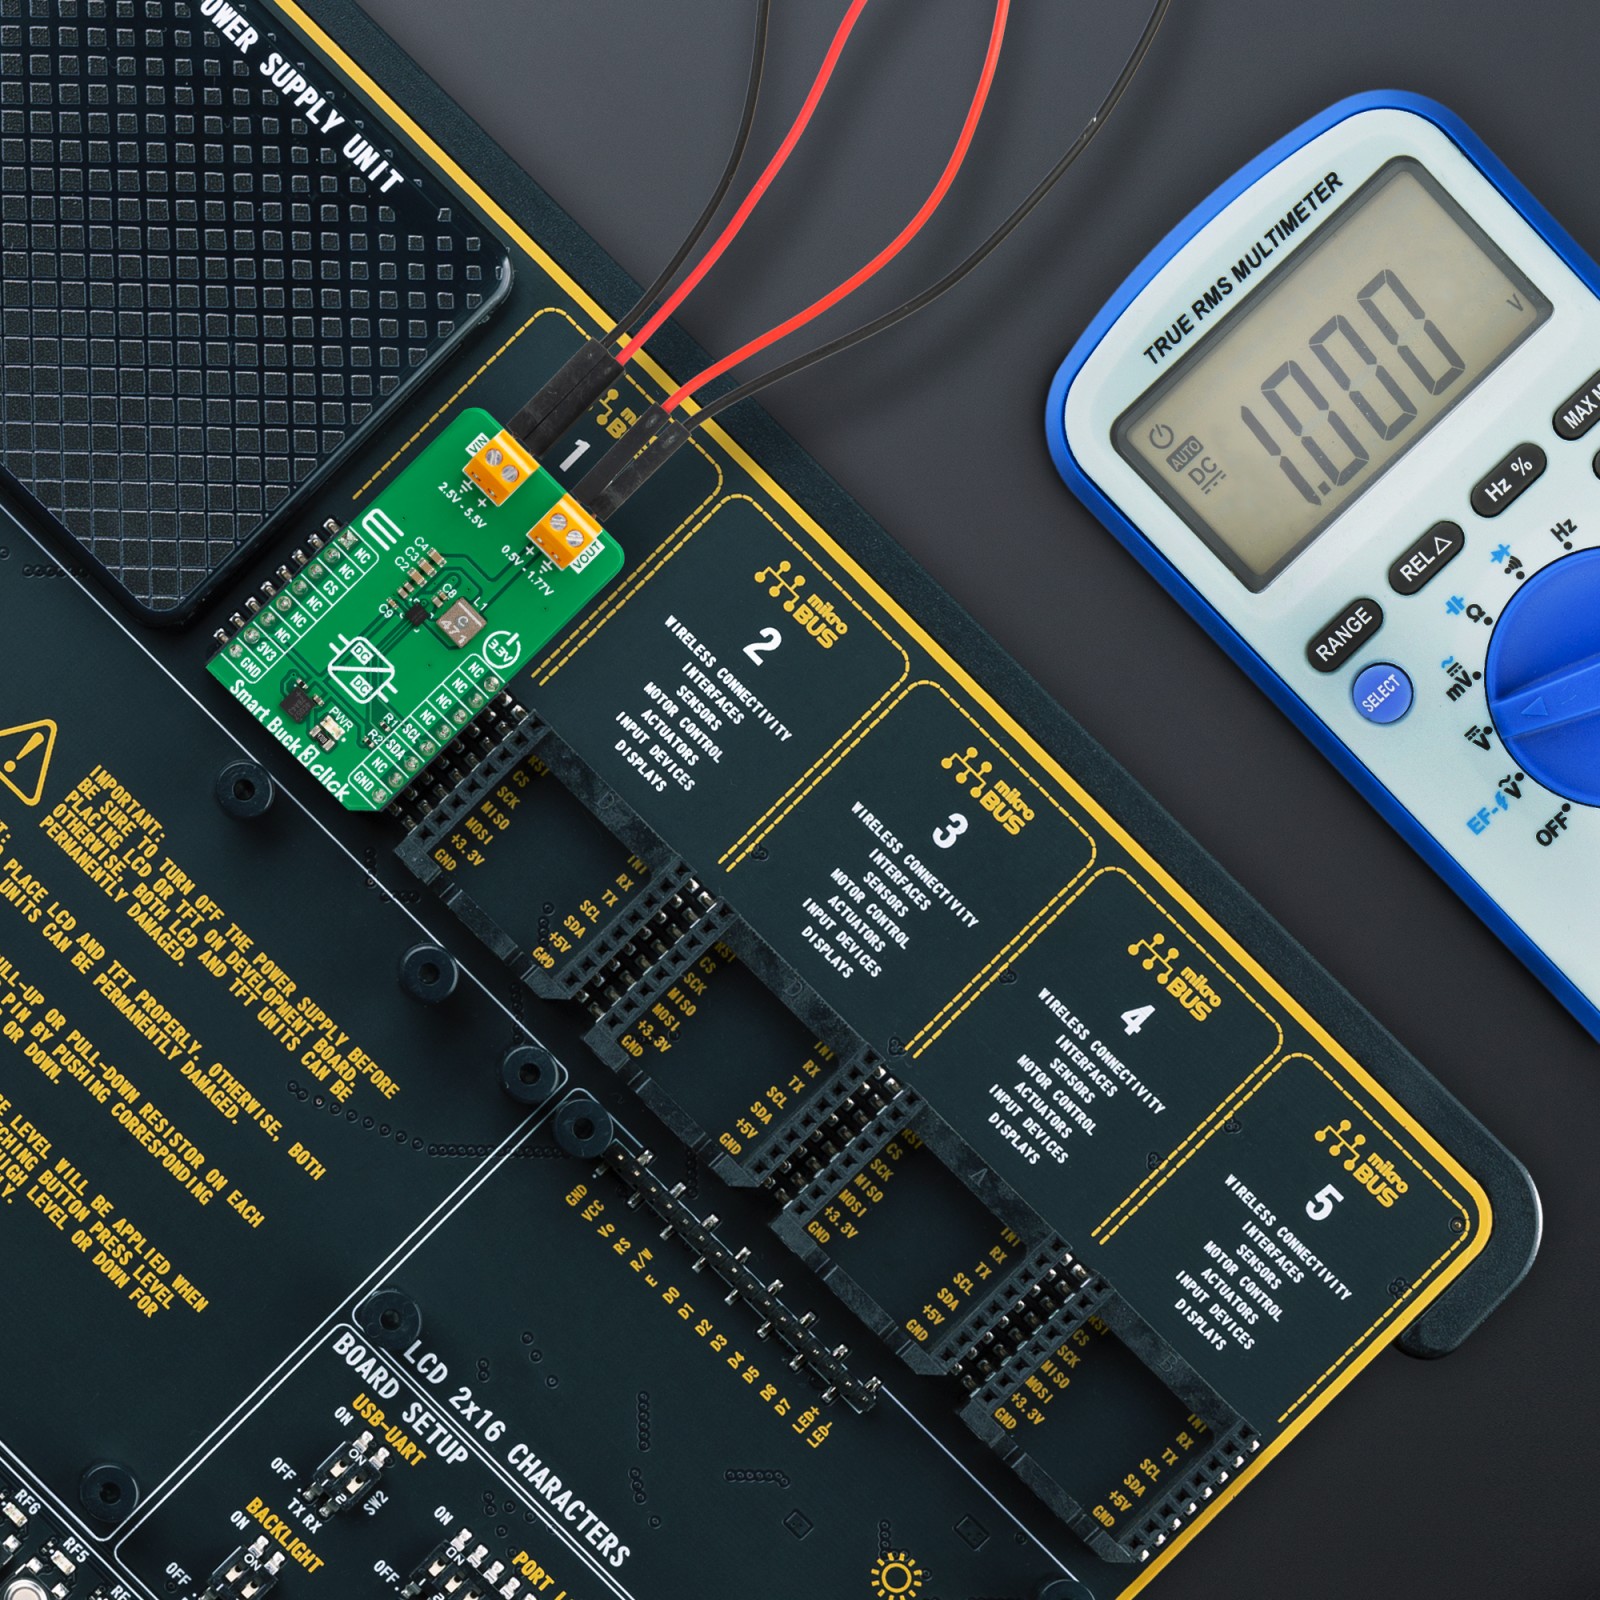
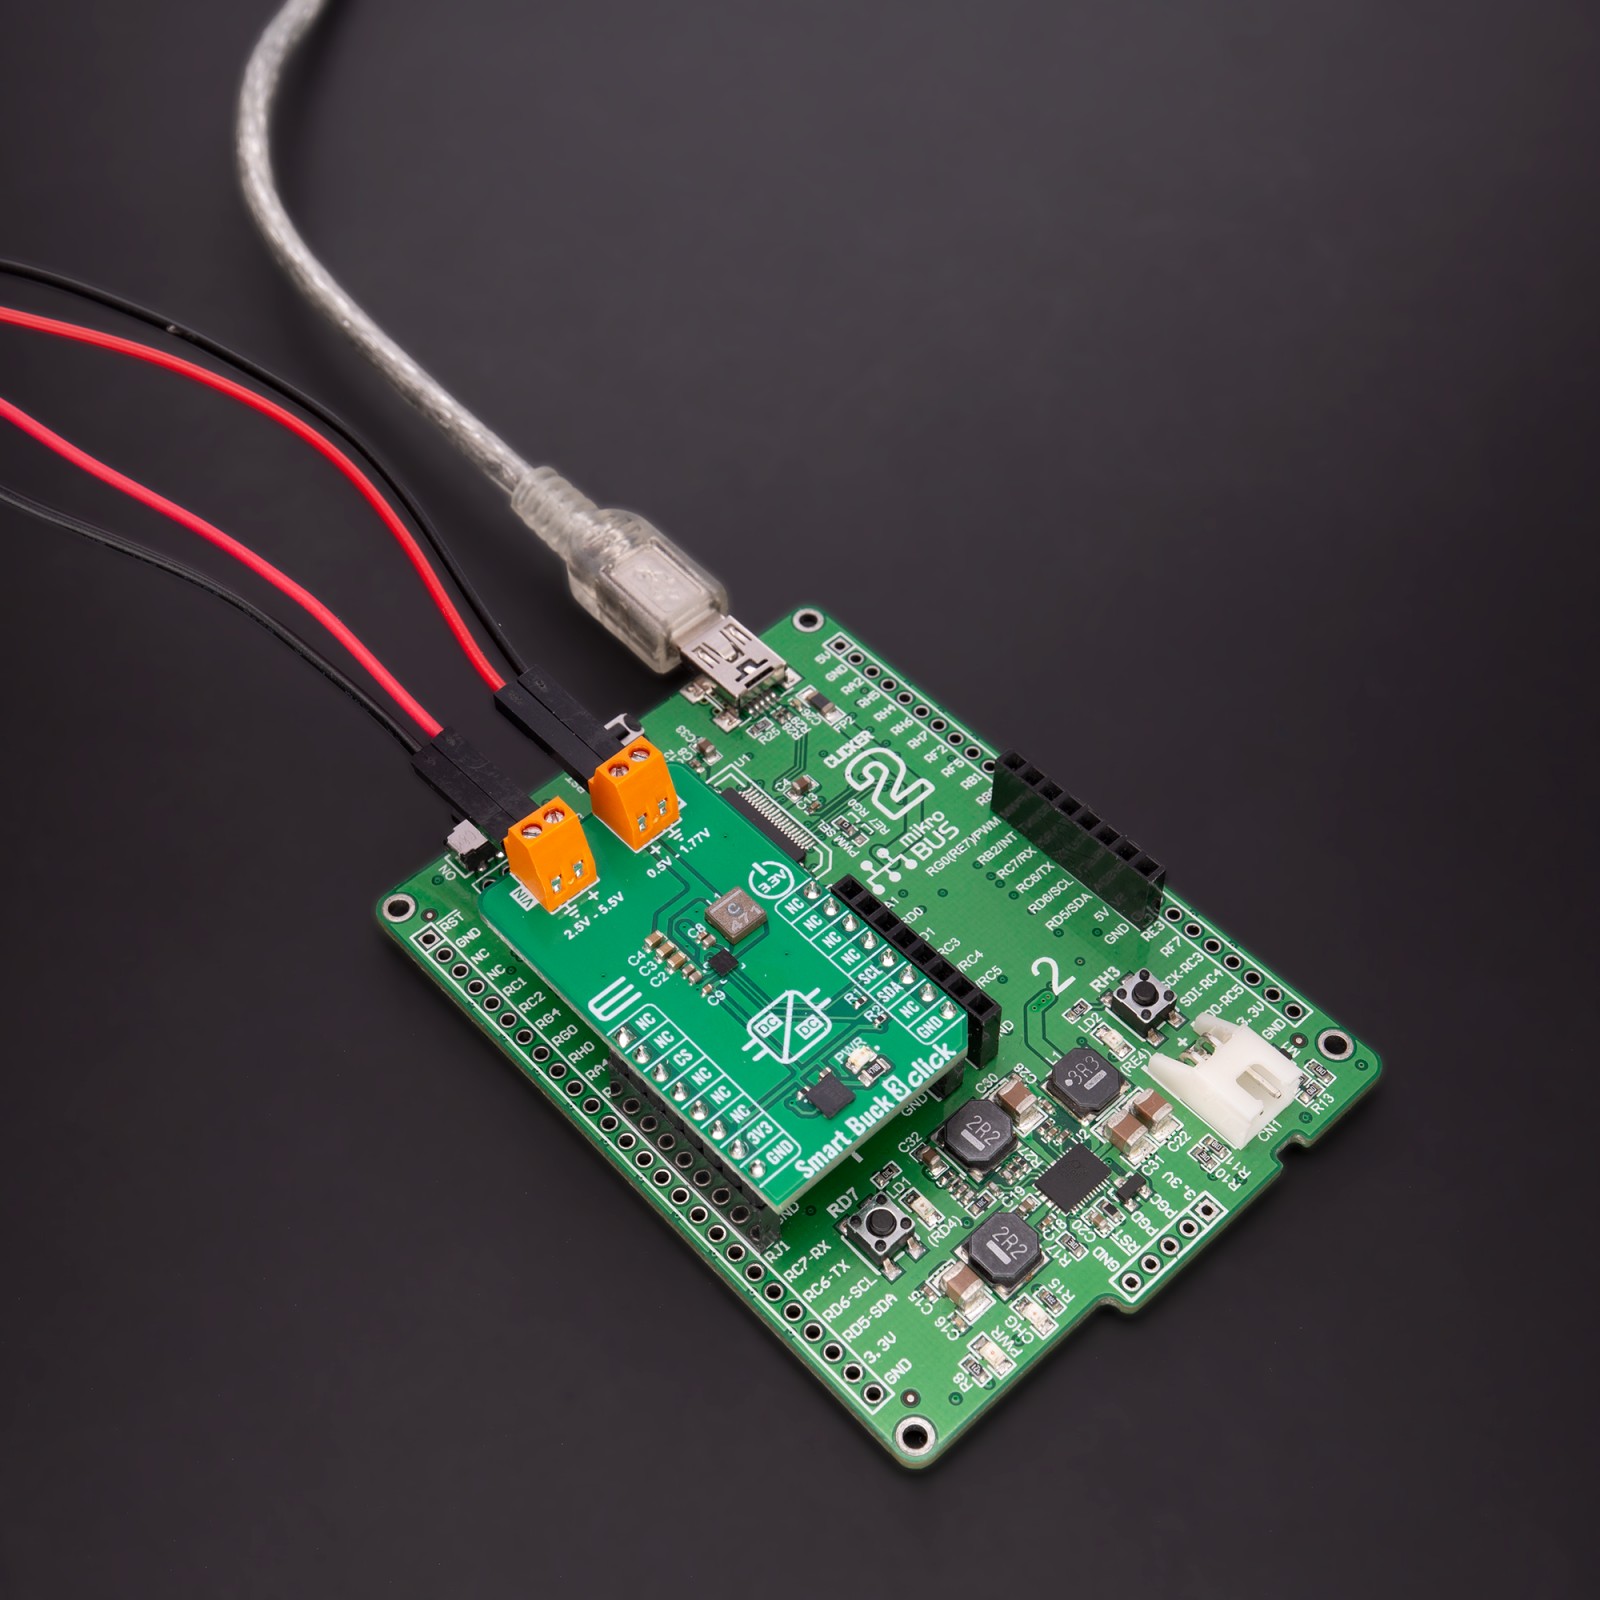
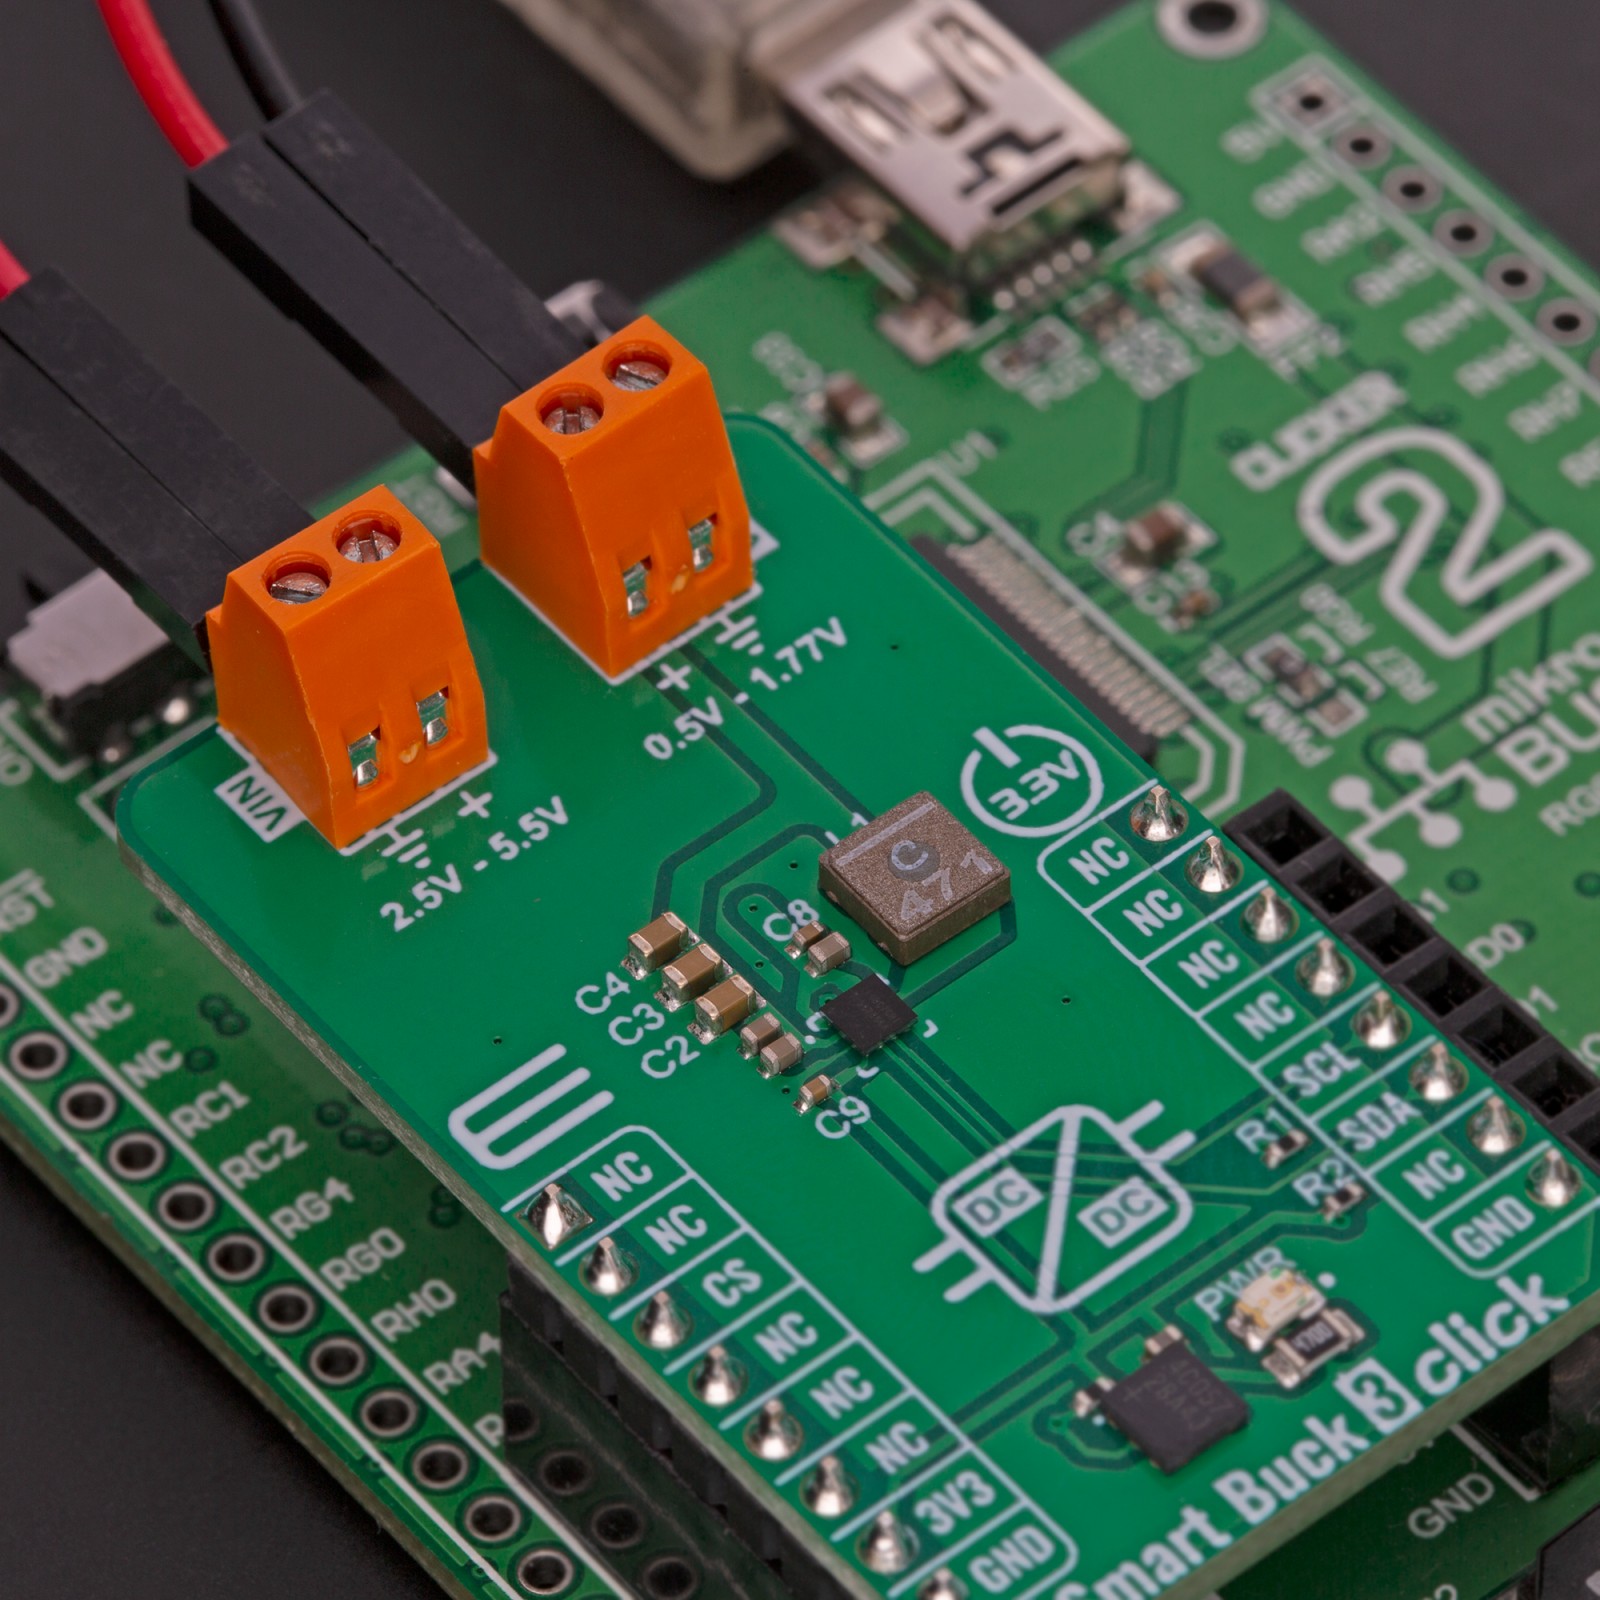
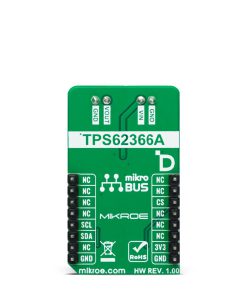
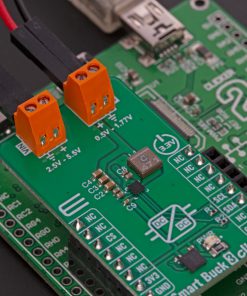
Smart Buck 3 Click is based on the TPS62366A, a processor supply with I2C compatible interface and a remote sense from Texas Instruments. Its dedicated inputs over the VIN terminal allow fast voltage transition while introducing input under voltage detection and lockout. In addition, it features over-temperature protection, a soft start, excellent DC output voltage regulation, and other robust operation/protection features. It offers a high-efficiency step-down conversion, with the highest efficiency towards low and highest output currents. This way, it increases the battery ON-time.
The TPS62366A uses the DCS-Control™ architecture and fully differential sensing to achieve precise static and dynamic transient output voltage regulation. This way, the output voltage security margins can be kept small. The used architecture supports PWM mode for medium and heavy load conditions and a Power Save mode for light loads. During the PWM mode, it works at the 2.5MHz frequency, and as the load decreases, the TPS62366A enters a Power Save mode (on this board set at 1.16V). This transition is seamless and does not affect output voltage transients.
In addition, the TPS62366A incorporates internal soft-start circuitry, which controls the output voltage ramp-up after enabling the device by eliminating the inrush current. The converter avoids excessive voltage drops of primary cells and rechargeable batteries with high internal impedance. During this procedure, the output voltage is monotonically ramped up to the threshold of the minimum programmable output voltage and further increases by the ramp rate settings to the programmed output voltage.
Smart Buck 3 Click uses a standard 2-Wire I2C interface to communicate with the host MCU supporting Standard, Fast, and High-speed modes with a frequency of up to 3.4MHz. The I2C address is fixed and can not be changed.
This Click board™ can only be operated with a 3.3V logic voltage level. The board must perform appropriate logic voltage level conversion before using MCUs with different logic levels. However, the Click board™ comes equipped with a library containing functions and an example code that can be used, as a reference, for further development.
Specifications
Type
Buck
Applications
Can be used for the development of DSPs power supplies, portable devices, dynamic voltage scaling, and more
On-board modules
TPS62366A – high-frequency synchronous step down DC-DC converter from Texas Instruments
Key Features
Highest efficiency, excellent DC output voltage regulation, soft start, programmable slew rate at voltage transition, over current protection, input under voltage detection/lock-out, and more
Interface
I2C
Feature
No ClickID
Compatibility
mikroBUS™
Click board size
M (42.9 x 25.4 mm)
Input Voltage
3.3V
Pinout diagram
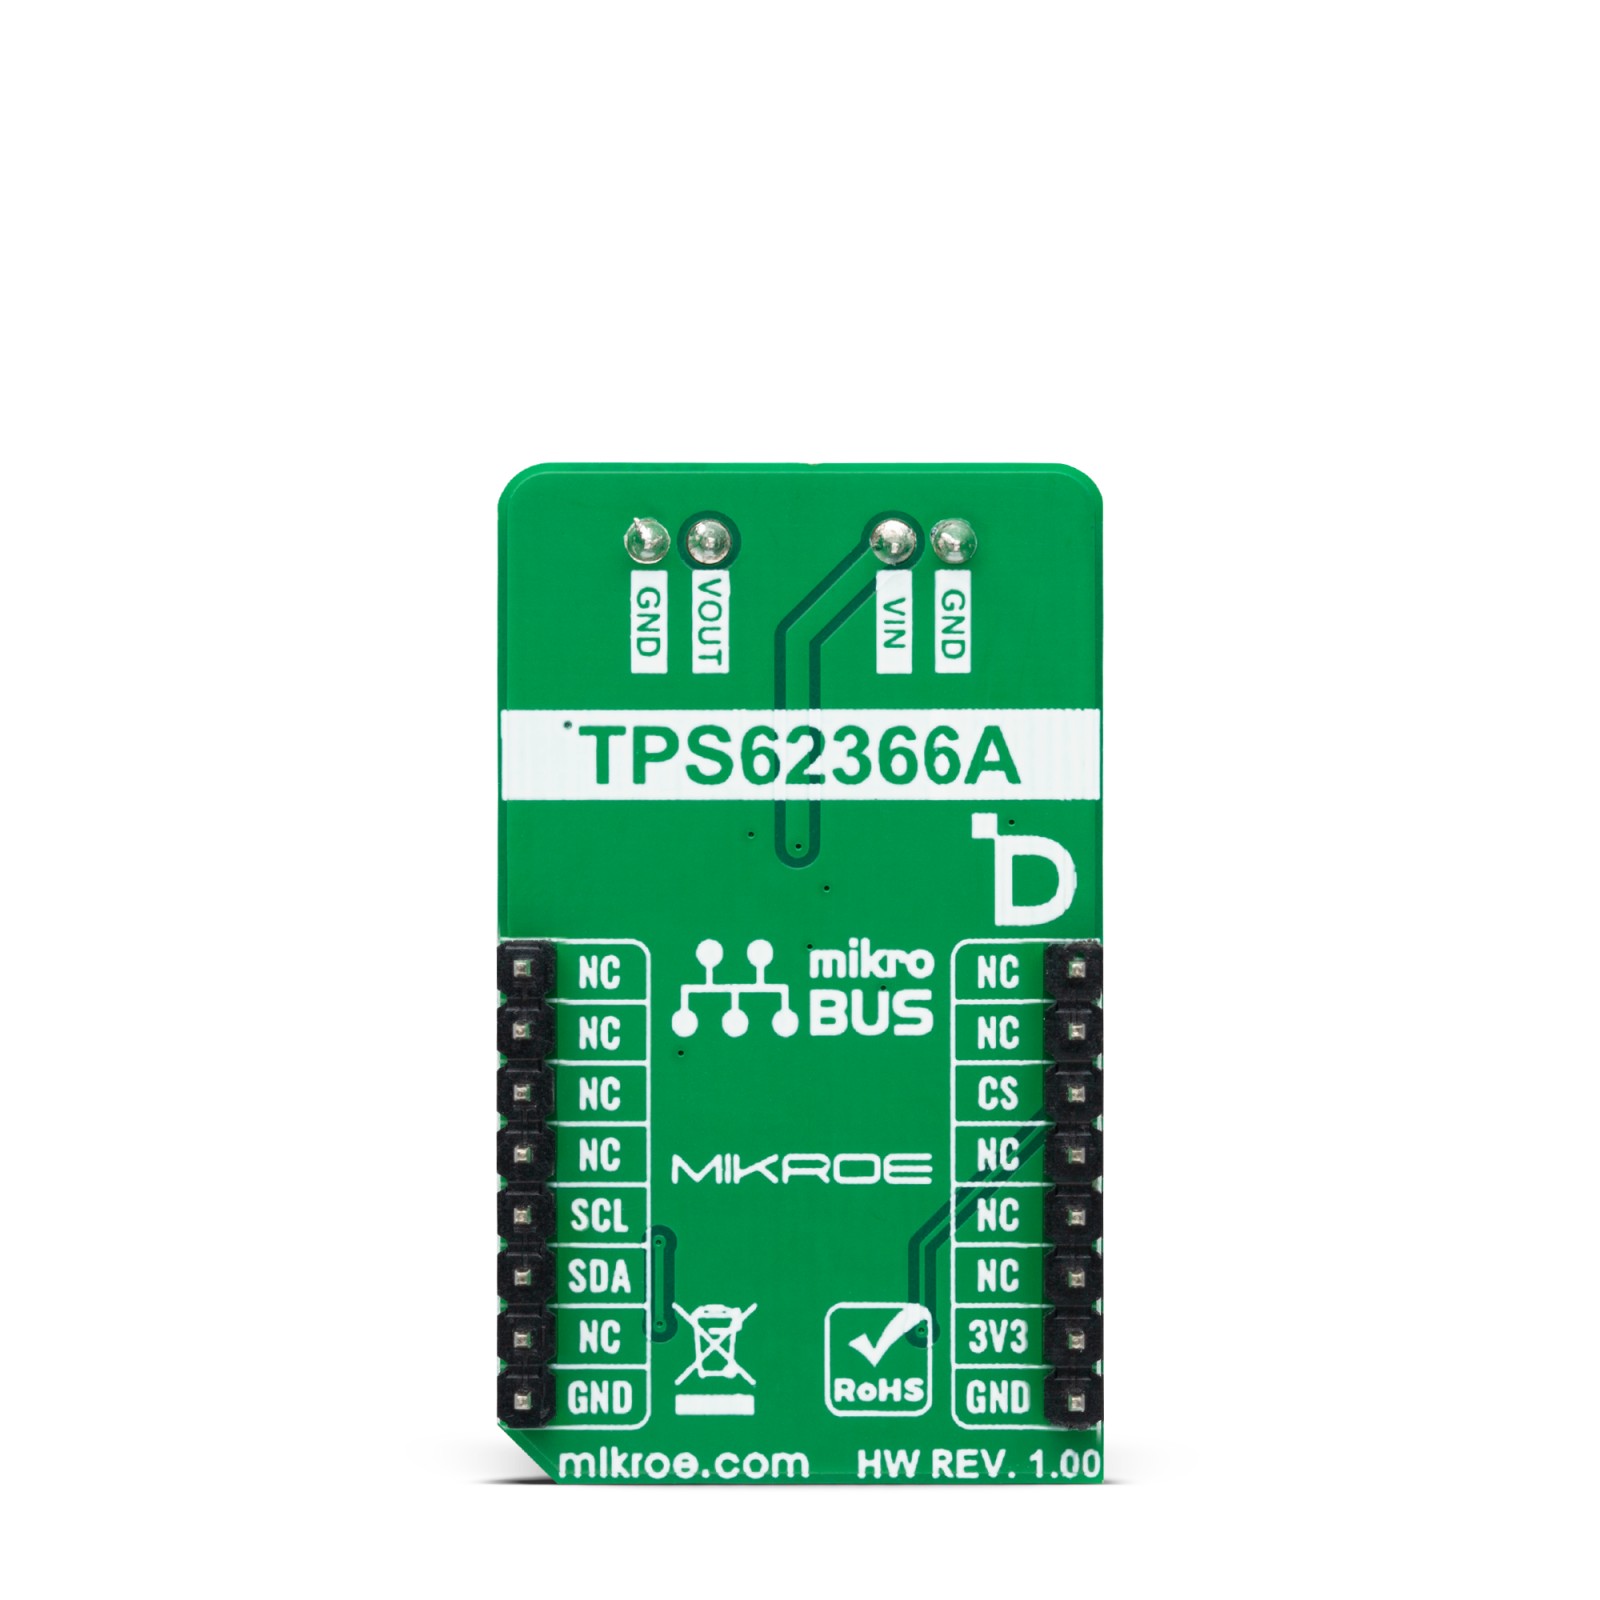
This table shows how the pinout on Smart Buck 3 Click corresponds to the pinout on the mikroBUS™ socket (the latter shown in the two middle columns).
Onboard settings and indicators
Label | Name | Default | Description |
---|---|---|---|
LD1 | PWR | – | Power LED Indicator |
Smart Buck 3 Click electrical specifications
Description | Min | Typ | Max | Unit |
---|---|---|---|---|
Supply Voltage | – | 3.3 | – | V |
Input Voltage Range | 2.5 | – | 5.5 | V |
Output Voltage Range | 0.7 | – | 1.77 | V |
Output Current | – | – | 2.5 | A |
Software Support
We provide a library for the Smart Buck 3 Click as well as a demo application (example), developed using MIKROE compilers. The demo can run on all the main MIKROE development boards.
Package can be downloaded/installed directly from NECTO Studio Package Manager (recommended), downloaded from our LibStock™ or found on Mikroe github account.
Library Description
This library contains API for Smart Buck 3 Click driver.
Key functions
-
smartbuck3_set_voltage
Smart Buck 3 set voltage function. -
smartbuck3_get_voltage
Smart Buck 3 get voltage function. -
smartbuck3_set_operation_mode
Smart Buck 3 set operation mode function.
Example Description
This example demonstrates the use of Smart Buck 3 Click board™. This driver provides functions for device configurations and for the sets and reads the output voltage.
void application_task ( void )
{
if ( SMARTBUCK3_OK == smartbuck3_set_voltage( &smartbuck3, vout_mv ) )
{
Delay_ms( 100 );
if ( SMARTBUCK3_OK == smartbuck3_get_voltage( &smartbuck3, &vout_mv ) )
{
log_printf ( &logger, " Vout: %u mVrn", vout_mv );
}
}
vout_mv += 100;
if ( vout_mv > SMARTBUCK3_VOUT_MAX )
{
vout_mv = SMARTBUCK3_VOUT_MIN;
}
Delay_ms( 3000 );
}
The full application code, and ready to use projects can be installed directly from NECTO Studio Package Manager (recommended), downloaded from our LibStock™ or found on Mikroe github account.
Other Mikroe Libraries used in the example:
- MikroSDK.Board
- MikroSDK.Log
- Click.SmartBuck3
Additional notes and informations
Depending on the development board you are using, you may need USB UART click, USB UART 2 Click or RS232 Click to connect to your PC, for development systems with no UART to USB interface available on the board. UART terminal is available in all MIKROE compilers.
mikroSDK
This Click board™ is supported with mikroSDK – MIKROE Software Development Kit, that needs to be downloaded from the LibStock and installed for the compiler you are using to ensure proper operation of mikroSDK compliant Click board™ demo applications.
For more information about mikroSDK, visit the official page.