PIR Click
R390.00 ex. VAT
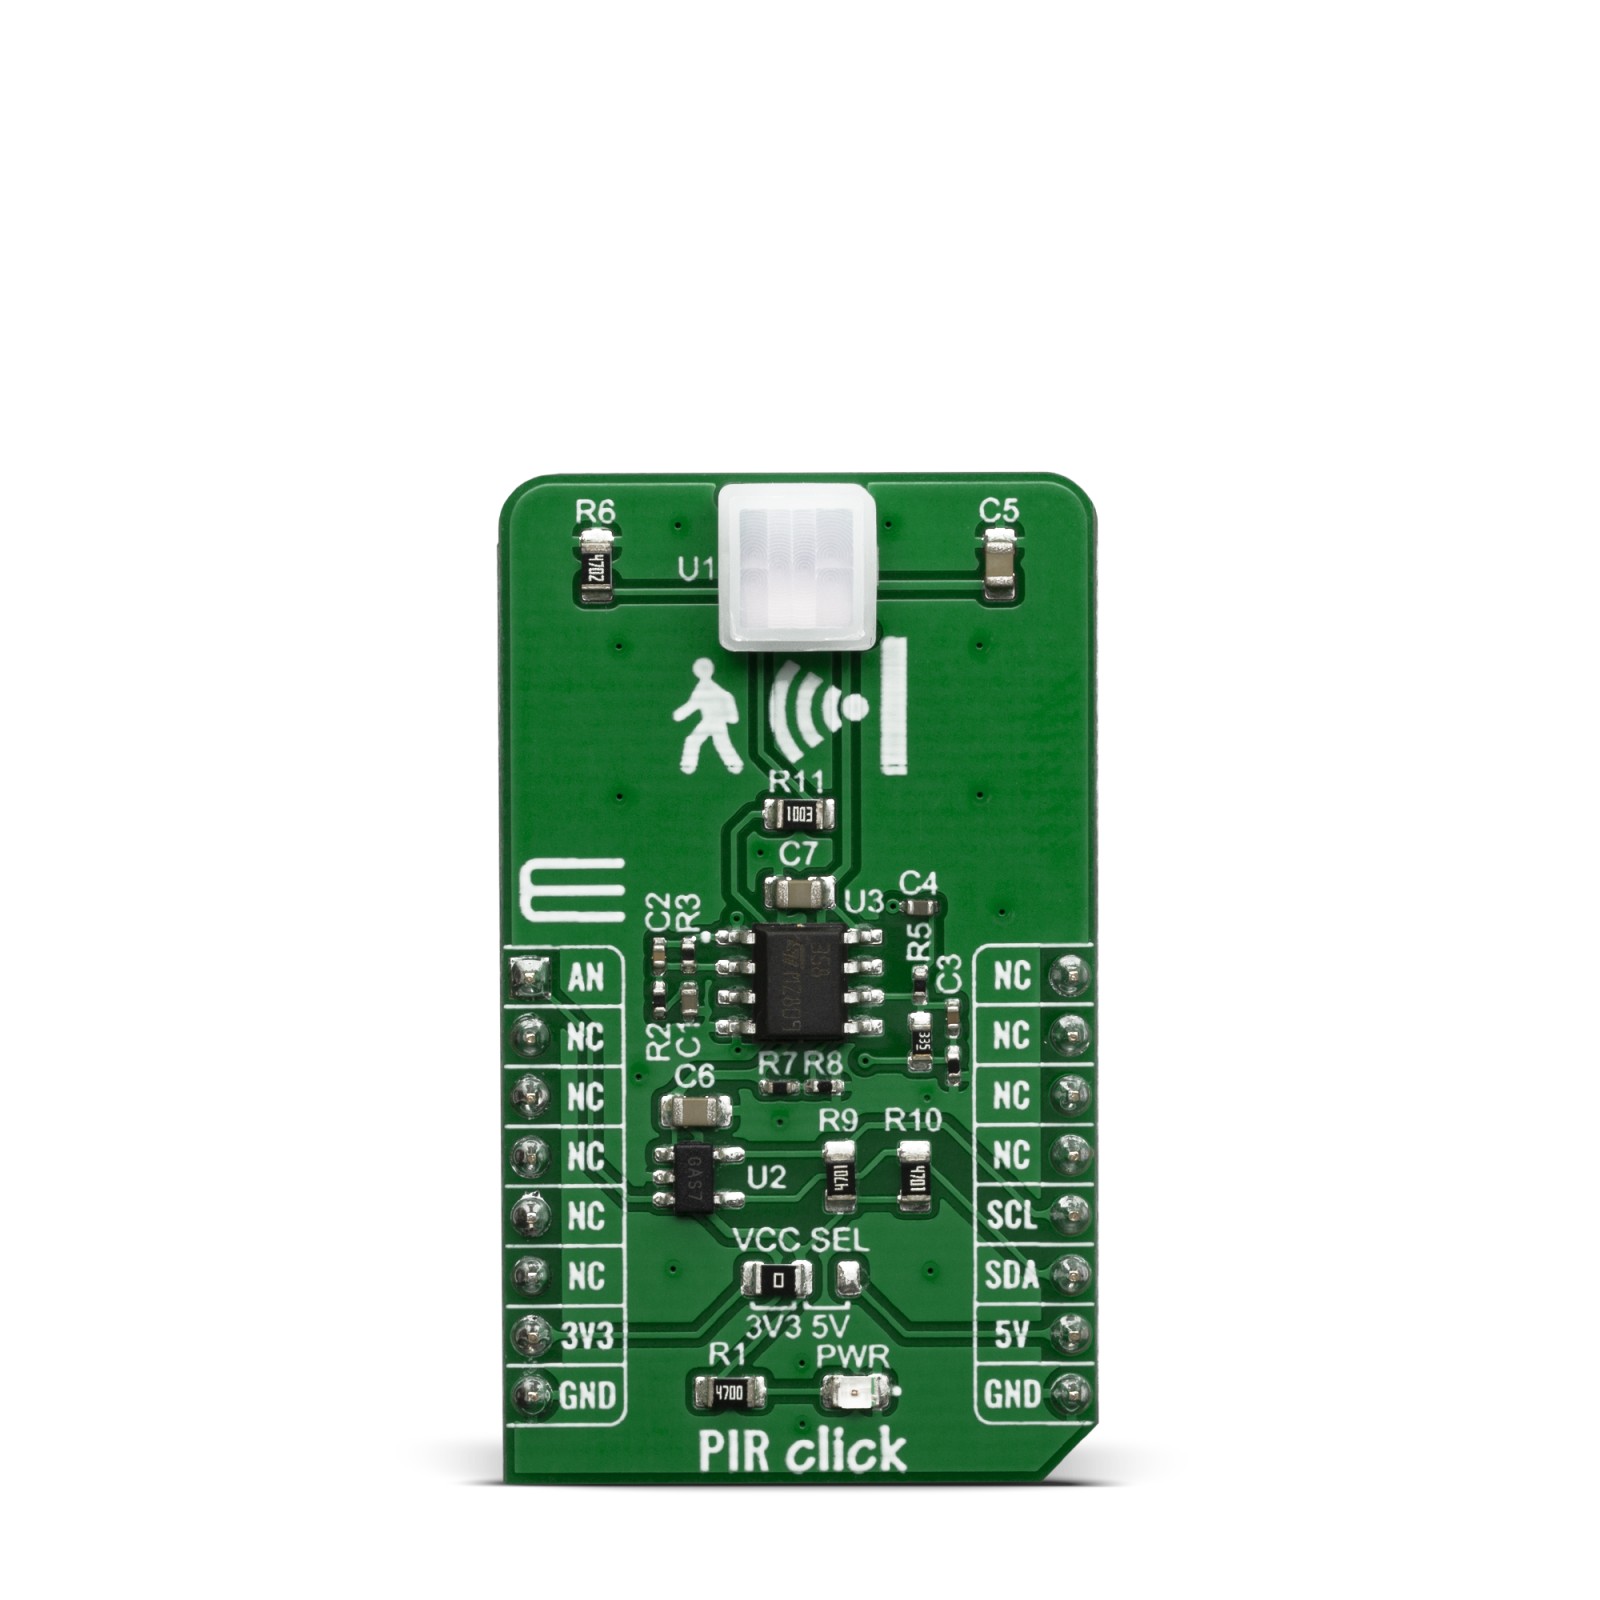
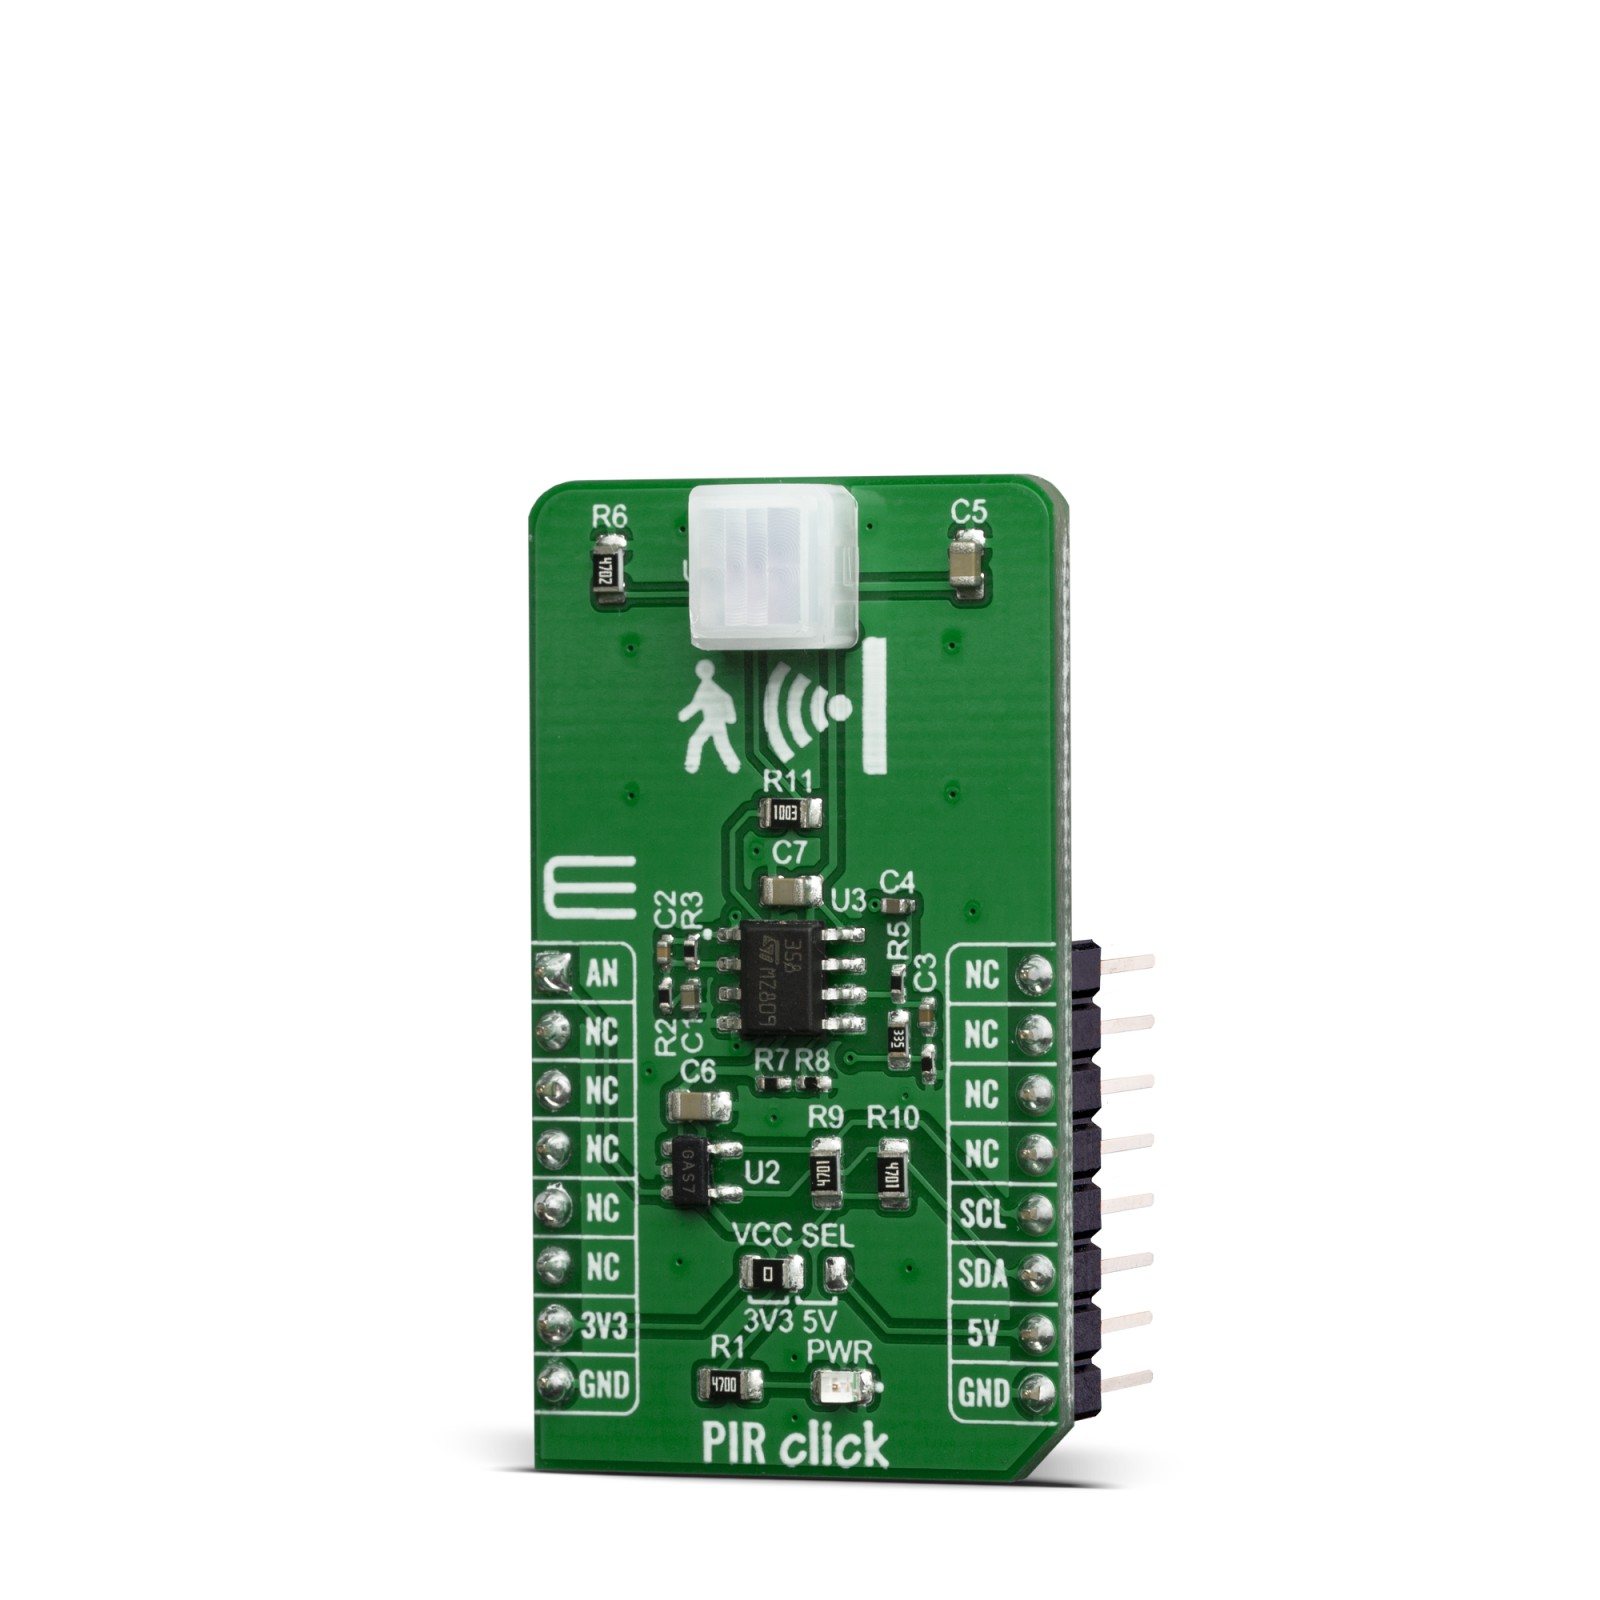
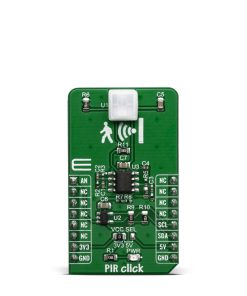
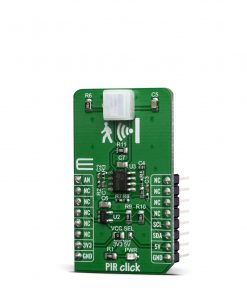
PIR Click is a pyroelectric sensor that generates a voltage when exposed to infrared radiation emitted by live bodies. It is equipped with the PL-N823-01, an infrared sensor from KEMET that uses the pyroelectric effect of ceramic by absorbing infrared rays emitted from the human body. The sensor is paired with the PL-001L-N Fresnel lens, also from KEMET, which is already integrated on the board. This lens helps filter visible light and enhances the detection of the natural infrared signature produced by humans. However, the sensor can also detect infrared rays without using lenses.
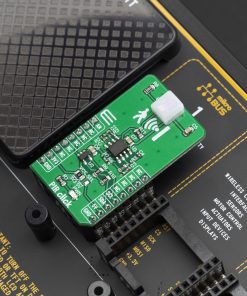
PIR click is supported by a mikroSDK compliant library, which includes functions that simplify software development. This Click board™ comes as a fully tested product, ready to be used on a system equipped with the mikroBUS™ socket.
Stock: Lead-time applicable.
| 5+ | R370.50 |
| 10+ | R351.00 |
| 15+ | R331.50 |
| 20+ | R319.02 |
The PIR sensor is a kind of thermal sensor which is able to detect the movement of a heat source. As the most general heat source in indoor environments, humans with motion can be detected by PIR sensors. However, this sensor cannot detect static human subjects. We call this sensing mode “passive sensing”, since the sensor itself is passively triggered by moving subjects. It is important to state that the sensor can be used for developing various applications, the typical ones including human presence detection sensing for energy saving functions in: contactless switching, building or office automation equipment, home applicances, lighting, display products, air-conditioners, TV, PC monitors, rice cookers and many more.
How does it work?
The main component of the PIR click is the PL-N823-01 –a PL Pyroelectric Infrared Sensors from KEMET. Due to the absence of a lens, KEMET’s Pyro Sensor is low profile, as it does not protrude, which makes it ideal for gathering visual requirements. With KEMET’s proprietary piezoelectric ceramic material and element structure of the Pyroelectric Infrared Sensor, you can also detect humans through glass or resin. This allows more freedom in the design of the outer appearance of the end product.

Such a sensor system aims to provide the reliable human detection and human scenario perception. In order to achieve this goal, a conditioning sensing circuit with a low-noise signal amplifier with adjusted amplification gain is developed. Besides, the gain amplification, the onboard circuit serves also as a proprietary 1Hz signal filter, which ensures rejection of all unwanted components of the signal. That way, a reliable movement detection system is achieved. The output signal is routed to the AN pin of the mikroBUS™, as well as to the MCP3221 – a 12-Bit A/D Converter with I2C Interface, from microchip. That way, the user can choose whether to read the output signal via the I2C interface, or directly, by reading the voltage on the analog pin of the used MCU.
Some of the numerous benefits of using this particular click, equiped with the PL-N823-01 infrared sensor, are a wide view angle up to 60 degrees ether way, detection possible through glass or resin, low power consumption, excellent radio wave performance in high-frequency band, a compact and low profile (5.0×4.8×1.7mm) and all of this is possible without a lens because it is not required. The low power consumption that we are speaking of is down in the μA range. When it comes to the performance characteristics, the operating temperature should be between -40C to +70C and the storage temperature should be between -40C to +85C.
The PIR Click board™ offers a selection between 3.3V and 5V operation, with the onboard SMD jumper, labeled as PWR SEL. This allows both 3.3V and 5V MCUs to be interfaced with this Click board™.
The attached device datasheet contains an in-depth explanation of all the mentioned functions. However, Mikroe provides a library with functions that make the final code clean and readable, simplifying working with this device. These functions internally employ the aforementioned communication mechanism and expose only a simple and clean interface to the user. The provided example code demonstrates the functionality of these functions. It can be used as a reference point for a custom development.
Specifications
Type
Motion,Optical,PIR
Applications
Human presence detection sensing for energy saving functions in: contactless switching, office automation equipment, home applicances, lighting, display products, air-conditioners, TV, PC monitors, rice cookers and many more.
On-board modules
PL-N823-01, PL Pyroelectric Infrared Sensors from KEMET
Key Features
Wide view angle, detection possible through glass or resin, low power consumption, excellent radio wave performance in high-frequency band, low profile
Interface
Analog,I2C
Feature
No ClickID
Compatibility
mikroBUS™
Click board size
M (42.9 x 25.4 mm)
Input Voltage
3.3V or 5V
Pinout diagram
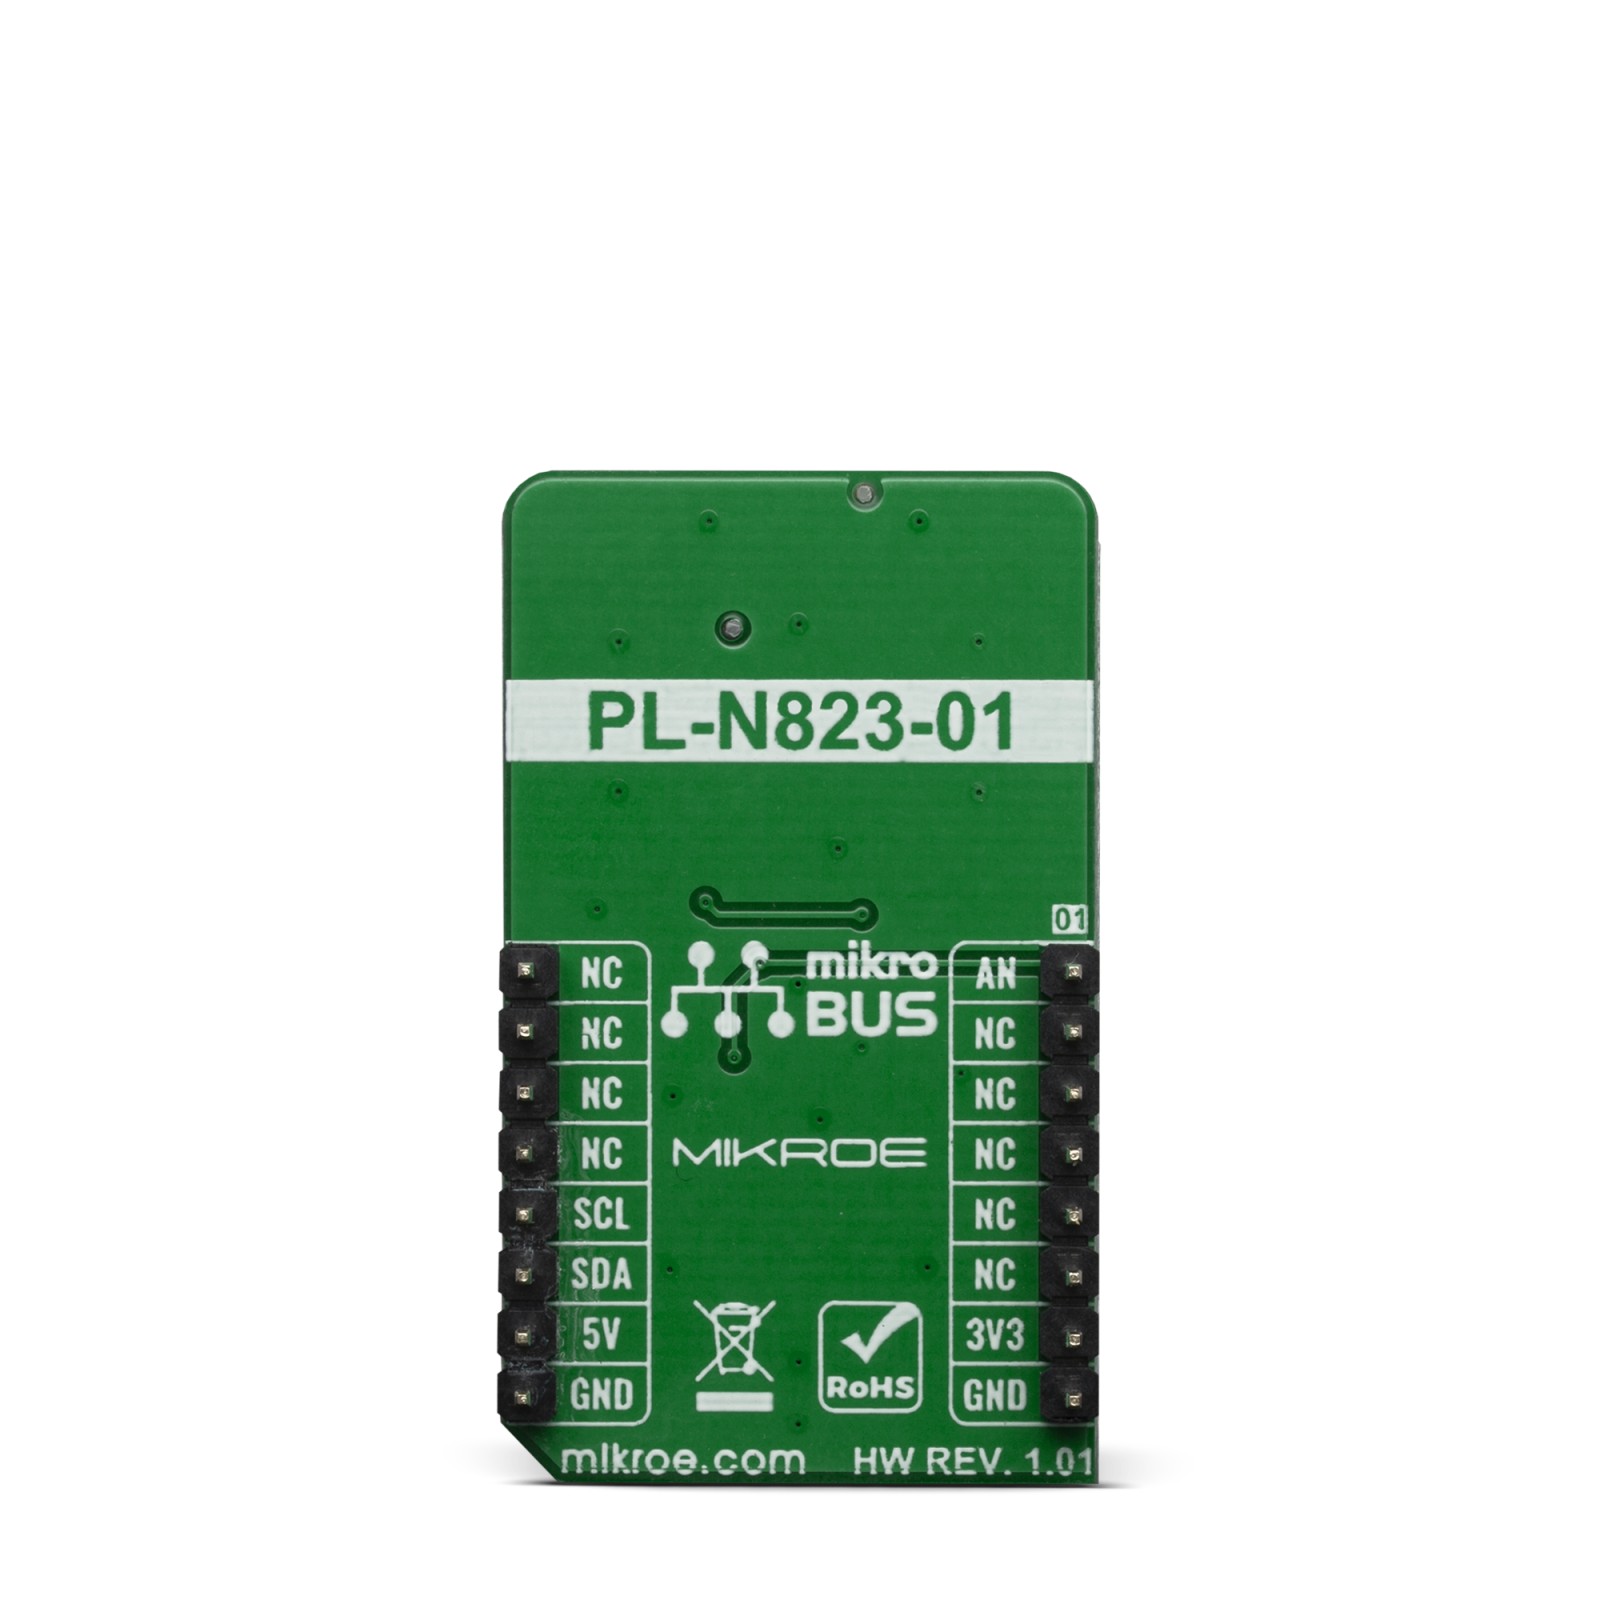
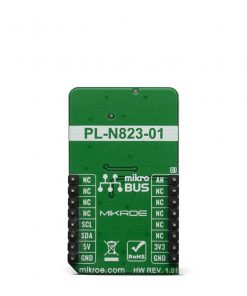
This table shows how the pinout on RIP Click corresponds to the pinout on the mikroBUS™ socket (the latter shown in the two middle columns).
Onboard settings and indicators
| Label | Name | Default Position | Default Option | Description |
|---|---|---|---|---|
| JP1 | PWR SEL | Left | 3V3 | Power Supply Voltage Selection 3V3/5V, left position 3v3, right position 5v |
| LD1 | PWR | – | – | Power LED Indicator |
PIR Click electrical specifications
| Description | Min | Typ | Max | Unit |
|---|---|---|---|---|
| Supply Voltage | 3.3 | – | 5 | V |
| Field of View | – | ±60 | – | deg |
Software Support
We provide a library for the PRI click on our LibStock page, as well as a demo application (example), developed using MikroElektronika compilers. The demo can run on all the main MikroElektronika development boards.
Library Description
Library contains function for reading single ADC conversion data Library contains function for reading single ADC conversion converted to miliVolts Library contains function for scaling ADC data to value in desired range Library contains constant for device address
Key functions:
uint16_t pir_getAdc( void )– reads single ADC conversion datafloat pir_getMiliVolt( uint16_t refVoltage )– reads 12bit ADC data and convets it to miliVoltsfloat pir_scaleResults( uint16_t inVal, uint16_t outMin, uint16_t outMax )– scales ADC conversion data (inVal) to desired range (from outMin to outMax) and returns scaled data (outVal)
Examples description
The application is composed of three sections :
- System Initialization – Initializes LOG, I2C and AN pin as input
- Application Initialization – Initializes I2C driver
- Application Task – Reads ADC data, converts it to miliVolts and logs scaled value in miliVolts
void applicationTask( )
{
    adcVal = pir_getAdc( );
    mapOut = pir_scaleResults( adcVal, 0, 3303 );
    FloatToStr(mapOut, text);
    mikrobus_logWrite(" Voltage: ", _LOG_TEXT);
    mikrobus_logWrite(text, _LOG_TEXT);
    mikrobus_logWrite(" miliVolts ", _LOG_LINE);
    Delay_ms(100);
}
The full application code, and ready to use projects can be found on our LibStock page.
Other mikroE Libraries used in the example:
- I2C
- UART
- Converisons
Additional notes and informations
Depending on the development board you are using, you may need USB UART click, USB UART 2 click or RS232 click to connect to your PC, for development systems with no UART to USB interface available on the board. The terminal available in all MikroElektronika compilers, or any other terminal application of your choice, can be used to read the message.
mikroSDK
This Click board™ is supported with mikroSDK – MikroElektronika Software Development Kit. To ensure proper operation of mikroSDK compliant Click board™ demo applications, mikroSDK should be downloaded from the LibStock and installed for the compiler you are using.
For more information about mikroSDK, visit the official page.
Resources
Downloads
| Weight | 19 g |
|---|---|
| Brand | MikroElektronika |

