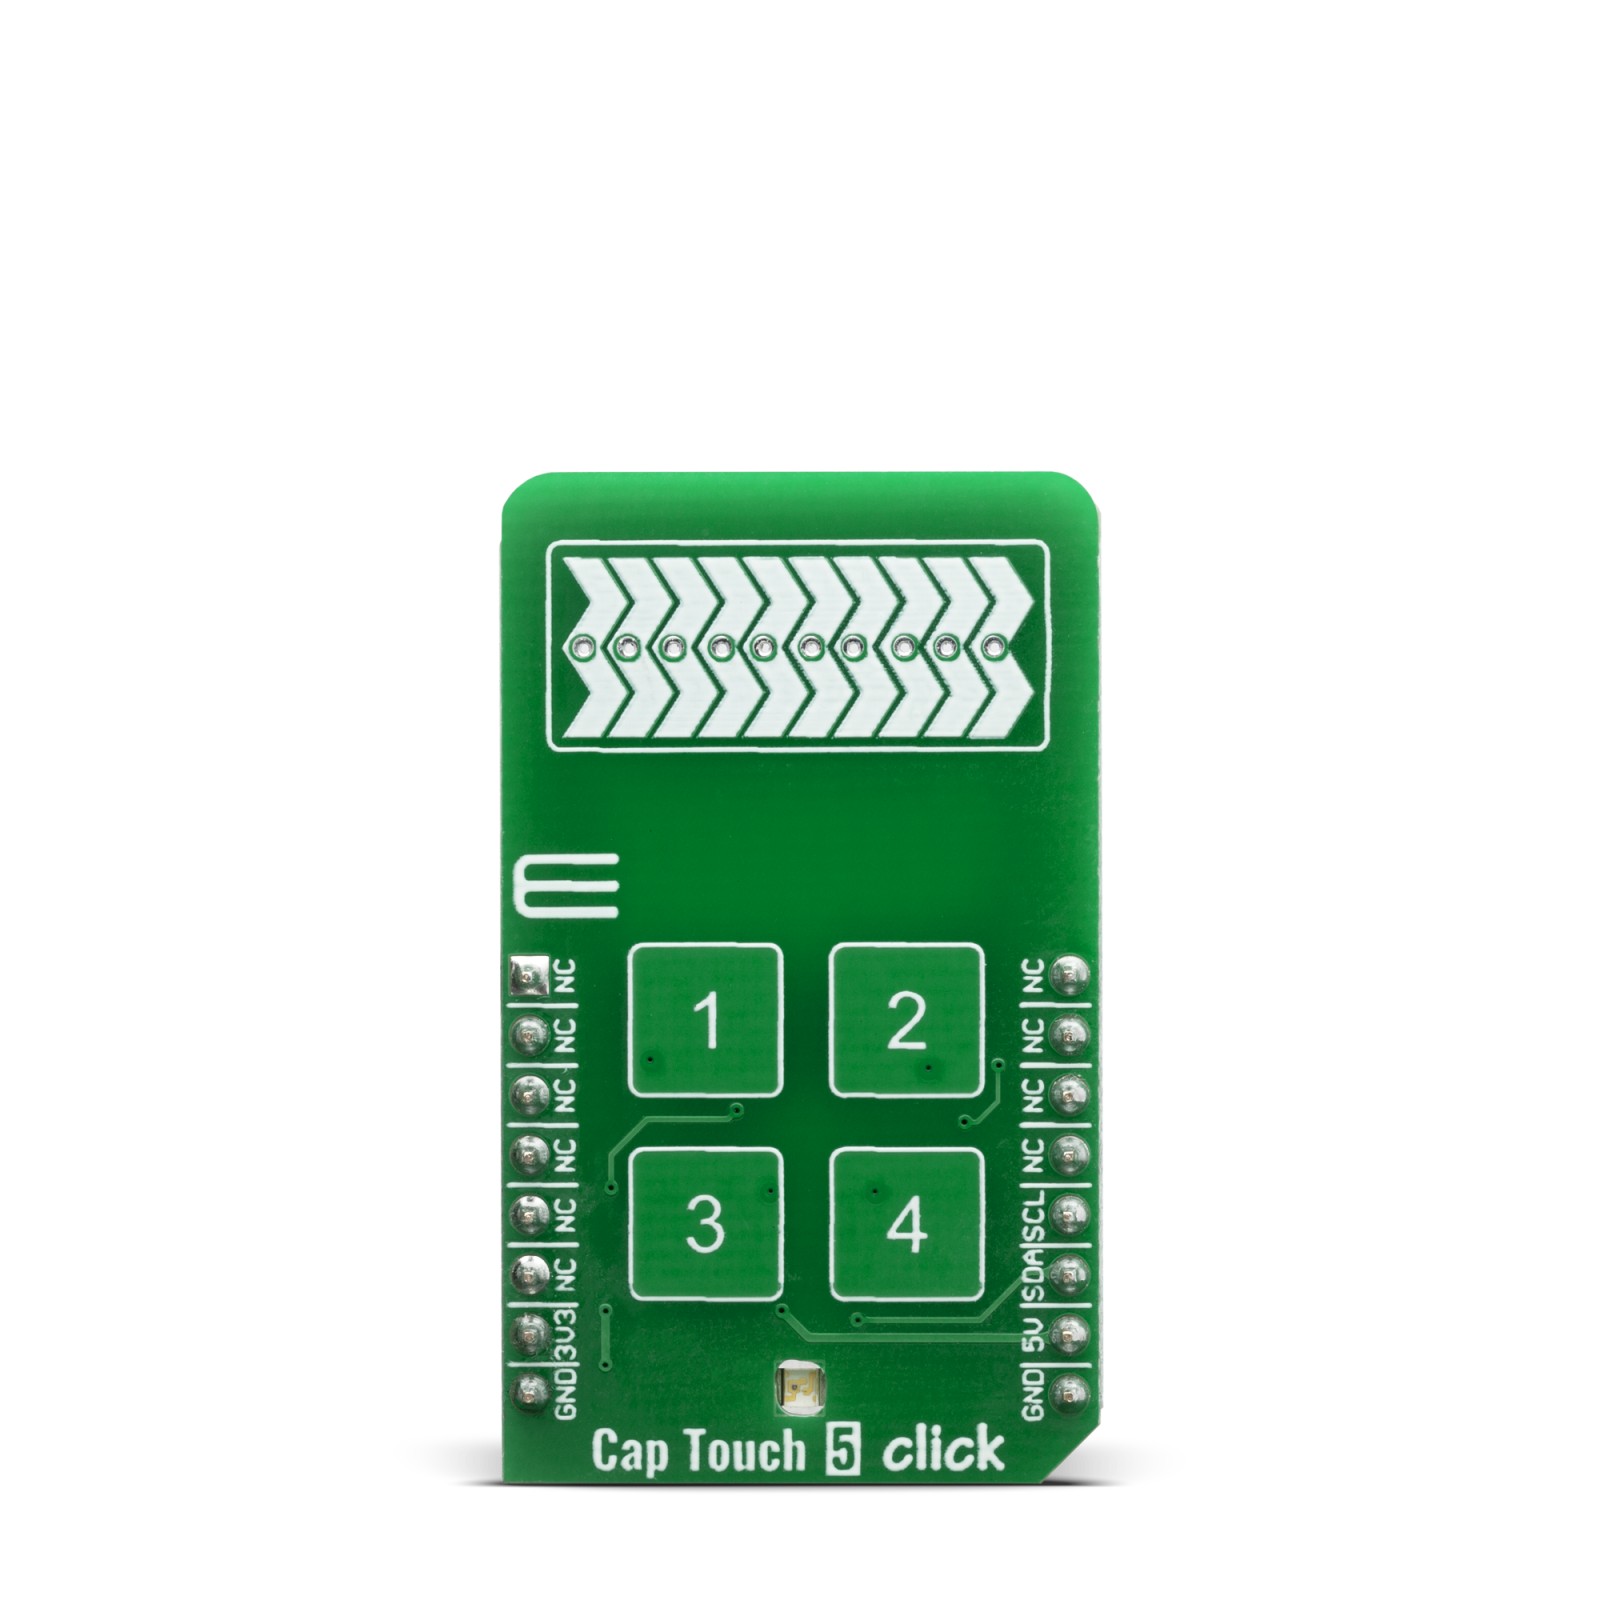
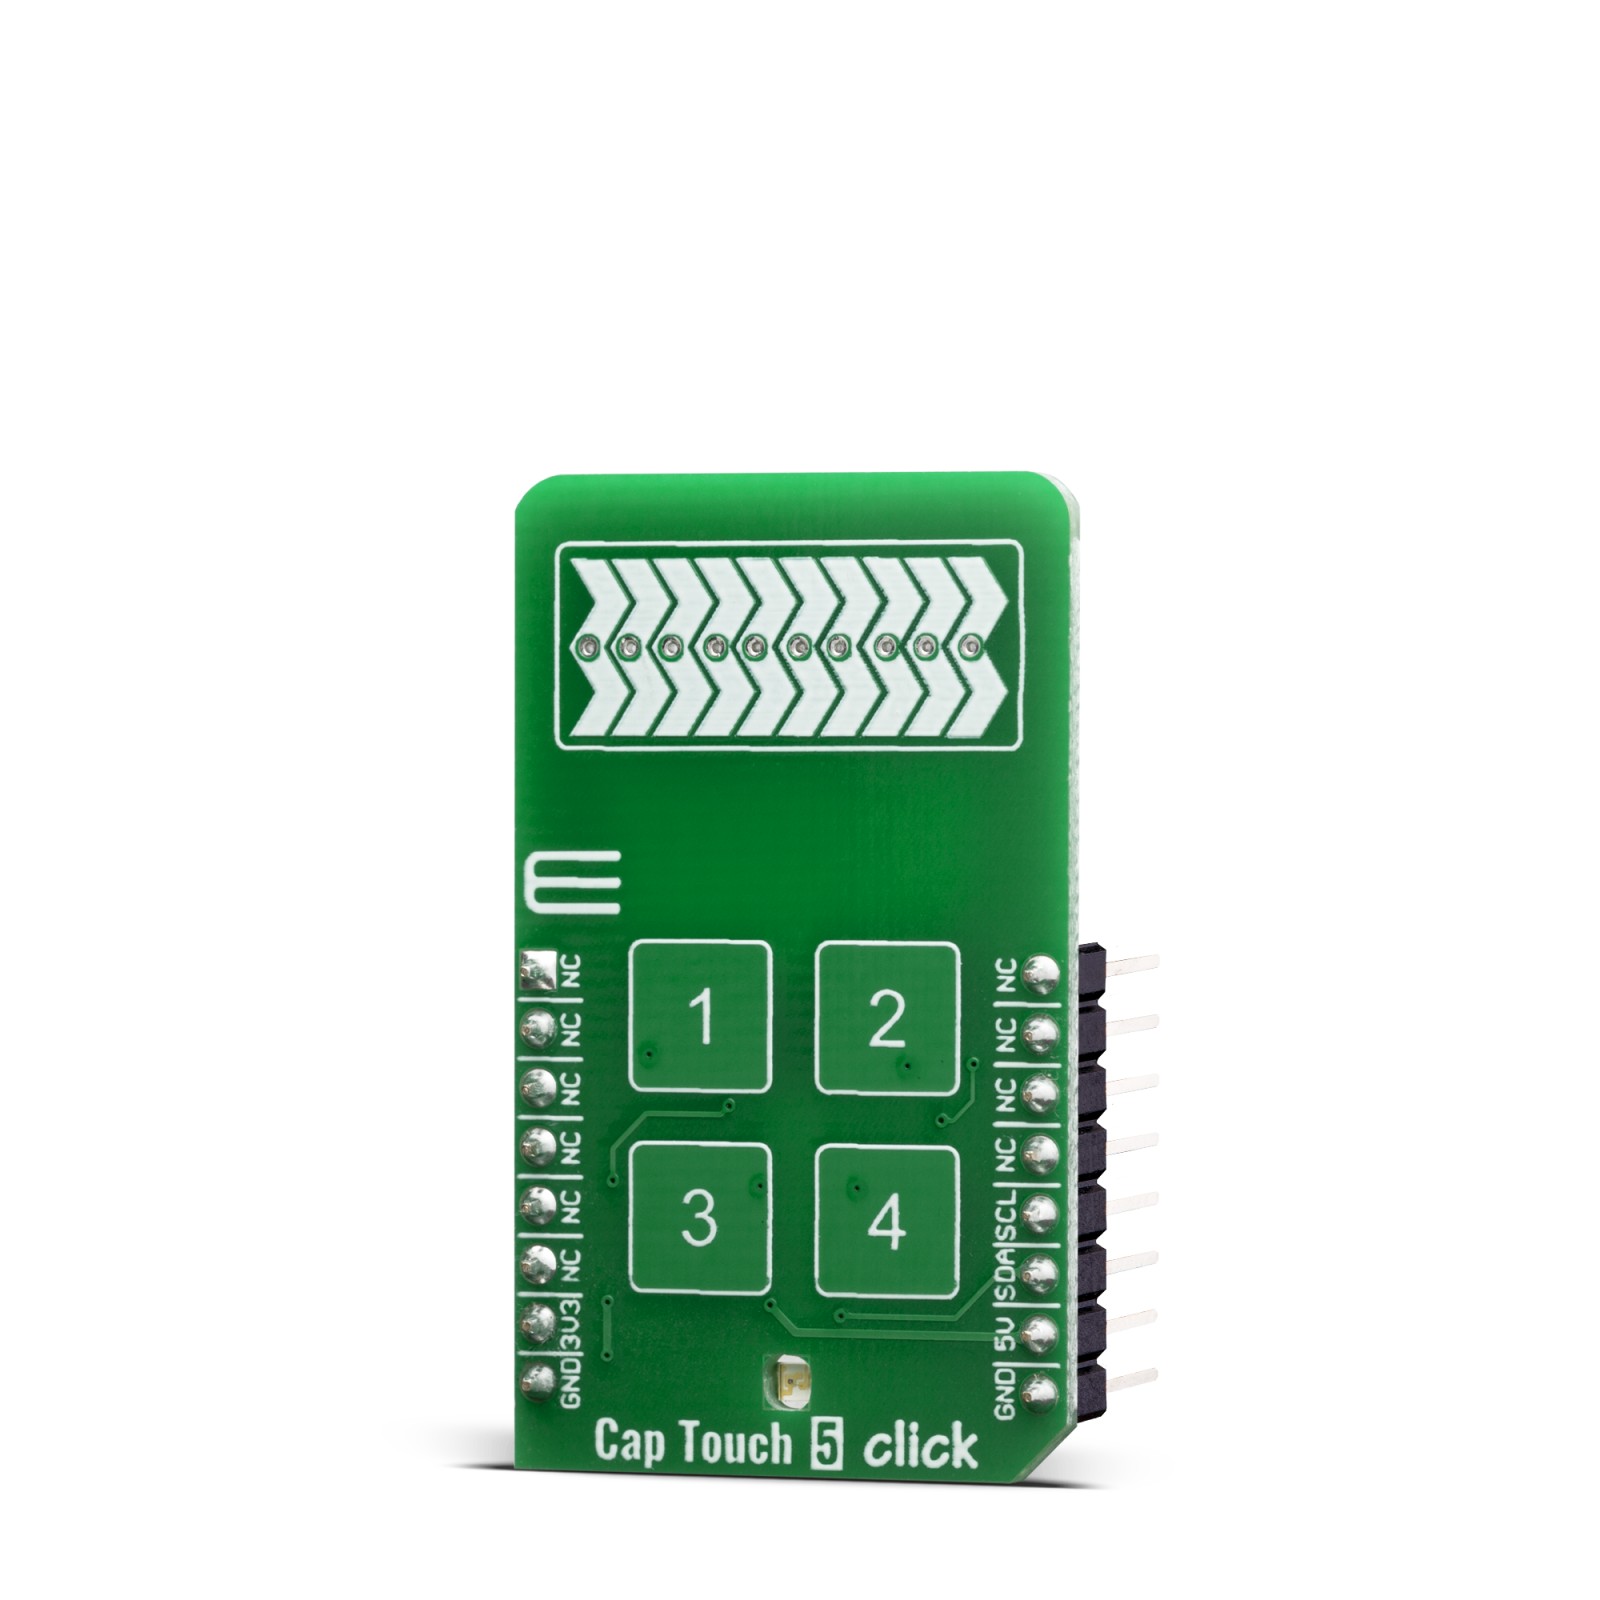
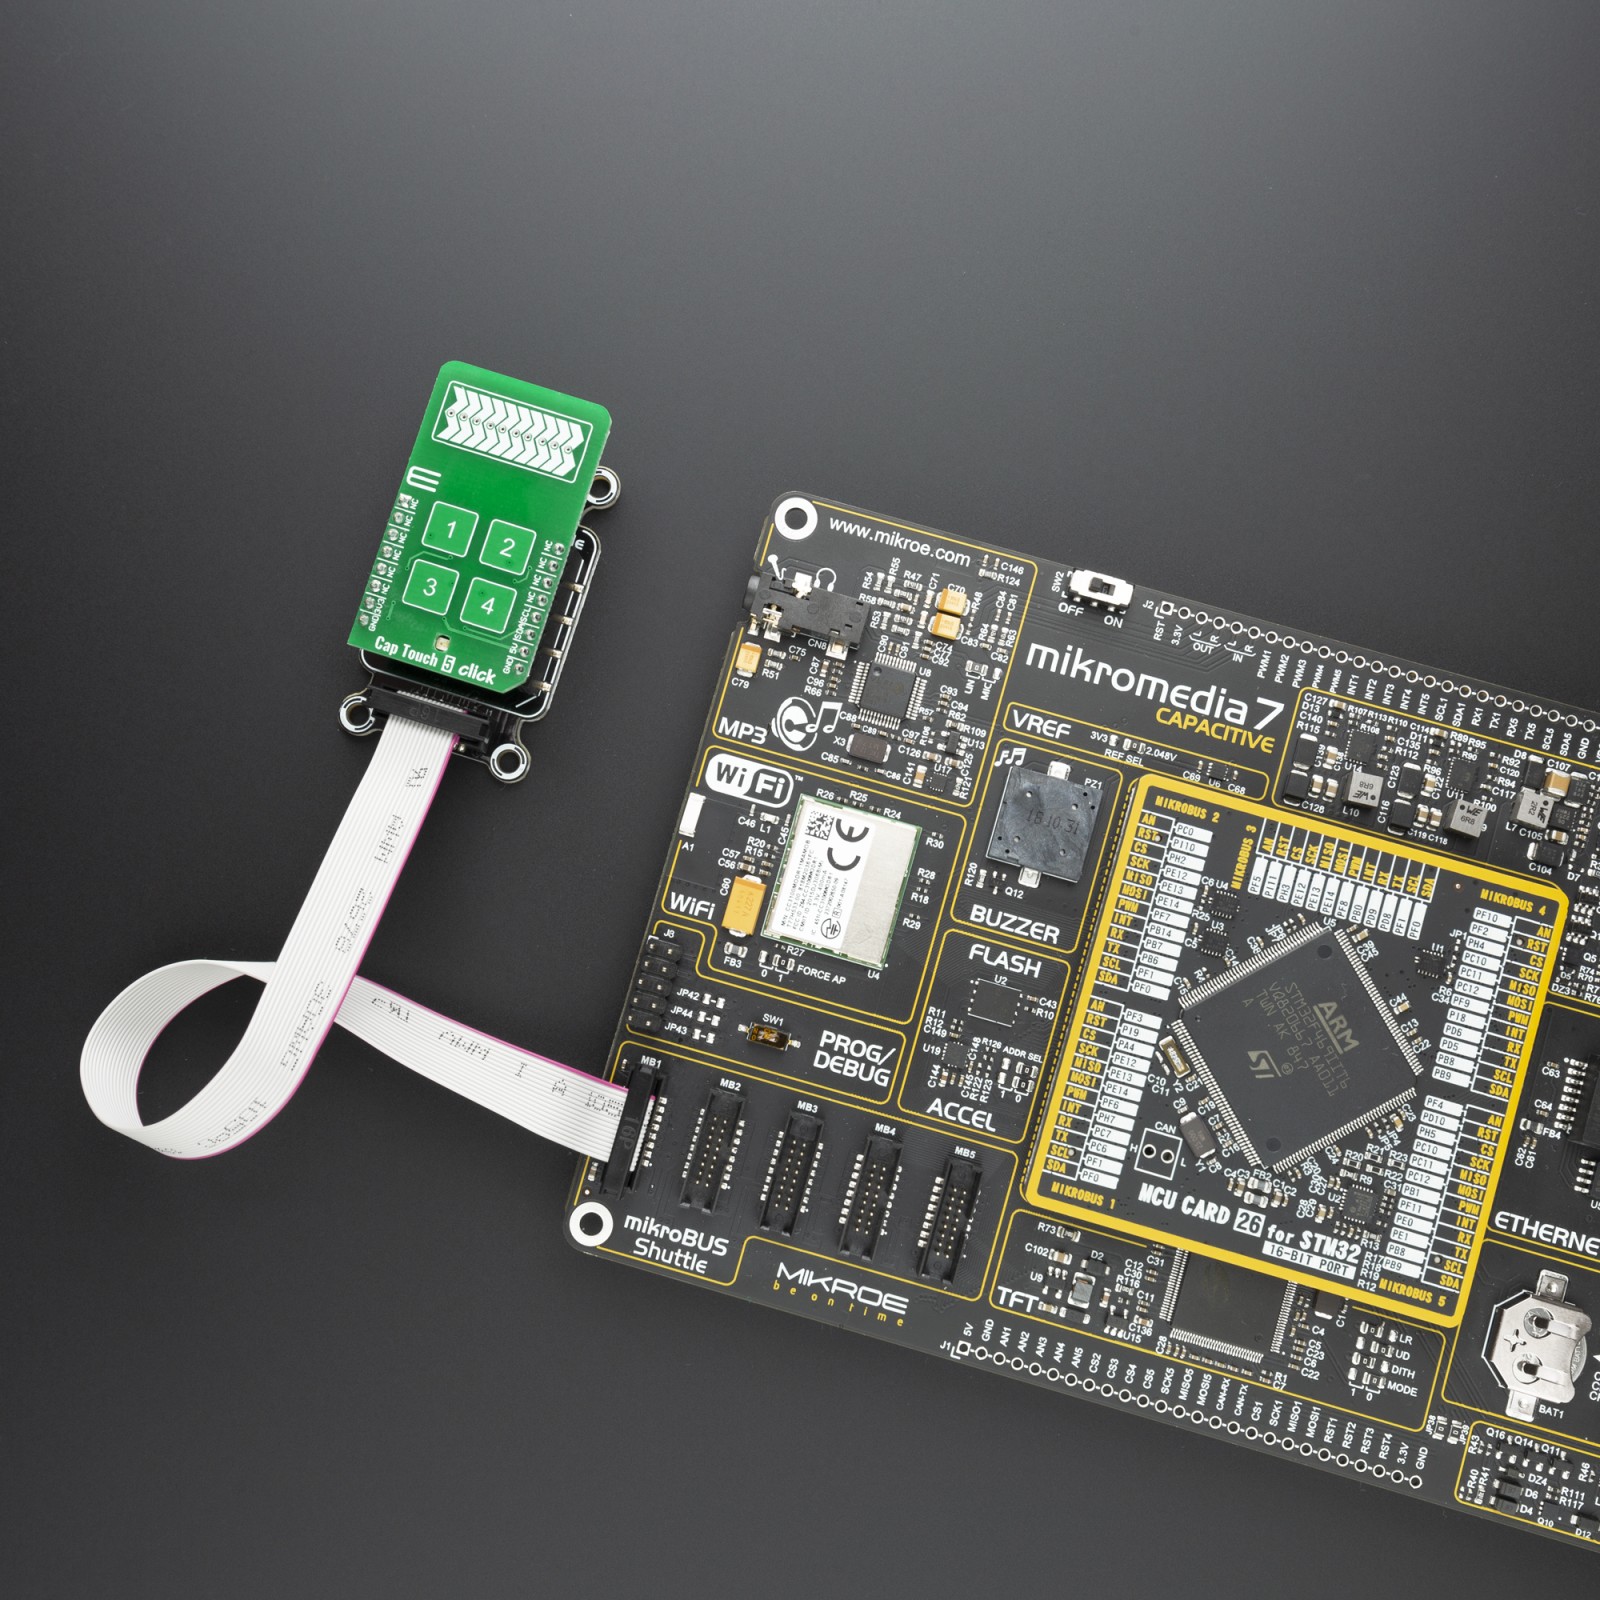
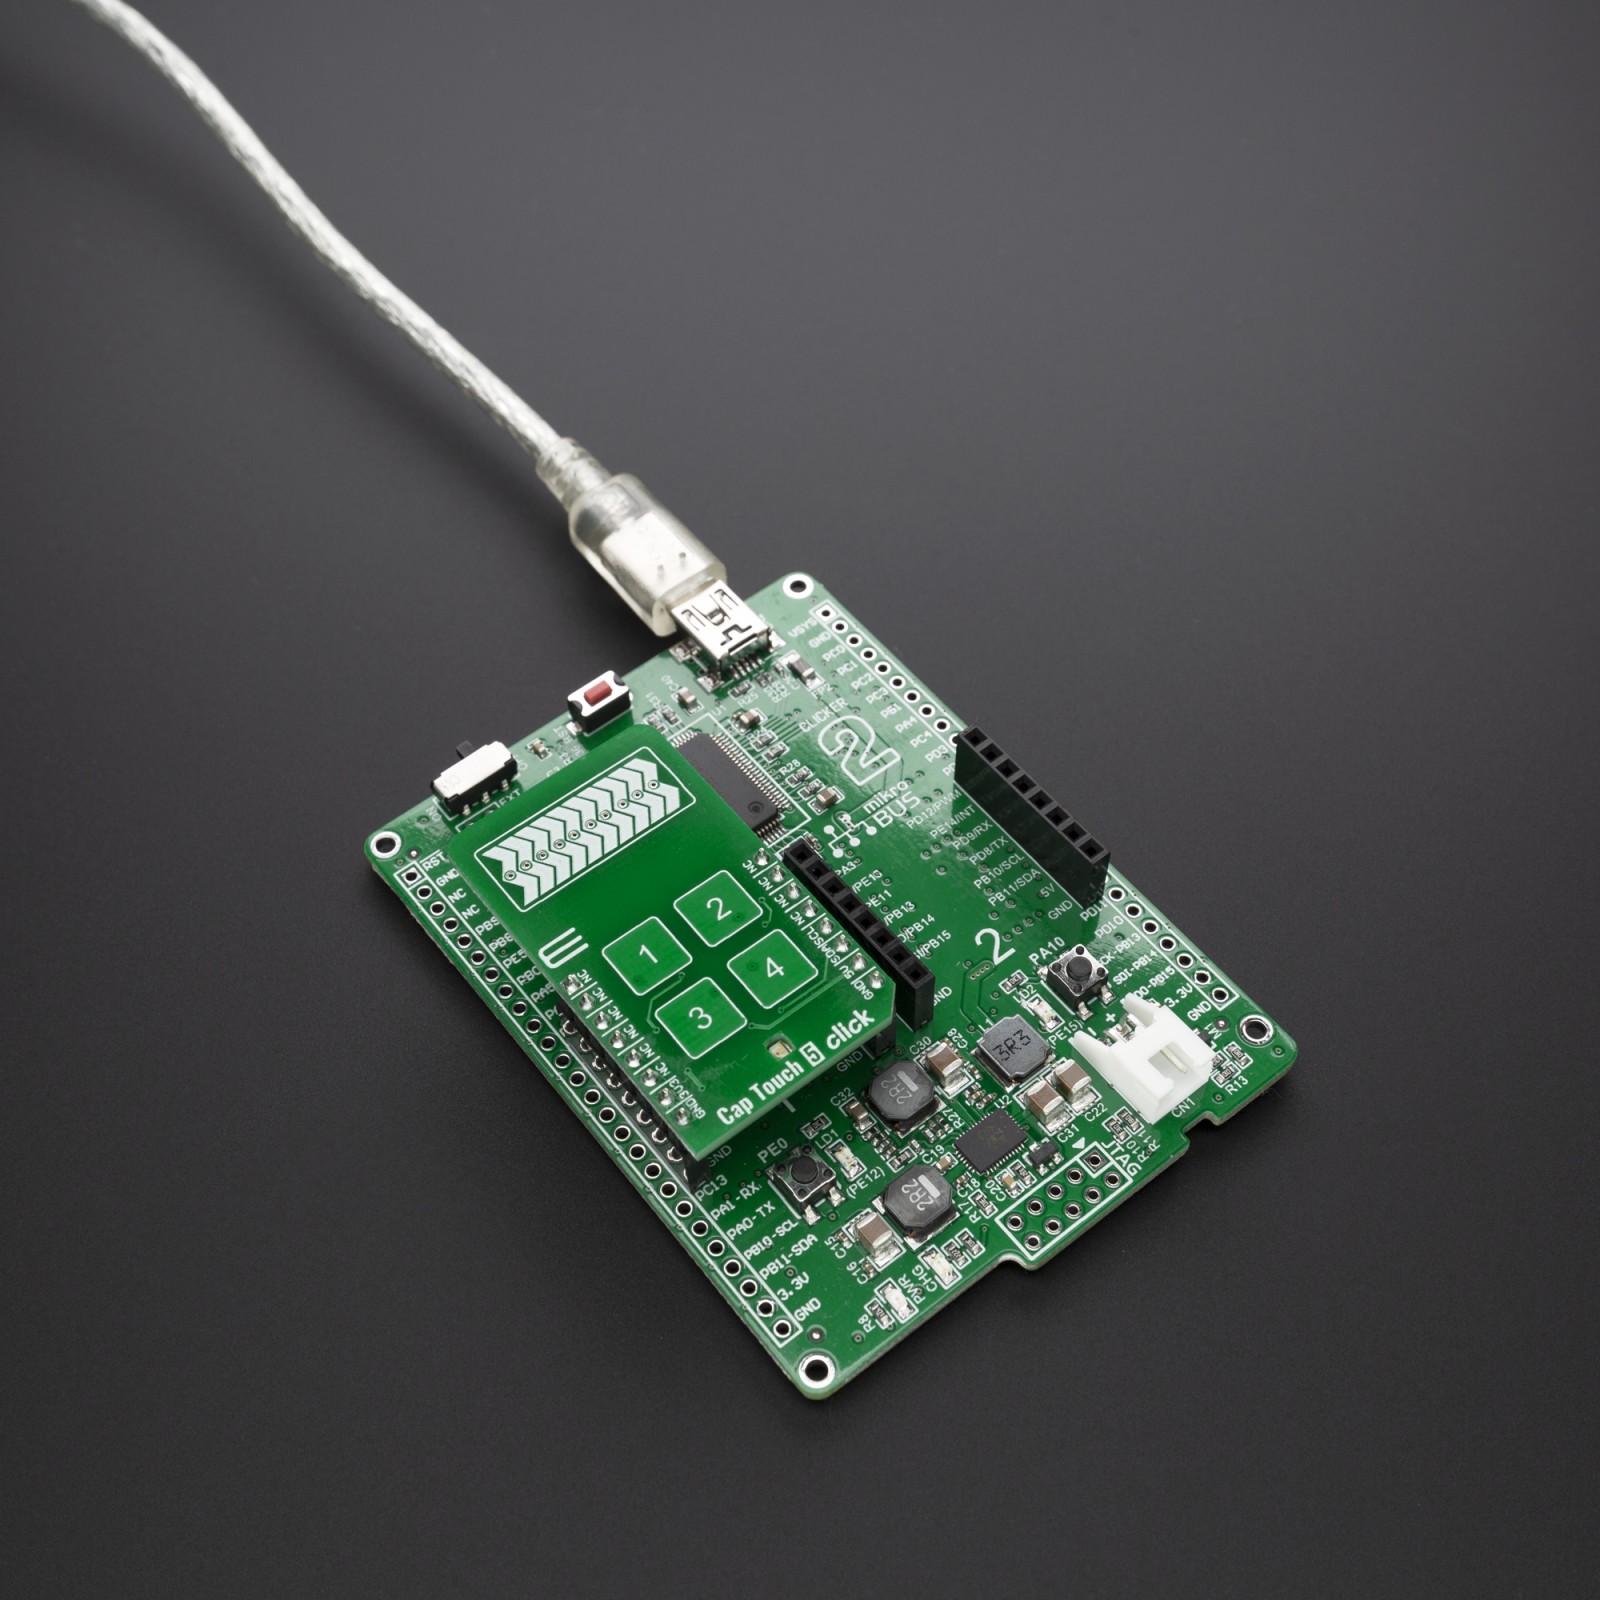
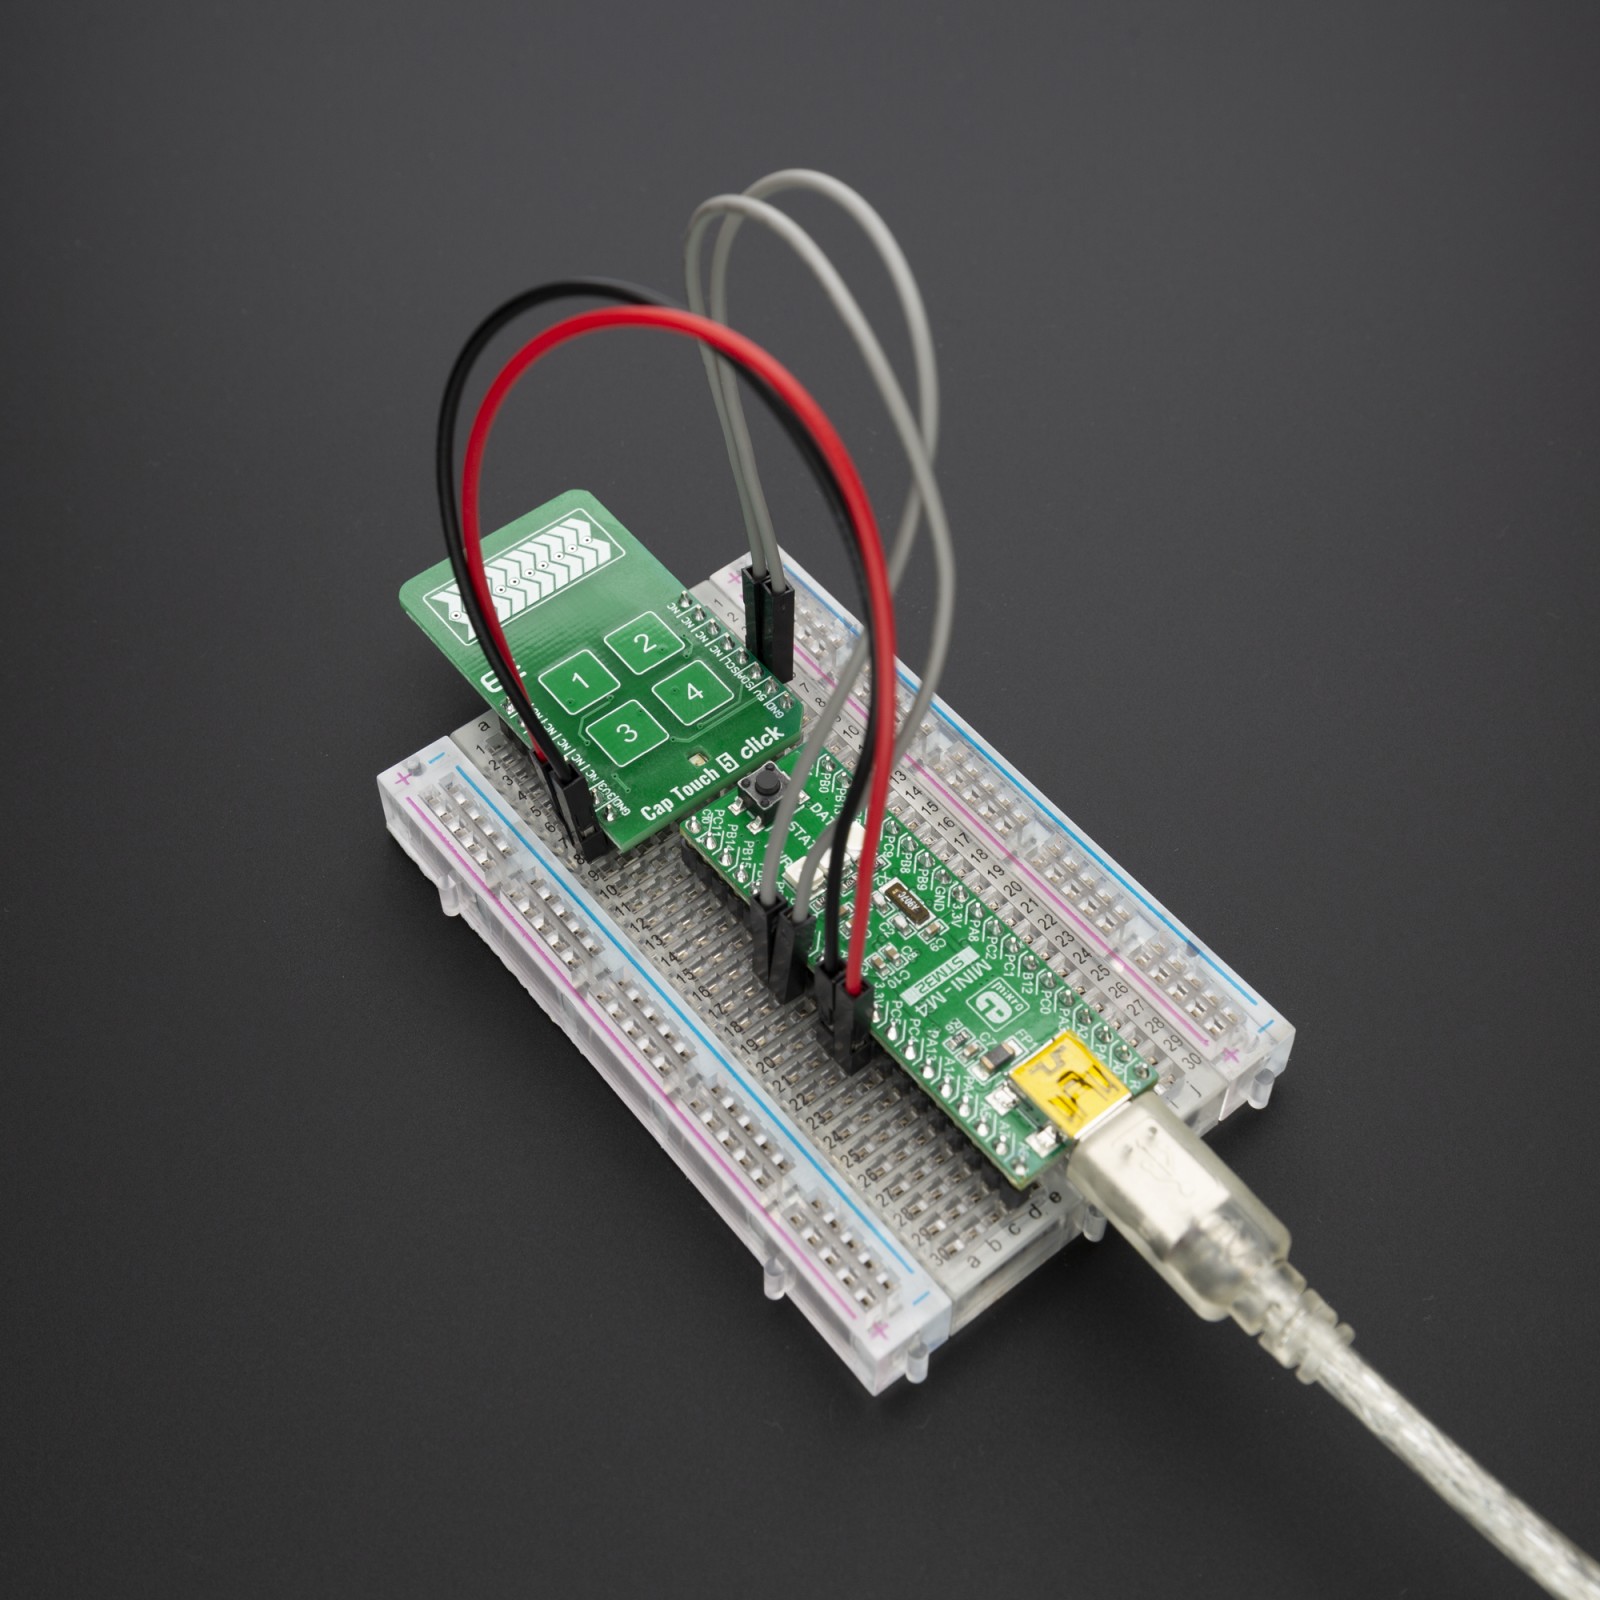
Cap Touch 5 Click
R320.00 ex. VAT
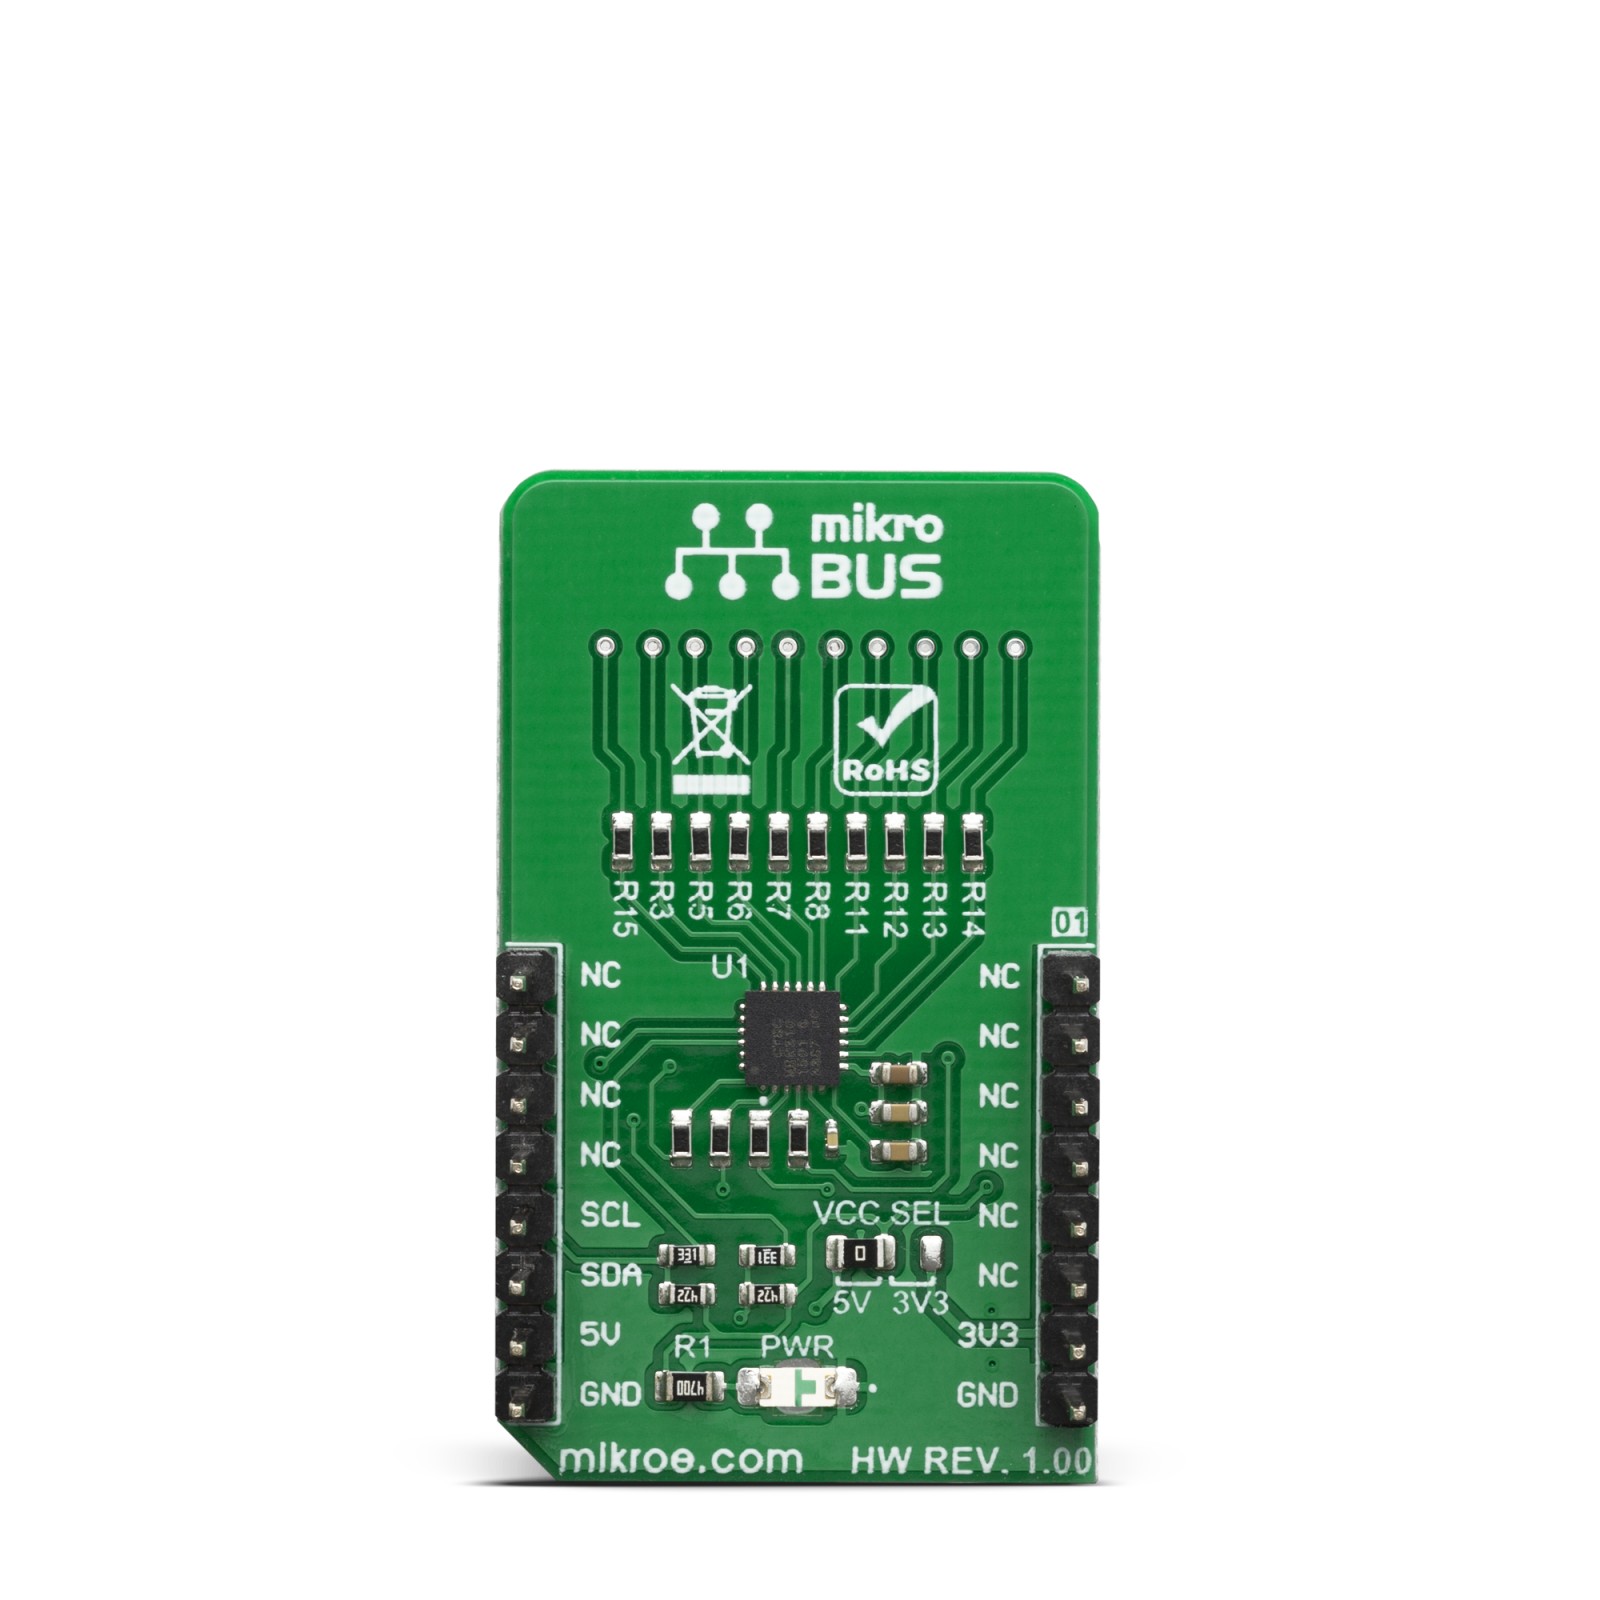
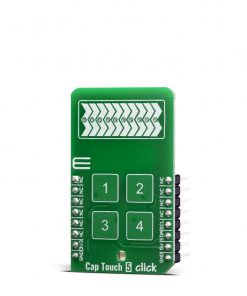
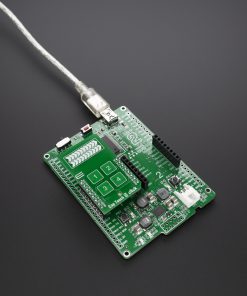
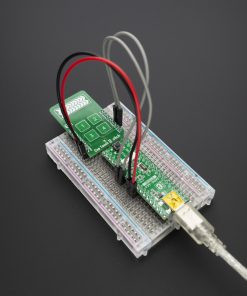
Cap Touch 5 Click is a capacitive touch sensing Click board™ which features the CY8CMBR3106S-LQXI CapSense® Express™ controller which enables advanced, yet easy-to-implement, capacitive touch sensing user interface solutions. It supports up to 16 capacitive sensing inputs, eliminates time-consuming firmware development. This controller is ideal for implementing capacitive buttons, sliders, and proximity sensing solutions with minimal development-cycle times.
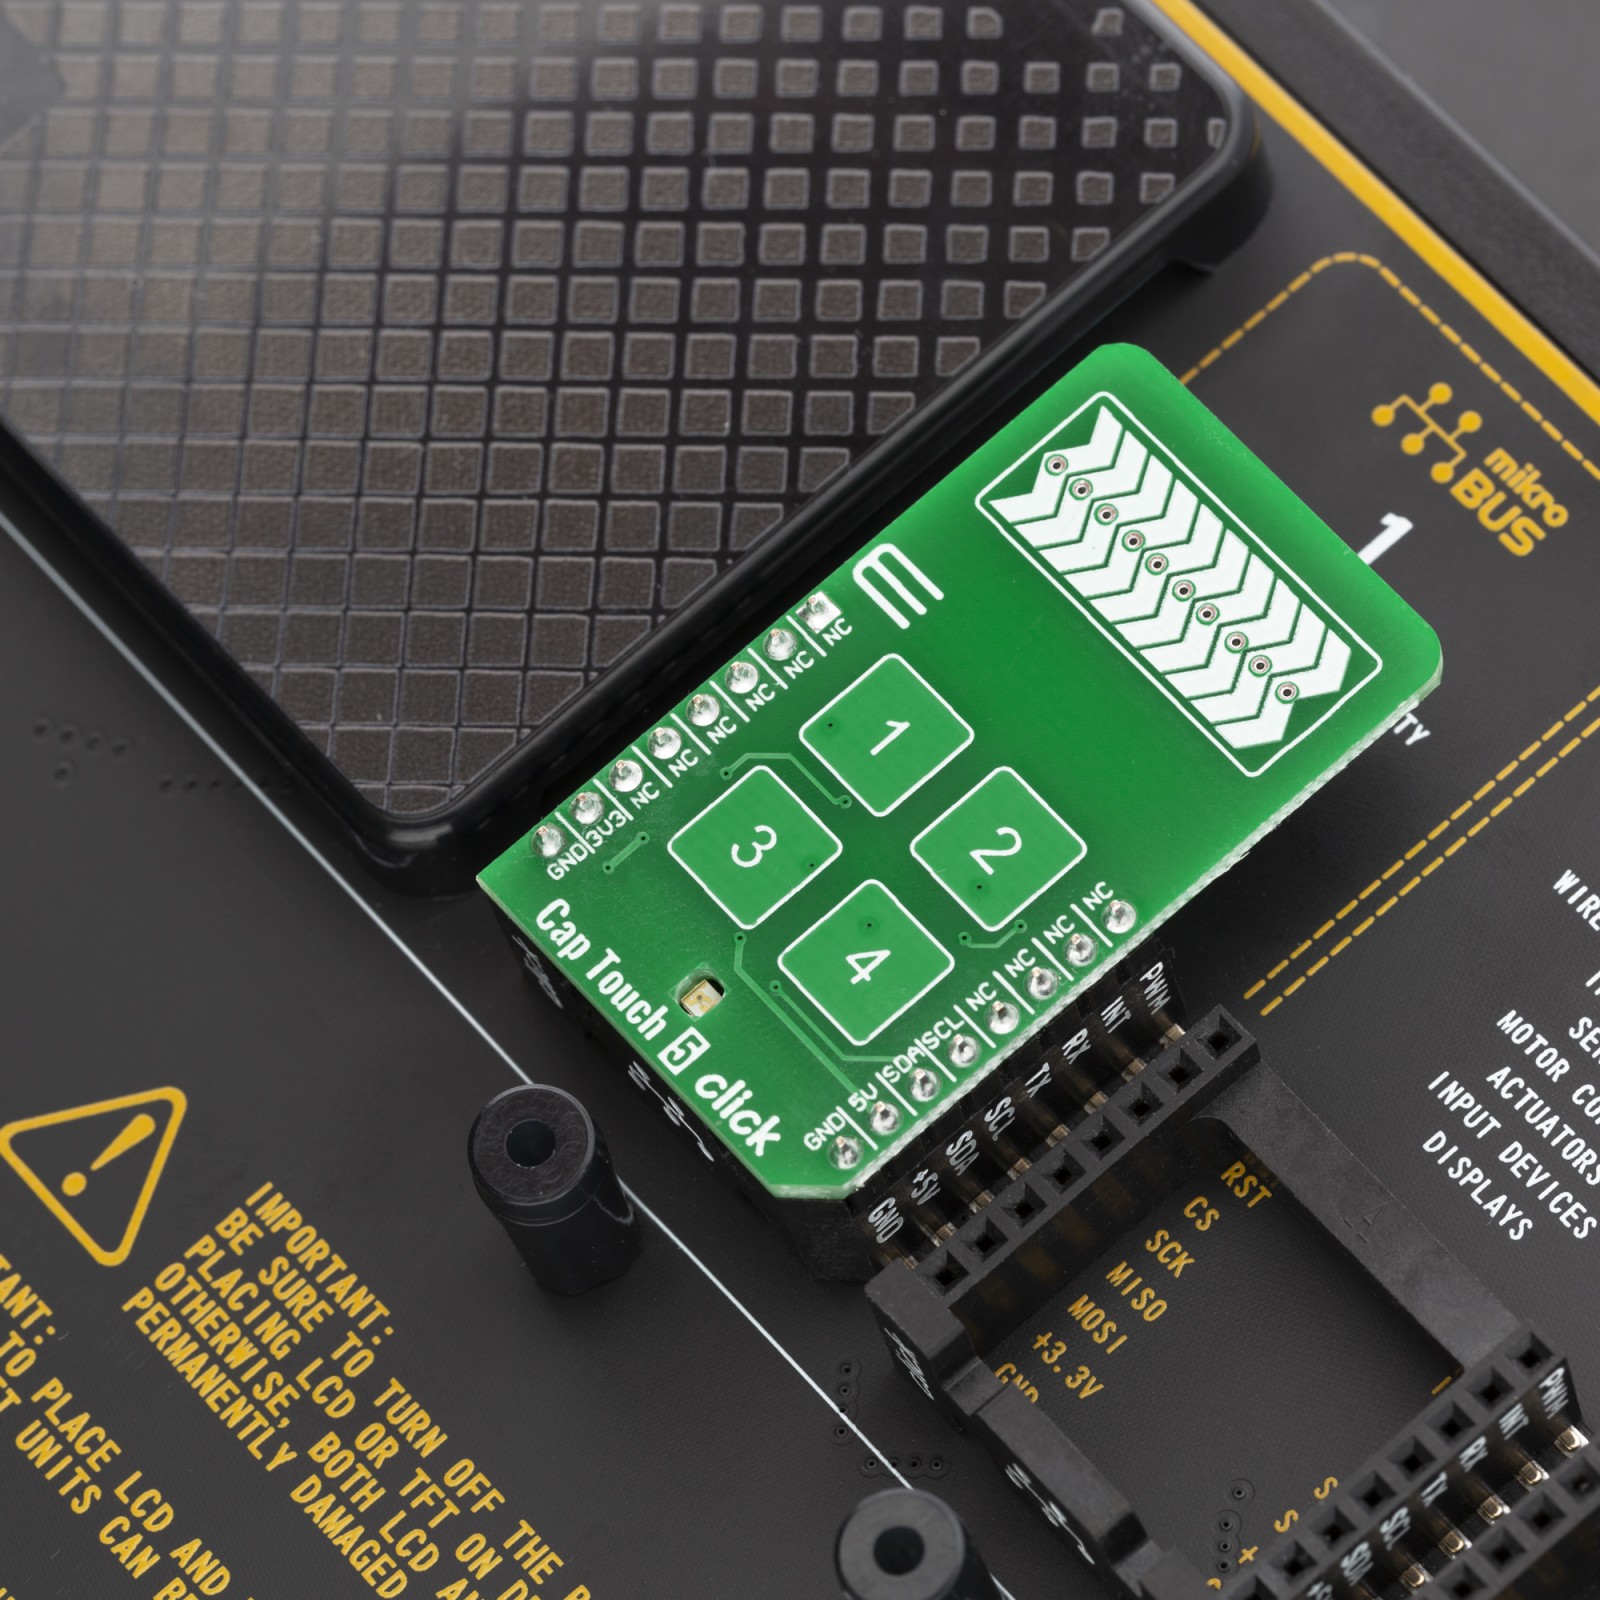
Cap Touch 5 Click is supported by a mikroSDK compliant library, which includes functions that simplify software development. This Click board™ comes as a fully tested product, ready to be used on a system equipped with the mikroBUS™ socket.
Stock: Lead-time applicable.
| 5+ | R304.00 |
| 10+ | R288.00 |
| 15+ | R272.00 |
| 20+ | R261.76 |
How does it work?
The Cap Touch 5 click features the CY8CMBR3106S-LQXI CapSense® Express™ controller which has an advanced analog sensing channel and the Capacitive Sigma Delta PLUS (CSD PLUS) sensing algorithm, which delivers a signal-to-noise ratio (SNR) of greater than 100:1 to ensure touch accuracy even in extremely noisy environments. This controller is enabled with Infineon’s SmartSense™ Auto-tuning algorithm, which compensates for manufacturing variations and dynamically monitors and maintains optimal sensor performance in all environmental conditions. In addition, SmartSense Auto-tuning enables a faster time-to-market by eliminating the time-consuming manual tuning efforts during development and production ramp-up.

Advanced features, such as LED brightness control, proximity sensing, and system diagnostics, save development time. These controllers enable robust liquid-tolerant designs by eliminating false touches due to mist, water droplets, or streaming water. The CapSense controller locks up the user interface in firmware to prevent touch inputs in streaming water.
Additionally, it implements the advanced noise immunity algorithm, EMC, for stable operation in extremely noisy conditions. Besides that, it is also perfectly suited for low-power applications, such as those operated by a battery, when a capacitive sensing controller that has ultra-low average power consumption have to be selected. The CY8CMBR3106S-LQXI controller draws an average current of 22 µA per sensor.
The Cap Touch 5 click supports four CapSense buttons. It’s sensitivity can be specified individually for each CapSense button and slider. Higher sensitivity values can be used for thick overlays or small button diameters, while lower sensitivity values should be used for large buttons or thin overlays to minimize power consumption. Therefore, this Click board™ comes without the overlay, so it is up to the user to choose the desired application and implementation.
Specifications
Type
Capacitive
Applications
Ideal for implementing capacitive buttons, sliders, and proximity sensing solutions with minimal development-cycle times.
On-board modules
CY8CMBR3106S-LQXI CapSense® Express™ controller
Key Features
High sensitivity (0.1 pF), Low-power CapSense, Industrial temperature range: –40 °C to +85 °C, liquid-tolerant
Interface
I2C
Feature
No ClickID
Compatibility
mikroBUS™
Click board size
M (42.9 x 25.4 mm)
Input Voltage
3.3V or 5V
Pinout diagram
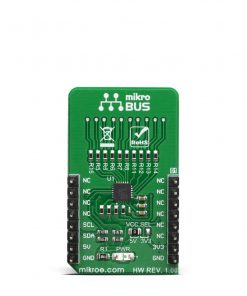
This table shows how the pinout on Cap Touch 5 click corresponds to the pinout on the mikroBUS™ socket (the latter shown in the two middle columns).
Onboard settings and indicators
| Label | Name | Default | Description |
|---|---|---|---|
| LD1 | PWR | – | Power LED Indicator |
| JP1 | VCC SEL | Left | Power supply voltage selection: left position 3.3V, right position 5V |
Software Support
We provide a library for the CapTouch 5 Click on our LibStock page, as well as a demo application (example), developed using MikroElektronika compilers. The demo can run on all the main MikroElektronika development boards.
Library Description
The library covers all the necessary functions to control Cap Touch 5 Click.
Key functions:
void captouch5_config_sensors( uint16_t sens_data )– Function for configuring sensor.void captouch5_config_slider( uint8_t slider_data )– Function for configuring slider.void captouch5_read_button_status( T_CAPTOUCH5_BUTTONS *buttons )– Function read button status.
Examples description
The application is composed of three sections :
- System Initialization – Initializes I2C module
- Application Initialization – Initializes driver init, tests communication and configures device
- Application Task – Waiting for touch sensor to detect something and then logs what is touched
void applicationTask(  )
{
    uint16_t temp_byte;
    uint16_t last_temp;
    uint8_t error_data;
    uint8_t temp_slider;

    state_check = 0;

    error_data = captouch5_process(  );

    if ( error_data == CAPTOUCH5_ERROR )
    {
        mikrobus_logWrite( "***** ERROR *****", _LOG_LINE );
        mikrobus_logWrite( " ", _LOG_LINE );
        mikrobus_logWrite( " ", _LOG_LINE );
        state_check = 1;
        return;
    }

    temp_byte = captouch5_read_slider_position(  );
    captouch5_read_button_status( &buttons );

    if ( temp_byte != last_temp )
    {
        mikrobus_logWrite( "Slider position value: ", _LOG_TEXT );
        WordToStr( temp_byte, demo_text );
        mikrobus_logWrite( demo_text, _LOG_LINE );
        mikrobus_logWrite( " ", _LOG_LINE );
        mikrobus_logWrite( " ", _LOG_LINE );
        last_temp = temp_byte;
        state_check = 1;
    }

    captouch5_read_buttons(  );

    Delay_ms ( 100 );

    if ( state_check == 1 )
    {
        mikrobus_logWrite( "--- Waiting for command ---", _LOG_LINE );
        mikrobus_logWrite( " ", _LOG_LINE );
        mikrobus_logWrite( " ", _LOG_LINE );
    }
}
Additional Functions :
- _captouch5_readButtons() – Logs button press
- _captouch5_deviceConfig() – Configures device
Note :
- Click will go to sleep if doesn’t get any command in 340ms
- When you start device try restarting your board few times to start device
The full application code, and ready to use projects can be found on our LibStock page.
Other mikroE Libraries used in the example:
- I2C
- UART
- Conversions
Additional notes and informations
Depending on the development board you are using, you may need USB UART click, USB UART 2 click or RS232 click to connect to your PC, for development systems with no UART to USB interface available on the board. The terminal available in all MikroElektronika compilers, or any other terminal application of your choice, can be used to read the message.
mikroSDK
This Click board™ is supported with mikroSDK – MikroElektronika Software Development Kit. To ensure proper operation of mikroSDK compliant Click board™ demo applications, mikroSDK should be downloaded from the LibStock and installed for the compiler you are using.
For more information about mikroSDK, visit the official page.
Resources
Downloads
| Weight | 17 g |
|---|---|
| Brand | MikroElektronika |

