How does it work?
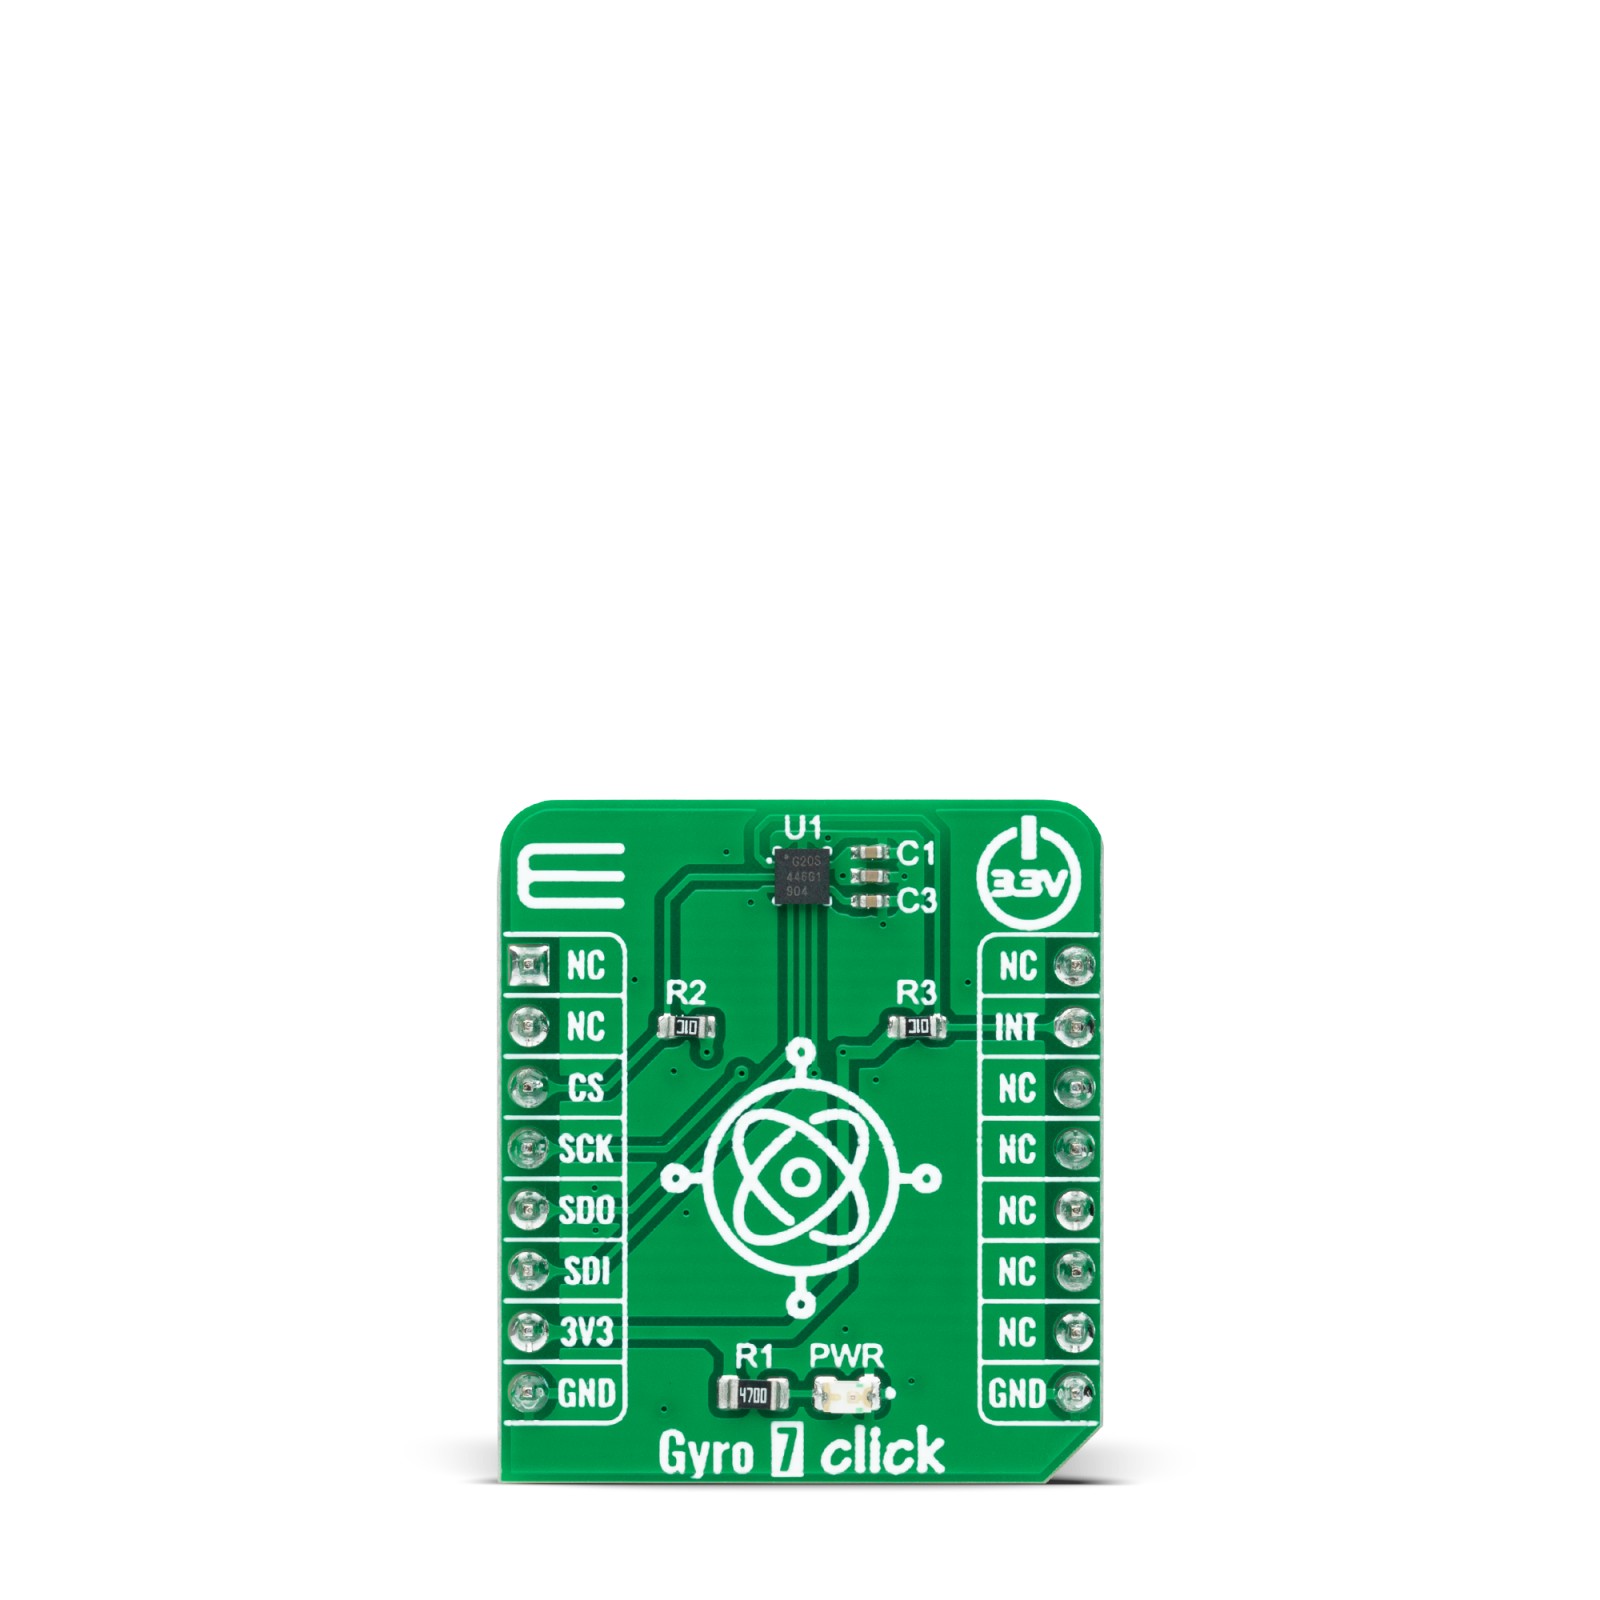
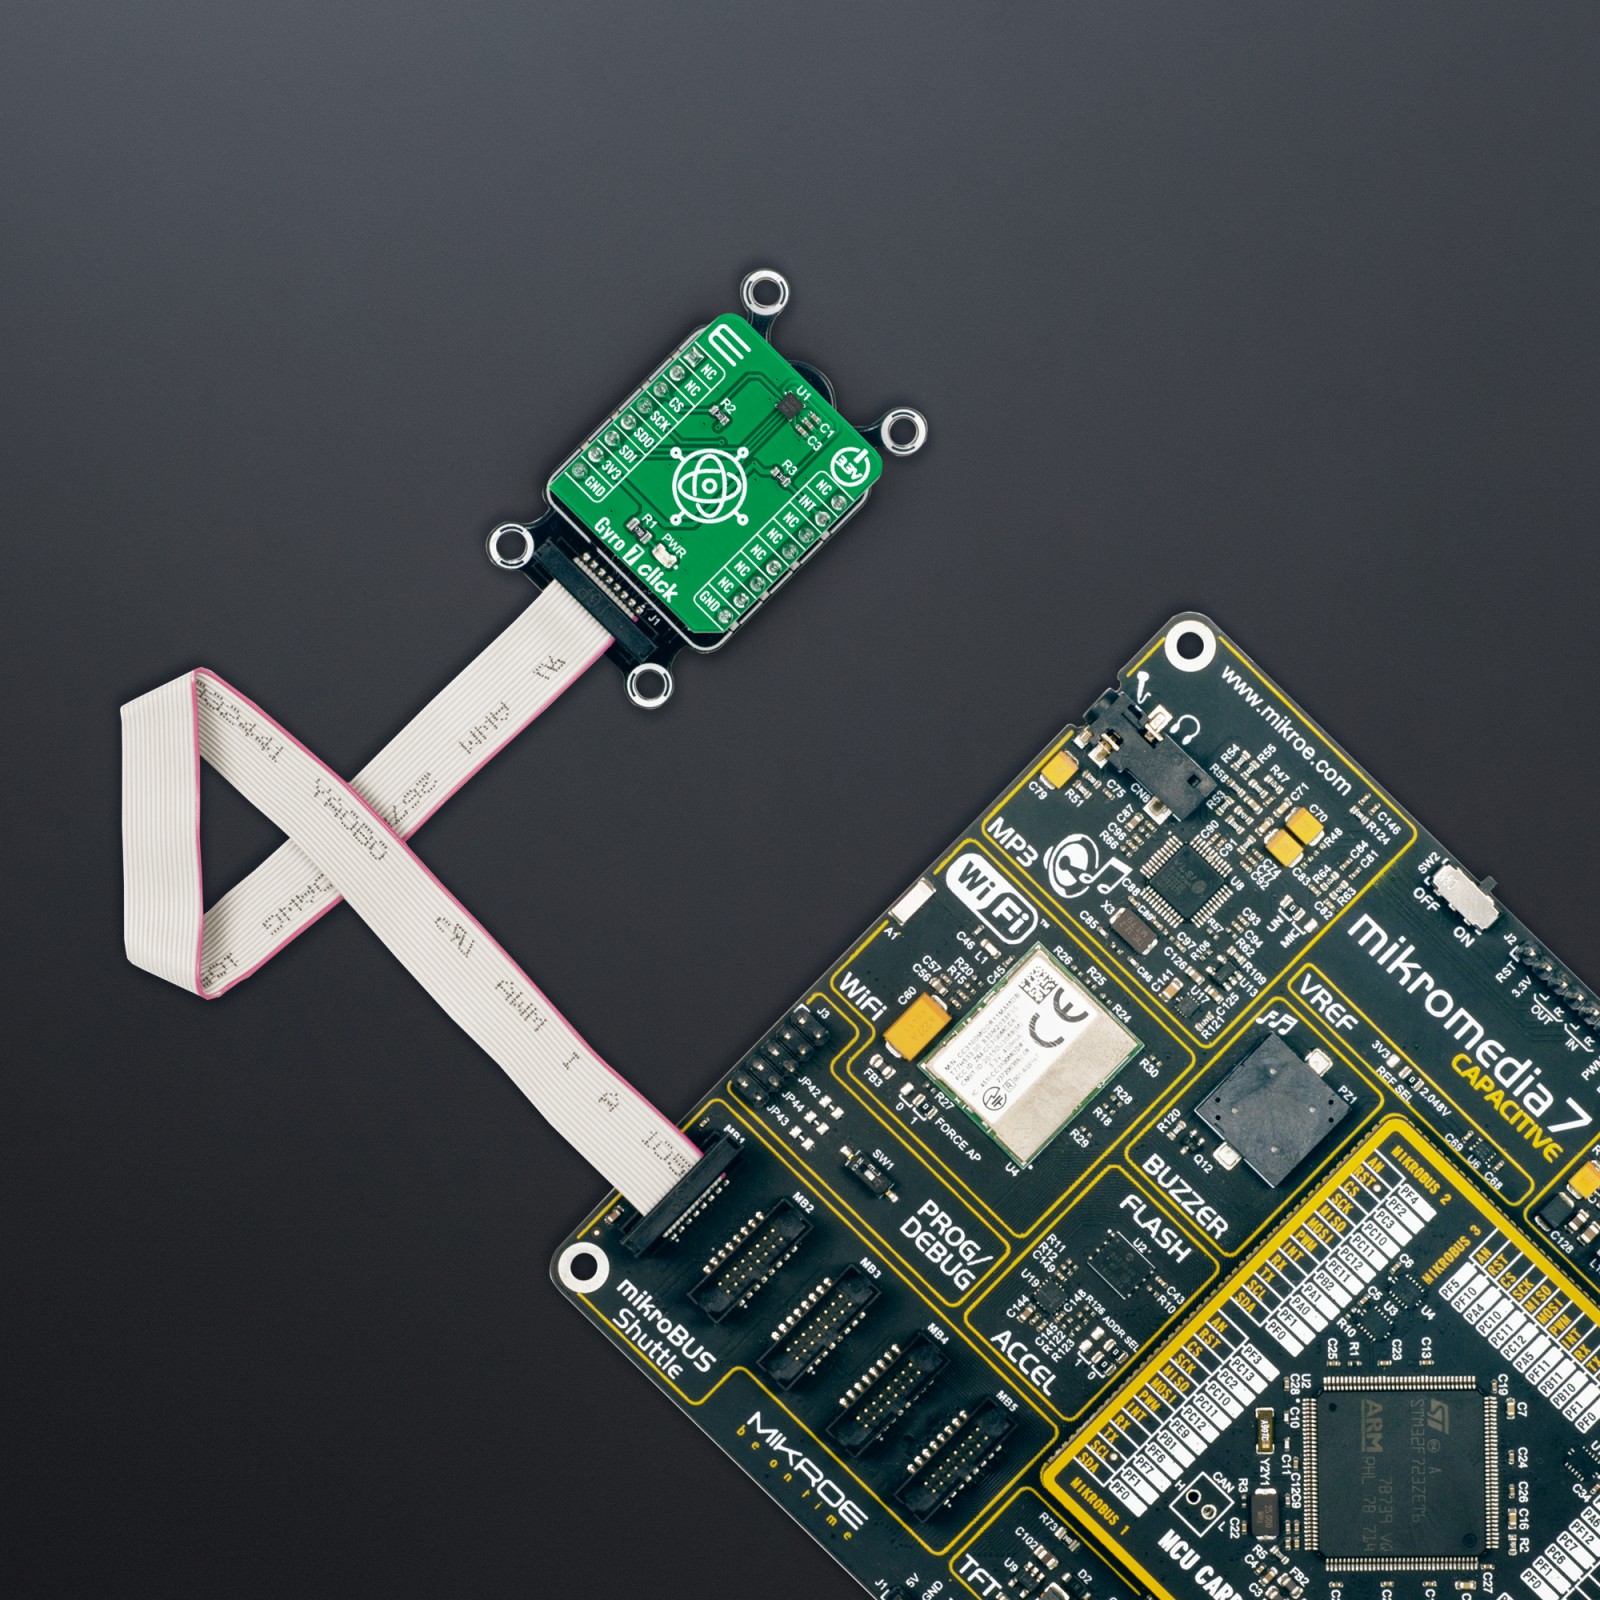
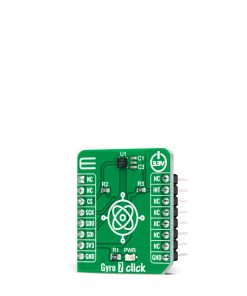
Gyro 7 Click as its foundation uses the ICG-1020S, a high-performance 2-axis gyroscope from TDK InvenSense. The ICG-1020S is highly configurable with a full-scale programmable range from ±46.5dps to ±374dps. The single structure vibratory MEMS rate gyroscope detects the X- and Y-axis rotation. When the gyroscope is rotated about any sense axes, the Coriolis effect causes a detected vibration. The resulting signal is amplified, demodulated, and filtered to produce a proportional voltage to the angular rate. With its 2-axis integration, this Click board™ allows customers’ to design it into an optical image stabilization (OIS) application.
Two-axis MEMS rate gyroscope sensor, the ICG-1020S, comes with integrated 16-bit ADCs and signal conditioning with two axes XY configuration. After the signal is digitized, data is processed through a digital filter and output through sensor data registers. Besides, the ICG-1020S is also characterized by high resolution and low RMS noise, noise density, a fast sample rate at up to 32kHz, and low power consumption.
Gyro 7 Click communicates with MCU through a register-selectable standard SPI interface that enables high clock speed up to 20MHz, supporting the two most common SPI modes, SPI Mode 0 and 3. Other blocks include onboard clocking, temperature compensation, and bias circuits. The sensor data registers contain the latest gyro data, and they are read-only registers accessible via the serial interface. Data from these registers may be read anytime. It also possesses an additional interrupt signal, routed on the INT pin of the mikroBUS™ socket labeled as INT, indicating when a specific interrupt event occurs.
This Click board™ can be operated only with a 3.3V logic voltage level. The board must perform appropriate logic voltage level conversion before using MCUs with different logic levels. However, the Click board™ comes equipped with a library containing functions and an example code that can be used, as a reference, for further development.
Specifications
Type
Motion
Applications
Can be used for optical image stabilization (OIS) applications
On-board modules
ICG-1020S – dual-axis MEMS angular rate sensor (gyroscope) from TDK InvenSense
Key Features
Low power consumption, full-scale programmable range up to ±374dps, integrated 16-bit ADCs, user-programmable digital filters, interrupt, high performance, reliability, and more
Interface
SPI
Feature
No ClickID
Compatibility
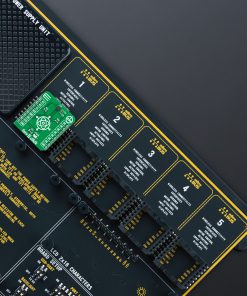
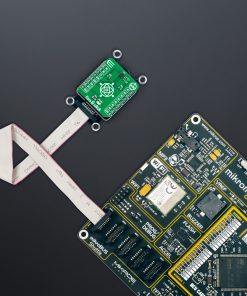
mikroBUS™
Click board size
S (28.6 x 25.4 mm)
Input Voltage
3.3V
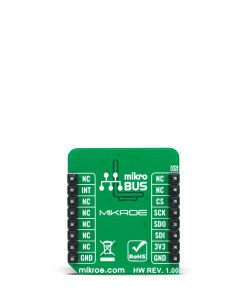
Pinout diagram
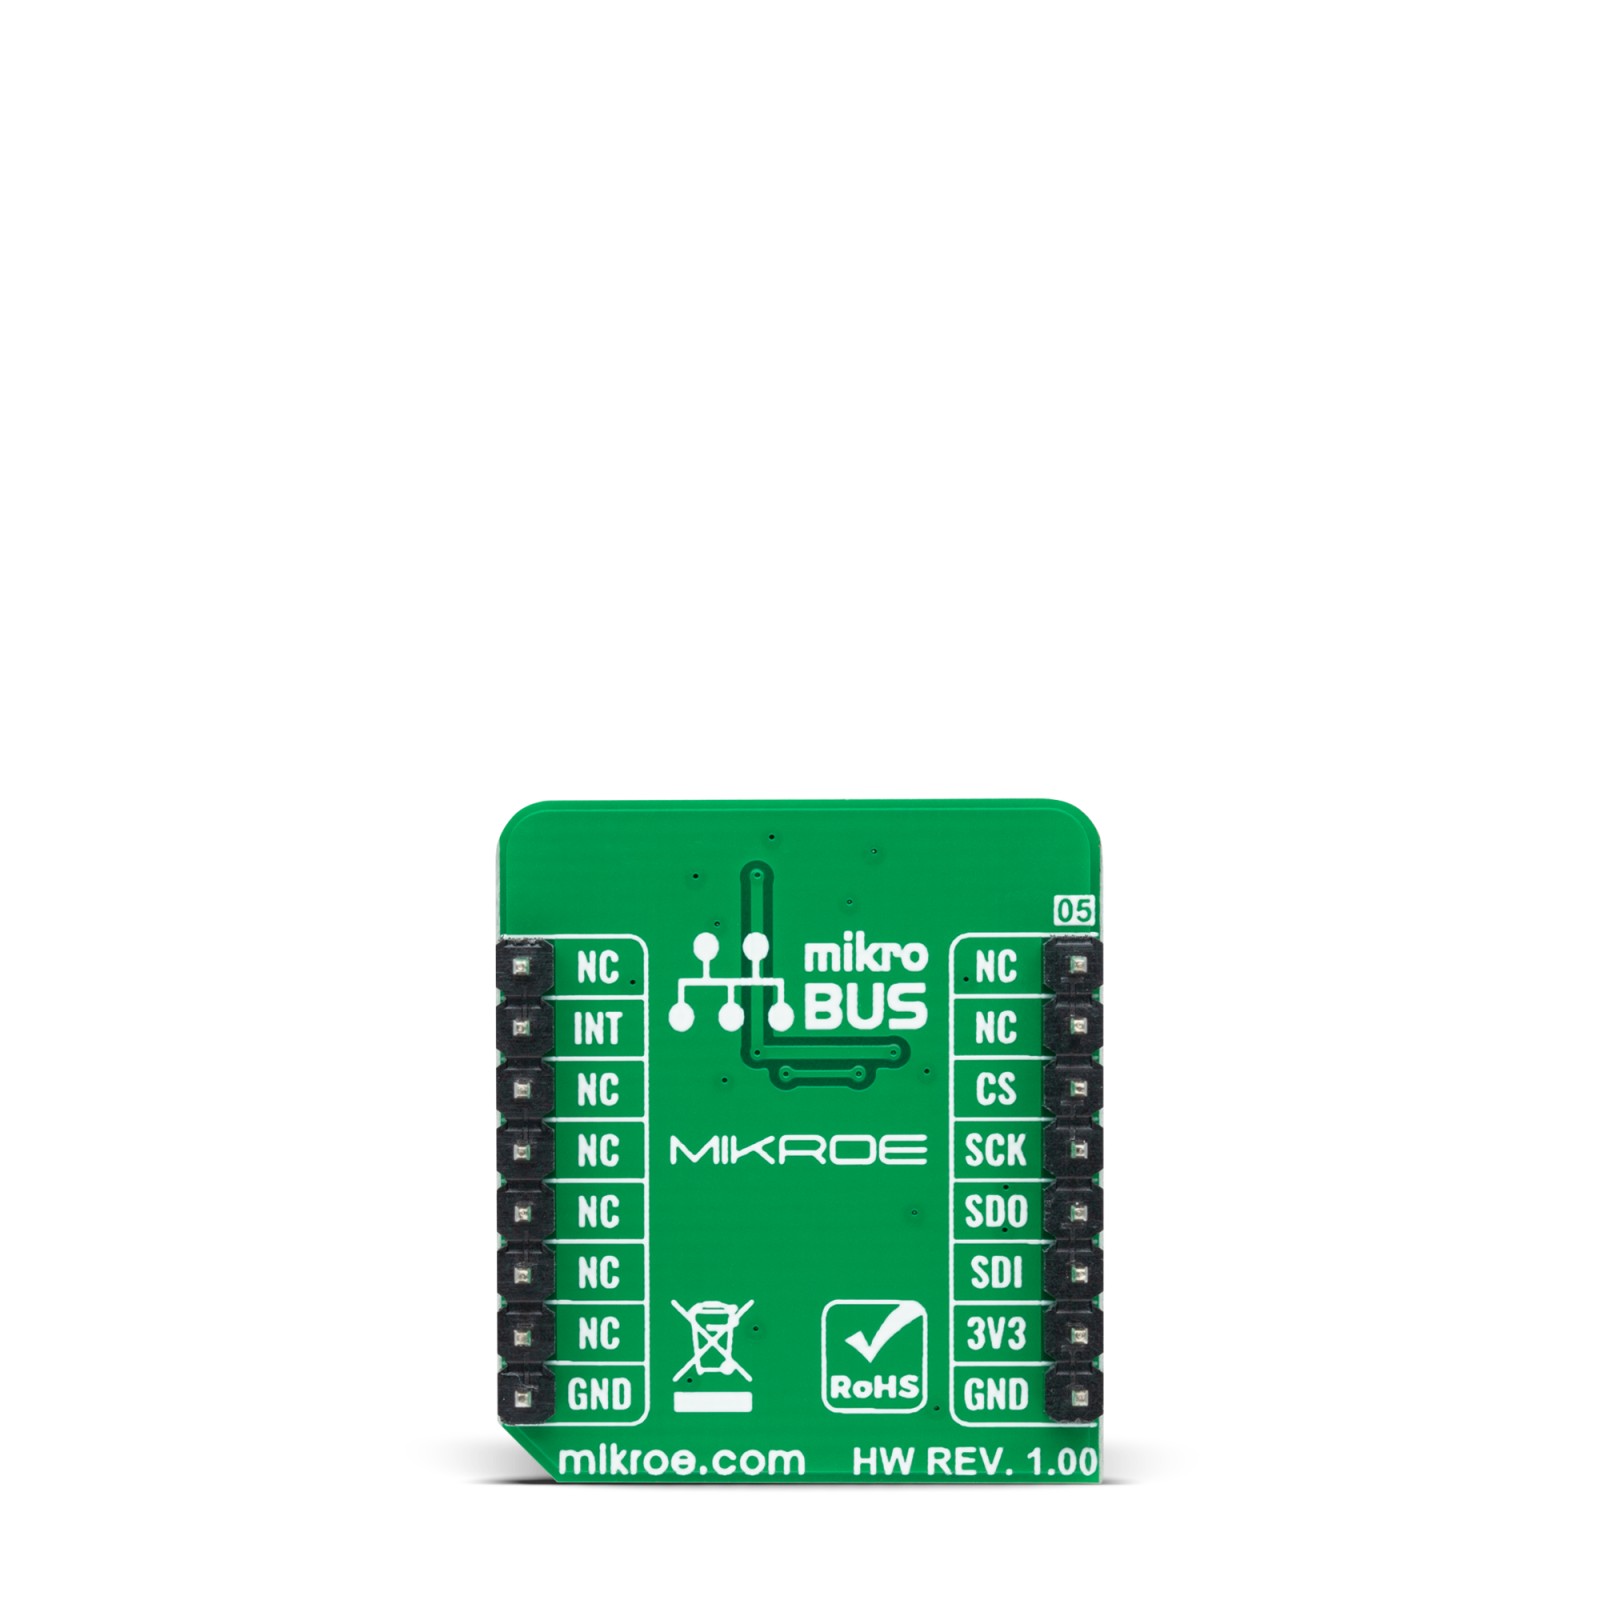
This table shows how the pinout on Gyro 7 Click corresponds to the pinout on the mikroBUS™ socket (the latter shown in the two middle columns).
Onboard settings and indicators
Label | Name | Default | Description |
---|---|---|---|
LD1 | PWR | – | Power LED Indicator |
Gyro 7 Click electrical specifications
Description | Min | Typ | Max | Unit |
---|---|---|---|---|
Supply Voltage | – | 3.3 | – | V |
Full-Scale Range | ±46.5 | – | ±374 | dps |
Sensitivity | 87.5 | – | 700 | LSB/(º/s) |
Resolution | – | 16 | – | bits |
Operating Temperature Range | -40 | +25 | +85 | °C |
Software Support
We provide a library for the Gyro 7 Click as well as a demo application (example), developed using MikroElektronika compilers. The demo can run on all the main MikroElektronika development boards.
Package can be downloaded/installed directly from NECTO Studio Package Manager(recommended way), downloaded from our LibStock™ or found on Mikroe github account.
Library Description
This library contains API for Gyro 7 Click driver.
Key functions
-
gyro7_get_int_pin
This function returns the INT pin logic state. -
gyro7_read_gyroscope
This function reads the gyroscope X and Y axis in degrees per second (dps). -
gyro7_read_temperature
This function reads the internal temperature in Celsius.
Example Description
This example demonstrates the use of Gyro 7 Click board™ by reading and displaying the values of X and Y axis in degrees per second and the chip internal temperature in Celsius.
void application_task ( void )
{
if ( gyro7_get_int_pin ( &gyro7 ) )
{
float x_axis, y_axis, temperature;
if ( GYRO7_OK == gyro7_read_gyroscope ( &gyro7, &x_axis, &y_axis ) )
{
log_printf( &logger, " X : %.2f dpsrn", x_axis );
log_printf( &logger, " Y : %.2f dpsrn", y_axis );
}
if ( GYRO7_OK == gyro7_read_temperature ( &gyro7, &temperature ) )
{
log_printf( &logger, " Temperature : %.2f Crnn", temperature );
}
}
}
The full application code, and ready to use projects can be installed directly from NECTO Studio Package Manager(recommended way), downloaded from our LibStock™ or found on Mikroe github account.
Other Mikroe Libraries used in the example:
- MikroSDK.Board
- MikroSDK.Log
- Click.Gyro7
Additional notes and informations
Depending on the development board you are using, you may need USB UART click, USB UART 2 Click or RS232 Click to connect to your PC, for development systems with no UART to USB interface available on the board. UART terminal is available in all MikroElektronika compilers.
mikroSDK
This Click board™ is supported with mikroSDK – MikroElektronika Software Development Kit. To ensure proper operation of mikroSDK compliant Click board™ demo applications, mikroSDK should be downloaded from the LibStock and installed for the compiler you are using.
For more information about mikroSDK, visit the official page.