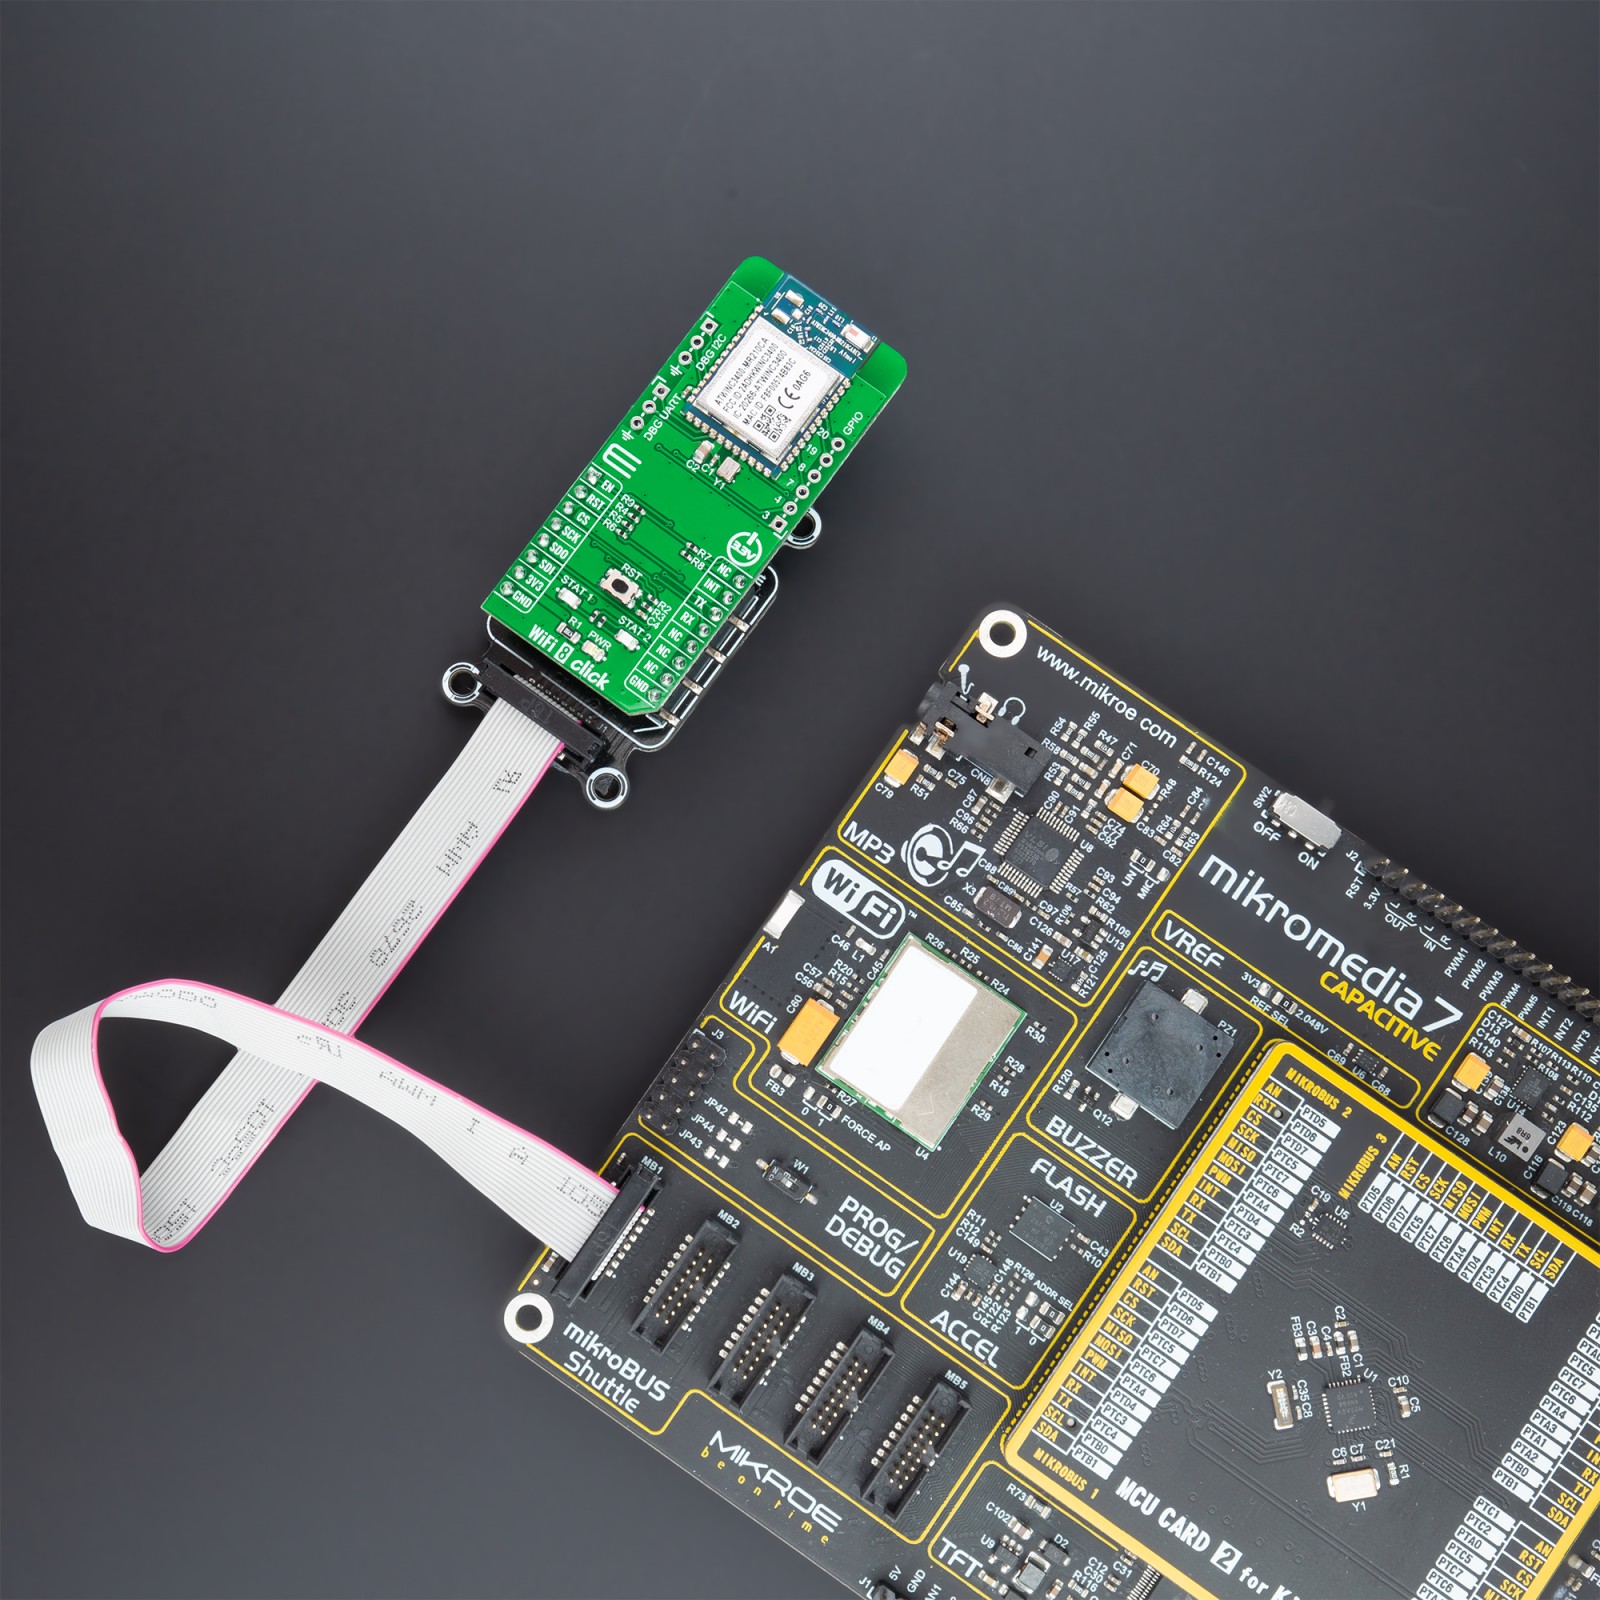
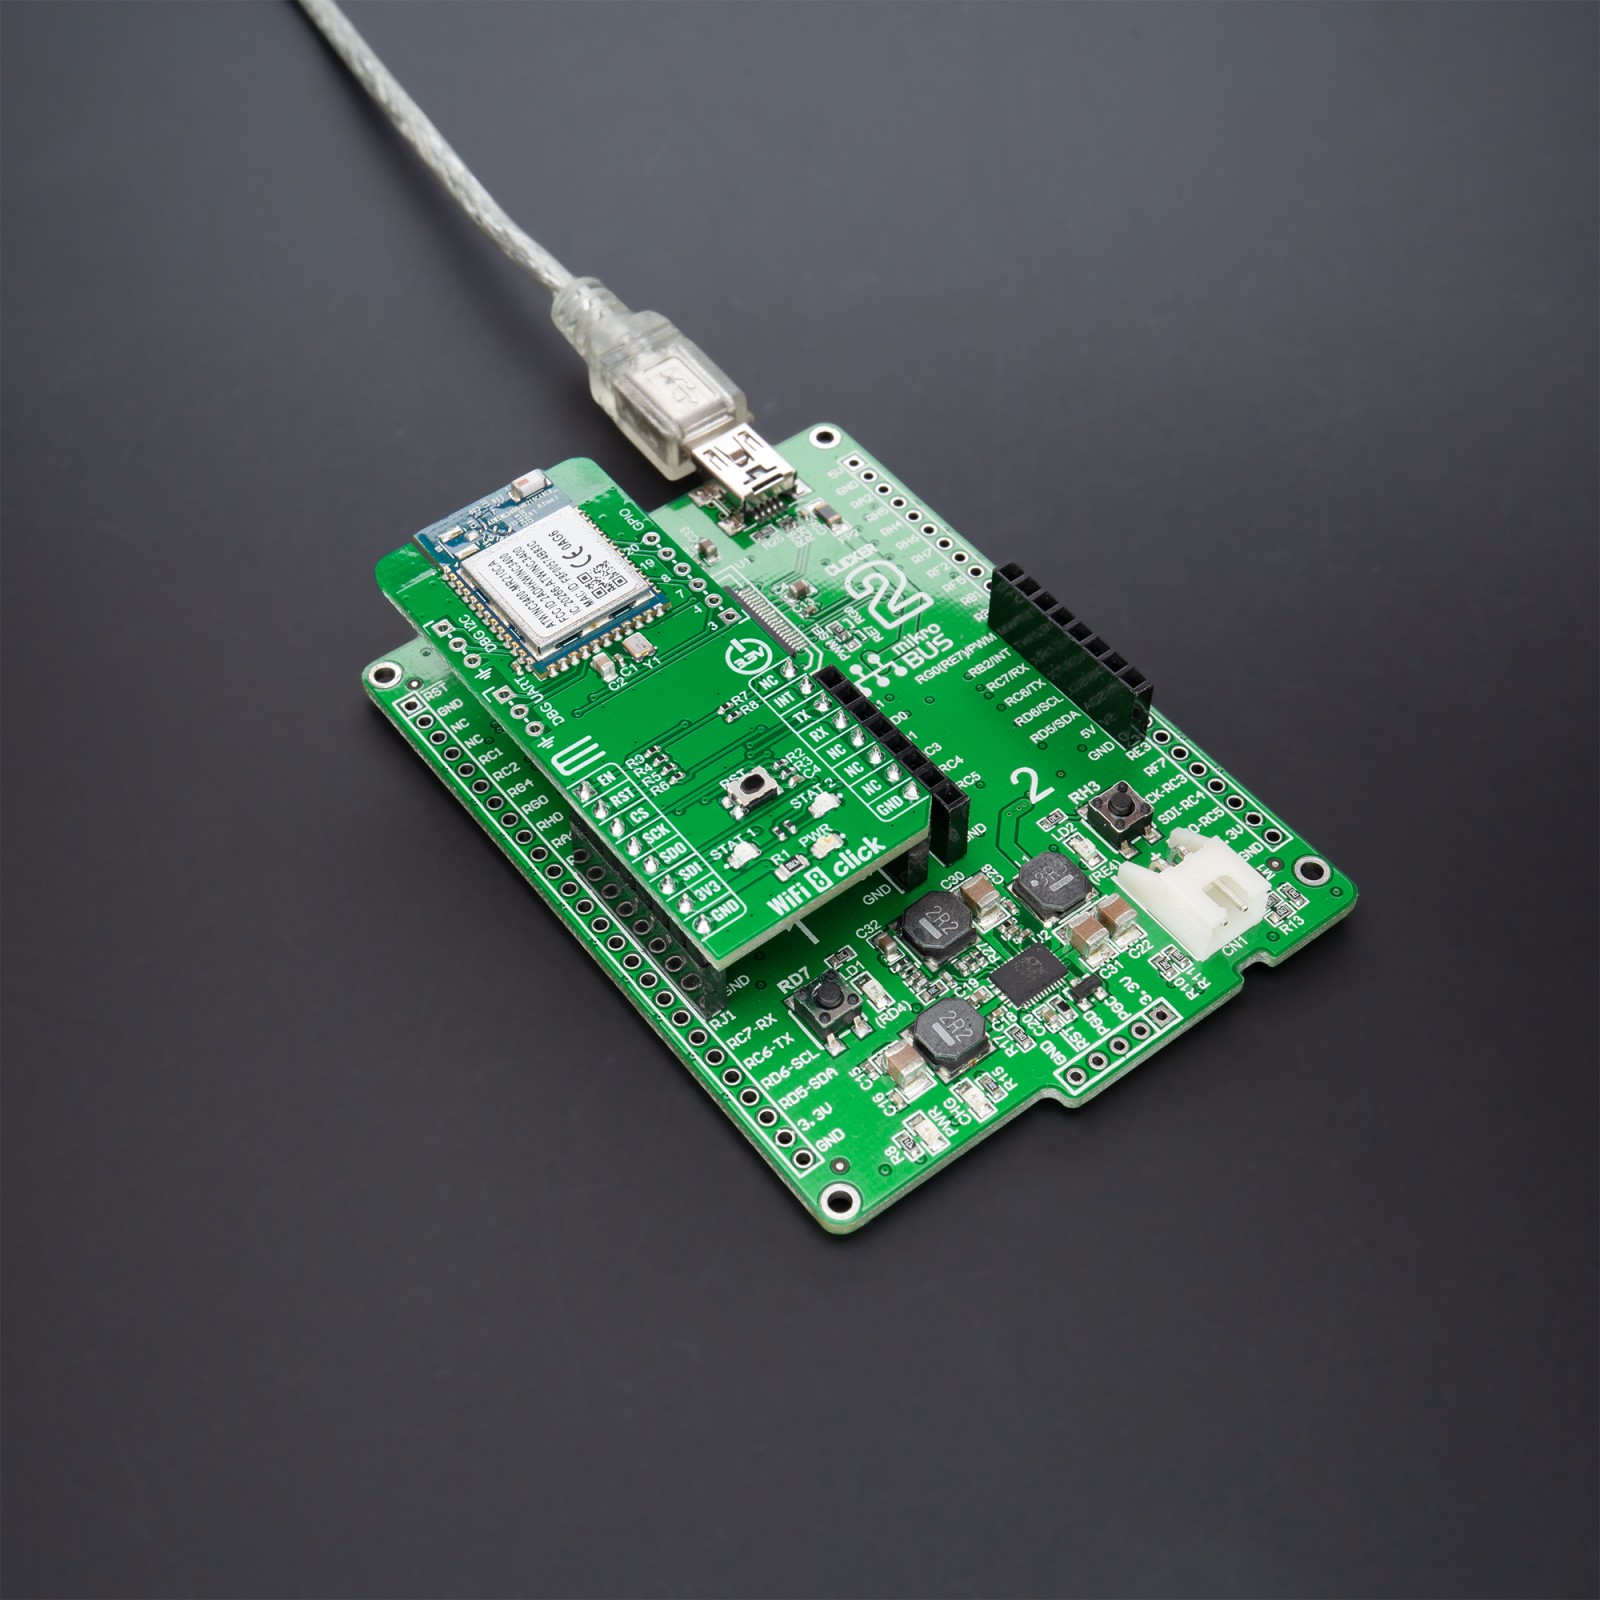
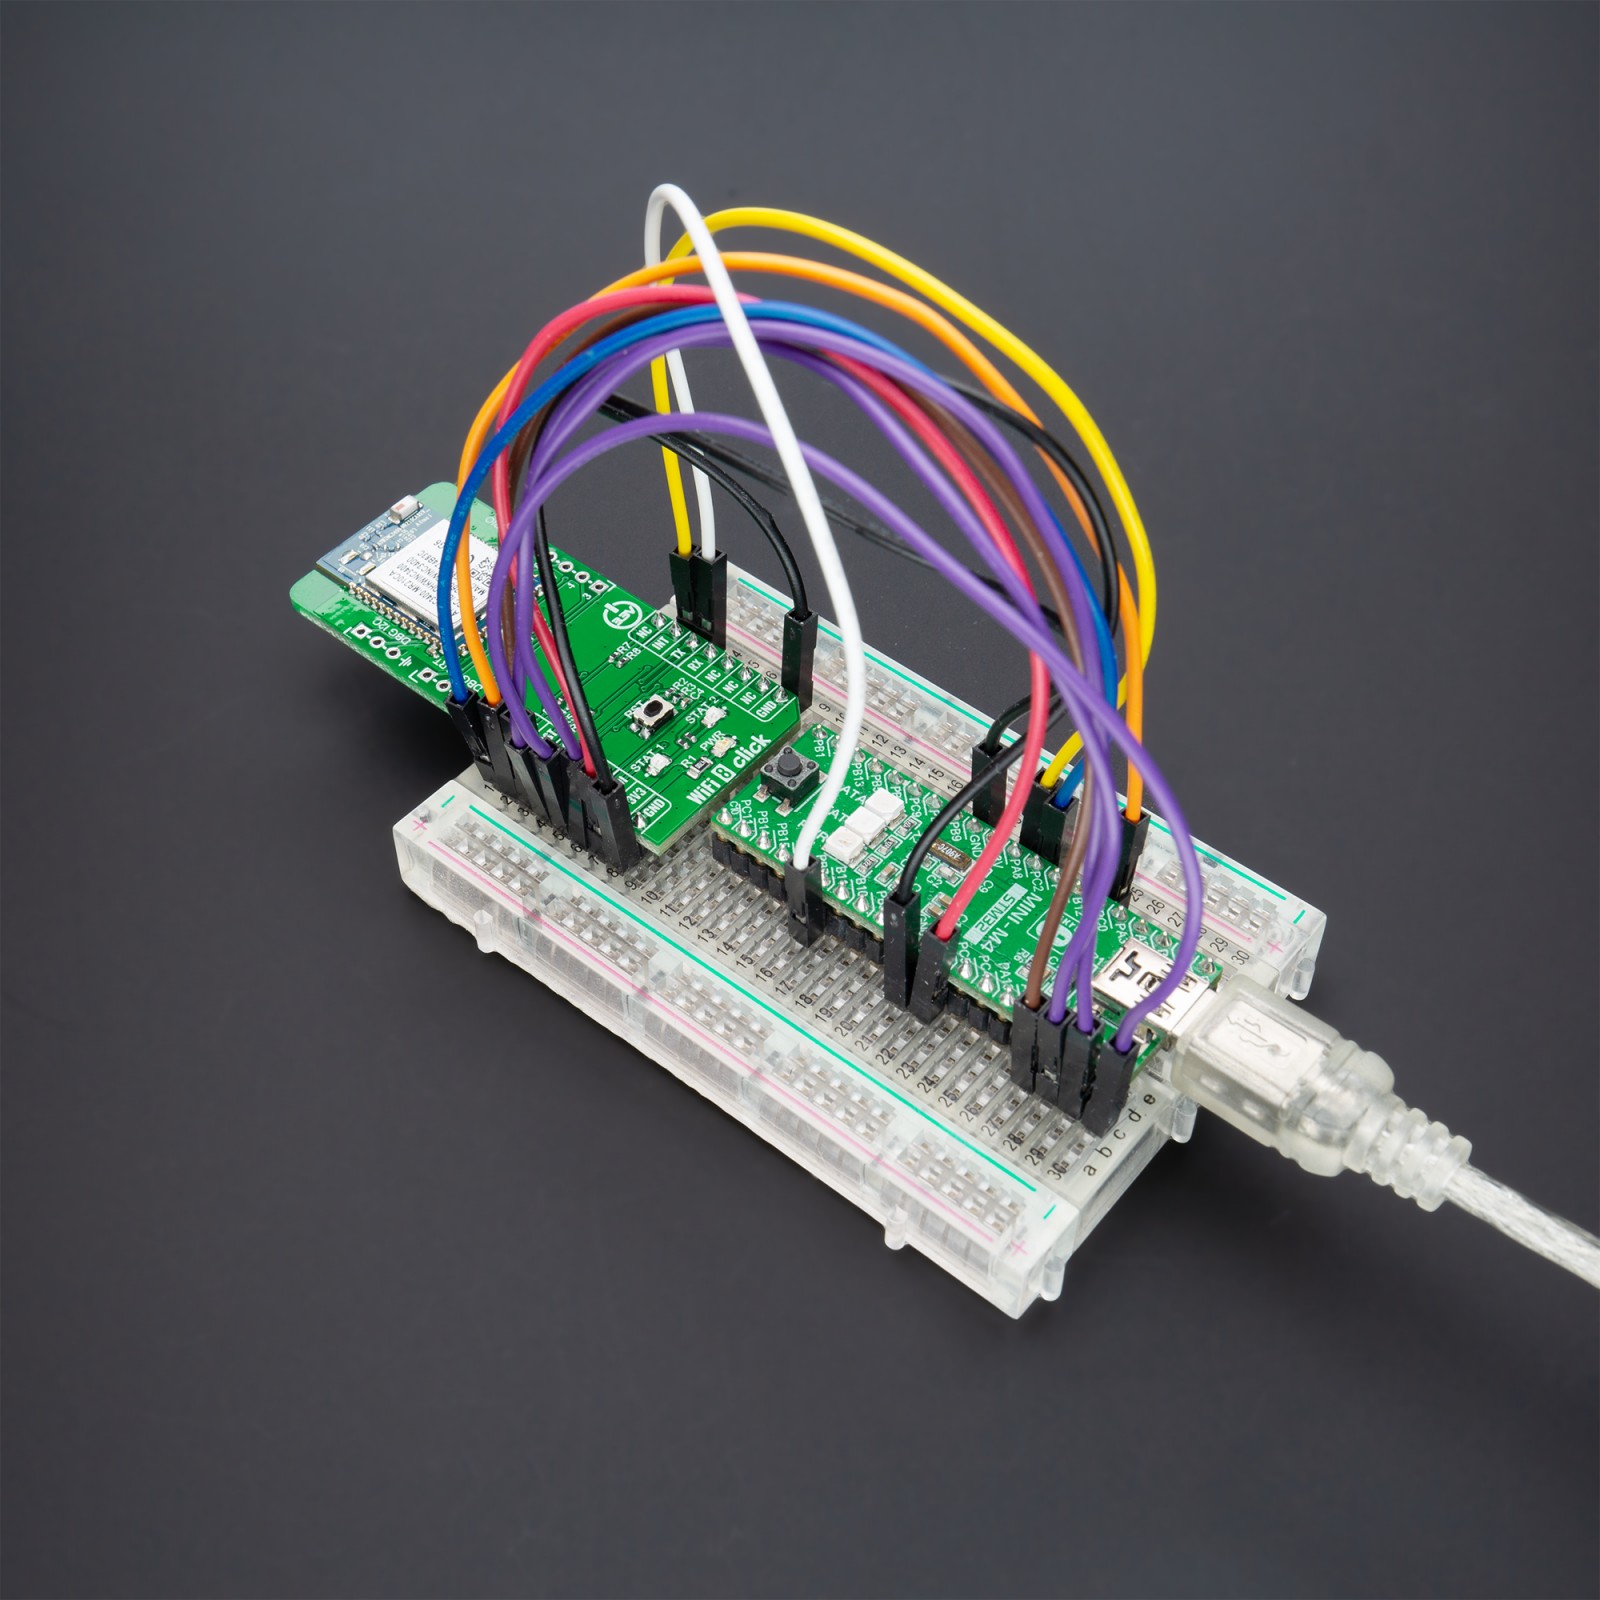
How does it work?
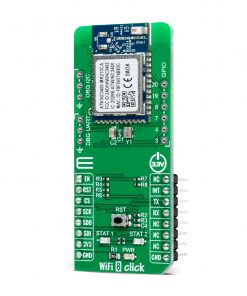
WiFi 8 Click as its foundation uses the ATWINC3400-MR210CA, an RF/Baseband/Medium Access Control (MAC) network controller (Bluetooth 5.0 certified module) optimized for low power and high-performance mobile applications from Microchip Technology. The ATWINC3400-MR210CA supports simultaneous use of both Bluetooth Low Energy and WiFi via a coexistence mechanism that allows them to share the same radio. The radio defaults to WiFi use until a Bluetooth Low Energy event occurs, in which case the radio is switched over for Bluetooth Low Energy use.
It comes with integrated power and low-noise amplifiers, transmit/receive switch (for Wi-Fi and Bluetooth), a power management unit, an integrated 2.4GHz chip antenna, and an additional 32.768 kHz clock to supply the module during the Sleep mode.
The ATWINC3400-MR210CA module has multiple device states (WiFi TX/RX, BLE TX/RX, Doze, and Power-Down Mode), based on the state of the IEEE 802.11 and Bluetooth subsystems with the possibility for both subsystems to be active at the same time. It has two Cortus APS3 32-bit processors, one used for WiFi and the other for Bluetooth. The APS3 core uses a 256KB instruction/boot ROM, a 420KB instruction RAM, and 128KB data RAM. In addition, the module uses a 160KB shared/exchange RAM accessible by the processor and MAC, which allows the processor to perform various data management tasks on the TX and RX data packets.
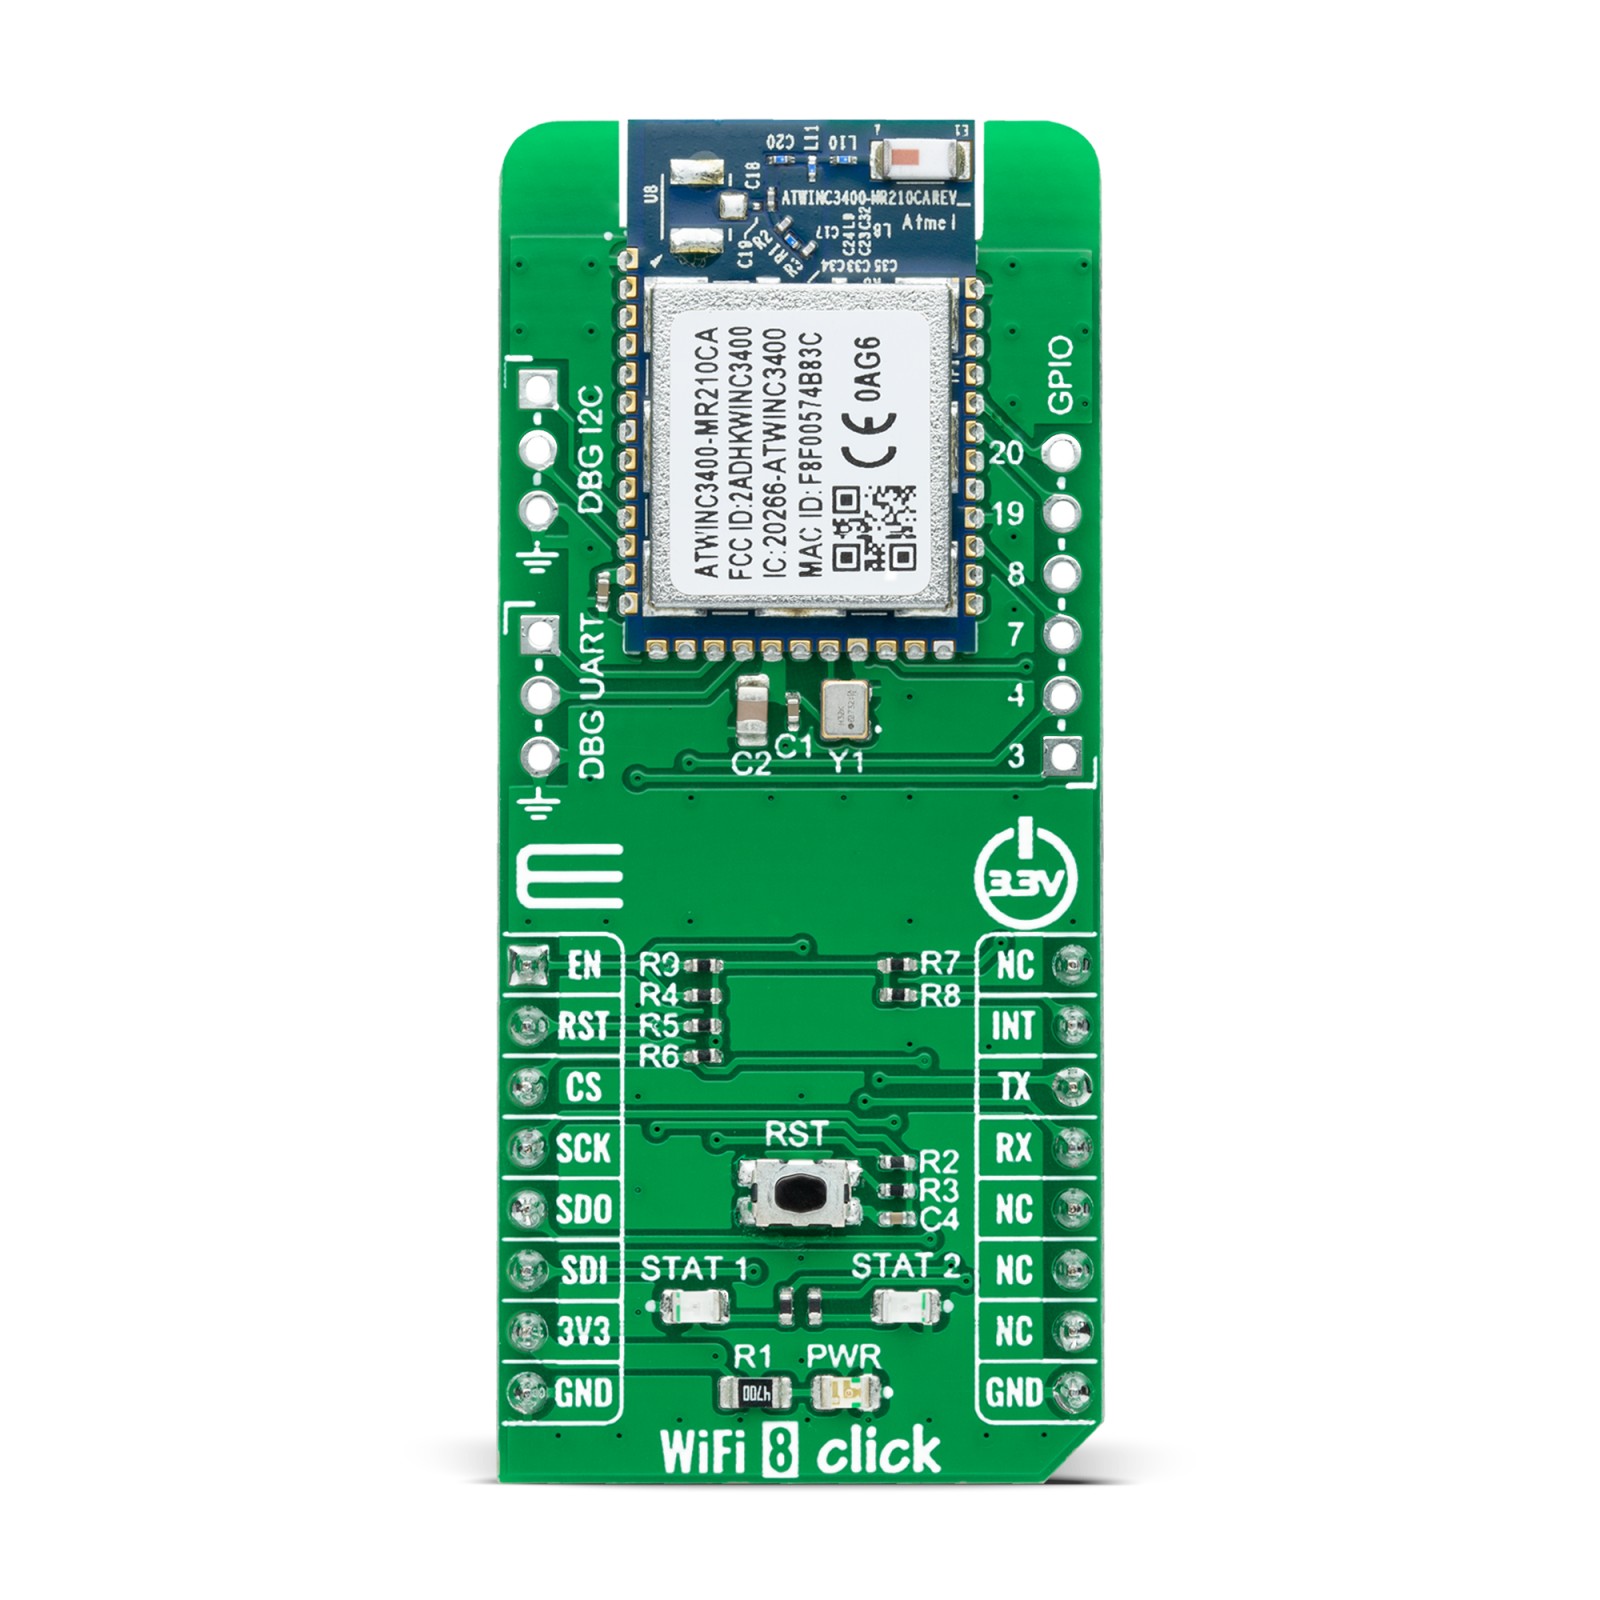
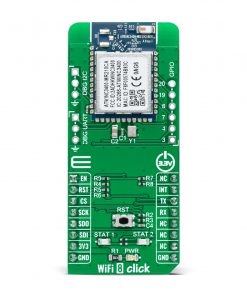
WiFi 8 Click communicates with MCU using the SPI serial interface with a maximum clock frequency of 48MHz applicable to all SPI modes. Additional functionality such as the Chip Enable is used to Enable or put the module in Shut-Down mode provided and routed at EN pin of the mikroBUS™ socket. Alongside this pin, this Click board™ has a Reset button routed to the RST pin on the mikroBUS™ socket, which with a low logic level puts the module into a Reset state, and with a high level operates module normally.
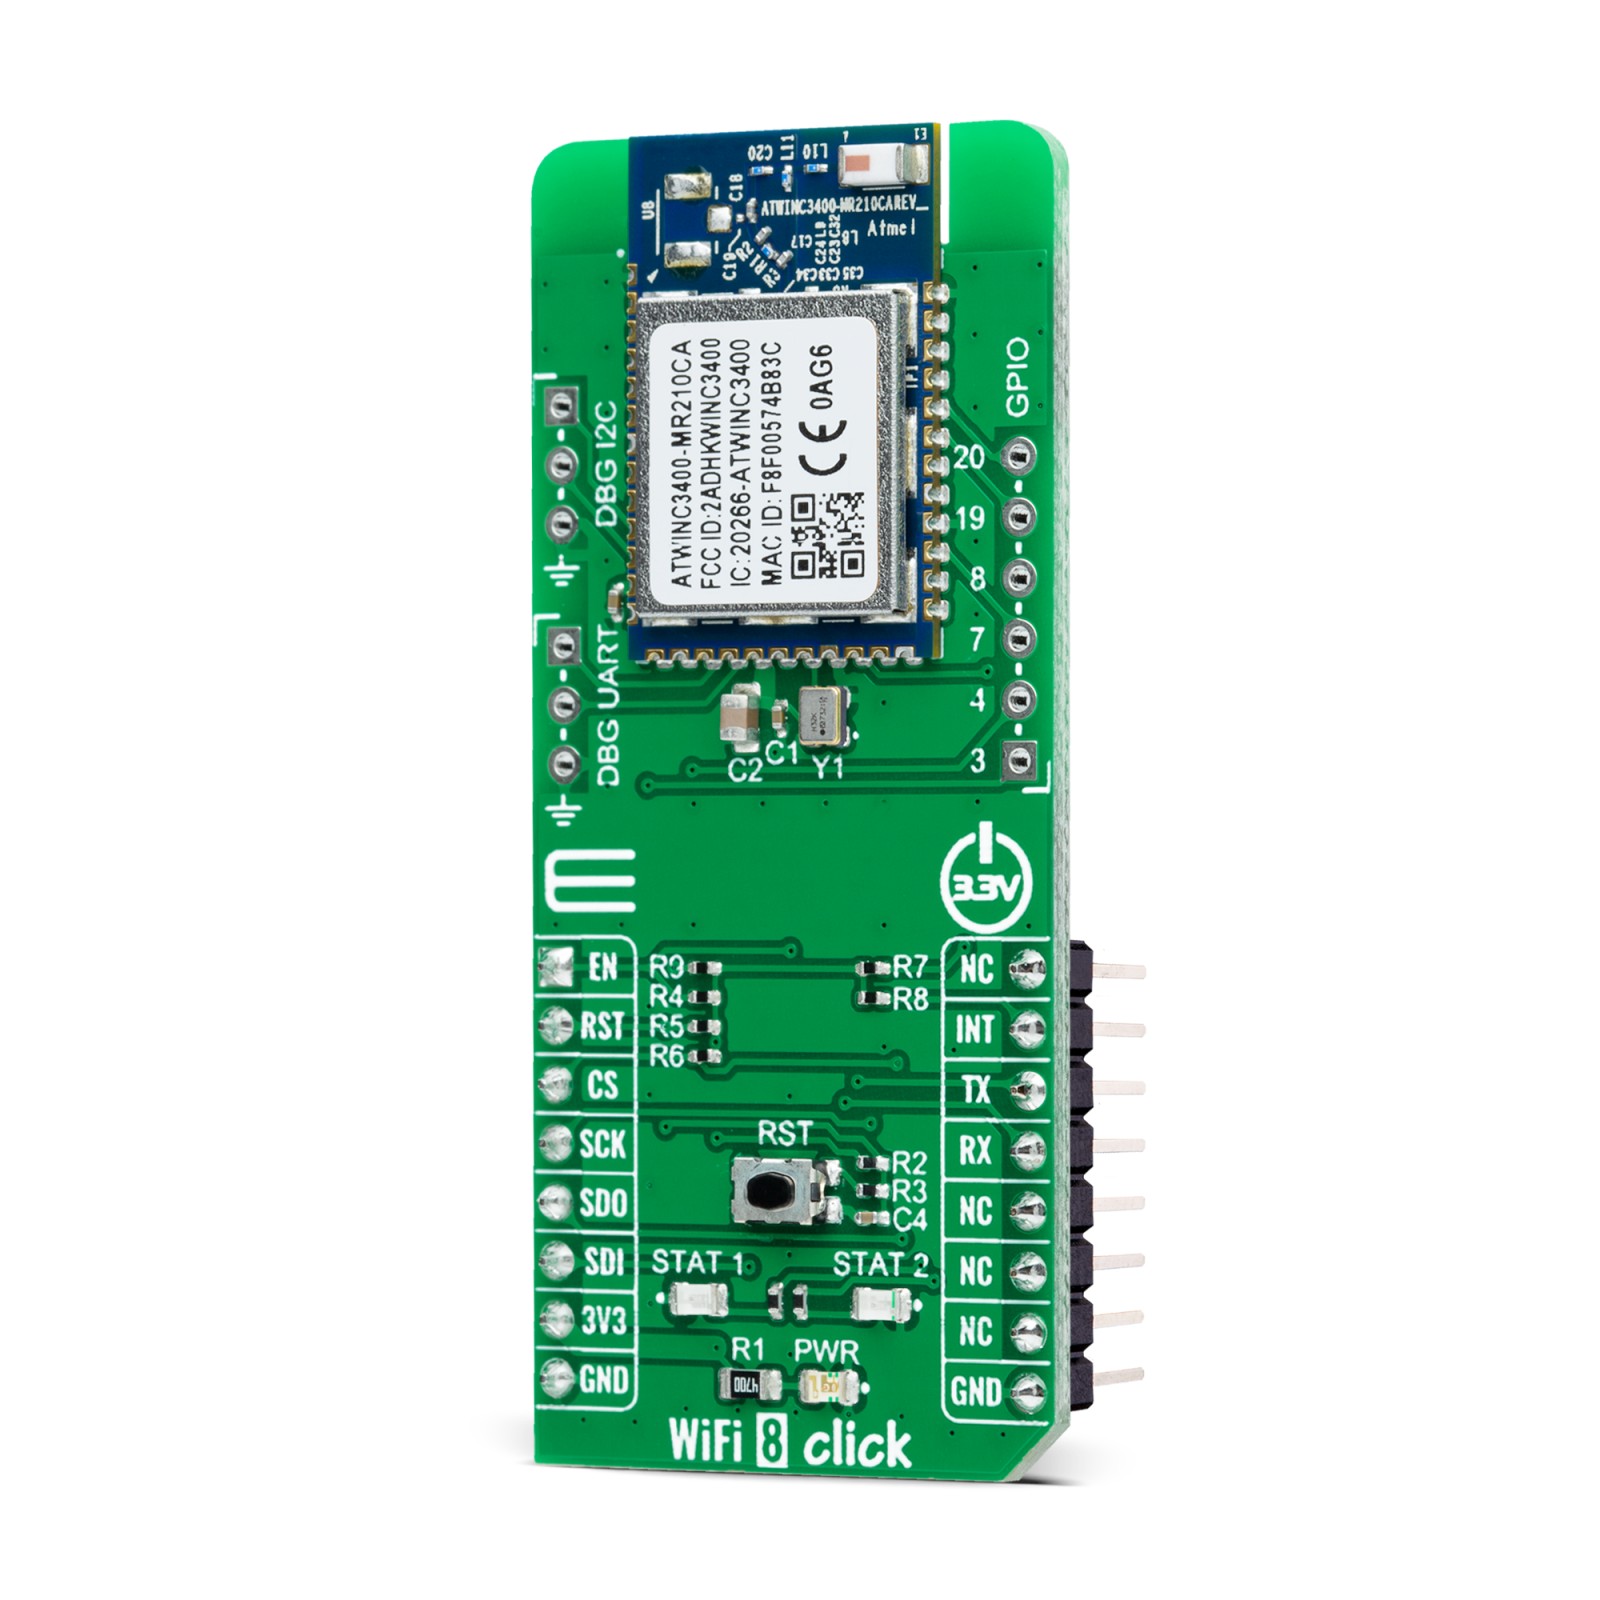
This Click board™ also has several additional headers suitable for debugging purposes using the UART and I2C interfaces labeled DBG UART and DBG I2C. It also has a header, marked as GPIO, with all general-purpose pins from the ATWINC3400-MR210CA module. It should be noted that the usage of the GPIO functionality is currently not supported by the ATWINC3400 firmware. Besides, it also has two additional LED indicators, red and yellow LEDs labeled as STAT1 and STAT2, which can be used for optional user-configurable visual indication.
This Click board™ can be operated only with a 3.3V logic voltage level. Therefore, the board must perform appropriate logic voltage level conversion before using MCUs with different logic levels. However, this Click board™ comes equipped with a library containing functions and an example code that can be used, as a reference, for further development.
Specifications
Type
BT/BLE,WiFi
Applications
Can be used for highly integrated and cost-effective applications, industrial wireless control, Bluetooth gateway, smart home applications, and many more.
On-board modules
ATWINC3400-MR210CA – RF/Baseband/Medium Access Control (MAC) network controller (Bluetooth 5.0 certified module) optimized for low power and high-performance mobile applications from Microchip Technology
Key Features
IEEE 802.11 RF/PHY/MAC, simultaneous use of both Bluetooth Low Energy and WiFi, integrated 2.4GHz chip antenna, superior sensitivity and range, SPI host interface with UART/I2C for debug, and more.
Interface
SPI,UART
Feature
No ClickID
Compatibility
mikroBUS™
Click board size
L (57.15 x 25.4 mm)
Input Voltage
3.3V
Pinout diagram
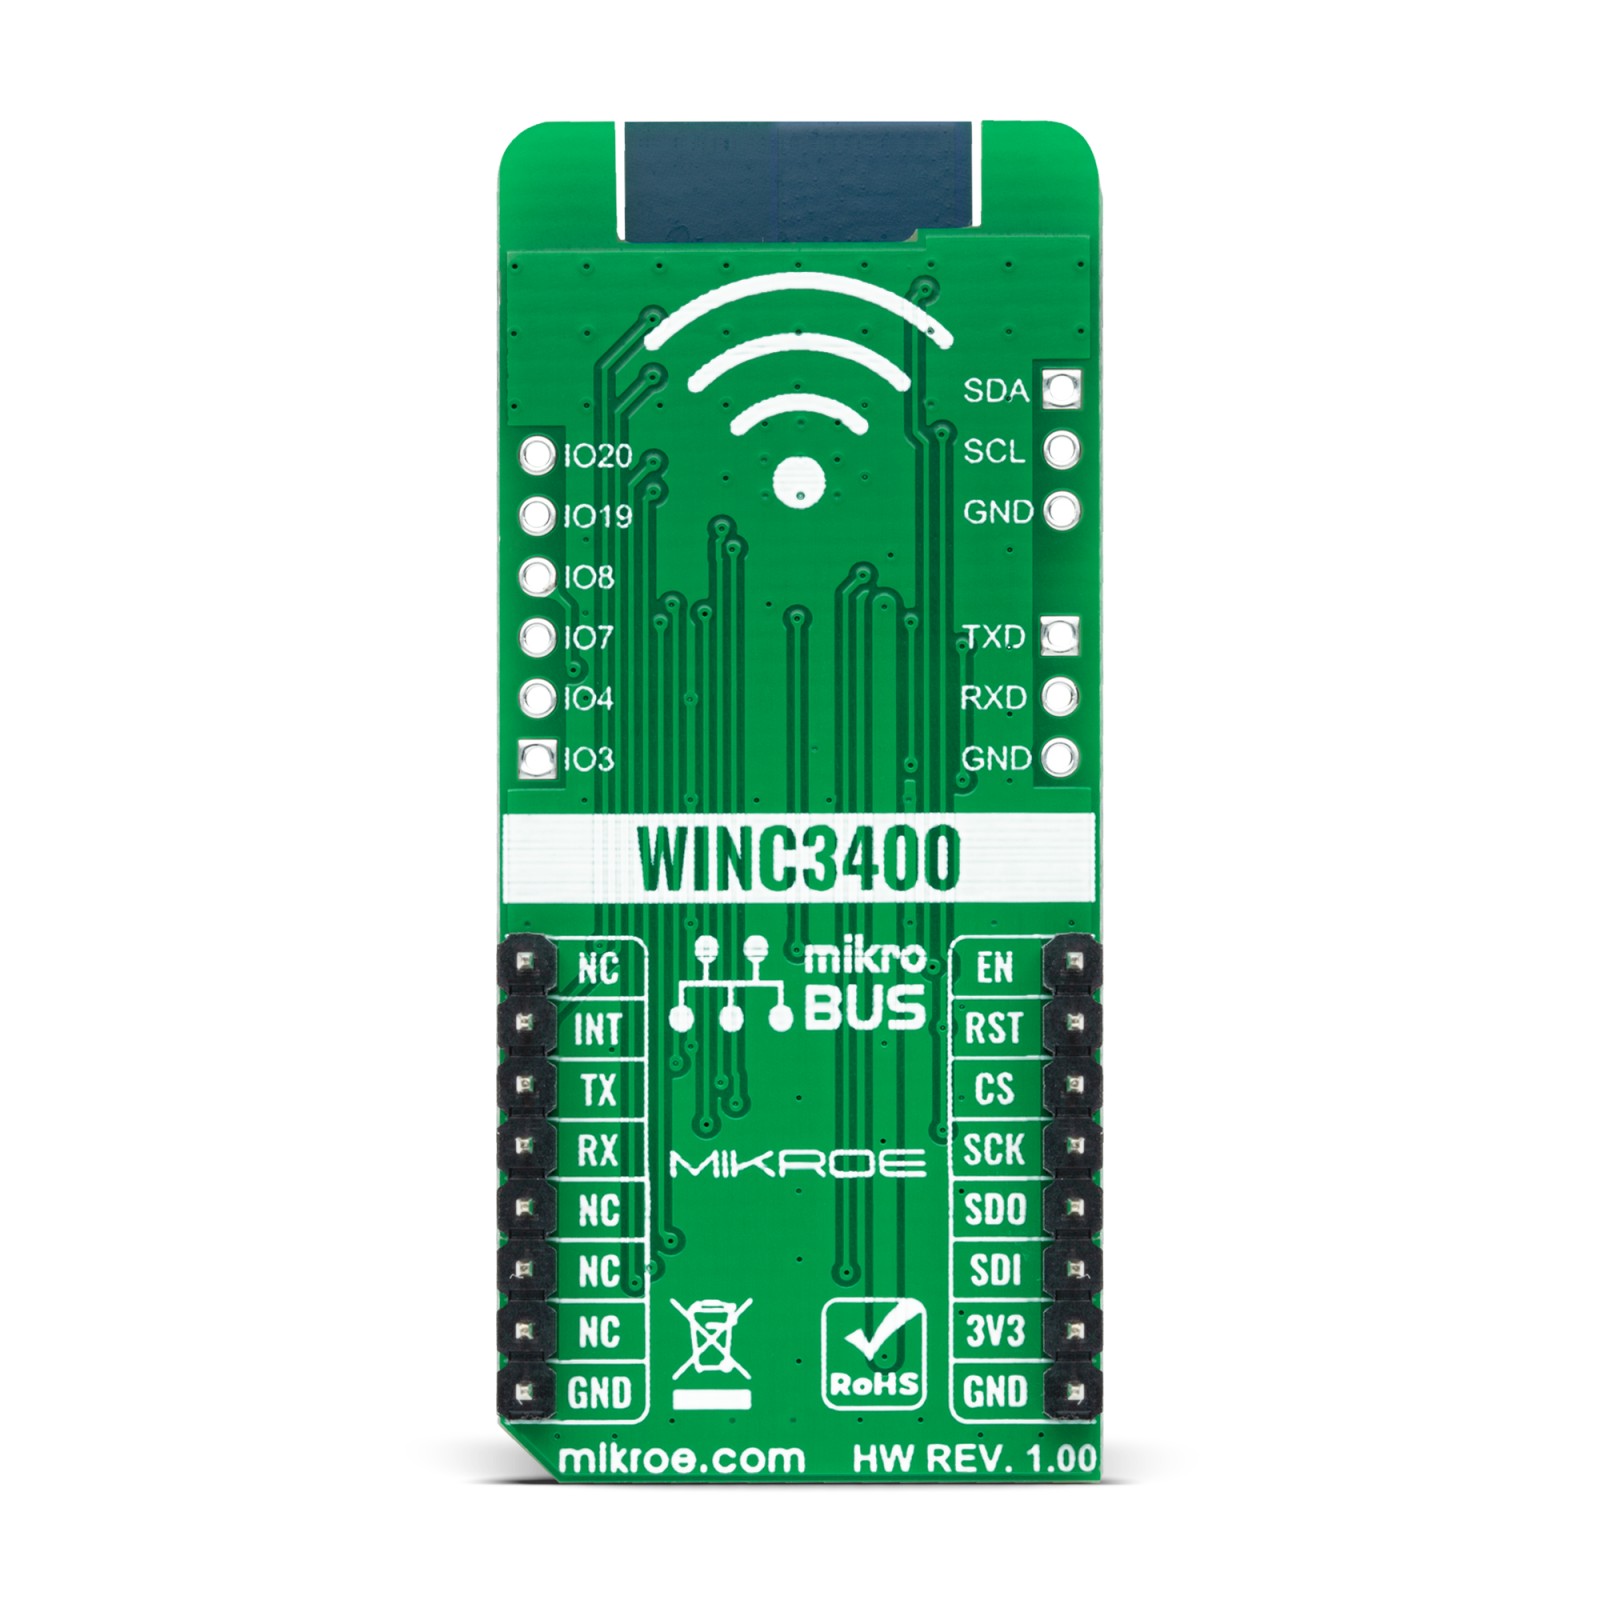
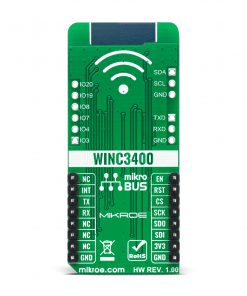
This table shows how the pinout on WiFi 8 Click corresponds to the pinout on the mikroBUS™ socket (the latter shown in the two middle columns).
Onboard settings and indicators
Label | Name | Default | Description |
---|---|---|---|
LD1 | PWR | – | Power LED Indicator |
LD2 | STAT 2 | – | Optional User-Configurable LED Indicator |
LD3 | STAT 1 | – | Optional User-Configurable LED Indicator |
T1 | RST | – | Reset Button |
HD1 | DBG UART | Unpopulated | UART Interface Debug Header |
HD2 | DBG I2C | Unpopulated | I2C Interface Debug Header |
HD3 | GPIO | Unpopulated | GPIO Header |
WiFi 8 Click electrical specifications
Description | Min | Typ | Max | Unit |
---|---|---|---|---|
Supply Voltage | – | 3.3 | – | V |
Operating Frequency Range | – | 2.4 | – | GHz |
Operating Temperature Range | -40 | +25 | +85 | °C |
Software Support
We provide a library for the WiFi 8 Click as well as a demo application (example), developed using MikroElektronika compilers. The demo can run on all the main MikroElektronika development boards.
Package can be downloaded/installed directly from NECTO Studio Package Manager(recommended way), downloaded from our LibStock™ or found on mikroE github account.
Library Description
This library contains API for WiFi 8 Click driver.
Key functions:
wifi8_cfg_setup
– Config Object Initialization function.wifi8_init
– Initialization function.wifi8_default_cfg
– Click Default Configuration function.
Examples description
This application showcases capability of the WiFi 8 Click board. It initializes device, connects to local WiFi. Creates TCP, waits for connection and logs every message it receives for clients when it receives CR or LF flag it returns message back to Client.
The demo application is composed of two sections :
void application_task(void) { wifi8_handle_events(&wifi8); if (tcp_server_socket < 0) { if ((tcp_server_socket = wifi8_socket_create(&wifi8, 2, 1, 0)) < 0) { log_printf(&logger, "main: failed to create TCP server socket error!rn"); } else { wifi8_socket_bind(&wifi8, tcp_server_socket, (struct wifi8_sockaddr_t *)&addr, sizeof(struct wifi8_sockaddr_in_t)); } } }
The full application code, and ready to use projects can be installed directly from NECTO Studio Package Manager(recommended way), downloaded from our LibStock™ or found on mikroE github account.
Other mikroE Libraries used in the example:
- MikroSDK.Board
- MikroSDK.Log
- Click.WiFi8
Additional notes and informations
Depending on the development board you are using, you may need USB UART click, USB UART 2 click or RS232 click to connect to your PC, for development systems with no UART to USB interface available on the board. The terminal available in all MikroElektronika compilers, or any other terminal application of your choice, can be used to read the message.
mikroSDK
This Click board™ is supported with mikroSDK – MikroElektronika Software Development Kit. To ensure proper operation of mikroSDK compliant Click board™ demo applications, mikroSDK should be downloaded from the LibStock and installed for the compiler you are using.
For more information about mikroSDK, visit the official page.