How does it work?
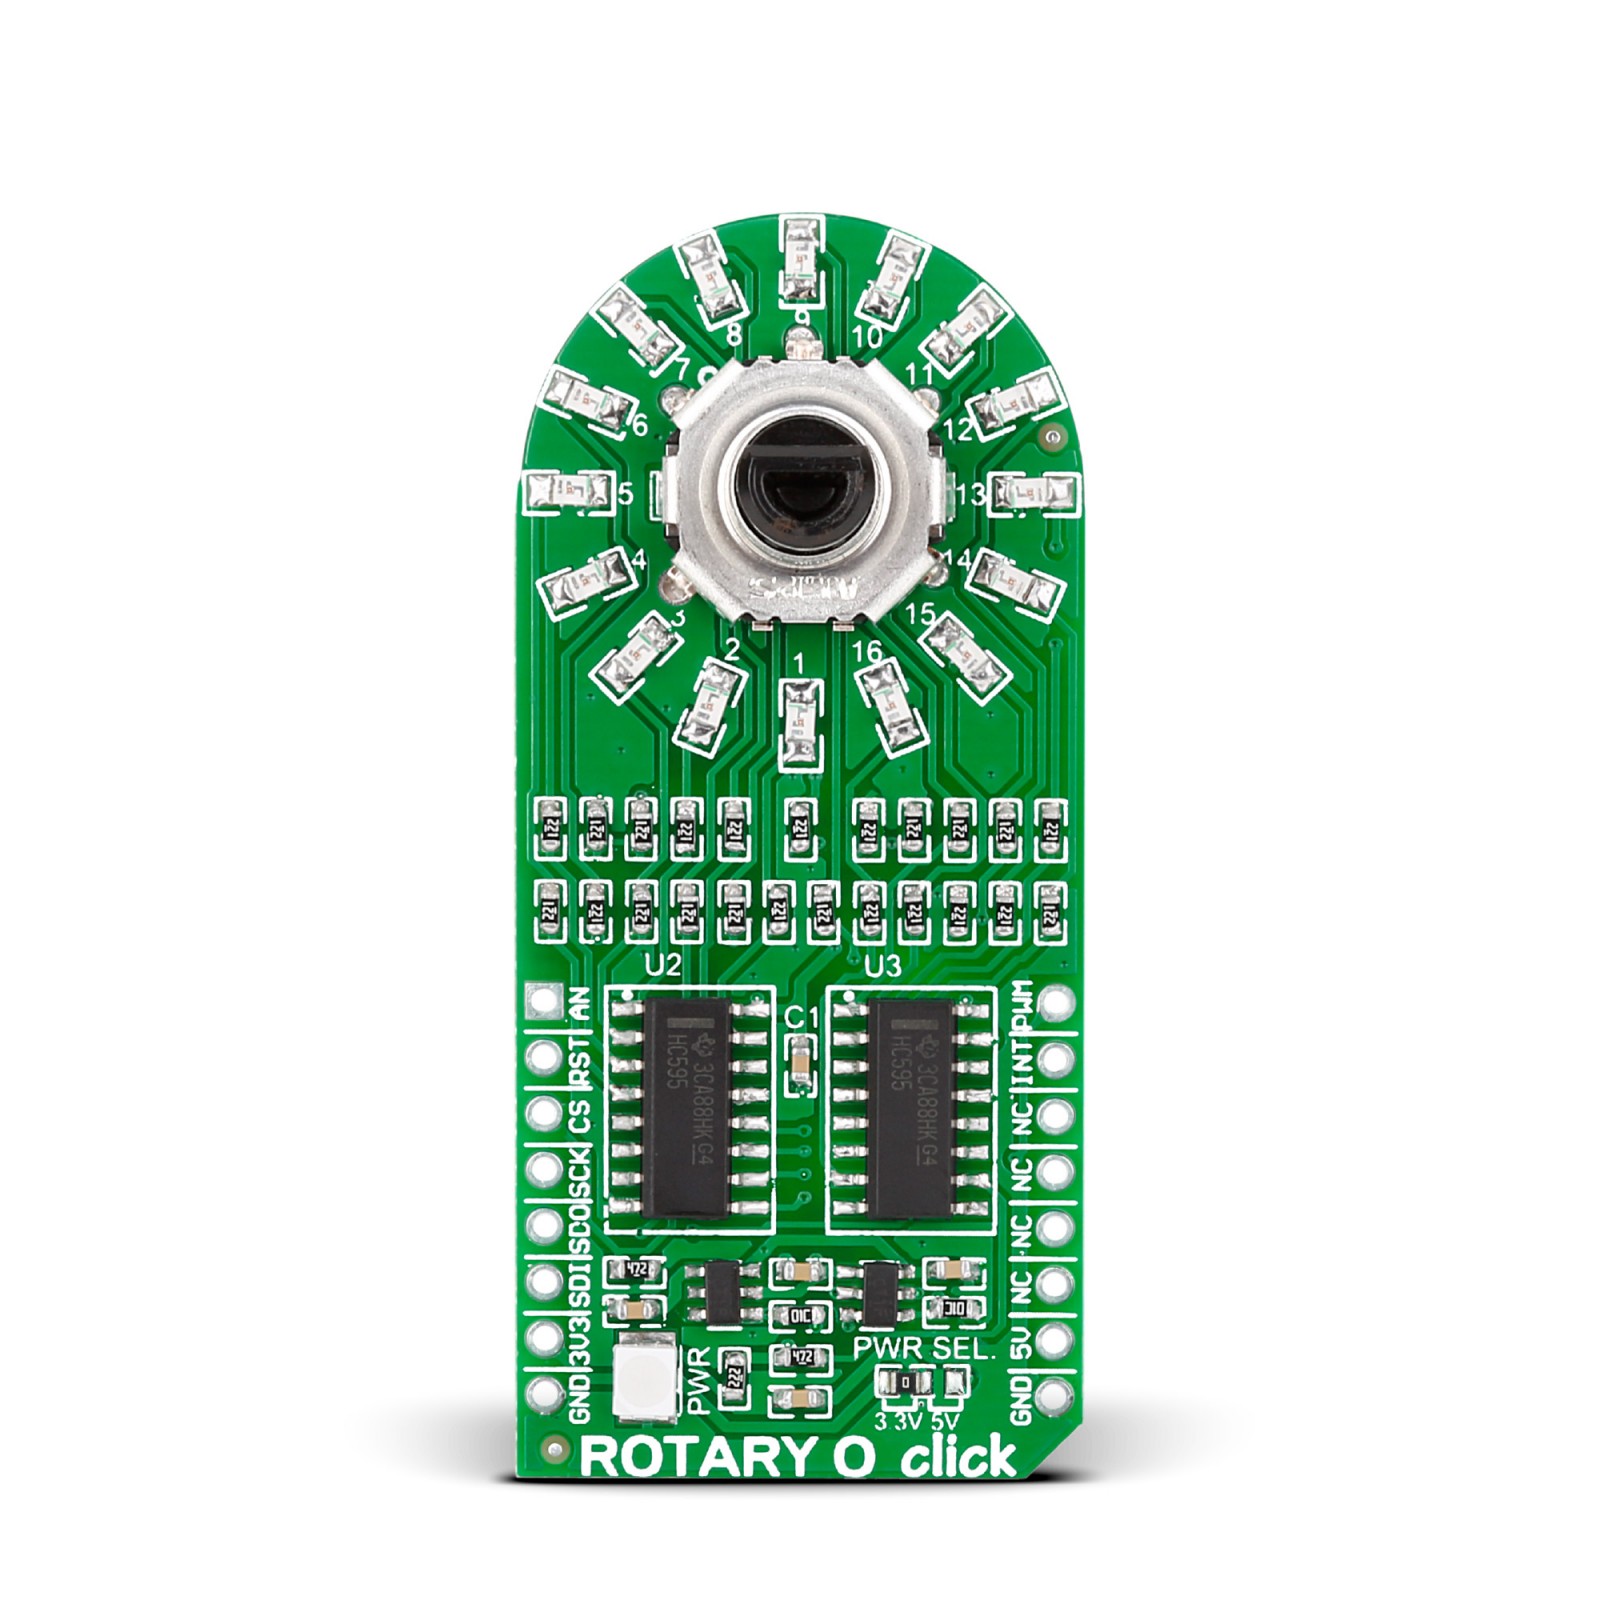
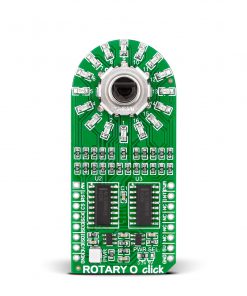
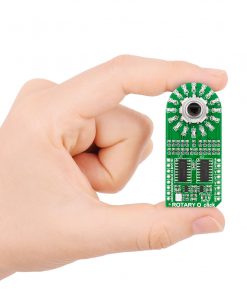
Rotary O Click is based on two 74HC595 SPI-configurable 8-bit shift registers from Texas Instruments. Combined with a high-quality rotary encoder, the EC12D1564402 allows you to add a precision input knob to your design. The EC12D1564402 incremental rotary encoder is surrounded by a ring of 16 orange LEDs where a single rotation is divided into 15 discrete steps (in contrast to a potentiometer, a rotary encoder can be spun around continuously). This Click board™ is an ideal solution for building various HMI applications where precise input is required, but also for some interesting visual effects to any application.
As mentioned, this Click board™ uses the EC12D1564402, a 15-pulse incremental rotary encoder with a push-button, from ALPS. This encoder has unique mechanical specifications (debouncing time for its internal switches goes down to 2ms) and can withstand many switching cycles, up to 30.000. The supporting debouncing circuitry allows contacts to settle before the output is triggered fully.
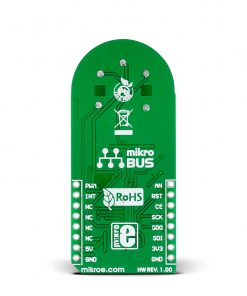
The 74HC595 controls each LED individually positioned in a ring around the encoder through a standard SPI interface with a maximum frequency of 5MHz. Rotating the encoder, it outputs A and B signals (out of phase to each other) on the two mikroBUS™ lines, AN and PWM pins of the mikroBUS™ socket, alongside the push-button contact, which outputs through the interrupt line of the mikroBUS™ socket. The 74HC595 also has a Reset feature used across the RST mikroBUS™ line. Finally, the Rotary O Click uses the 74LVC1T45, a single-bit, dual-power supply translating transceiver with three state outputs from Diodes Incorporated for rotary encoder voltage logic translation.
This Click board™ can operate with either 3.3V or 5V logic voltage levels selected via the PWR SEL jumper. This way, both 3.3V and 5V capable MCUs can use the communication lines properly. However, the Click board™ comes equipped with a library containing easy-to-use functions and an example code that can be used, as a reference, for further development.
Specifications
Type
Rotary encoder
Applications
Can be used for various interesting visual effects to any application, such as flexible position, value indicator, or many others
On-board modules
74HC595 – SPI-configurable 8-bit shift registers from Texas Instruments
EC12D1564402 – 15-pulse incremental rotary encoder with a push-button from ALPS
74LVC1T45 – single bit, dual-power supply translating transceiver with 3 state outputs from Diodes Incorporated
Key Features
High quality, SPI interface, various lighting effects, knob feature, low power consumption, flexibility, efficiency, precision, and more
Interface
SPI
Feature
No ClickID
Compatibility
mikroBUS™
Click board size
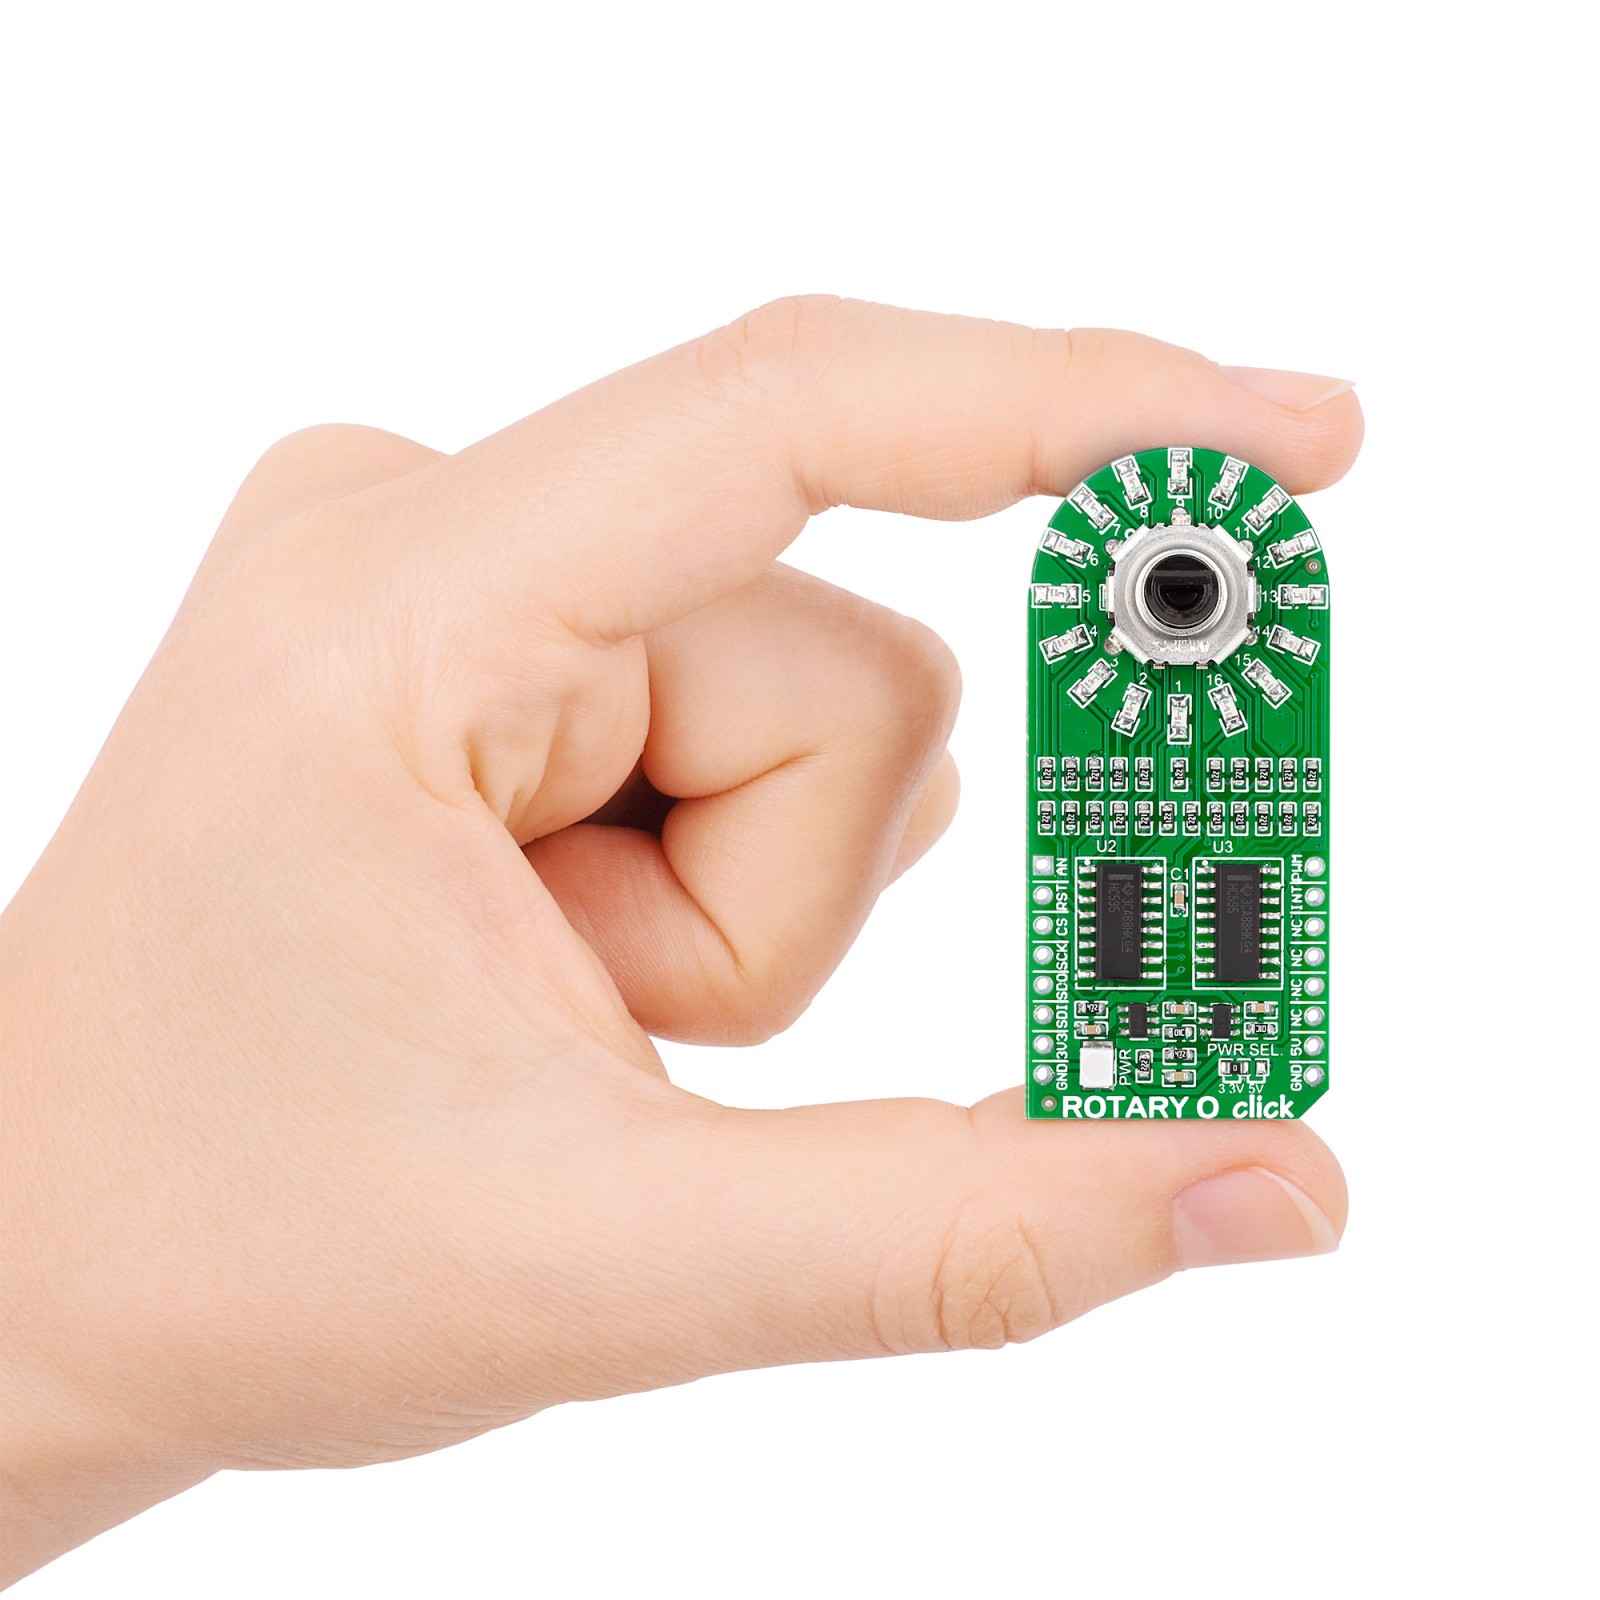
L (57.15 x 25.4 mm)
Input Voltage
3.3V or 5V
Pinout diagram
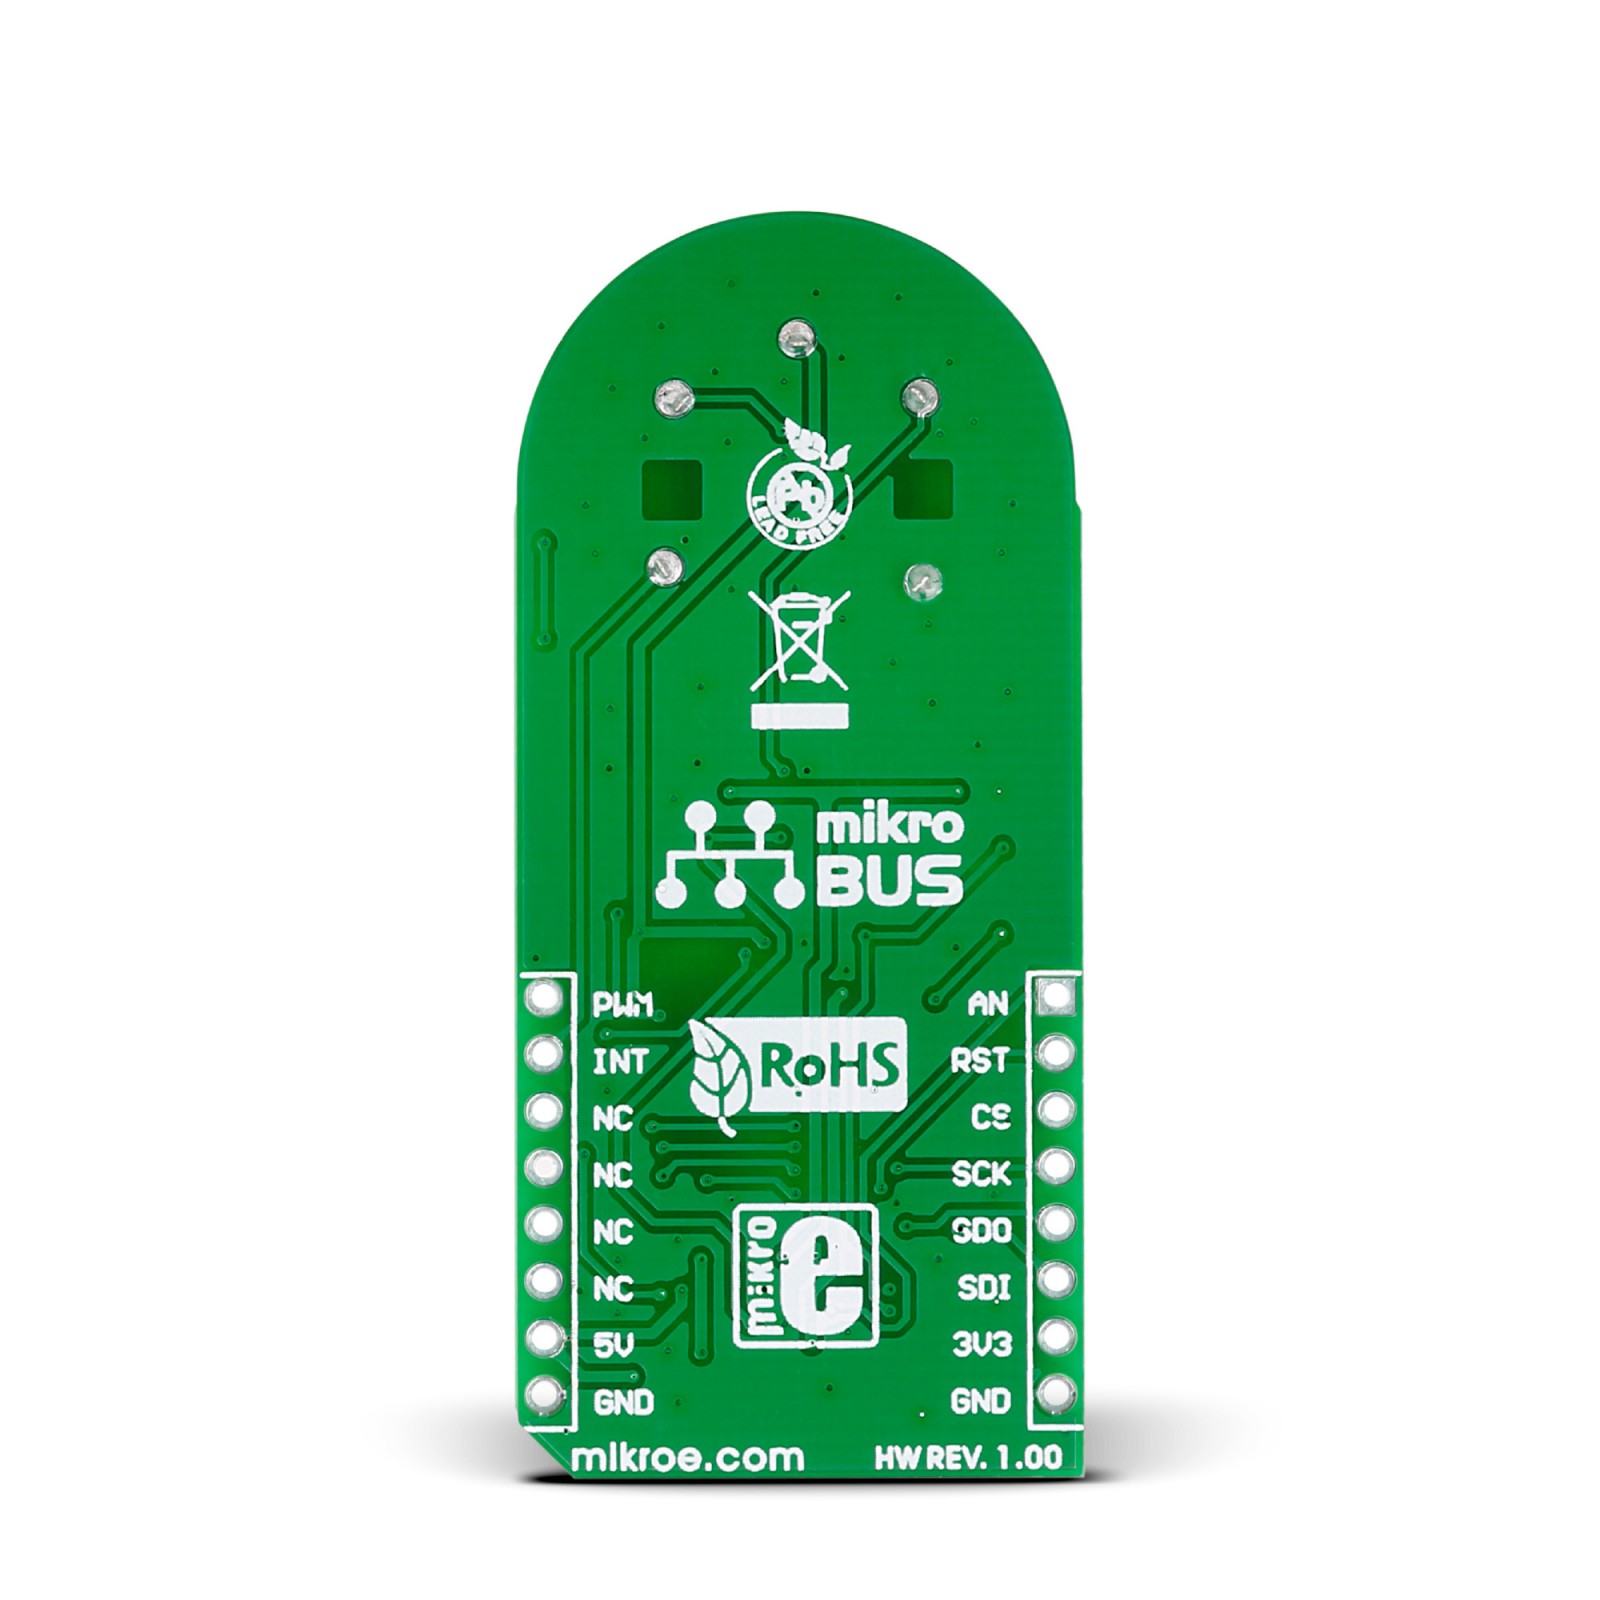
This table shows how the pinout on ROTARY O Click corresponds to the pinout on the mikroBUS™ socket (the latter shown in the two middle columns).
Onboard settings and indicators
Label | Name | Default | Description |
---|---|---|---|
LD1 | PWR | – | Power LED Indicator |
LD1 | 1-16 | – | Rotary Orange LED Indicators |
JP | PWR SEL | Left | Power Voltage Level Selection 3V3/5V: Left position 3V3, Right position 5V |
ROTARY O Click electrical specifications
Description | Min | Typ | Max | Unit |
---|---|---|---|---|
Supply Voltage | 3.3 | – | 5 | V |
Resolution | – | 8 | – | bit |
Software Support
We provide a library for the ROTARY O Click as well as a demo application (example), developed using MIKROE compilers. The demo can run on all the main MIKROE development boards.
Package can be downloaded/installed directly from NECTO Studio Package Manager(recommended), downloaded from our LibStock™ or found on Mikroe github account.
Library Description
This library contains API for ROTARY O Click driver.
Key functions
-
rotaryo_generic_transfer
ROTARY O data transfer function. -
rotaryo_turn_on_led_by_data
Function turn on led by data. -
rotaryo_turn_on_led_by_position
Function turn on led by position
Example Description
The demo application controls led on click with rotory on board
void application_task ( void ) {
rotaryo_turn_on_led_by_data( &rotaryo, led_data );
// Push button
if ( rotaryo_button_push( &rotaryo ) ) {
new_state = 1;
if ( new_state == 1 && old_state == 0 ) {
old_state = 1;
led_state = ( led_state + 1 ) % 5;
if ( led_state == 4 ) {
for ( old_state = 0; old_state < 17; old_state++ ) {
rotaryo_turn_on_led_by_data( &rotaryo, 0xAAAA );
Delay_ms( 100 );
rotaryo_turn_on_led_by_data( &rotaryo, 0x5555 );
Delay_ms( 100 );
}
for ( old_state = 0; old_state < 17; old_state++ ) {
rotaryo_turn_on_led_by_position( &rotaryo, old_state );
Delay_ms( 100 );
}
led_state = 0;
led_data = rotaryo_get_led_data( led_state );
}
else {
led_data = rotaryo_get_led_data( led_state );
}
}
}
else {
old_state = 0;
}
// Rotate Clockwise and CounterClockwise
if ( rotaryo_get_eca_state( &rotaryo ) == rotaryo_get_ecb_state( &rotaryo ) ) {
old__rot_state = 0;
start_status = rotaryo_get_eca_state( &rotaryo ) && rotaryo_get_ecb_state( &rotaryo );
}
else {
new_rotate_state = 1;
if ( new_rotate_state != old__rot_state ) {
old__rot_state = 1;
if ( start_status != rotaryo_get_eca_state( &rotaryo ) ) {
led_data = ( led_data << 1 ) | ( led_data >> 15 );
}
else {
led_data = ( led_data >> 1 ) | ( led_data << 15 );
}
}
}
}
The full application code, and ready to use projects can be installed directly from NECTO Studio Package Manager(recommended), downloaded from our LibStock™ or found on Mikroe github account.
Other Mikroe Libraries used in the example:
- MikroSDK.Board
- MikroSDK.Log
- Click.RotaryO
Additional notes and informations
Depending on the development board you are using, you may need USB UART click, USB UART 2 Click or RS232 Click to connect to your PC, for development systems with no UART to USB interface available on the board. UART terminal is available in all MIKROE compilers.
mikroSDK
This Click board™ is supported with mikroSDK – MIKROE Software Development Kit. To ensure proper operation of mikroSDK compliant Click board™ demo applications, mikroSDK should be downloaded from the LibStock and installed for the compiler you are using.
For more information about mikroSDK, visit the official page.